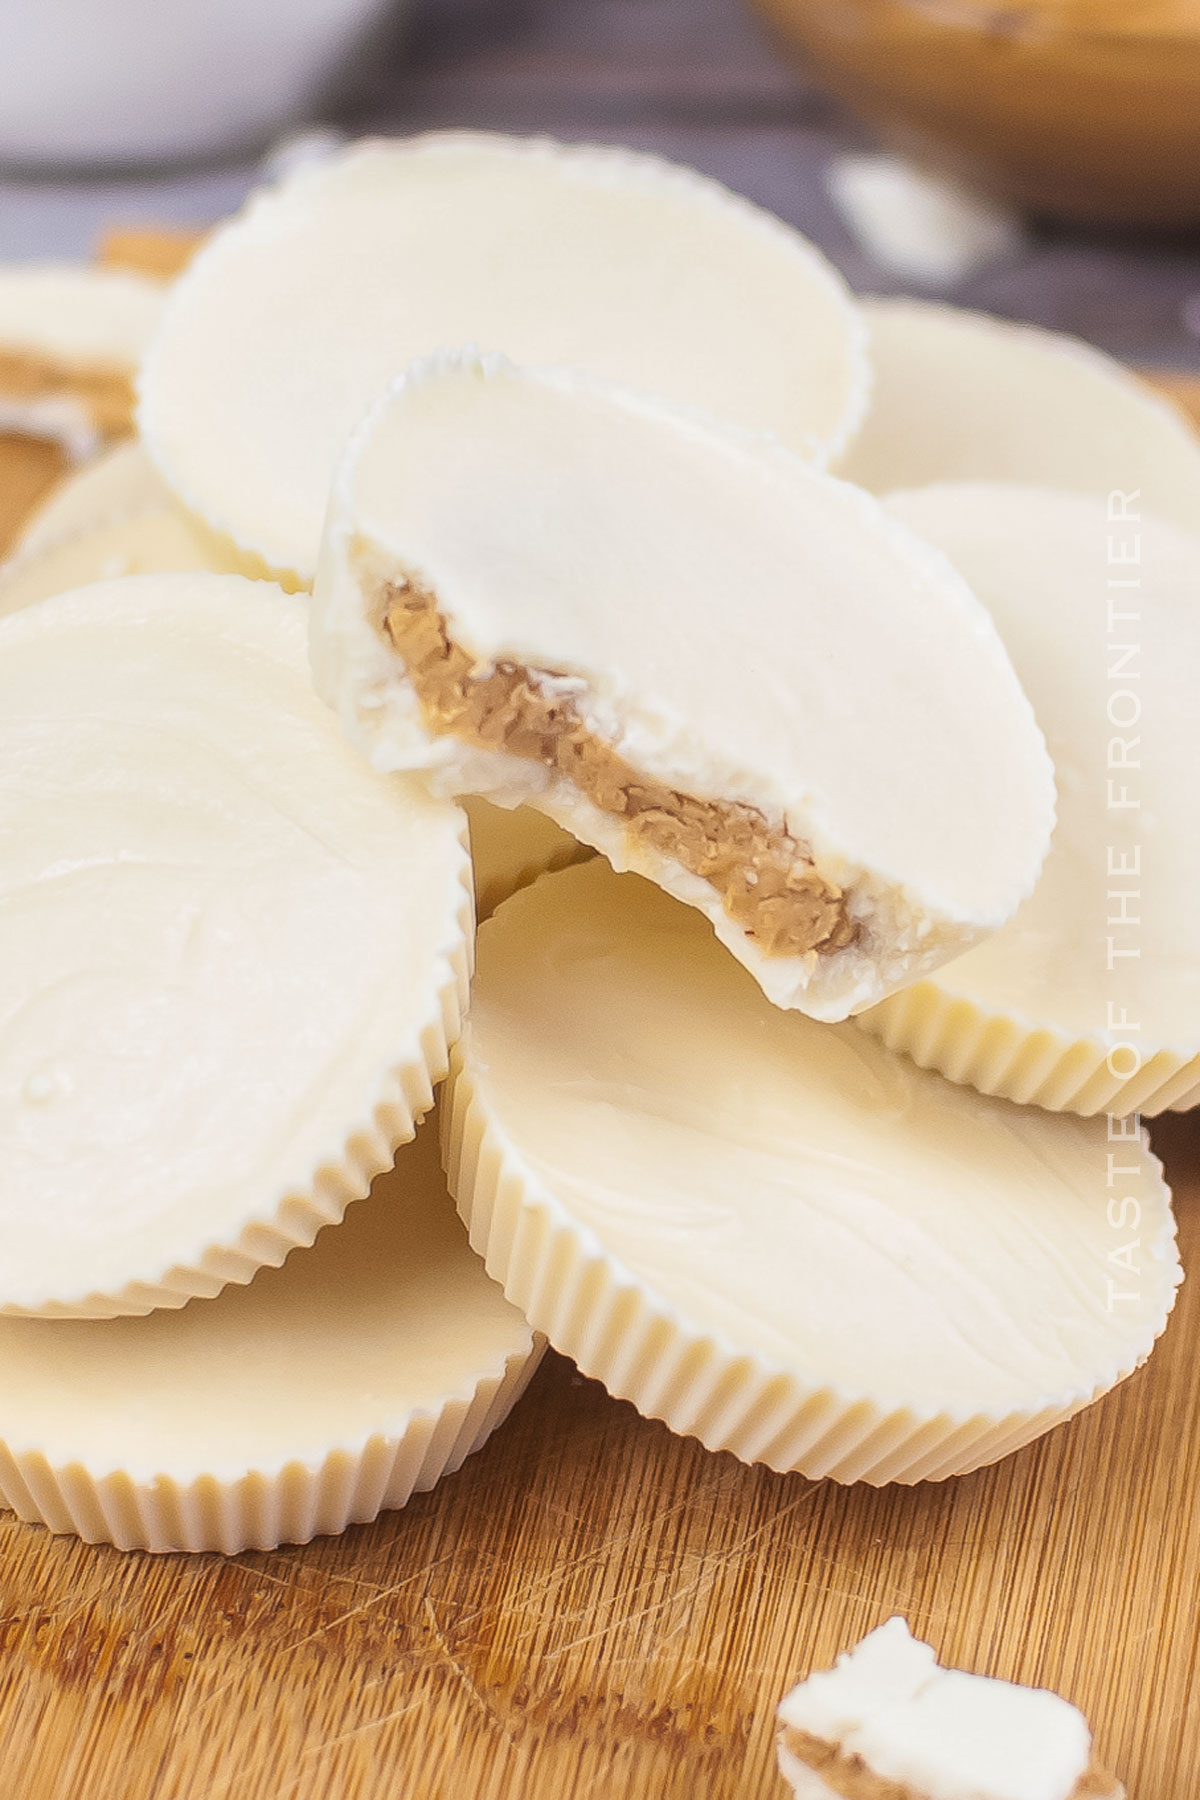
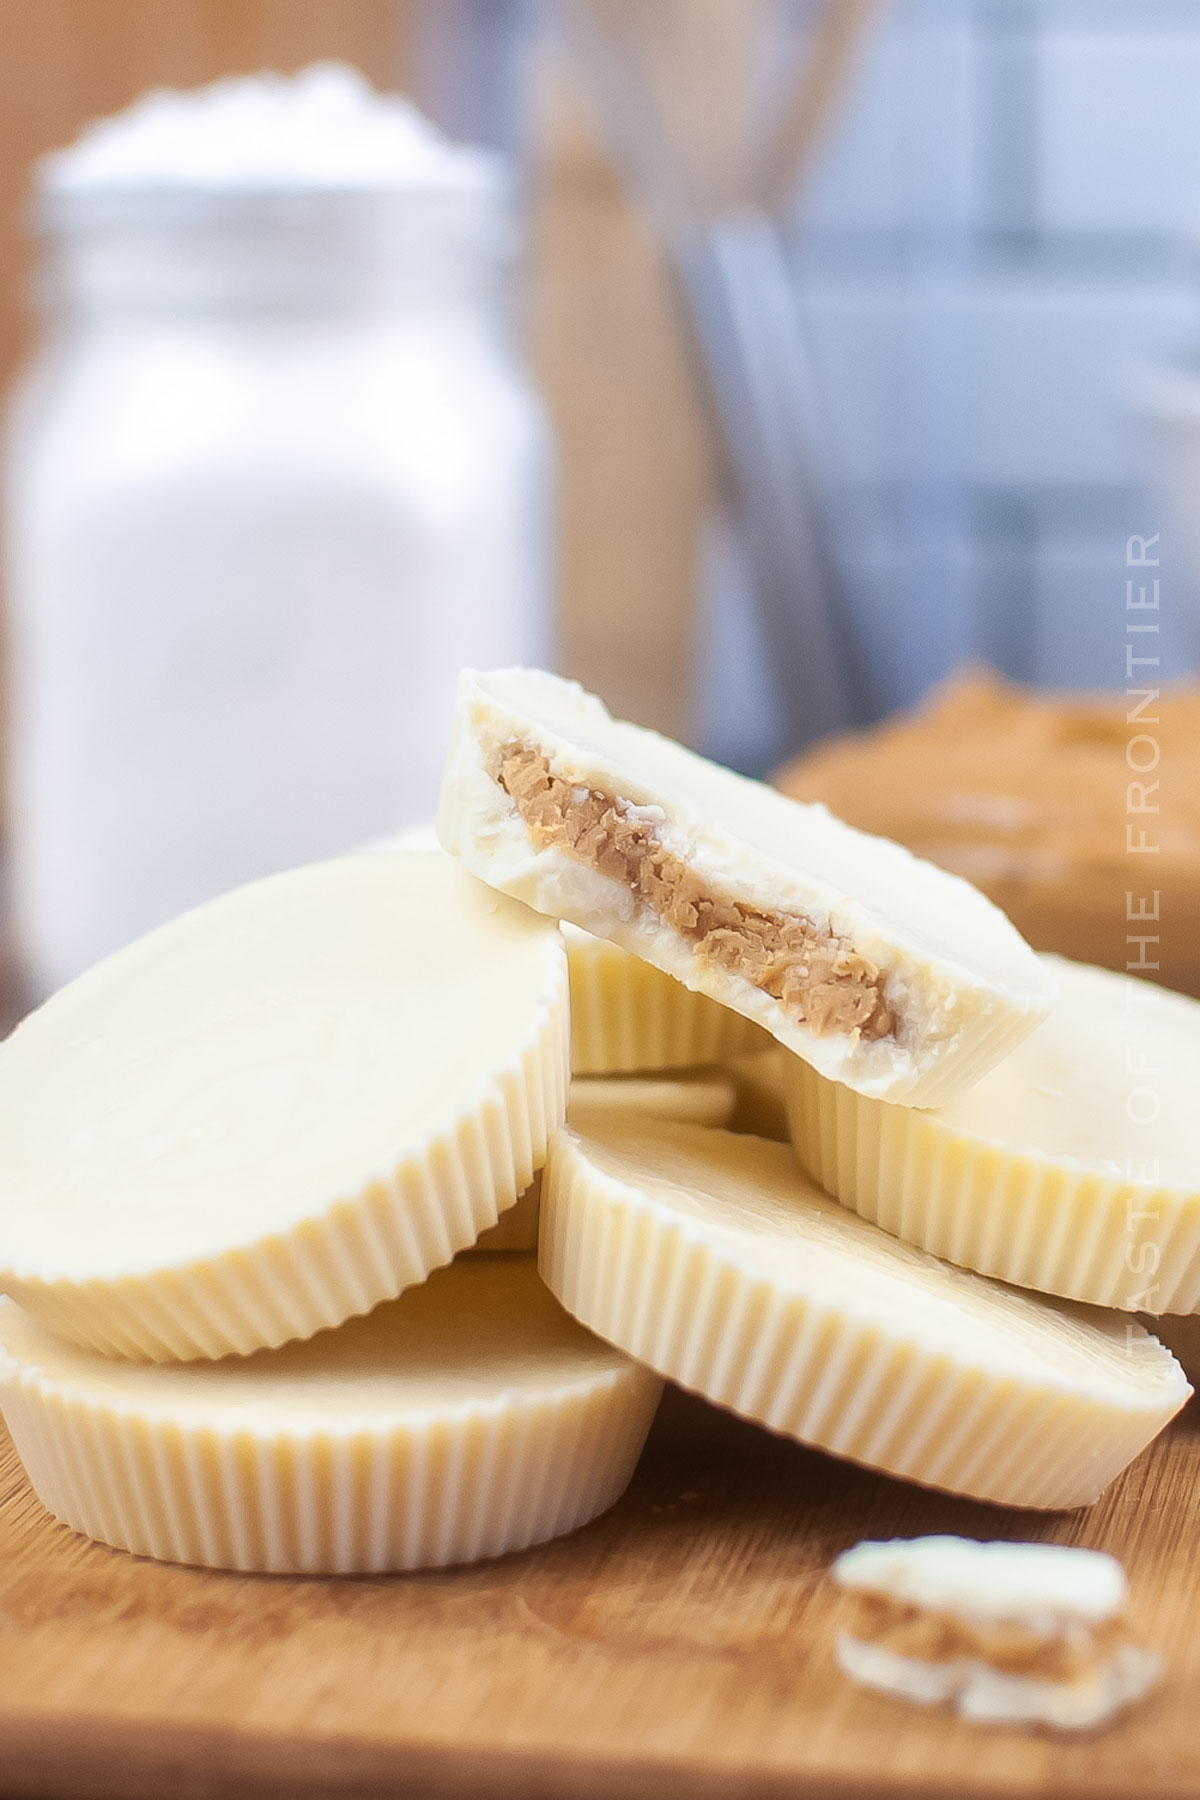
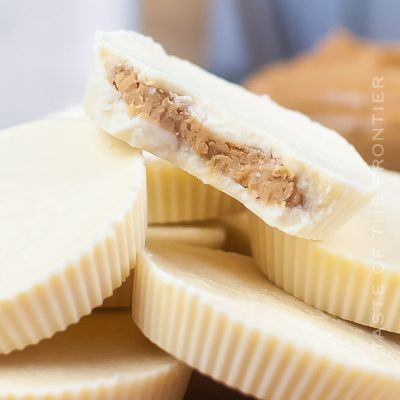
These White Chocolate Peanut Butter Cups are simple and easy to make whenever the craving strikes. Great for parties and neighbor gifts.
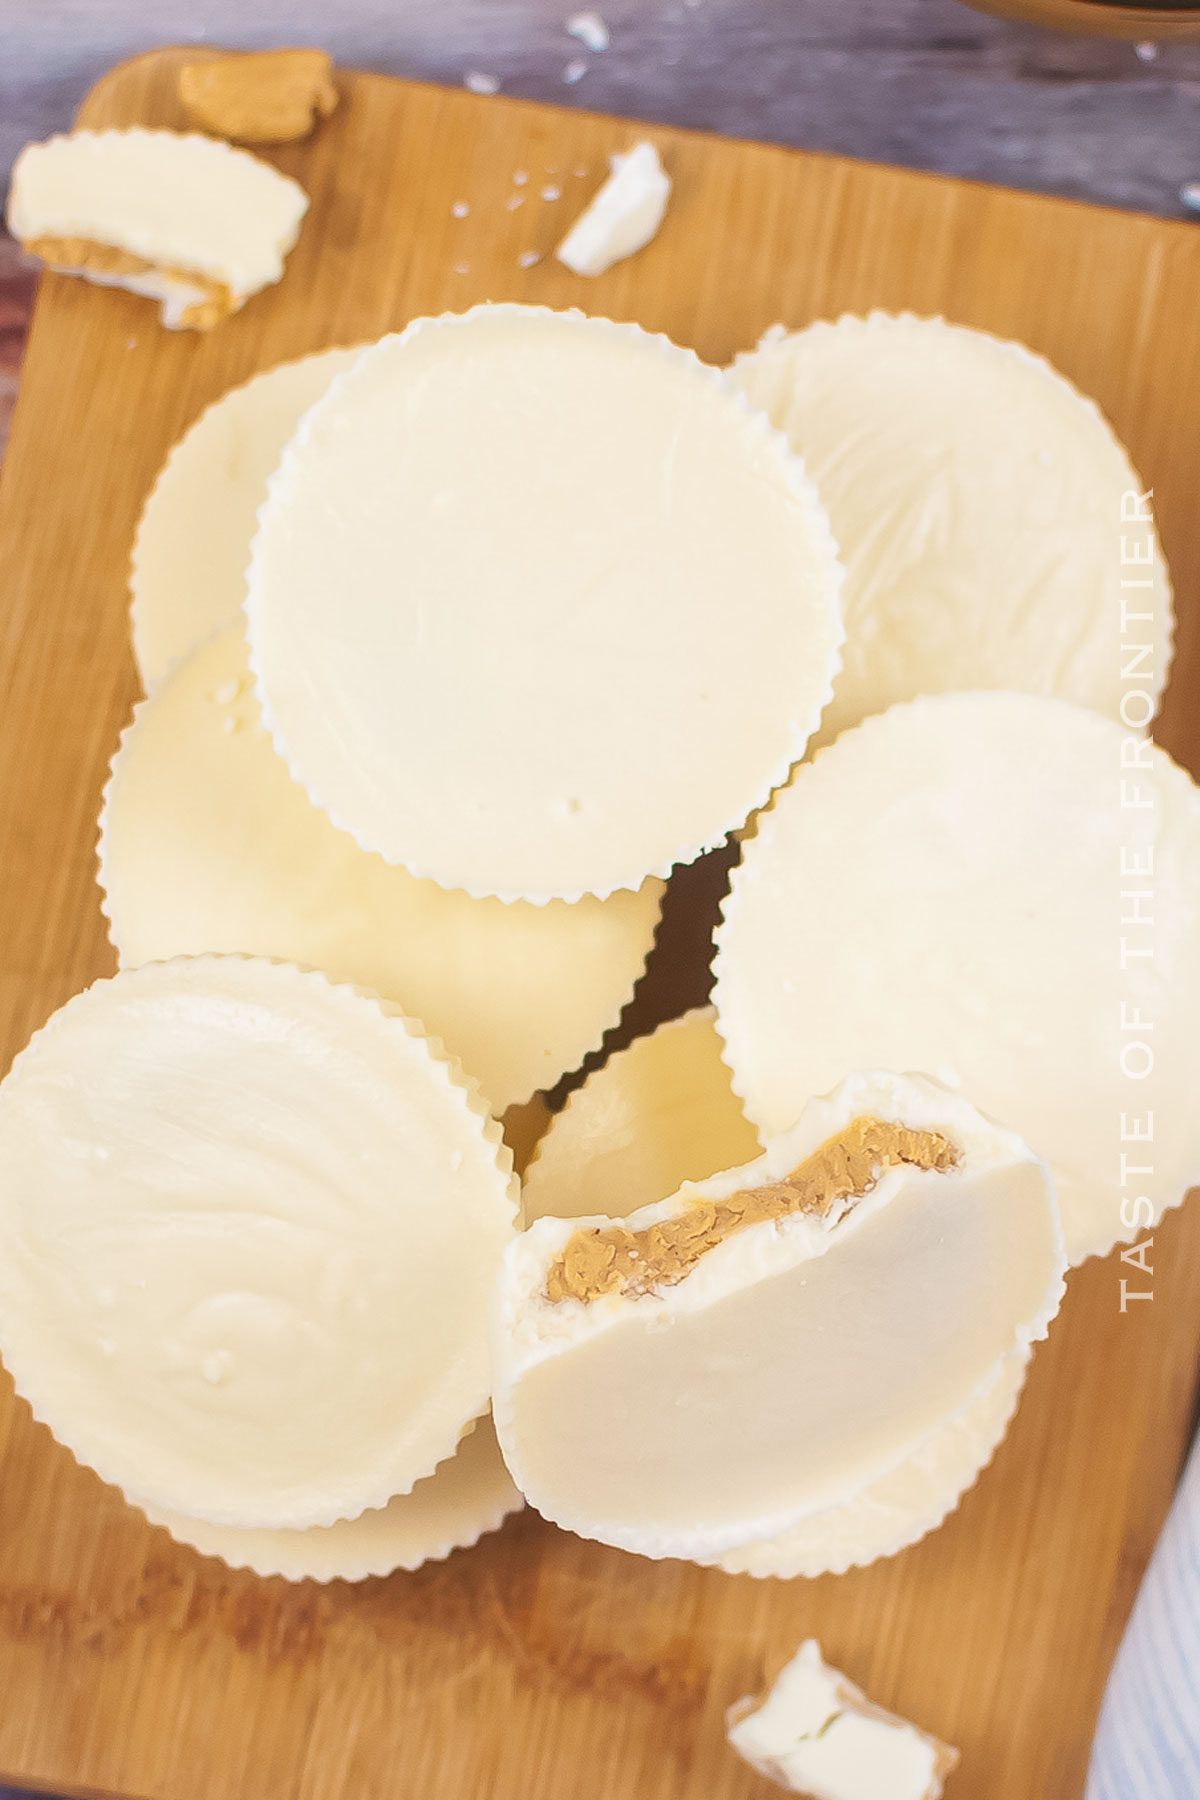
When you bite into a homemade White Chocolate Peanut Butter Cup, it’s like a tiny moment of pure bliss. Imagine the silken texture of white chocolate melting with a creamy peanut butter filling, giving your taste buds a trip to peanut butter cup heaven.
I can’t tell you enough how much I love these things. Unlike the darker versions, these sweet treats have a delicate charm that’s perfect for folks who lean towards the sweeter side of life (yeah that’s me haha). Ready to discover a new favorite candy?
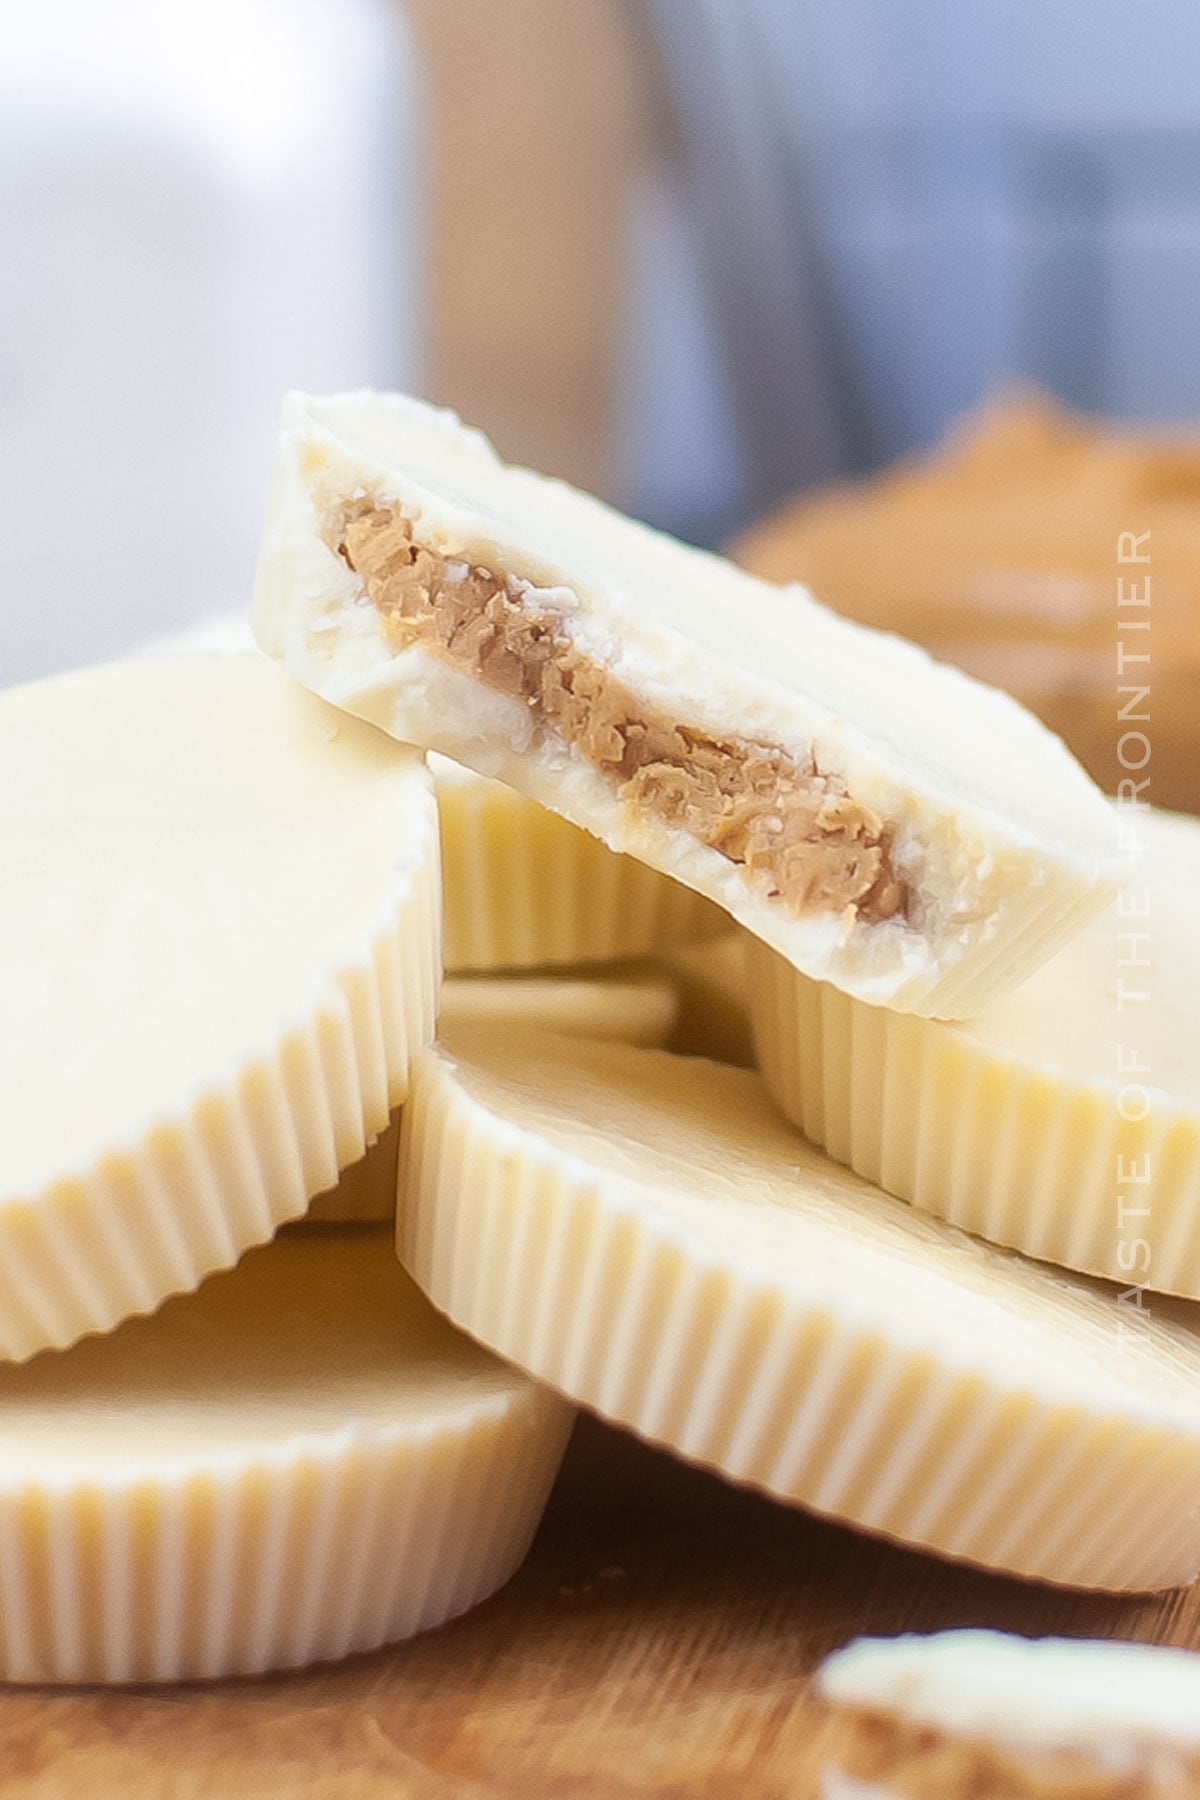
There’s something oh-so-satisfying about crafting your own homemade white chocolate peanut butter cups. The simple ingredients, coupled with the joy of creating a beloved sweet treat, make this an adventure worth diving into.
Not only will you satiate your sweet cravings, but you’ll also have a story to tell every time you share these delights.
So the next time you stroll down the baking aisle, remember this recipe card and treat yourself and your loved ones to a creamy, dreamy, white chocolate journey.
Common Questions About White Chocolate Peanut Butter Cups
Why homemade over store-bought?
Making homemade peanut butter cups allows you to control the quality of ingredients. Plus, the homemade version tastes more genuine, minus the preservatives of its store-bought counterpart.
Do they taste like Reese’s peanut butter cups?
These white chocolate versions capture the spirit of the classic peanut butter cup, but with a unique twist due to the white chocolate. It’s like Reese’s sophisticated sibling!
How do I ensure the white chocolate doesn’t seize when melting?
The best way is to melt it slowly, ideally at 50% microwave power. Remember, patience is key when working with white chocolate! If it does seize up, don’t worry!
It’s easy to fix. It just means adding just enough water (or other liquid) to dissolve most of the solidified sugar and cocoa in the seized up chocolate clumps. No sweat!
Storage
Making chocolates like these at home means you get to know all of what’s in them. No strange chemicals or high fructose corn syrup if you don’t want them! Just clean peanut butter and white chocolate goodness!
Refrigerator
Place your white chocolate peanut butter cups in an airtight container, separating the layers with parchment paper. They’ll stay fresh for up to a week.
Freezer
For a longer shelf-life, pop them in the freezer. When craving something, simply let it come to room temperature for a few minutes before indulging.
Tips
These peanut butter cups are the real thing, people. From the first bite, you’ll know that you stumbled into a winner.
- Opt for organic peanut butter for a healthier and richer taste.
- Using silicone muffin liners ensures that the cups come out easily after setting.
- For an extra kick, sprinkle a dash of sea salt atop the melted chocolate before it sets.
- Double boiler melting is an alternative to the microwave, ensuring even and slow melting.
- Be patient with the melting of your chocolate. Check it and stir it every so often while it’s melting. You’ll be glad you did!
Ingredients
The recipe calls for smooth peanut butter. If you’re more of a chunky peanut butter person, well feel free! Nobody said you had to stick to the rules here. It’s hard to believe you can make such a yummy treat all on your own!
- Confectioner’s sugar
- Creamy peanut butter
- Vanilla extract
- White chocolate bark
- Vegetable oil
How to Make White Chocolate Peanut Butter Cups
It’s so simple! If you’re looking for fun ways to get your kids cooking, look no further. Rolling and then flattening the little peanut butter balls is fun, even for adults. And they’ll love the idea of making their very own white chocolate Reese’s cups!
- Combine the sugar, peanut butter, and vanilla in a mixing bowl, mixing until a dough forms. Chill them in the refrigerator while you melt the chocolate.
- In a microwave-safe bowl, add the white chocolate bark and oil. Microwave for 45 seconds. Remove and mix. If clumpy and not smooth, microwave in 15-second intervals while mixing between melting. Mix until smooth.
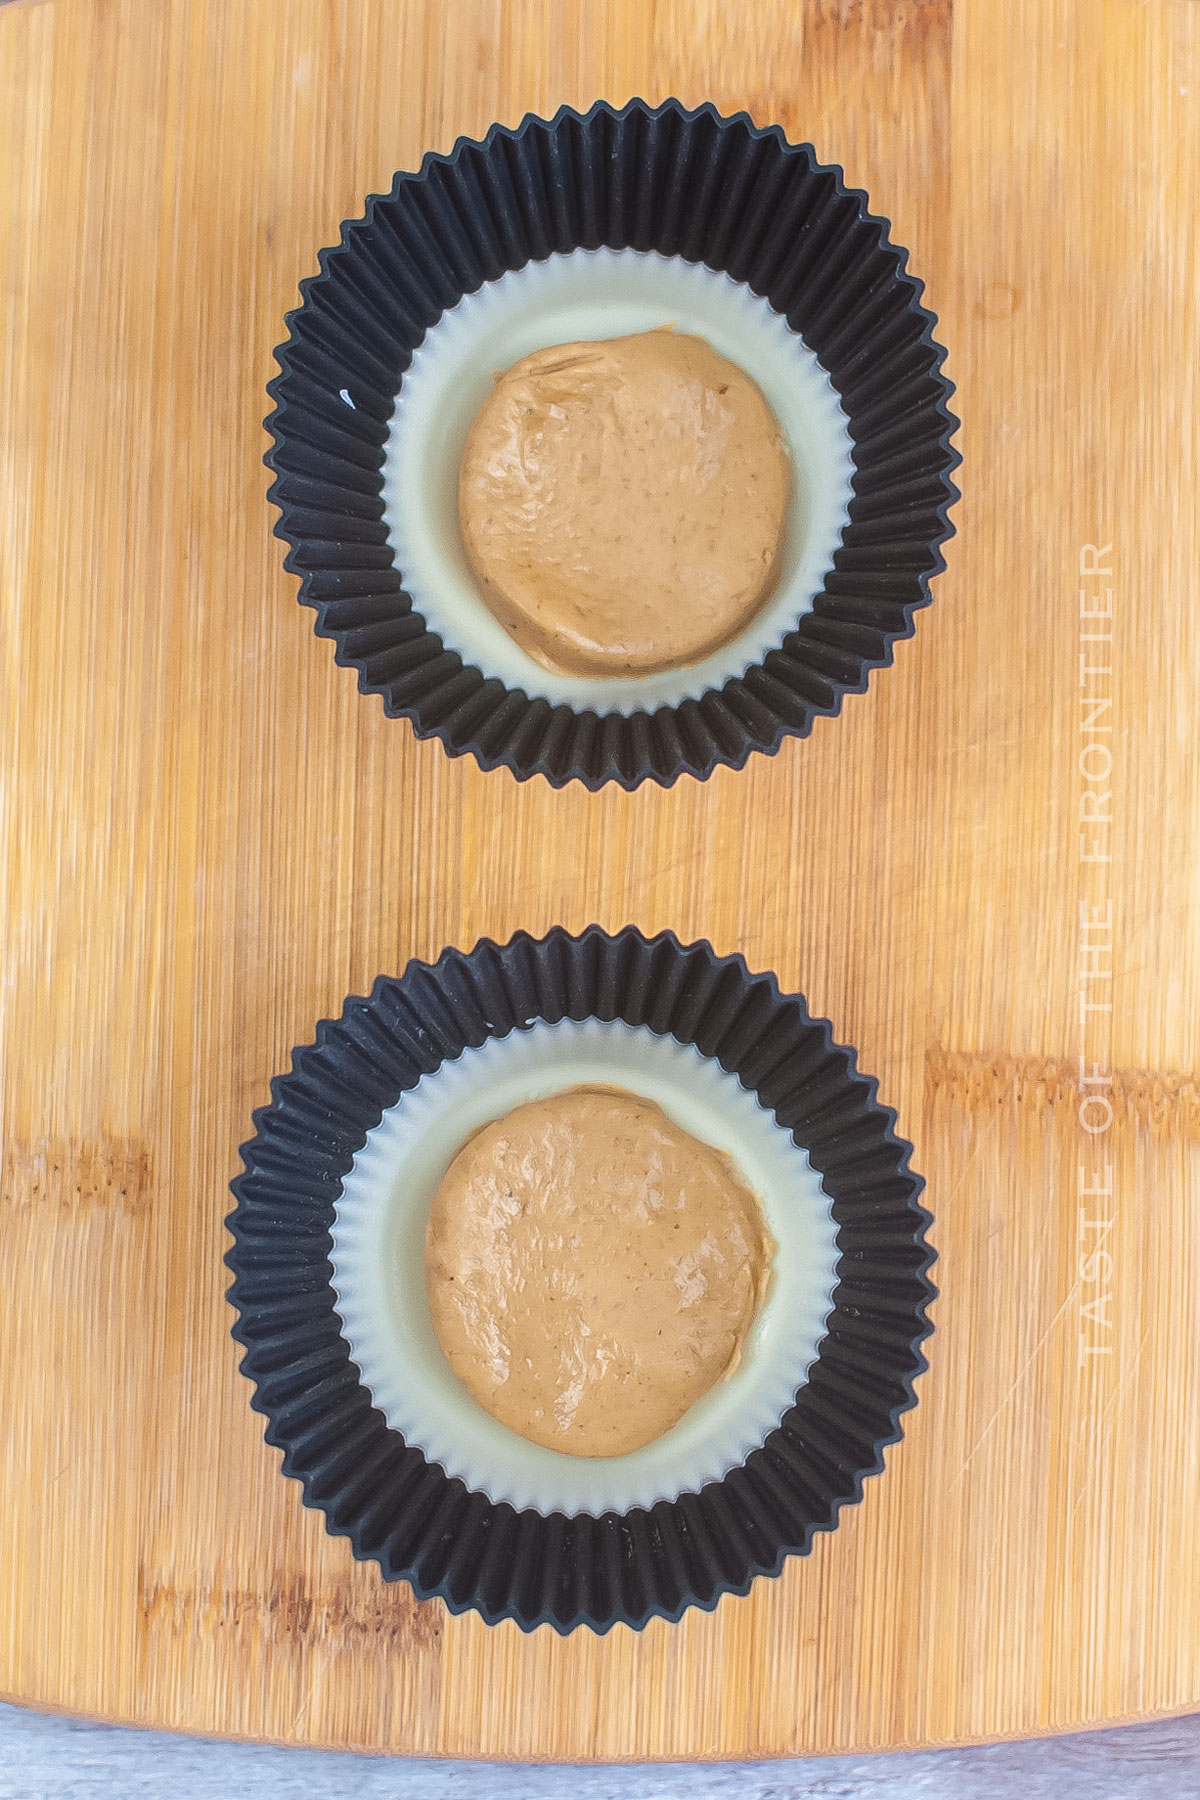
- In silicone muffin liners, add 1 tablespoon of the melted chocolate. Tilt liners to coat the sides and up the wall of the liner.
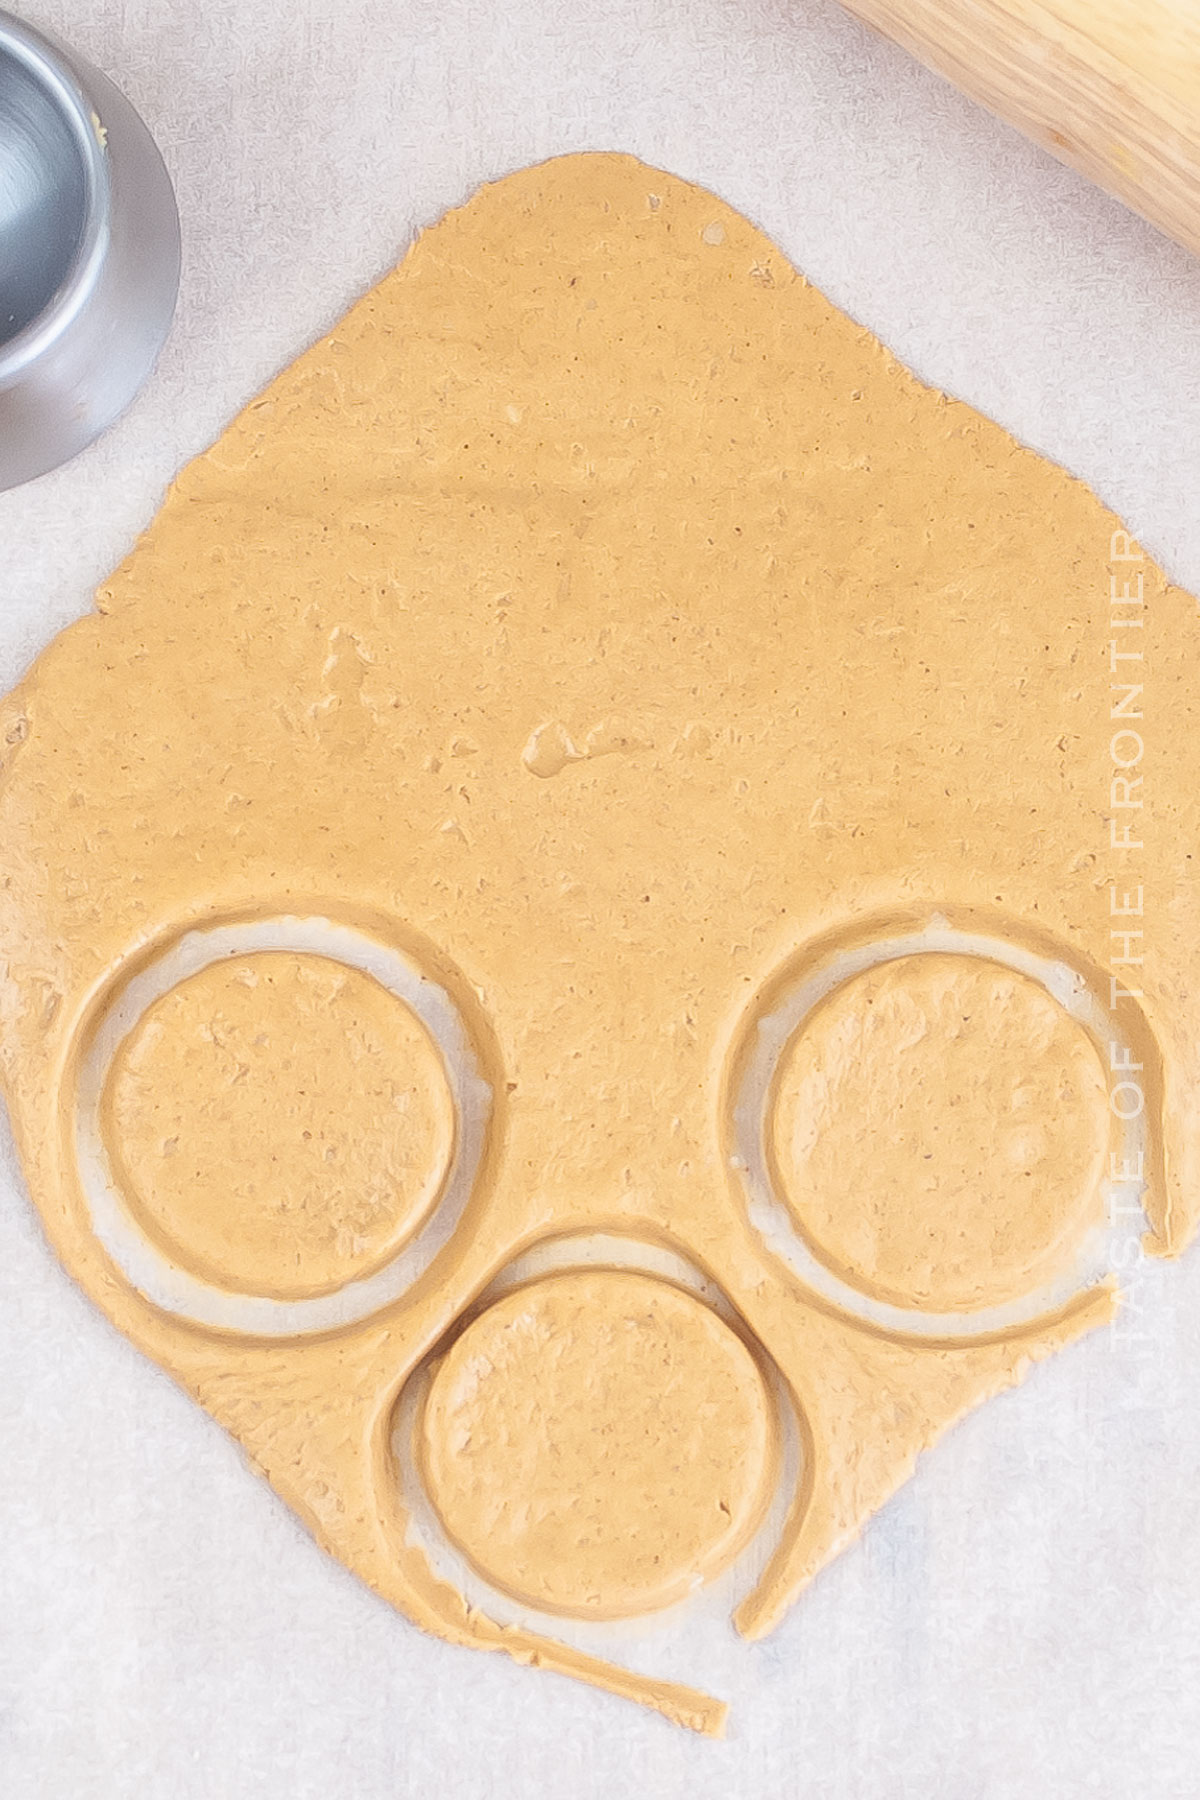
- Remove the peanut filling and separate it into 10 balls. Flatten the balls into pucks and place them in the muffin liner on top of the chocolate.
- Top each cup with the remaining melted chocolate and tap the pan to smooth out the top. Make sure the cups are level and the peanut butter is covered.
- Set aside to allow the chocolate to harden. Place it in the refrigerator to speed up the process.
- Remove the cups from the liners and enjoy.
Kitchen Supplies You’ll Need for White Chocolate Peanut Butter Cups
It really doesn’t get much simpler than this. I love my little silicone muffin liners for this. You can either put them into a muffin pan or just leave them free-standing. The white chocolate looks so amazing once you’ve poured it in!
- Microwave-safe bowl
- Silicone muffin liners or mini muffin tin
- Spoon or spatula
What to Serve With White Chocolate Peanut Butter Cups
You know the drill. I’m sure you’re familiar with what you would normally eat with your yummy peanut butter cups. Just go with the flow, people!
- A glass of cold milk or almond milk.
- Alongside a platter of other homemade candies for a delightful dessert spread.
- Coffee or hot cocoa for a cozy treat session.
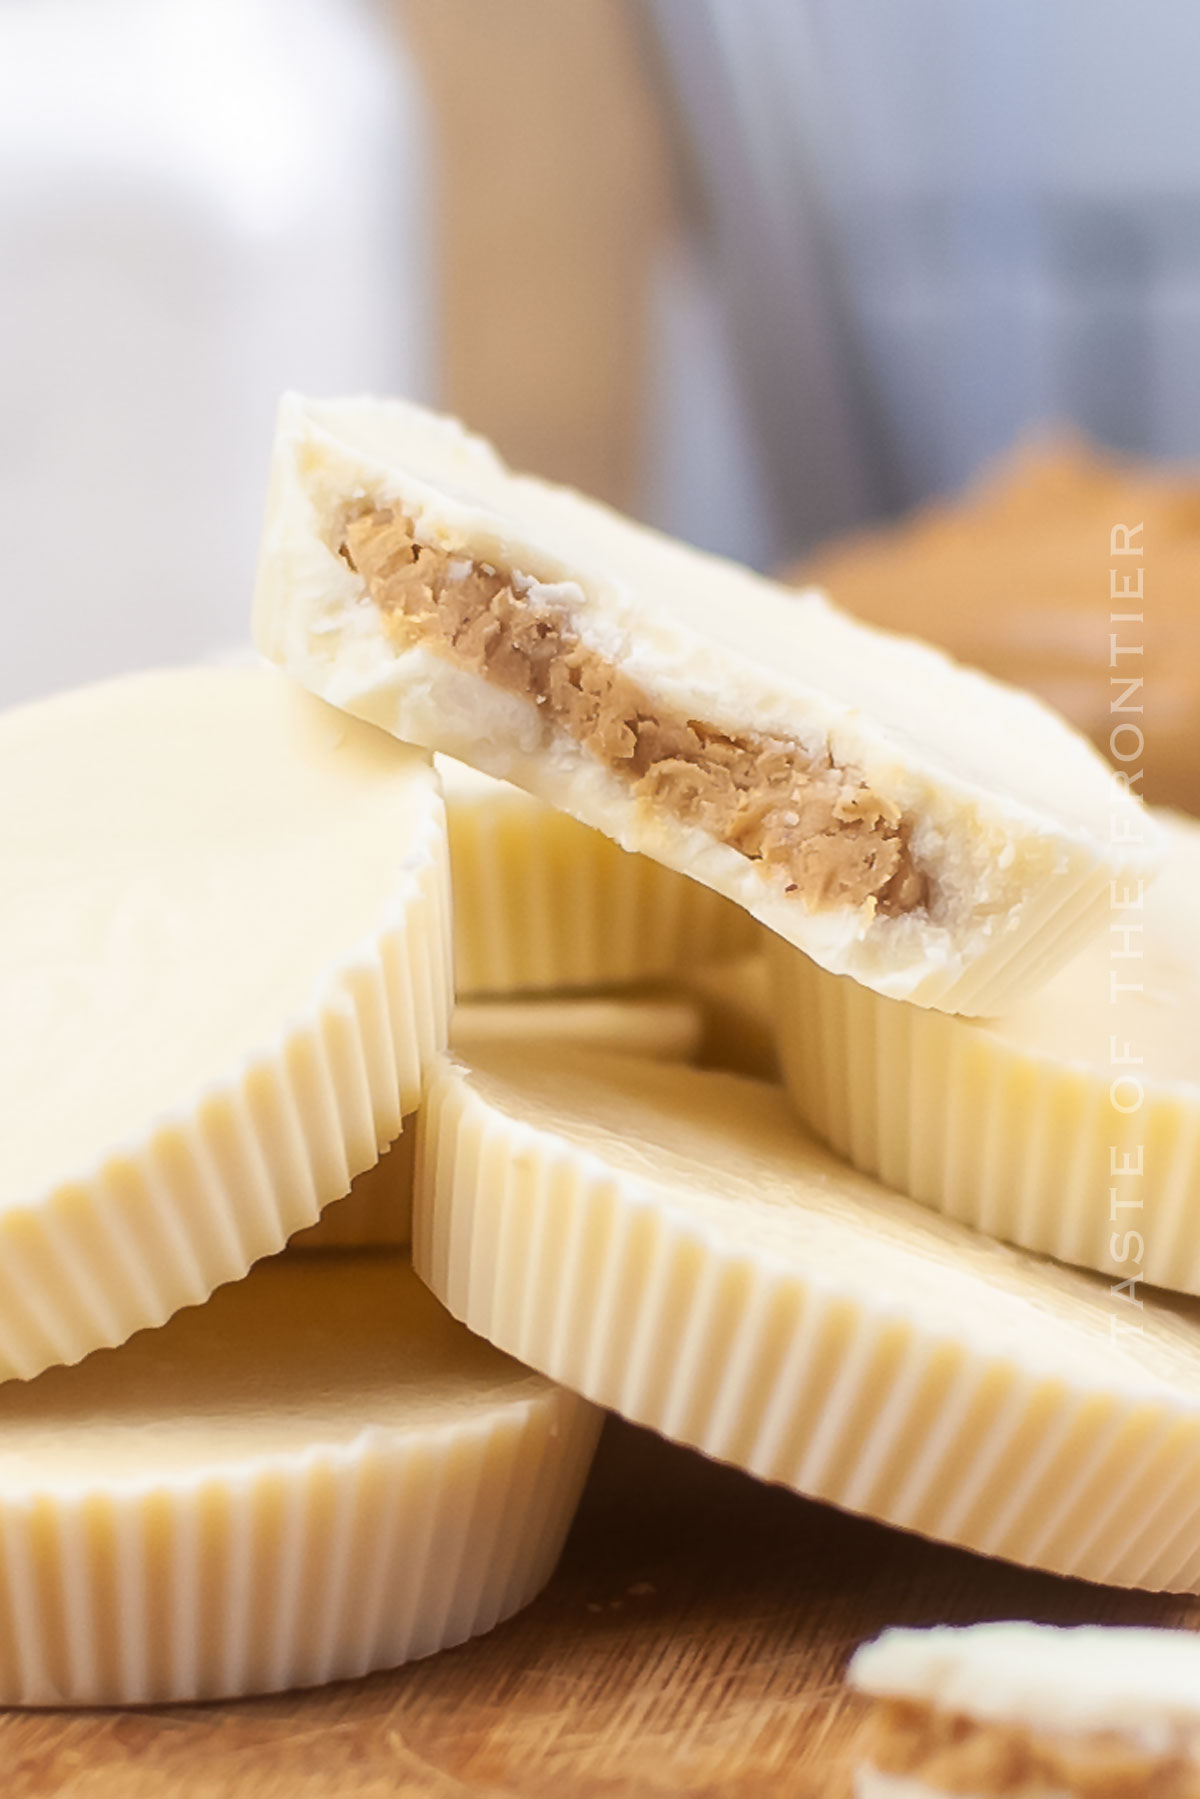
Why You Should Make White Chocolate Peanut Butter Cups
Chances are good that you have all the main ingredients for this. You could even make them in mini cupcake wrappers! So bust out your favorite peanut butter and let’s get rolling!
- Personalized Flavors: Crafting homemade cups allows you to tweak ingredients to your preference.
- Healthier Option: You can opt for organic ingredients, such as organic peanut butter or organic vanilla extract, making them healthier treats.
- Perfect for Gifting: Nothing says love like homemade candy.
- Affordable: Save on the delivery fee or store markup by making these favorite treats at home.
- Fun Activity: A great way to bond with kids or friends during a baking session.
Variations and Add-Ins for White Chocolate Peanut Butter Cups
You might even try these with a few white chocolate chips pressed into the top! The possibilities are endless, and I highly recommend experimentation!
- Vegan Delight: You could try out vegan white chocolate and vegan peanut butter.
- Nutty Twist: Add chopped nuts for an added crunch.
- Flavored Fillings: Incorporate natural flavor extracts into the peanut butter mixture for variety.
- Dark Desire: Mix in some milk chocolate with the white chocolate for a two-tone effect.
If you love this easy peanut butter cup recipe, you’re going to love these other copycat recipes too. Please click each link below to find the easy, printable recipe!

More Great Peanut Butter Treats
Peanut Butter Cake with Maple Frosting
Easy No-Bake Peanut Butter Balls
Chocolate Chip Peanut Butter Bars
If you love this recipe for Homemade Peanut Butter Cups as much as I do, please write a five-star review, and be sure to help me share on Facebook and Pinterest!
CONNECT WITH YUMMI HAUS!
Be sure to follow me on my social media, so you never miss a post!
White Chocolate Peanut Butter Cups
Ingredients
- ¾ cup confectioner’s sugar
- ¾ cup peanut butter – creamy
- 1 teaspoon vanilla extract
- 3 cups white chocolate bark or candy melts – grated if using bark
- 2 tablespoons vegetable oil
Instructions
- Combine the sugar, peanut butter, and vanilla in a mixing bowl, mixing until a dough forms. Chill in the refrigerator while you melt the chocolate.
- In a microwave-safe bowl, add the white chocolate bark and oil. Microwave for 45 seconds. Remove and mix. If clumpy and not smooth, microwave in 15-second intervals while mixing between melting. Mix until smooth.
- In silicone muffin liners, add 1 tablespoon of the melted chocolate. Tilt liners to coat the sides up the wall of the liner.
- Remove the peanut filling and separate it into 10 balls. Flatten the balls into pucks and place them in the muffin liner on top of the chocolate.
- Top each cup with the remaining melted chocolate and tap the pan to smooth out the top. Make sure cups are level and peanut butter is covered.
- Set aside to allow the chocolate to harden. Place in the refrigerator to speed the process up.
- Remove cups from the liners and enjoy.
Notes
Equipment
- silicone muffin liners or pan
Nutrition
Nutritional information for the recipe is provided as a courtesy and is approximate. Please double-check with your own dietary calculator for the best accuracy. We at Yummi Haus cannot guarantee the accuracy of the nutritional information given for any recipe on this site.



Share Your Thoughts