Vintage Soap Canister Cricut Tutorial that’s easy to make. What a great way to decorate your laundry space with fun, vintage inspired storage.
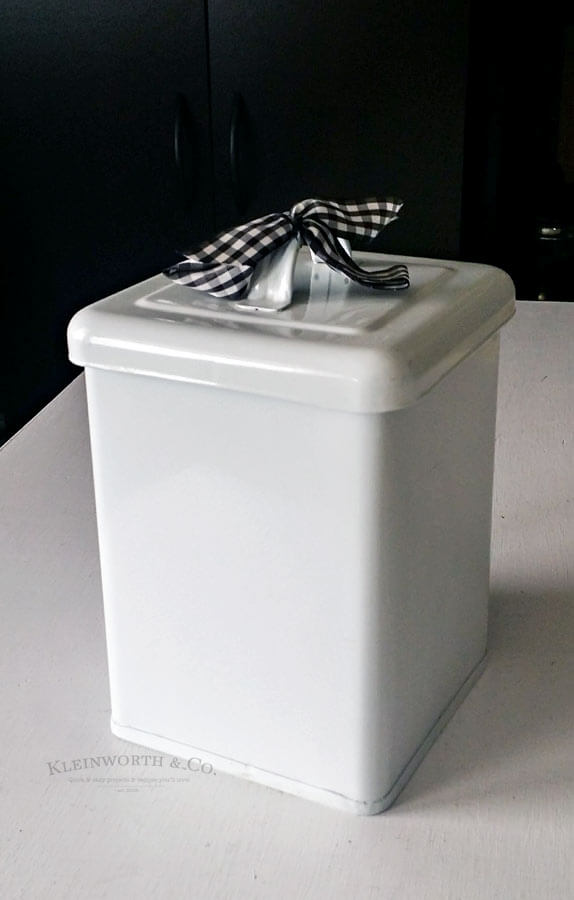
If you have been following along here for a little while now, you know that we jumped into a laundry room makeover on New Year’s Eve. With all the building & changing & painting of things, it took us the better part of January to knock it out. It was a mega project that I’m thrilled to be wrapping up. I love walking in there & having everything tidy & clean & organized now that everything has a place & purpose. The best part was the decorating once we got the bigger pieces in place. I had some vintage pieces I had been holding onto for a while, specifically for this project. Other things I was able to use by “shopping” my home. One item was this white, vintage looking canister. I decided I would add some text & give it a vintage feel to match the space. I used my new Cricut Explore Air™ 2 machine that I am SO EXCITED about! Check out my Vintage Soap Canister Cricut Tutorial below!
Vintage Soap Canister Cricut Tutorial
This post contains some affiliate links. Click here to read my full disclosure policy.
Supply List
Cricut Explore Air™ Machine + Tools & Mats Set
Canister
Vinyl
I chose Cricut because my mom had the first Cricut when they very first came out. We were both so excited about all it could do way back then & I knew it was even better now. Since I inherited all her machines & cartridges I knew a new machine would be compatible with that. I was able to insert all her cartridges & upload all those files to my account. That was really cool. Not to mention all the files available in the design space. It really goes without saying, I am so excited about my Cricut Explore Air 2. I also really love that it’s connected via Bluetooth to my computer. So I can design at my desk or on my tablet & my machine can stay plugged in on my studio table where I have plenty of space to work. It’s a huge plus for me!
Vintage Soap Canister Cricut Tutorial
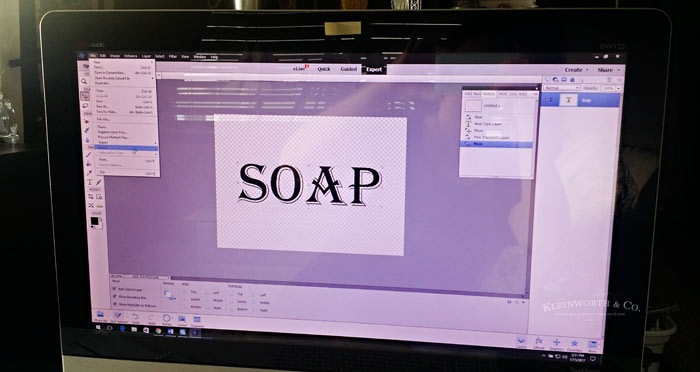
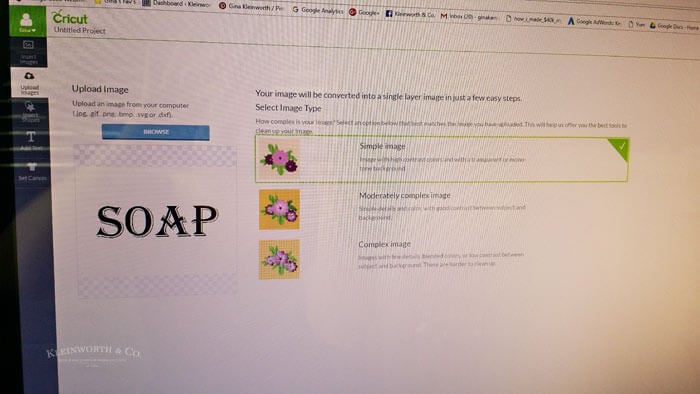
The first thing to do if you are creating your own image is to just create & save as a JPG. It’s super simple! I made mine in photoshop & the hardest part was choosing a font. You can skip this part if you are downloading my image here to use or if you are choosing an image from the design space.
Then you upload into the design space by choosing a new project. Pick your image & upload it to the space. For this you can choose a simple image because it’s just text. This is where you can also choose an image from the Cricut Design Space Image Library that includes over 60,000+ AWESOME images to choose from. That sure makes it easy to start designing your first project in no time at all! Click to select the image that you want & the software will insert it into a new project document & walk you through the whole process. I love the versatility of being able to choose an image from the design space, use a cartridge or make my own custom design.
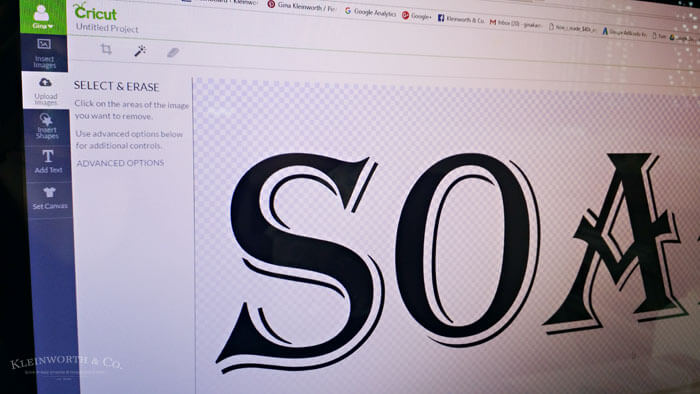
Select the areas you want to erase or the areas you won’t need once you separate your cut from the rest of the vinyl.
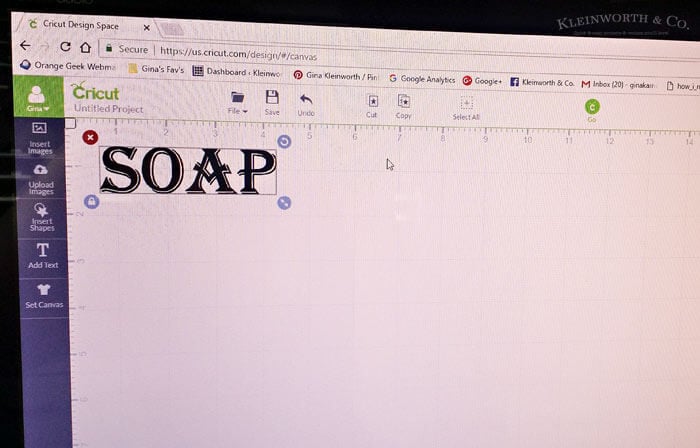
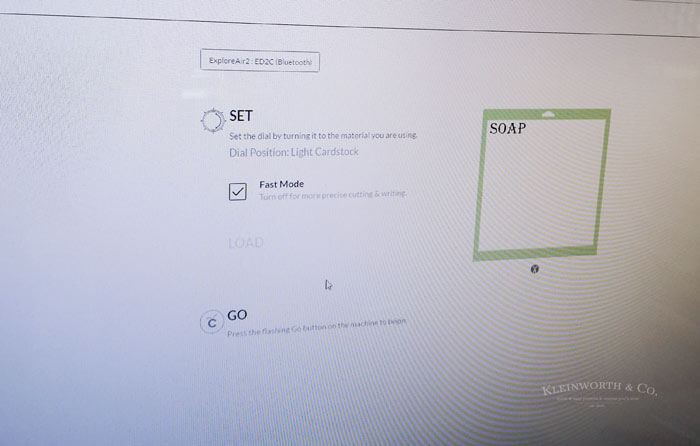
Position your image on the screen to match the area & size of the vinyl you are cutting. This space will match your cutting mat.
Vintage Soap Canister Cricut Tutorial
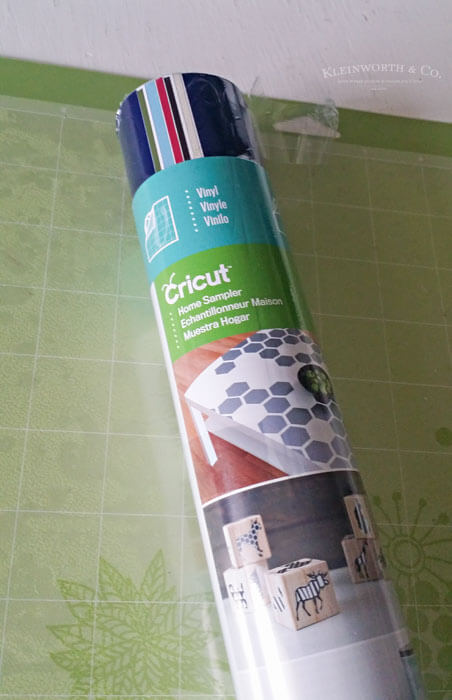
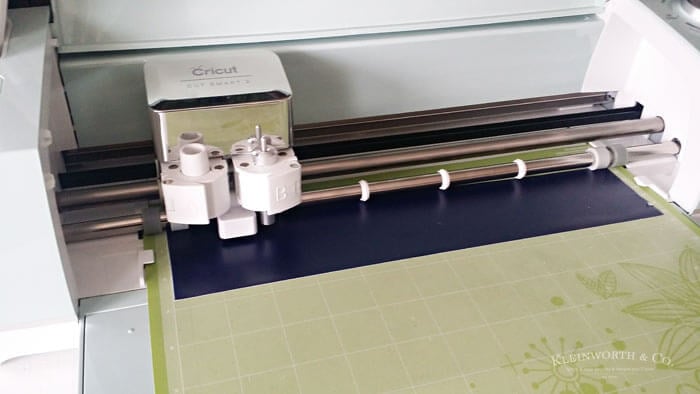
Pick your vinyl & position it on your cutting mat.
Select fast mode & make sure your machine dial is set for vinyl. Press GO!
Away it goes – this cut the vinyl so quickly!
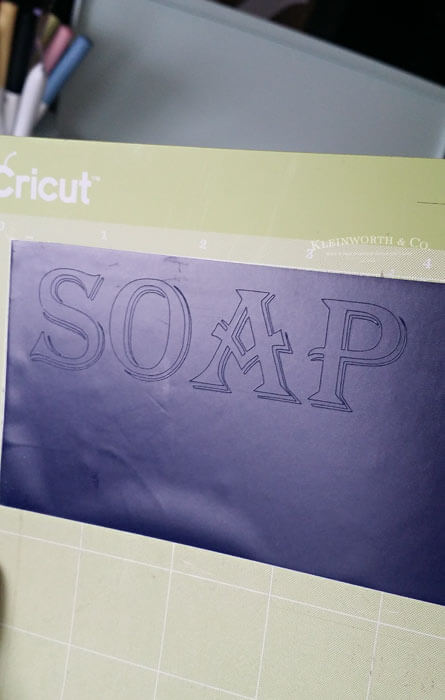
Here’s what it looks like once it’s done cutting.
Vintage Soap Canister Cricut Tutorial
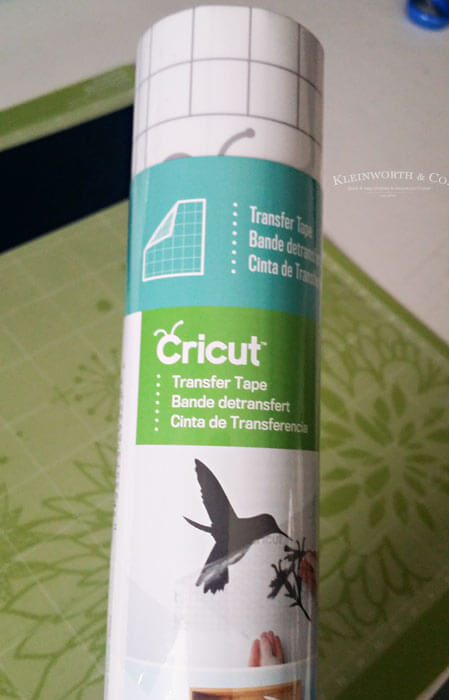
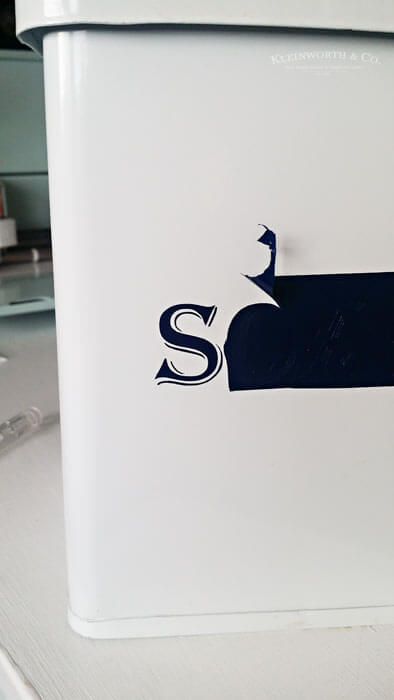
Next, you need to get it off the cutting mat & onto your canister. Because the cuts were detailed I decided to weed the vinyl after I got it onto the canister. Place a piece of the transfer tape over the top of the cut. Then peel the back of the vinyl off to expose the sticky side. Place the vinyl where you want it to be & rub to really adhere it to your canister. Carefully remove the transfer tape.
Using your weeding tool, carefully remove all the unwanted vinyl from the cut. This can be time-consuming, be patient & work slowly.
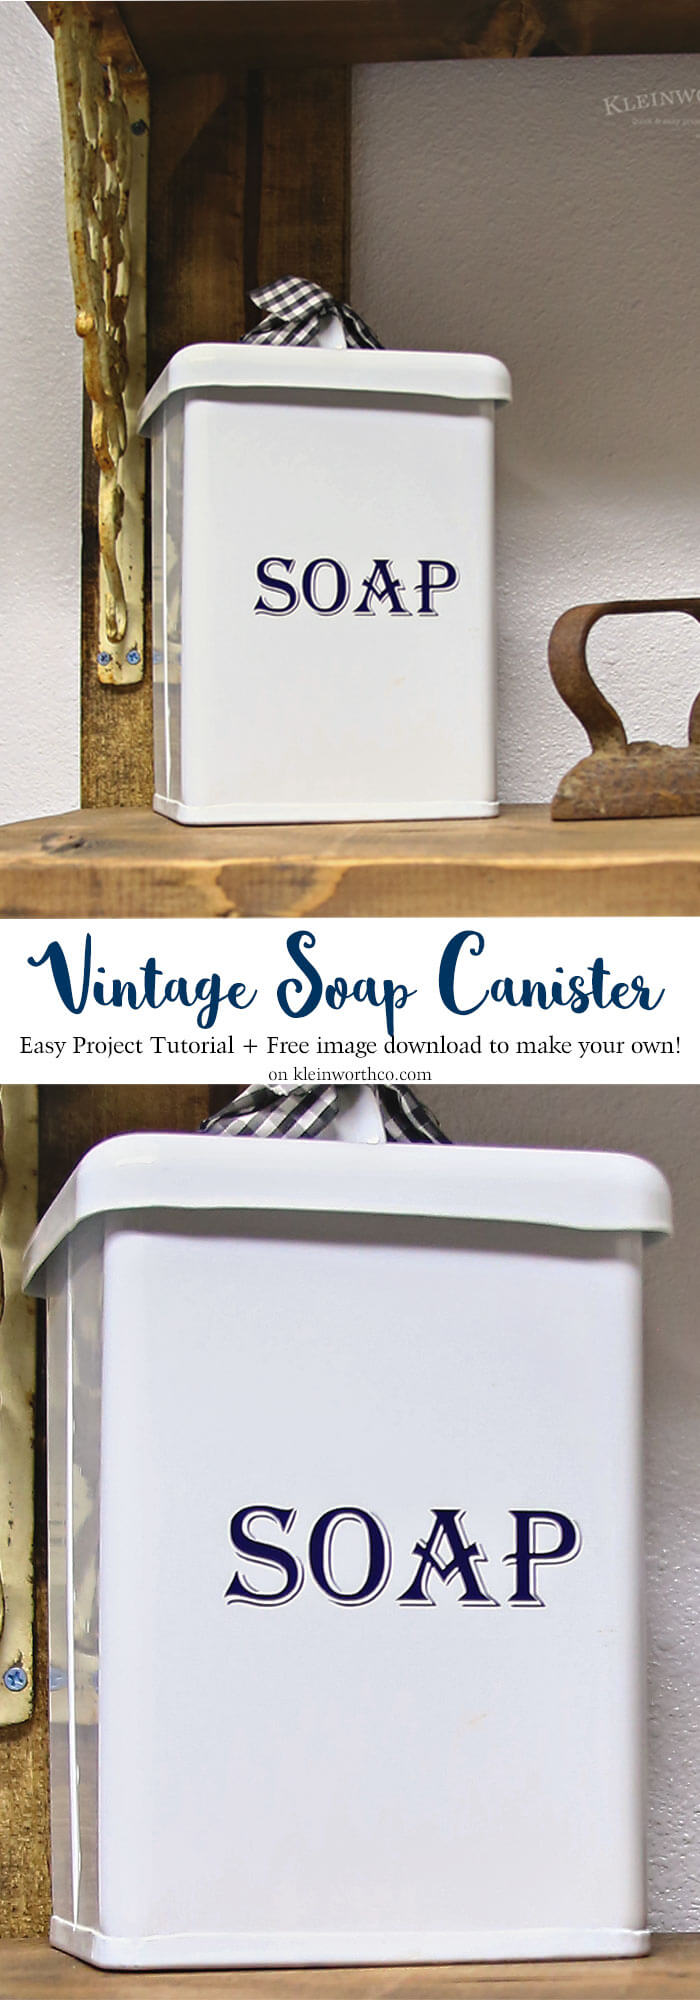
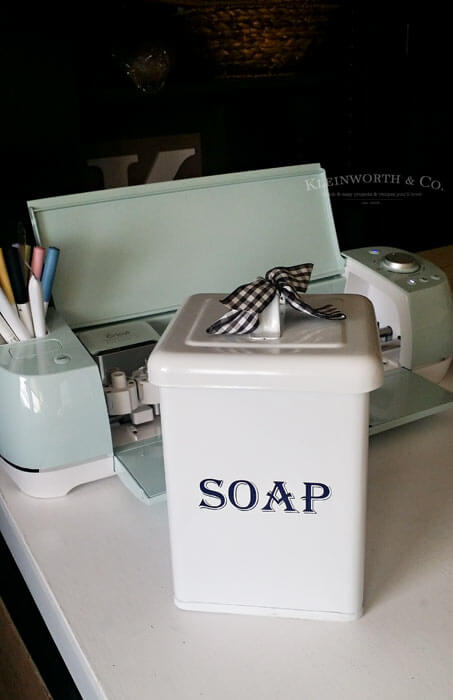
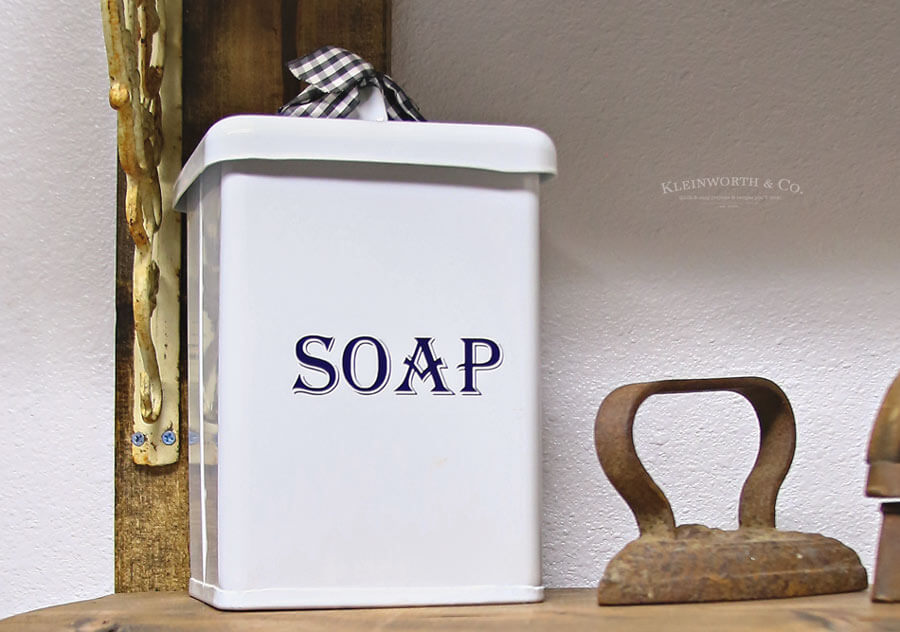
There it is – reminds me of my vintage bread bin. I love how it turned out & how easy it was to create.
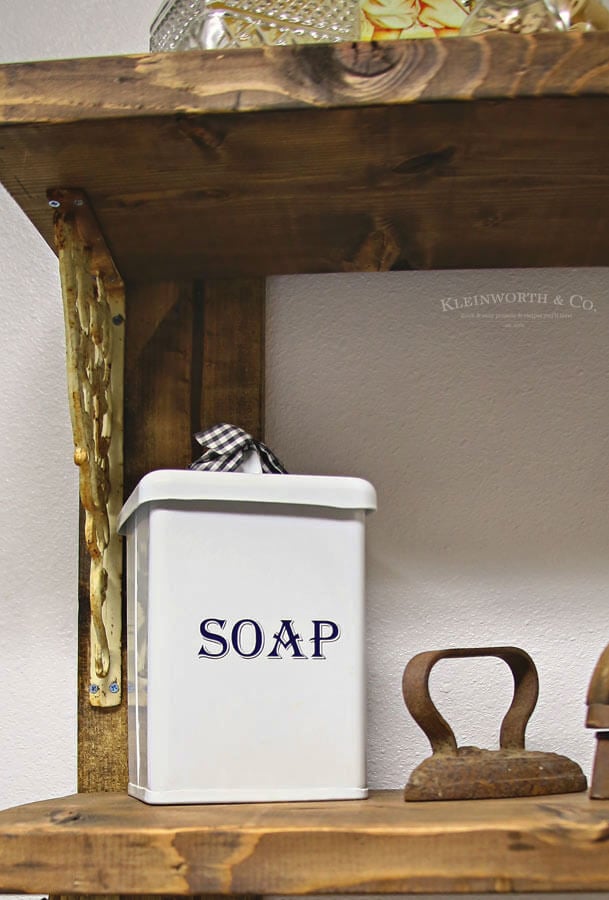
It looks awesome next to my vintage cast iron irons.
Perfect laundry room storage for all those little things like clothes pins, extra buttons or whatever else you need to hide in a pretty little container.
I had so much fun making this project! I am loving my new Cricut Explore Air™ 2 machine
Vintage Soap Canister Cricut Tutorial
Looking for more fun projects for the home?
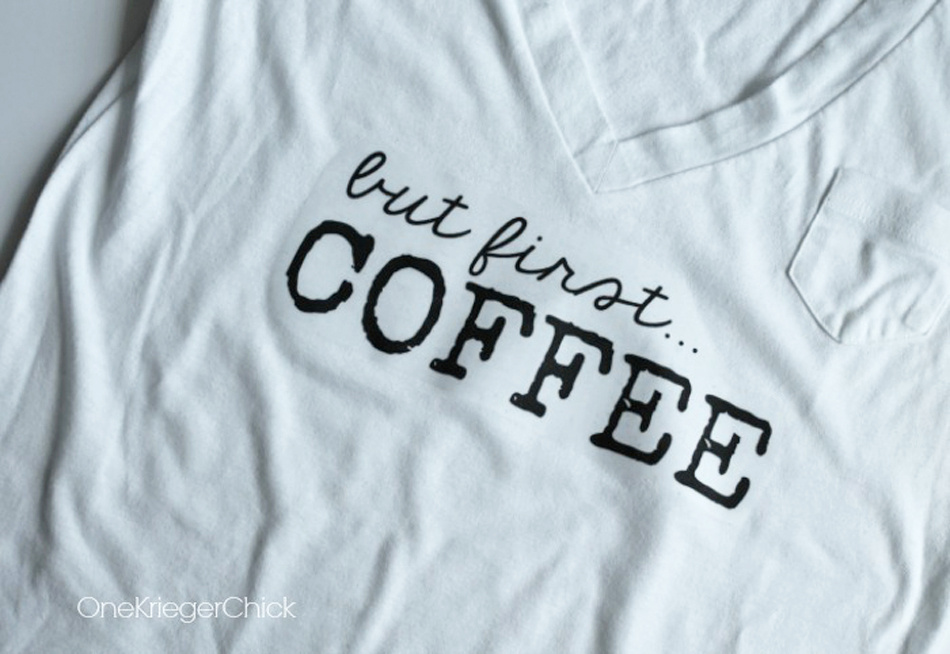
But First….. Coffee – DIY T Shirt
Don’t miss these great ideas from these bloggers….
Cricut Explore Air 2 vs the Silhouette Cameo 3 from Create Craft Love
Pencil Pouch from Happiness is Homemade
To see where I am linking today- visit HERE
This is a sponsored conversation written by me on behalf of Cricut. The opinions and text are all mine.



How fun is that!
So pretty! Now all I need is a canister and a Cricut! ☺️