This post is part of a social shopper marketing insight campaign with Pollinate Media Group® and Glad, but all my opinions are my own. #pmedia #pressnsealhacks
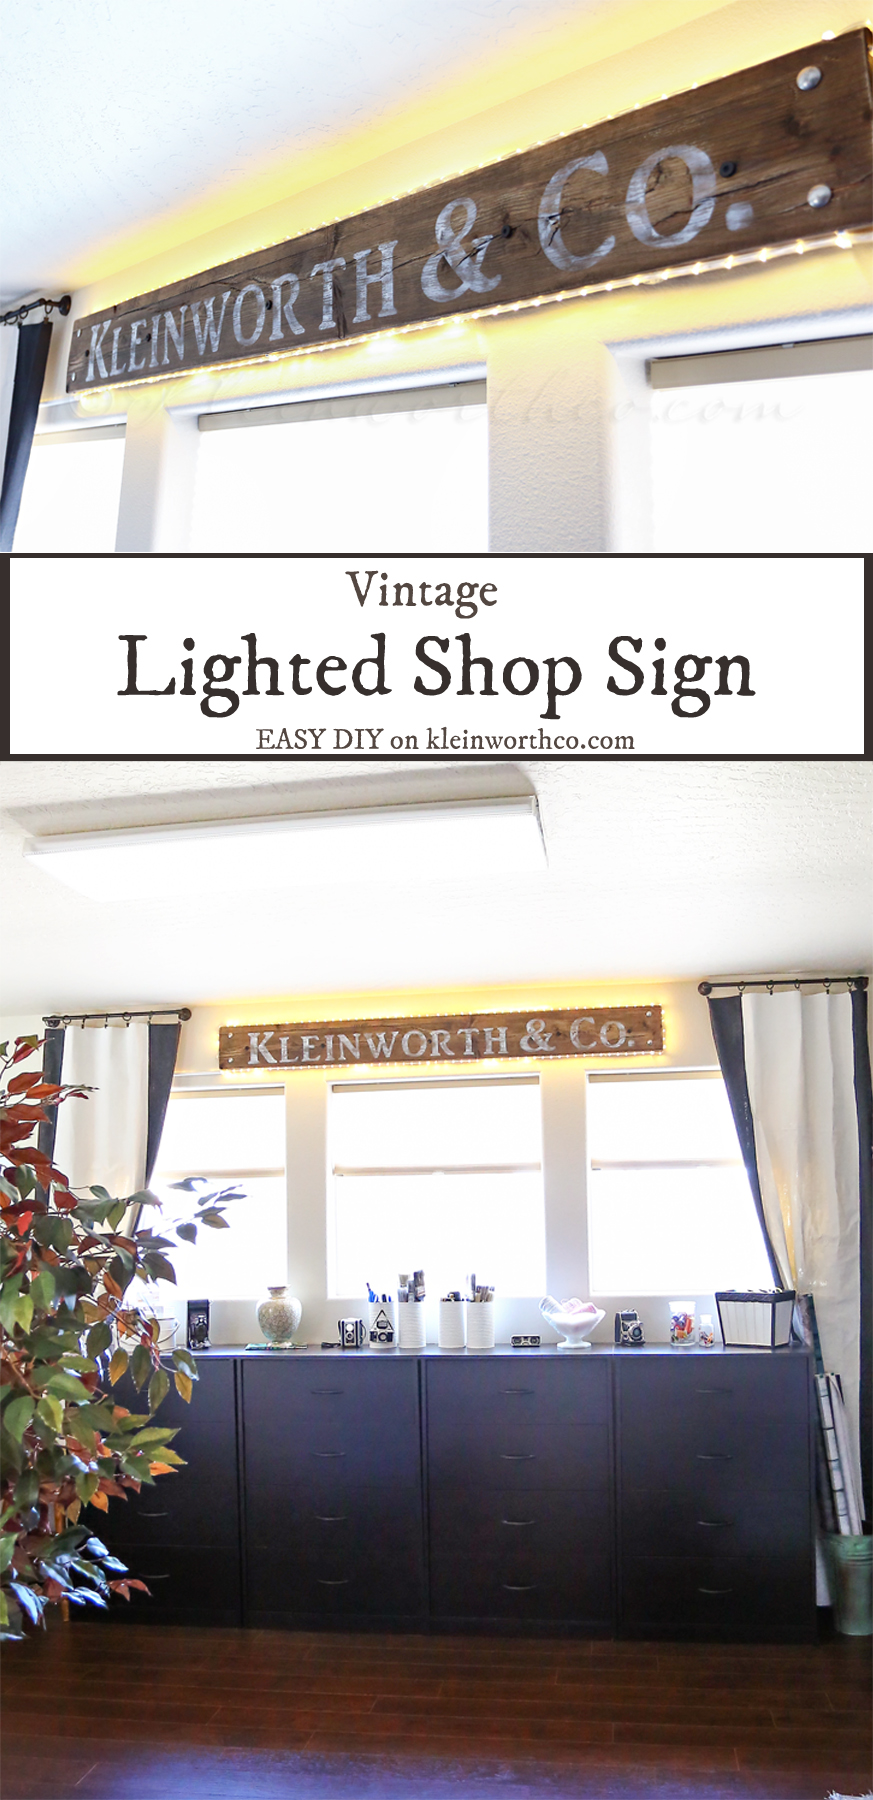
This Vintage Lighted Shop Sign is simple to make. No cutting machine needed. It’s as easy as press, cut, paint & sand & you have this great personalized, vintage inspired shop sign.
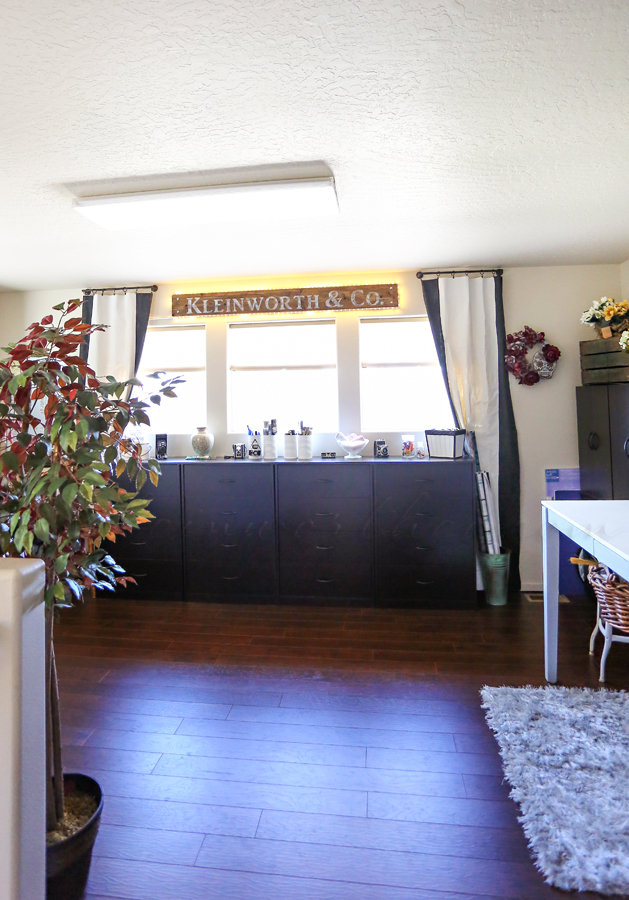
Remember last week when I posted an image on Instagram saying I was working on a SUPER FUN PROJECT? Well, as I promised, I’m sharing the tutorial here with you today. You see, back when we first moved in to our house last summer I have been wanting to add a “shop” style sign to my studio space. But since I don’t have a cutting machine the project has been put on hold for a good long while. I have seen many tutorials floating around using Glad Press’n Seal & decided I would give it a go. I’m so stoked with how it turned out! Scroll on down & check out just how easy this project came together.
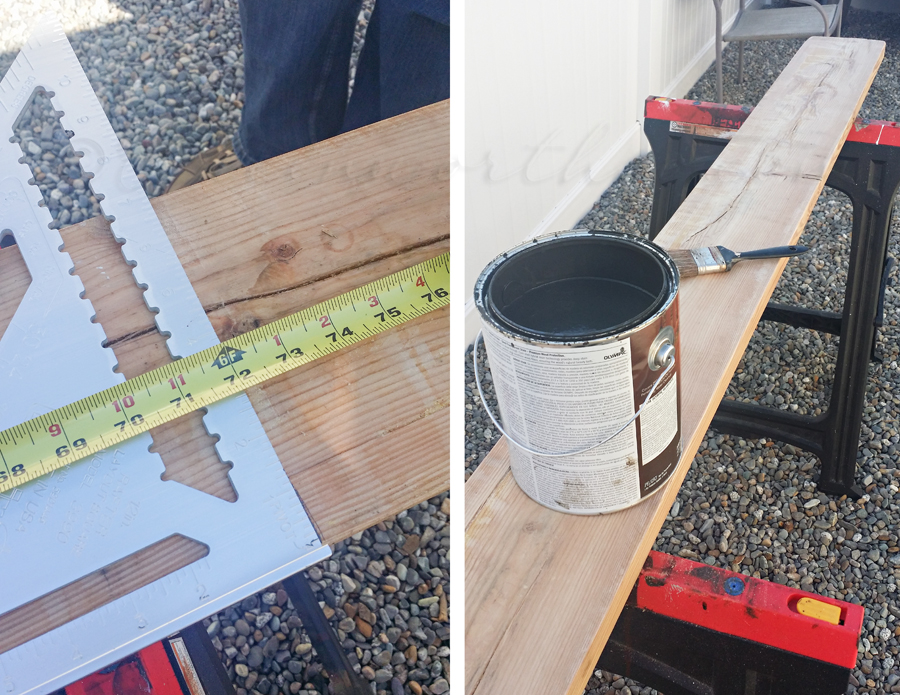
I picked a board from my scrap wood collection in the shed & measured & cut to the length I needed.
Sanded it down & gave it a coat of deck stain. Why deck stain?
Because this particular one shows the grain of the wood & the color gives the perfect weathered look with just one coat.
Once it was dry I brought it up to my studio to get to the fun part.
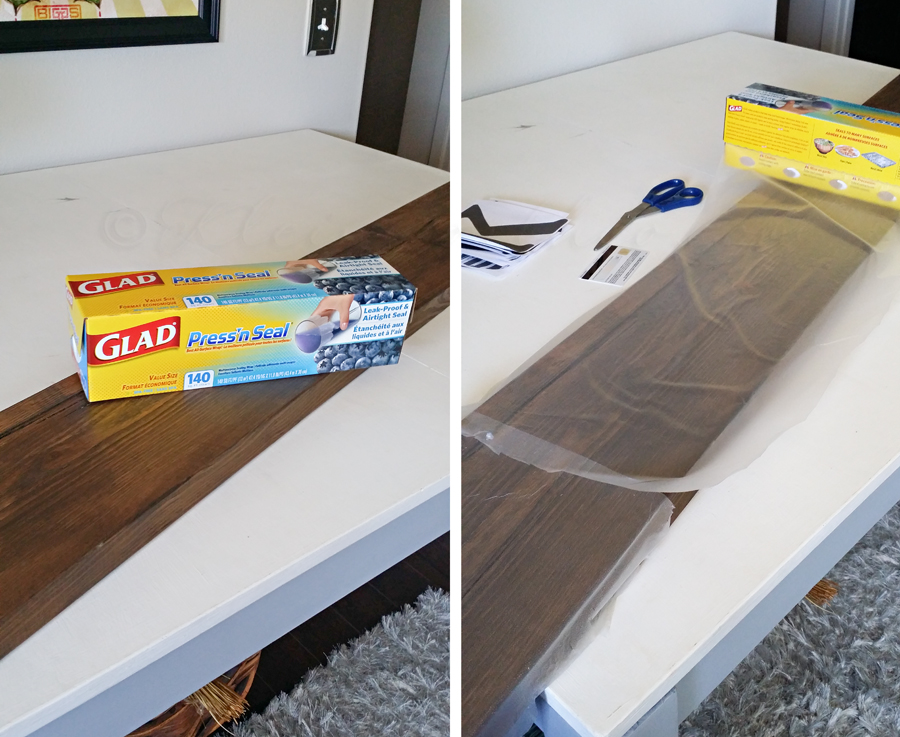
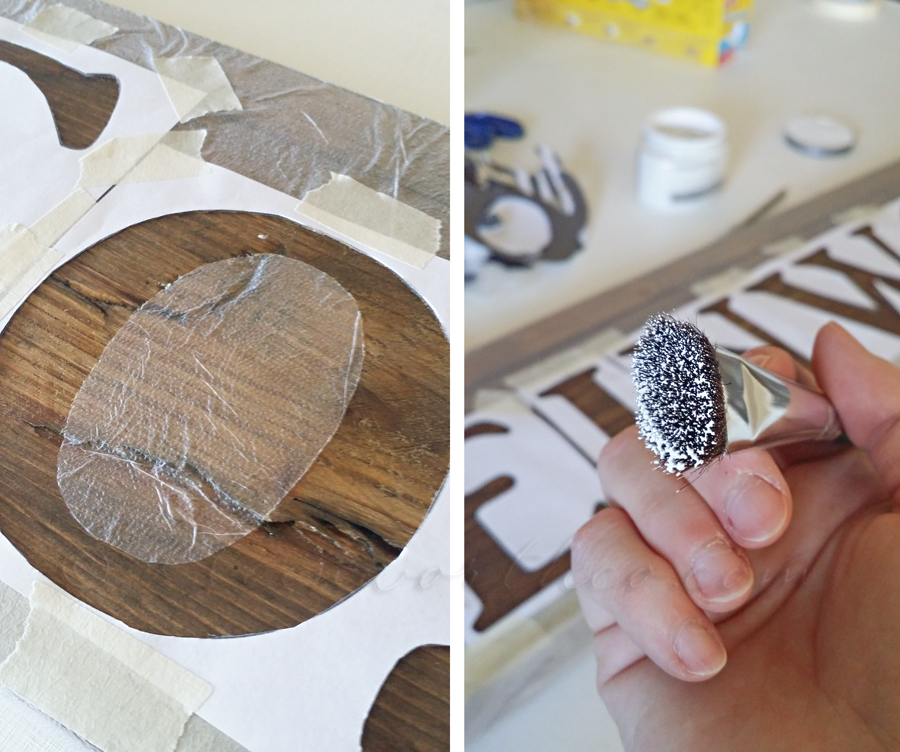
First I laid out the Glad Press’n Seal over the entire board & used a plastic card to scrape over the top to adhere it to the board.
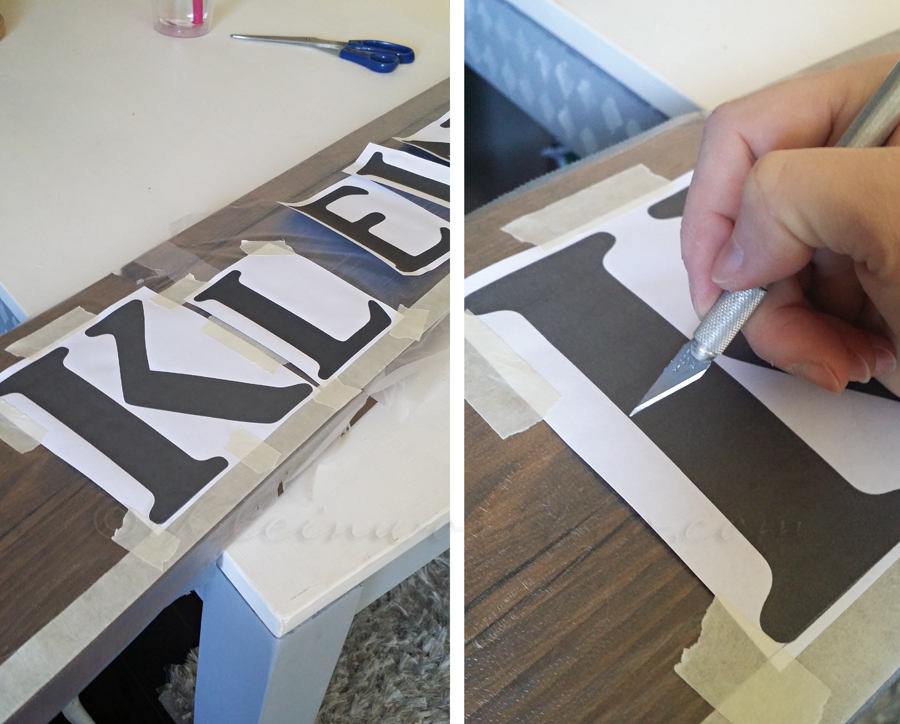
I printed out my letters in the font of my choice & taped them down on top of the board making sure they were straight & evenly spaced.
Then I took my x-acto knife & carefully cut each letter out- making sure I was pressing hard enough to cut both layers.
You can see here I have the stencil left on the board & we are ready to paint.
I used a stippling brush with very little paint & stippled the brush (pouncing motion) over the exposed wood.
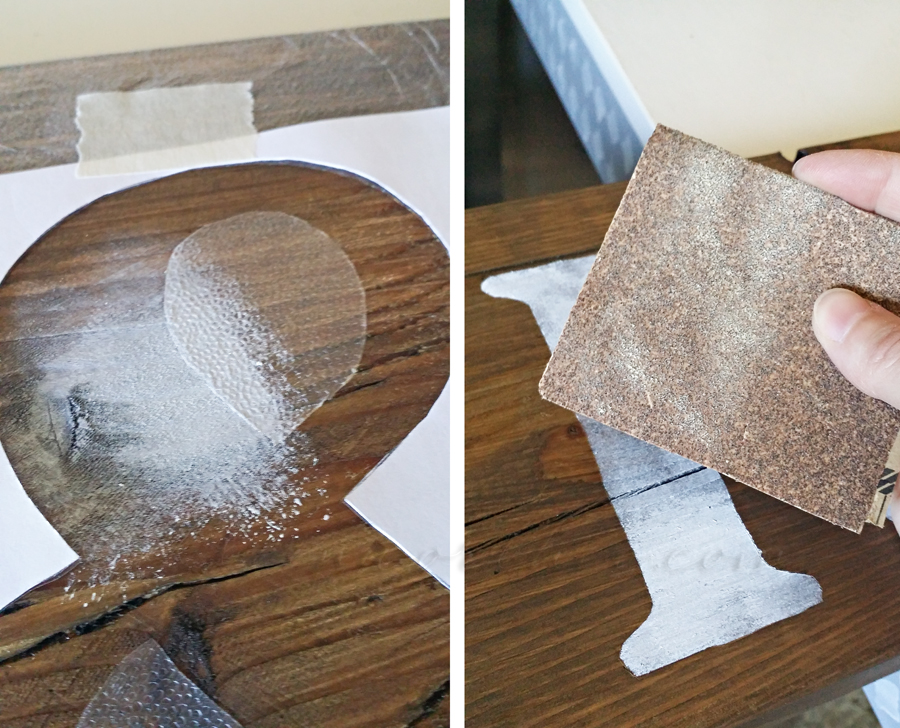
You can see here what it looks like when you stipple the paint. You have some areas that are lighter & darker than others. This is what you want as it makes the distressing so much easier when it already looks worn off in places.
But we want it even more worn, so I took some sandpaper & gave it a quick rub over the letters when they were dry.
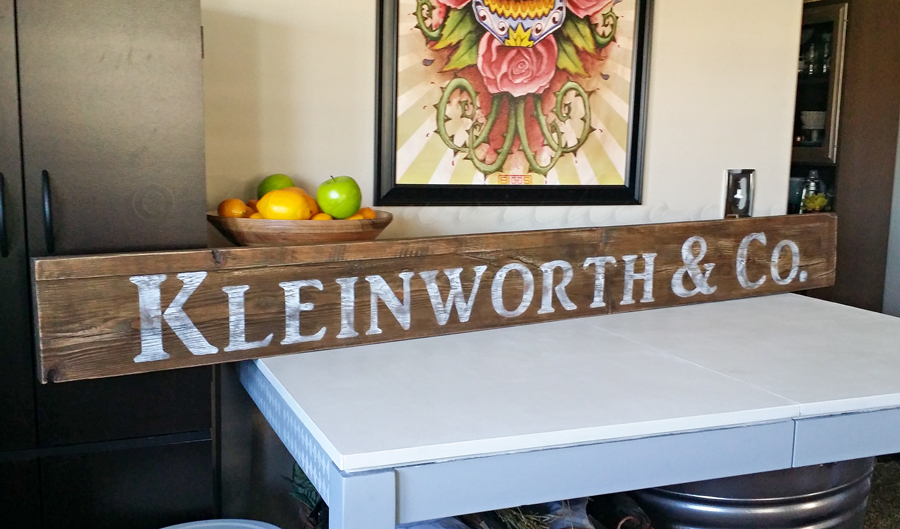
Here’s what it looked like before I took it back to the garage for the lights.
I could have just left it like this as I love how it looks. However I really wanted to add a little more “wow factor”.
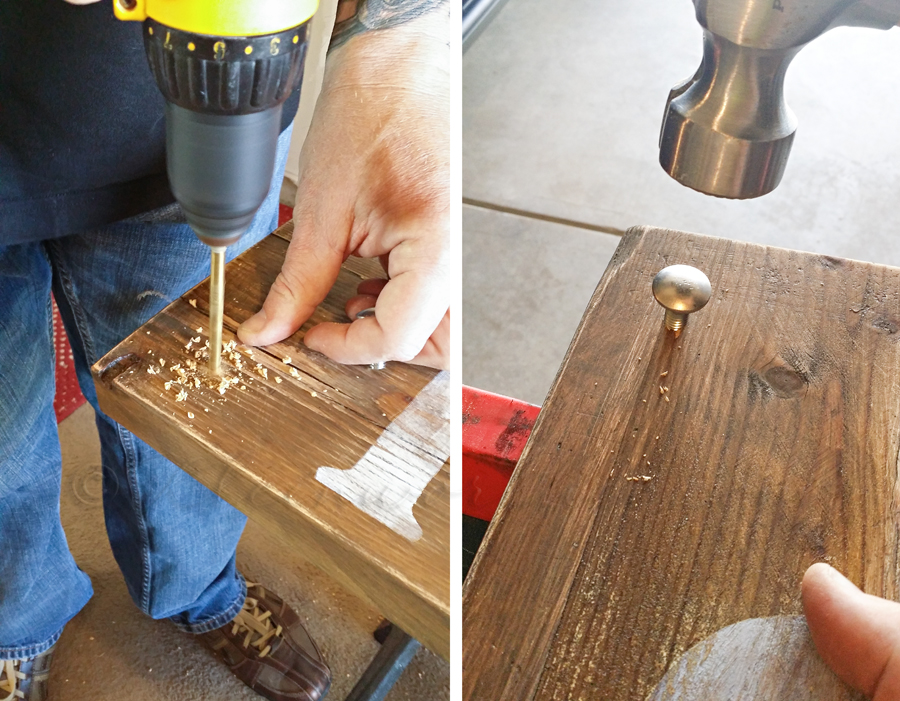
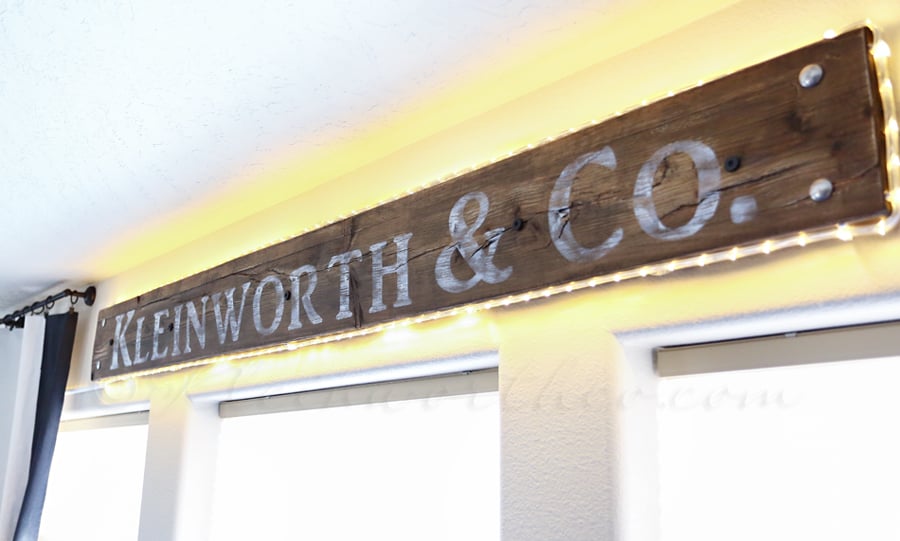
I wanted it to look like it was riveted to the wall. So we drilled some pilot holes & pounded in some bolts in the corners.
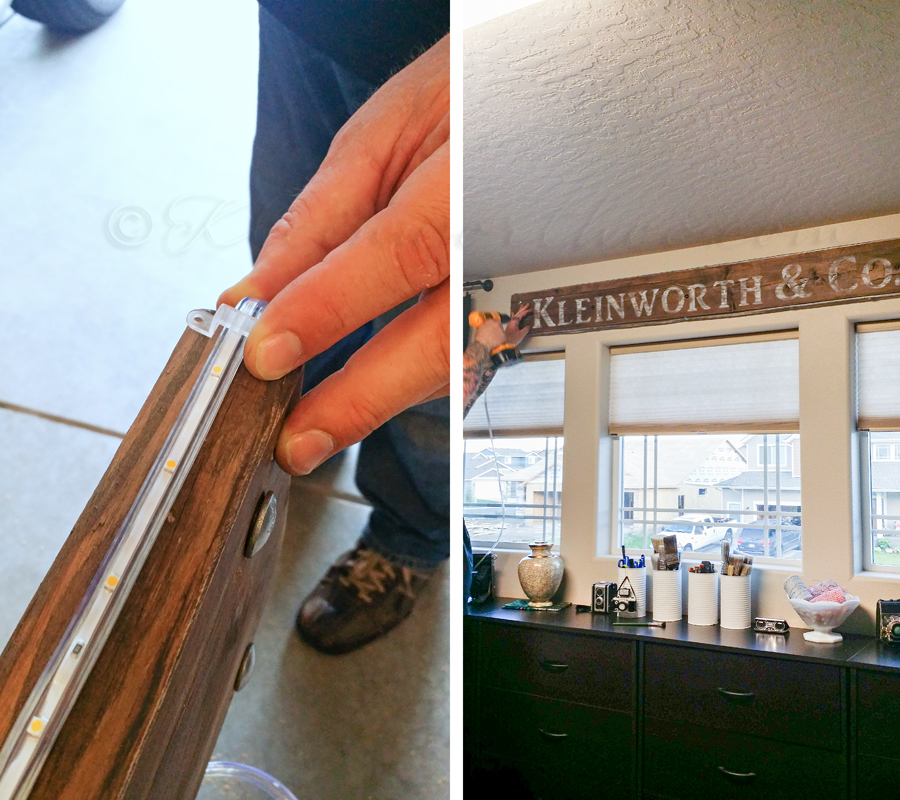
We picked up a strip of flat LED rope lights while at Walmart picking up the Glad Press’n Seal & attached it to the edge of the board.
Then we used some very large screws to attach it to the wall between the curtains.
We used a cord keeper to direct the cord down the wall where we wanted it & that’s it.
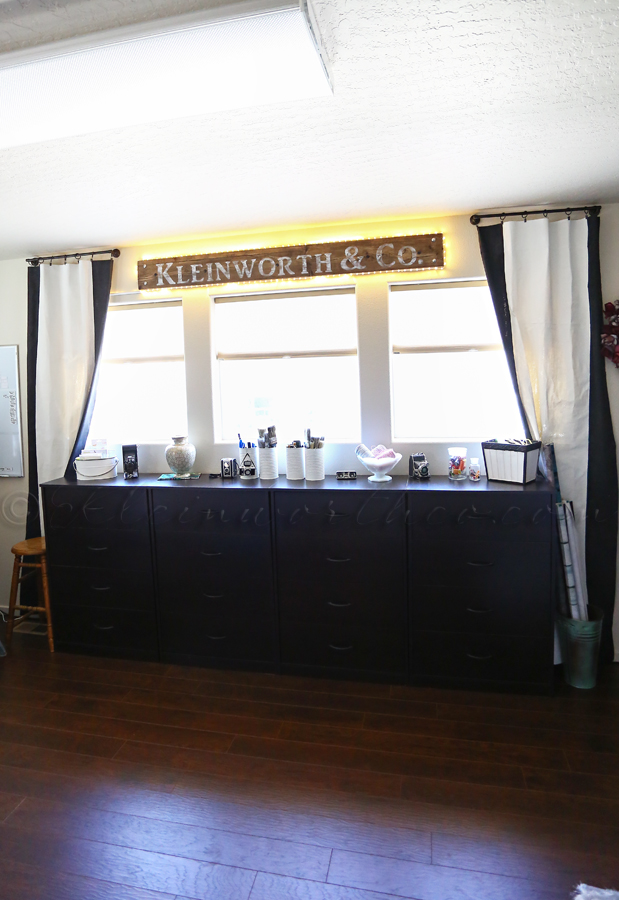
Here it is!!! Adorning my largest wall in my studio. It’s just what that space needed & I absolutely love it!
It sort of reminds me of the old signs we would see in those old rustic bars in tiny mining towns when we lived outside of Tahoe.
So what would you make with Glad Press’n Seal?
Visit them on their Website or on Pinterest for more project inspiration!
Want to see more projects for the home?
One Desk- Three Great Uses
To see where I am linking today- visit HERE



That looks so great over the shelves!
I love how this turned out. looks beautiful.
can you explain what the press n seal did for this project? the cardboard is your stencil, which is tapped down, so what does the press n seal do?
also curious about cutting the stencil out on the board, I would think it would be easy to cut thru to the wood.
Hi Tina – the Press’n Seal is actually the stencil & is stuck down to the board keeping bleed-through from happening around the edges & on those areas in certain letters like the “O” & the “&” symbol where there isn’t any paper. The letters were just cut out of paper, not cardboard, & therefore move & bend at times which would have allowed paint to get into areas I didn’t want it to be. The only reason I didn’t remove them from the board before painting was the tape holding them down was also pulling up the Press’n Seal – so I just left them there to preserve my stencil. But it worked out well having both to make the edges as clean as possible. As for cutting the wood – I’m sure it left a slight indentation but I didn’t notice it once I removed everything from the board. The knife is so thin that any line from cutting isn’t visible. Thanks for asking!!!
I love this!