This is a Sponsored post written by me on behalf of Elmer’s ProBond Advanced for SocialSpark. All opinions are 100% mine.
The other day I mentioned to you all that we are building a new home. Because it's semi-custom there are things that just sort of "come with the house" that I'm not all that in love with. It's been a wonderful process so far & we have had quite a bit of input on how we want things. But then there are other things that are far too "generic" for me. I am one that really likes to make all aspects of my home unique to who I am. I don't like to follow trends or the crowd & that shows in my decorating & my overall home choices.
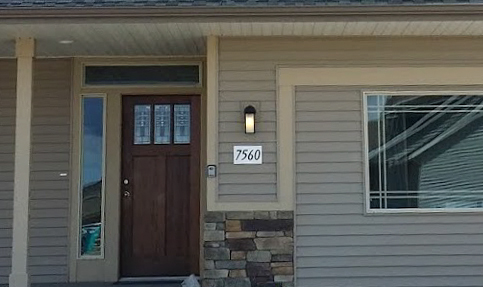
One of those things that just sort of "comes with the house" is the house numbers. This image is of the model home. You can see the numbers there- plain black & white. To make it worse – it's a plastic plate with the plastic numbers nailed to it. Well, for me- this just won't suffice. So I set out to create my own that we will place at the end of the driveway when we complete our landscaping.
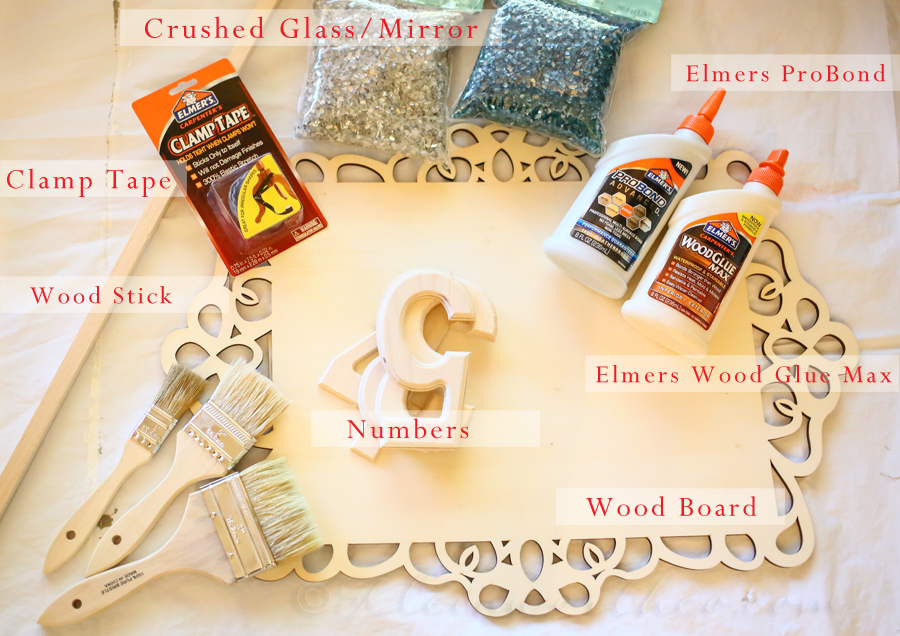
I started with a scrolled board, Elmer's ProBond Advanced, Elmer's Wood Glue Max, 2 bags of mirror pieces, a wooden stick & numbers of the house.
I like working with the Elmer's Wood Glue & ProBond Advanced because it's Elmer’s strongest and safest multi-surface glue. It's able to provide strength, durability, and ease of use with a clean finished appearance. I love that it provides Home Improvers the ability to bond Mixed Materials such as wood to metal, glass to concrete, or ceramic to drywall without the messy residue often left behind from a polyurethane glue.
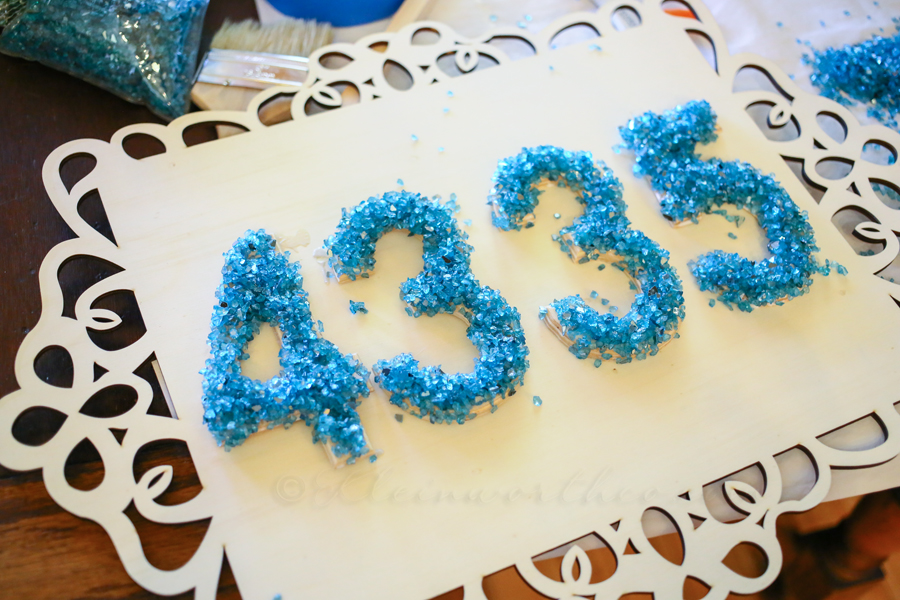
I started by coating the numbers in the Elmer's ProBond Advanced & covering them with the turquoise glass. I set them aside & waited for them to dry.
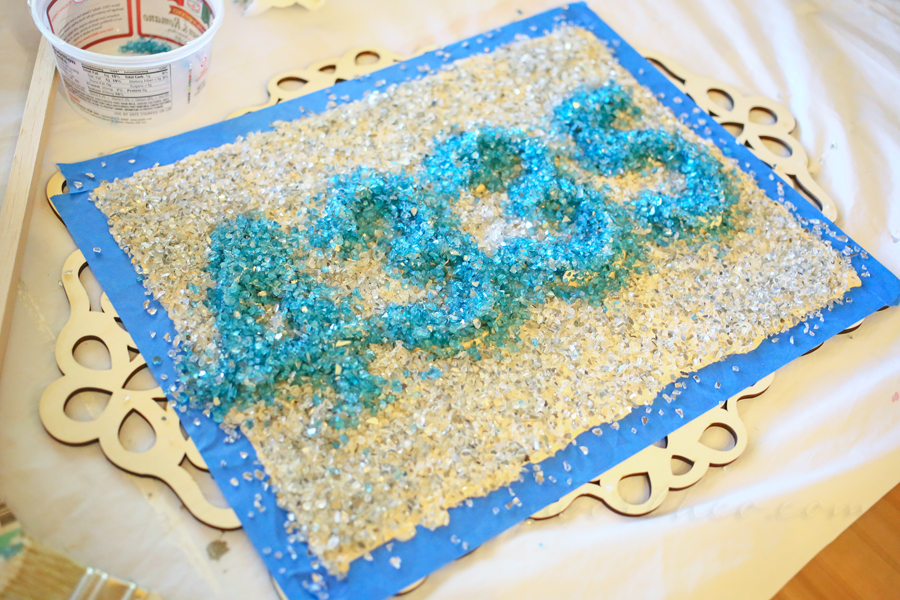
Once dry I glued them down on to my board. I taped off the scrolled portion of the board to keep the glue off that part. Then I added a thick coat of the Elmer's ProBond Advanced to the remaining portions of the board & added the silver mirror pieces. I then allowed 24-48 hours to let that dry. It looks like overkill here in this shot – but the excess fell off once I tipped it over.
Then I removed the tape & stained the scrolled edges of the board to give a nice contrast. It will also help the sign to match our future accents on the house. I gave the front a nice liberal coating of clear outdoor paint to seal it in & protect it from the weather.
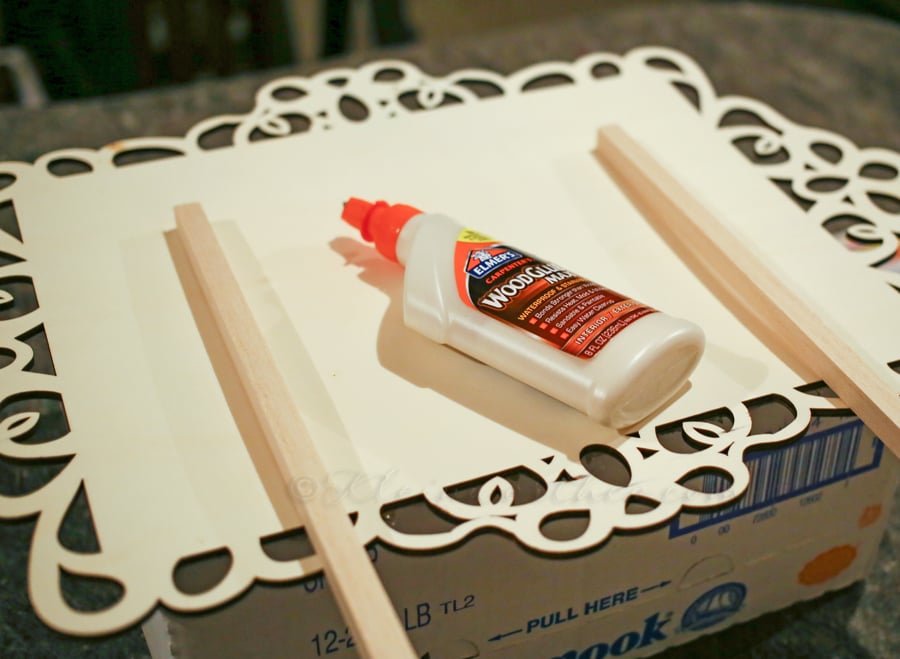
I cut my large stick in half. Once the front of the board was was dry & flipped it over & glued the sticks to the back so it is able to stick in the ground. I gave it a coat of the clear paint on this side too. Once it dried it was ready to be used.
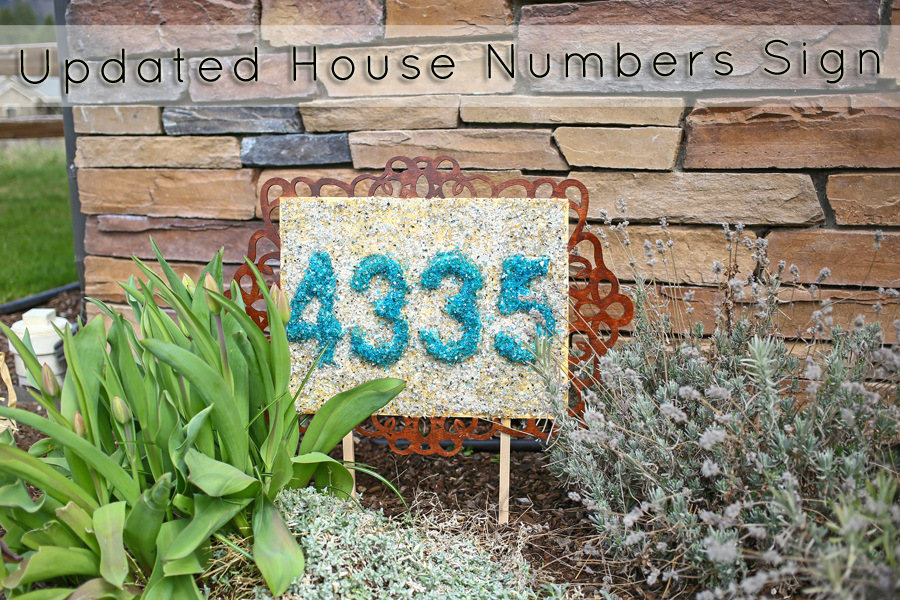
This will eventually be down in the corner of our front yard at the end of the driveway. We plan on adding some boulders, bushes & flowers all around it. I can't wait to see this each & every time I pull in & out of my driveway. It adds the perfect pop of "me" to the front yard. What a great improvement to our new home!!
You can visit Elmer's Mixed Materials Pinterest Board for more Home Improvement Inspiration
How would you use ProBond Advanced?
To see where I am linking today- visit HERE
&
[include id="1" title="Footer Ad"]


Love this idea! What a fun personal touch. The bright pop of color is perfect!!
Hope you are having a good week my friend. Love ya!!
Totally a pop of you!! Love it, Gina!