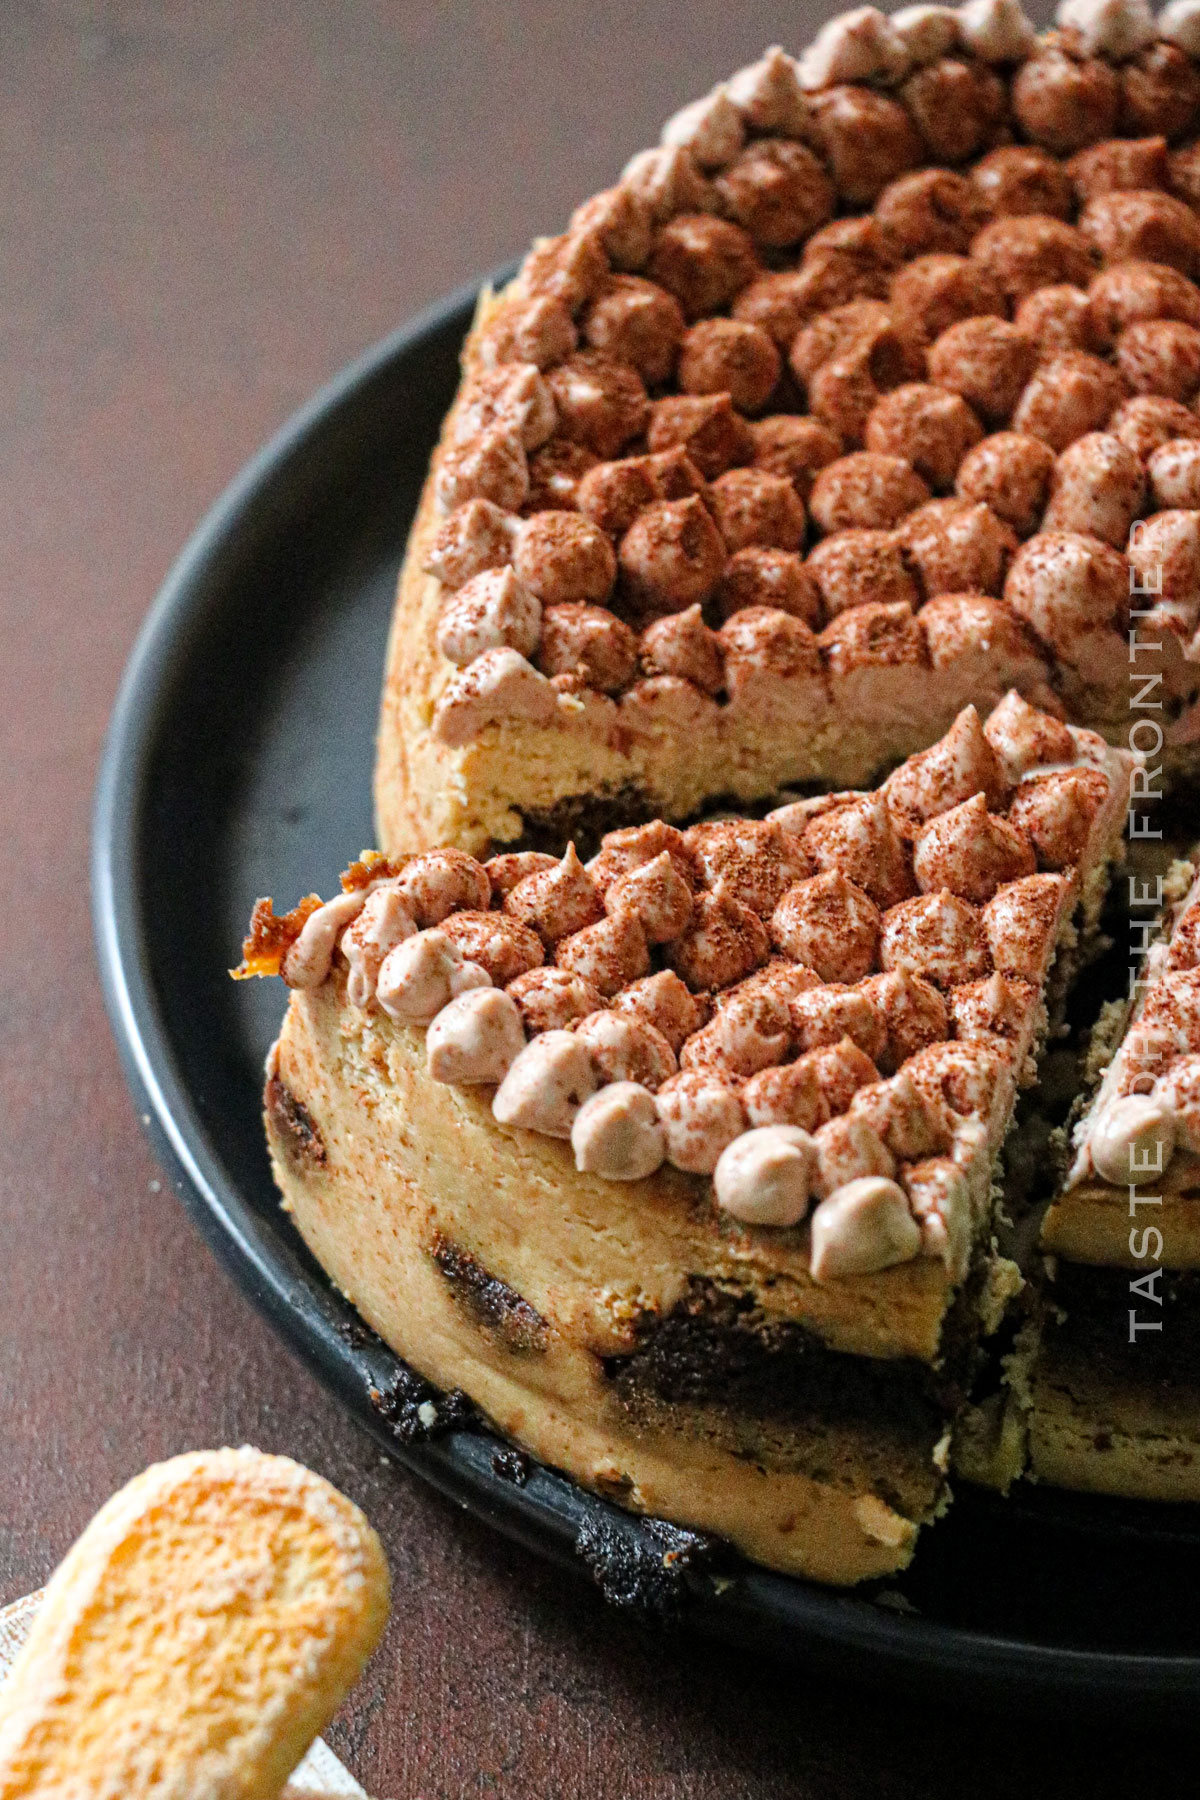
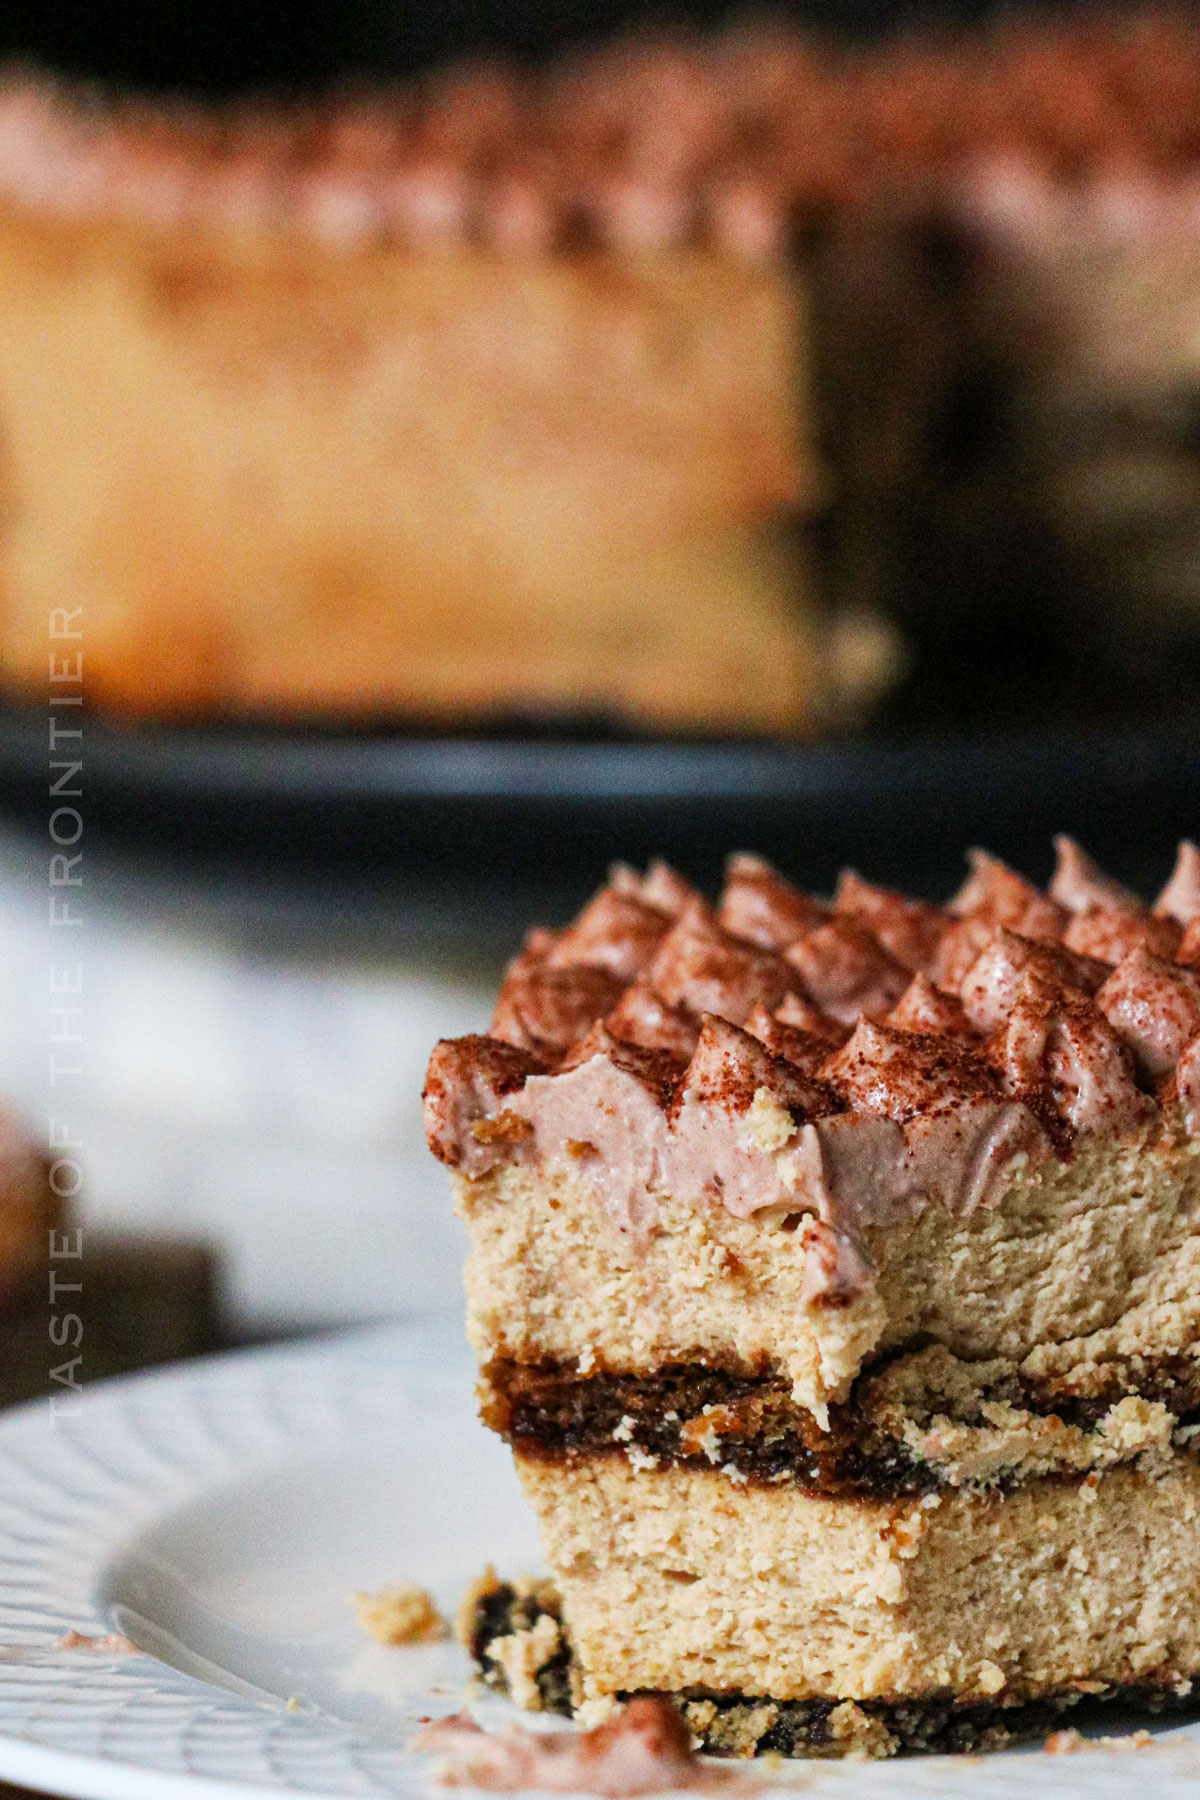
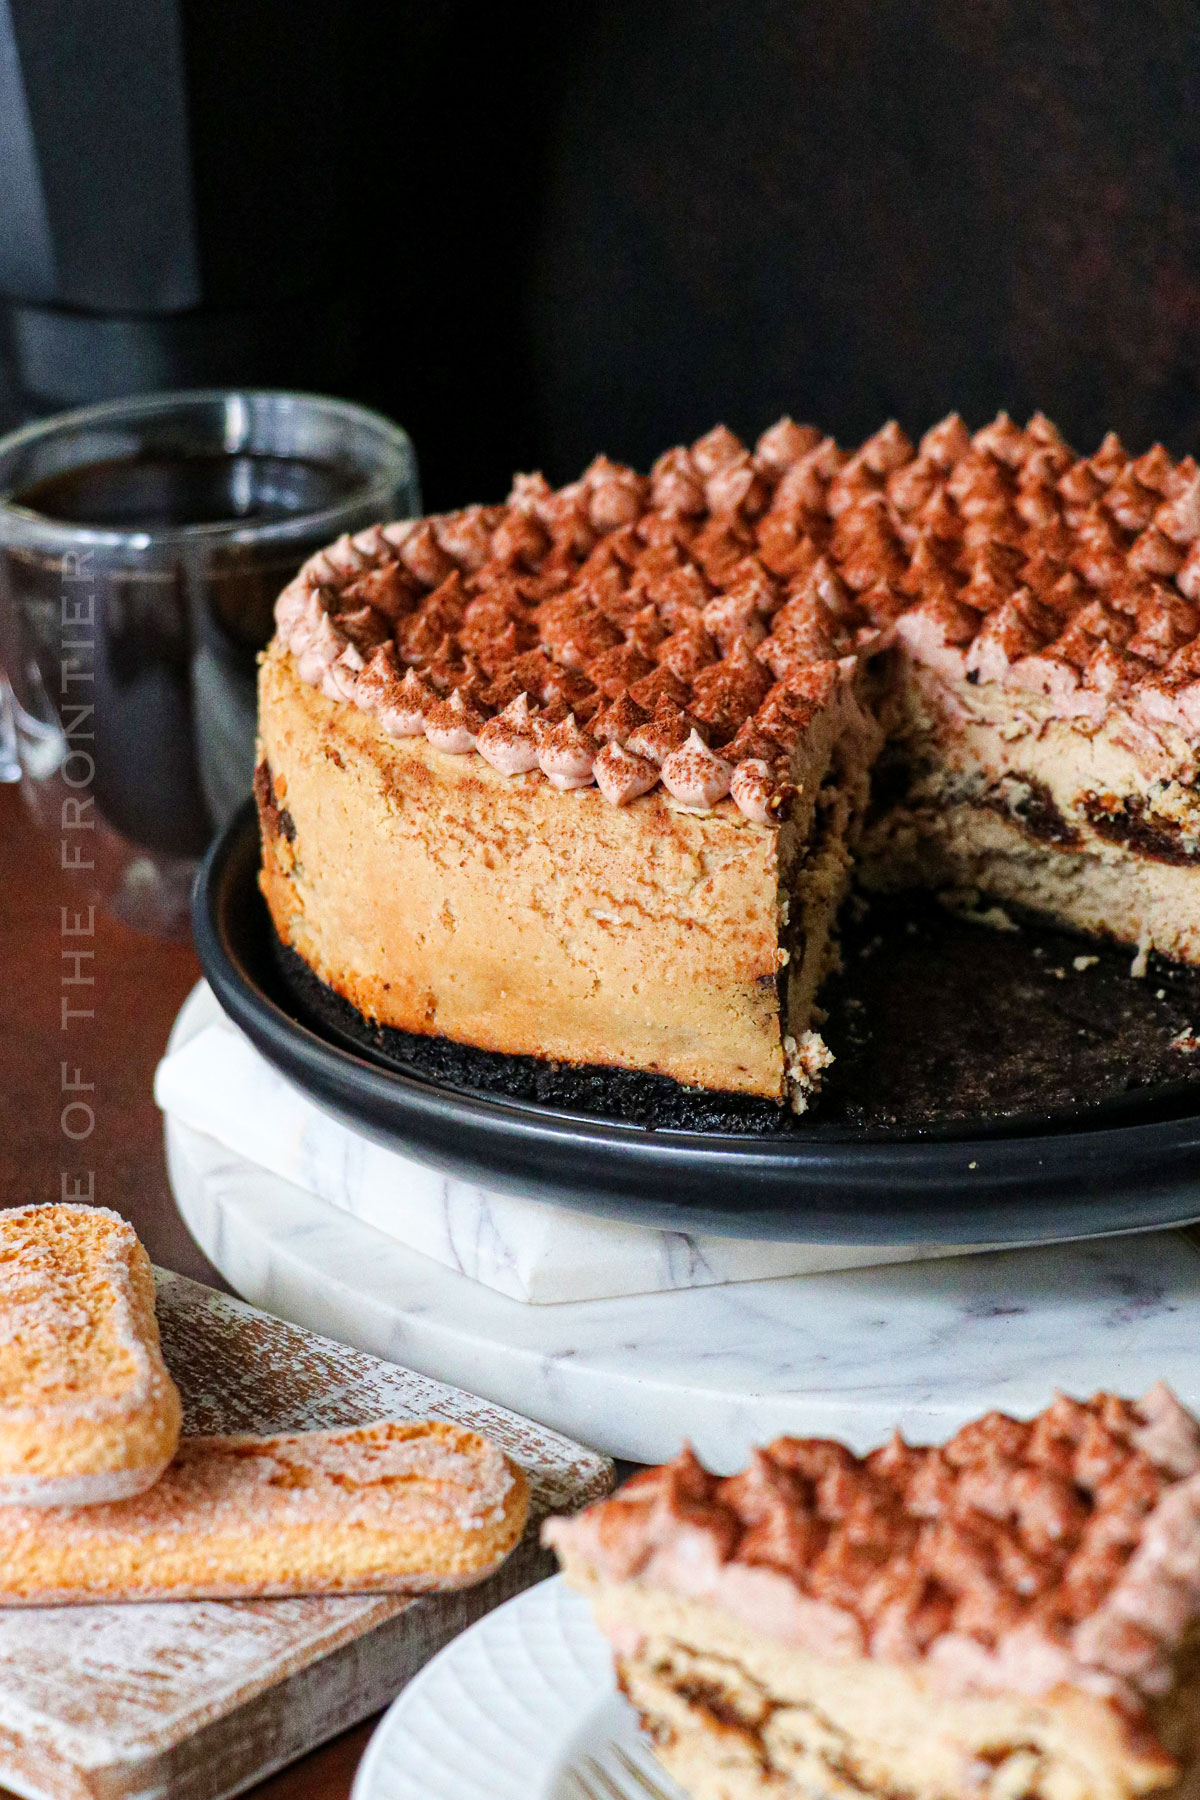
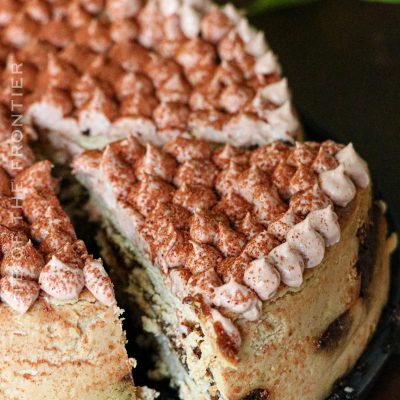
Elevate your dessert with this rich and decadent Tiramisu Cheesecake. It’s a beautiful treat making it perfect for any holiday or celebration.
Oh, tiramisu, how I love you! This is one recipe that I’m really excited to share with you. It’s become one of my all-time favorite desserts and I’m pretty sure it’ll be yours too. The only way to make tiramisu even better is to make it in cheesecake form!
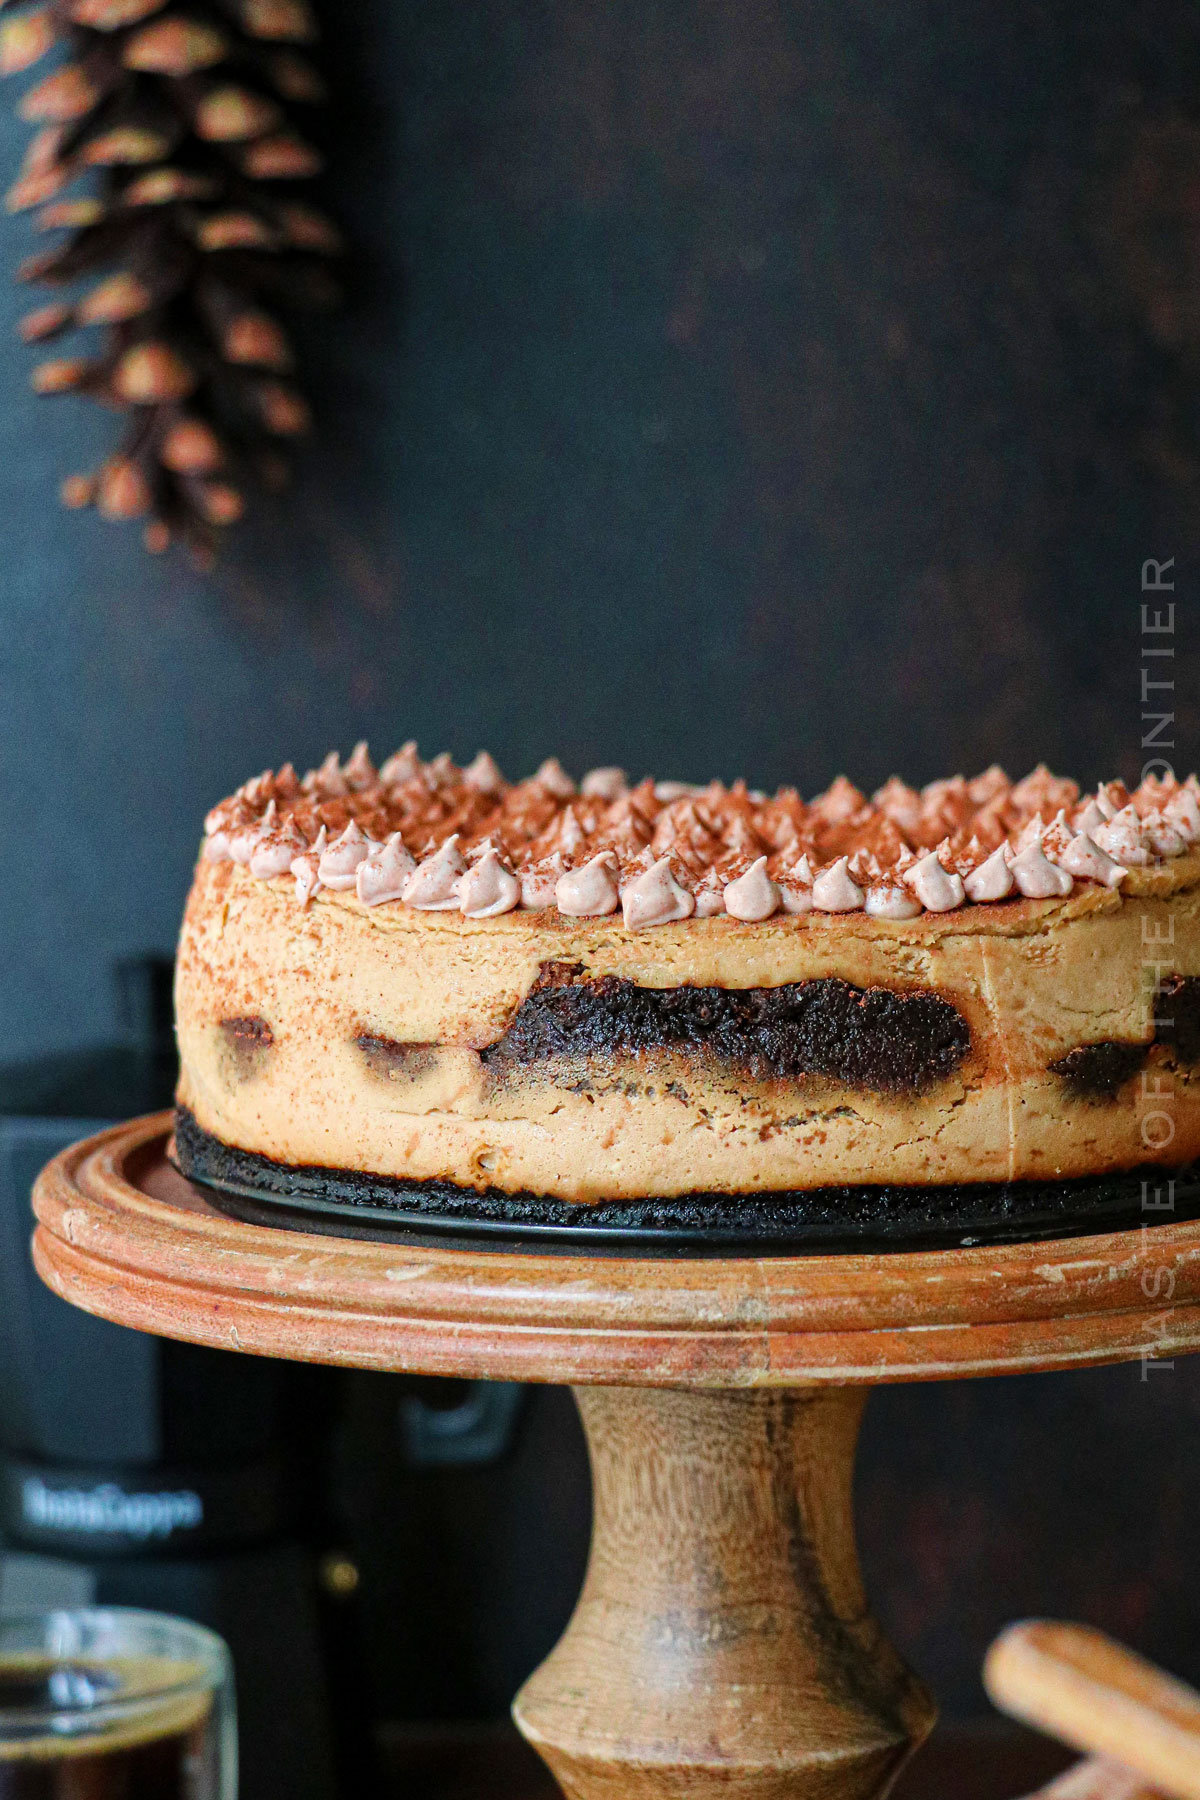
Picture a treat that’s dreamy, creamy, and dusted with just the right amount of cocoa powder. Tiramisu Cheesecake is a blend of American cheesecake and classic Italian tiramisu, a delectable fusion that’s bound to captivate your taste buds.
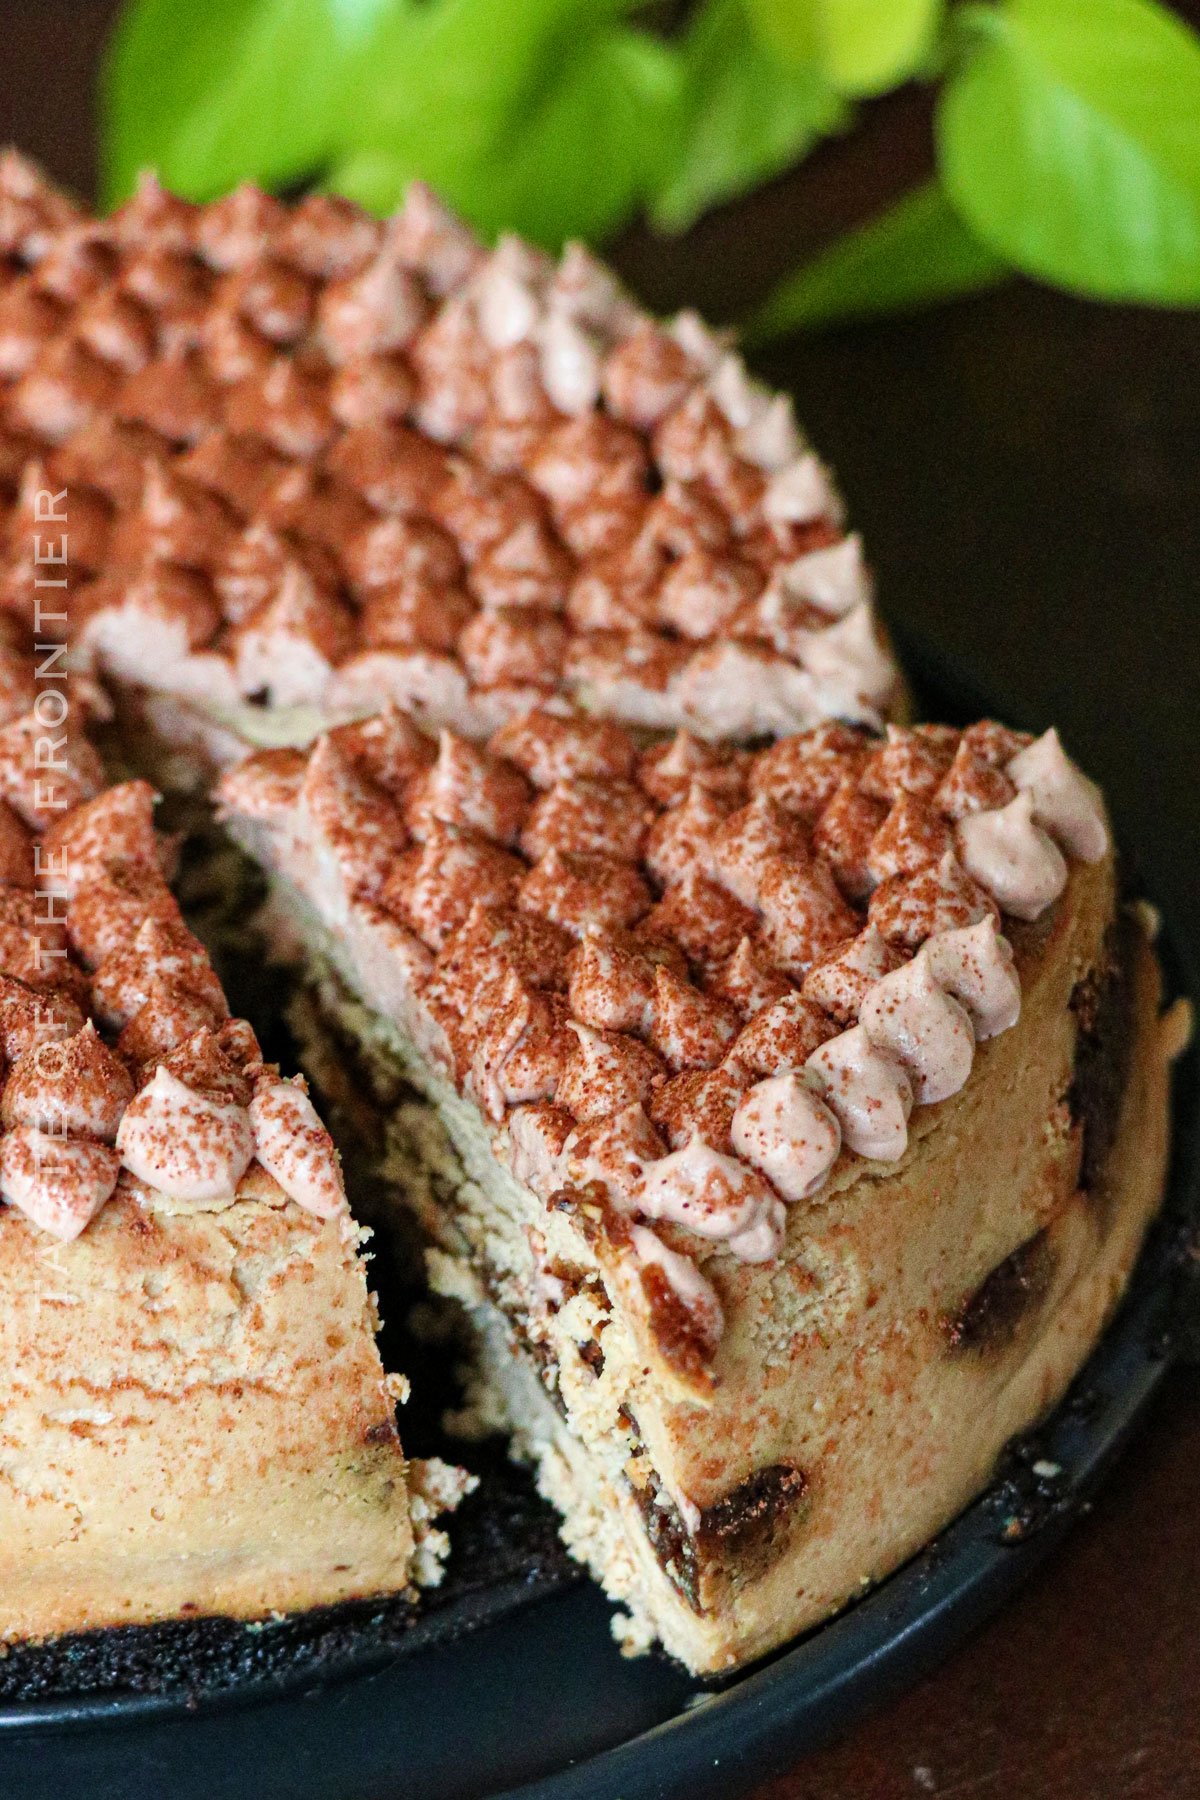
Tiramisu Cheesecake is the perfect dessert for those times when choosing between cheesecake and tiramisu seems impossible.
It’s a delightful and yummy combination of flavors – the rich creaminess of cheesecake paired with the bold coffee essence of tiramisu. With each bite, you’re sure to experience a delicious journey that’s both familiar and new!
Common Questions About Tiramisu Cheesecake
Can I use instant coffee instead of espresso powder?
Certainly! Though espresso powder offers a unique depth, instant coffee can be a good substitute if you’re in a pinch. Just note that the flavor might be a tad different.
What if I don’t have a springform pan?
While a springform pan is ideal for this cheesecake recipe due to its removable sides, you can use a regular cake pan. Just ensure to line it well with parchment paper for easier removal.
Why do I need a water bath for baking the cheesecake?
The water bath ensures even heating, preventing the cheesecake from cracking or curdling. It provides moisture, which results in a silky, creamy cheesecake.
Storage
I won’t blame you if this doesn’t make it to the refrigerator afterward. I’ve been known to eat more than my fair share, haha!
Refrigerator
Keep this delicious cheesecake in an airtight container for up to 4-5 days.
Freezer
Want to save some for later? Freeze it without the topping, well-wrapped, for up to 3 months. Thaw in the fridge overnight before serving.
Tips
My biggest tip is to read the recipe all the way through before starting it. It’s not complicated, but if you know ahead of time how things are supposed to look, it will all go smoother!
- Perfect Cheesecake Base: Using a food processor ensures your Oreo crust has fine crumbs for a seamless base.
- Flawless Mixing: Beat your cream cheese mixture on medium speed for the creamiest texture. Avoid overmixing!
- Prevent Cracking: Allow your cheesecake to cool slowly. Turn off the oven and leave the oven door slightly ajar.
- Rich Coffee Flavor: While espresso gives a strong coffee flavor, using instant coffee can also do the trick.
- Topping: For a richer taste, mix some mascarpone cheese into your whipped cream topping.
Ingredients
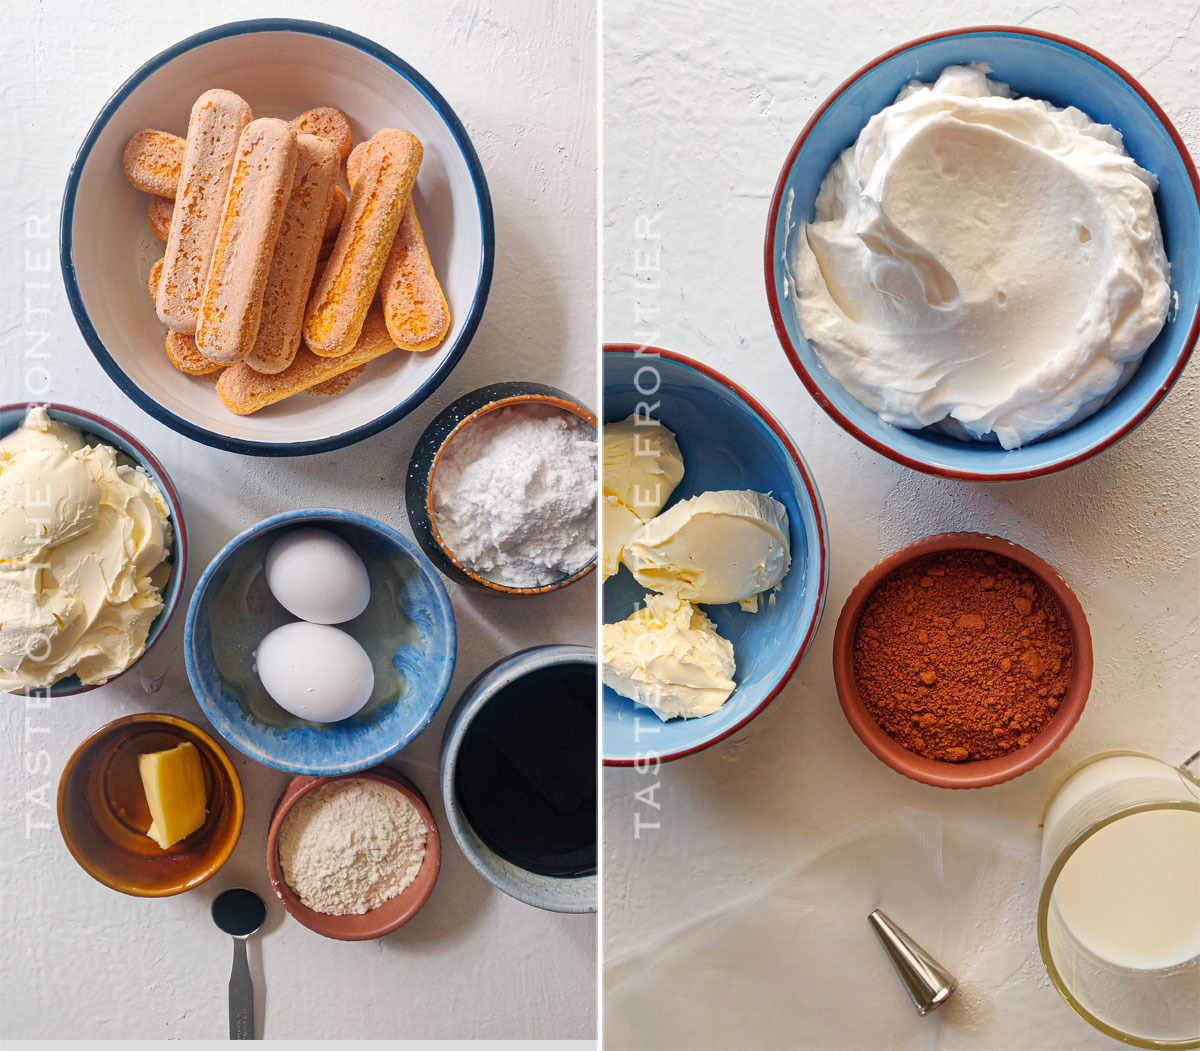
Check out that list of ingredients. Doesn’t it just look lovely? This is going to be a dessert to remember! Be sure to save it with your other cheesecake recipes.
- Unsalted butter
- Oreo cookies
- Espresso powder
- Cream cheese
- Granulated sugar
- Large eggs
- All-purpose flour
- Vanilla extract
- Ladyfingers
- Whipping cream
- Cream cheese (for topping)
- Milk
- Cocoa powder
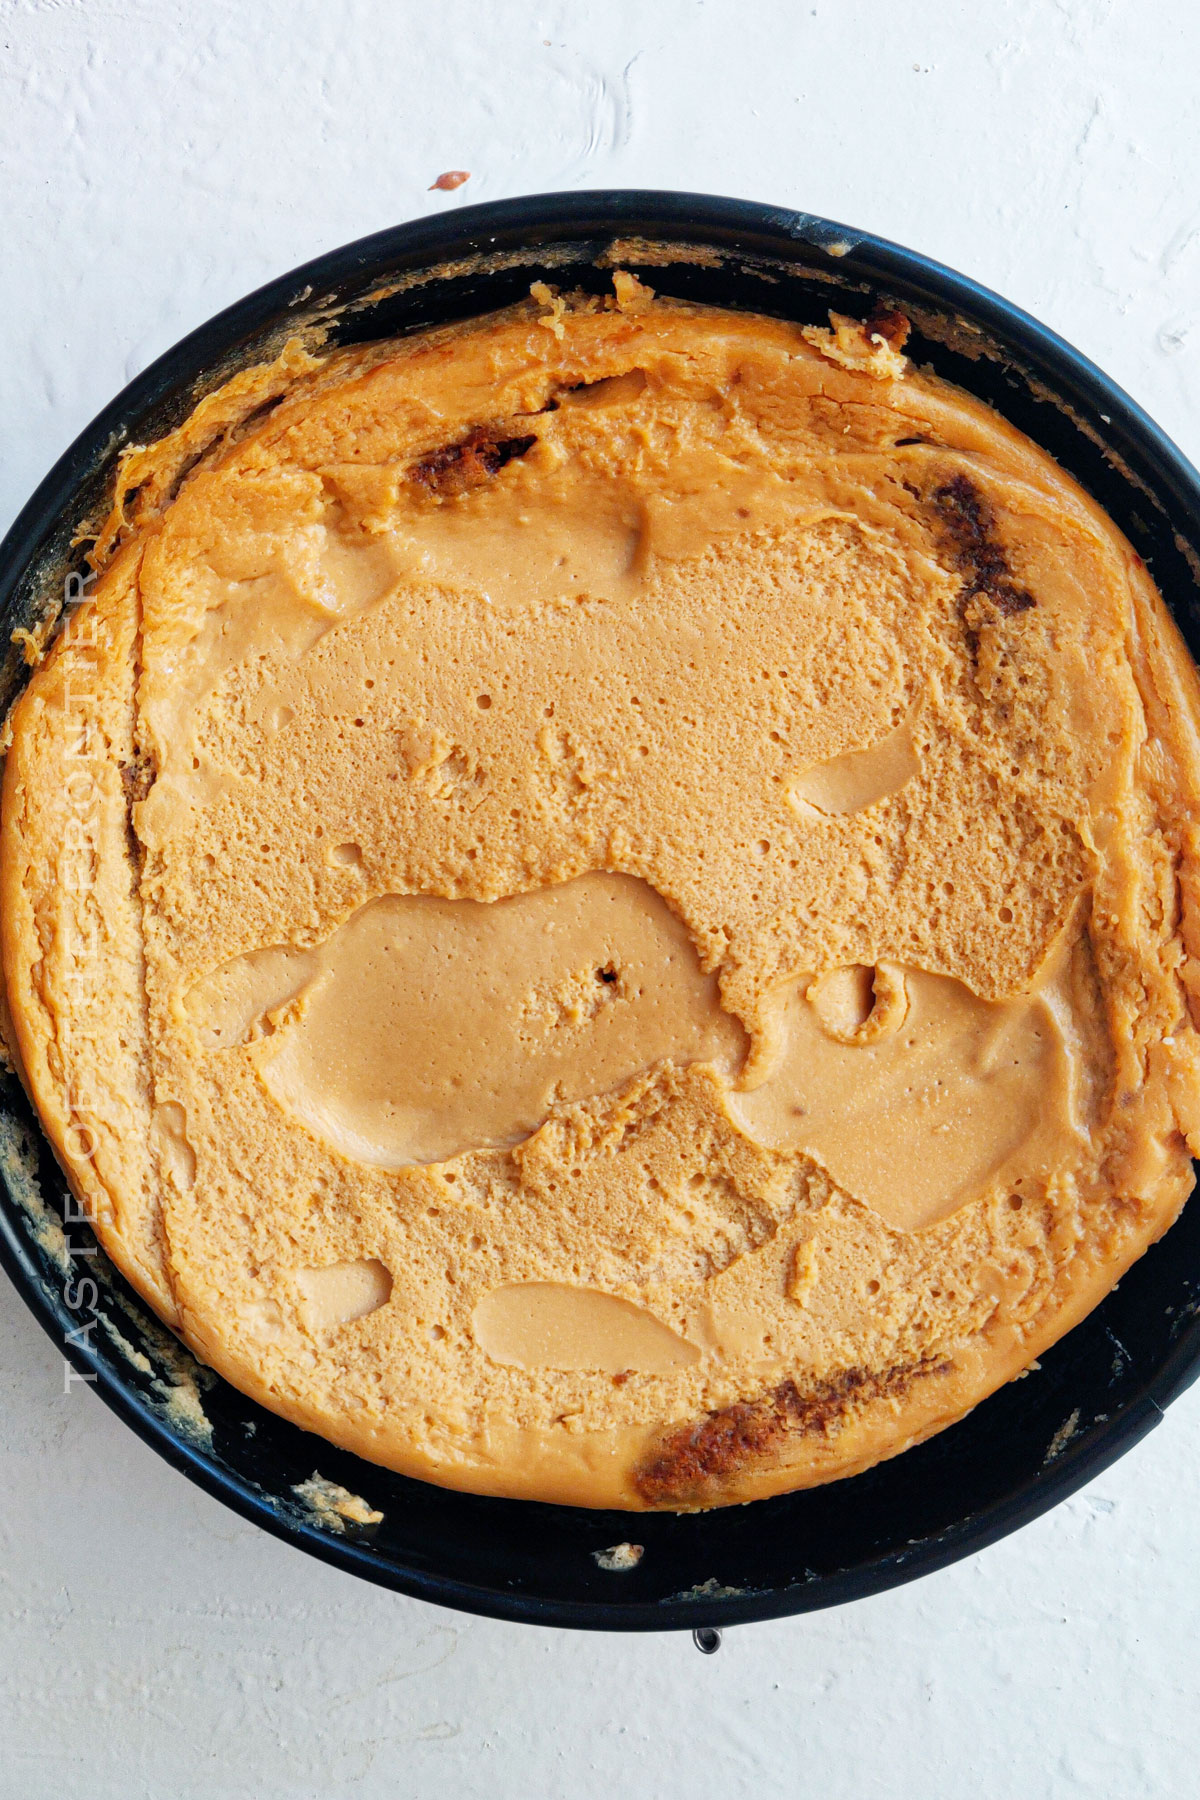
How to Make Tiramisu Cheesecake
Be sure to tell me if this is the best tiramisu cheesecake recipe ever. I know I may be a little biased, but I really love it! Don’t worry, it’s not complicated. Just follow the steps below and you’ll create your own masterpiece!
Preheat the oven to 350 degrees F and line a 9-inch springform pan with parchment paper or generously grease it with butter.
CRUST
- Grind the Oreo cookies into a fine powder and then add the espresso powder and melted butter to it and mix.
- Press the mixture into the bottom of the springform pan making sure it is set perfectly and bake for 5 minutes.
- Set aside and let it cool completely while you prepare the filling.
FILLING
- Beat the cream cheese, butter, and sugar using an electric hand mixer on low speed until light and smooth.
- Add eggs one at a time and mix till fully incorporated.
- Add vanilla extract, 5-6 tbsp of prepared espresso, and flour, and again beat for a few minutes until combined well. Do not overmix.
TOPPING
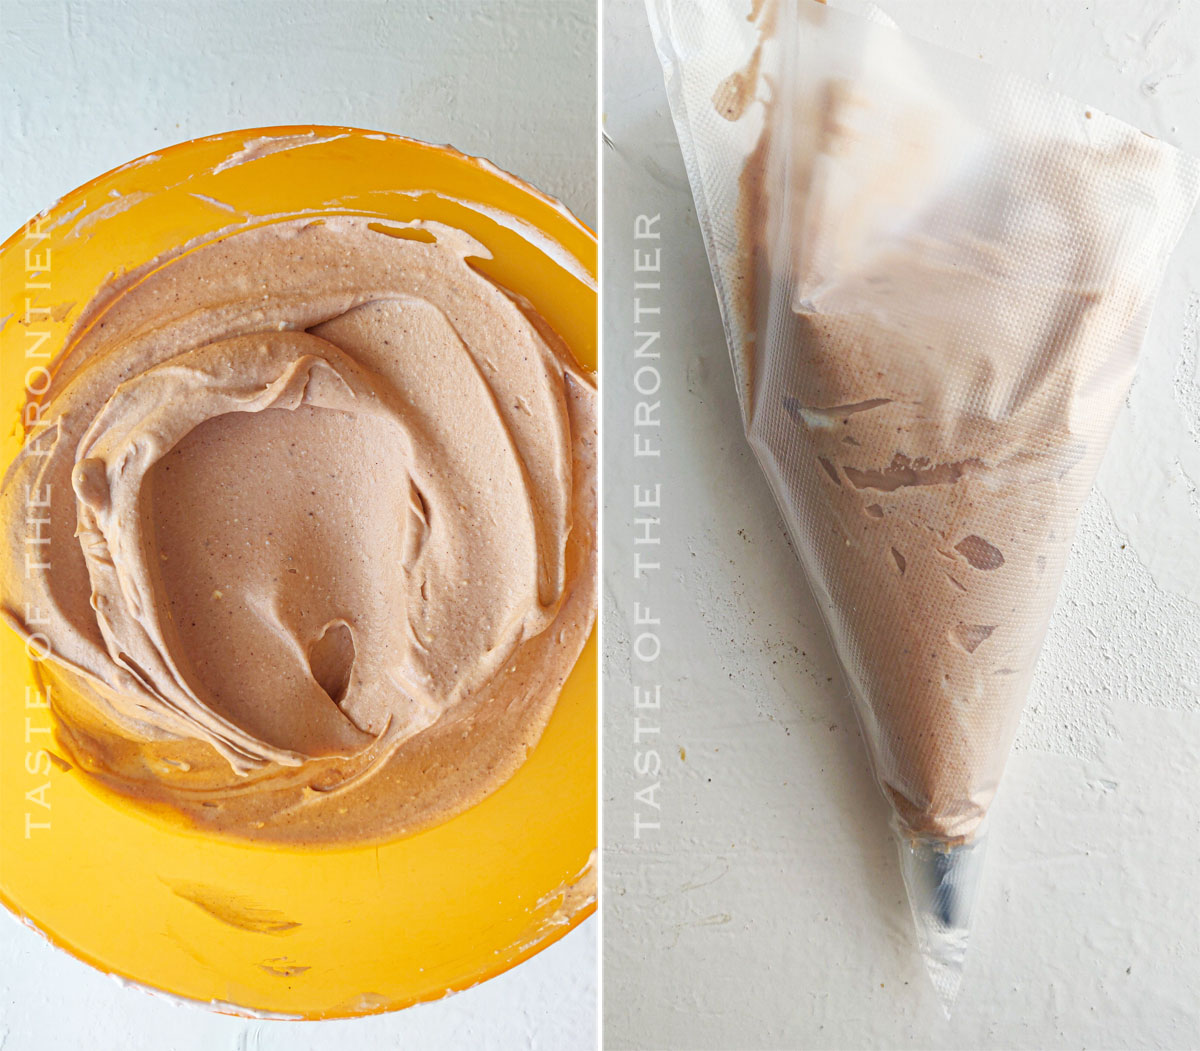
- Beat the whipping cream until you see stiff peaks.
- In another bowl, beat cream cheese, milk, and cocoa powder until fully incorporated.
- Gently fold the whipped cream into the cream cheese mixture until combined well.
ASSEMBLE
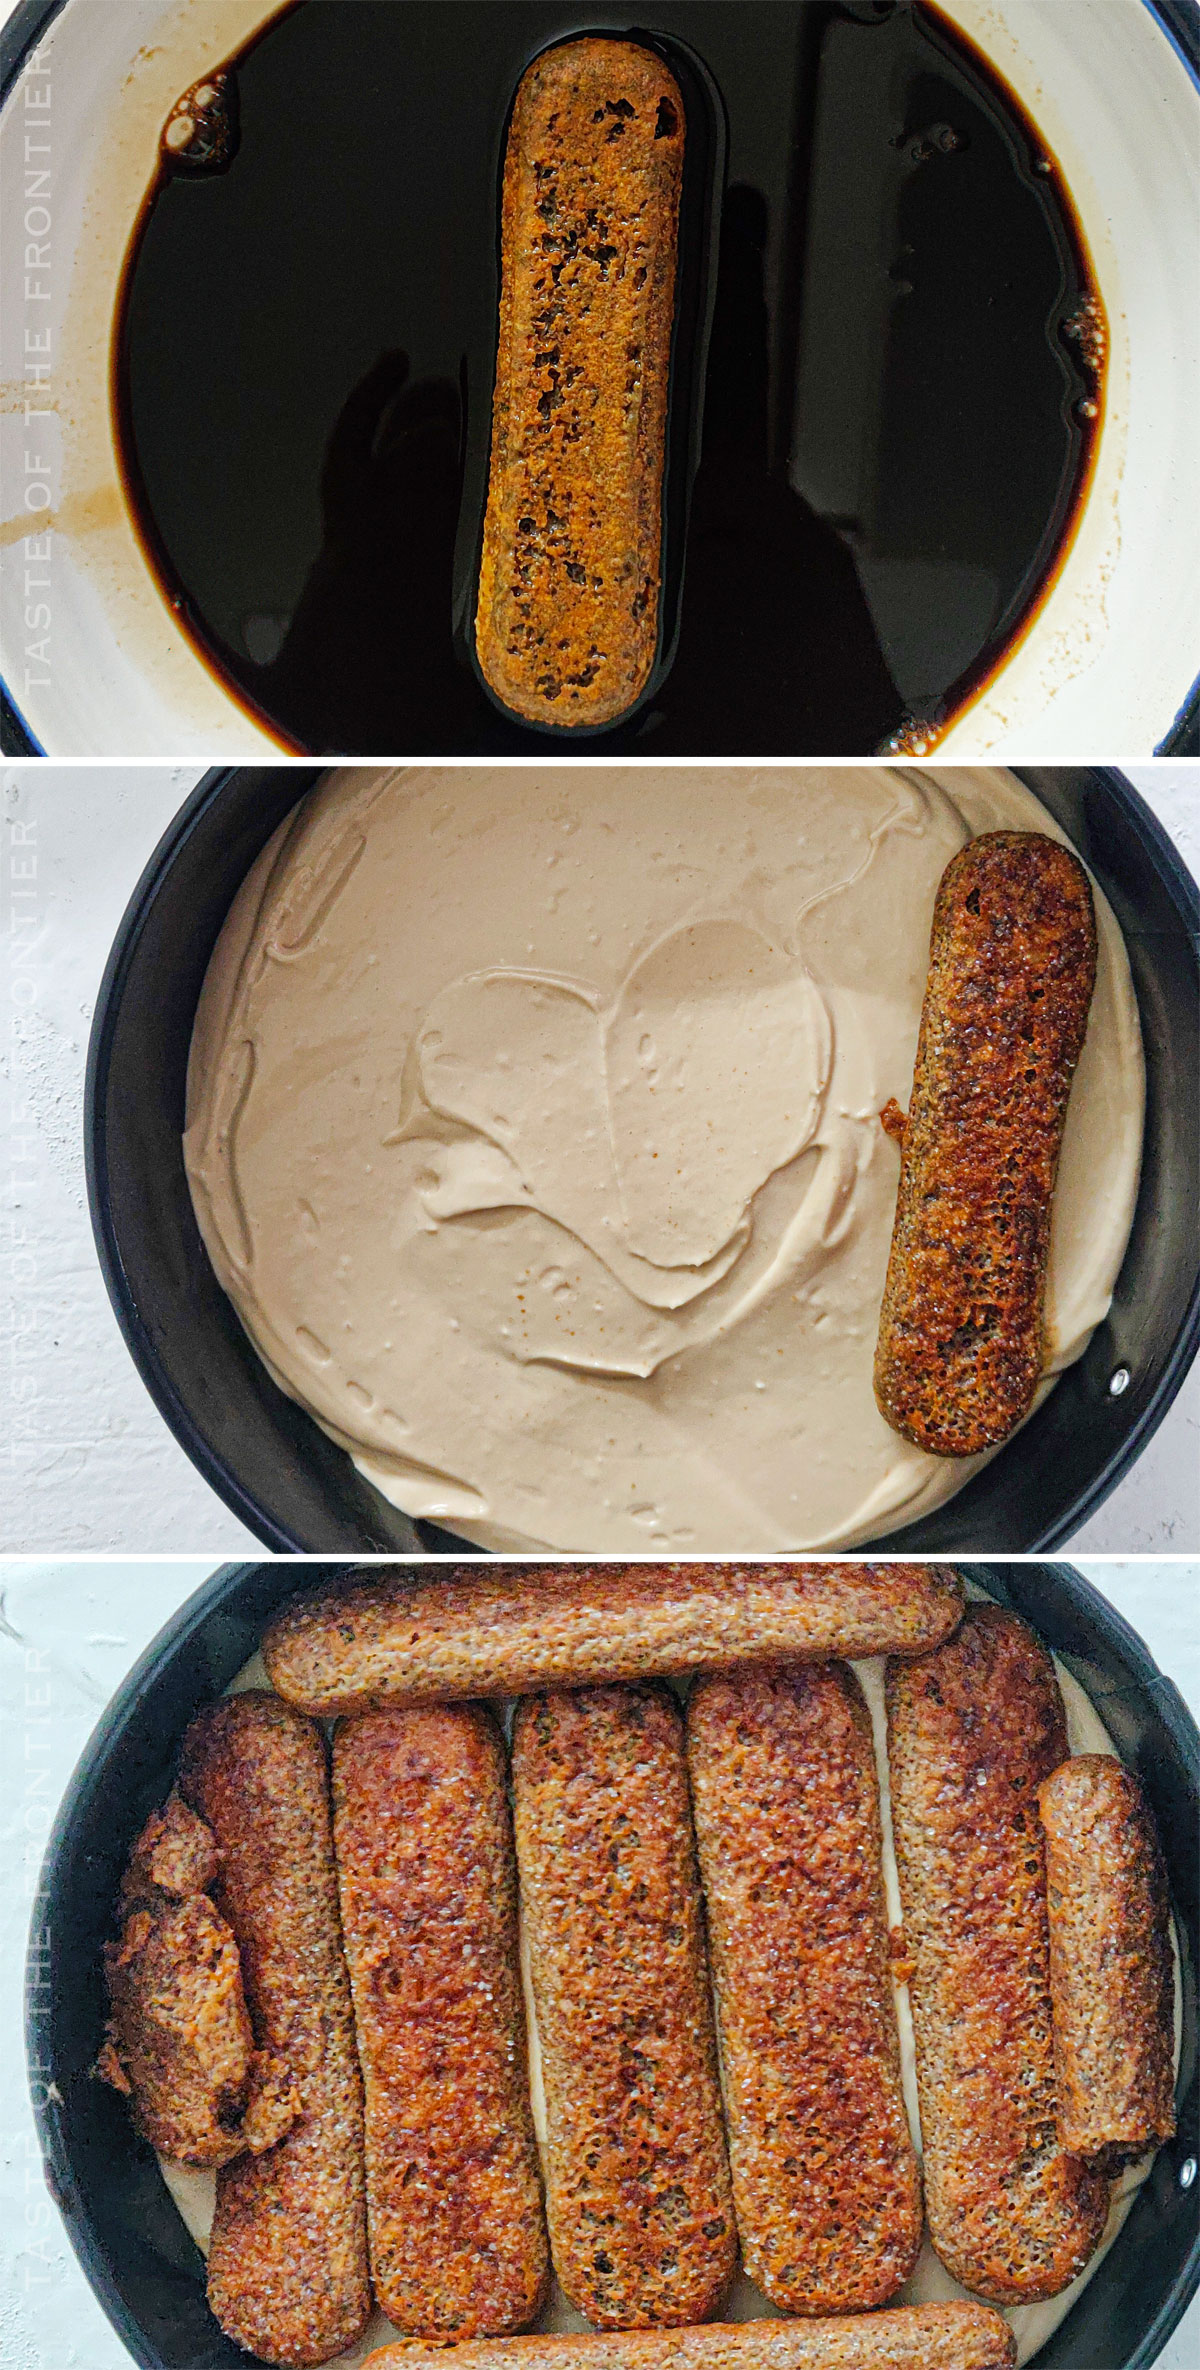
- Layer half of the filling at the bottom of the prepared pan and smoothen it.
- Dip the ladyfingers in the remaining espresso and arrange them in a single layer over the filling. Now layer the remaining half cheesecake filling over the ladyfingers and smoothen the top.
PREPARE
- Pour the hot water into a large baking pan (about 1 inch deep) and place it in the oven.
- Double-wrap the bottom of the springform pan with foil.
- Insert into the water bath.
- Reduce the temperature to 320 F. Bake the cheesecake for 1 hour and let it cool for almost an hour in the oven with a door slightly ajar.
- Remove the cheesecake from the oven, run a knife around the edge of the spring pan, and let it cool completely.
- At this point, the center of the cheesecake will be a little jiggly. Put the cheesecake in the refrigerator for 4-5 hours to set and firm up.
ASSEMBLE
- Remove the pan and place the cheesecake on the counter.
- Transfer the prepared whipped topping mixture into a piping bag with a large round tip nozzle and decorate the cheesecake on top.
- Dust cocoa powder on top of the cheesecake and let it chill for some time in the refrigerator before serving.
Kitchen Supplies You’ll Need for Tiramisu Cheesecake
Using that springform pan will help you get the best results. It’s not strictly necessary, but it certainly makes life easier. It’s little tricks like these that make baking more enjoyable!
- 9-inch springform pan
- Large bowl
- Food processor or mixer
- Parchment paper
- Oven
- Aluminum foil
- Rubber spatula
- Wire rack
What to Serve With Tiramisu Cheesecake
It really is a decadent dessert and pairs well with other decadent foods. You can always serve it on it’s own, too. It’ll be a perfect centerpiece at any dining room table!
- A dollop of mascarpone mixture on top
- Freshly brewed espresso or coffee
- A glass of marsala wine for an Italian touch
- A handful of chocolate-covered espresso beans
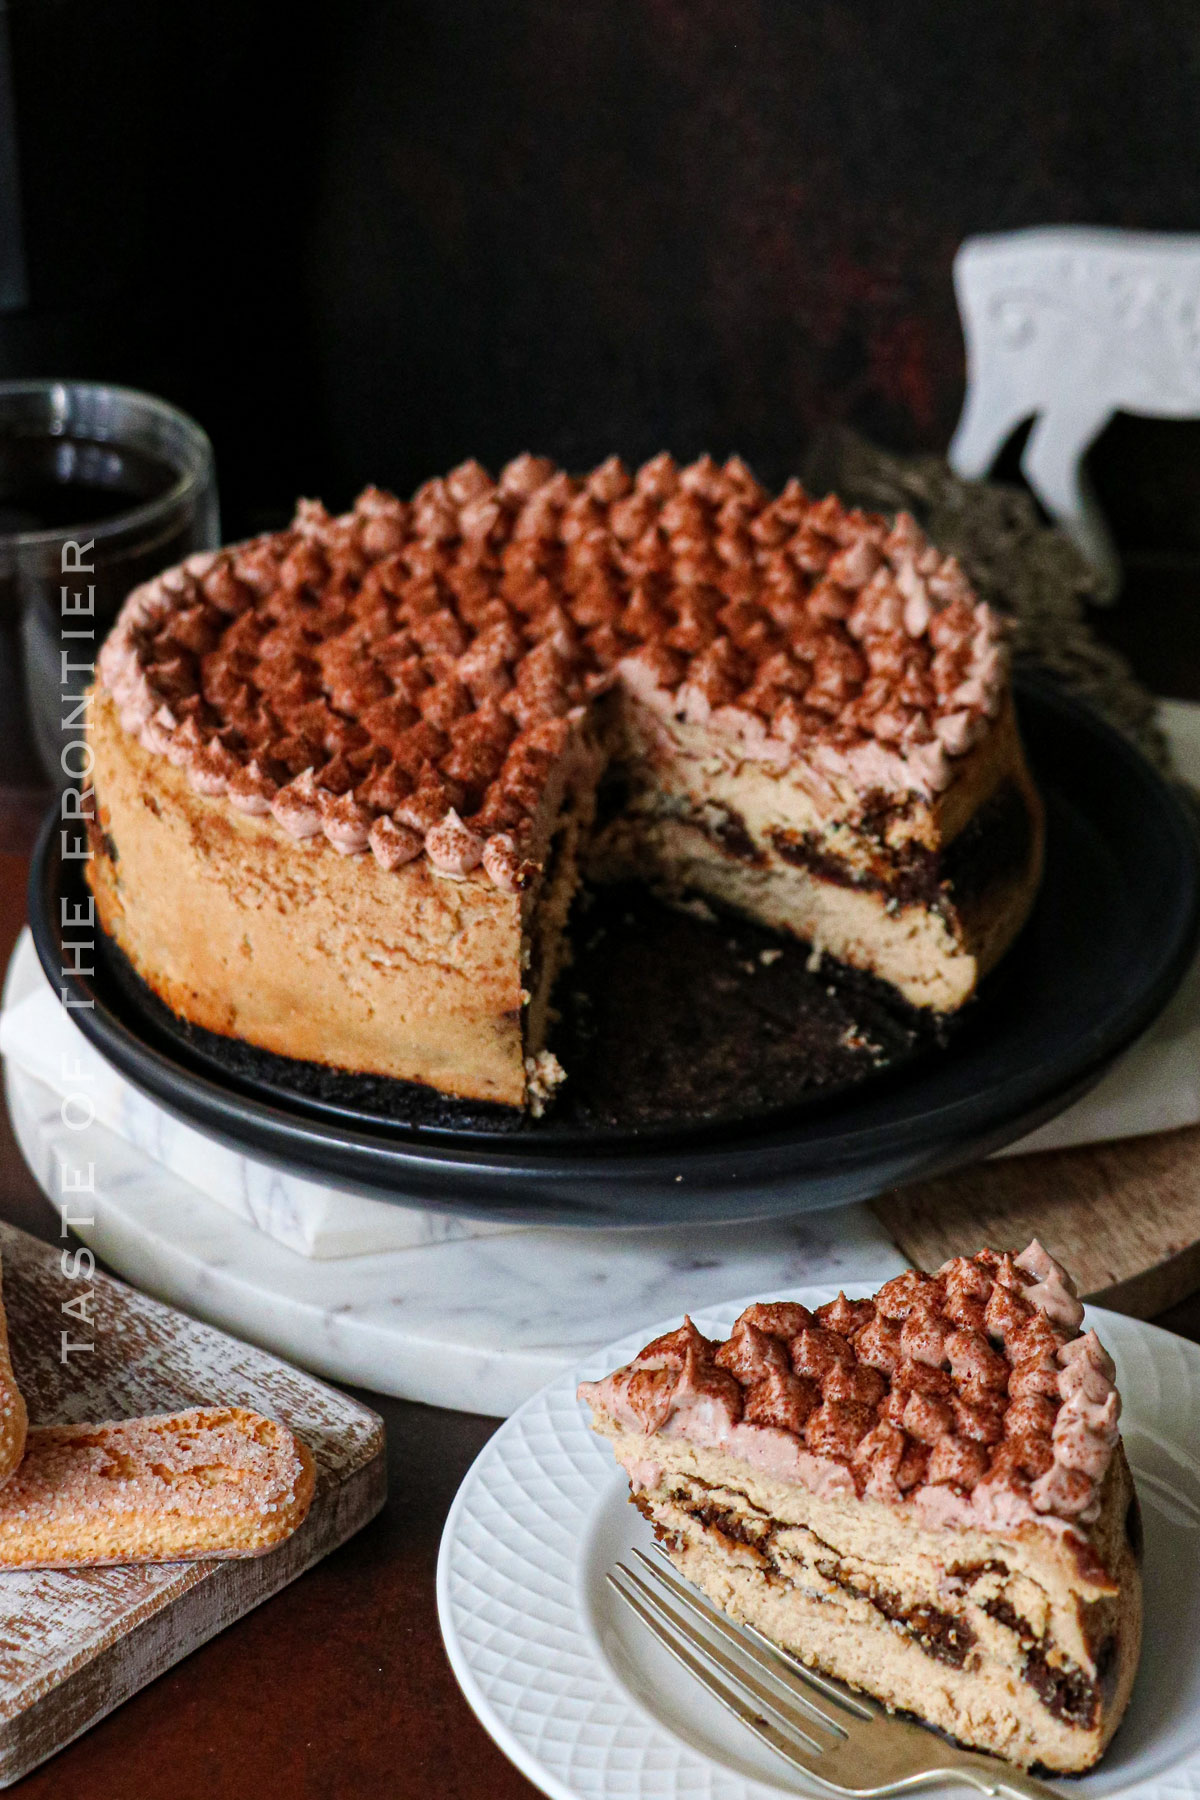
Why You Should Make Tiramisu Cheesecake
Sometimes you just have to go big! That’s how I feel about this recipe. Generally, I like to keep things simple and easy because simple tastes great. Occasionally, I get the urge to create something bigger and better!
- Best of Both Worlds: This is the delicious marriage of creamy cheesecake and rich tiramisu.
- A Crowd Pleaser: Perfect for special occasions, and it’s bound to impress your guests.
- Coffee Lover’s Delight: The intense coffee flavor is sure to satisfy caffeine enthusiasts.
- Versatility: You can modify this cheesecake to suit your taste.
- Easier than it Looks: With detailed instructions, even first-timers can master this dessert.
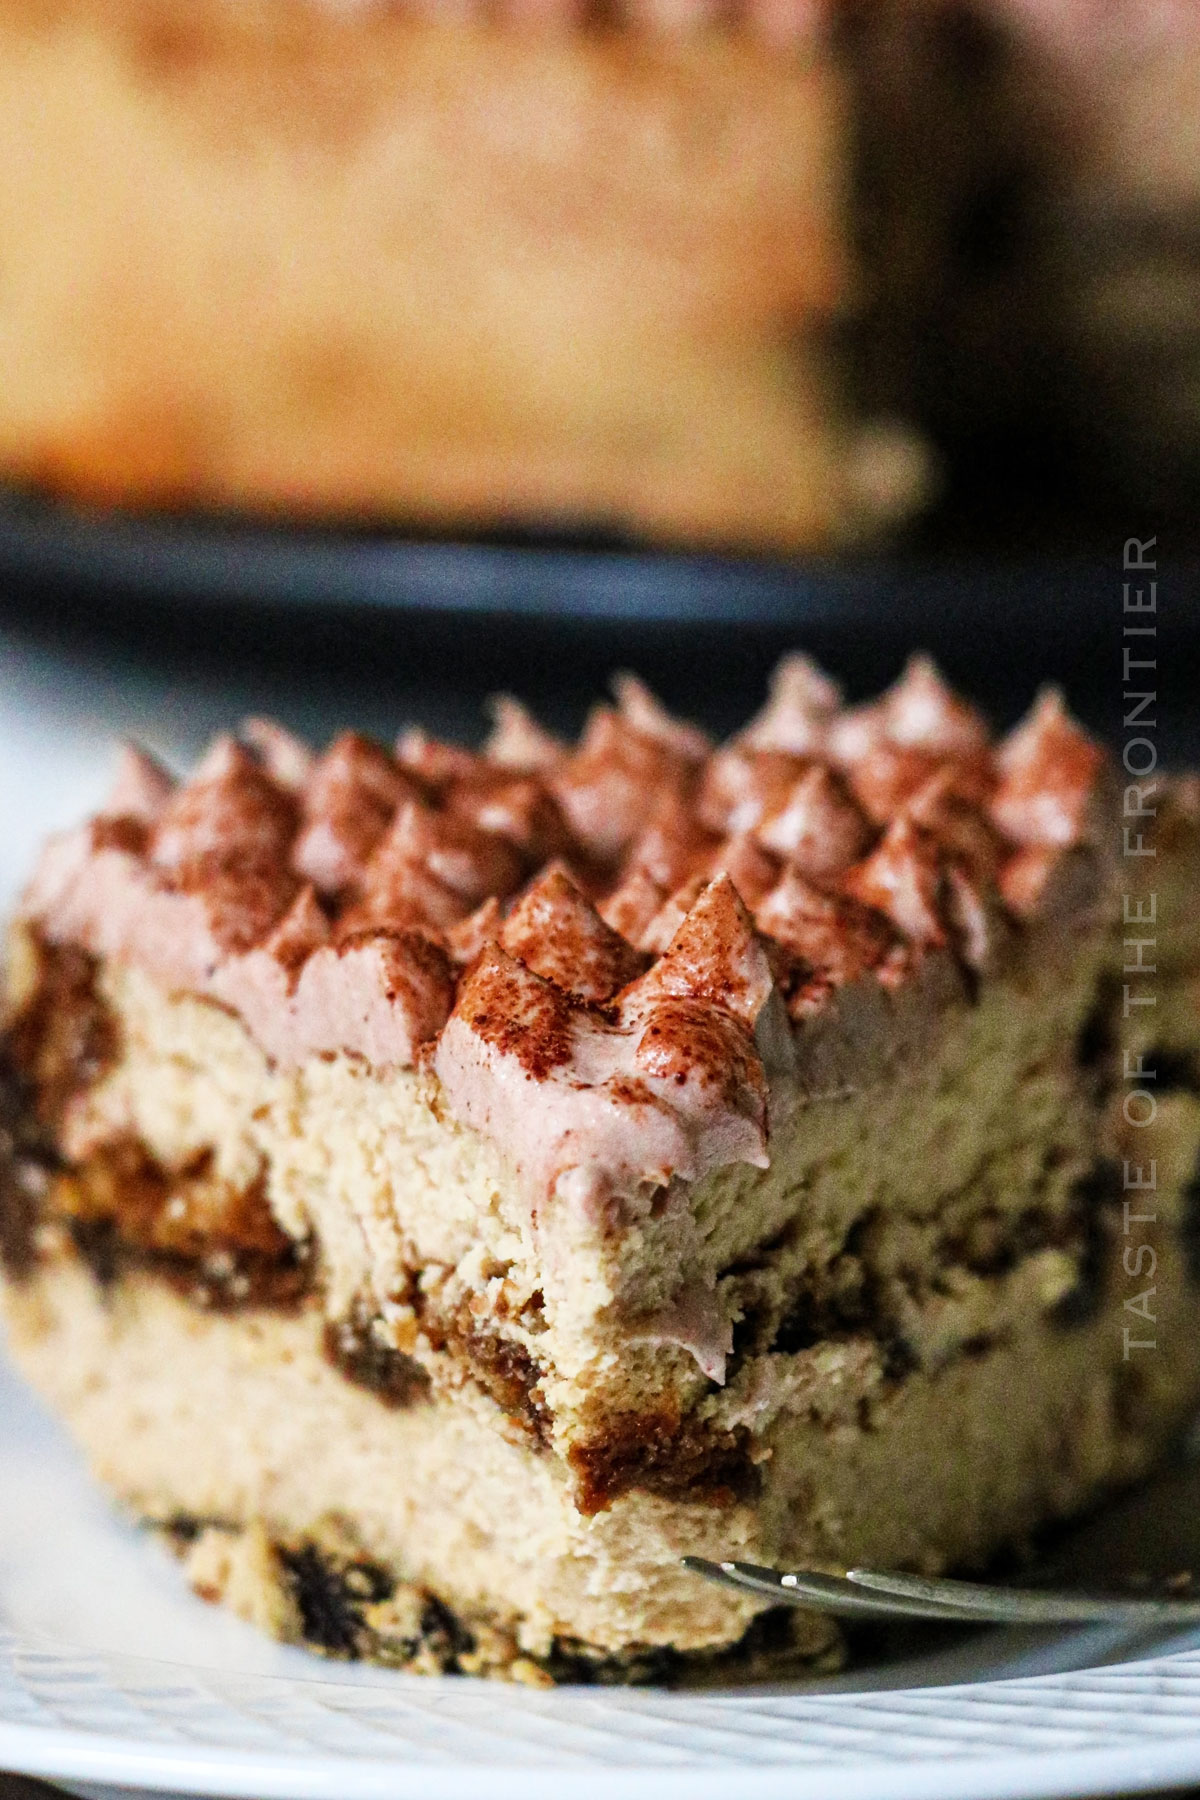
Variations and Add-Ins for Tiramisu Cheesecake
If you’ve got any other great ideas for changing things up with this recipe, let me know in the comments. I love to hear what everyone else is doing with my ideas!
- Chocolate Chips: For some added sweetness.
- Caramel Drizzle: Because why not?
- Nutty Twist: Crushed almonds or hazelnuts for a crunchy contrast.
- Fruity Freshness: Berries like strawberries or blueberries on top.
- Mocha Love: A hint of chocolate graham crackers in the crust for chocolate coffee lovers.
If you love this delicious cheesecake recipe, you’re going to love these other coffee-inspired treats too. Please click each link below to find the easy, printable recipe!
More Great Cheesecake Recipes
CONNECT WITH YUMMI HAUS!
Be sure to follow me on my social media, so you never miss a post!
Tiramisu Cheesecake
Ingredients
CRUST:
- 18 Oreo cookies
- 1 tbsp espresso powder
- 6 tbsp butter – melted – unsalted
FILLING:
- 18 ounces cream cheese
- 1 cup granulated sugar
- 2 tbsp butter softened – unsalted
- 2 large egg
- ¼ cup all-purpose flour
- 1 ½ tsp vanilla extract
- 10 ladyfingers
- 1 ½ cups espresso prepared – medium-strong – reserve 5-6 tbsp to use in the filling and use the rest for soaking the ladyfinger biscuits
WHIPPED CREAM TOPPING:
- 6 ounces heavy whipping cream
- 3 ounces cream cheese
- ½ cup milk
- ¼ cup cocoa powder
Instructions
- Preheat the oven to 350 degrees F and line a 9-inch springform pan with parchment paper or generously grease it with butter.
CRUST
- Grind the Oreo cookies into a fine powder and then add the espresso powder and melted butter to it and mix.
- Press the mixture into the bottom of the springform pan making sure it is set perfectly and bake for 5 minutes.
- Set aside and let it cool completely while you prepare the filling.
FILLING
- Beat the cream cheese, butter, and sugar using an electric hand mixer on low speed until light and smooth.
- Add eggs one at a time and mix till fully incorporated.
- Add vanilla extract, 5-6 tbsp of prepared espresso, and flour, and again beat for a few minutes until combined well. Do not overmix.
TOPPING
- Beat the whipping cream until you see stiff peaks.
- In another bowl, beat cream cheese, milk, and cocoa powder until fully incorporated.
- Gently fold the whipped cream into the cream cheese mixture until combined well.
ASSEMBLE
- Layer half of the filling at the bottom of the prepared pan and smoothen it.
- Dip the ladyfingers in the remaining espresso and arrange them in a single layer over the filling. Now layer the remaining half cheesecake filling over the ladyfingers and smoothen the top.
PREPARE
- Pour the hot water into a large baking pan (about 1 inch deep) and place it in the oven.
- Double-wrap the bottom of the springform pan with foil.
- Insert into the water bath.
- Reduce the temperature to 320 F. Bake the cheesecake for 1 hour and let it cool for almost an hour in the oven with a door slightly ajar.
- Remove the cheesecake from the oven, run a knife around the edge of the spring pan, and let it cool completely.
- At this point, the center of the cheesecake will be a little jiggly. Put the cheesecake in the refrigerator for 4-5 hours to set and firm up.
ASSEMBLE
- Remove the pan and place the cheesecake on the counter.
- Transfer the prepared whipped topping mixture into a piping bag with a large round tip nozzle and decorate the cheesecake on top.
- Dust cocoa powder on top of the cheesecake and let it chill for some time in the refrigerator before serving.
Notes
Nutrition
Nutritional information for the recipe is provided as a courtesy and is approximate. Please double-check with your own dietary calculator for the best accuracy. We at Yummi Haus cannot guarantee the accuracy of the nutritional information given for any recipe on this site.



Share Your Thoughts