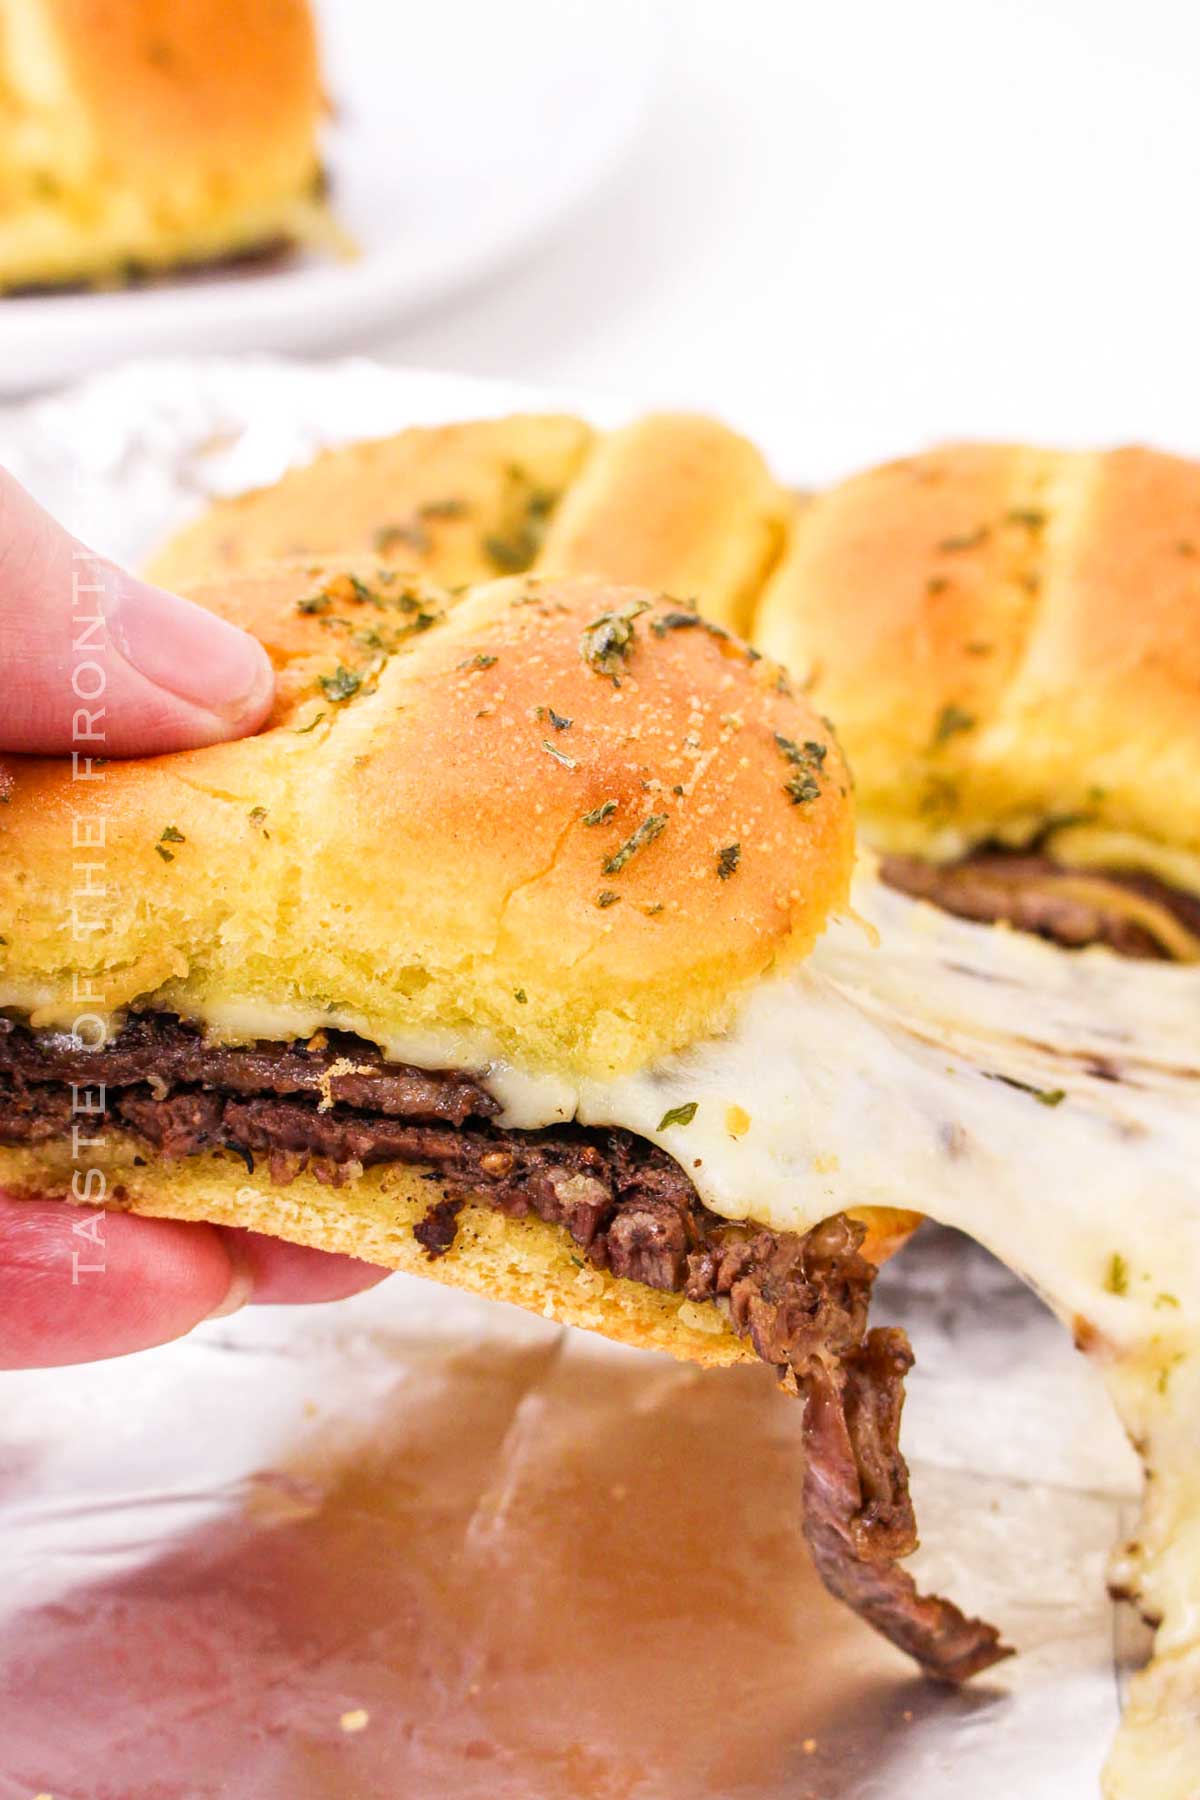
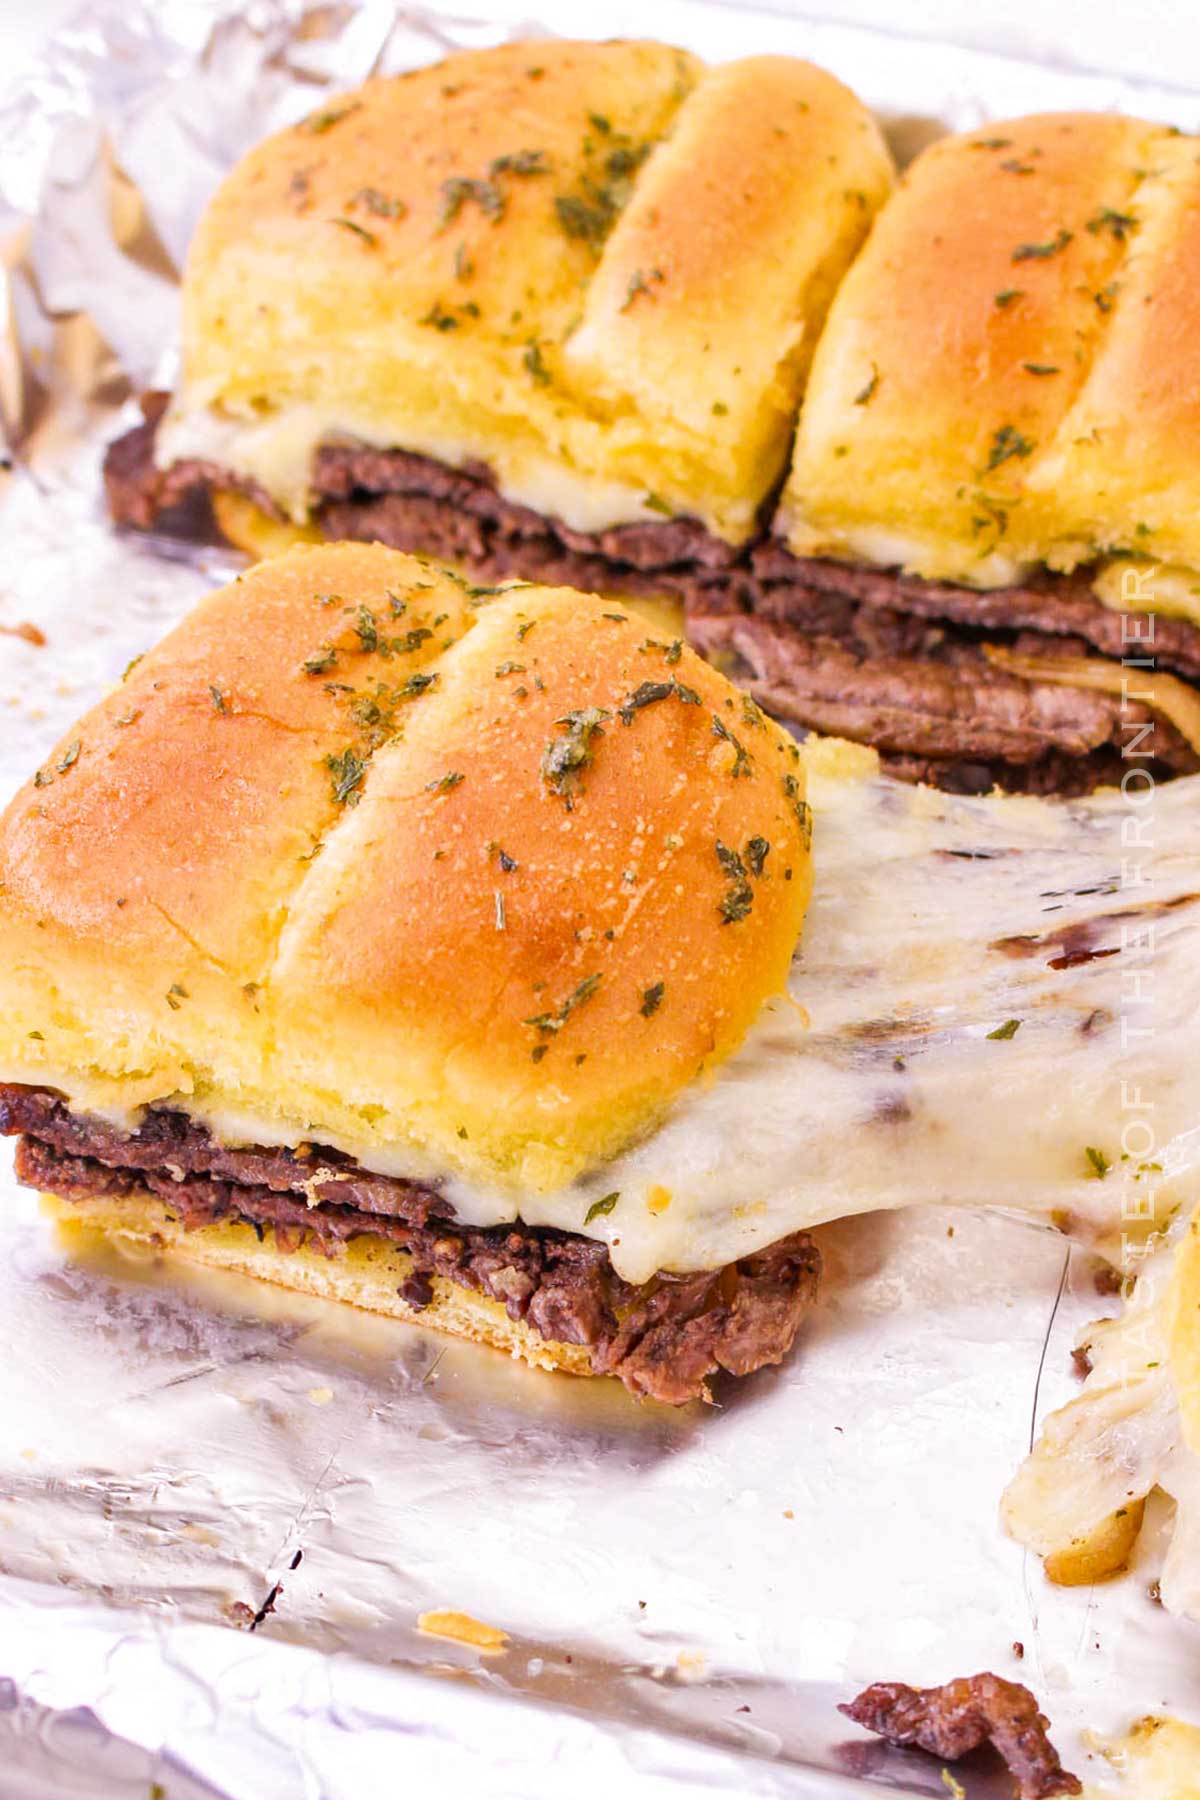
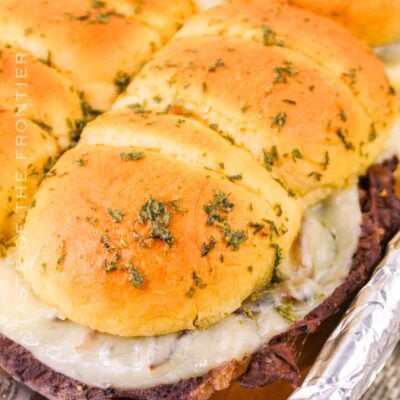
Steak and Cheese Sliders are packed with tender sliced beef, melted cheese, and caramelized onions, all nestled in soft, buttery rolls.
Oh my goodness! You’re going to LOVE how delicious these steak and cheese sliders are! They’re loaded with juicy steak, melted provolone cheese, and sweet caramelized onions.
Imagine biting into a soft slider bun with a burst of steak flavor and melted cheese in every bite. These sliders are perfect for game day, a family dinner, or your next gathering. With great flavor like this, you can’t go wrong.
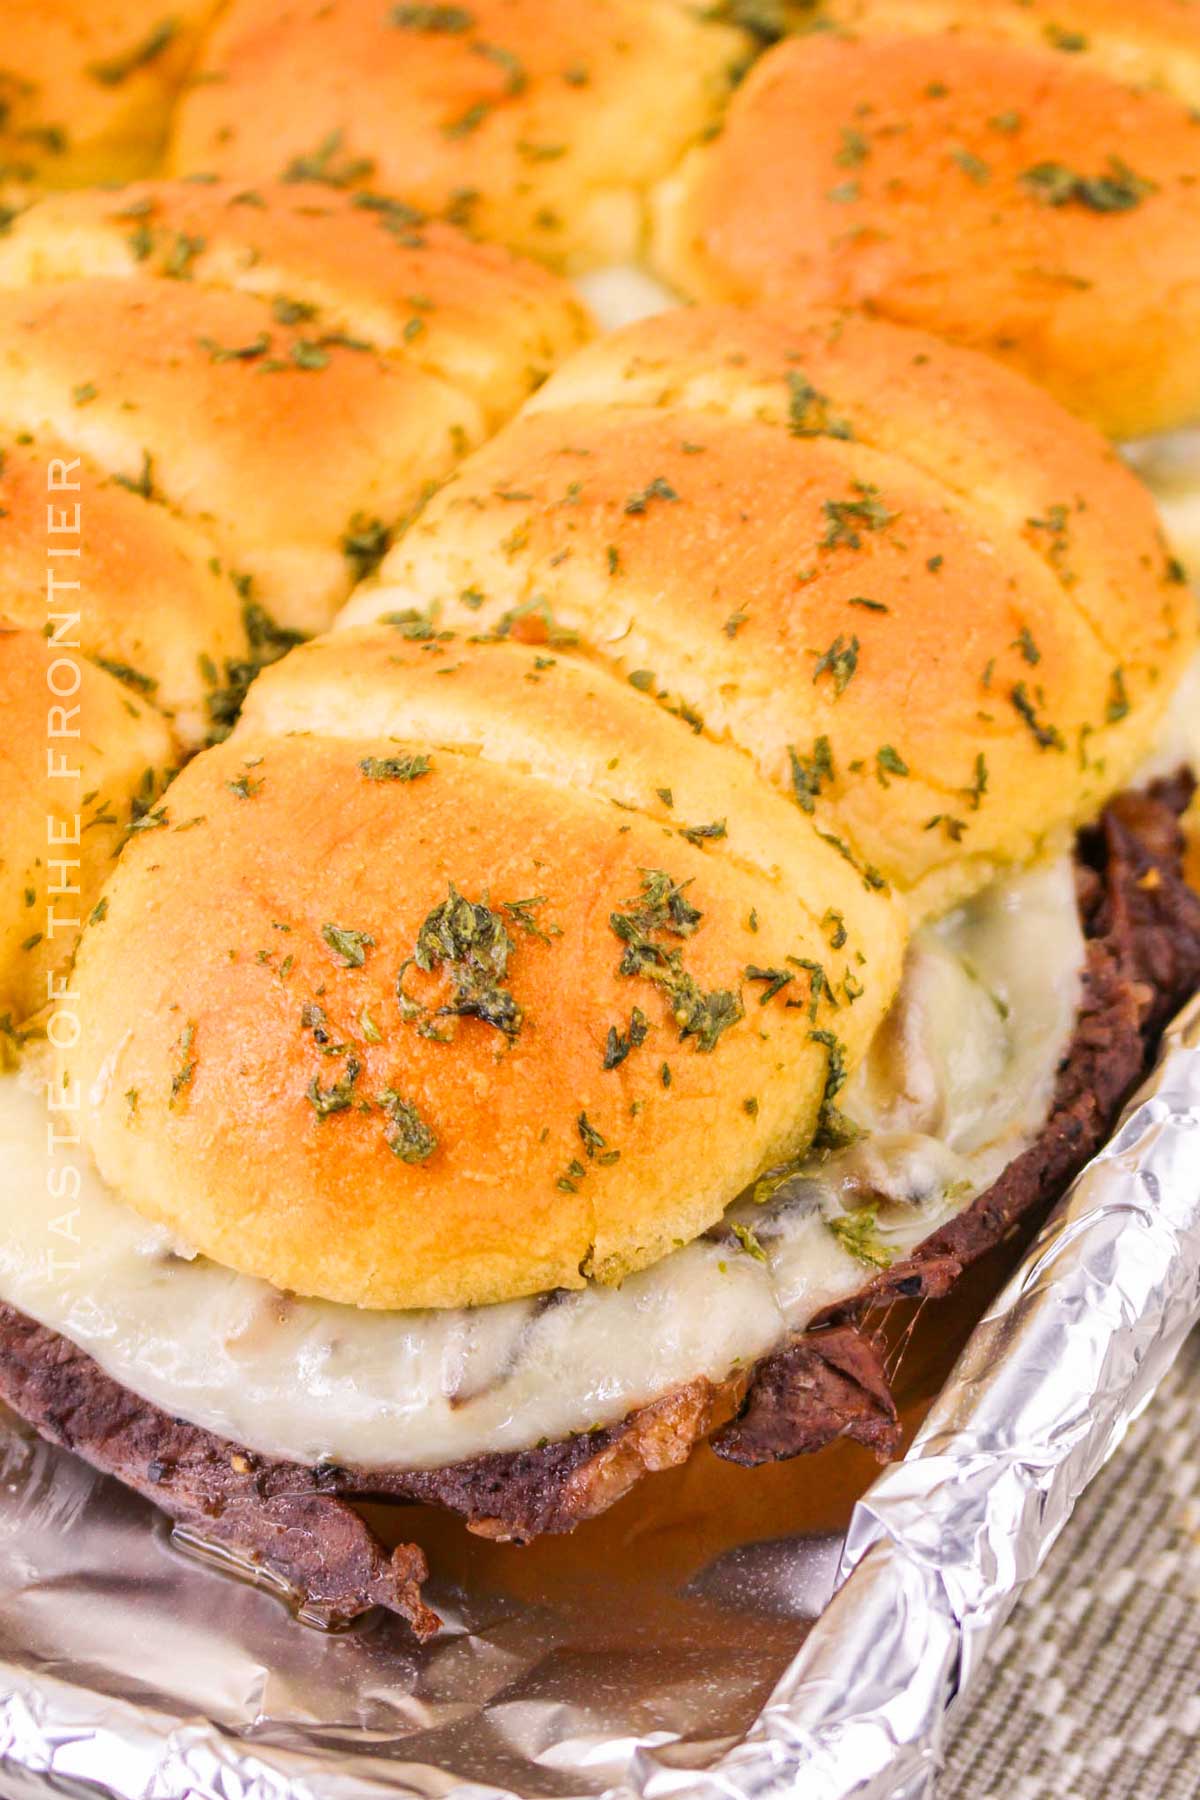
Good luck not eating them all in one sitting! Steak and cheese sliders are a fantastic, versatile dish that’s sure to be a hit with your family and friends.
They’re easy to make, super delicious, and perfect for any occasion. So why not give them a try? Your taste buds will thank you!
Common Questions About Steak and Cheese Sliders
Can I Use Different Cuts of Steak for the Sliders?
Absolutely! While ribeye steak is super tasty, you can also use skirt steak, flank steak, or even leftover steak.
Each type of steak gives a slightly different flavor and texture, but all work great in this recipe. Just be sure to slice the steak thinly for the best results.
Can I Add Vegetables to the Sliders?
Yes, definitely! Adding green bell peppers and sweet onions gives the sliders a delicious, savory flavor. You can also add other veggies like mushrooms or spinach. Just sauté them along with the onions and peppers to mix into the steak.
Can I Make the Sliders Ahead of Time?
Yes, you can! You can prepare the steak and onion mixture ahead of time and store it in an airtight container in the fridge.
When you’re ready to serve, just assemble the sliders and bake them. This makes them perfect for busy days or when you want to plan ahead for a party.
Storage
I’ll be honest, I don’t typically have leftovers with this recipe. I do like having extra slider rolls, though. They’re handy to have on the counter.
Refrigerator
Store any leftover steak and cheese sliders in an airtight container in the refrigerator. They’ll stay fresh for up to 3 days.
Just pop them in the microwave or oven to reheat and enjoy a warm, delicious slider anytime.
Freezer
You can also freeze the sliders! Wrap each slider tightly in plastic wrap and then place them in a freezer-safe bag. They can be frozen for up to 2 months.
When you’re ready to eat, thaw them in the refrigerator overnight and reheat in the oven until warm and melty.
Tips
I think Hawaiian rolls would be great with this recipe too. It’s totally up to you, though!
- Use a sharp knife to slice the steak thinly for the best texture.
- Sauté the onions and peppers until they’re soft and caramelized for extra sweetness.
- Don’t overcook the steak to keep it juicy and tender.
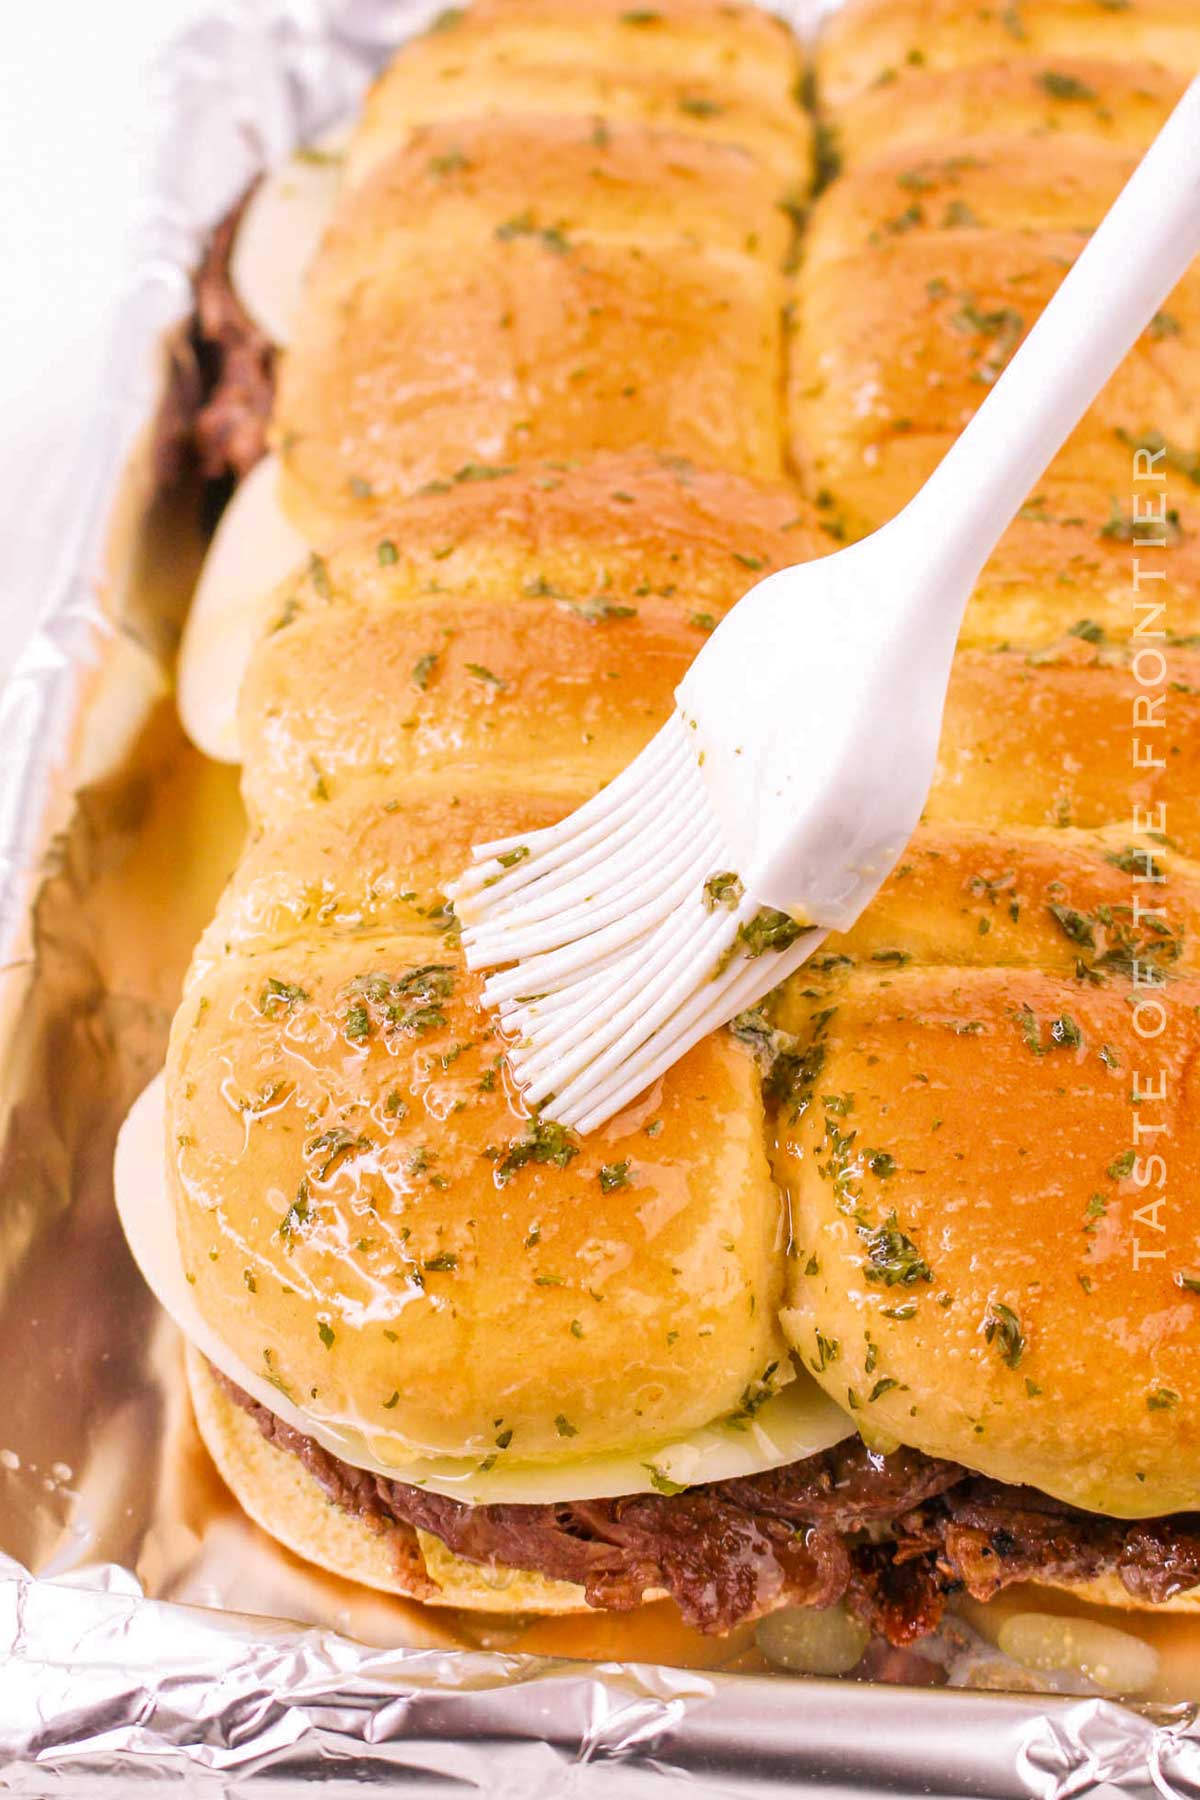
- Brush the tops of the rolls with melted butter and garlic powder for a golden brown, flavorful finish.
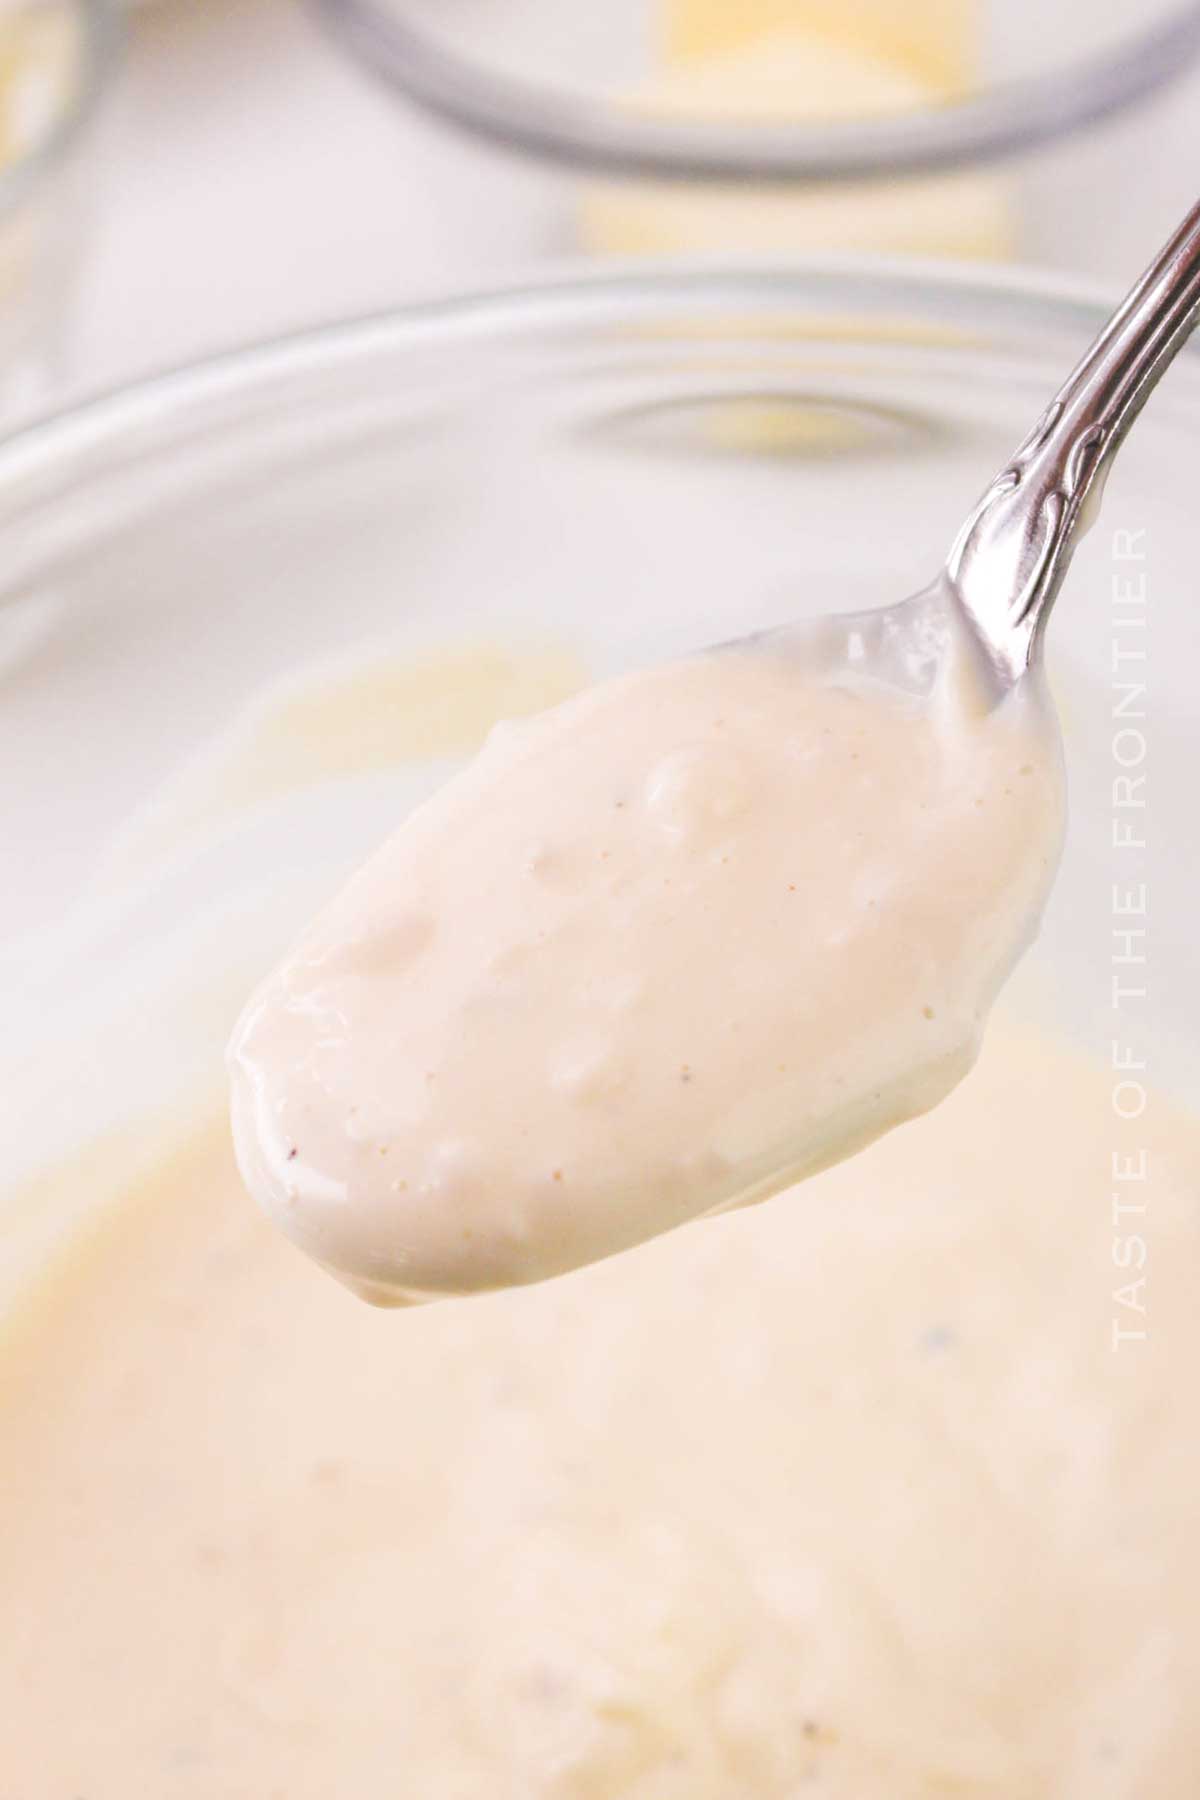
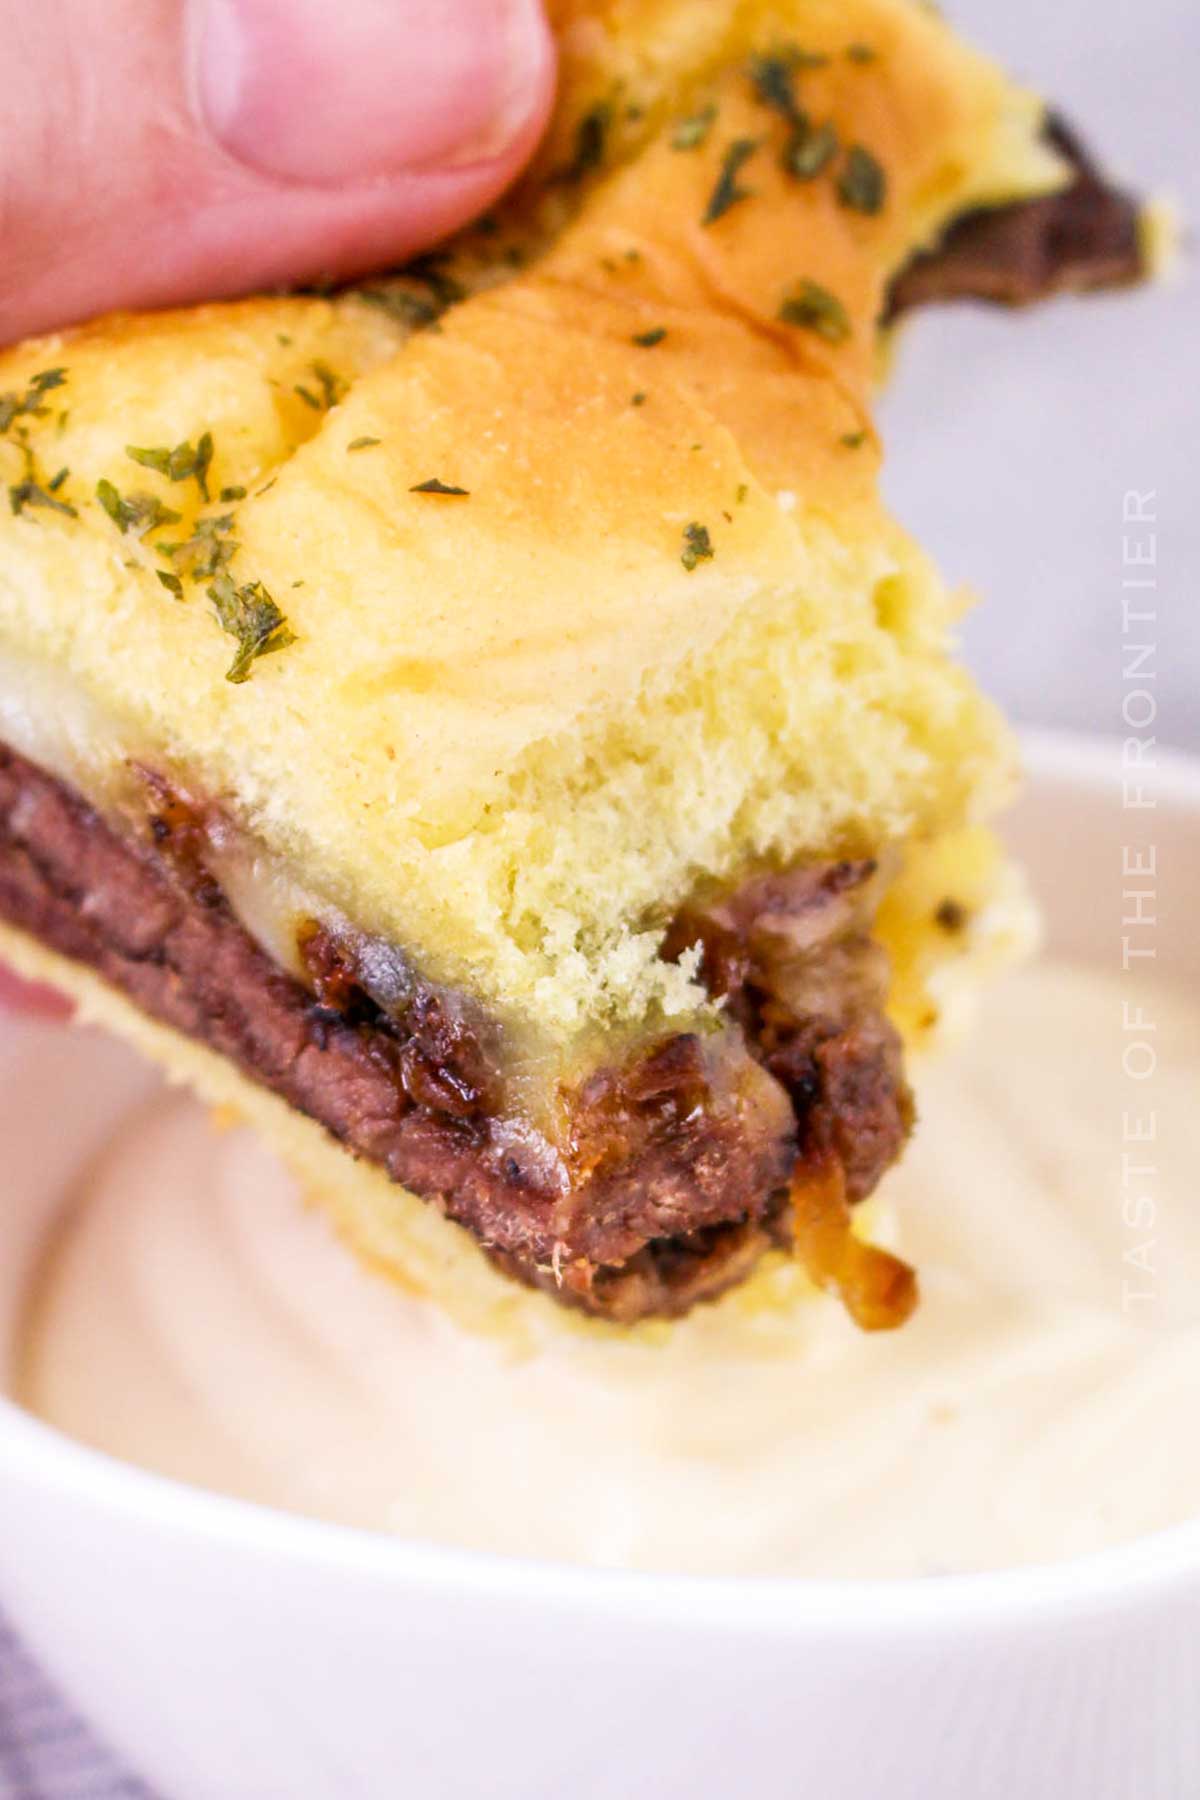
- Serve warm with the garlic aioli on the side for dipping or spreading.
Ingredients
Oh man, my mouth starts watering looking at this list of ingredients. That ribeye most especially.
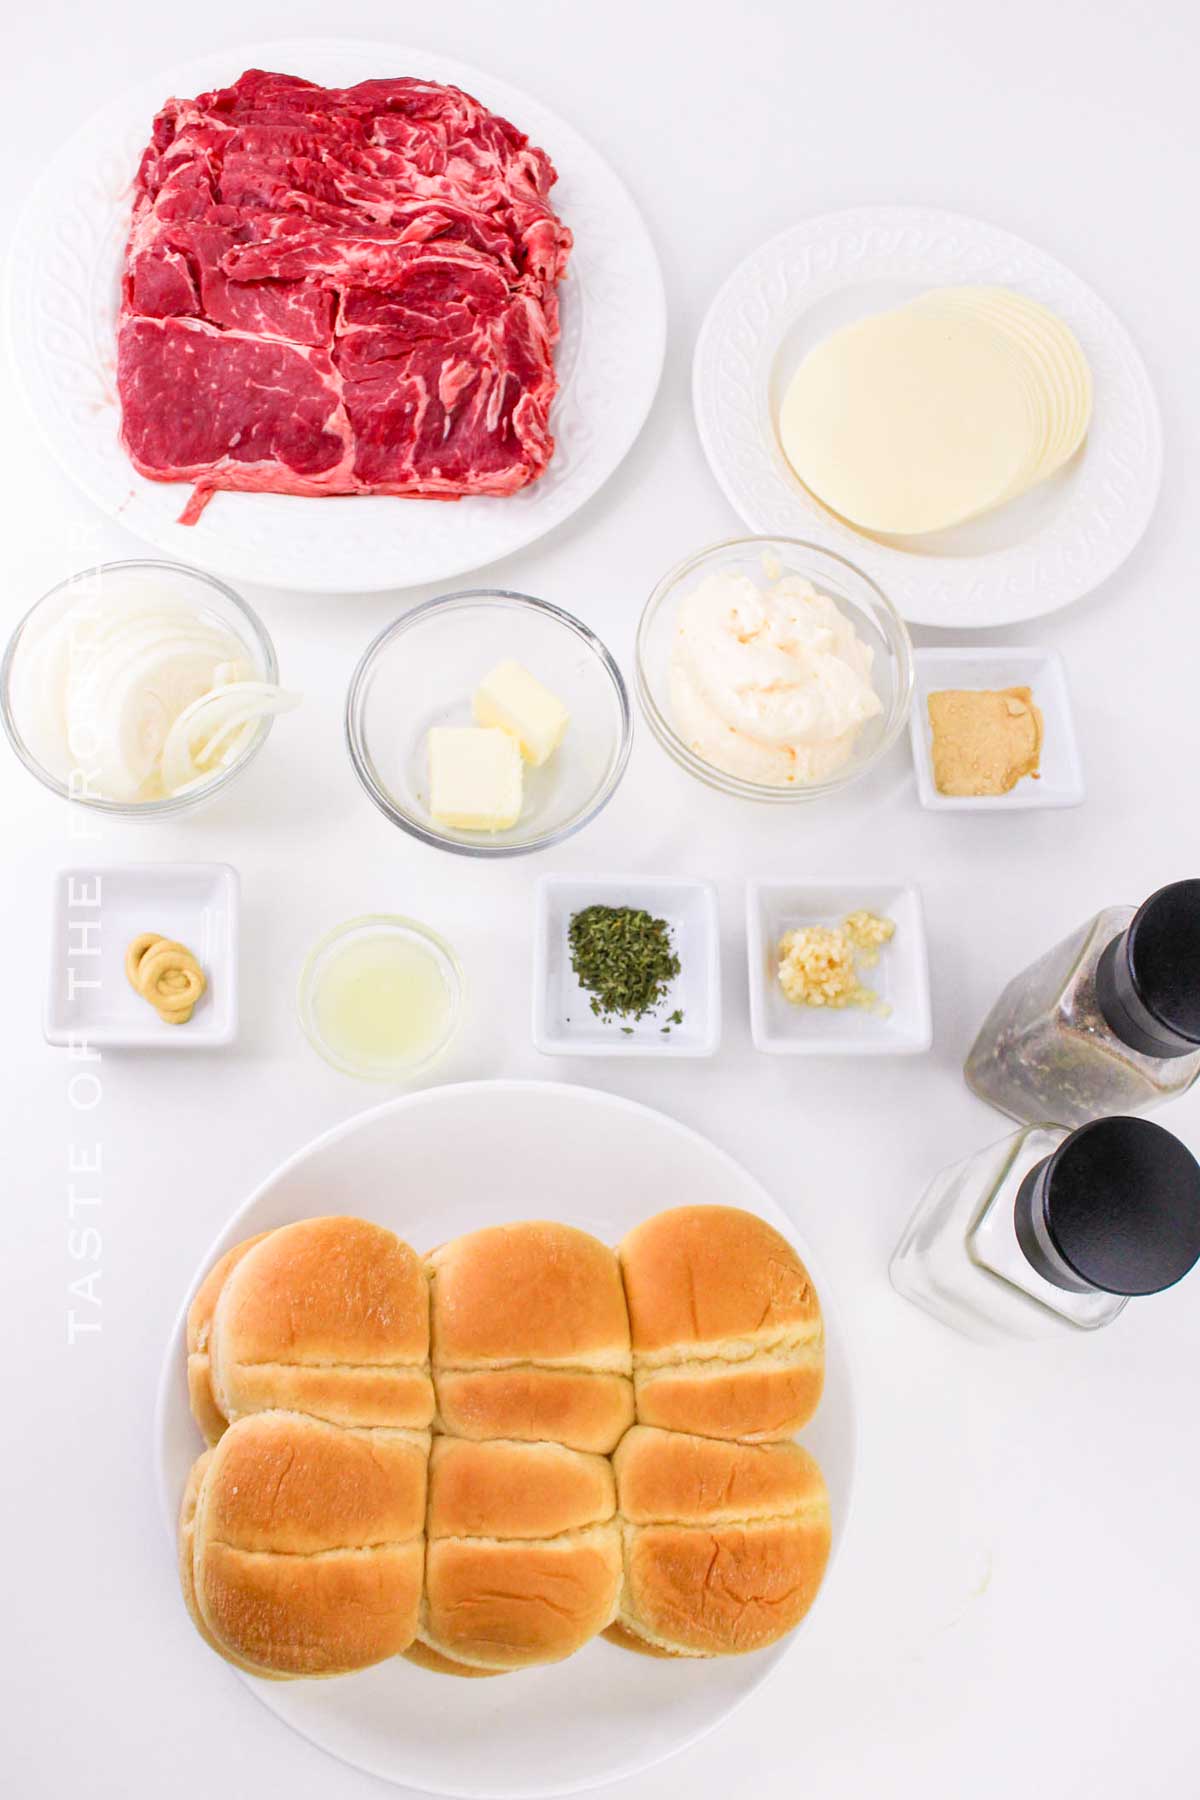
- Thinly sliced ribeye steak
- Olive oil
- Large onion
- Green bell pepper
- Slider buns
- Provolone cheese
- Butter
- Garlic powder
- Dried parsley
- Salt and pepper
- Mayonnaise
- Garlic
- Lemon juice
- Dijon mustard
- Black pepper
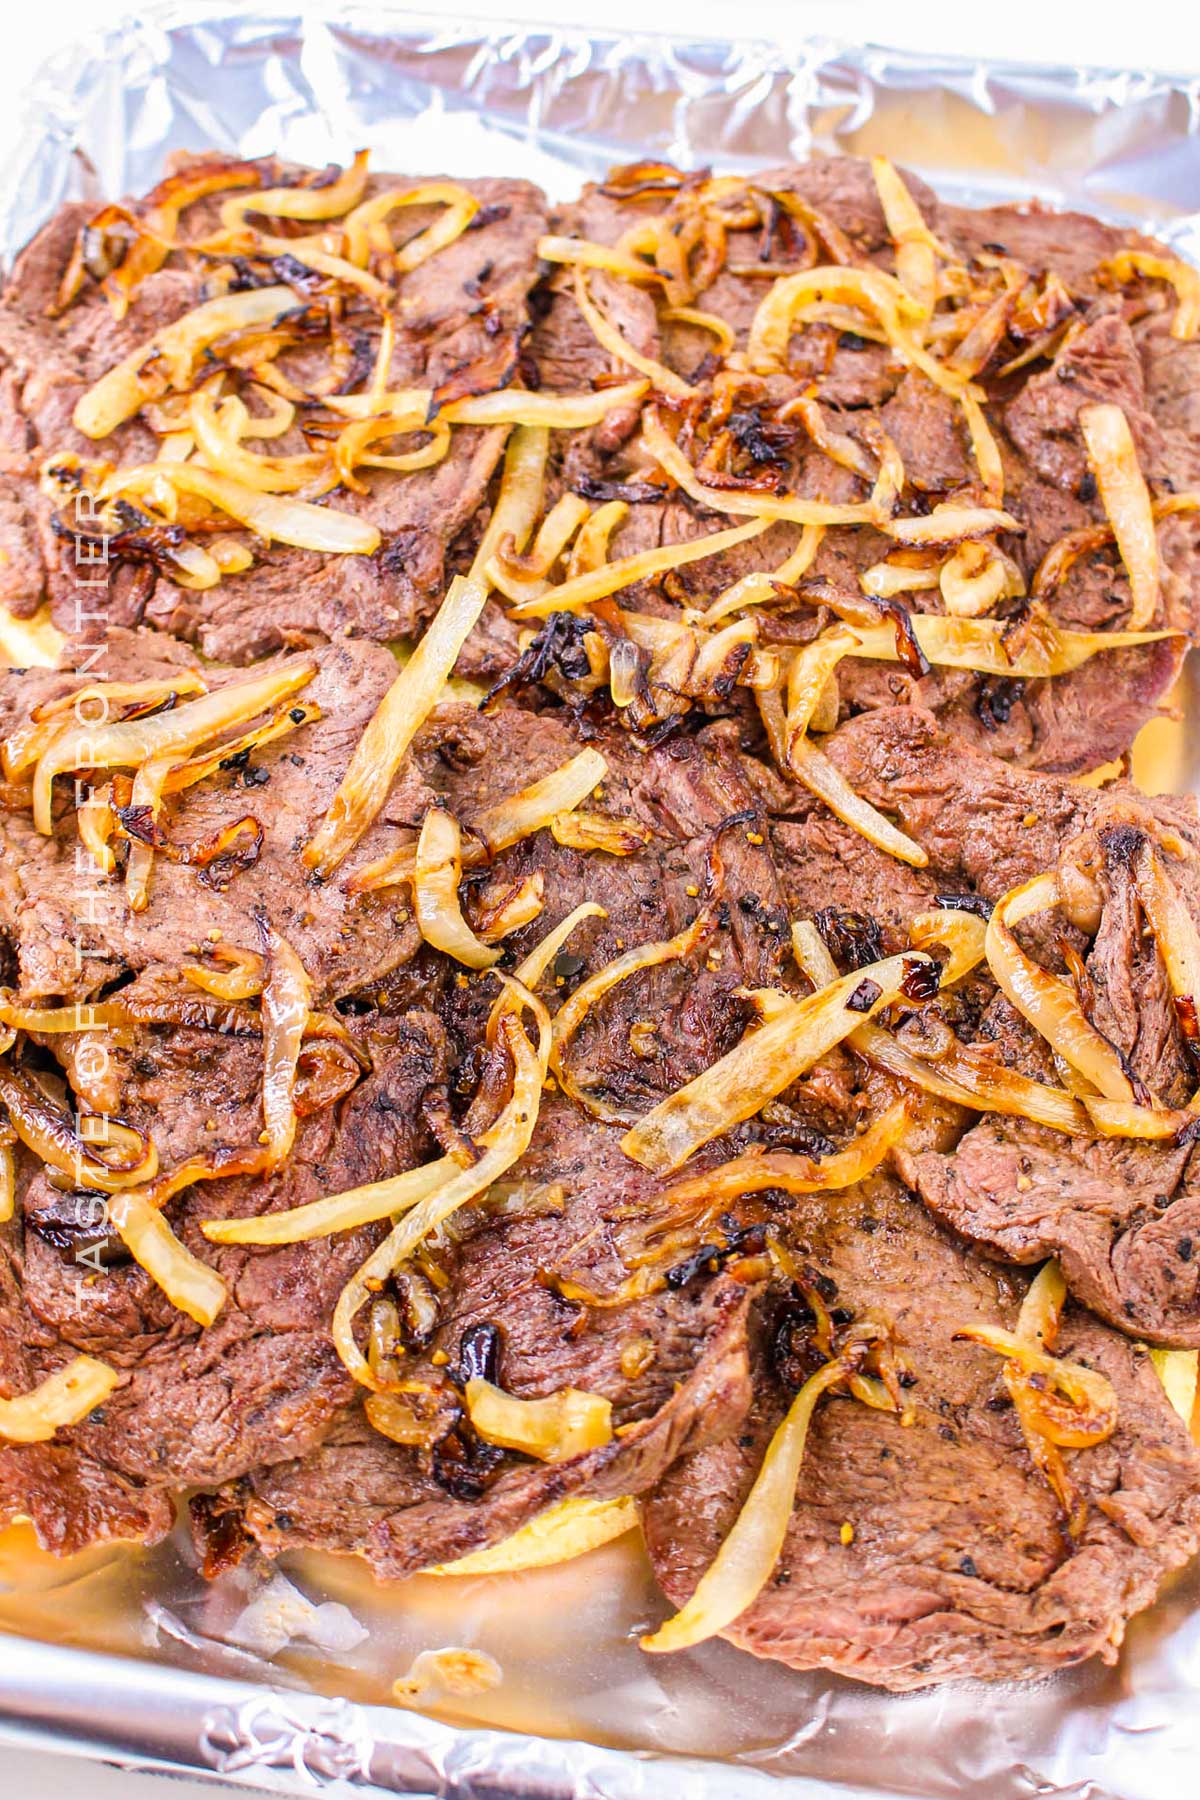
How to Make Steak and Cheese Sliders
Here we go! These might remind you a lot of philly cheese sliders. They’re plenty different, though. Enjoy!
Garlic aioli
- Combine the mayonnaise, minced garlic, lemon juice, Dijon mustard, salt, and black pepper in a small bowl.
- Mix well until all ingredients are thoroughly combined.
- Cover and refrigerate for at least 30 minutes to allow the flavors to develop.
Sliders
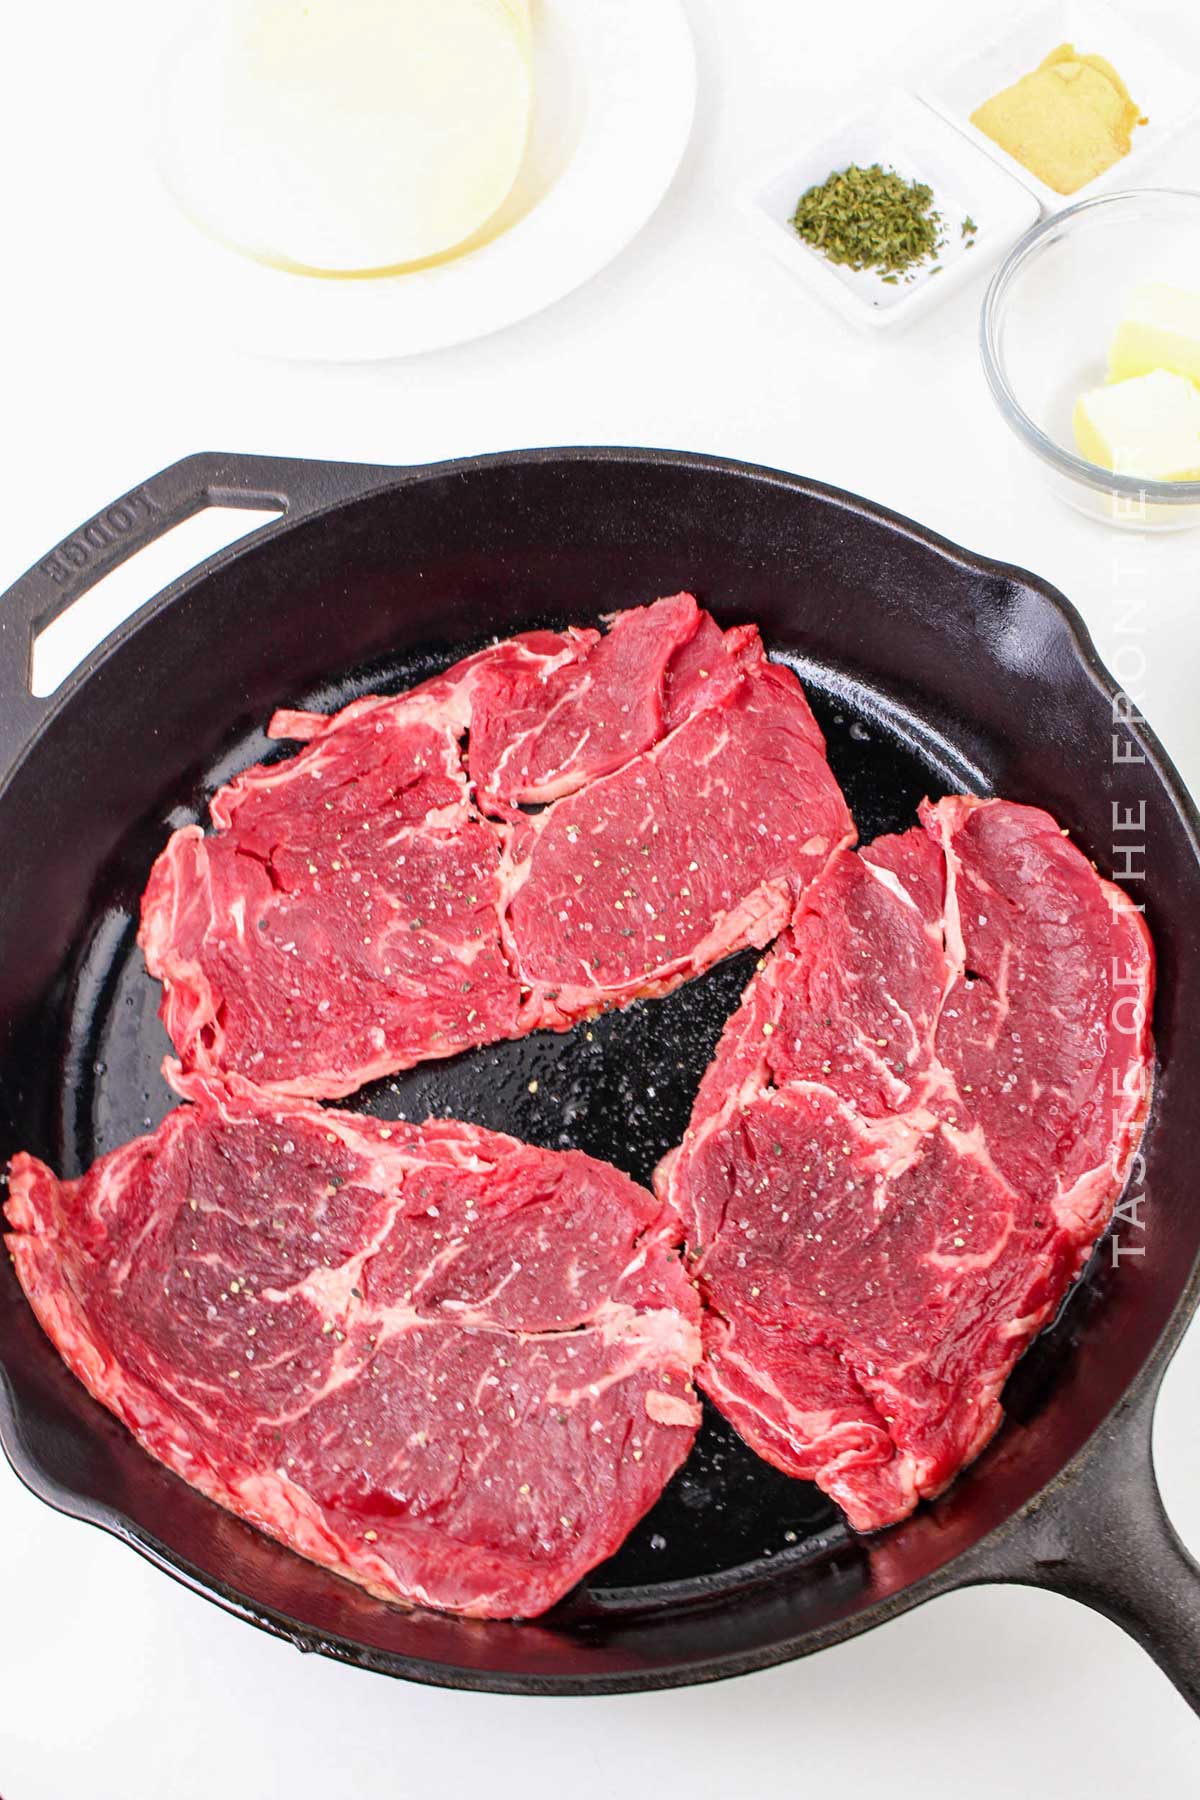
- Season the steak slices with salt and pepper.
- Heat the olive oil over medium heat in a large skillet.
- Add the onions, cooking until softened, about 5-7 minutes. Remove from the skillet and set aside.
- In the same skillet, add the steak slices and cook until browned, about 2-3 minutes per side. Return the cooked onions and bell peppers to the skillet and mix with the steak.
- Preheat the oven to 350°F (175°C).
- Arrange the bottom halves of the slider buns on a baking sheet.
- Evenly distribute the steak mixture over the buns.
- Place a slice of provolone cheese on top of the steak mixture.
- Place the top halves of the buns on the cheese.
- Brush the tops with melted butter mixed with garlic powder.
- Bake until the cheese is melted and the buns are lightly toasted- about 10-12 minutes.
- Remove from the oven and serve warm with the garlic aioli sauce.
Kitchen Supplies You’ll Need for Steak and Cheese Sliders
These savory sliders don’t take much equipment. Do make sure you have a sharp knife, though. It makes all the difference.
- Large skillet
- Baking sheet
- Sharp knife
- Small bowl
- Pastry brush
What to Serve With Steak and Cheese Sliders
Steak and cheese sliders are great on their own, but they’re even better with some tasty sides. Try serving them with:
- Crispy french fries
- Sweet potato fries
- Tater tots
- Onion rings
- A fresh garden salad
Why You Should Make Steak and Cheese Sliders
You are absolutely going to love these. I especially like serving them at parties. It’s just so easy to make a lot of food!
- They’re easy to make and perfect for beginners.
- Kids and adults love them alike!
- Great for any occasion, from casual dinners to parties.
- Customizable with different cheeses and toppings.
- Can be made ahead, making them perfect for busy schedules.
Variations and Add-Ins for Steak and Cheese Sliders
Feel free to try out any of these options. Let me know in the comments how it goes. I love hearing from you!
- Add mushrooms for an earthy flavor.
- Use American cheese for a classic cheeseburger slider twist.
- Try a garlic aioli or cheese whiz for an extra tasty addition.
- Mix in some hot sauce for a spicy kick.
- Top with onion rings for a crunchy texture.
If you love this game day recipe, you’re going to love these other sliders too. Please click each link below to find the easy, printable recipe!


More Great Beef and Cheese Recipes
Crockpot French Dip Sandwiches
Cheeseburger Sliders with Hawaiian Rolls
Pressure Cooker Italian Beef Sliders
CONNECT WITH YUMMI HAUS!
Be sure to follow me on my social media, so you never miss a post!
Steak and Cheese Sliders
Ingredients
- 1 lb steak thinly sliced – (ribeye or sirloin)
- 1 tablespoon olive oil
- 1 large onion thinly sliced
- 1 green bell pepper thinly sliced
- 12 slider buns
- 12 slices provolone cheese
- 2 tablespoons butter melted
- 1 teaspoon garlic powder
- 1 teaspoon dried parsley
Salt and pepper to taste
Garlic Aioli
- ½ cup mayonnaise
- 2 cloves garlic minced
- 1 tablespoon lemon juice
- 1 teaspoon Dijon mustard
- ¼ teaspoon salt
- ⅛ teaspoon black pepper
Instructions
Garlic aioli
- Combine the mayonnaise, minced garlic, lemon juice, Dijon mustard, salt, and black pepper in a small bowl.
- Mix well until all ingredients are thoroughly combined.
- Cover and refrigerate for at least 30 minutes to allow the flavors to develop.
Sliders
- Season the steak slices with salt and pepper.
- Heat the olive oil over medium heat in a large skillet.
- Add the onions, cooking until softened, about 5-7 minutes. Remove from the skillet and set aside.
- In the same skillet, add the steak slices and cook until browned, about 2-3 minutes per side. Return the cooked onions and bell peppers to the skillet and mix with the steak.
- Preheat the oven to 350°F (175°C).
- Arrange the bottom halves of the slider buns on a baking sheet.
- Evenly distribute the steak mixture over the buns.
- Place a slice of provolone cheese on top of the steak mixture.
- Place the top halves of the buns on the cheese.
- Brush the tops with melted butter mixed with garlic powder.
- Bake until the cheese is melted and the buns are lightly toasted- about 10-12 minutes.
- Remove from the oven and serve warm with the garlic aioli sauce.
Nutrition
Nutritional information for the recipe is provided as a courtesy and is approximate. Please double-check with your own dietary calculator for the best accuracy. We at Yummi Haus cannot guarantee the accuracy of the nutritional information given for any recipe on this site.




Share Your Thoughts