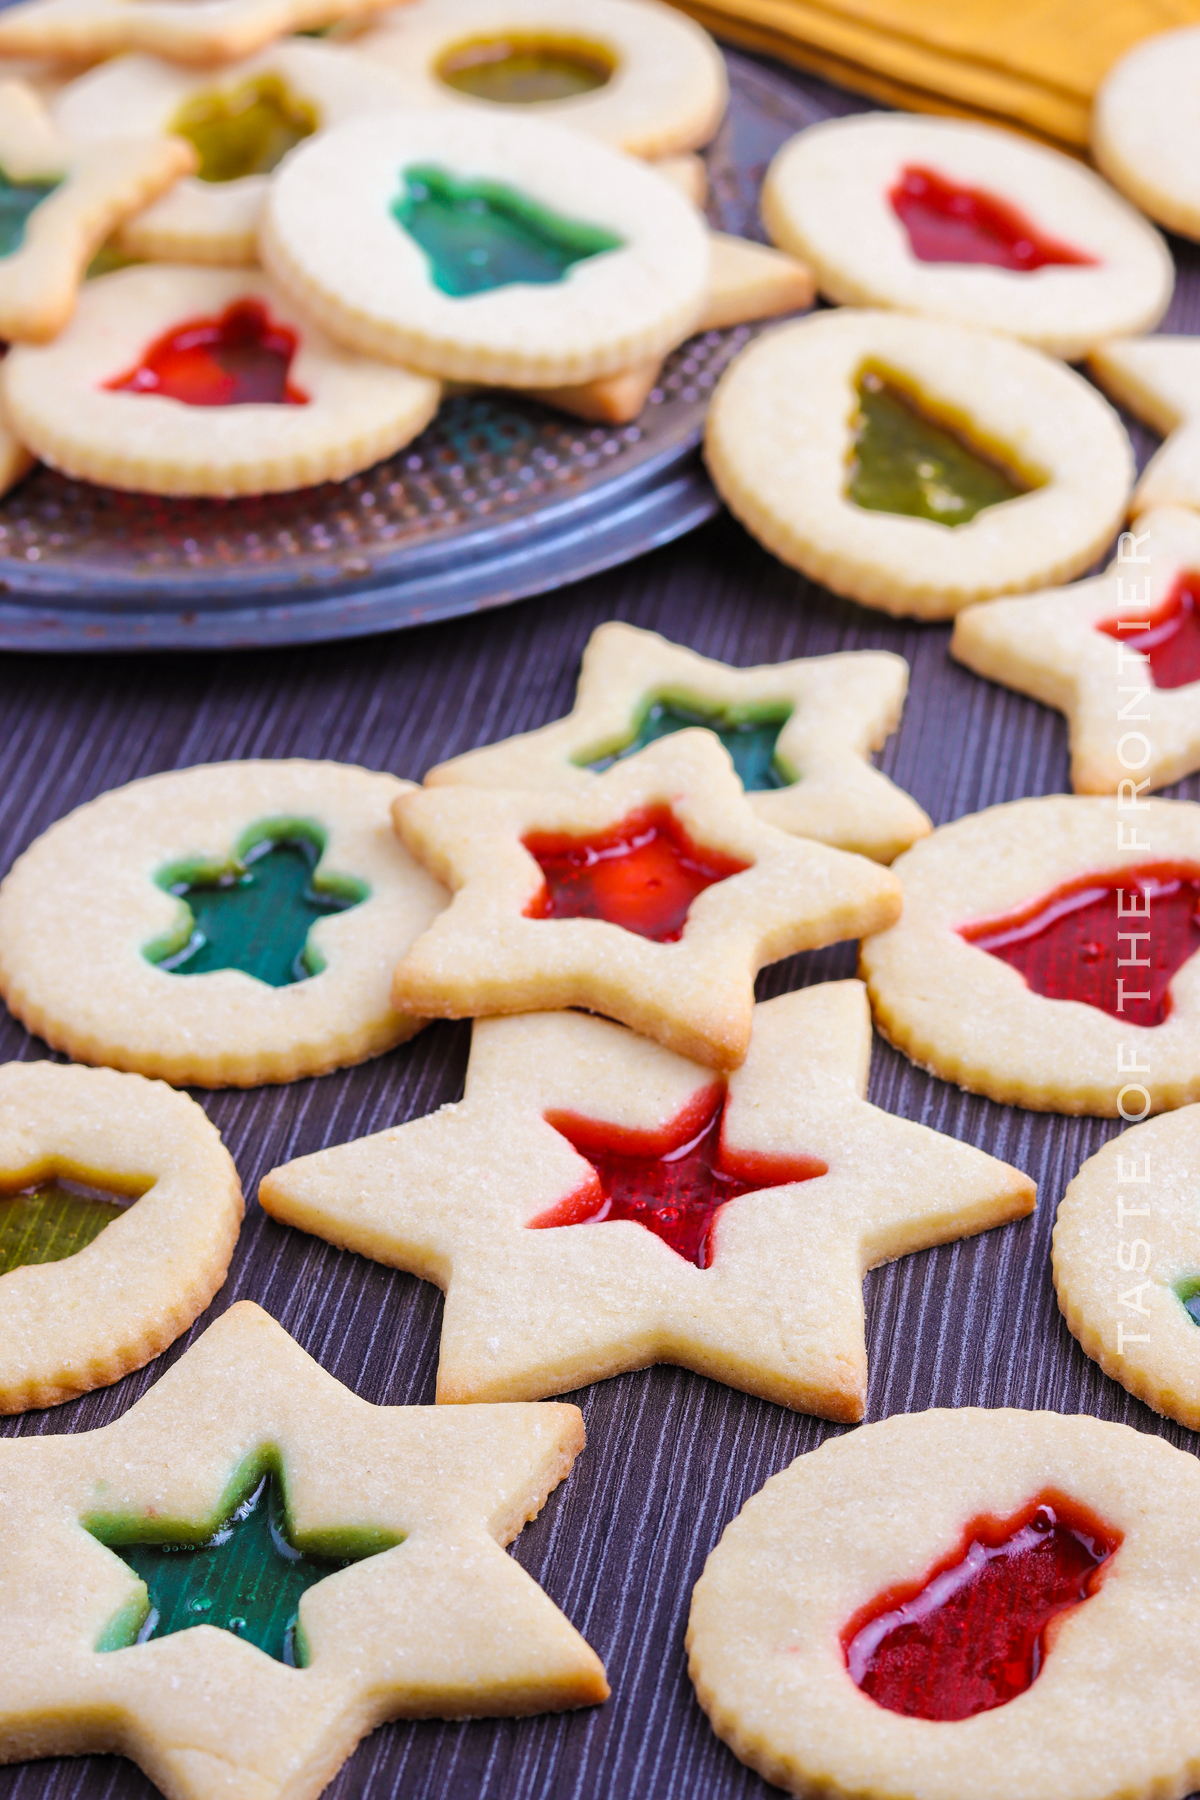
There are tons of different kinds of traditional cookies that I like to make during the holidays. However, one of my favorites to bake and serve are these gorgeous stained glass cookies.
These cookies look absolutely amazing and definitely give the impression that you spent a lot of time in the kitchen. Yet, they’re actually fairly simple and come together relatively quickly.
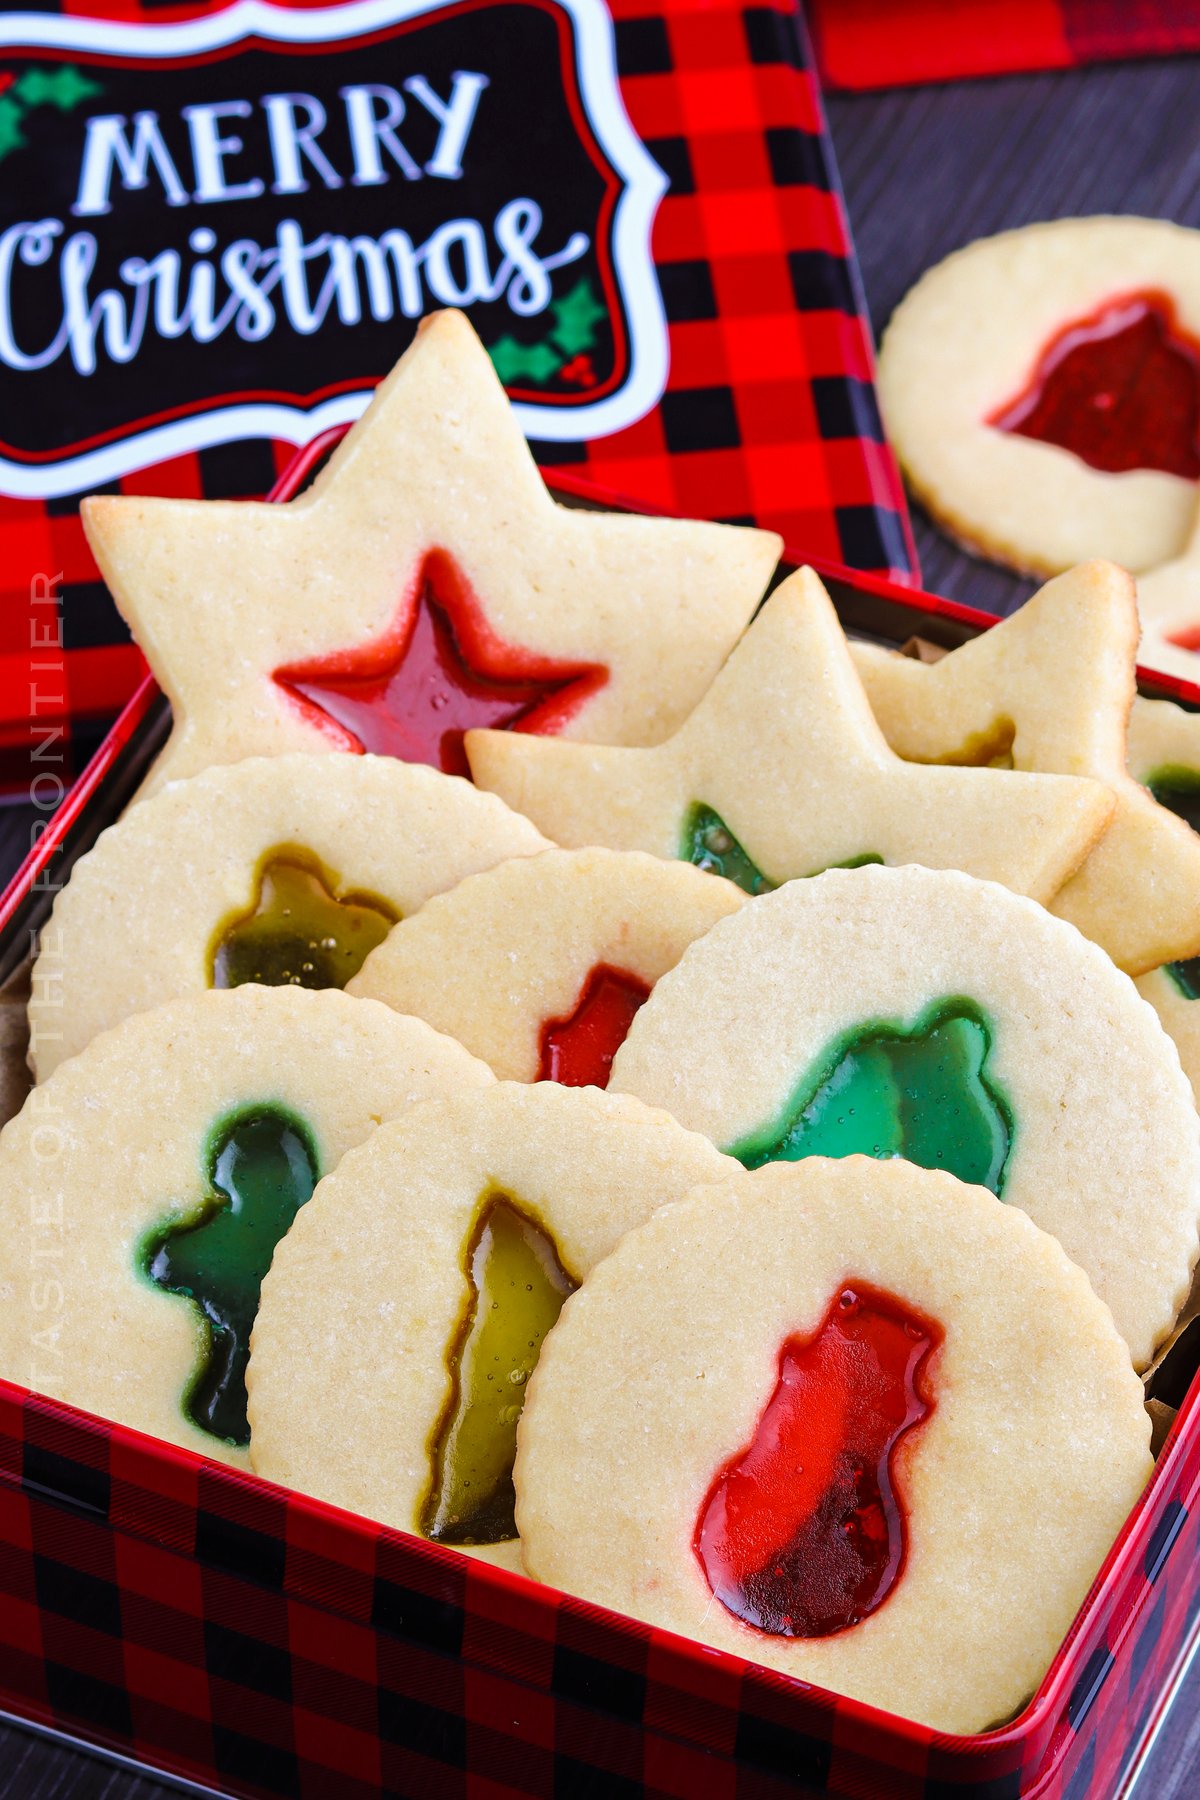
I like to execute the recipe as is, but you can get creative and customize it, too.
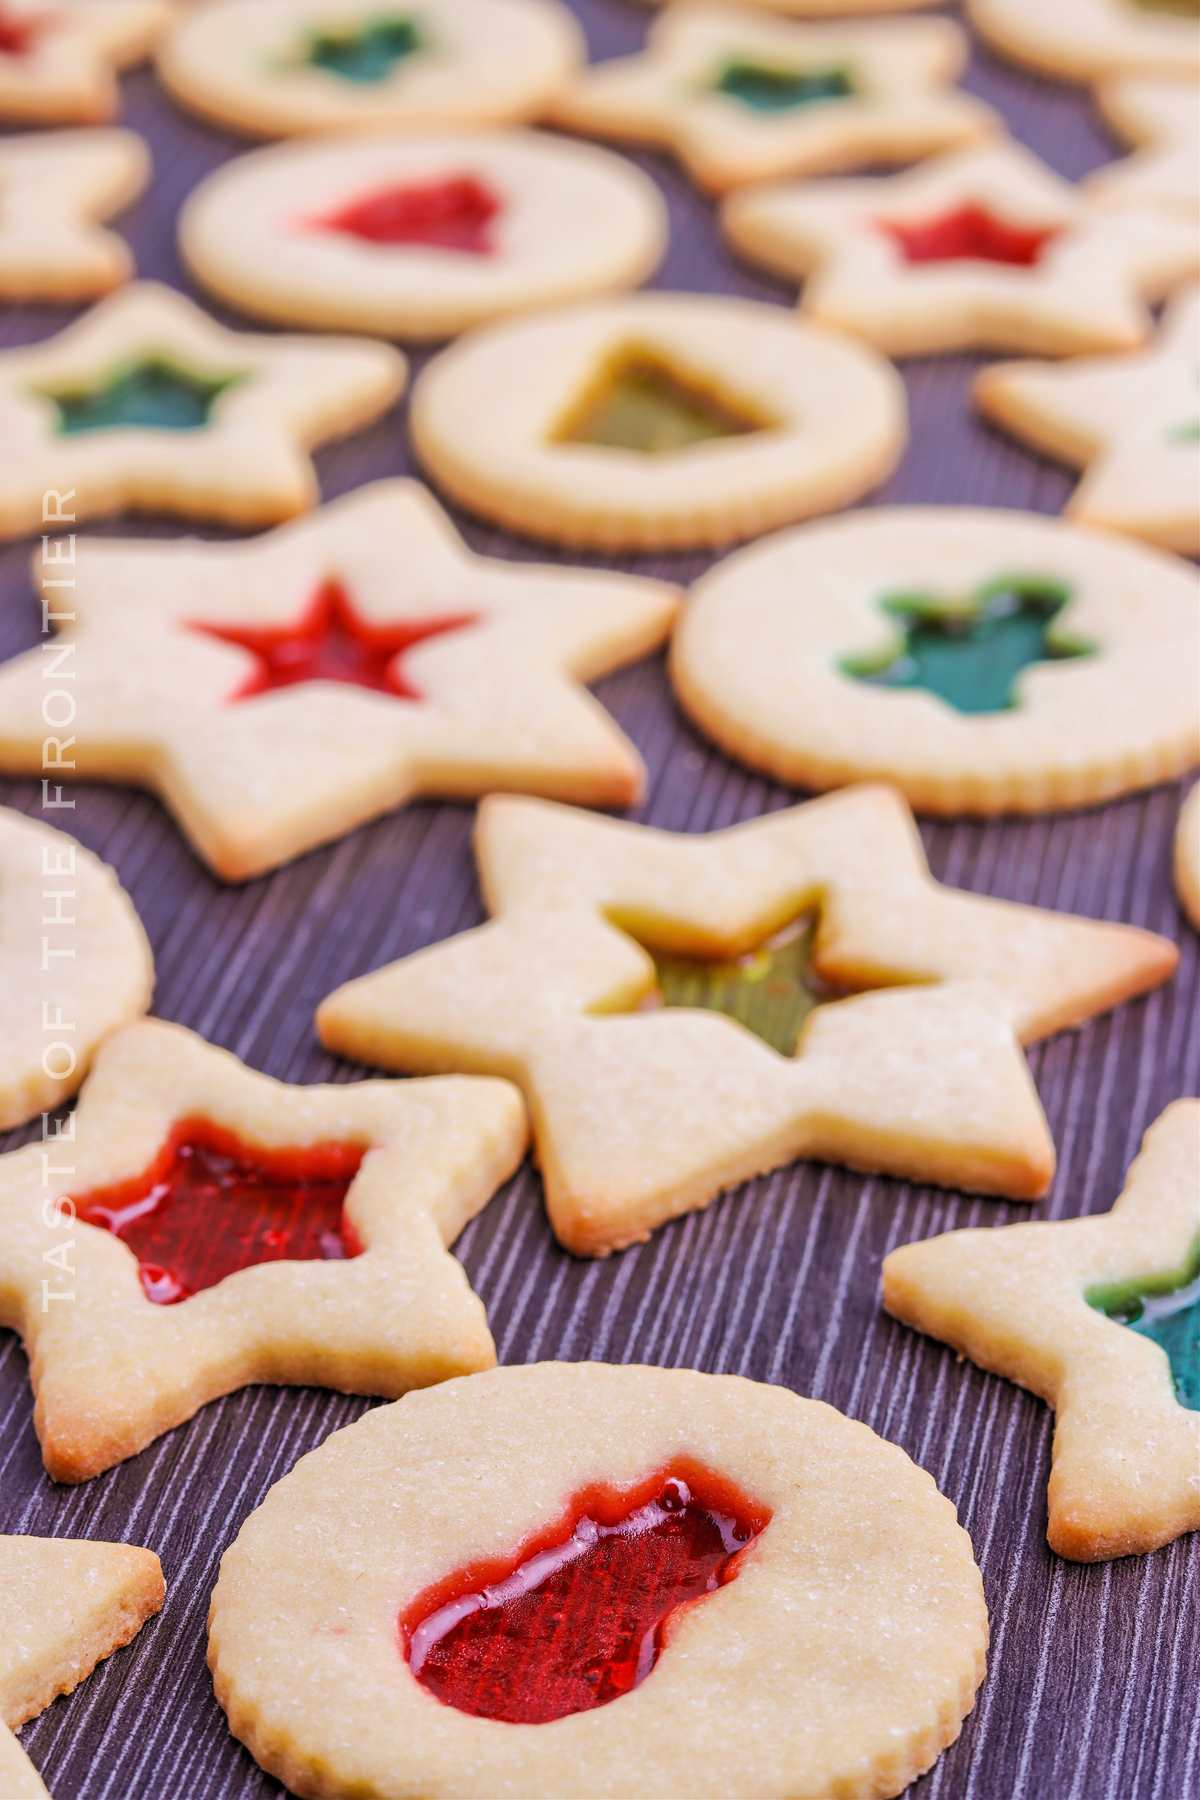
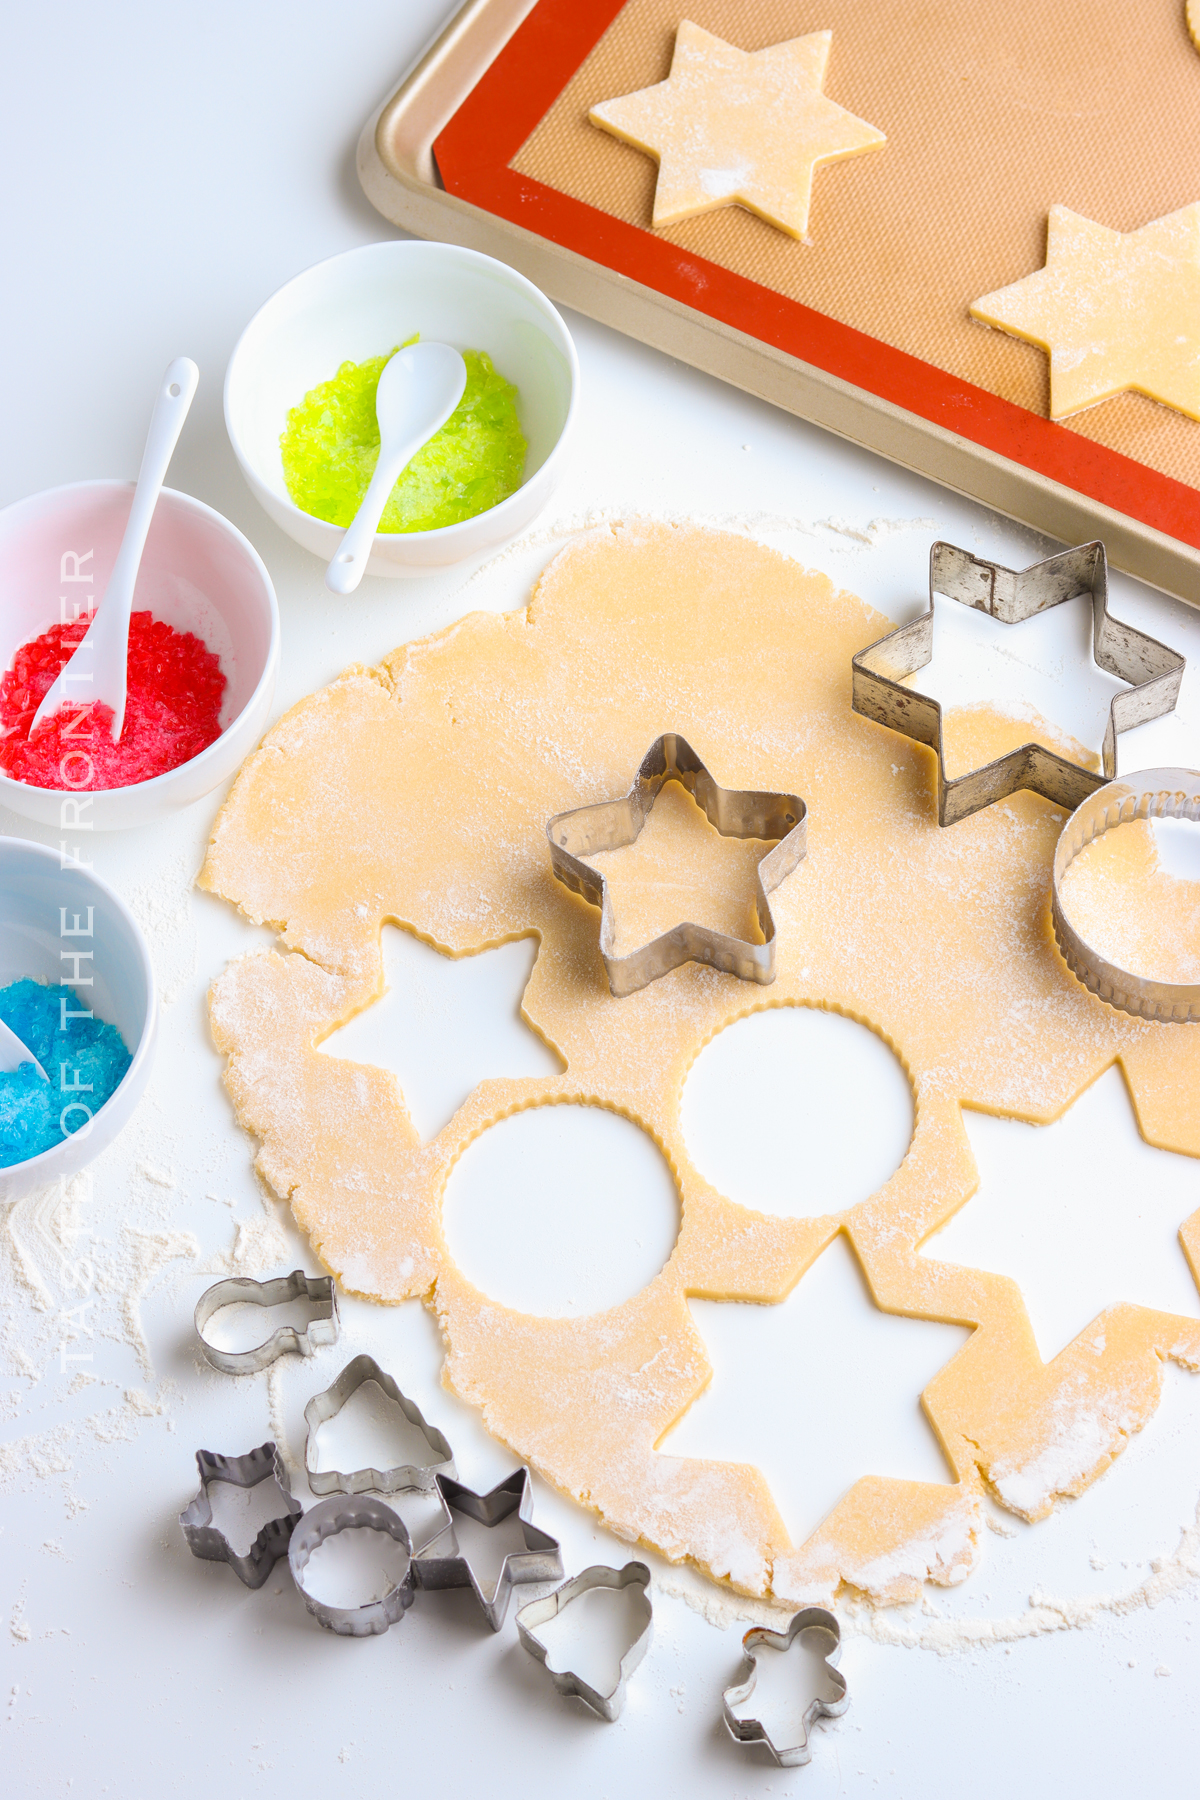
As you’ll see, you can use any cutters that you want to cut the cookie shapes, both for the larger portion or for the centers of the cookies. From large stars to gingerbread men and candy canes to Christmas trees, you can make any shapes that you like (or have cookie cutters handy to make).
If you’re looking to wow guests at your holiday party, these cookies are definitely the way to do it.
Common Questions about Stained Glass Cookies
Can I paint my cookies with food coloring?
The center of the cookies are the colorful star of the show. However, it’s easiest to mix food coloring into the dough gently if you want colored dough, as well.
Where did cookies from?
Many point to Persia (now Iran) as the place where cookies originated. It is believed that they were actually test cakes that bakers used to test oven temperatures.
What type of cookies are Stained Glass cookies?
There are 6 major types of cookies. Stained glass cookies fall under the category of “rolled cookies” which tend to have a stiff dough.
Making Stained Glass Cookies Ahead of Time
You can make the dough ahead of time and store it in the fridge for up to 3 days.
Storage
Store cookies in a single layer in an airtight container or a plastic bag in a cool, dry place for up to 3 days. You can also place them in layers in the container if you separate the layers with wax paper or a piece of parchment.
Refrigerator: It is not necessary to refrigerate these cookies but if you choose to do so you can store them in a freezer bag in the fridge. If you do refrigerate them, allow them to come to room temperature before serving.
Freezing: Freezing these cookies is not recommended.
Tips For The Best Stained Glass Cookies
- Use room temperature ingredients. When all of your ingredients are at room temperature they are easier to mix and yield better results.
- Try using unwrapped candies. Save time by using candies that are already unwrapped.
Ingredients
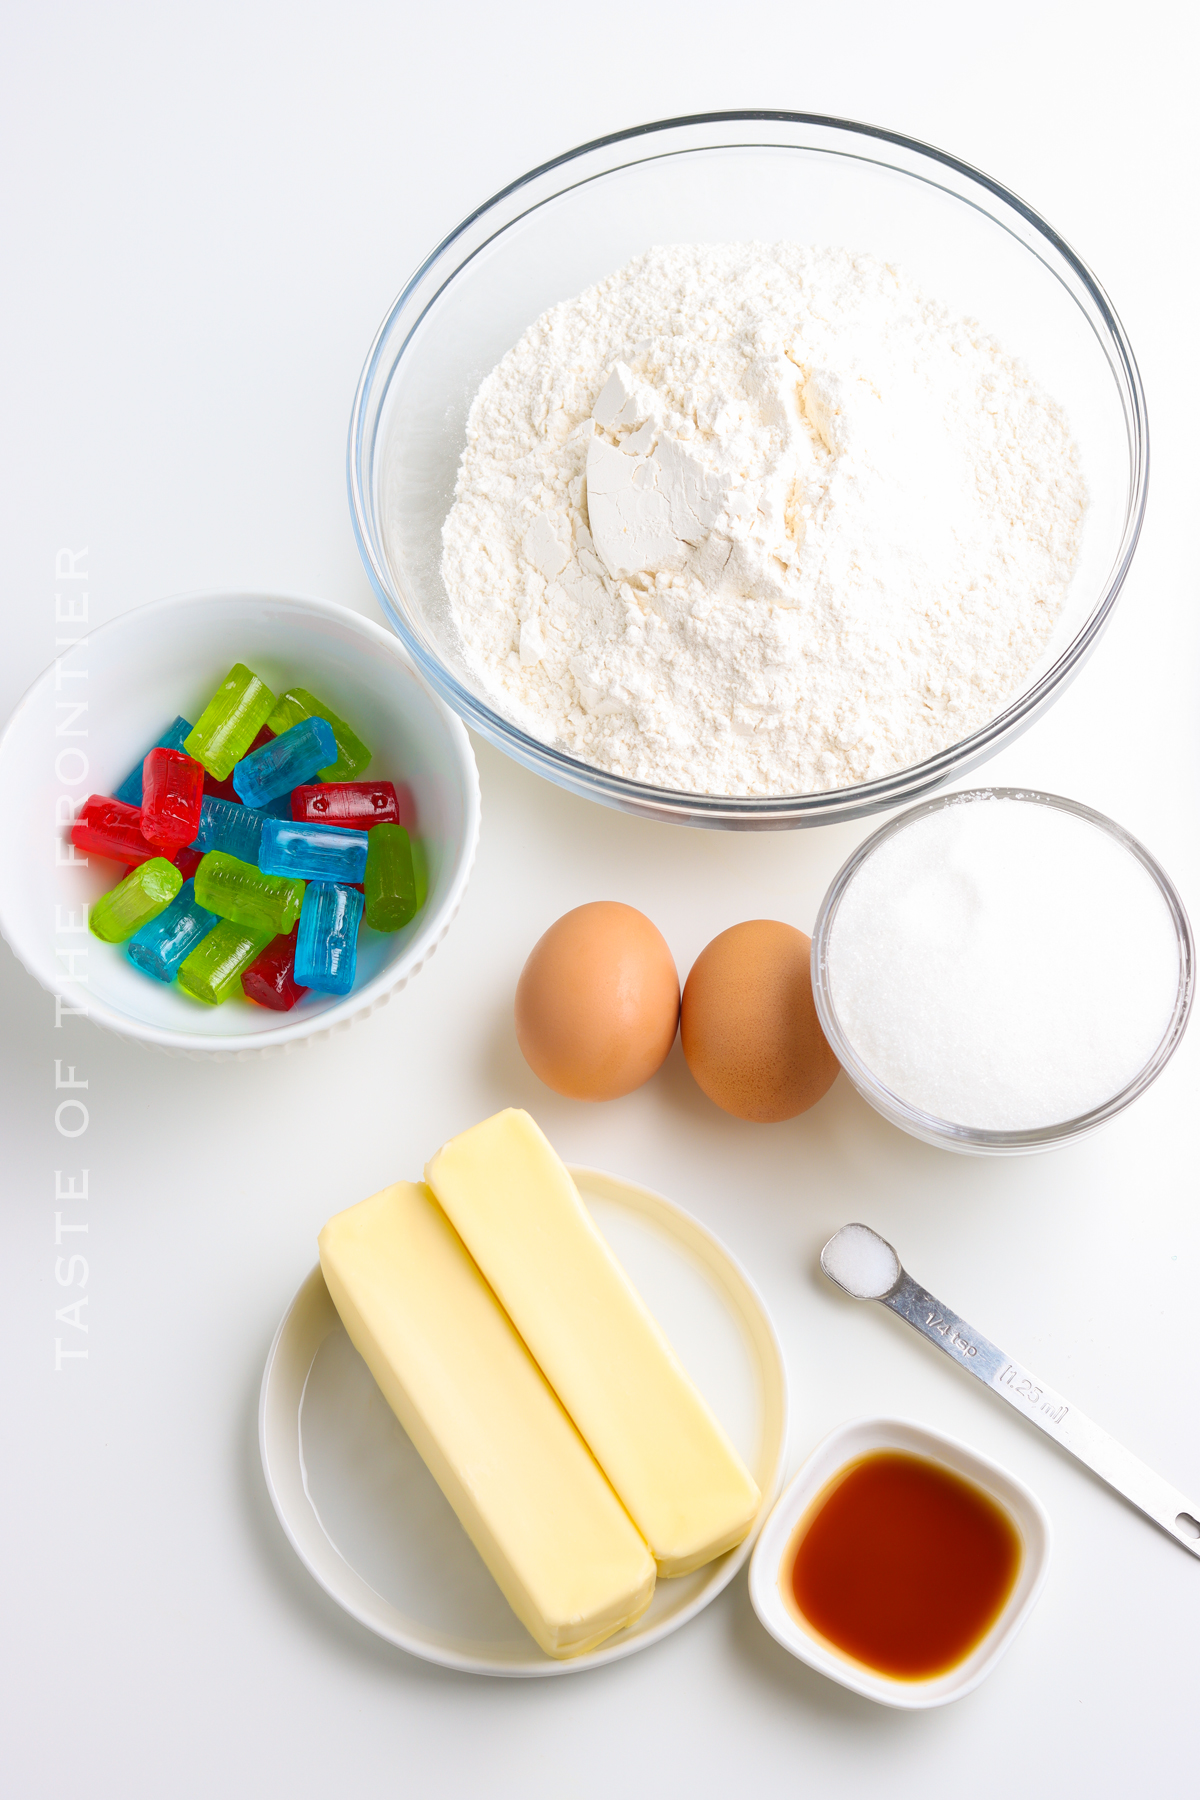
The ingredient list is short so make sure to use the best quality ingredients so that they all shine in this recipe. For instance, I prefer using pure vanilla extract rather than imitation.
- Unsalted butter (softened)
- Granulated sugar
- Vanilla extract
- Eggs (room temperature)
- All-purpose flour
- Salt
- 25 hard candies (Jolly Rancher candies, Lifesavers, or your favorite hard candy)
Kitchen Supplies You’ll Need
- Large bowl
- Medium bowl
- Small bowl
- Stand mixer with a paddle attachment (or hand mixer)
- Resealable bags
- Rolling pin (or meat mallet)
- Baking sheets
- Parchment paper (or a silicone baking mat)
- Plastic wrap
- Wire racks
- Large cookie cutter and small cookie cutter (in festive shapes)
How to Make Stained Glass Cookies
Cookies
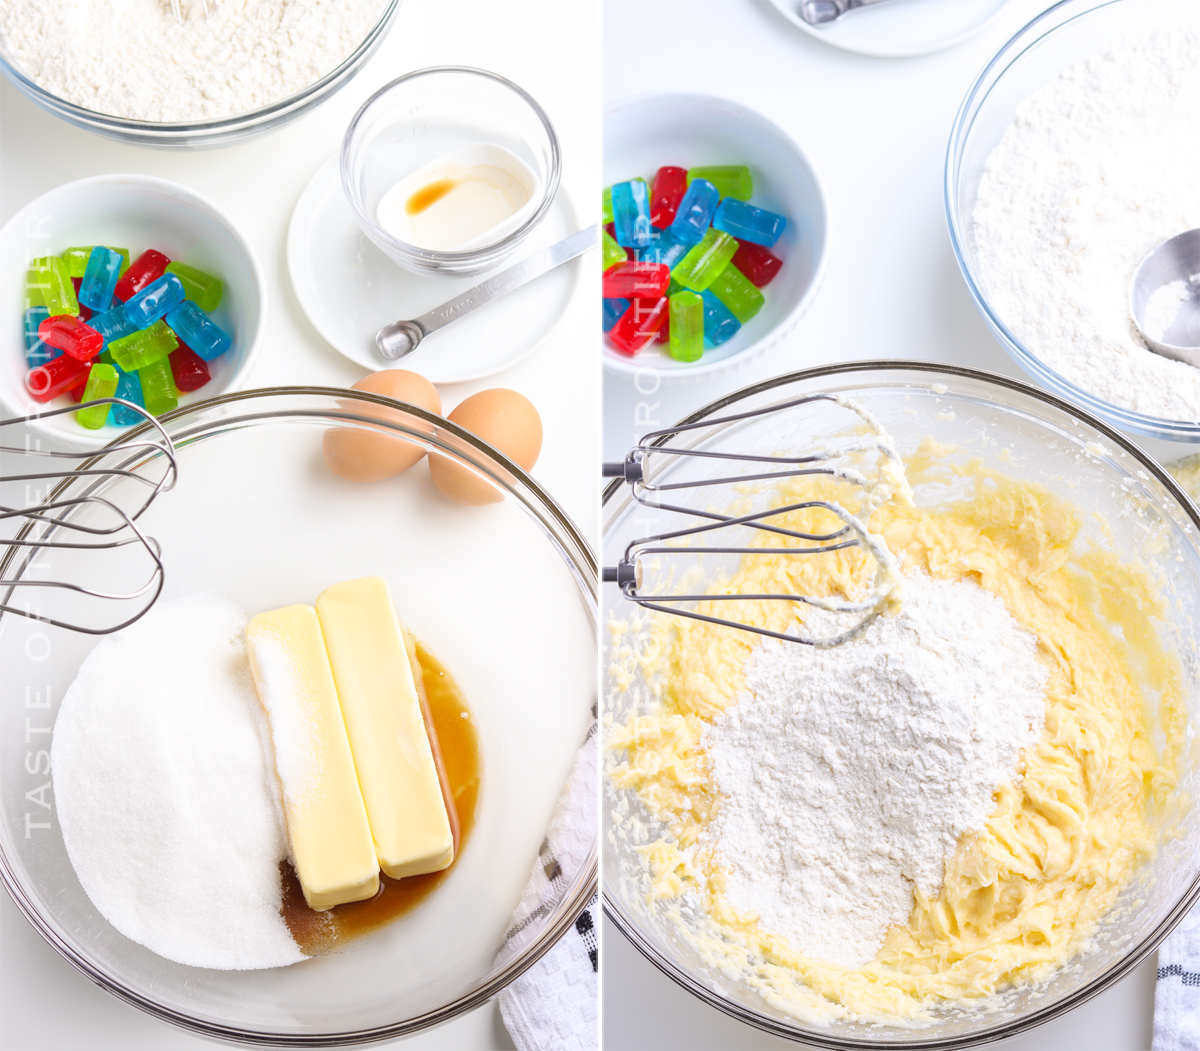
- Add the butter, sugar, and vanilla to a large bowl.
- On high speed, mix the ingredients until they are completely combined. The mixture should be light and fluffy.
- To the butter mixture, add the eggs and continue to beat on high speed.
- Once the eggs are combined, set the mixture aside.
- Add the flour and salt to a separate bowl. Whisk the ingredients until they are evenly dispersed.
- Then, while mixing on low speed, slowly add the dry ingredients to the butter mixture until it is all completely combined.
- Place the dough in a small bowl. Cover the bowl of dough with plastic wrap.
- Next, place the bowl in the refrigerator so that the dough can chill for at least one hour and up to overnight.
Crushing the Candy for the Stained Glass
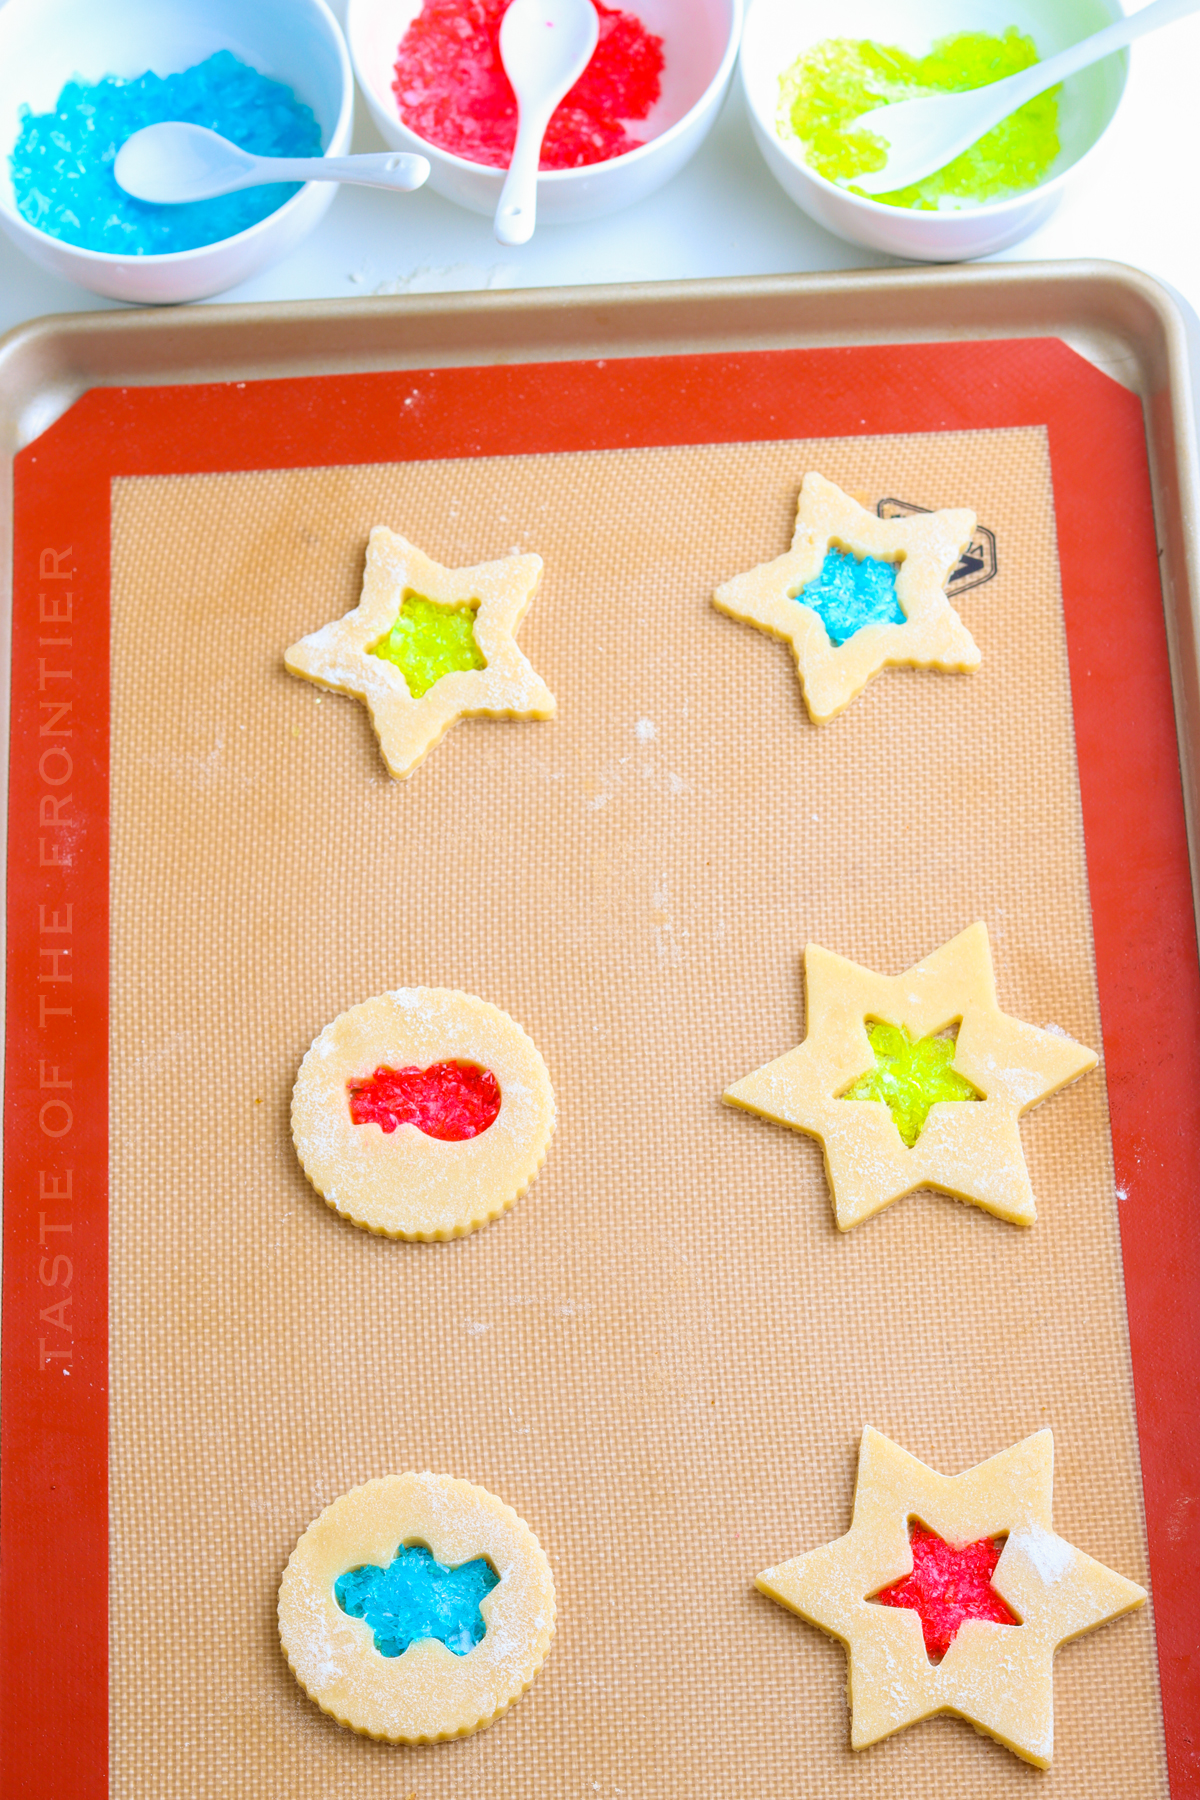
- Next, separate the candies by color and place each color of candies in separate resealable bags.
- Then, using a rolling pin (or meat mallet) crush the candies until they are in fine pieces.
Preparing the Cookies with the Candy
- When ready to prepare the cookies, lightly dust the work surface with flour.
- Then, remove the dough from the refrigerator.
- Next, take out a portion of the dough and return the remainder to the refrigerator.
- Using a rolling pin, roll the dough out to the desired thickness on the lightly floured surface.
- Using cookie cutters, cut the dough into shapes and place the cut-out dough on the prepared baking sheet (with parchment paper or a silicone mat).
- Next, use a smaller cookie cutter to cut out the center of each cookie.
- Continue the process until all of the dough has been used.
- Just before baking, sprinkle the crushed candy into the cut-out center of the cookie. Be sure not to get the candy pieces on the top of the dough and to not overfill the centers.
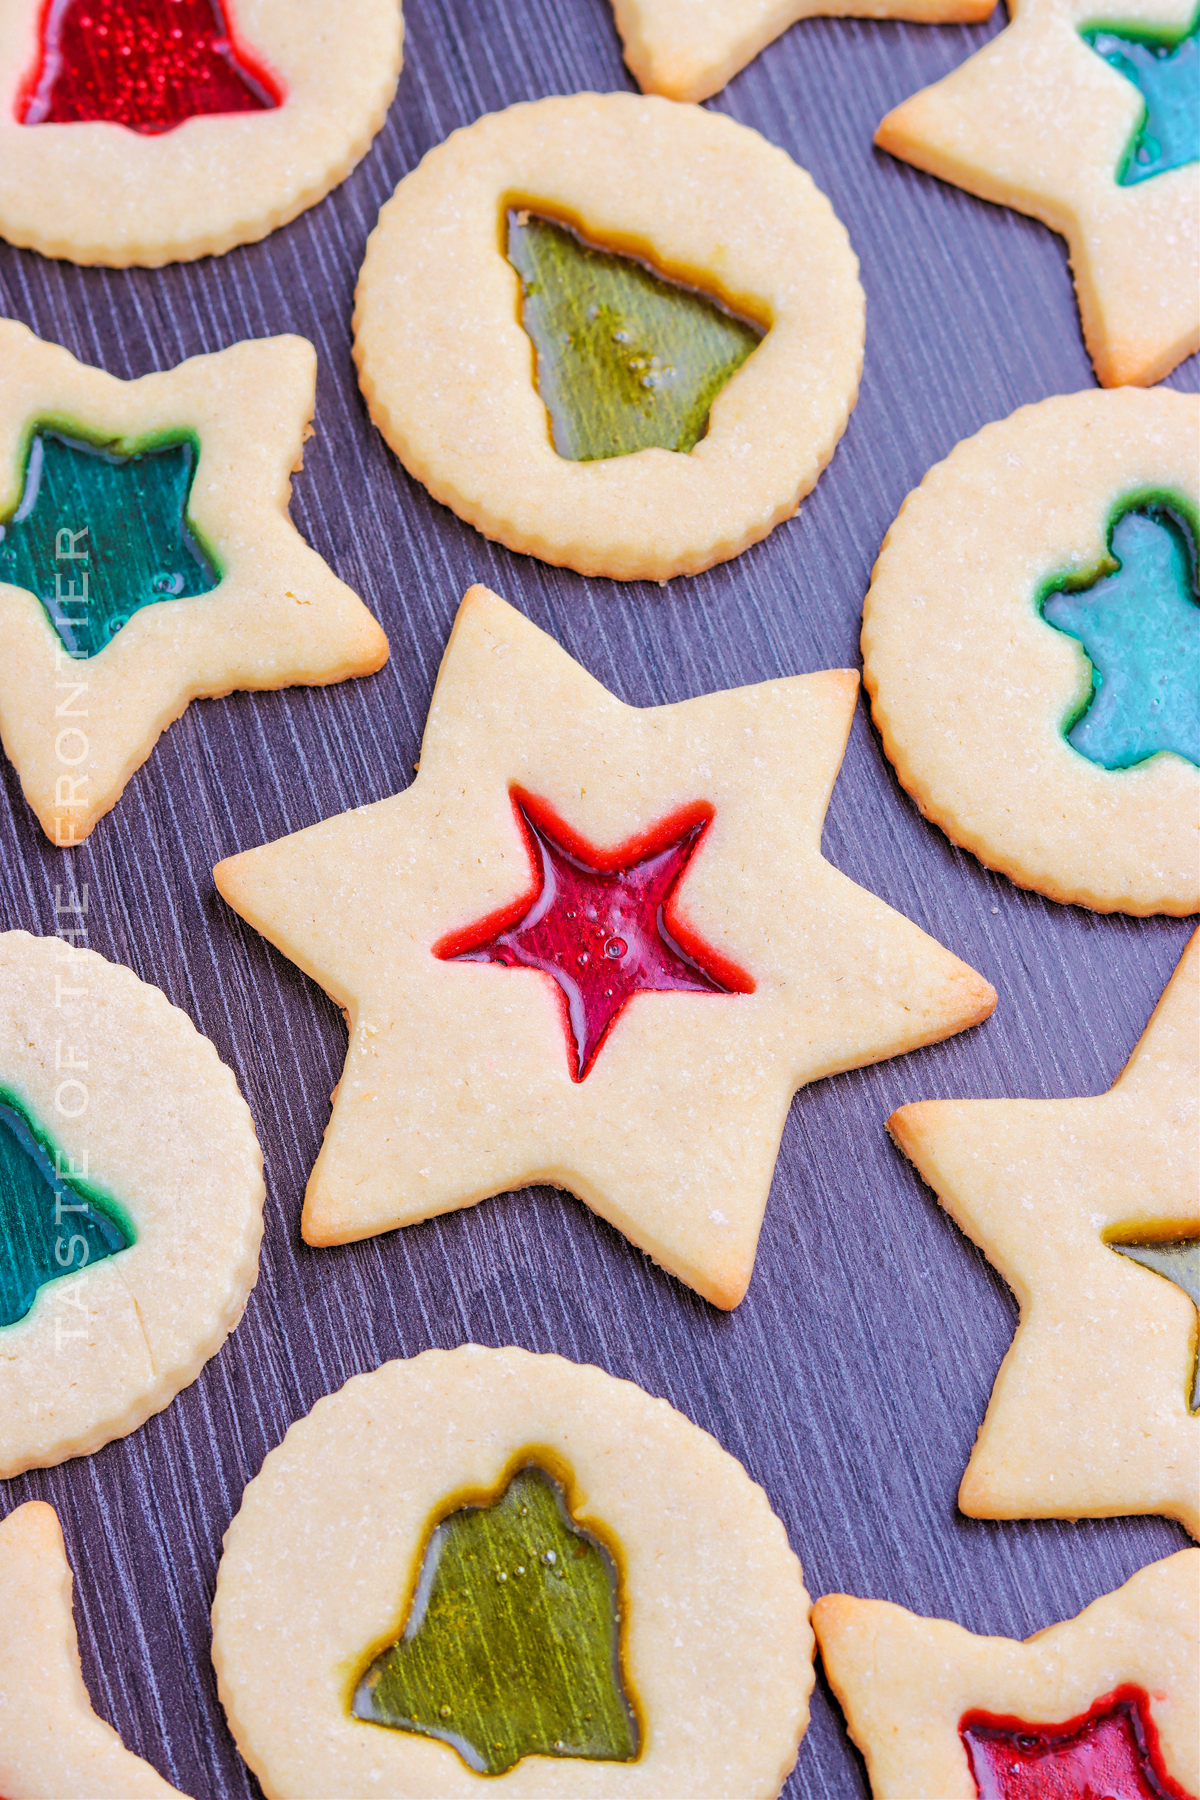
- Bake cookies until they are lightly golden brown. Be sure to rotate the cookie sheet halfway through to ensure that they bake evenly.
- Once the cookies have finished baking, remove them from the oven. Allow them to cool on the baking sheet (placed on the wire rack) briefly before transferring them from the baking sheet to the wire rack to cool completely.
What to Serve With Stained Glass Cookies
You can serve these pretty sweet treats with all of the standards you would typically use to accompany cookies.
- Frozen treats – These make a great garnish for a scoop of ice cream, gelato, or sorbet. You can also try making ice cream sandwiches.
- Coffee – Coffee complements just about any dessert well and these are no exception.
- Tea – Whether it’s black tea, green tea, or herbal these are a perfect pairing either for an afternoon or evening snack or at a tea party.
- Preserves – Fruit preserves are a great spread on these creative cookies.
- Whipped cream – Try dunking these in a bit of whipped cream. You can even serve a spread of sliced fruit, too, to go with the colorful cookies.
- Cocktails – The flavor profile of this cookie pairs well with lots of different cocktails. Creamy ones like eggnog or coffee with Bailey’s are just as delicious as fruitier cocktails like a Cosmopolitan.
Why You Should Make This Recipe
These cookies are definitely a way to impress guests with your baking prowess. Here are a few other reasons to try them.
- Pretty – These cookies will brighten up any holiday cookie platter.
- Versatile – Stained glass cookies are universally appealing from kiddos to adults alike. They’re as much fun to serve at parties as they are to take to a bake sale and they’re especially good for a cookie exchange.
- Affordable – With only a few ingredients that are easy to find at the grocery store, these won’t cost you a ton of money to make and you’ll have plenty of them to serve.
- Tasty – The dough for the cookie is a standard rolled cookie dough — they’re much like sugar cookies — but it combines with the fruity flavor and texture of the candies, too.
Variations and Add-ins
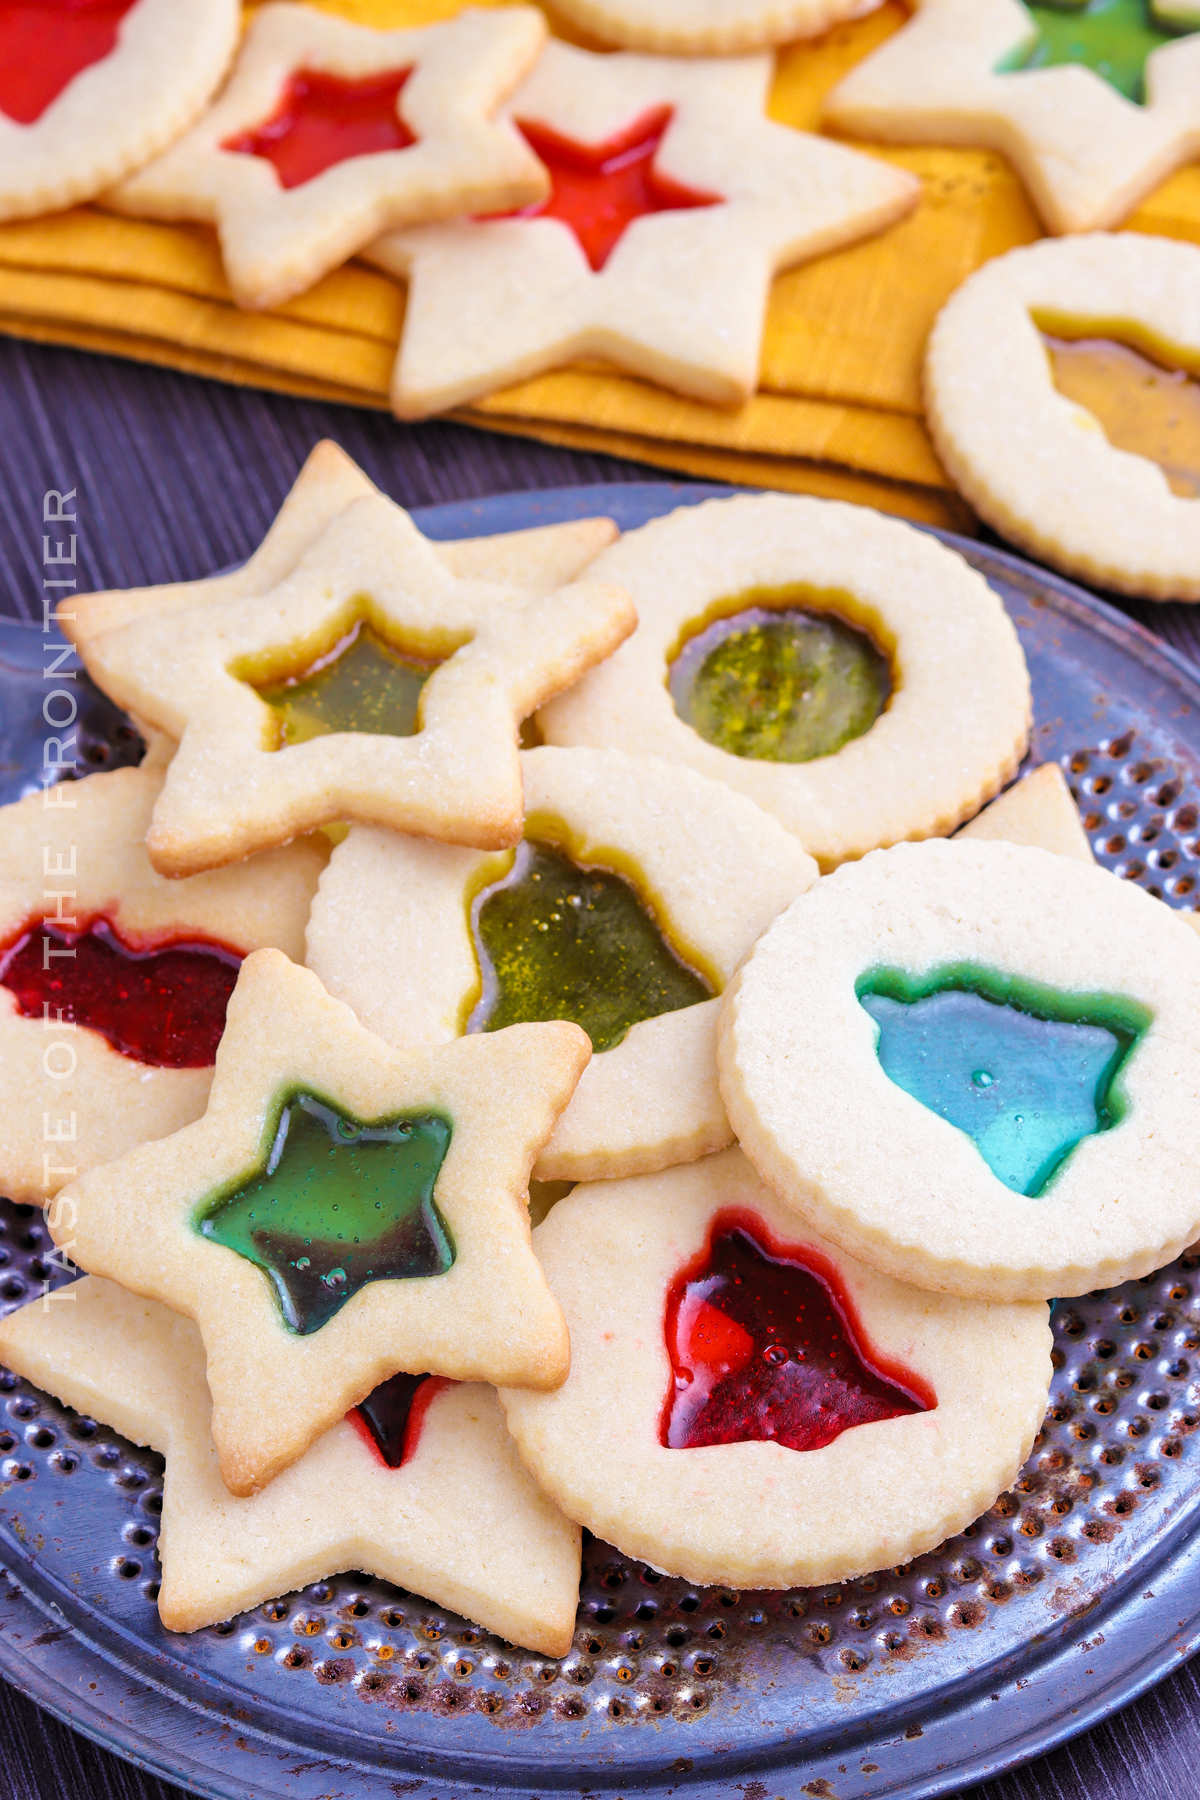
While these cookies are a show-stopper on their own, you can add some twists and changes to customize them how you like.
- Decorator’s sugar – Sprinkle some of this, in any shade you prefer, on top of the cookie for some added color and sparkle.
- Food dye – Change up the color of the dough with some simple food coloring (or the natural alternative of your choice).
- Sugar pearls – These little gems add sparkle and shine to any dessert that you add them to.
- Confectioner’s sugar – Sprinkle a little bit of powdered sugar over top for an aesthetic reminiscent of wintertime snow.
- Extracts – Change up the flavor of the cookie by swapping out the vanilla for another flavor. Almond extract works well.
More Great Christmas Goodies
3-Ingredient Peanut Butter Cookies
DON’T MISS MY HOLIDAY E-BOOK!

If you love this Stained Glass Cookies recipe, you’re going to love these other holiday cookies too. Please click each link below to find the easy, printable recipe!

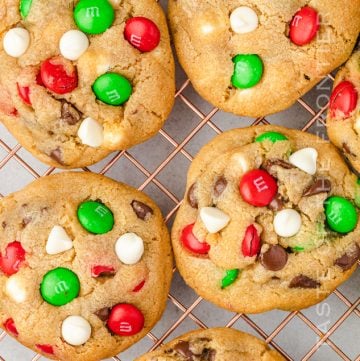


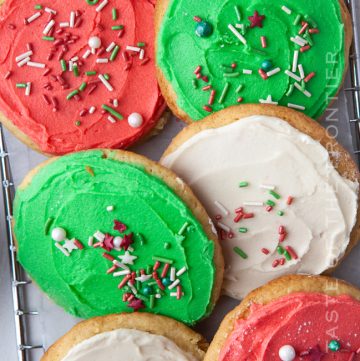
Other Creative Cookies
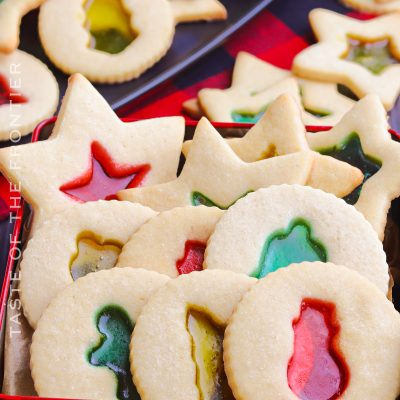
Include these cookies in a beautiful Christmas Cookie Board
If you love this recipe for Stained Glass Cookies as much as I do, please write a five-star review, and be sure to help me share on Facebook and Pinterest!
CONNECT WITH YUMMI HAUS!
Be sure to follow me on my social media, so you never miss a post!

PIN NOW TO SAVE FOR LATER
Stained Glass Cookies
Ingredients
- 1 cup butter softened (2 sticks) unsalted
- 1 cup granulated sugar
- 1 teaspoon vanilla extract
- 2 large eggs room temperature
- 3 cups all-purpose flour plus some for rolling
- ¼ teaspoon salt
- 25 hard candies such as Jolly Ranchers or Lifesavers
Instructions
- In a large bowl, cream together the butter, sugar and vanilla until fluffy.
- Add the eggs and beat until well combined.
- In a medium bowl, whisk together the flour and salt.
- Gradually add that dry ingredient mixture to the butter mixture and stir until well combined.
- Transfer the dough to a smaller bowl and cover it with plastic wrap.
- Chill for at least 1 hour or overnight.
- While the dough is chilling, crush the hard candies by separating the colors and placing them in a resealable bag. Strike them with a rolling pin or flat end of a meat mallet until they are fine crushed.
- Line 1-2 baking sheets with parchment paper or a silicone baking mat.
- Remove the dough from the refrigerator and work with about ⅓ of it at a time. Keep the portion you aren’t working with in the refrigerator until you are ready to use it.
- Cover the work area with a dusting of additional flour.
- Roll the dough to about ¼” thick.
- Cut the dough with cookie cutters in the desired shapes.
- Transfer the cut-out dough to the prepared baking sheets.
- Cut the center of each cookie with smaller cookie cutter in the desired shapes.
- Repeat with the remaining dough until it is all used.
- Preheat the oven to 350 degrees F.
- Fill the center cut out with the crushed candies, being careful to not overfill it or get the small pieces of crushed candies on the cookie dough.
- Bake for 10-12 minutes, or until lightly golden brown, rotating the baking sheet about half way through for even baking.
- Remove the cookies from oven and let them cool on wire rack ON THE BAKING SHEET for 5 minutes before removing them from the baking sheet and letting them cool completely on the wire rack before storing.
- Store in airtight container in a single layer.
Notes
Nutrition
Nutritional information for the recipe is provided as a courtesy and is approximate. Please double-check with your own dietary calculator for the best accuracy. We at Yummi Haus cannot guarantee the accuracy of the nutritional information given for any recipe on this site.




Share Your Thoughts