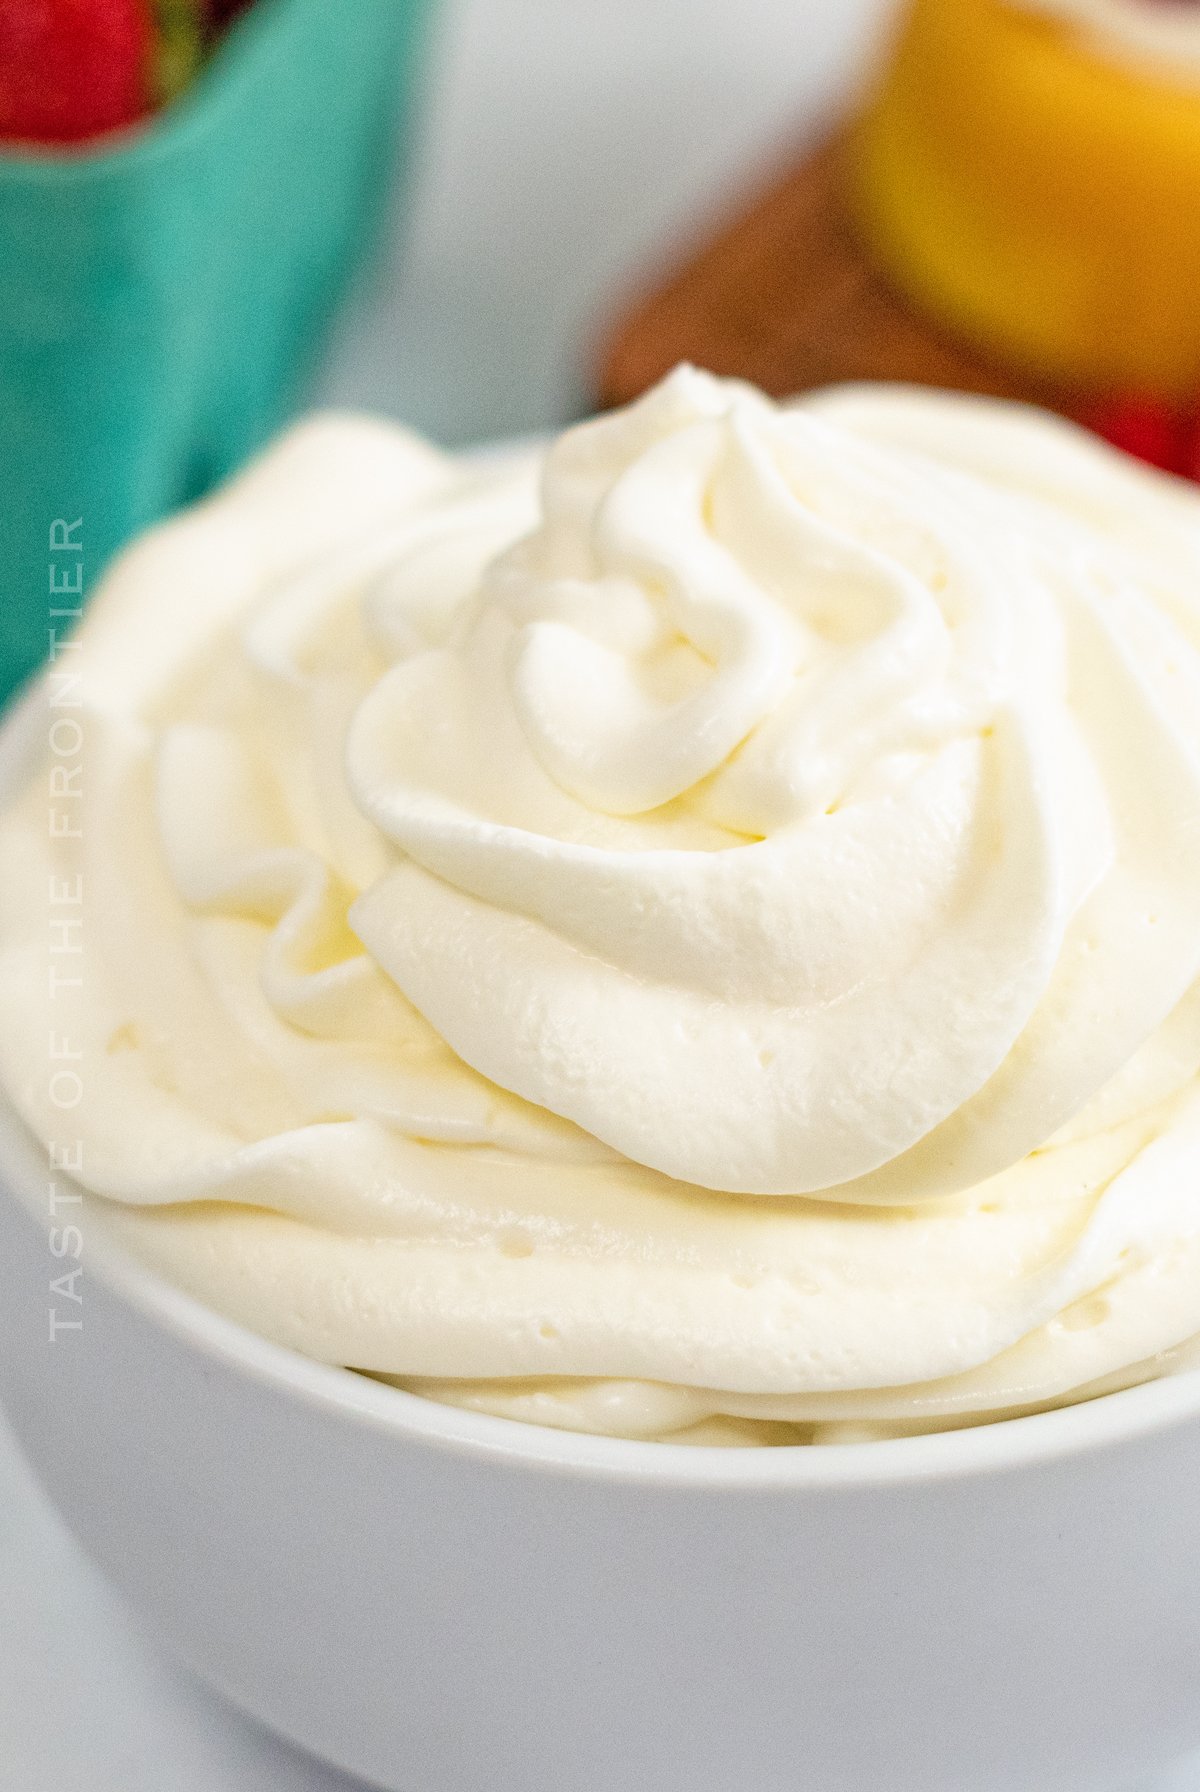
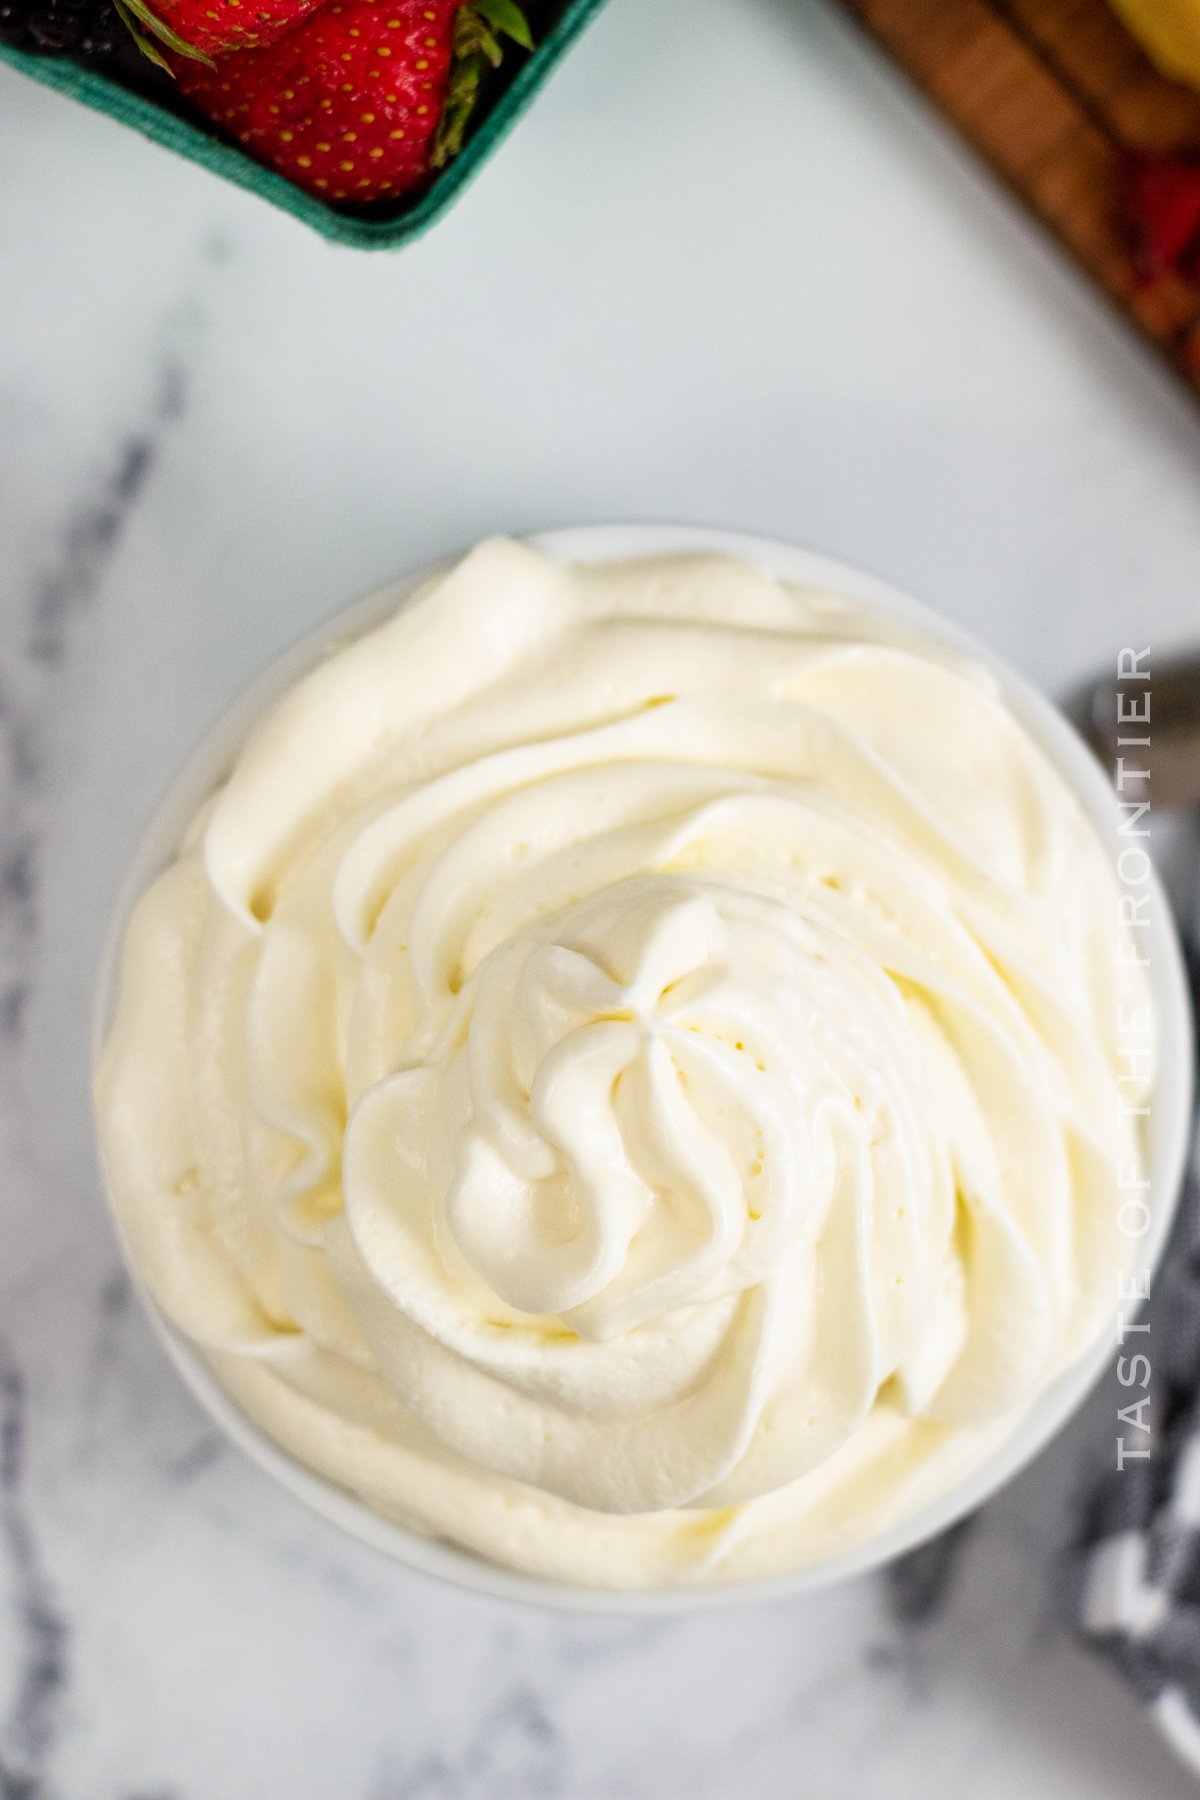
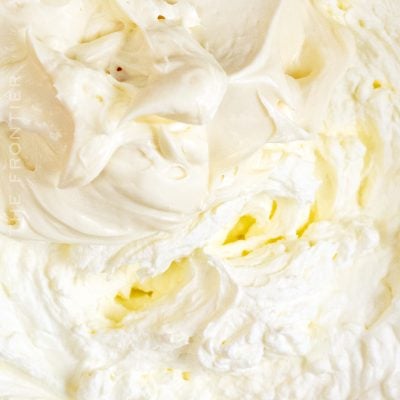
Homemade whipped cream is a treat for the senses! You’ll love our Stabilized Whipped Cream recipe. It is even better than your favorite whipped topping because it is only 4-ingredients and contains no added oils or preservatives! PLUS – instructions for how to make it Keto-friendly / low-carb.
We’ve all been there. You’re about to enjoy a delicious piece of cake when you realize that the whipped cream on top is starting to melt and go downhill fast.
In fact, it’s so unstable that every time you take a bite, whipped cream goes everywhere. So what can you do to prevent this from happening? Try making stabilized whipped cream!
It’s simple to make and will keep your whipped cream looking great for days. Plus, it tastes delicious too! Give it a try today!
PIN THIS TO SAVE FOR LATER
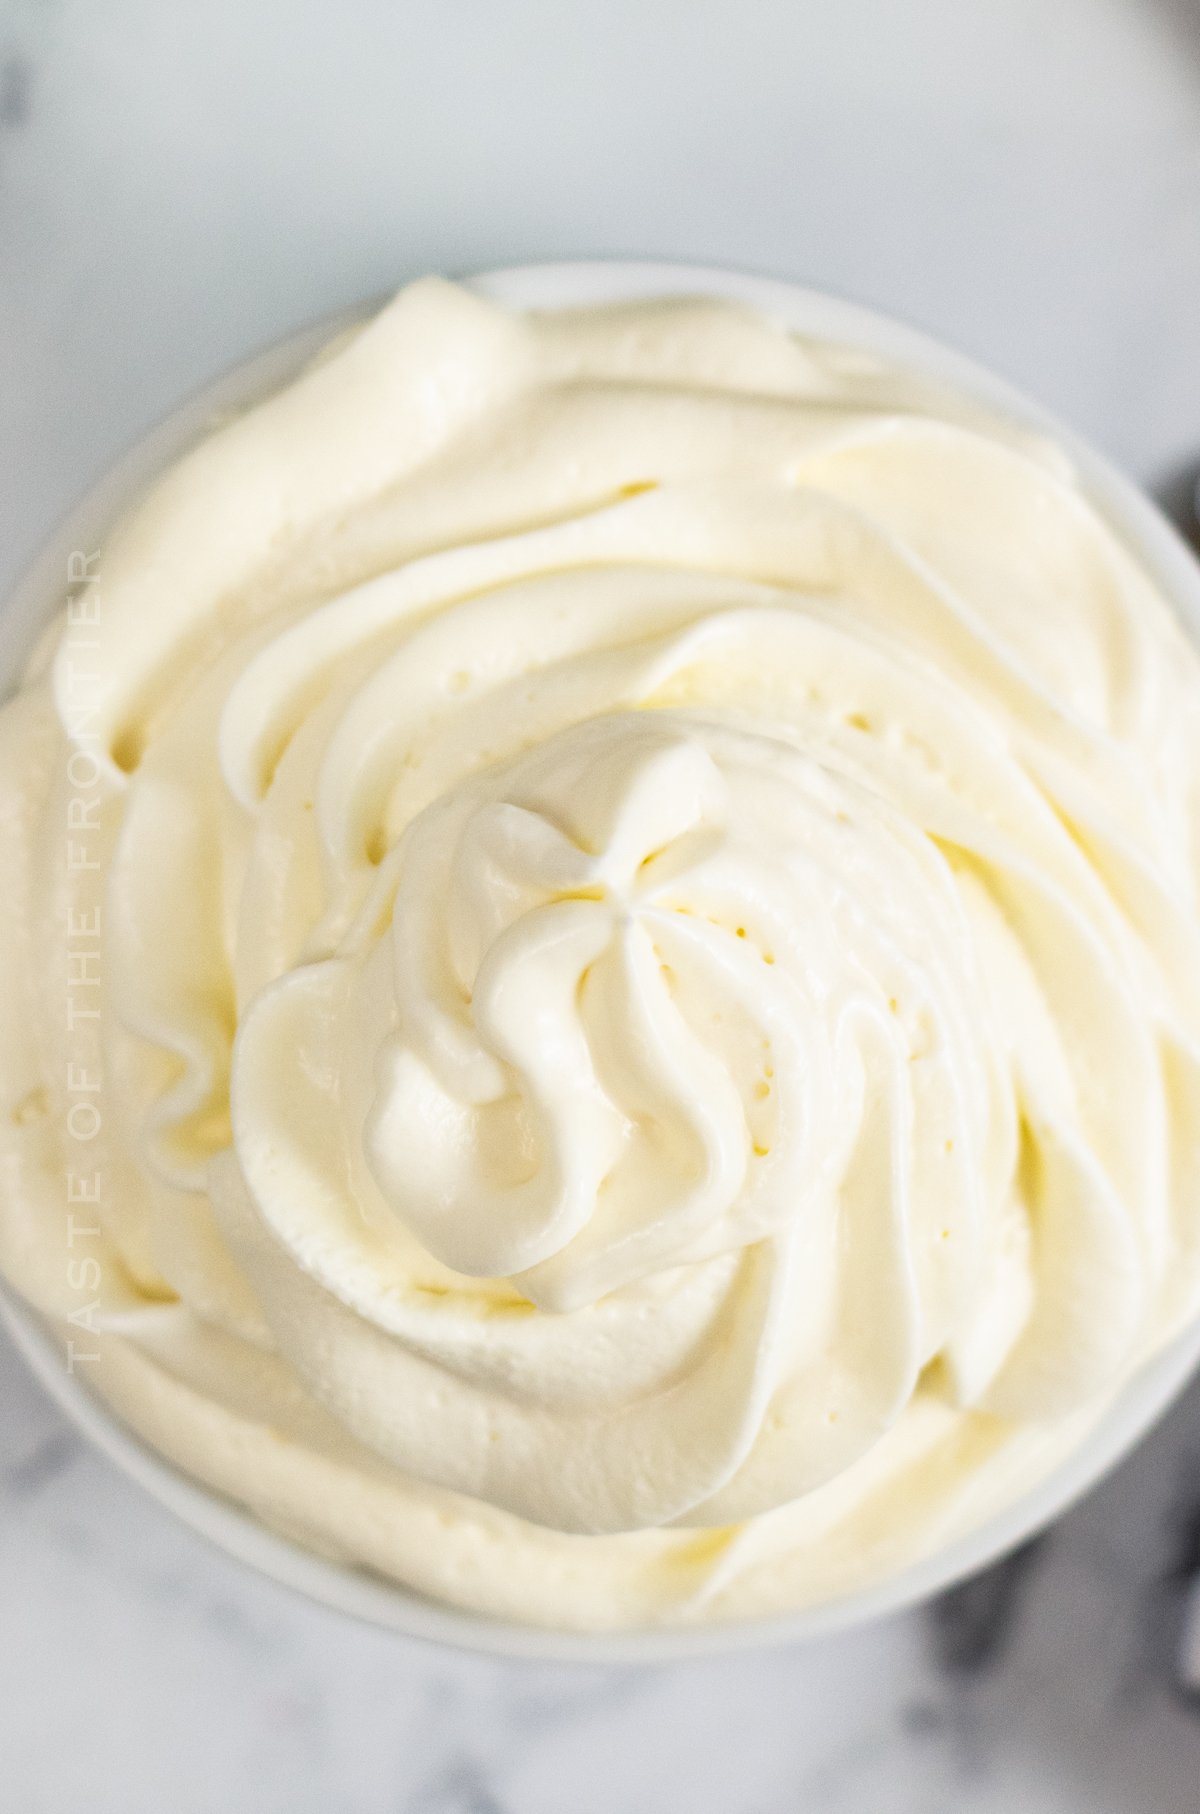
Do you love whipped cream but hate the way it always melts and becomes a mess? How about the stuff in the tub that is loaded with oils and preservatives? No thank you.
Well, have I got a solution for you! This stabilized whipped cream recipe is so much better than the store-bought stuff. It stays whipped for days, no matter how hot it gets. So go ahead and top your next dessert with some of this deliciousness – you won’t be disappointed.
Stabilized Whipped Cream Frosting
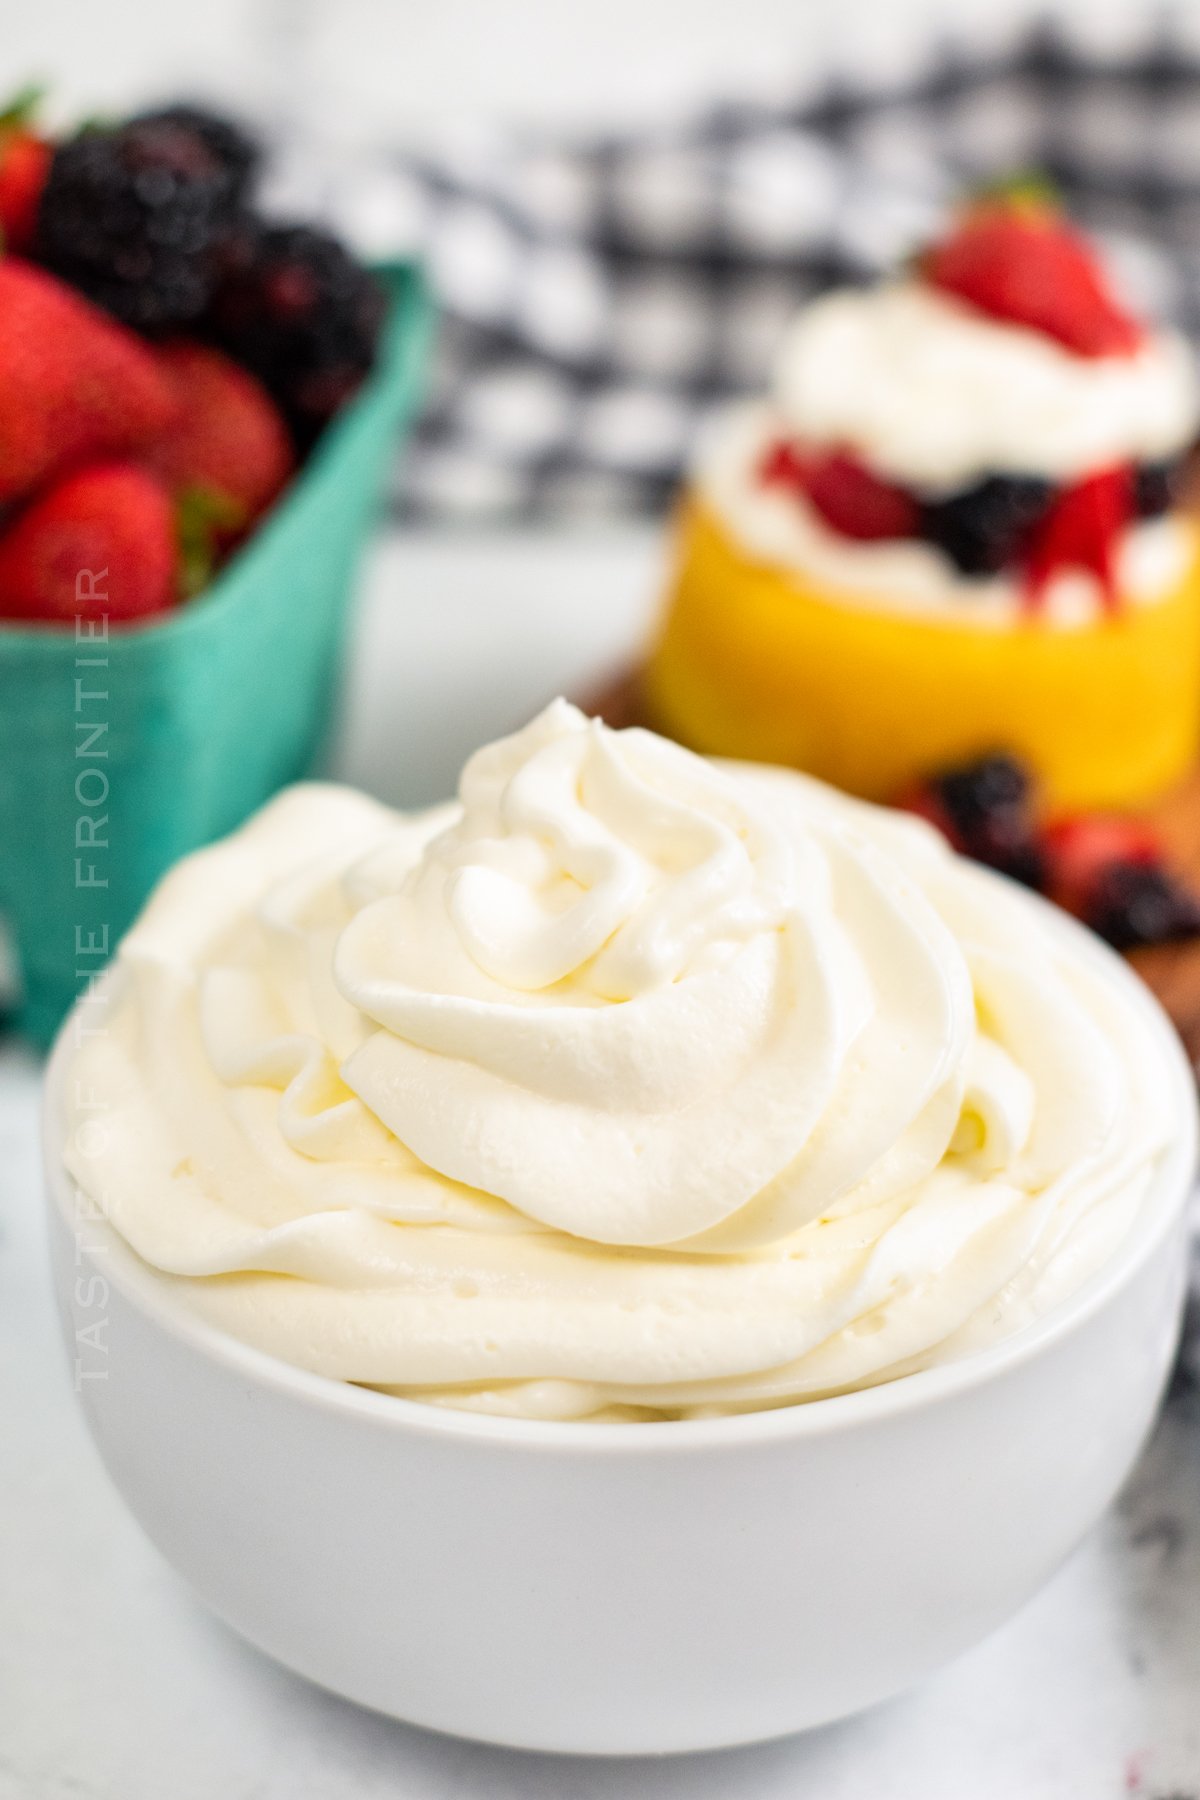
Here are some commonly asked questions
Why use Stabilized Whipped Cream?
There are a few reasons to use stabilized whipped cream instead of regular whipped cream. First, it will hold its shape for longer, making it ideal for decorating cakes or cupcakes.
It also has a more consistent texture, so it’s perfect for piping. Finally, stabilized whipped cream is less likely to deflate or “weep” (release liquid), so your desserts will look beautiful for longer.
A lot of people like to use this in place of the stuff in the tub from the store because it doesn’t contain the added oils and preservatives.
I personally like it because I can control the carb count by adding my favorite artificial sweetener (see link below) instead of the “sugar-free” versions available at the store which contain sweeteners that will still spike your blood sugar.
How long does Stabilized Whipped Cream last?
This homemade whipped topping will last for up to 3 days. You might be able to get a little longer out of it depending on how long you keep it chilled. Obviously, the longer it is refrigerated, the longer it will last.
If you have it outside, at room temperature or outdoor temperature – you can expect it to last a few hours to maybe a day depending on the conditions.
Does stabilized cream taste different?
The process of stabilizing whipped cream doesn’t alter the flavor, so it will taste the same as regular whipped cream.
Can You Frost A Cake With Whipped Cream?
Yes, you can frost a cake with whipped cream! If you’re using stabilized whipped cream, it will hold its shape nicely and won’t melt as quickly as regular whipped cream. Keep in mind that whipped cream is a lighter frosting, so it might not be as sturdy as some other options (like buttercream).
When you’re ready to frost your cake, simply spread or pipe the whipped cream on top. If you want to get really fancy, you can decorate it with some fresh fruit or chocolate shavings.
homemade cool whip
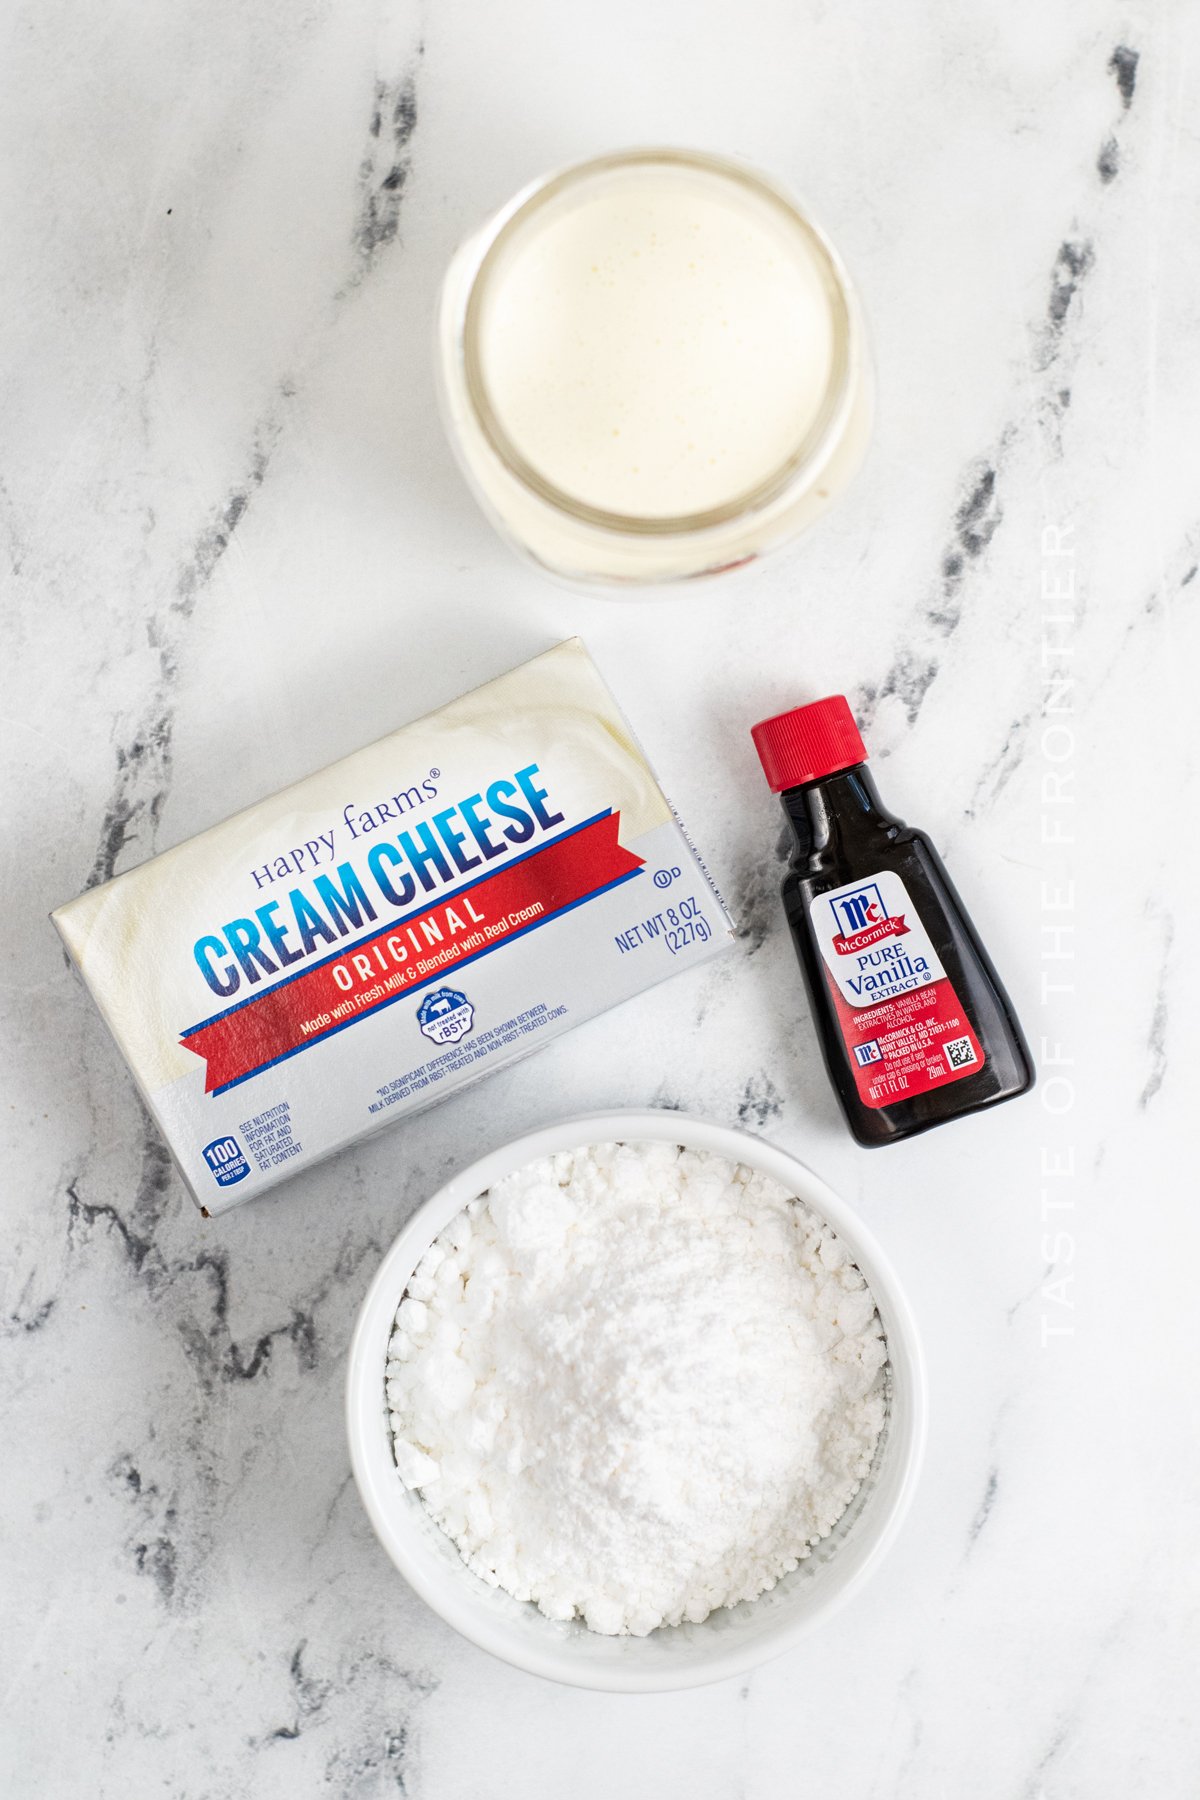
Ingredients for Stabilized Whipped Cream
- cream cheese – softened
- confectioner’s sugar
- vanilla extract
- heavy cream
Can this recipe be made in advance?
Yes, this recipe can be made in advance. Simply store the stabilized whipped cream in an airtight container in the fridge for up to 3 days. When you’re ready to use it, give it a good stir (it may have deflated slightly) and re-whip if needed it until it’s fluffy again.
To make using gelatin instead of cream cheese
You can make this recipe using gelatin instead of cream cheese. To do so –
- 4 tsp of cold water with 1 tsp unflavored gelatin. Combine the two in a bowl and let the gelatin absorb the water for about 10 minutes. This will allow the gelatin to bloom.
- Then you will want to microwave the mixture for 5-8 seconds to melt the gelatin. It will then be clear.
- Combine the heavy cream, confectioner’s sugar, and vanilla in a mixing bowl and beat until soft peaks form.
- Reduce the speed, and slowly add the melted gelatin until mixed.
- Increase the speed to high and beat until stiff peaks form. But be careful to not over-mix.
PRO TIP
Make sure the whipping cream is COLD – not frozen, but very cold. It will not whip to stiff peaks unless it is cold.
Chilling the bowl that you will be whipping the cream in can help to make sure it reaches the desired consistency. I like to clear out a space in the freezer for the bowl ahead of time. Then I have that same space available for whatever cake or dessert I’m working on later.
Stabilized Whipped Cream with Cream Cheese
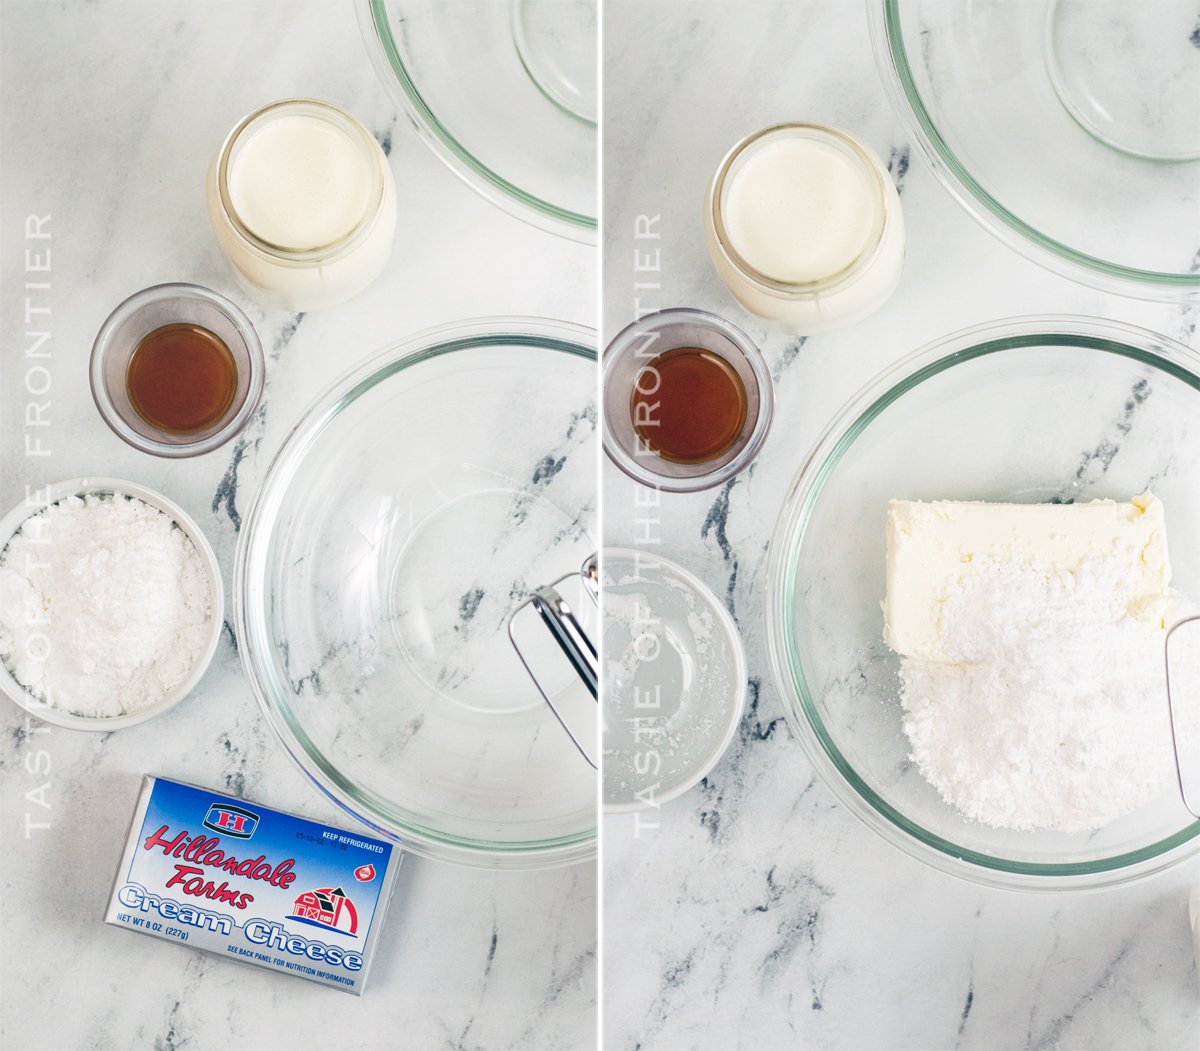
How to make Stabilized Whipped Cream
- Before starting place a large mixing bowl in the freezer for about 15 min, this helps the whipped cream reach the desired peaks easier.
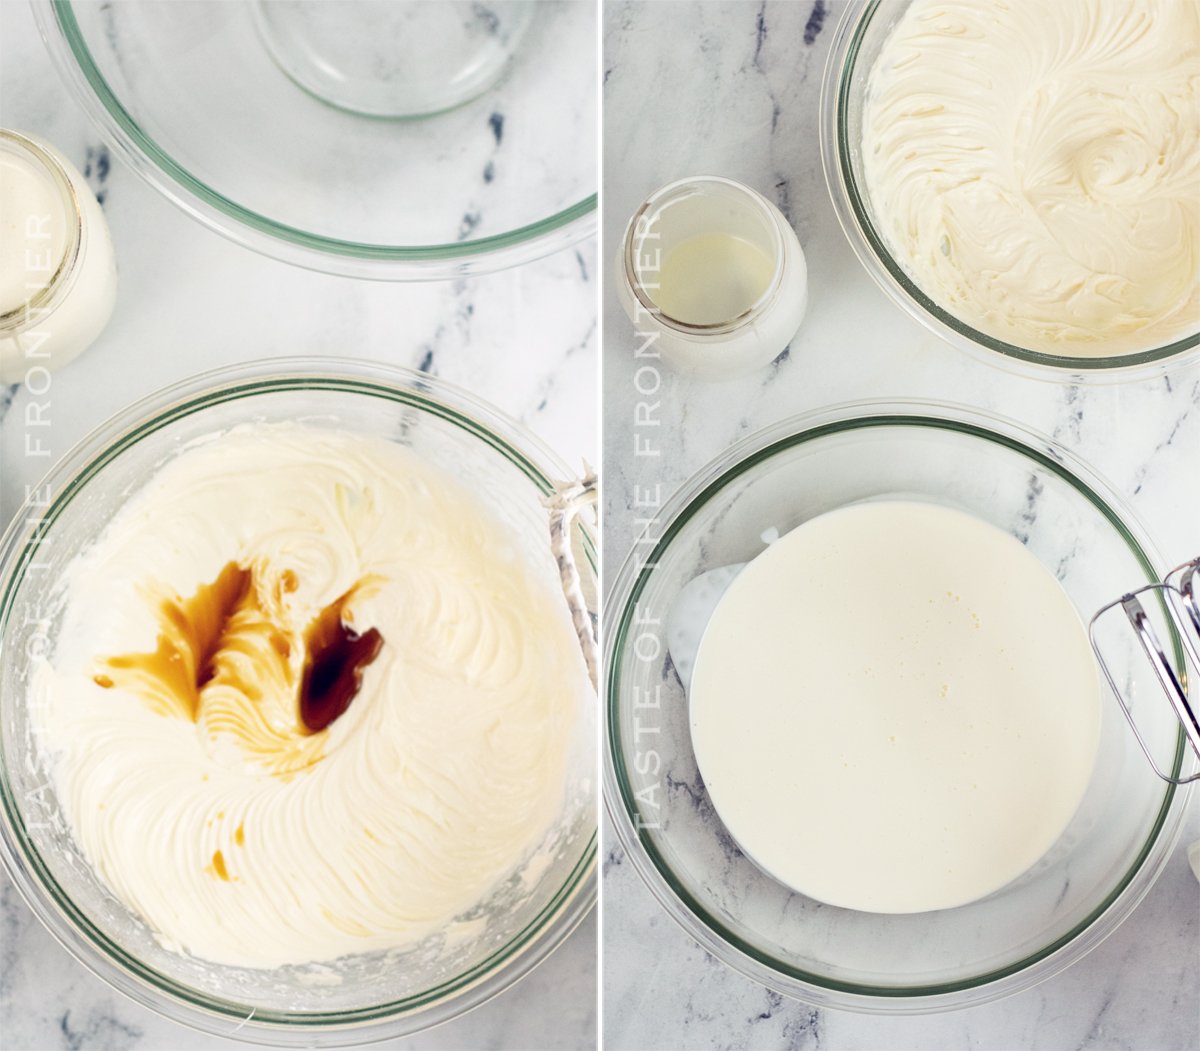
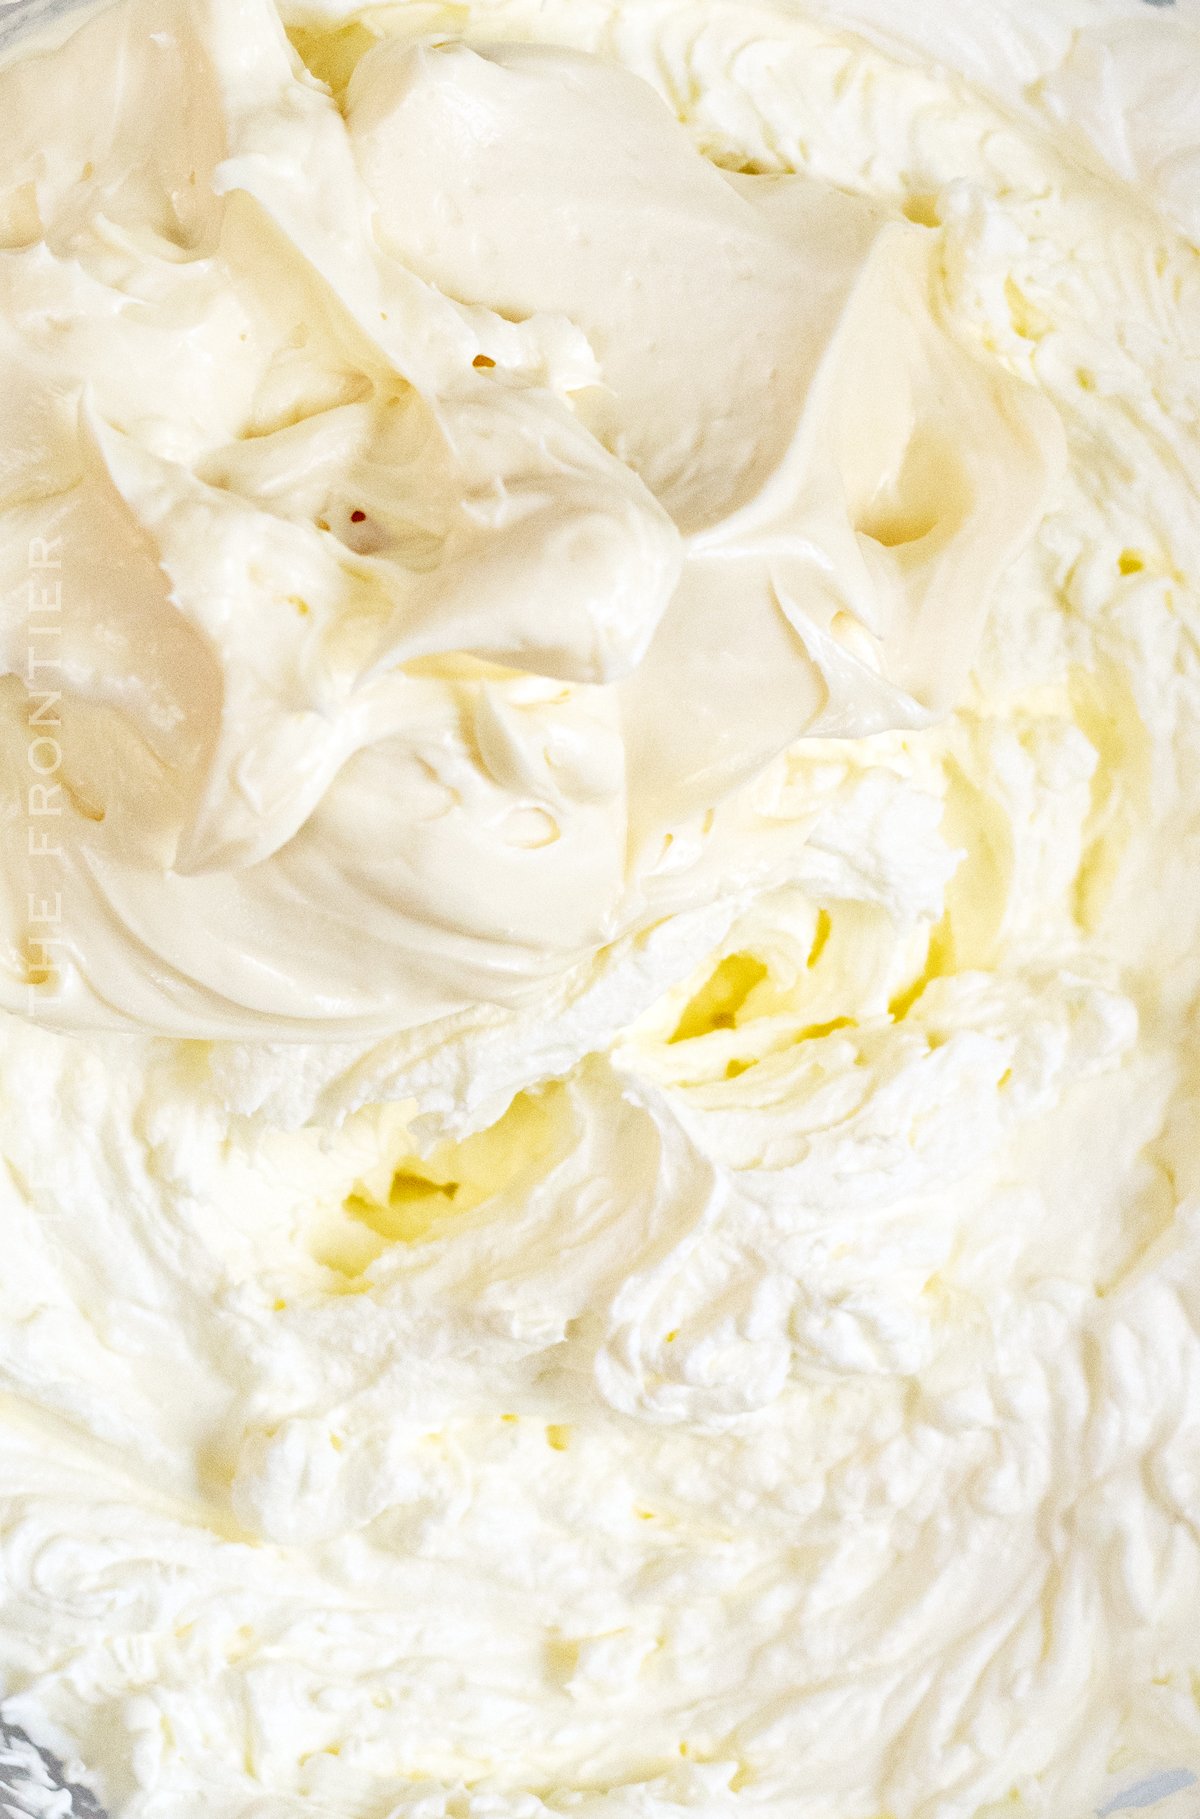
- In a separate mixing bowl, cream together the confectioner’s sugar, cream cheese, and vanilla until combined and reaches a creamy consistency.
- Remove the chilled bowl from the freezer and pour in the heavy cream.
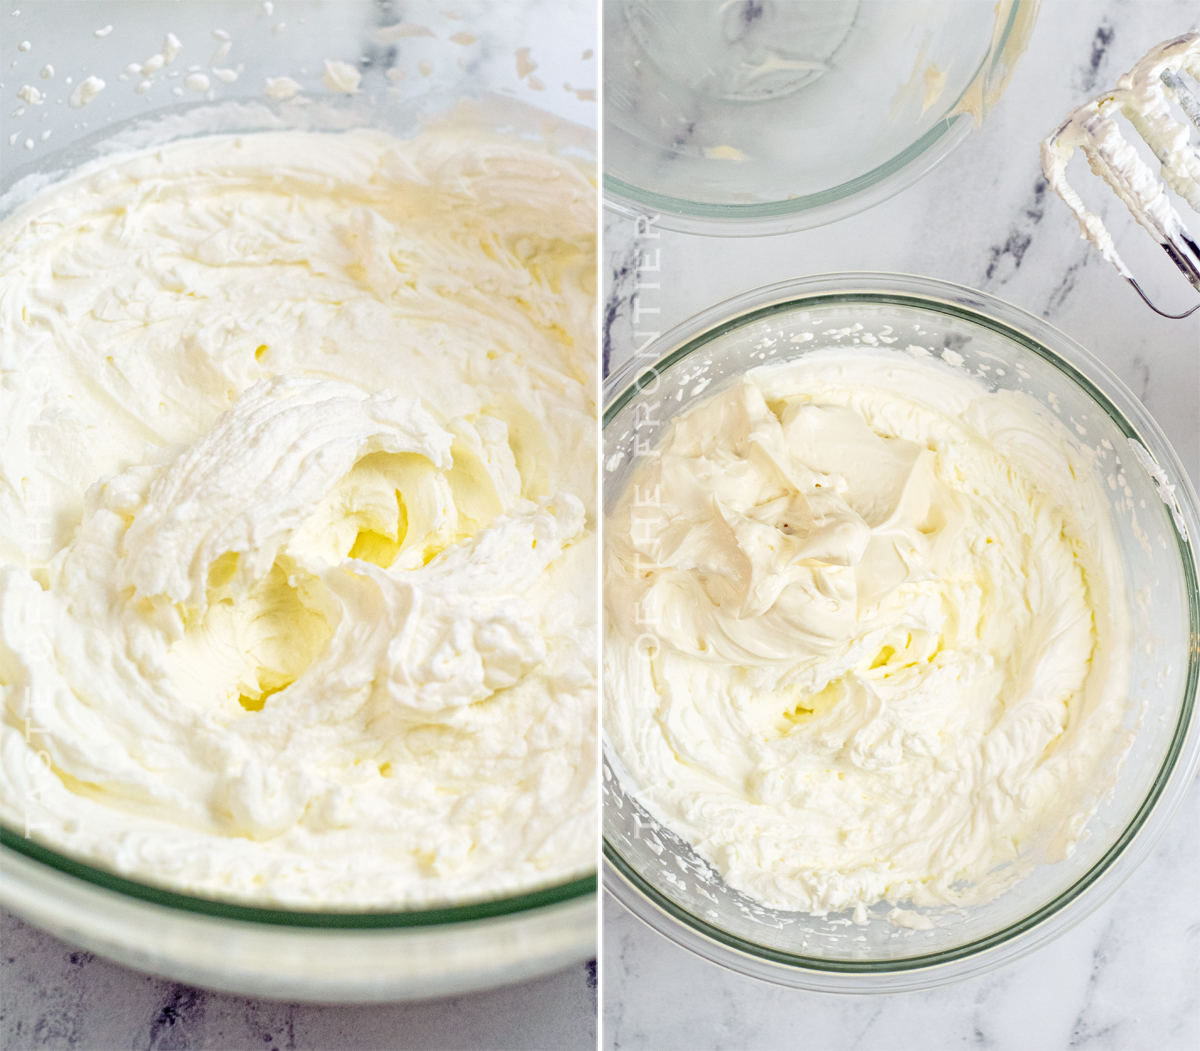
- Beat on medium speed for 1-2 minutes, then increase the speed to high and continue mixing until STIFF peaks form.
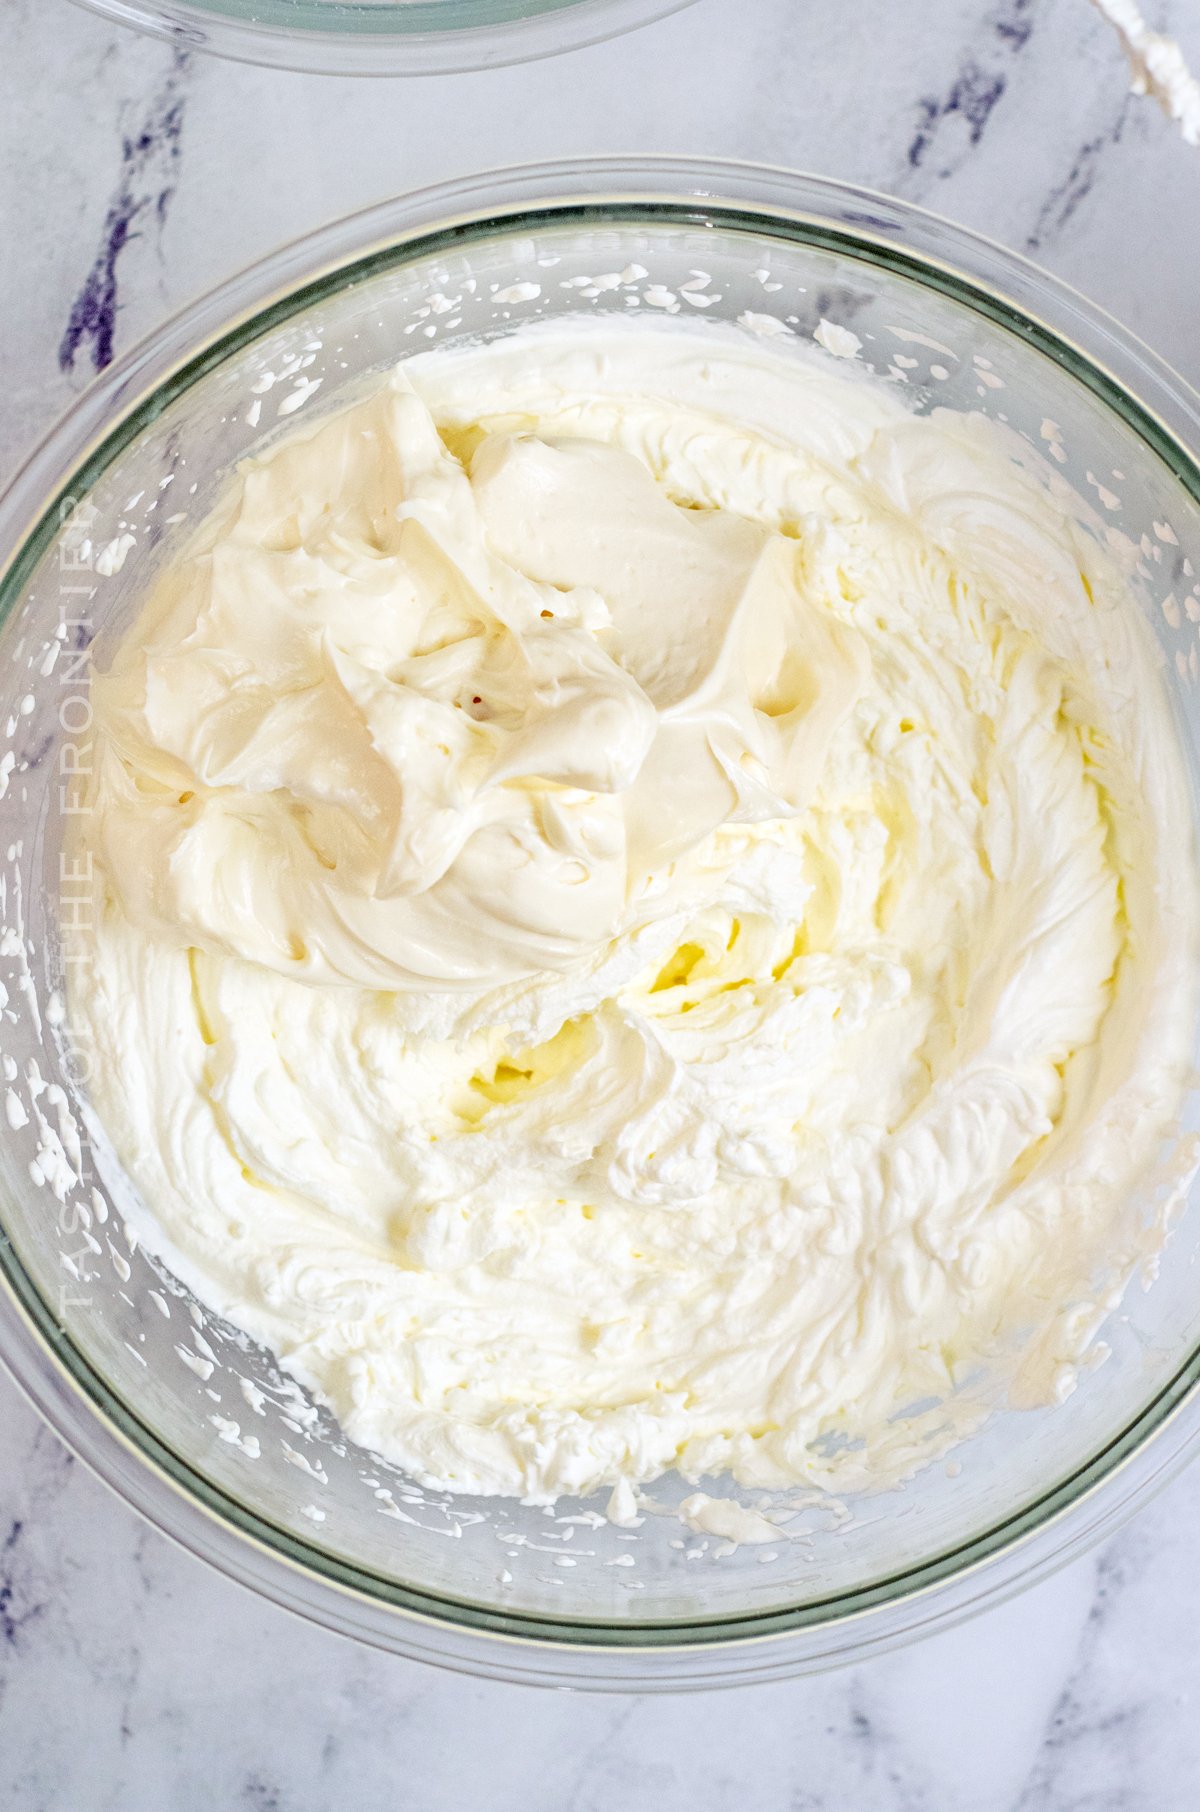
- Add the cream cheese mixture into the whipped cream and gently fold for 1-2 minutes or until well mixed.
- Store in the refrigerator, it will keep for 2-3 days.
Can I color this whipped cream?
Yes – you can tint this as you would frosting. Be sure to use gel food coloring so it doesn’t dilute the consistency AND add the color during the beginning of the whipping process. This will ensure that the food coloring doesn’t alter the end result.
Can I make low-fat whipped cream?
Yes, that CAN work as long as the ingredients and utensils are very well chilled. If you can chill the bowl over a bowl of ice to keep it super cold while you are beating it- that will work best.
How to Make Keto-Friendly/ Low-Carb Stabilized Whipped Cream
To make keto-friendly/ low-carb – replace the confectioner’s sugar with a confectioner’s sweetener. I like PureCane Confectioner’s Sweetener.
Try this homemade whipped topping with these recipes
- Layered Jello
- No-Bake Cheesecake Jars
- Homemade Eggnog
- Mini Pumpkin Pie
- Jello Poke Cake
- Banana Caramel Ice Box Cake
- Easter Egg Coconut Cheesecake
- Cake Batter Oreo Cheesecake Dessert
- Cannoli Cream Pie
- Peanut Butter Whip Brownies
How To Stabilize Whipped Cream With Instant Pudding Mix
To use instant pudding mix to make stabilized whipped cream you will need
- 1 cup heavy whipping cream
- 1 tbsp instant vanilla pudding mix
- 1 tbsp confectioner’s sugar
- 1 tsp vanilla extract
Begin by whipping the cream until it reaches the soft peak stage.
Then add in the vanilla pudding, sugar, and vanilla extract. Continue whipping your cream until you have firm peaks but be sure to not over-mix.
How To Stabilize Whipped Cream Using Corn Starch
You can use cornstarch as you would vanilla pudding. Just note – it will leave a grittier texture as it doesn’t dissolve quite the same in the mixture.
Stabilized Whipped Cream Using Cream Of Tartar
You will use the same method as with the pudding or corn starch – however, you will only use 1/4 teaspoon instead of the tablespoon portion you would use in the other varieties.
How To Stabilize Whipped Cream With Powdered Milk
You will use the same method as with the pudding or corn starch – however, you will only use 2 teaspoons of the powdered milk instead of the tablespoon portion you would use in the pudding version.
Products I love when making a Stabilized Whipped Cream…
This copycat cool whip recipe is SUPER EASY and delicious – and if you’re like me, then you maybe already have some of these items on hand OR maybe you have never made homemade whipped cream before, & you might be a bit nervous – but you’re going to love it. I have made a list below of the things I absolutely can’t live without when it comes to making this dessert recipe. (you can also SHOP MY FAVORITES in my store)
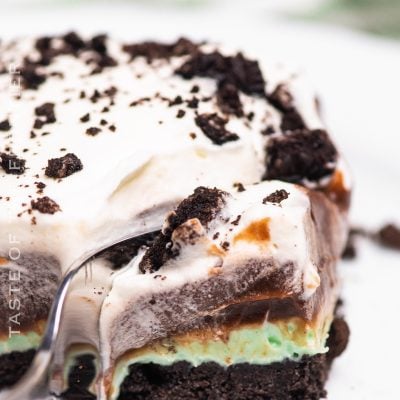
If you love this easy Stabilized Whipped Cream recipe, you’ll want to try these recipes using this Stabilized Whipped Cream. Please click each link below to find the easy, printable recipe!
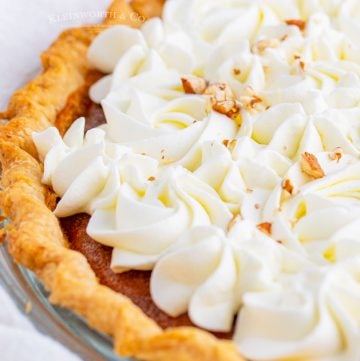
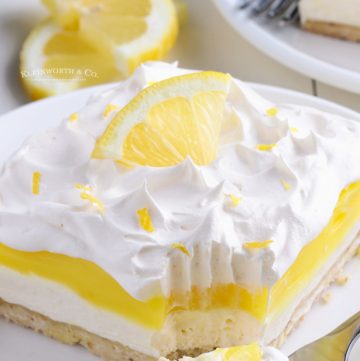
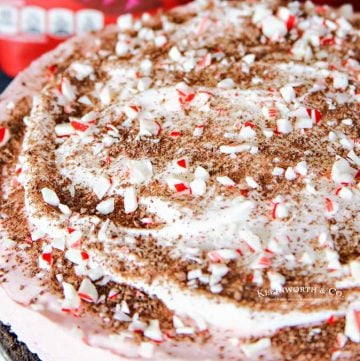
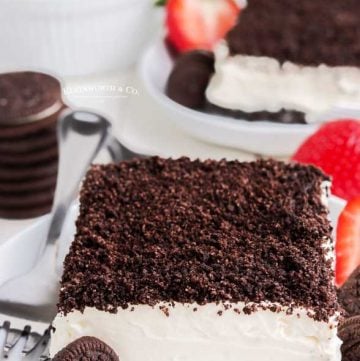
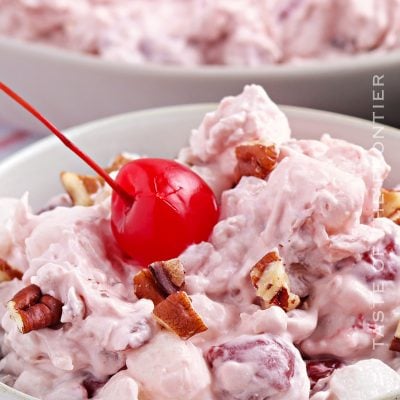
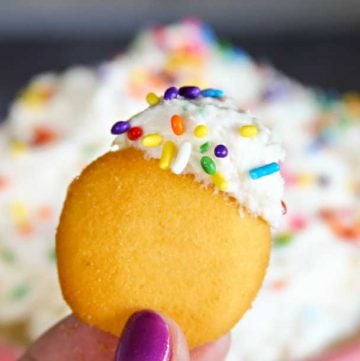
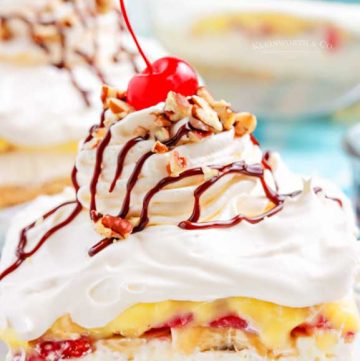
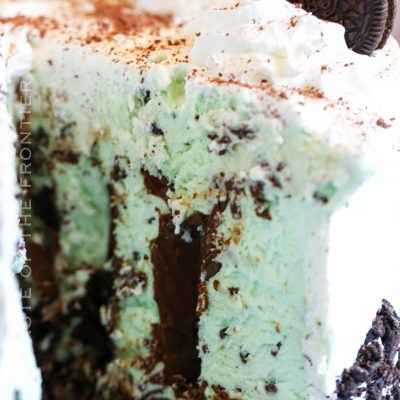
If you love this recipe for Homemade Stabilized Whipped Cream as much as I do, please write a five-star review, and be sure to help me share on Facebook and Pinterest!
CONNECT WITH YUMMI HAUS!
Be sure to follow me on my social media, so you never miss a post!
Stabilized Whipped Cream
Ingredients
- 8 oz cream cheese – softened
- 1 cup confectioner’s sugar
- 1 tbsp vanilla extract
- 2 cups heavy cream – cold
Instructions
- Before starting place a large mixing bowl in the freezer for about 15 min, this helps the whipped cream reach the desired peaks easier.
- In a separate mixing bowl, cream together the confectioner's sugar, cream cheese, and vanilla until combined and reaches a creamy consistency.
- Remove the chilled bowl from the freezer and pour in the heavy cream.
- Beat on medium speed for 1-2 minutes, then increase the speed to high and continue mixing until STIFF peaks form.
- Add the cream cheese mixture into the whipped cream and gently fold for 1-2 minutes or until well mixed.
- Store in the refrigerator, it will keep for 2-3 days.
Notes
Equipment
- 1 Mixer
Nutrition
Nutritional information for the recipe is provided as a courtesy and is approximate. Please double-check with your own dietary calculator for the best accuracy. We at Yummi Haus cannot guarantee the accuracy of the nutritional information given for any recipe on this site.



Share Your Thoughts