Learn how to create a homemade Sourdough Starter with this easy recipe. Perfect for baking delicious, tangy sourdough bread, this guide takes you through simple steps to cultivate a live culture that will elevate your baking. Ideal for both beginners and seasoned bakers.
Level up your baking skills by creating your very own sourdough starter! This magical concoction of flour and water is the first step to baking beautiful, aromatic sourdough bread right from your kitchen.
Sourdough bread is known for its tangy flavor, chewy texture, and crispy crust—delights that can only be gained with a healthy, active starter. By nurturing your starter, you’ll tap into ancient baking traditions and bring a slice of artisan craftsmanship to your daily meals.
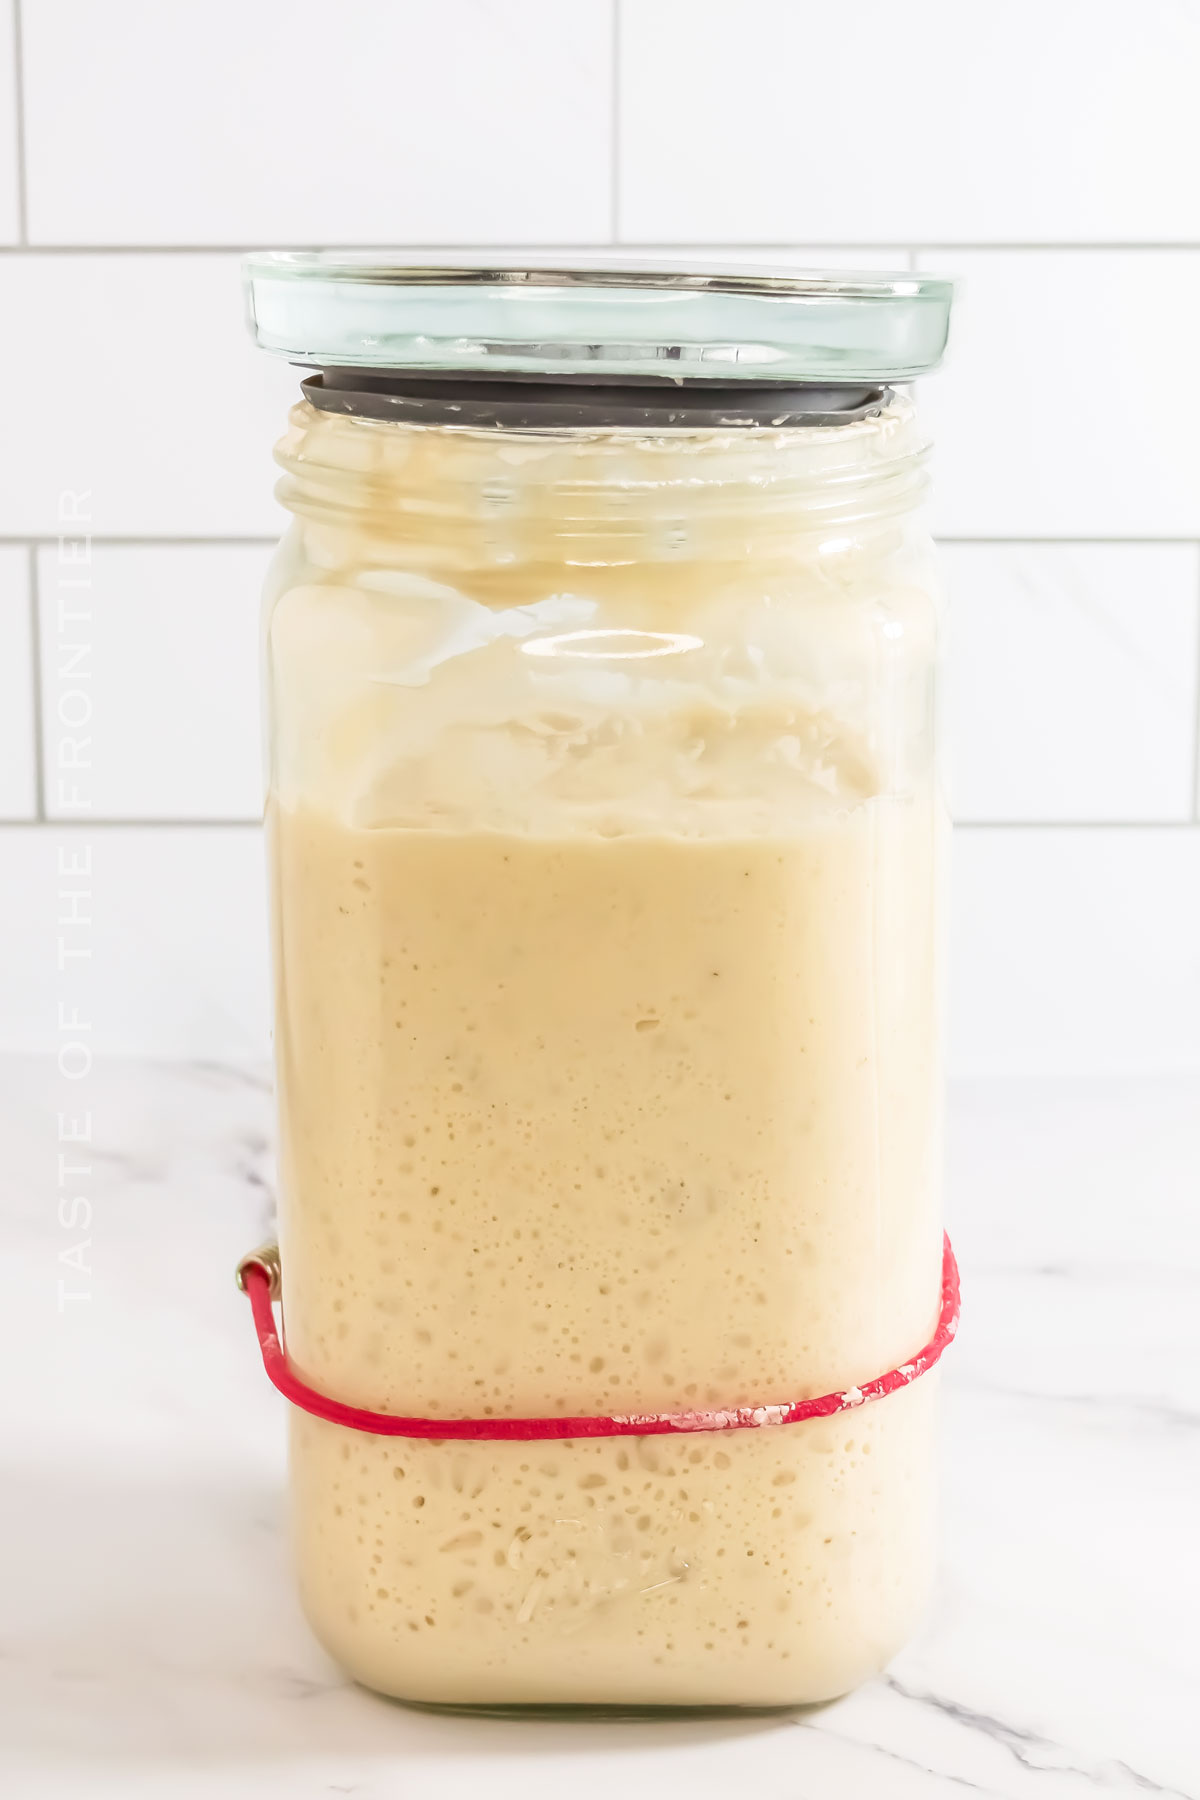
Perfect for beginners and seasoned bakers alike, making your sourdough starter is not just about baking bread. It’s really about fostering a connection to every loaf you bake.
If it’s your first time making your own starter, I’m excited for you. Growing a sourdough starter is not just about baking bread; it’s about embracing a piece of culinary heritage. It’s a process that’s been done for hundreds, maybe thousands of years.
Whether you’re looking to improve your health, save money, or simply challenge yourself in the kitchen, sourdough recipes are a rewarding process that brings endless possibilities.
Get started on your sourdough journey and enjoy the wonderful world of sourdough!
Common Questions About Sourdough Starter
Why Isn’t My Sourdough Starter Rising?
If your sourdough starter isn’t rising, it might be due to a few factors such as temperature, feeding frequency, or the type of flour used.
Make sure your starter is kept in a warm spot and is being fed regularly with equal parts of fresh flour and water. Patience is crucial!
Starters can take several days to begin showing vigorous activity. Trying to speed things up is a good way to ruin it.
What’s the Best Container for Sourdough Starter?
The ideal container for your sourdough starter is a glass or food-grade plastic jar. These materials are non-reactive and allow you to monitor the starter’s progress easily.
Make sure the container has enough space to accommodate the starter as it grows, usually allowing for triple the starting volume to avoid overflow.
Can Sourdough Starter Develop Mold?
Mold on your sourdough starter generally indicates contamination or inadequate storage conditions. If mold appears, it’s safest to discard the starter and start over.
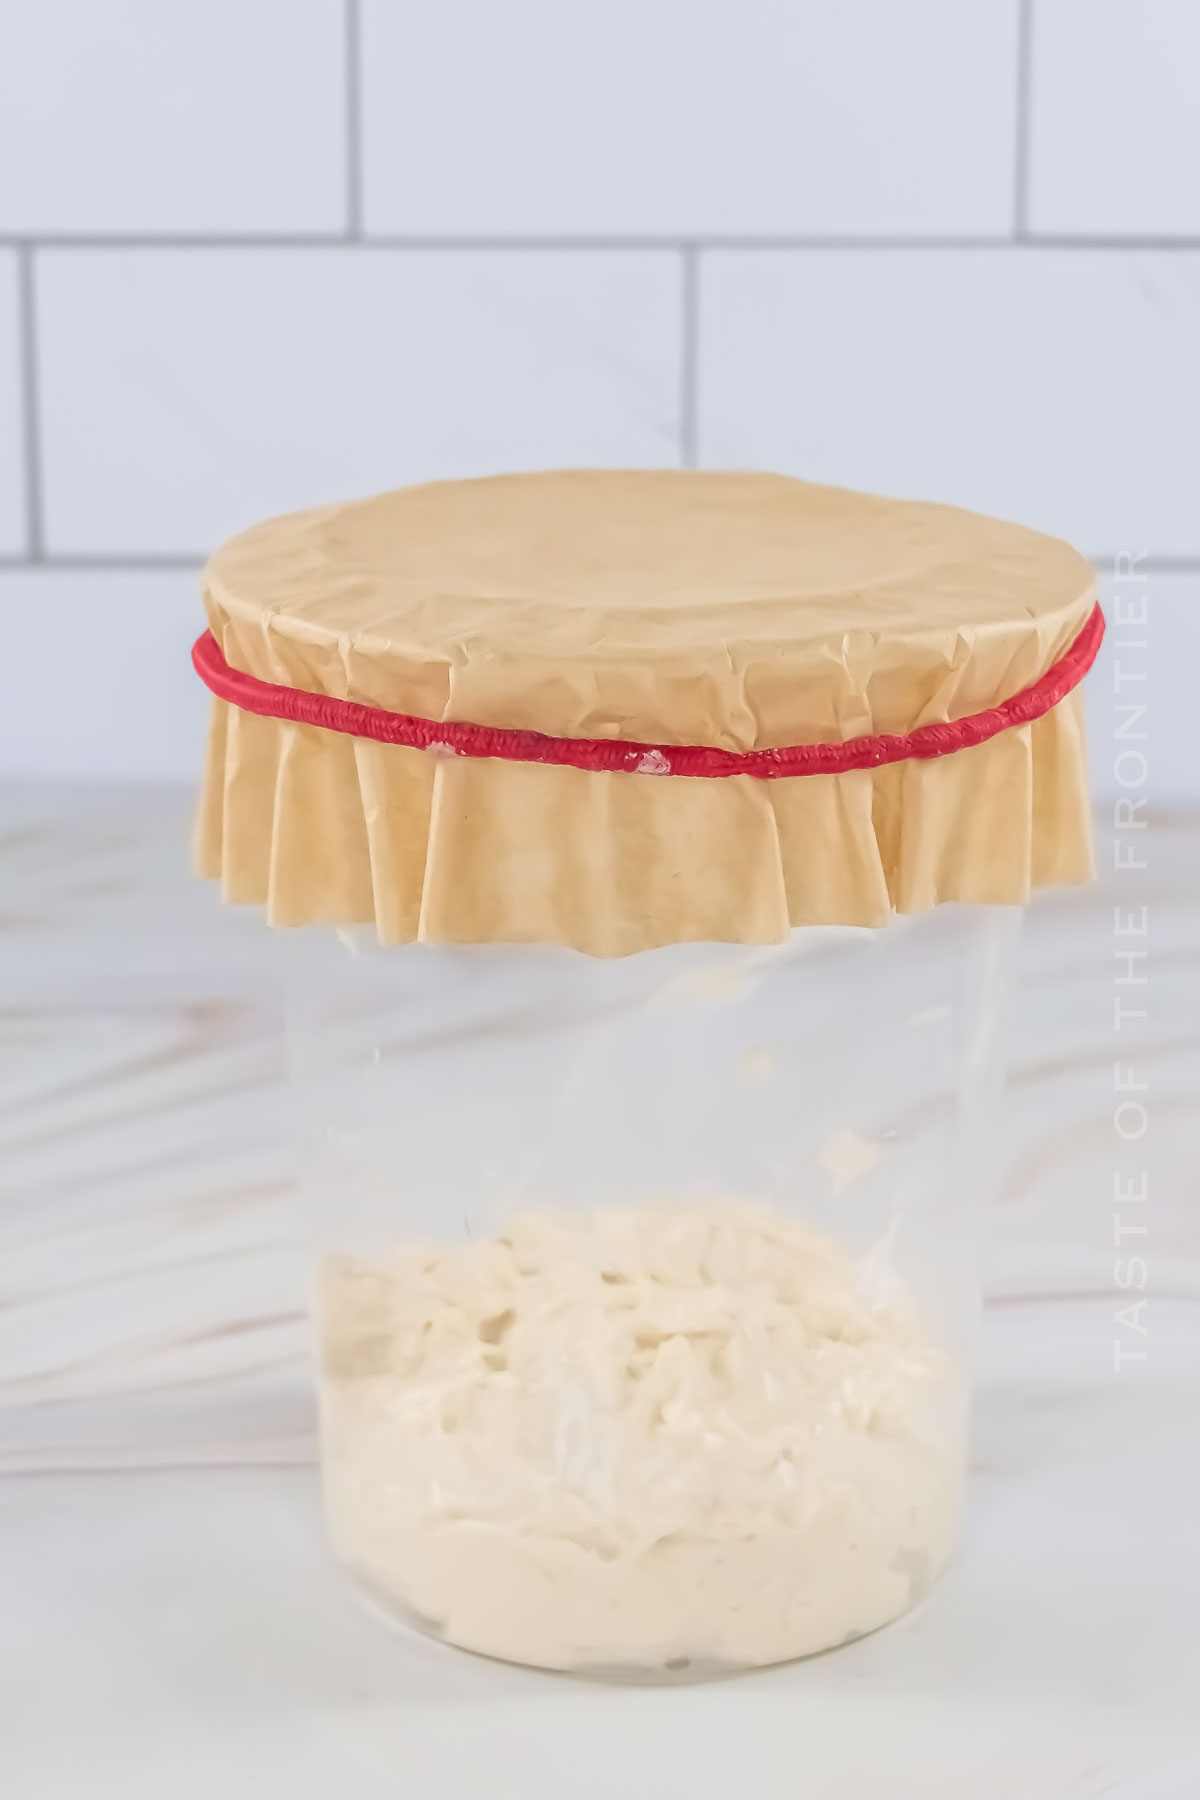
Prevent mold by making sure your utensils and container are completely clean, covering the starter with a breathable lid like a loosely placed lid or coffee filter, and keeping it in a clean, warm environment.
What Flour is Best for Sourdough Starter?
Create your starter with whole wheat flour, pumpernickel, or rye flour. They’ve got the best nutrients and will jumpstart the fermentation process.
As your starter matures, you can switch to all-purpose flour or continue with whole-grain flours for regular feedings to maintain its robust activity.
Storage
It can be a little daunting if you’re just getting started with this. A little time and experience will show you how easy this is.
Refrigerator: If you bake occasionally, store your starter in the refrigerator and feed it weekly.
Room Temperature: For frequent bakers, keep the starter at room temperature on your kitchen counter, feeding it daily to keep it vigorous and ready for baking.
Tips
I really think sourdough is the best way to go. From your first loaf, you’ll see what I mean.
- Maintain Warmth: Keep the starter in a consistently warm place to encourage yeast activity.
- Hydration is Key: Stick to a 1:1 ratio of flour to water by weight for best results.
- Regular Feeding: Feed your starter with equal parts of water and flour regularly to keep it active.
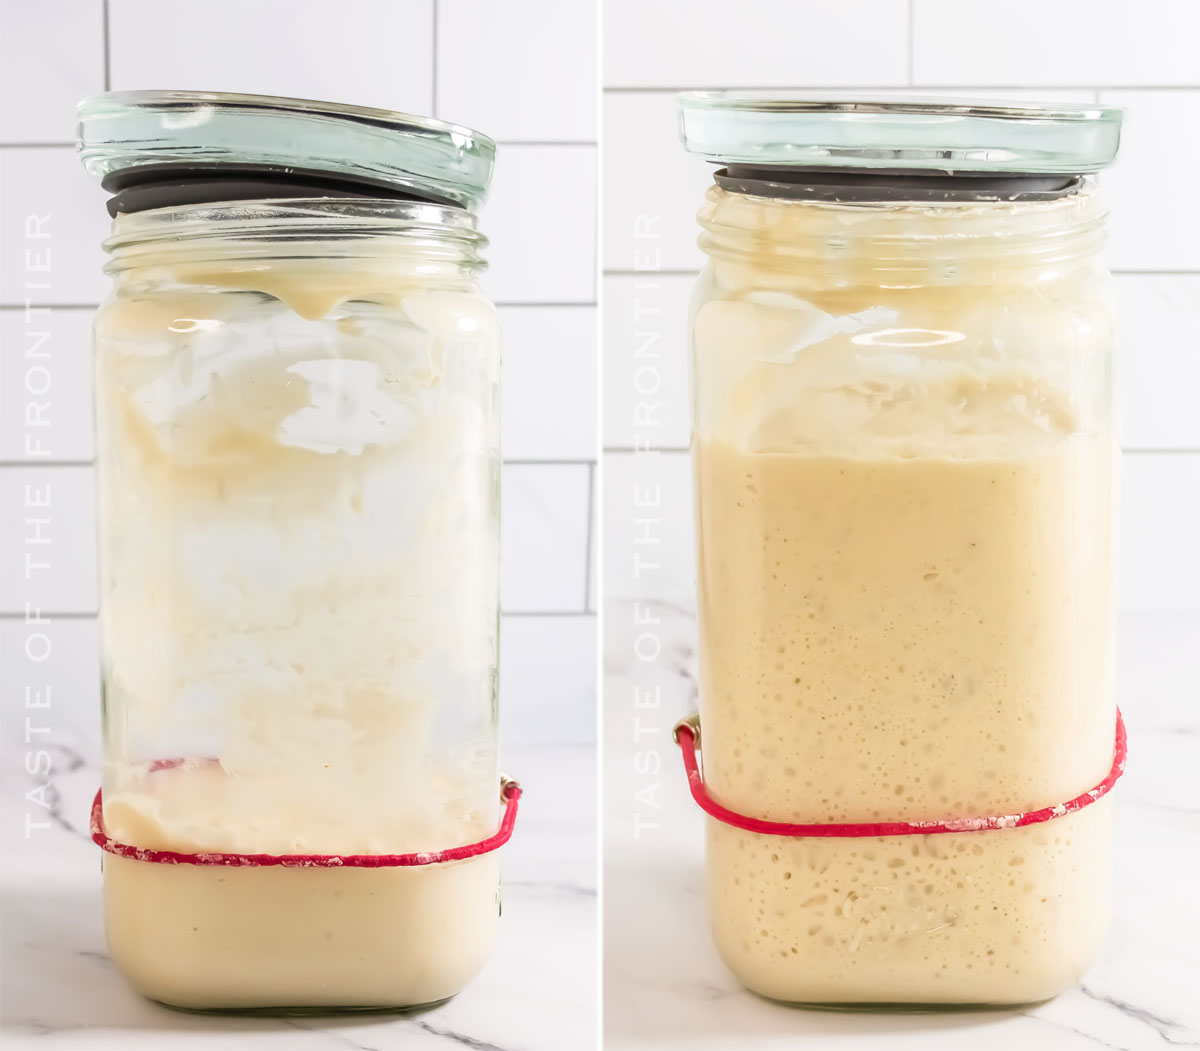
- Monitor with a Rubber Band: Place a rubber band around your container at the starter’s level to easily monitor its growth.
- Cleanliness: Always use clean utensils to handle your starter to prevent contamination.
- Patience Pays Off: Allow your starter to develop fully—it can take up to two weeks for it to establish itself and become ready for baking.
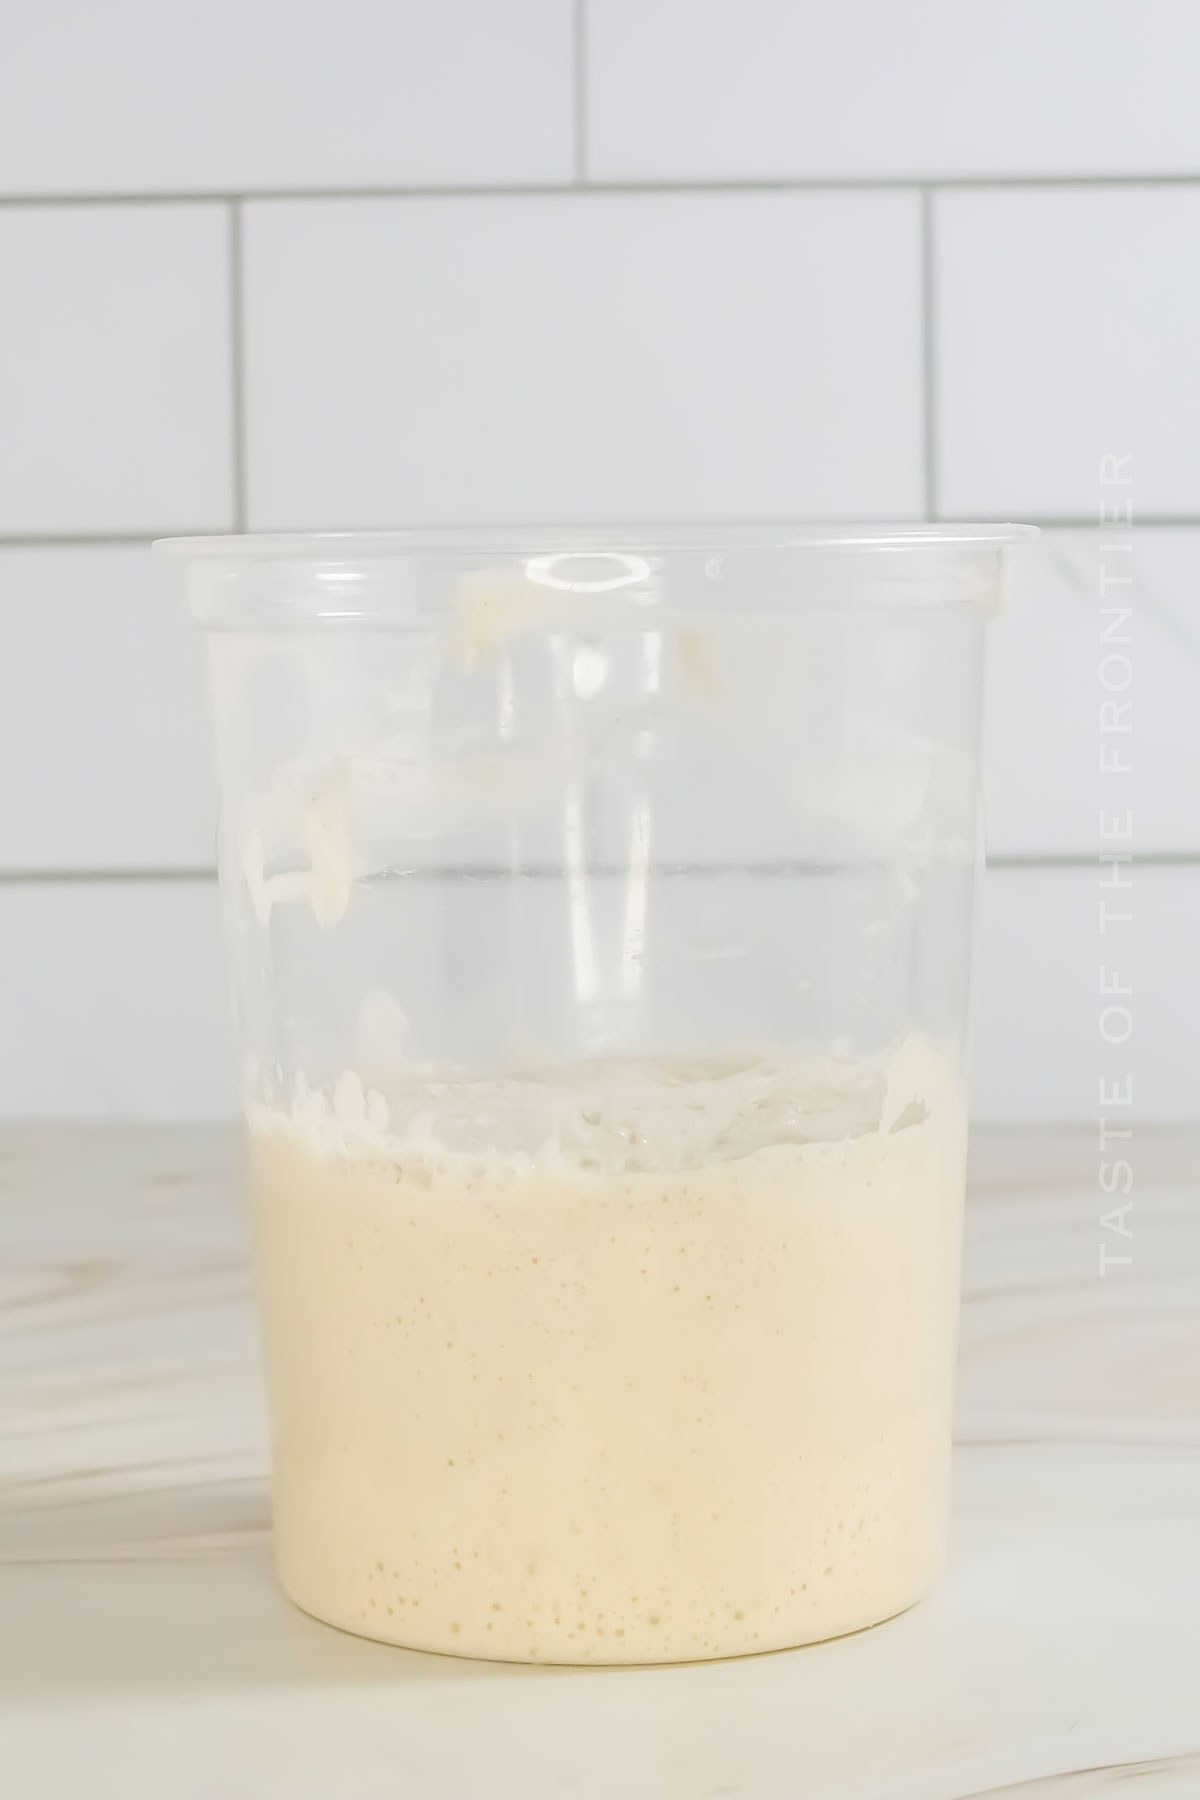
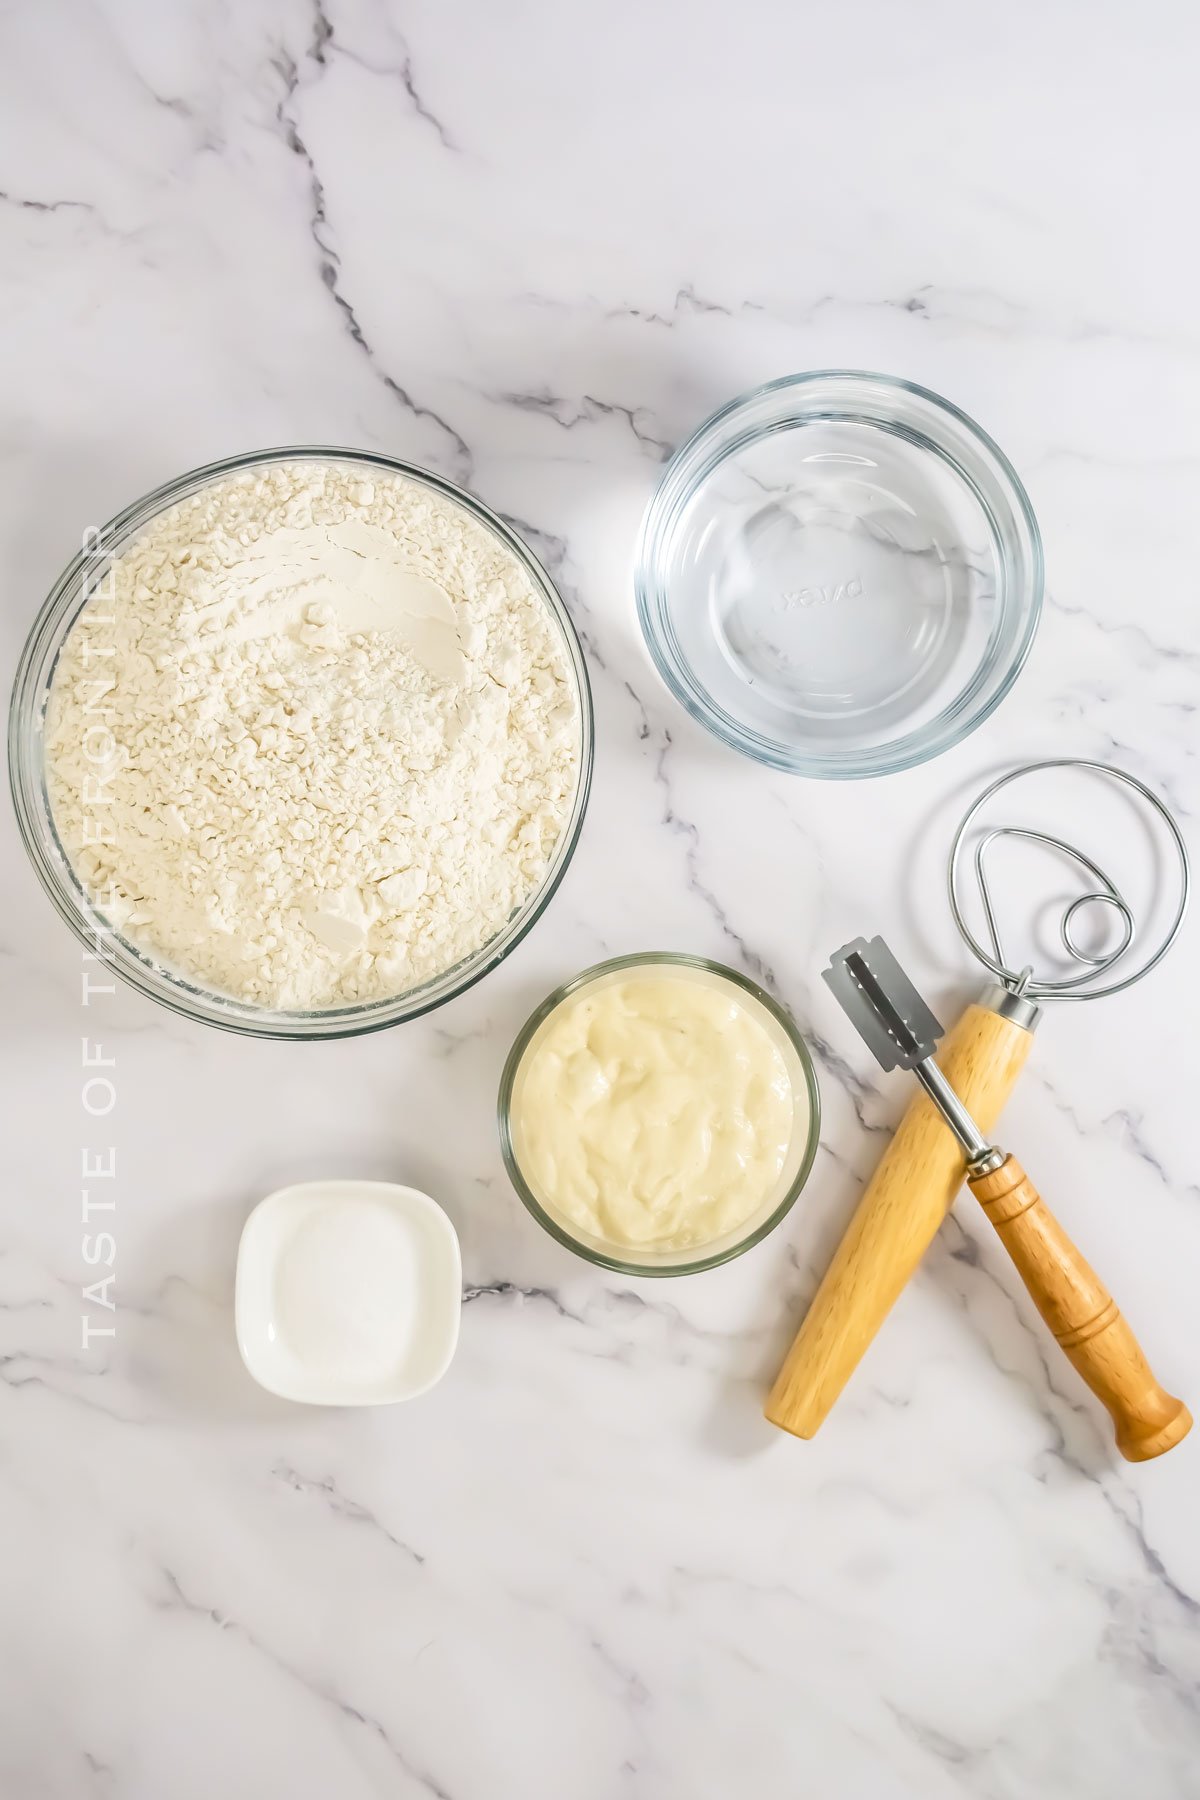
Ingredients
Such simple ingredients! I almost seems too easy. The feeding schedule is the important part. That, and a little bit of patience!
- Whole wheat flour, bread, or pumpernickel flour (initially)
- All-purpose flour (for feeding)
- Filtered water or distilled water
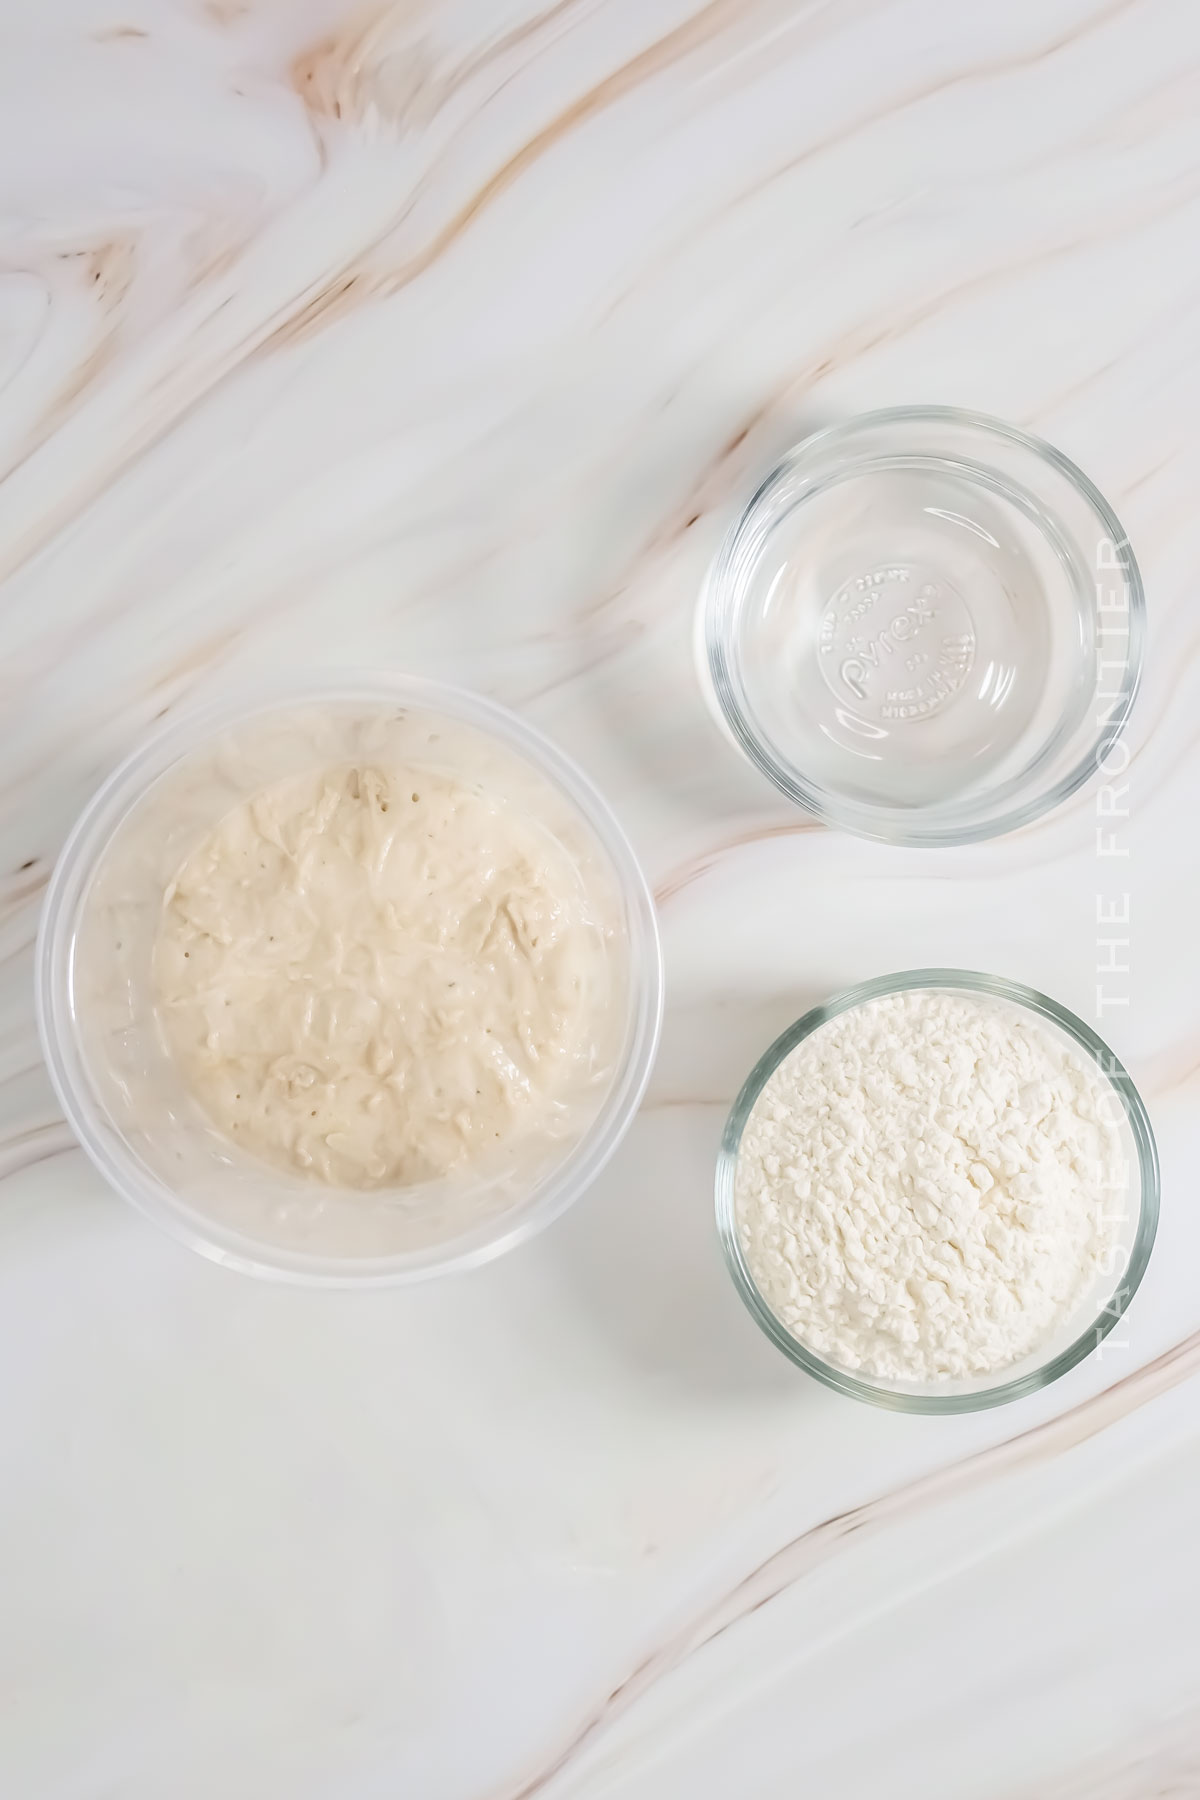
How to Make Sourdough Starter
After the first couple of days you’ll notice a big difference in the size of the starter. It’s like magic! Or maybe a science experiment.
Day One
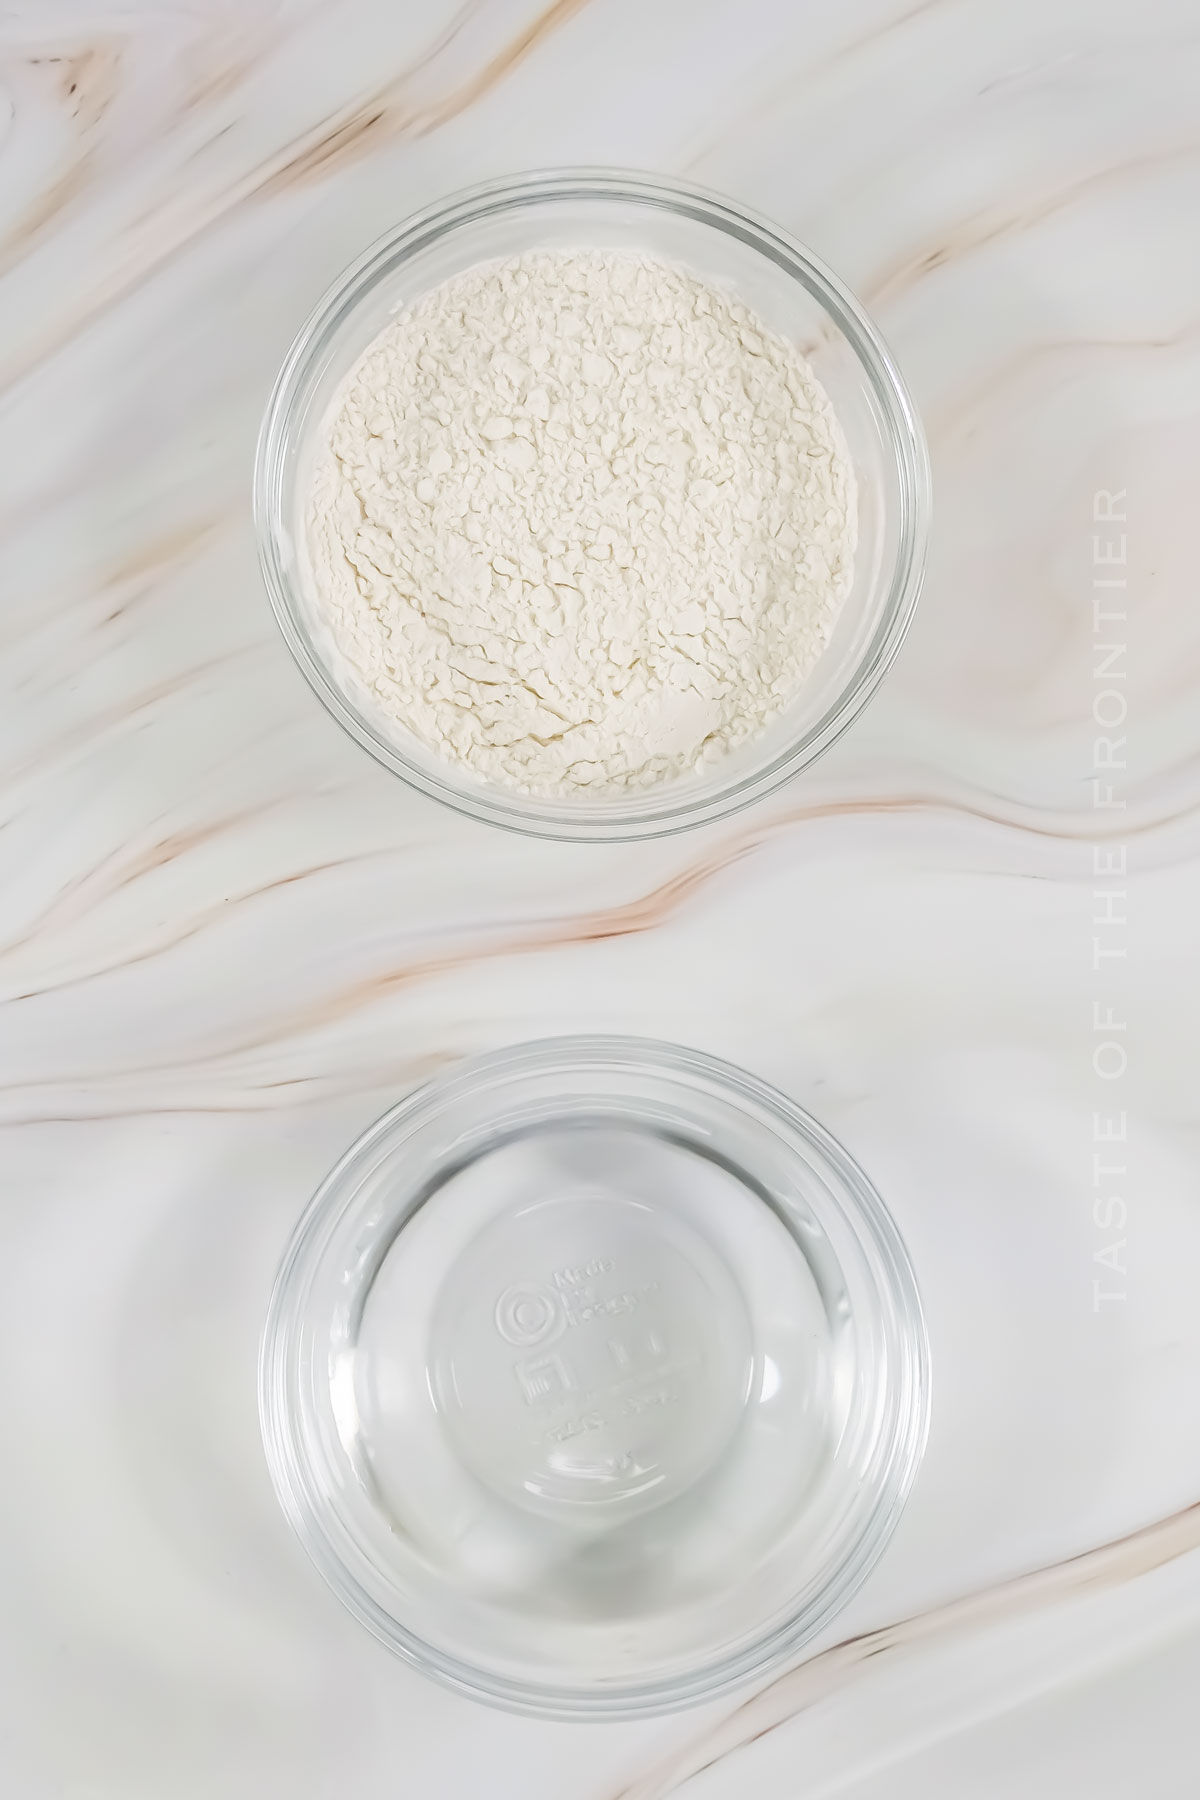
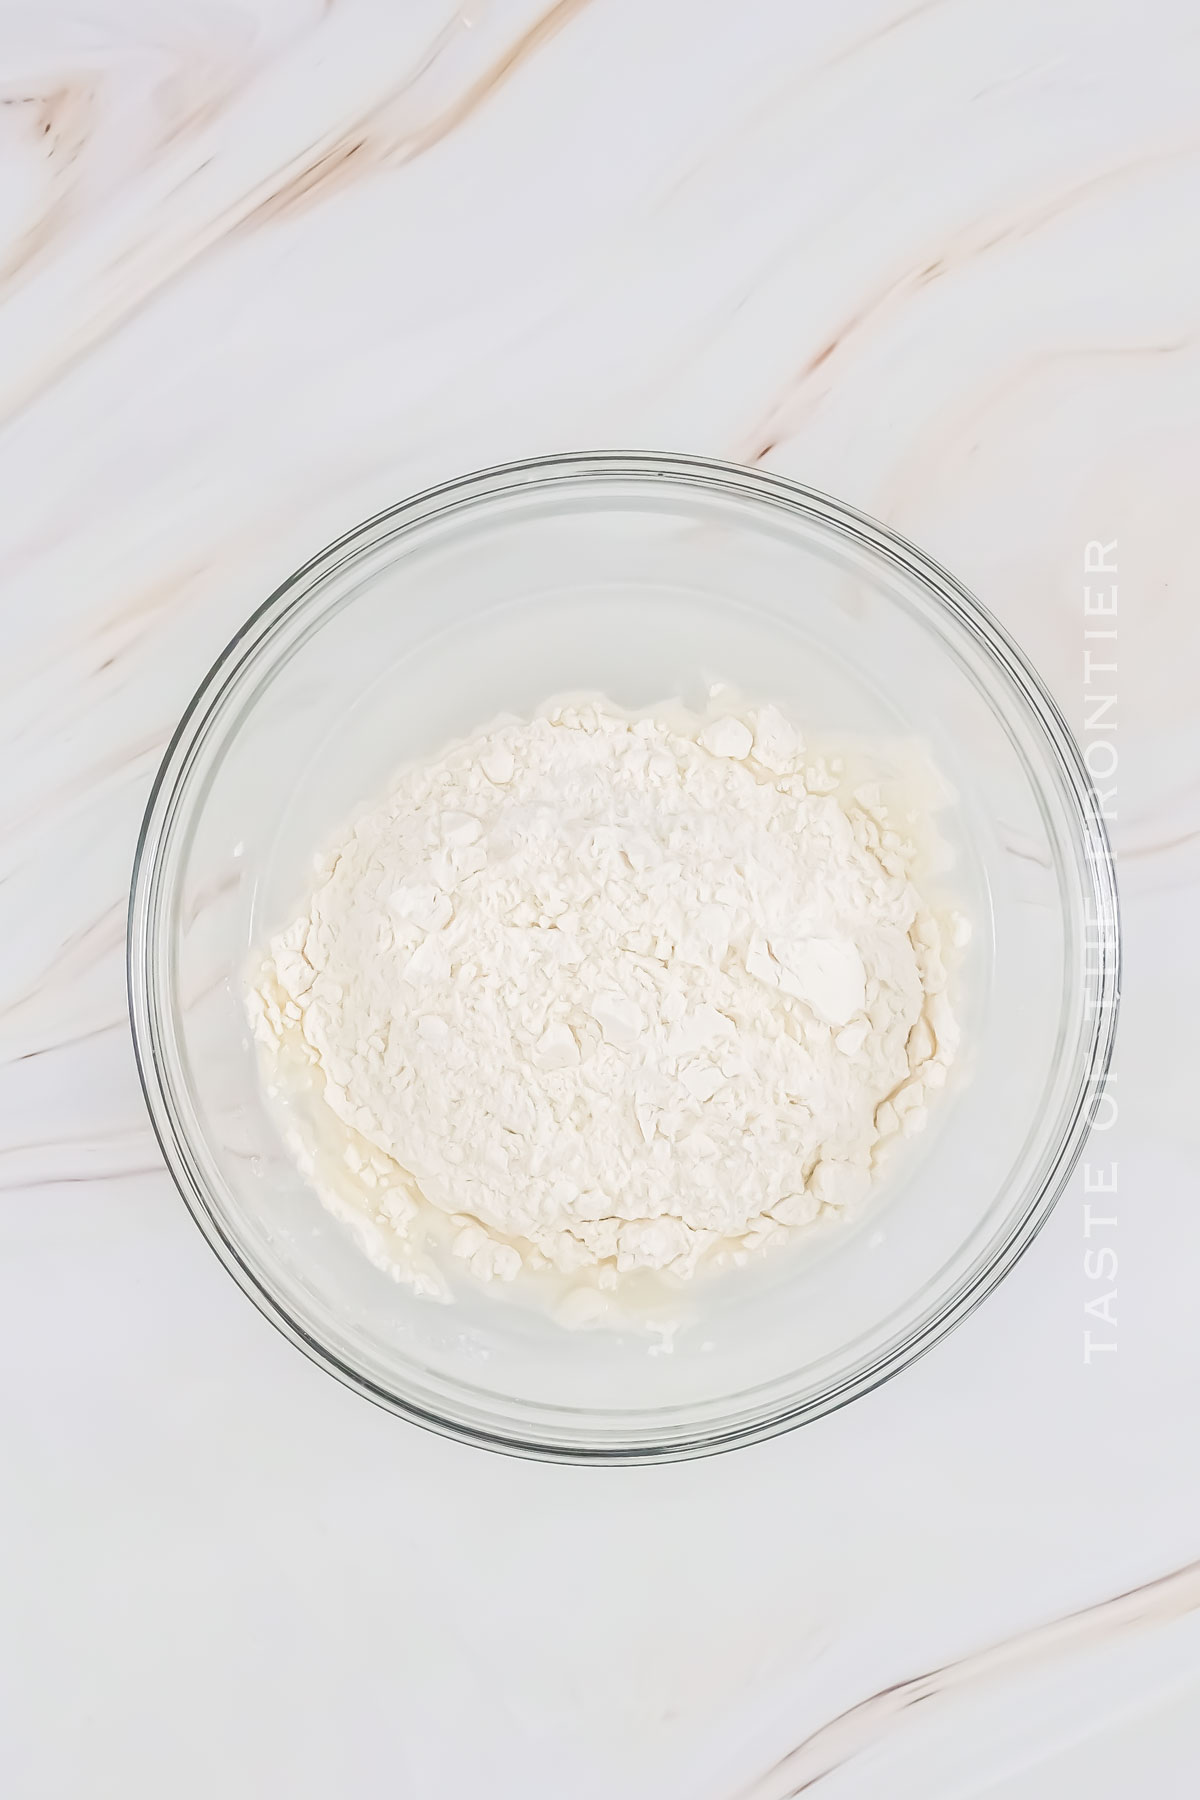
- In a large plastic or glass container (Ball jar, etc), combine the flour and water. We recommend using room-temperature distilled water to create your starter from the beginning. Once it’s established, you can switch to tap water if desired.
- Cover loosely with an askew lid, coffee filter, or clean dishcloth.
Days Two thru Fourteen
- Remove half of the water/flour mixture from the container. It should be about ½ of a cup or 113 grams worth. Throw it in the trash. DO NOT wash it down the drain – it is like cement and causes plumbing issues! This is called the discard – it can be used in some recipes that call for “sourdough discard”.
- “Feed” the remaining starter in the jar with another 113 grams of flour and 113 grams of distilled water.
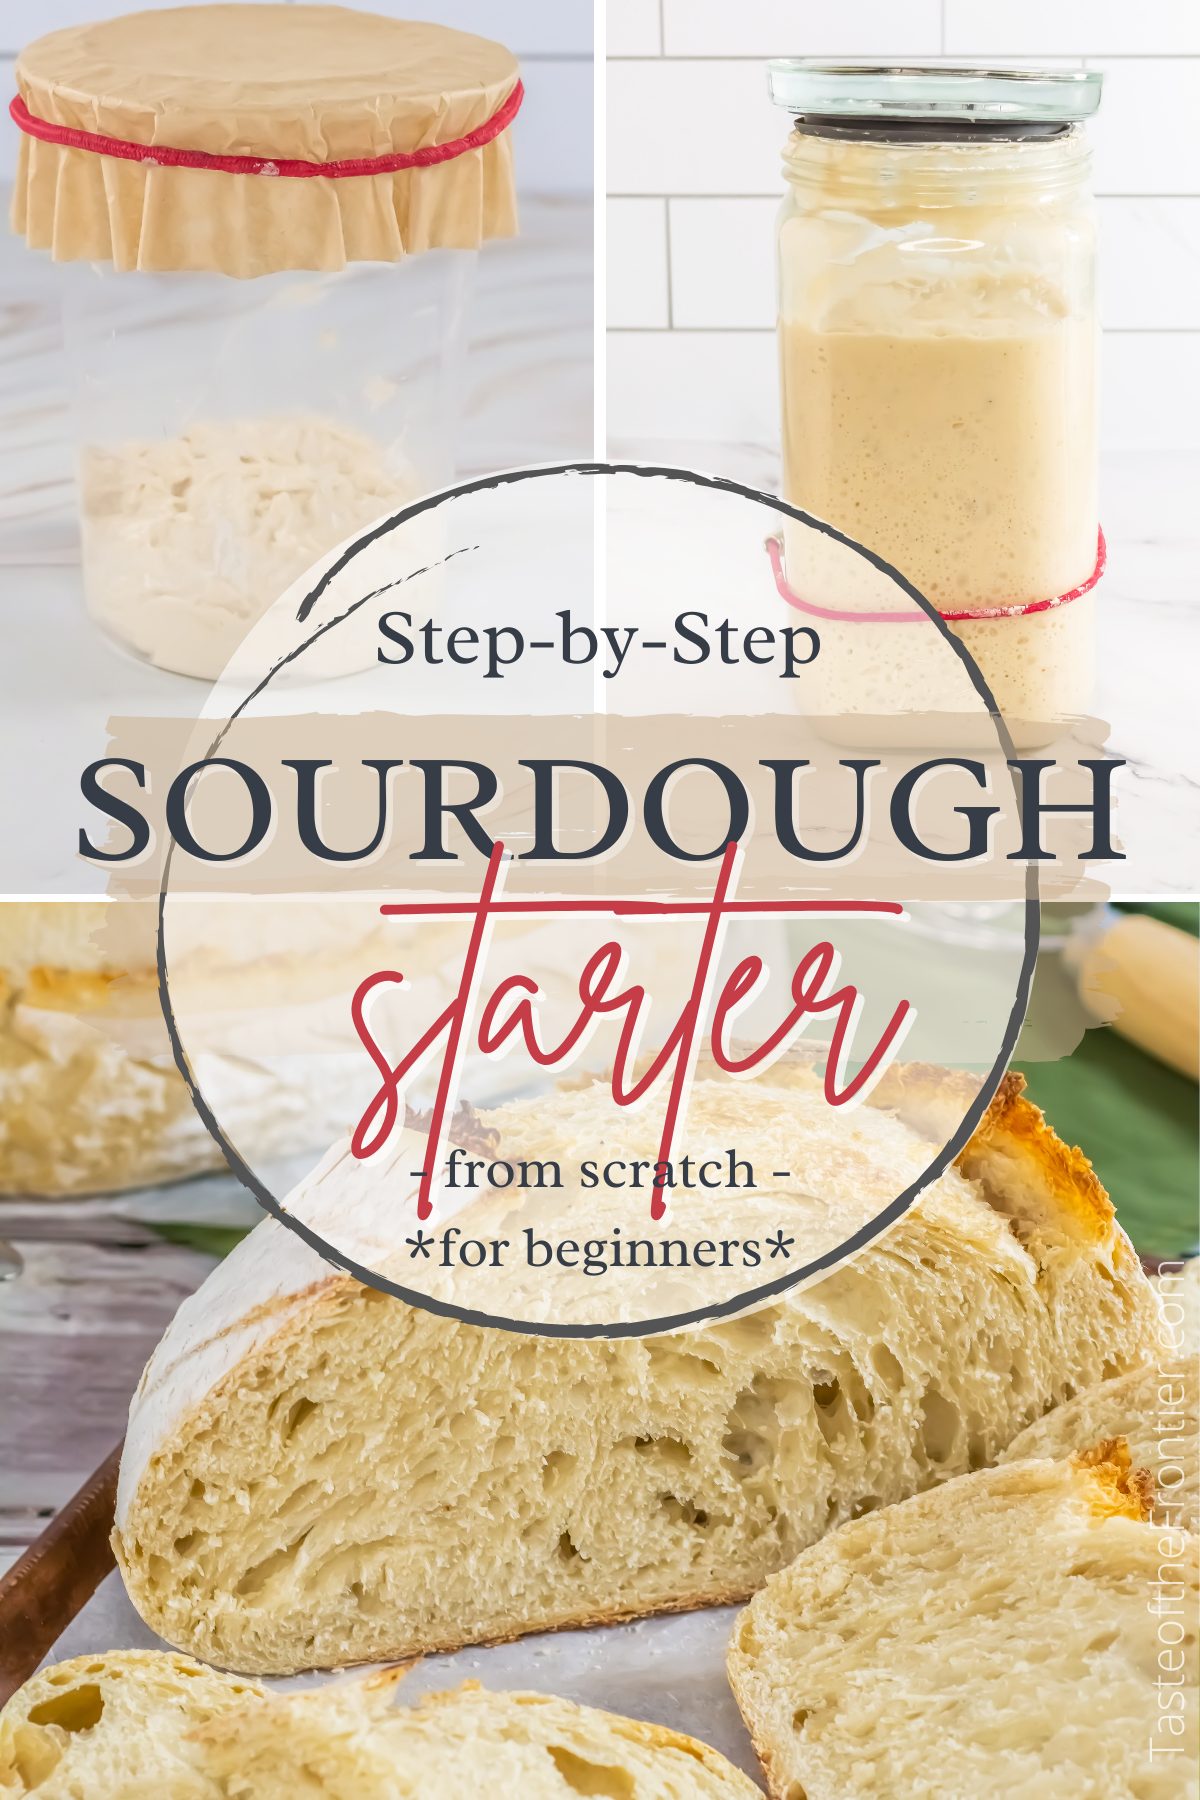
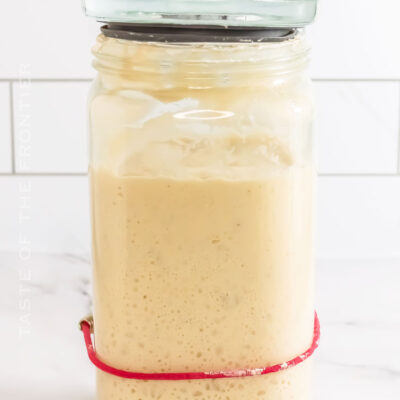
- Place a rubber band around the container to mark the growth. It is ready to use once it has at least doubled.
Day 15 and continuing on
- The starter can now be used to bake.
- If it is left at room temperature, continue the discard and feed process at least every other day for a strong, reactive starter.
- If you want to slow it down because you aren’t using it as frequently, you can refrigerate the starter and feed it every couple of weeks. To feed at this rate, remove it from the fridge, feed it, and set it at room temperature for at least a day before baking with it again.
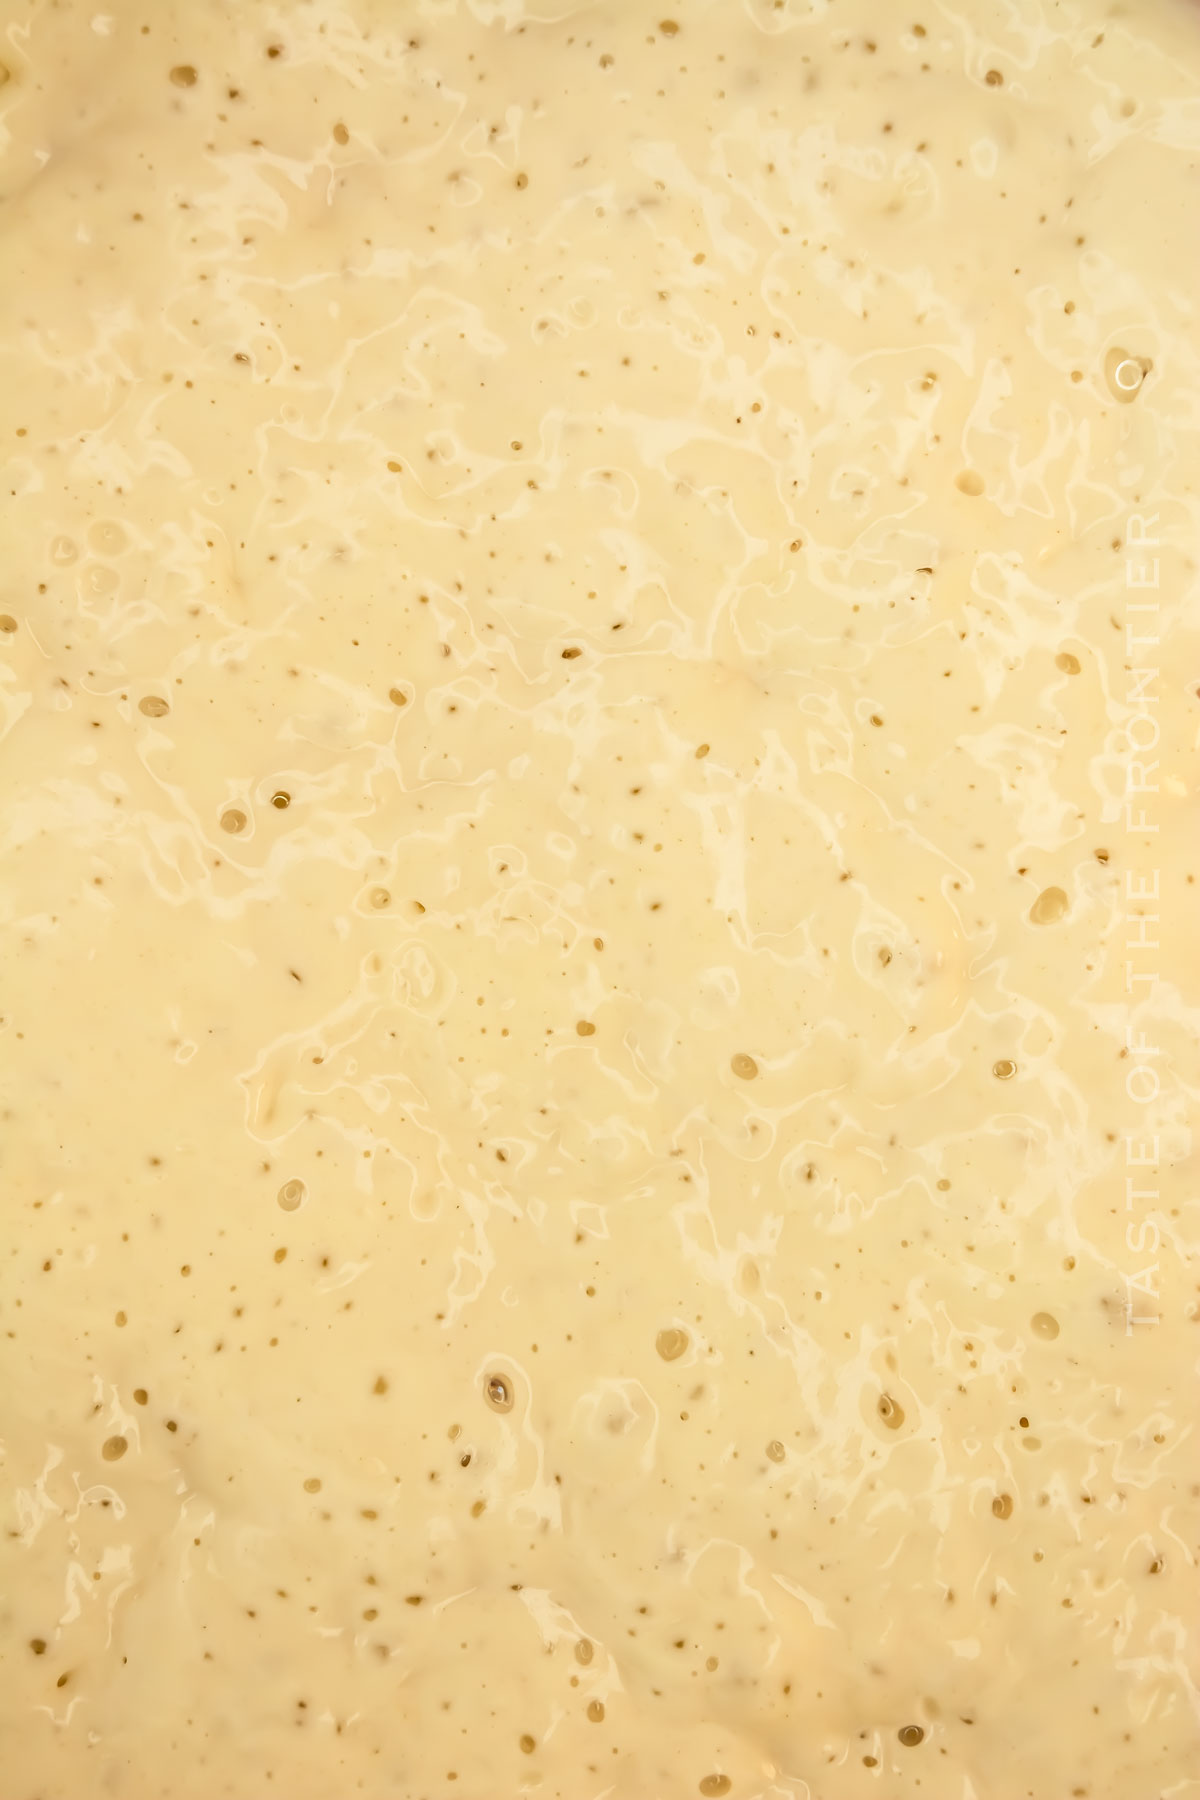
Kitchen Supplies You’ll Need
If you’re super experienced, you may not need a scale. I find it’s best to be exact, though. Make sure you have a nice, clean jar!
- Clear glass jar or food-grade plastic container
- Kitchen scale for accurate measurement
- Rubber band to mark growth
- Stirring spoon or spatula
- Cloth or coffee filter to cover the jar
What to Make With Sourdough Starter
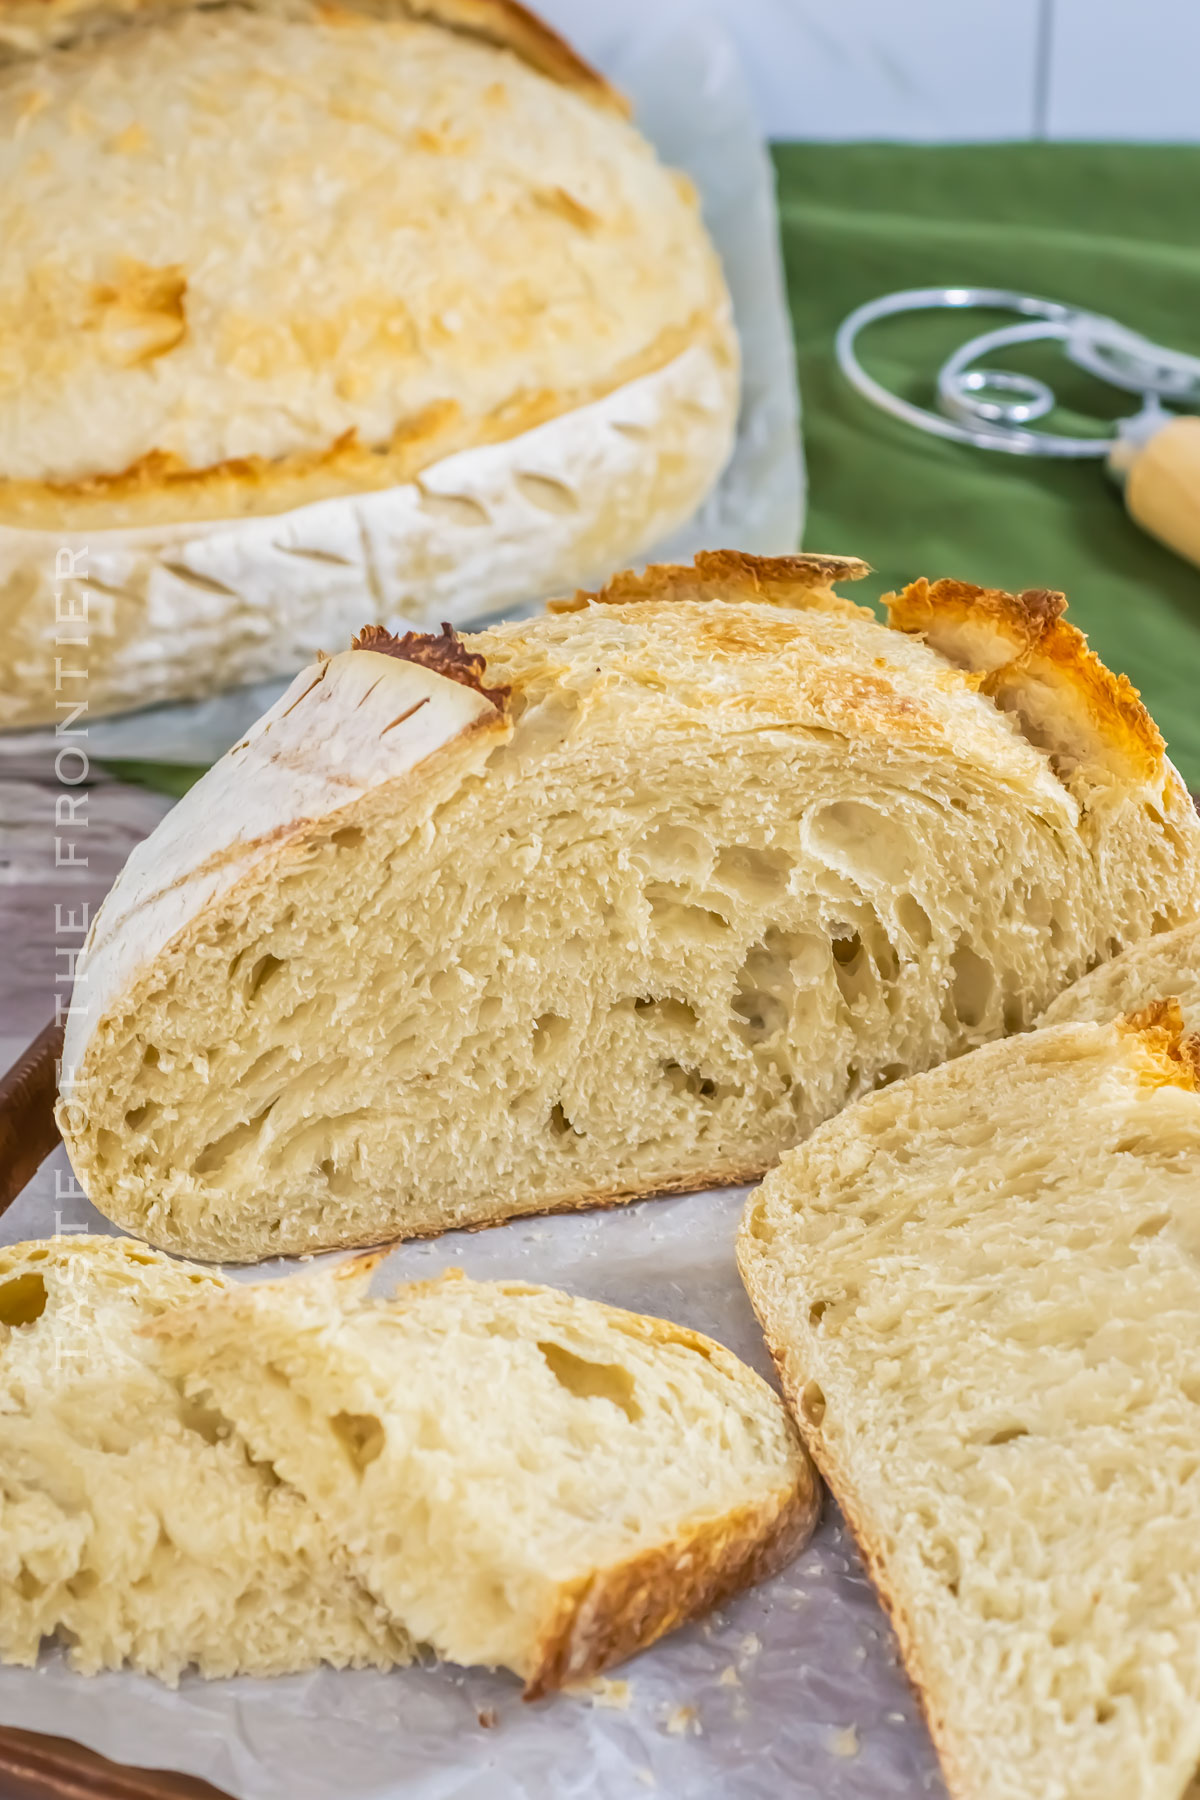
Once your sourdough starter is active, it can be used to bake a variety of sourdough bread, from classic loaves to flavorful rye bread and even sourdough English muffins. Enjoy these with butter, homemade jams, or as the base for delicious sandwiches.
Why You Should Make Sourdough Starter
A good sourdough starter is the easiest way to level up your bread game. Store-bought bread just can’t compete!
- Enhance Flavor and Texture: Sourdough offers a unique taste and texture that pre-packaged yeast can’t match.
- Health Benefits: Easier digestion and enhanced nutrient absorption are key benefits of sourdough fermentation.
- Economical and Sustainable: Reduce food waste by baking your own bread and using ‘discard’ in various recipes.
- Joy of Baking: Experience the satisfaction of creating something truly from scratch.
Variations and Add-Ins for Sourdough Starter
Once you’ve tried a good sourdough bread recipe, you won’t go back. The whole process is fun and satisfying.
- Experiment with Flours: Mix different flours like spelt or buckwheat into your feedings for unique flavors.
- Infuse Flavors: Add spices such as cinnamon or nutmeg to infuse subtle flavors into your starter.
- Gluten-Free Options: For those sensitive to gluten, gluten-free sourdough starters are possible using flours like rice or sorghum.
- Herbal Notes: Incorporate dried herbs to gently flavor your sourdough breads, perfect for savory loaves.
If you love this starter recipe, you’re going to love these other bread recipes too. Please click each link below to find the easy, printable recipe!



More Great Ways to Use Sourdough Recipes
Disney Inspired Clam Chowder Bread Bowl
CONNECT WITH YUMMI HAUS!
Be sure to follow me on my social media, so you never miss a post!
Sourdough Starter
Ingredients
- 113 g whole wheat flour – or bread flour, pumpernickel flour (1 cup) – for best results
- 113 g distilled water ½ cup
Instructions
Day One
- In a large plastic or glass container (Ball jar, etc), combine the flour and water. We recommend using room-temperature distilled water to create your starter from the beginning. Once it’s established, you can switch to tap water if desired.
- Cover loosely with an askew lid, coffee filter, or clean dishcloth.
Day Two thru Fourteen
- Remove half of the water/flour mixture from the container. It should be about ½ of a cup or 113 grams worth. Throw it in the trash. DO NOT wash it down the drain – it is like cement and causes plumbing issues! This is called the discard – it can be used in some recipes that call for “sourdough discard”.
- “Feed” the remaining starter in the jar with another 113 grams of flour and 113 grams of distilled water.
- Place a rubber band around the container to mark the growth. It is ready to use once it has at least doubled.
Day 15 and continuing on
- The starter can now be used to bake.
- If it is left at room temperature, continue the discard and feed process at least every other day for a strong, reactive starter.
- If you want to slow it down because you aren’t using it as frequently, you can refrigerate the starter and feed it every couple of weeks. To feed at this rate, remove it from the fridge, feed it, and set it at room temperature for at least a day before baking with it again.
Notes –
- The sourdough starter will have a funky smell for the first few days. This is normal.
- Do not use the starter to bake for about two weeks while it is growing. It will not have the proper rising attributes or taste.
- The starter is ready to be used for baking when you have fed it and it doubles in size within a few hours. It should be bubbly and have that sourdough “tangy” smell.
- Be sure to use clean utensils – any contaminants can kill the starter. This is why we recommend distilled water to create the starter. Once it’s strong and active, you can switch to tap water but watch it for possible issues.
- Flours with a higher protein and gluten content will create a stronger starter. You may use all-purpose flour to feed it and for baking.
- When a recipe calls for an active sourdough starter – this is the starter a few hours after it has been fed, when it is happy and bubbly (not a dormant starter or the discarded starter). When properly maintained, the starter can last for centuries.
Notes
Equipment
- large jar
Nutritional information for the recipe is provided as a courtesy and is approximate. Please double-check with your own dietary calculator for the best accuracy. We at Yummi Haus cannot guarantee the accuracy of the nutritional information given for any recipe on this site.




Share Your Thoughts