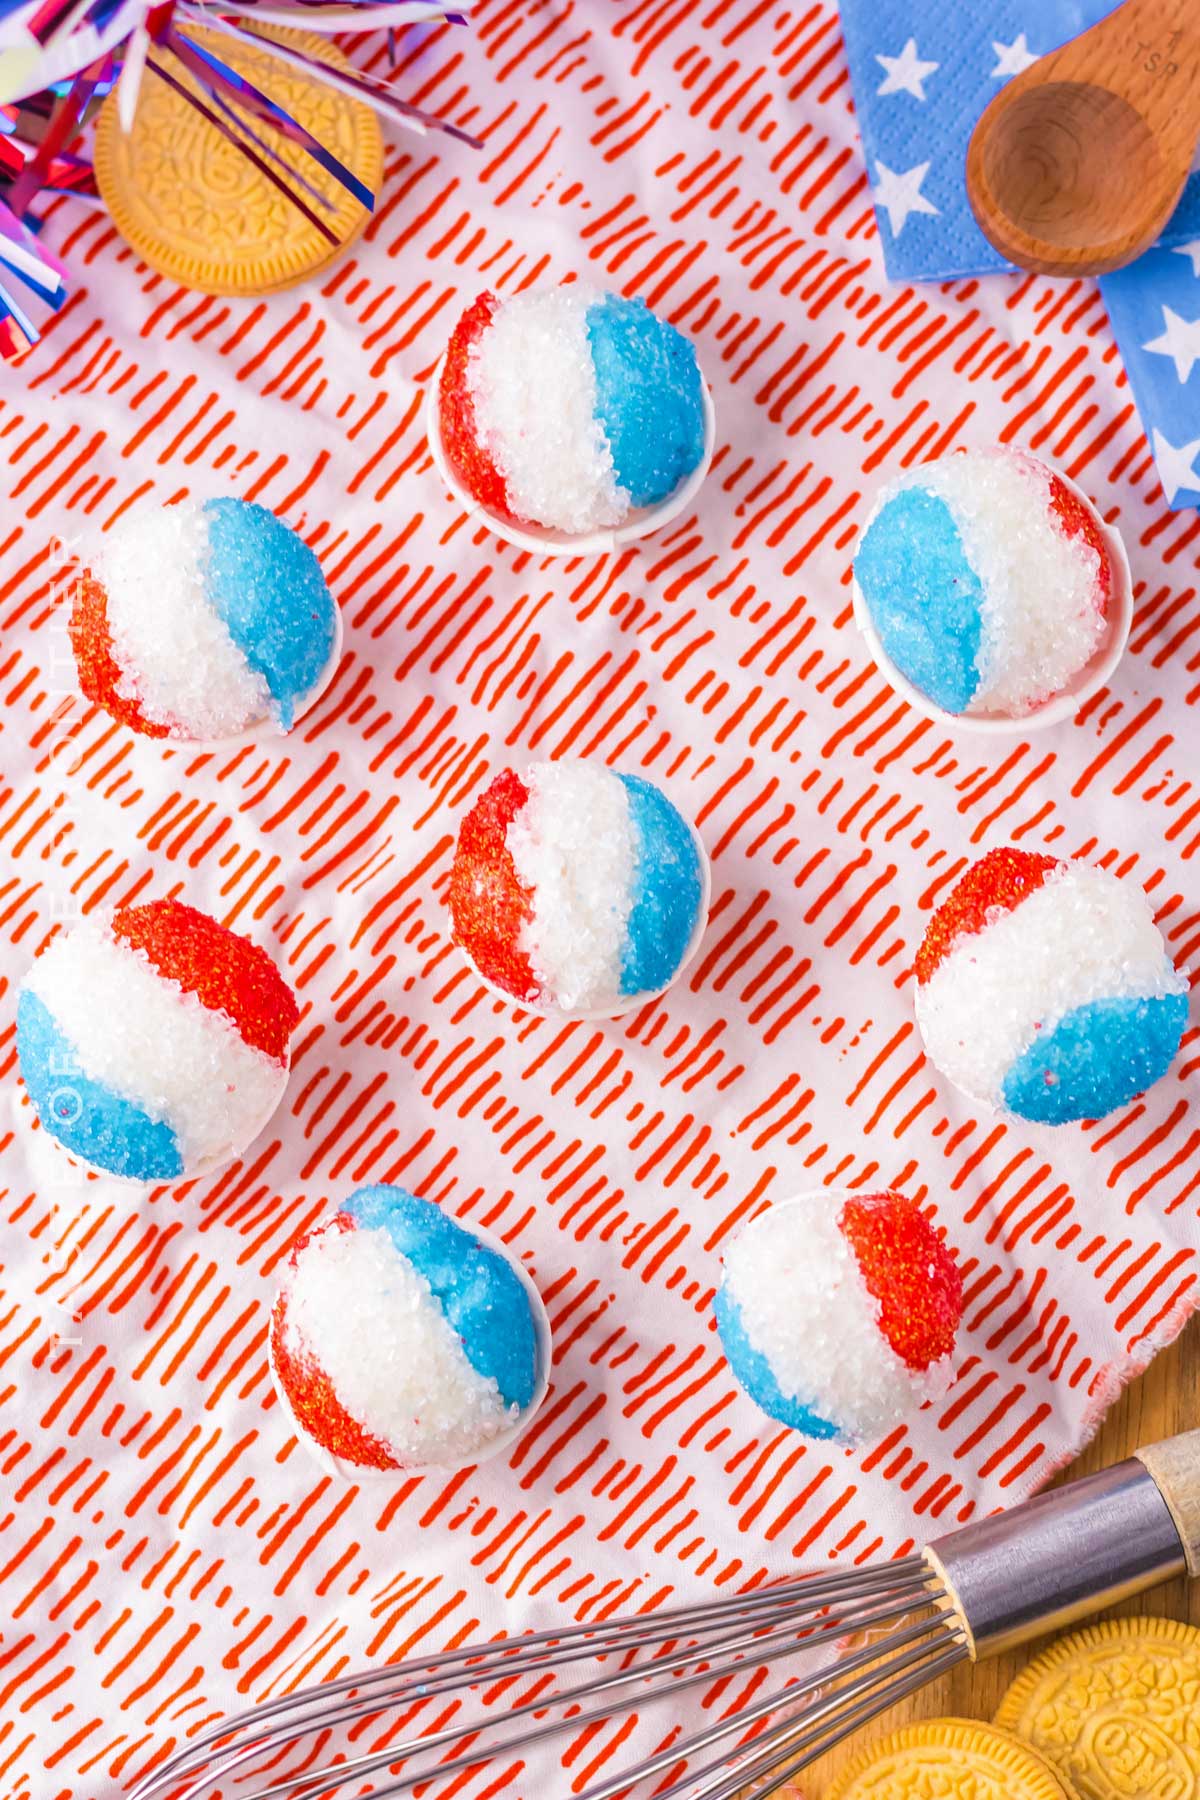
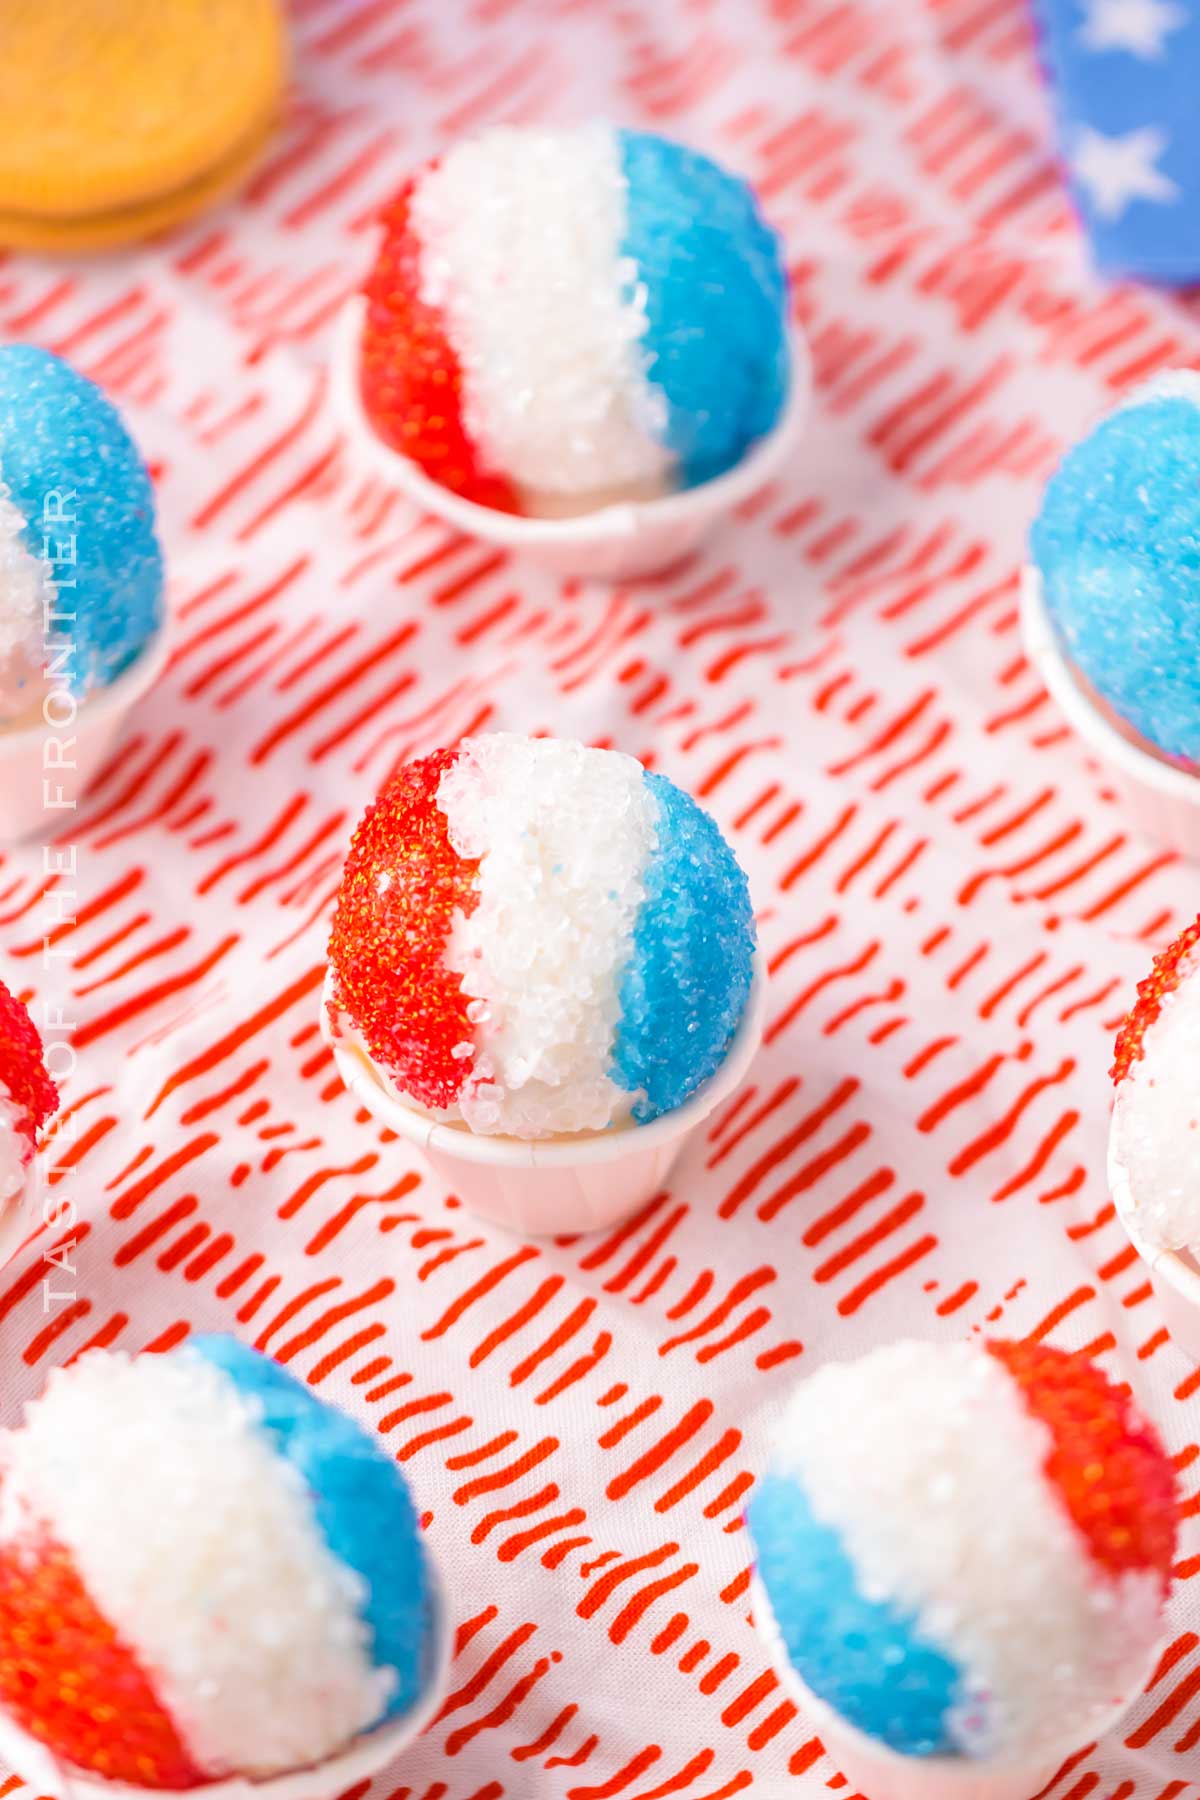
These super cute Snowcone Oreo Truffles take easy, no-bake Oreo ball truffles and decorate them like your favorite summer snowcones. Perfect for parties and summer holidays!
Today I’ve got one of those dessert recipes that tend to be remembered for a long time. Imagine biting into a creamy, sweet Oreo truffle that looks just like a mini snowcone!
These Snowcone Oreo Truffles are not only delicious but also super adorable. With just a handful of ingredients, you can whip up these delightful treats that are perfect for any festive occasion, especially a Fourth of July party. Then again, you don’t need a holiday for an excuse to make these little lovelies.

Snowcone Oreo Truffles are a yummy and fun treat that’s perfect for any celebration. With their cute snowcone appearance and deliciously creamy texture, they’re sure to be a hit.
Whether you’re making them for a party, a holiday, or just because, these truffles are easy to make and even easier to enjoy. Get ready for a decadent treat that the whole family will love!
Let’s dive into this fun and easy recipe that’s sure to impress your friends and family.
Common Questions About Snowcone Oreo Truffles
Can I use regular Oreos instead of vanilla Oreos?
Yes, you can! If you prefer the classic Oreo flavor, regular Oreos work just as well. The process remains the same, and you’ll end up with delicious Oreo truffles with a rich, chocolatey flavor instead of a vanilla one.
You might want to do a double coating of chocolate as the dark color of regular Oreos will show through the white chocolate when making these.
Do I need a food processor to make these truffles?
While a food processor makes it easier to crush the Oreo cookies and mix in the cream cheese, you can also use a rolling pin to crush the Oreos in a ziplock bag and a hand mixer to blend in the cream cheese. It might take a bit more effort, but it works just fine!
How long do these truffles last?
Stored in an airtight container in the refrigerator, these Oreo balls can last up to 3-4 days. They’re perfect for making ahead of time and serving when you’re ready.
Storage
Put these in a pretty box and give them away as gifts! Your friends and family will love them.
Refrigerator
Store the truffles in an airtight container in the fridge for up to 3-4 days. This keeps them fresh and prevents the chocolate coating from melting.
Keep in mind that sanding sugar tends to sweat when it gets cold and then comes back to room temperature. So the colors may bleed if these are refrigerated. I do recommend enjoying while fresh.
Freezer
You can freeze the truffles for up to 2 months. Place them in a freezer-safe container, making sure they’re in a single layer to avoid sticking. Thaw in the refrigerator before serving.
Tips
That little Oreo disc is just so perfect for so many fun recipes. This one ranks in my top five!
- Chill the dough: Freezing the Oreo mixture balls before dipping them helps the candy coating set better.
- Work quickly: The melted chocolate hardens fast, so be quick when coating and decorating.
- Use a small cookie scoop: For evenly sized truffles.
- Let excess chocolate drip: Hold the truffle over the edge of the bowl to let any excess chocolate drip off before setting it down.
- Decorate immediately: Add the sanding sugar right after coating to ensure it sticks.
Ingredients
Today we’re using vanilla Oreos, but feel free to experiment. Nothing says you have to stick with the original recipe!
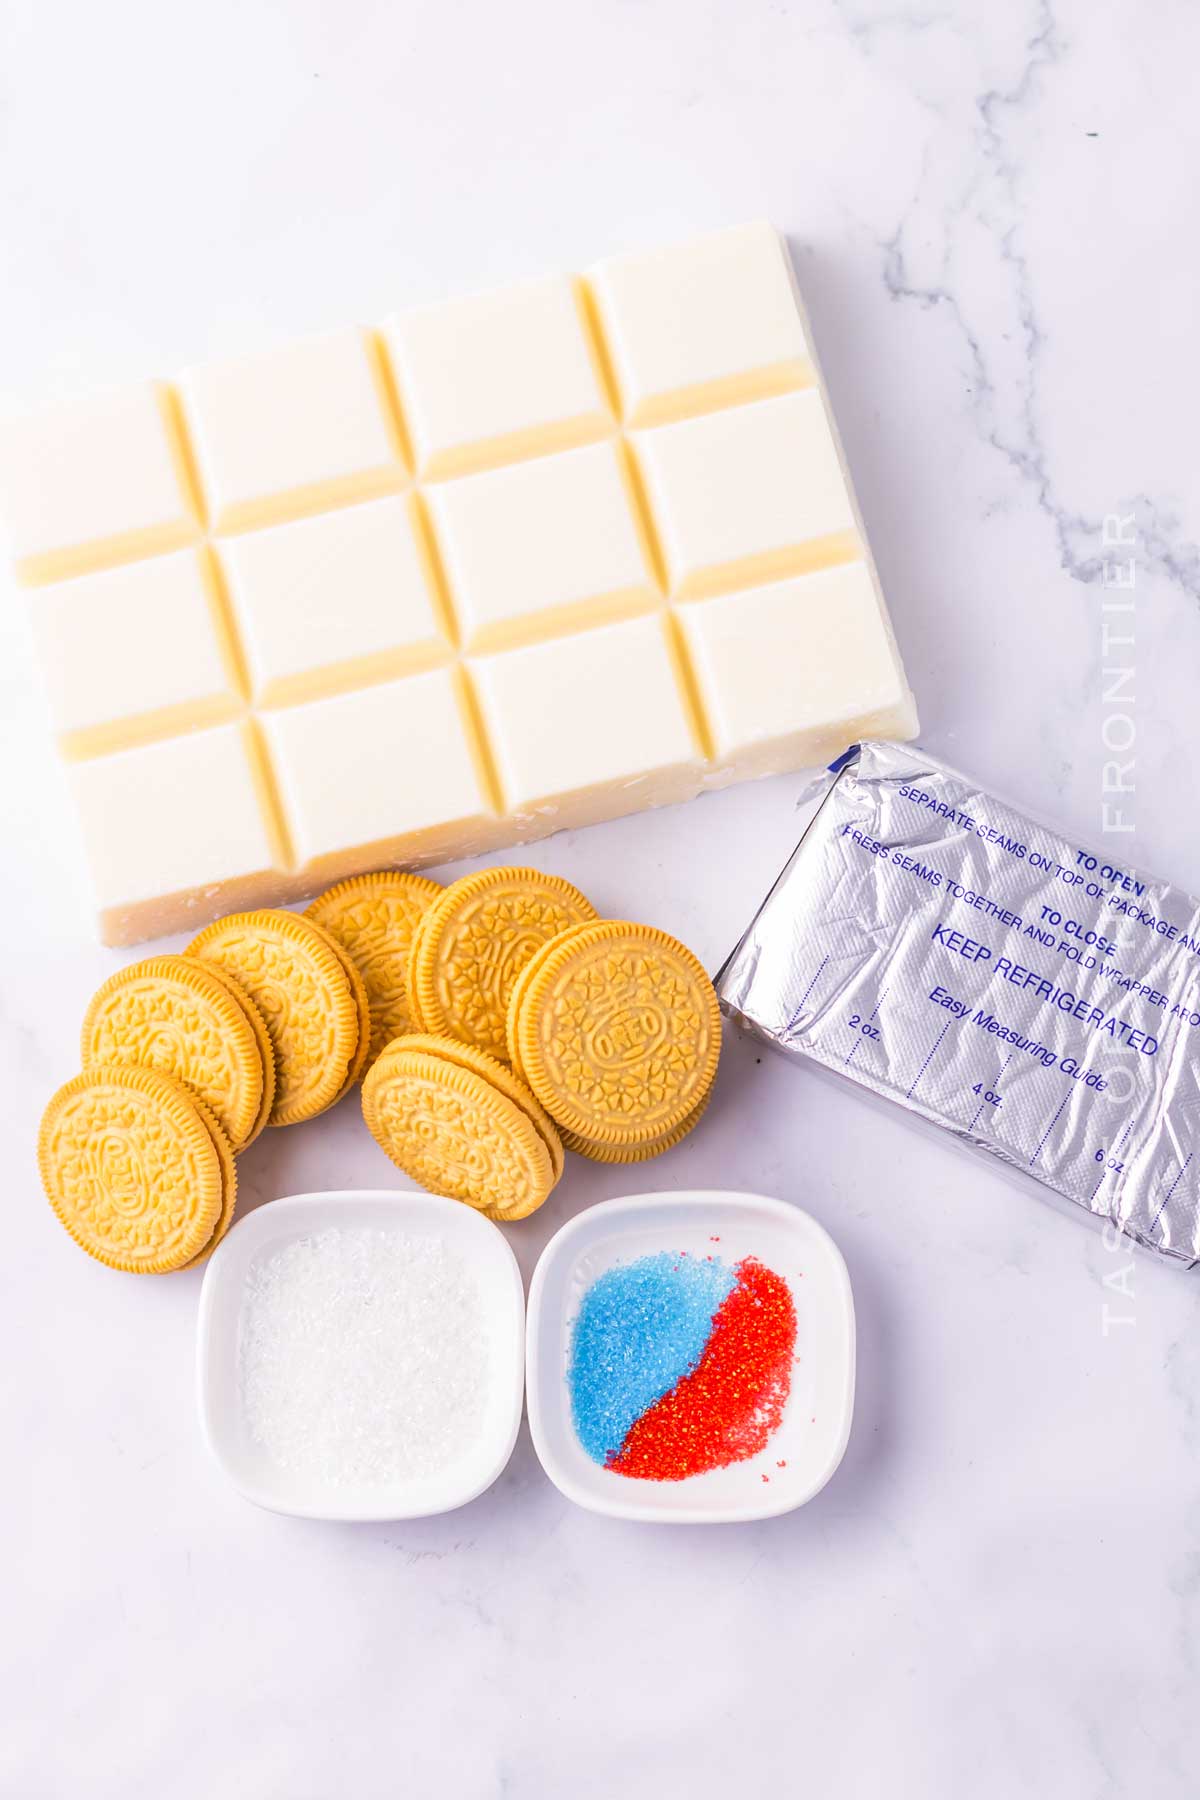
- Vanilla Oreos – Golden Oreos
- Cream cheese – softened to room temperature
- Vanilla almond bark
- Red, white, and blue sanding sugar
How to Make Snowcone Oreo Truffles
Heck, maybe you want the double stuf! I won’t judge. This list should get you through this recipe without problem!
Keep in mind that if you use a cookie with a thicker filling, it will change the ratios with the cream cheese and alter the consistency and texture of the truffles.
- Add the Oreos to a food processor and turn on until fine crumbs form.
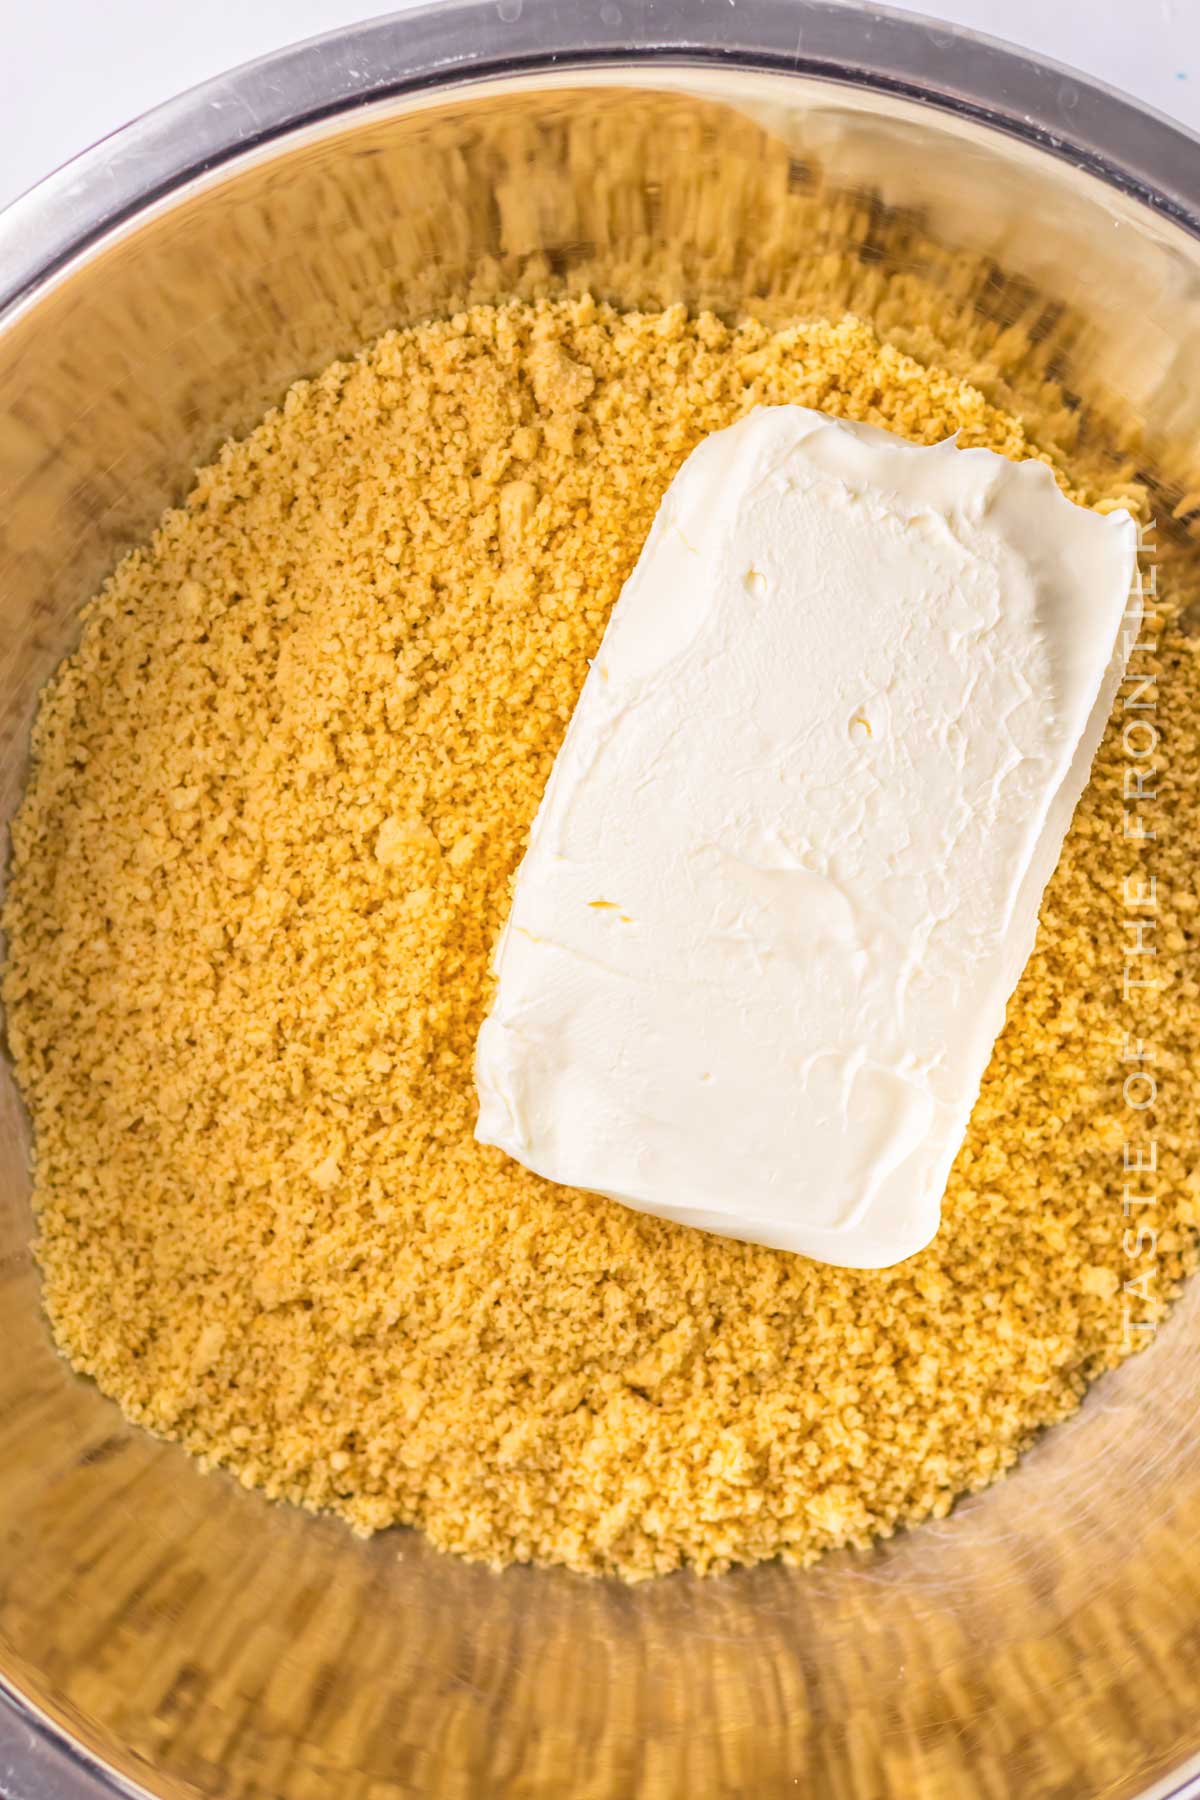
- Add the cream cheese and pulse until everything is combined and a wet dough forms.
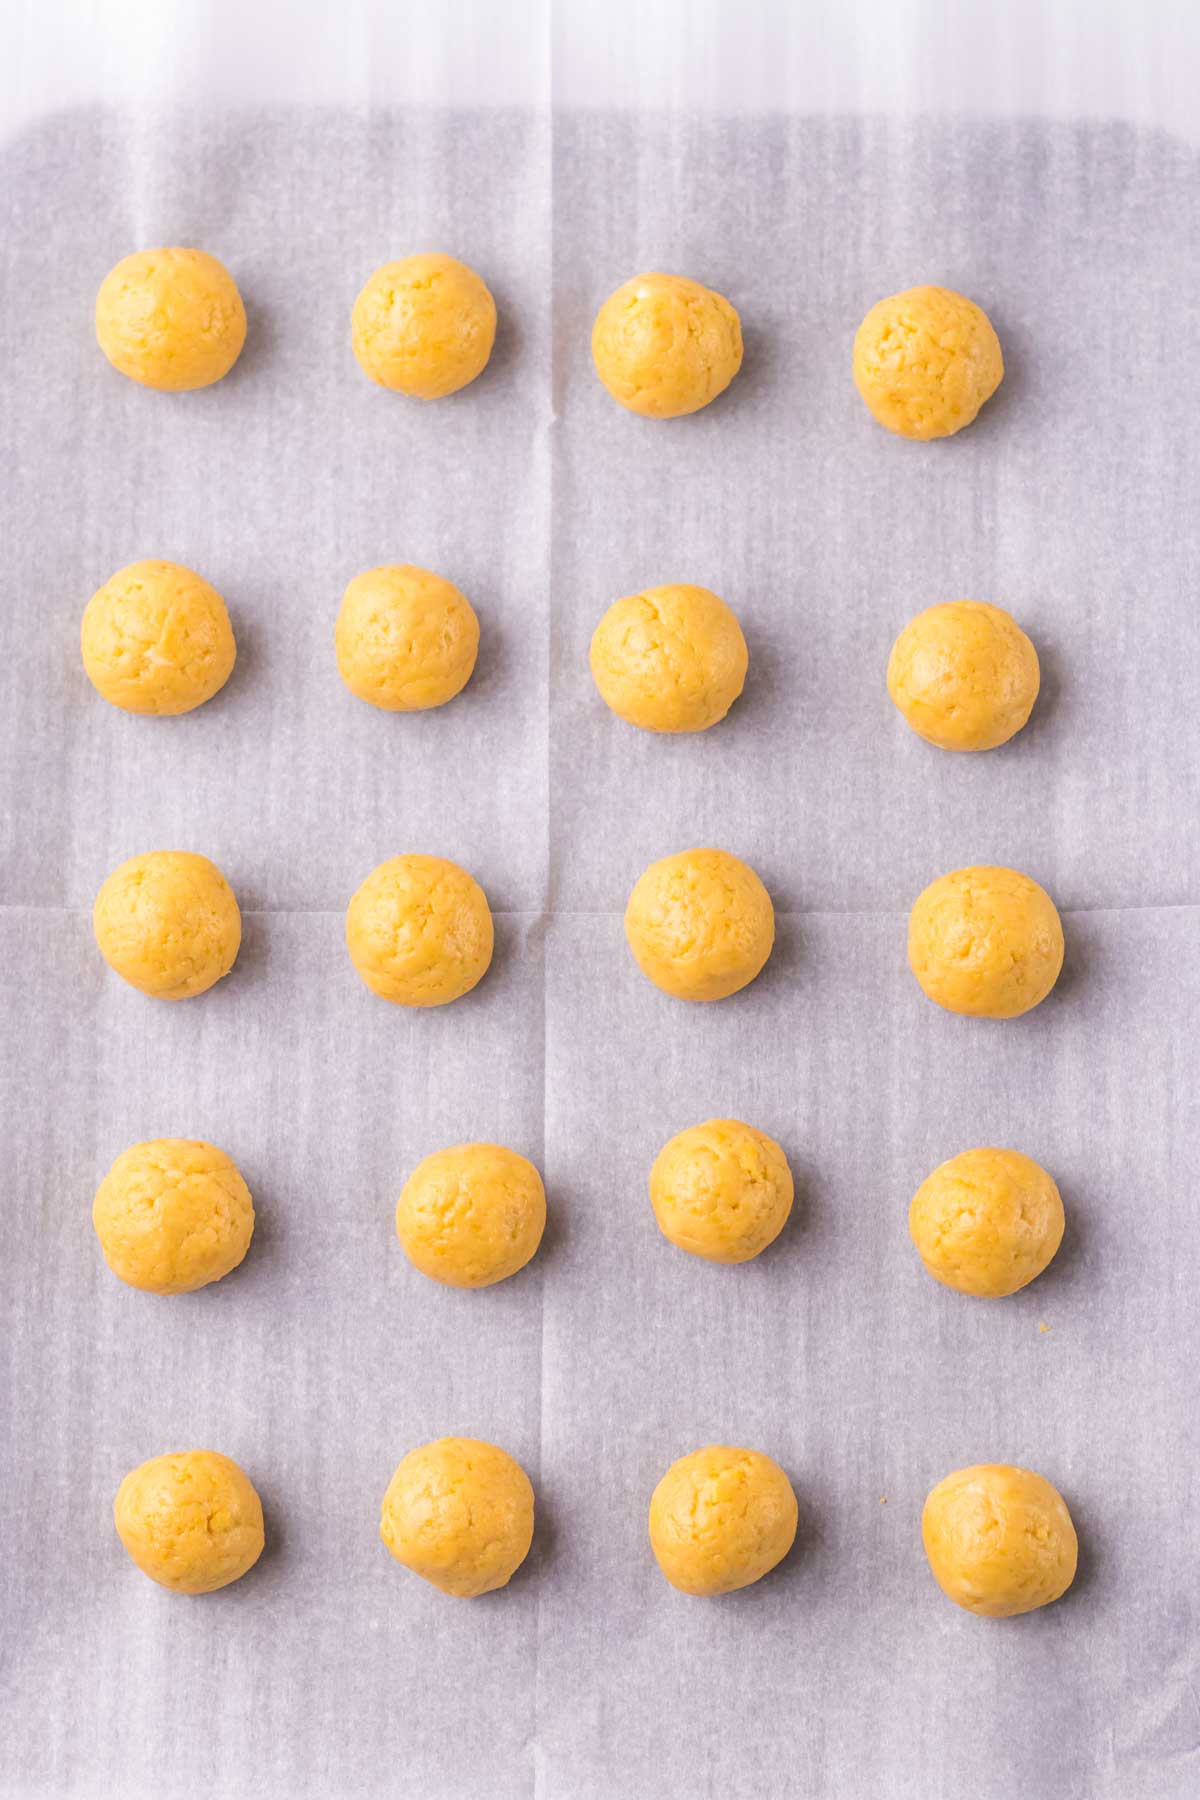
- Form the mixture into 1/2-inch truffles and place them on a parchment-lined tray.
- Once formed place them in the freezer for 30 minutes to 1 hour.
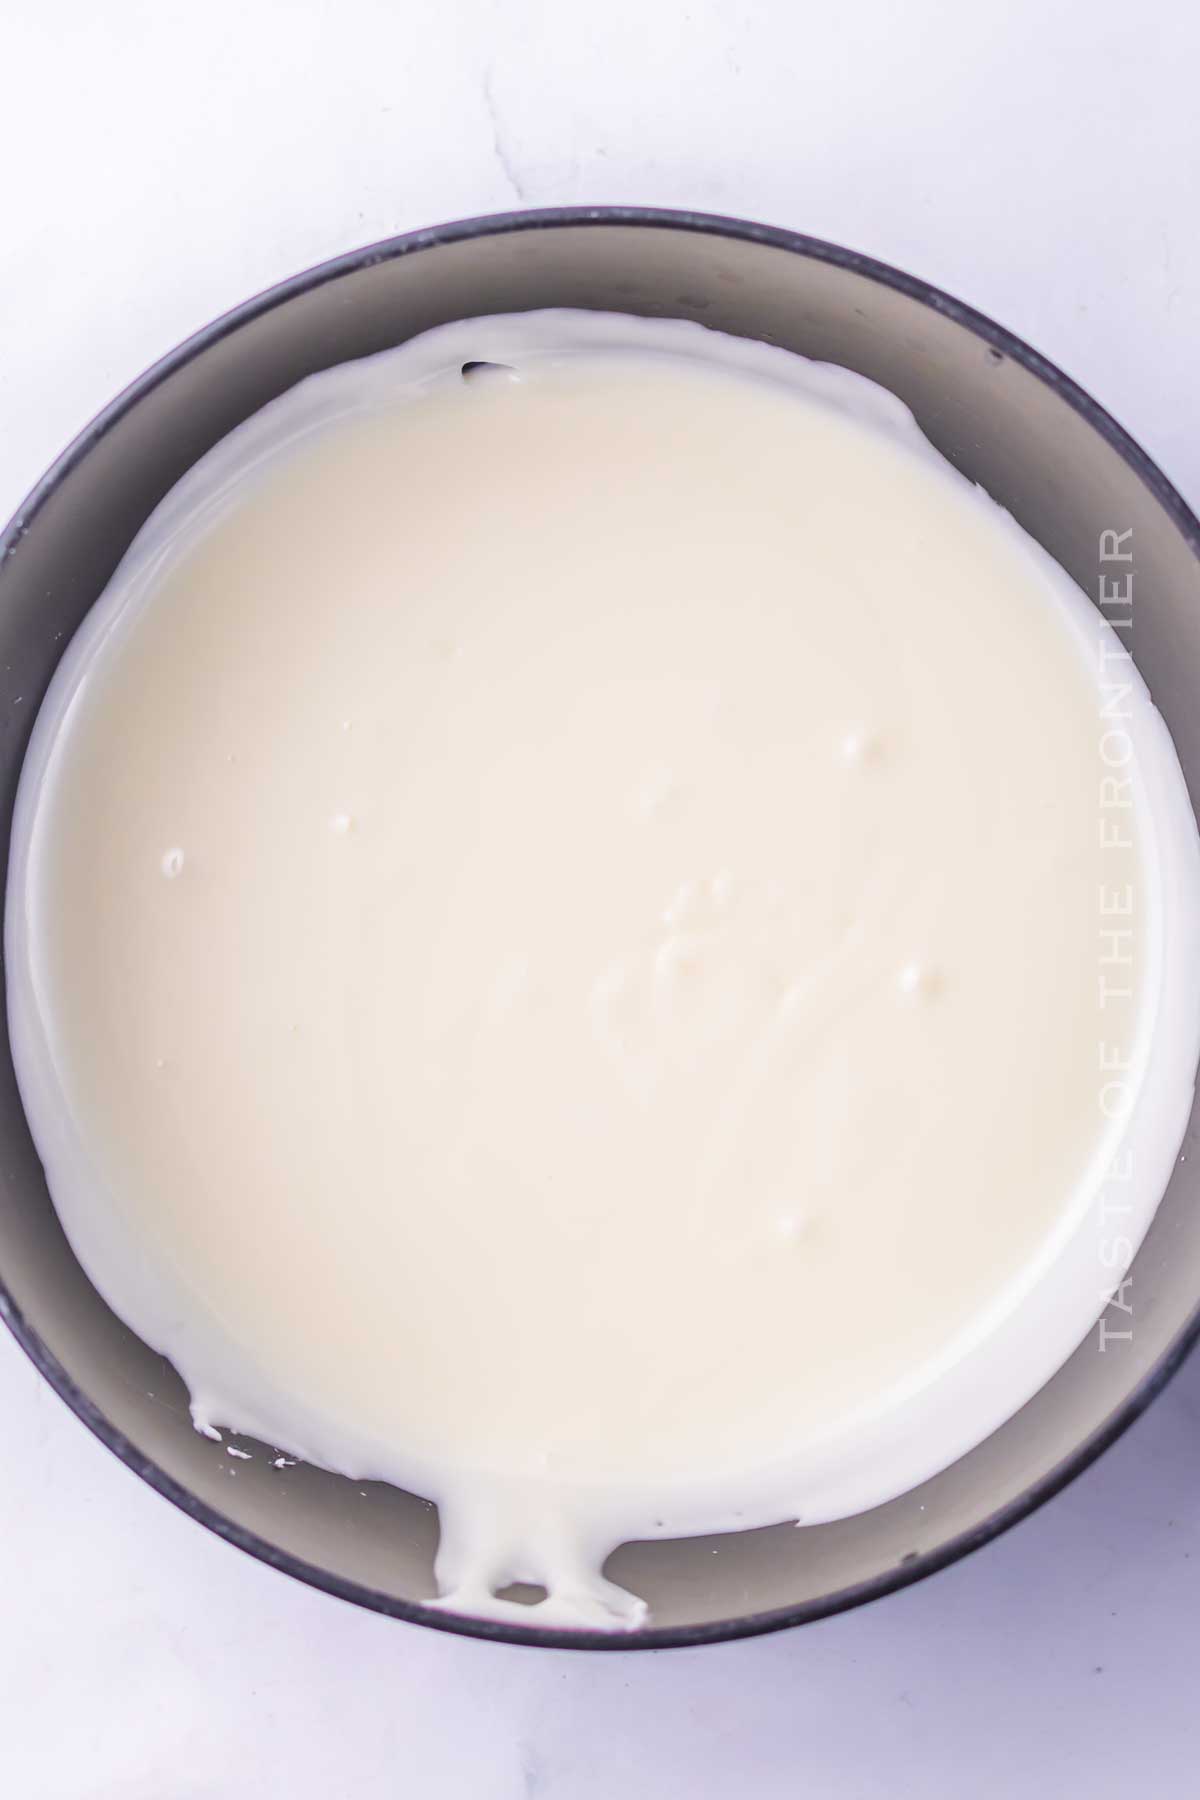
- Place half the almond bark into a small microwave-safe bowl, microwave in 30-second increments, and stir until completely melted.
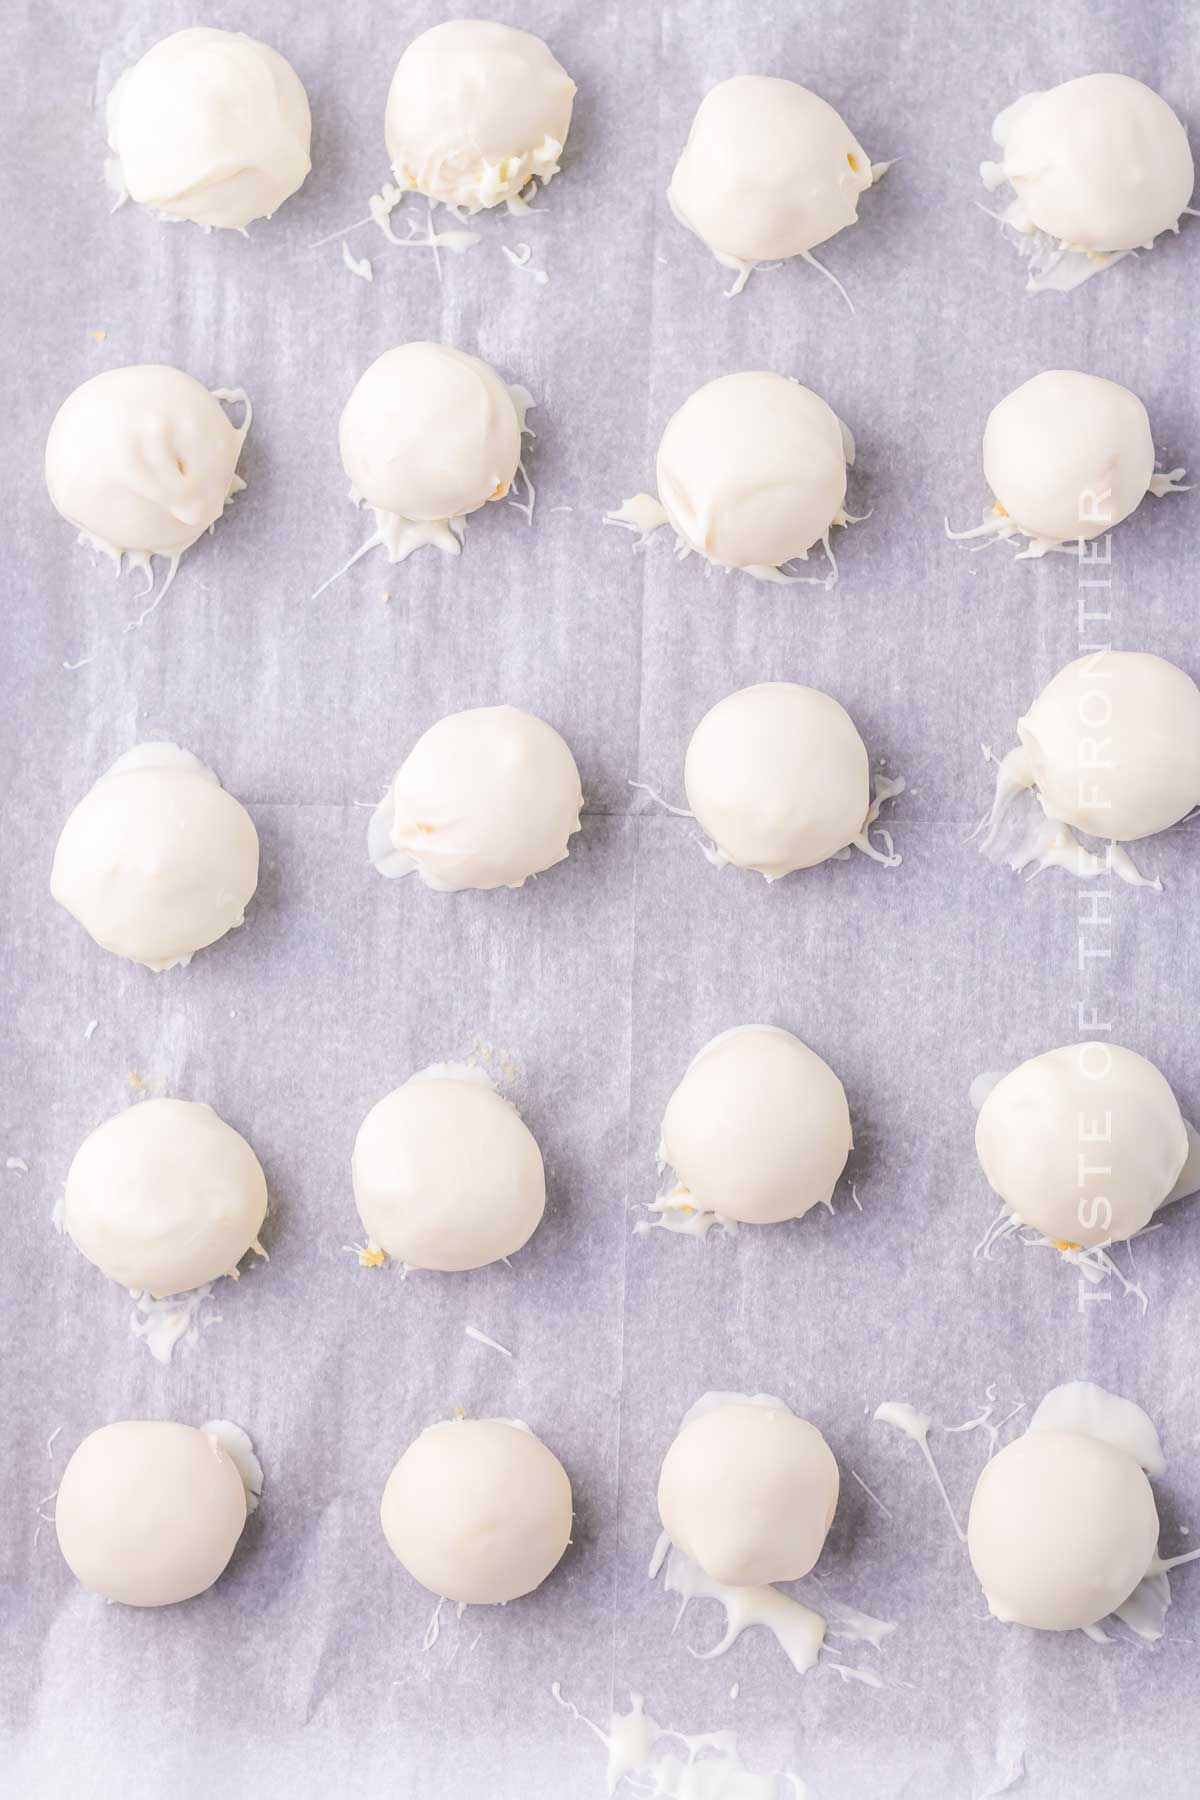
- Once melted, drop the truffles into the almond bark (1-2 at a time) and gently toss to coat.
- Pour the sanding sugar into three separate bowls
- Place the other half of the almond bark in a new microwave-safe bowl and melt in the microwave.
- (I used a small flat paint brush for this next step, you can try using a small butter knife it will just be a little messy.)
- Using a small paint brush, dip it in the melted almond bark and paint the almond bark on the side of the truffle, then immediately dip it in the red sprinkles.
- Repeat for the white sprinkles, let dry (takes about 5-10 seconds to harden) then repeat with the blue sprinkles. Let the truffles set on parchment paper.
- Repeat until all the truffles are decorated.
- You can use little paper cups for serving to really make them look like snow cones.
Kitchen Supplies You’ll Need for Snowcone Oreo Truffles
Definitely keep a little bit of wax paper on hand. It makes life easier when you go to clean up later.
- Food processor or rolling pin and ziplock bag
- Hand mixer or stand mixer
- Parchment paper or wax paper
- Baking sheet
- Microwave-safe bowls
- Small paintbrush or butter knife
- Measuring cups and spoons
- Small cookie scoop
What to Serve With Snowcone Oreo Truffles
I think ice cream is definitely needed with fun recipe ideas like this one. Then again, these tasty treats are certainly great on their own!
- Ice cream: A perfect pairing for these truffles.
- Fresh fruit: Strawberries or blueberries complement the sweet treats.
- Whipped cream: Adds a light and fluffy contrast.
- Sparkling water: For a refreshing drink alongside.
- Hot chocolate: Perfect for a cozy winter treat.
Why You Should Make Snowcone Oreo Truffles
With one bite I’m pretty sure these will be one of your new favorite desserts. Nobody doesn’t like these!
- Fun and festive: Perfect for special occasions and holidays.
- Easy to make: Only a handful of ingredients are required.
- Kid-friendly: A fun recipe to make with children.
- Customizable: Decorate with any colors you like.
- Delicious flavor: Creamy and sweet with a delightful crunch.
Variations and Add-Ins for Snowcone Oreo Truffles
Let me know in the comments how your truffles turned out! Most especially if you changed things up. I always love hearing about it.
- Use dark chocolate: For a richer flavor.
- Add coconut oil: To the melted white chocolate chips for a smoother coating.
- Try different Oreos: Mint, peanut butter, or chocolate Oreos for unique flavors.
- Incorporate extracts: Like mint or almond for a flavor twist.
- Decorate with different sprinkles: For various holidays and themes.
- Use colored candy melts: Instead of almond bark for vibrant colors.
If you love this easy no-bake recipe, you’re going to love these other patriotic treat ideas too. Please click each link below to find the easy, printable recipe!



More Great Truffle Recipes
Chocolate Chip Cookie Truffles

CONNECT WITH YUMMI HAUS!
Be sure to follow me on my social media, so you never miss a post!
Snowcone Oreo Truffles
Ingredients
- 13 oz Golden Oreos 1 package
- 8 oz cream cheese softened to room temp
- 24 oz almond bark vanilla
- ¼ cup sanding sugar red, white, and blue (divided)
Instructions
- Add the Oreos to a food processor and turn on until fine crumbs form.
- Add the cream cheese and pulse until everything is combined and a wet dough forms.
- Form the mixture into 1/2-inch truffles and place them on a parchment-lined tray.
- Once formed place them in the freezer for 30 minutes to 1 hour.
- Place half the almond bark into a small microwave-safe bowl, microwave in 30-second increments, and stir until completely melted.
- Once melted, drop the truffles into the almond bark (1-2 at a time) and gently toss to coat.
- Pour the sanding sugar into three separate bowls
- Place the other half of the almond bark in a new microwave-safe bowl and melt in the microwave.
- (I used a small flat paint brush for this next step, you can try using a small butter knife it will just be a little messy.)
- Using a small paint brush, dip it in the melted almond bark and paint the almond bark on the side of the truffle, then immediately dip it in the red sprinkles.
- Repeat for the white sprinkles, let dry (takes about 5-10 seconds to harden) then repeat with the blue sprinkles. Let the truffles set on parchment paper.
- Repeat until all the truffles are decorated.
- You can use little paper cups for serving to really make them look like snow cones.
Notes
- Store in an airtight container in the fridge for 3-4 days
- If the truffles are slightly too big for the cups you can very carefully open up the cups just a little bit to make them bigger.
- Make sure the sprinkles/almond bark have firmed up before starting the next step of sprinkles.
- Work fast when painting on the almond bark and adding the sprinkles! The almond bark dries fast!
Equipment
- (Optional) 1/2 oz disposable paper soufflé cups
Nutrition
Nutritional information for the recipe is provided as a courtesy and is approximate. Please double-check with your own dietary calculator for the best accuracy. We at Yummi Haus cannot guarantee the accuracy of the nutritional information given for any recipe on this site.





Share Your Thoughts