
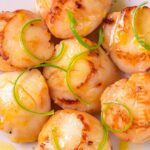
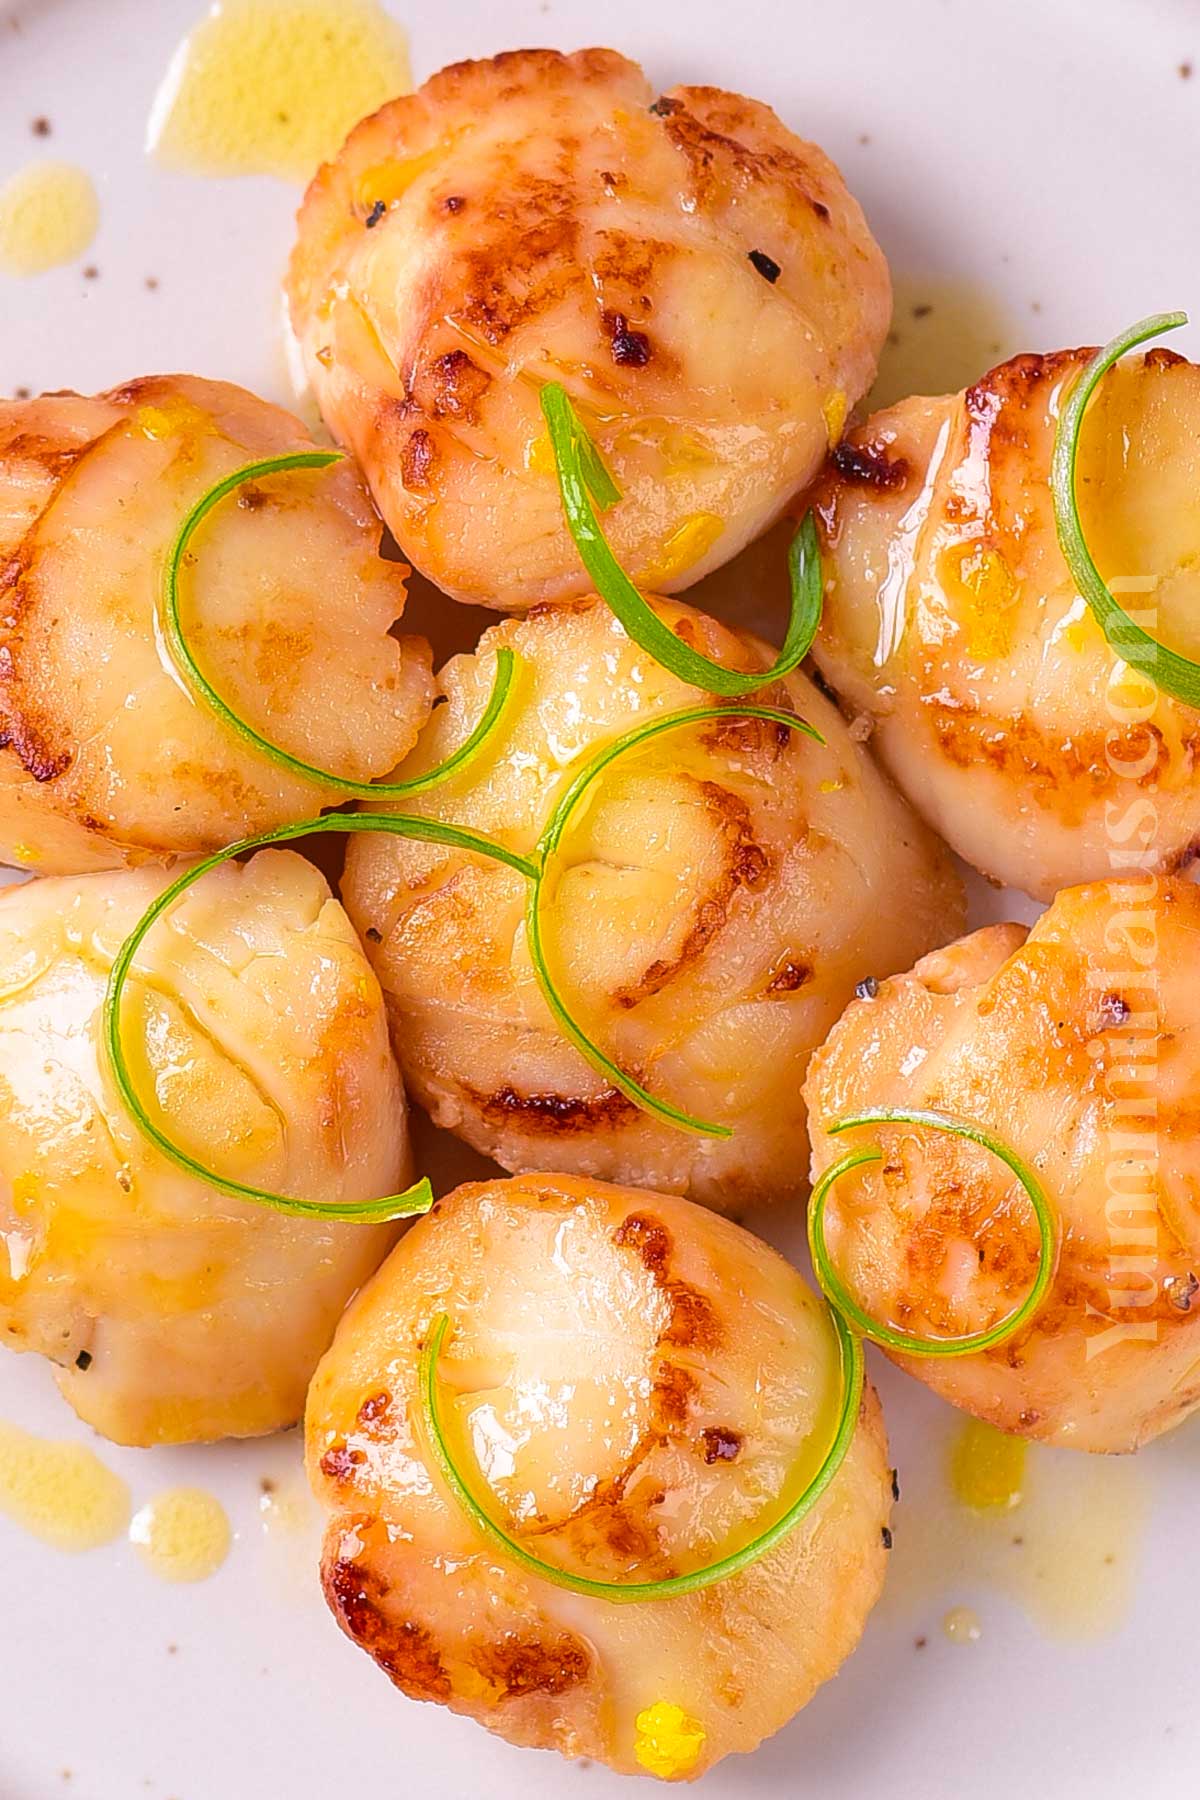
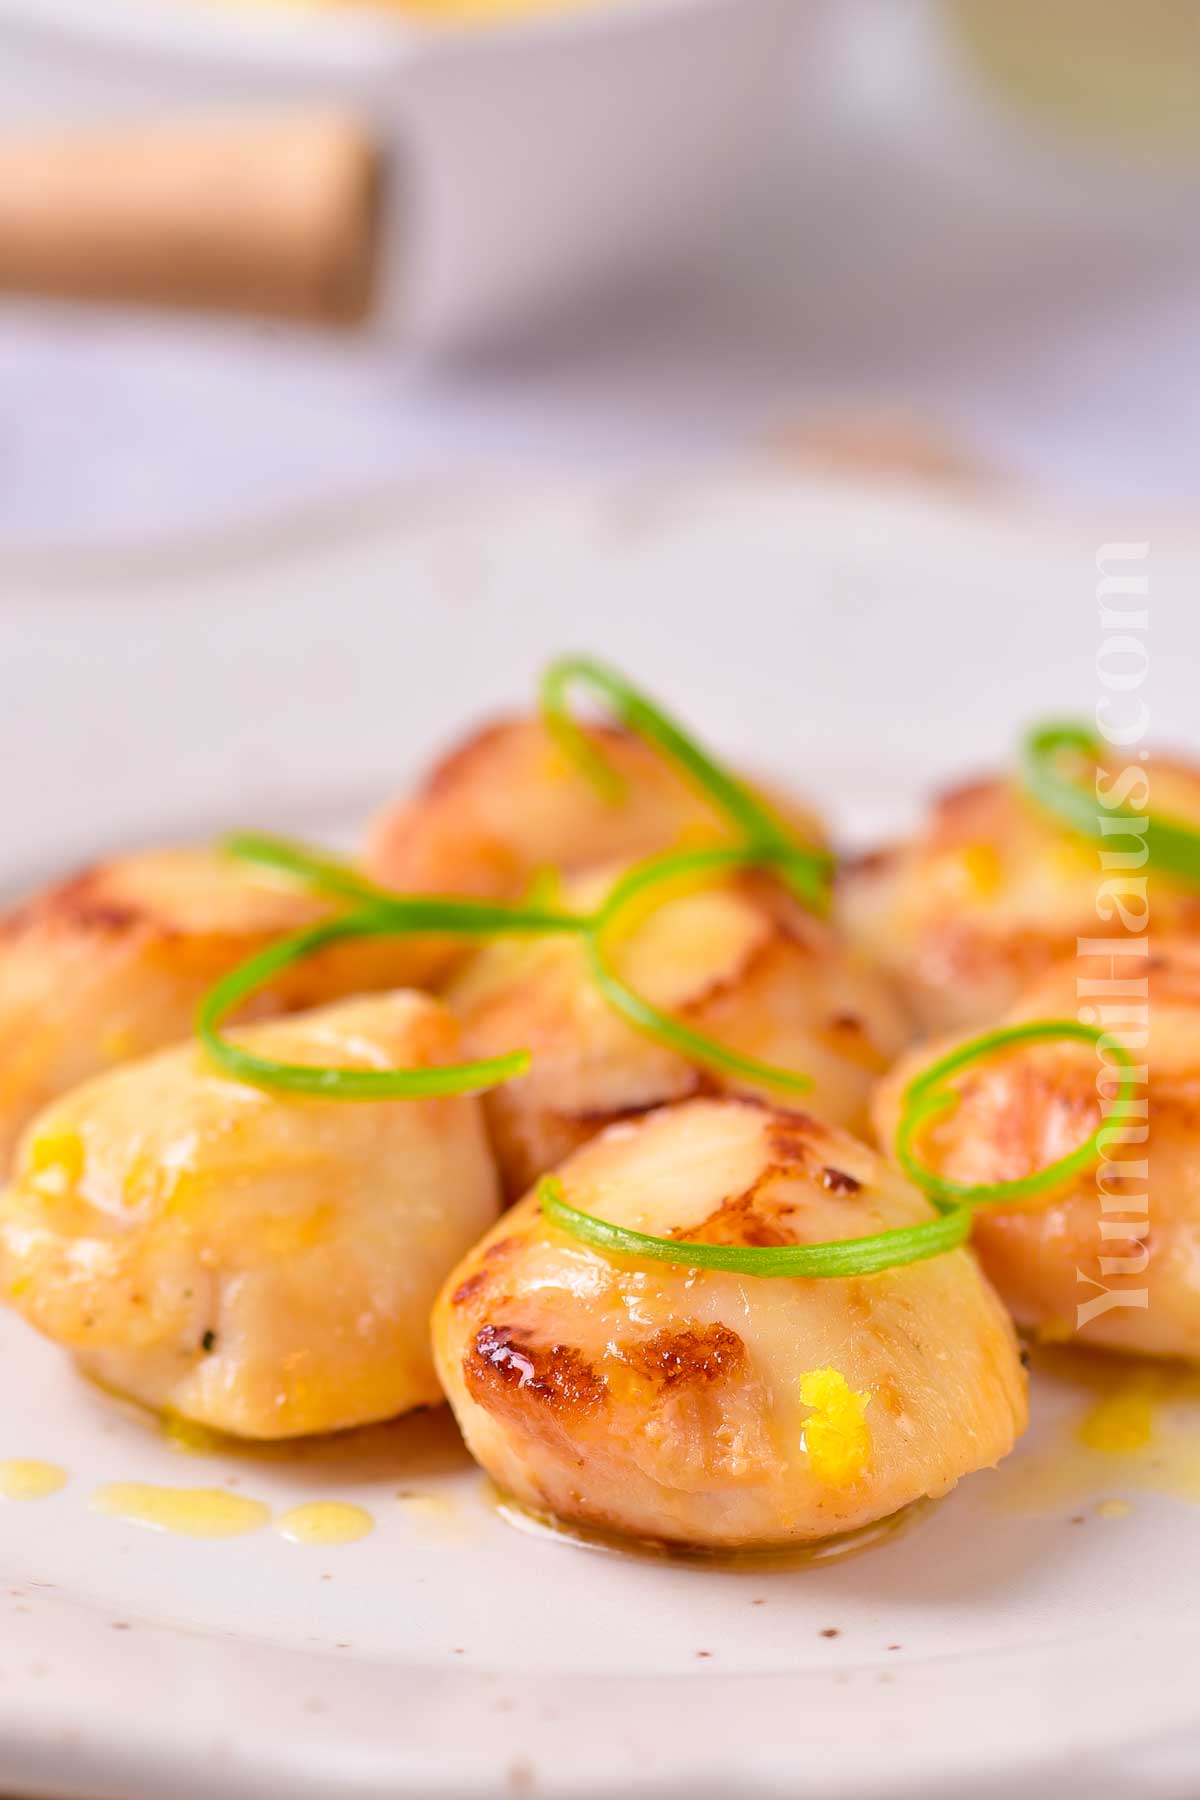
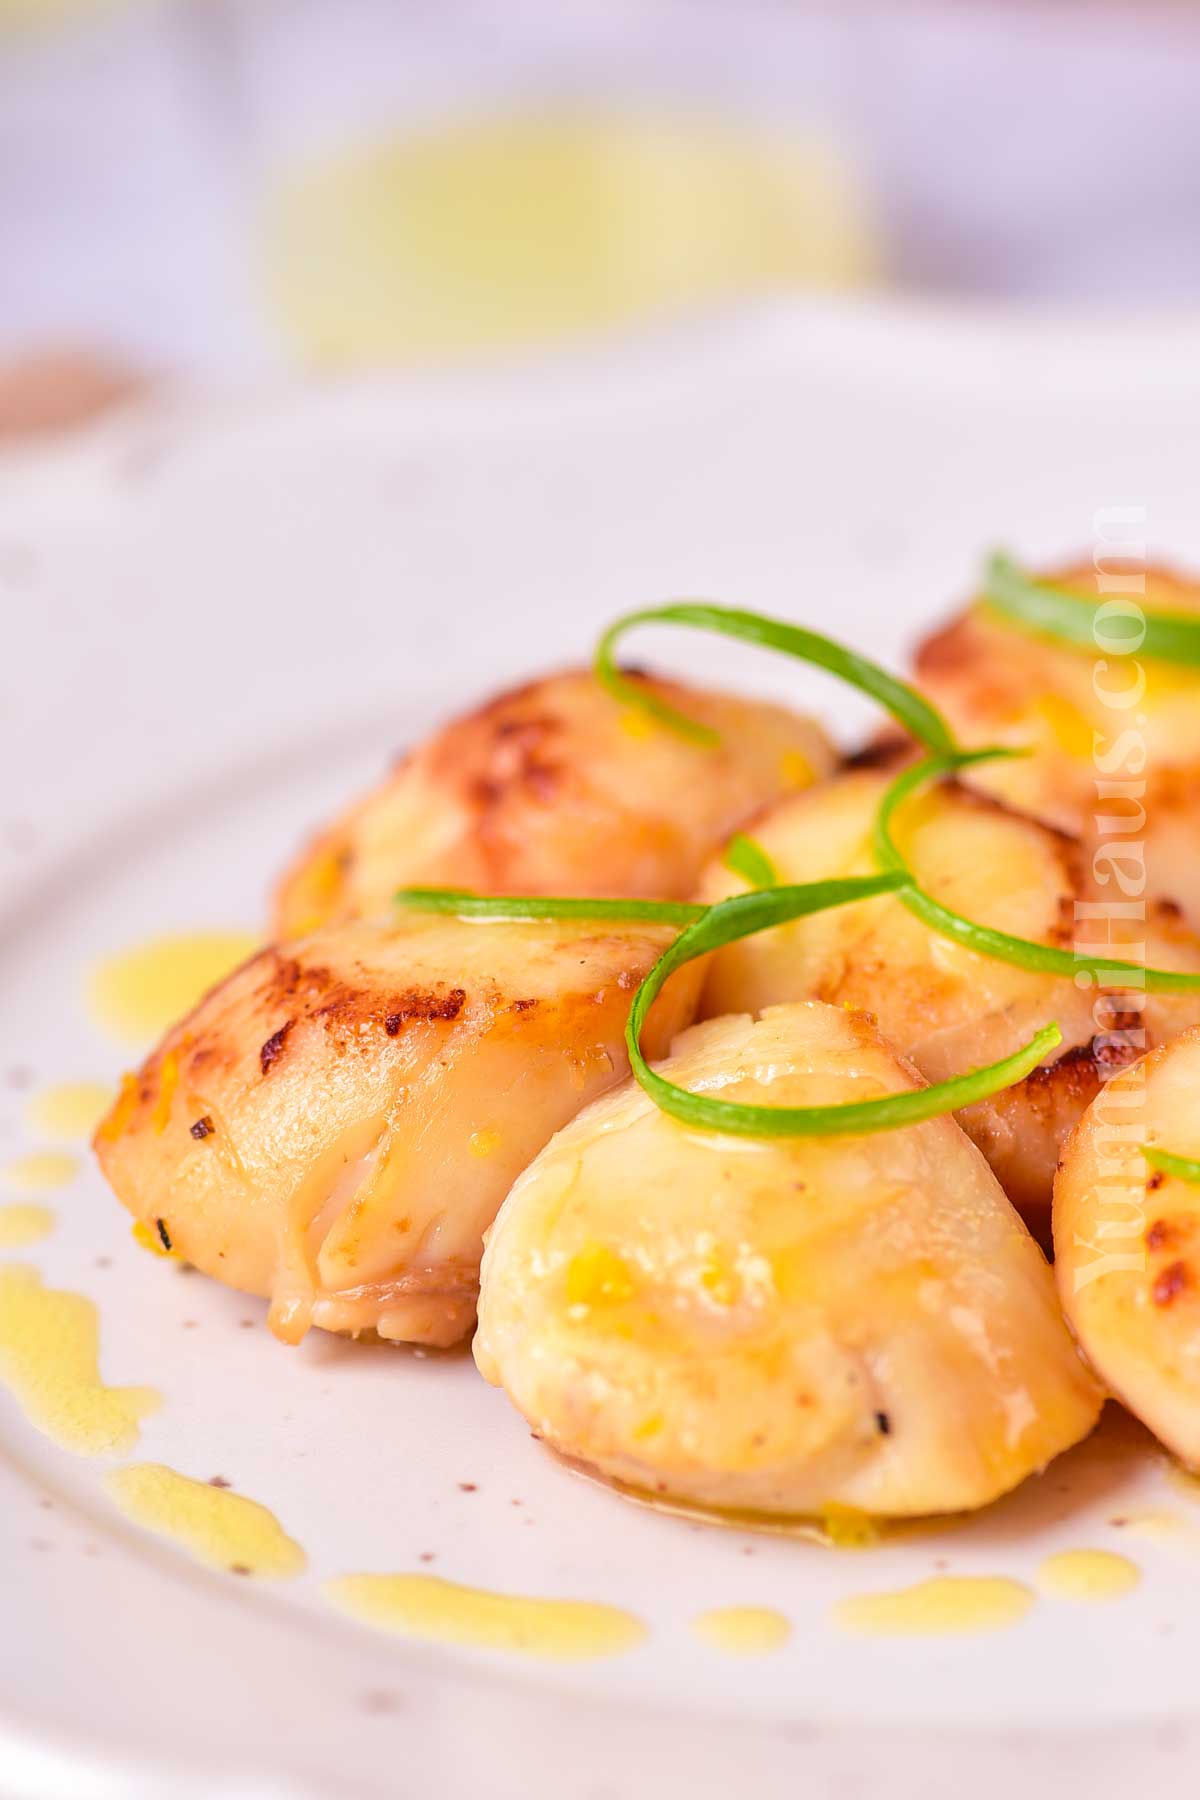
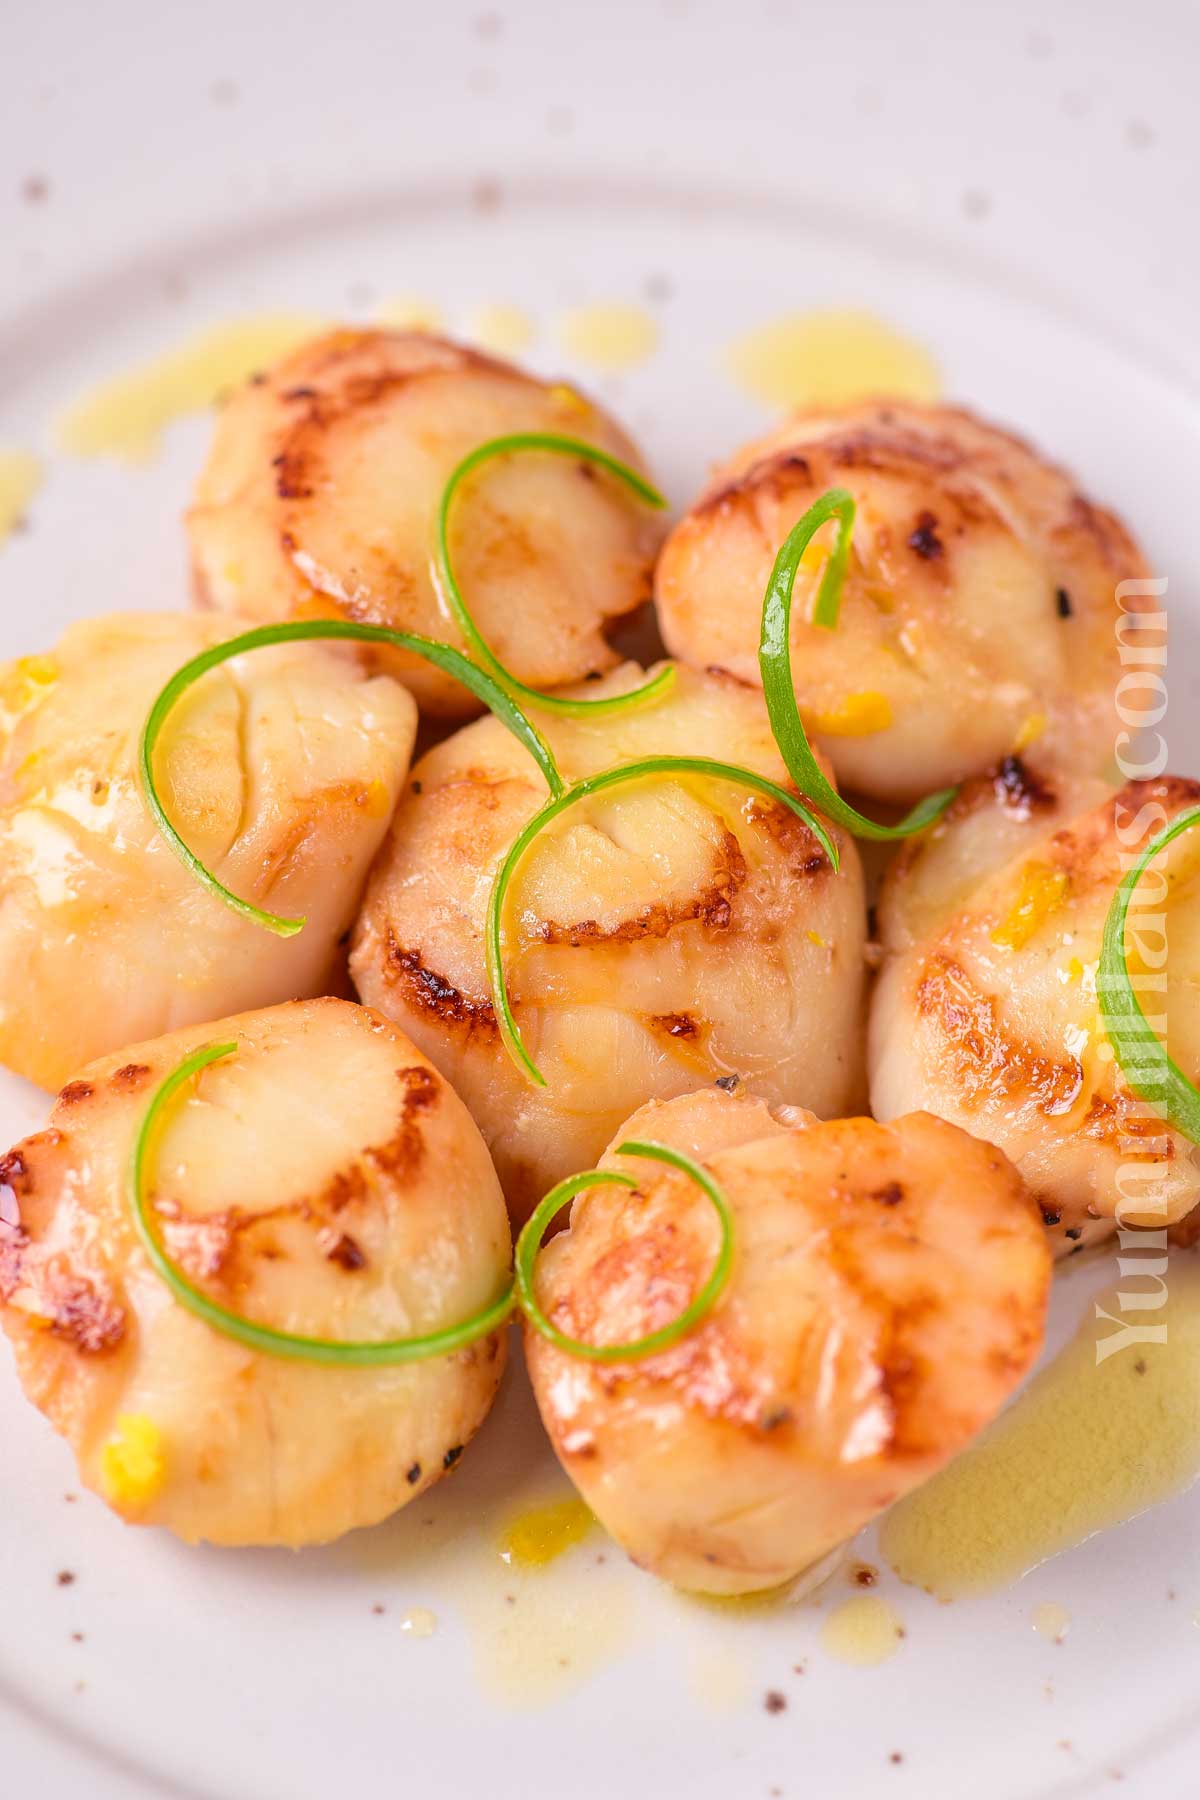
Perfectly seared scallops with a thin crispy layer on the outside and tender juicy scallop meat inside. Buttery texture, savory sweet and salty flavor, and a touch of citrusy garnish.
One of the best seafood to eat on a special occasion is definitely scallops. They are also something, every fan of Hell’s Kitchen knows too well to be stressing young chefs to cook perfectly.
Gina’s Recipe Rundown:
Texture: Seared scallops have a delicate, tender, and buttery texture on the inside, with a crispy, golden-brown crust on the outside. When cooked properly, they should be slightly springy to the touch—not rubbery or mushy.
Taste: Garlic butter seared scallops have a rich, savory flavor with a hint of sweetness from the scallops themselves. The golden sear adds a subtle nuttiness, while the garlic butter infuses each bite with warm, aromatic depth.
Ease: This seared scallops recipe is surprisingly easy to make, even for beginners! The key is a quick sear and not overcooking—once you get the hang of it, it’s a fast, foolproof, and impressive meal.
Why I love it: I love making seared scallops because they feel like something special, yet they’re incredibly quick and easy to prepare. Whether it’s a date night or a weeknight, scallops never disappoint.
Well, the good news is we are not going to be judged by Gordon Ramsay and we also don’t have to compete for the fastest-cooked scallops.
I can guarantee you, however, that this easy recipe will teach you how to perfect this delicate and delicious appetizer. A lot of people are intimidated by scallops, but they are actually one of the easiest things from the sea to cook (think crab or lobster!).
Why You’ll Love This Seared Scallops Recipe
- Absolutely irresistible.
- It takes 12 minutes to cook this seared scallops recipe from start to finish. My simple step-by-step instructions will allow you to excel at searing scallops even if you’re not a professional chef.
- Perfect entree for a dinner for two. For a special occasion meal or a date night for Valentine’s Day. For a big dinner party such an appetizer can quickly become too pricey but for just the two of you, it is a perfect scallop recipe.
- Scallops are a healthy protein source and are naturally gluten-free.
- Versatile: can be served as an appetizer or as a main course with some garnish.
Ingredients Note
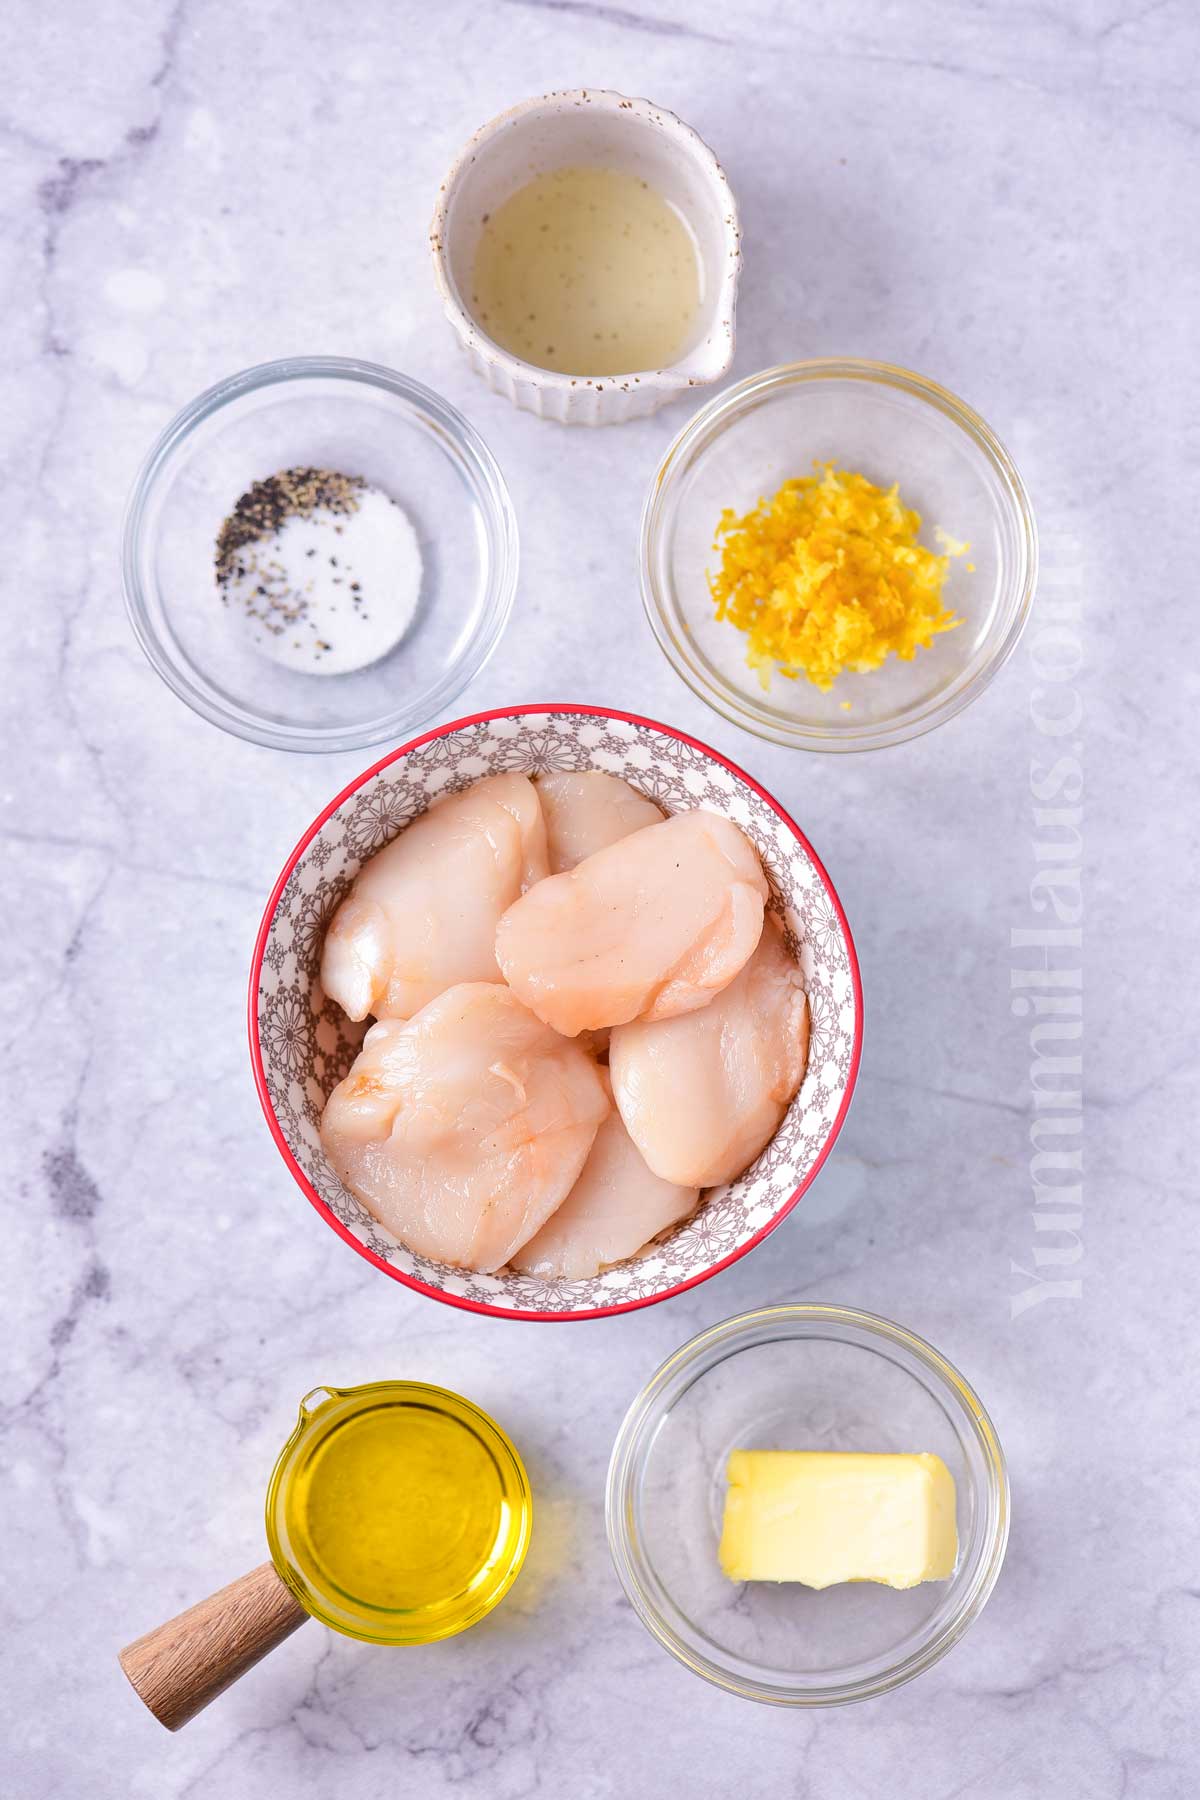
- King scallops. If you can use fresh scallops, but frozen scallops work too. Make sure to thaw them in the fridge overnight before cooking. Probably not every grocery store will have these, but hunting for good quality scallops is really worth it.
- Unsalted butter and olive oil. People often argue about what’s best to sear the scallops, oil, or butter. The combination of the two! I use olive oil with no issues, but it is often recommended to use a high smoke point oil (like canola or avocado).
For Seasoning
- Kosher salt and pepper (freshly ground black pepper would be amazing).
- Fresh lemon juice
- Lemon zest
Kitchen Equipment
- Frying pan or cast iron skillet (for best sear). A heavy-bottomed skillet is best for searing. A non-stick pan is not the best option, go stainless steel or cast iron.
- Paper towels
How To Buy Scallops: Sea Scallops VS Bay Scallops
For this recipe, I use King scallops also known as large sea scallops. But when you buy scallops, you may see on the label “bay” scallops. What is the difference?
As you may guess, it is the origin.
Scallop is a type of mollusk, to be precise, bivalve mollusks. They only live in salt-cold water, can swim rather quickly, and have delicious meat.
Sea scallops come from the ocean. They are usually larger, tougher, sweeter, and also more expensive than bay scallops. Sea scallops give a nice sear and are, thus, the best scallops for this recipe.
Close to them are diver scallops – hand harvested from the bottom of the sea/ocean. Big, sweet, and expensive (as they are considered higher-quality scallops).
Bay scallops come from shallow coastal waters. They are rather small, much softer, mildly sweet, and much cheaper. They are better for making sauteed scallops. They are close to dayboat scallops – also small and commercially caught in masses.
No matter which scallops you will end up using for the dish, make sure they don’t smell off (or too fishy) and feel firm if you press them.
Only buy dry sea scallops.
Wet scallops were soaked in some solution (sodium tripolyphosphate) that bulks them up, extends shelf life, and brightens the color, you see where I’m going with this, we don’t want such scallops, all that excess moisture will prevent them from getting a perfect sear plus they often taste like soap.
How To Make Pan-Seared Scallops
1: Prep The Scallops
- Wash and pat the scallops dry with a paper towel – that’s the secret to a good sear. Make sure the tough small side muscle is removed.
- These tiny side muscles are what knowledgeable people would call an adductor muscle – a muscle that opens and closes the shell. It is well-trained, as you can imagine, and won’t taste nice.
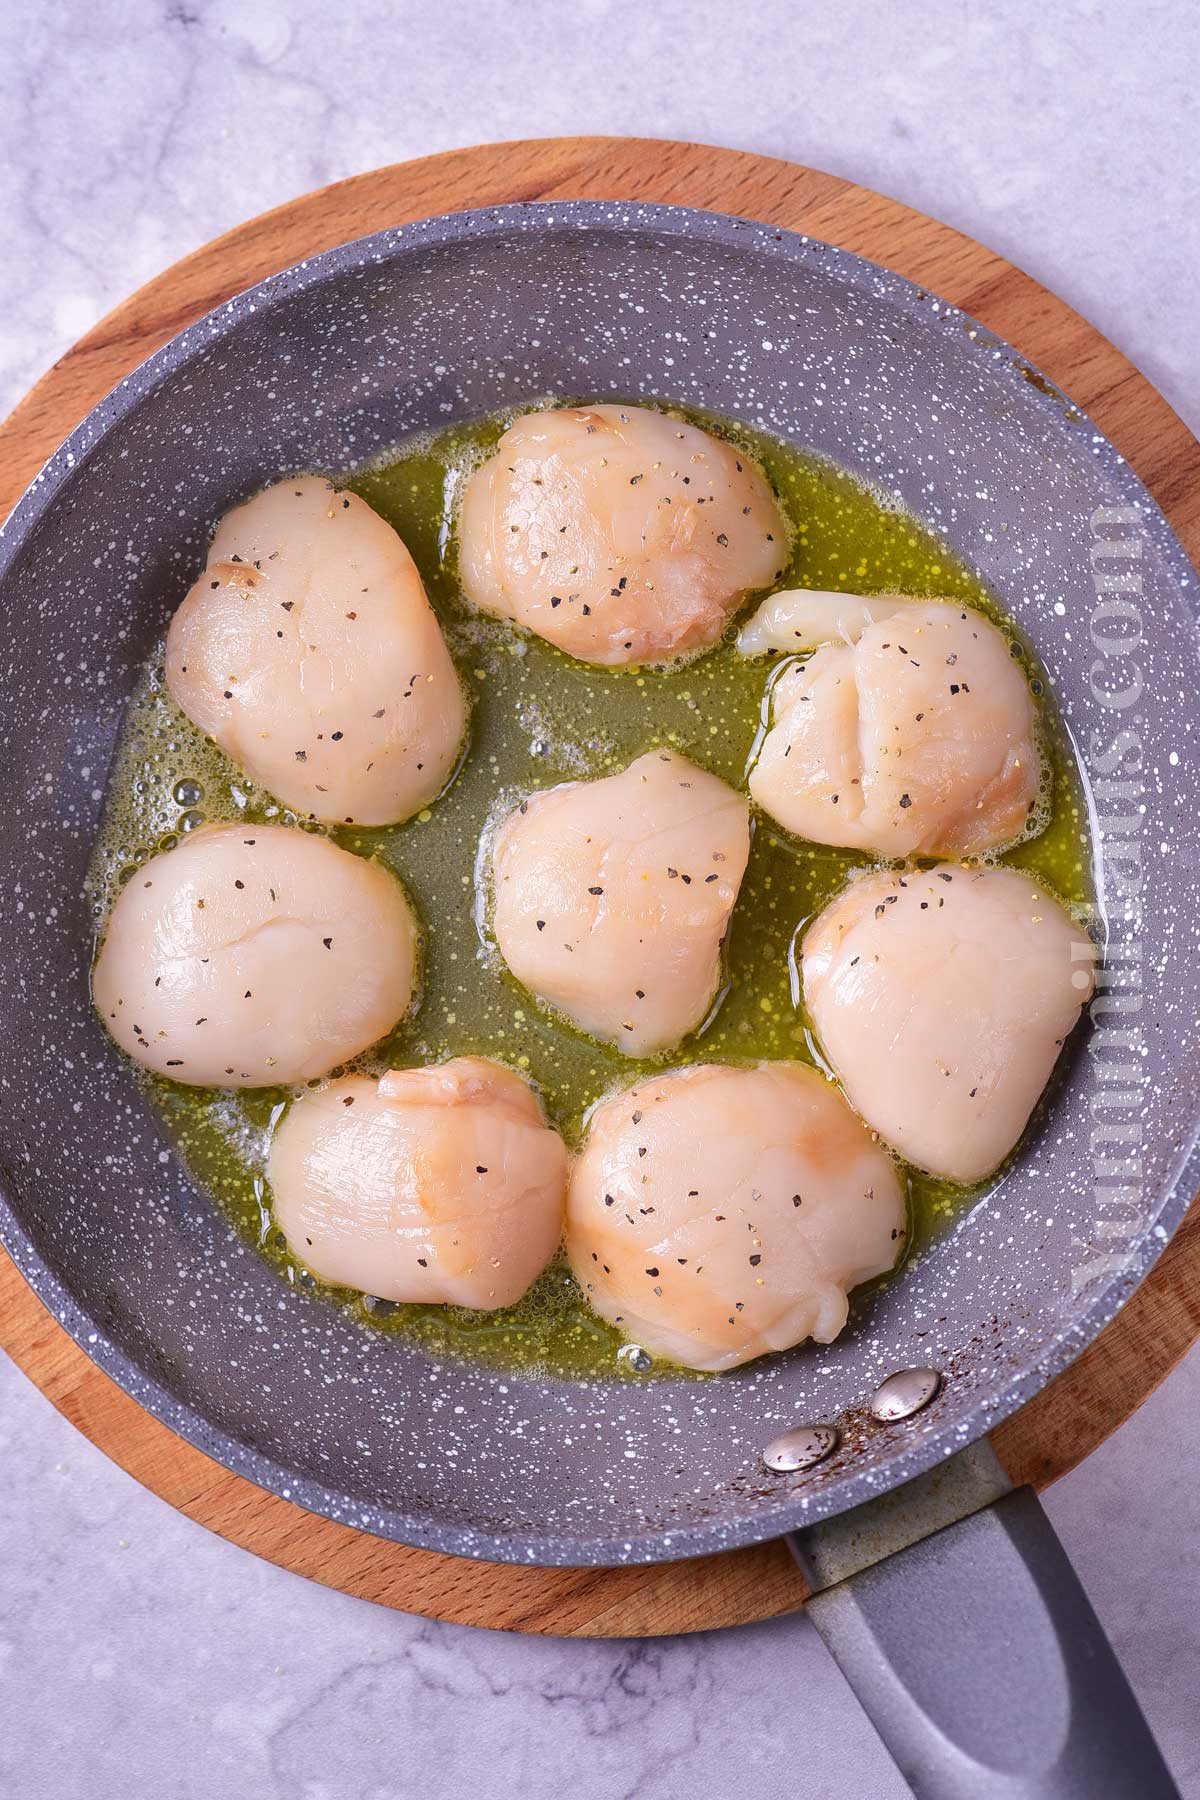
- Sprinkle with salt and pepper. Make sure to season well.
2: Pan Sear Them
- Combine the olive oil and butter in a medium fry pan. Heat over medium-low until melted.
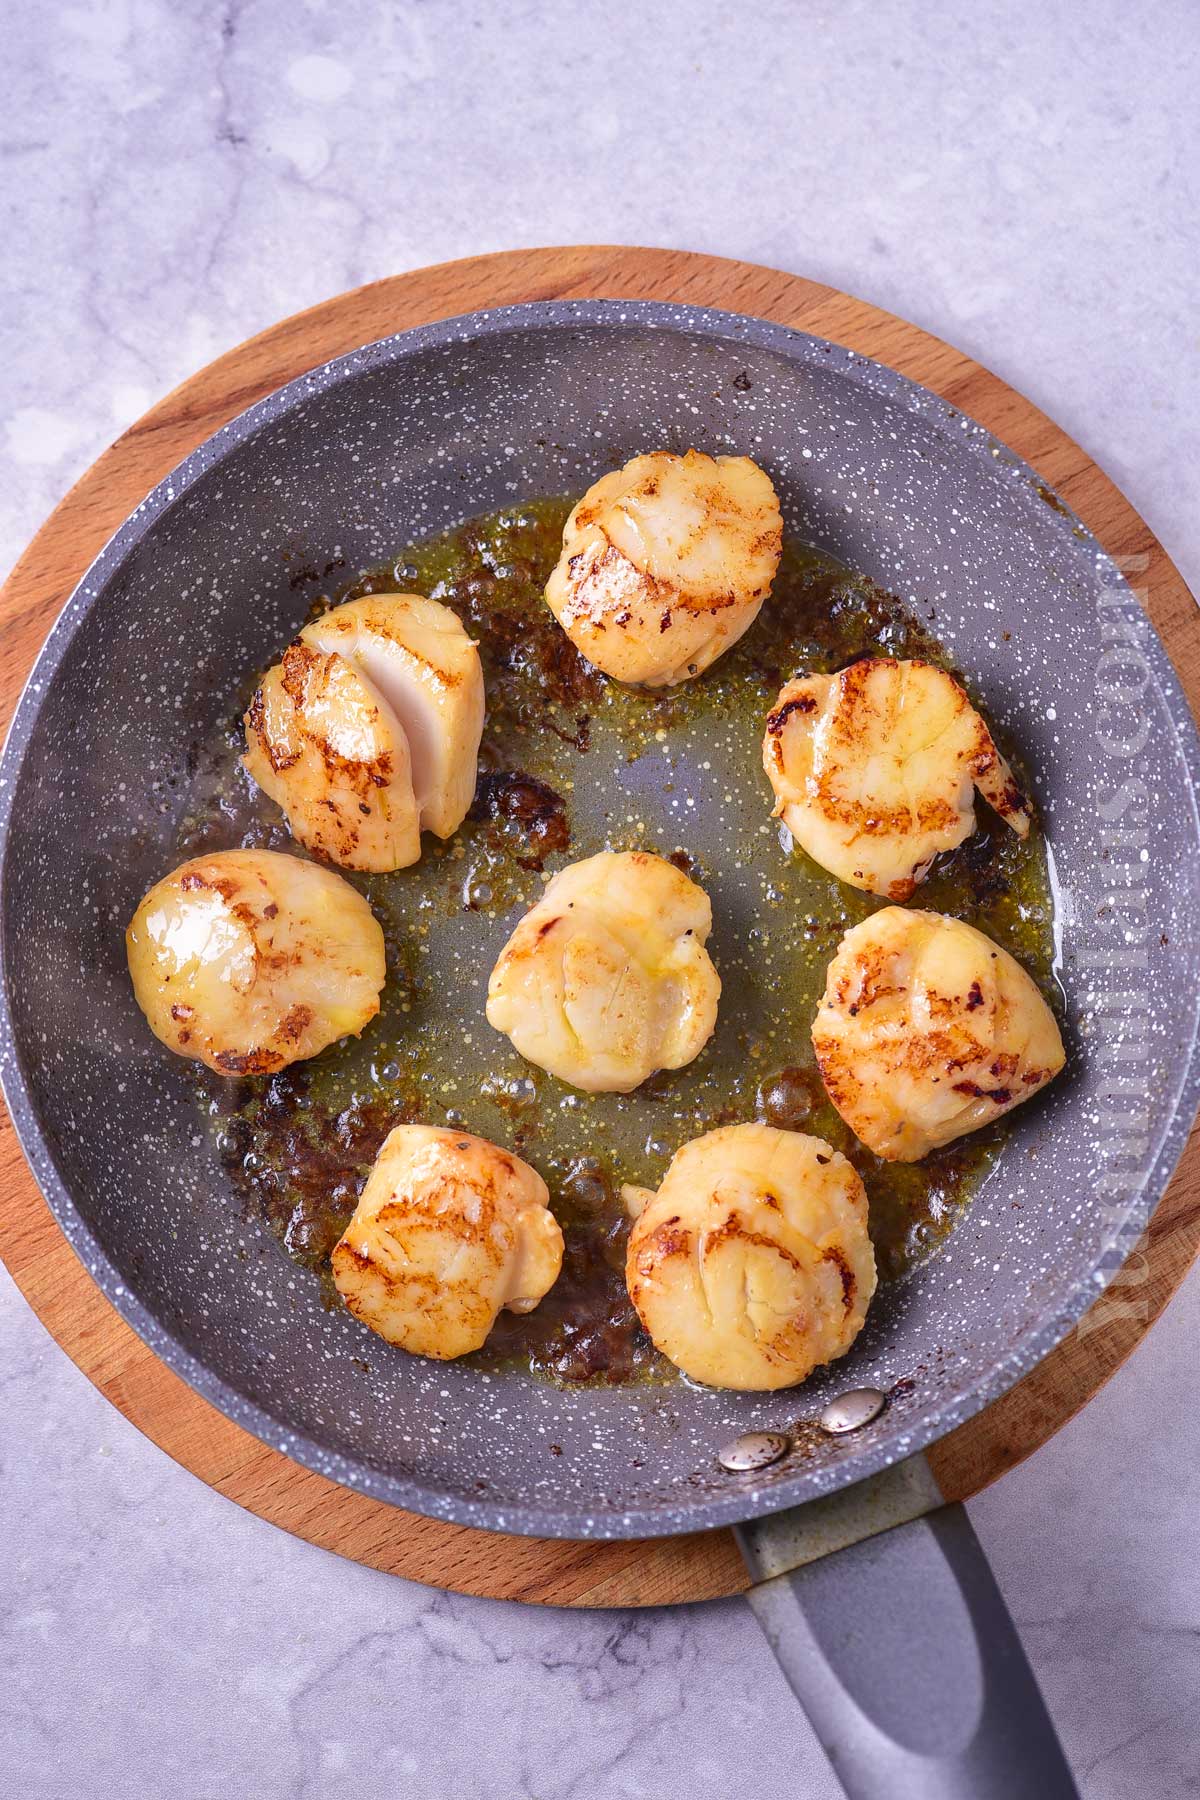
- Add the scallops to the very hot pan in a single layer and cook the first side for 4 minutes until a beautiful golden brown sear.
- Flip and cook the second side of the scallops for another 4 minutes. Scallops are done when they have a signature sear and are firm and opaque.
- If it is not your first time cooking scallops you can also baste them with butter-oil liquid while continuing cooking.
- Do not cook for longer than 4 minutes and cook much less if using higher heat. Overcooked scallops will be rubbery.
- Some people prefer the scallops like steak – medium rare, with the middle still raw, or well done – fully cooked. Both ways are delicious.
3: Add Lemon
- Remove. Season with lemon juice and lemon zest when serving. Serve immediately!
- Optional – serve with additional melted butter drizzled on top.

What To Serve With Seared Scallops
These gorgeous scallops will go well with:
- Roasted vegetables, cauliflower mash or zucchini noodles,
- Add scallops to pasta or risotto,
- Good old mashed potatoes (with some bacon bits),
- Grits, rice, and polenta – grains work fantastic too
- Light fresh salads.
Storage
Leftover scallops don’t store well. You should eat them for 1 or 2 days maximum. Keep leftover seared scallops in an airtight container in the fridge. To reheat, re-sear for 1 minute on each side in a pan with butter and olive oil.
I don’t recommend freezing pan-seared scallops, especially if you used frozen scallops for this recipe.
Substitutions & Variations
- Flavor. An all-time favorite flavoring of mine is, of course, garlic – garlic butter sauce with some fresh herbs (chopped parsley, cilantro, tarragon, fresh basil) is oh-so-good! Some chopped shallot onions add nice flavor too. Other citruces besides lemon work too!
- You can add whole lemon wedges to the pan while cooking.
- This simple recipe can be boozed up with some white wine (¼ cup). It always pairs well with scallops and you can use it for searing too.
- Make country-themed scallops. Mexican with some heat from jalapeno and spicy ground peppers, Greek or Italian with some olives and wine, or with sweet Spanish paprika.
Expert Tips To Make The Best Seared Scallops
- Even if using dry scallops, we still need to pat dry each one of them to make sure we will be able to get a nice deep sear on both sides.
- Use a wooden spoon for pan-searing scallops.
- Test the heat with one scallop. Some people use medium high heat (2 min per side) but I prefer less heat to better control the searing process. The scallops should be sizzling a little bit when you place them in the pan. If the first try is a success, cook the rest of the scallop batch.
- If you can’t quite get the golden brown crust, you can lightly coat each scallop with some flour. But in any case, make sure there is not too much moisture.
- If you have a small pan, work in two batches. It is best to cook scallops without letting them touch each other (allow around 1/2 inch between them).
- For best results, don’t shuffle the scallops around the pan. For the time they are searing, don’t touch them. Only when it is time to flip or remove from the pan. We need to let high temperatures do the work.
Popular Questions
What Is The Secret To Searing Scallops?
The secret to perfect searing on scallops is to use large sea scallops and pat them dry before cooking. Sear for 4 minutes on each side in butter and love oil and if you want a perfect golden brown color, coat scallops in flour before searing.
How Long Does It Take To Sear Scallops?
King scallops take 4 minutes to sear properly on each side in a hot skillet over medium-low heat. On medium-high heat, it will take less time. Always start by testing the time and sear on one scallop.
How Many Scallops Per Person?
It will depend on what type of scallops you’re using. Sea scallops are larger than bay scallops. For the main course, you should use 4 to 6 large scallops per person. For an appetizer, 2-3 scallops will be enough.
What Is The Best Oil For Searing Scallops?
Olive oil combined with regular butter gives the best sear to scallops. You can also use other vegetable oils like grapeseed oil or canola oil.
Do You Season Scallops Before Searing?
Before searing you can season scallops with some salt and pepper. If you have any sauce to go with them it is better to add it after the scallops are cooked.
What Is The Best Cooking Method For Scallops?
Searing scallops in a large skillet gives the best crunchy sear and juicy middle, but you can also saute or bake scallops and use them in pasta.
If you love this easy seafood recipe, you’re going to love these other seafood recipes too. Please click each link below to find the easy, printable recipe!
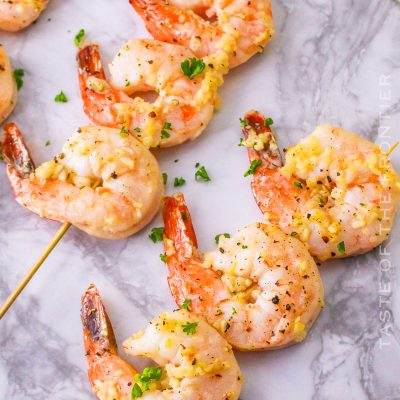
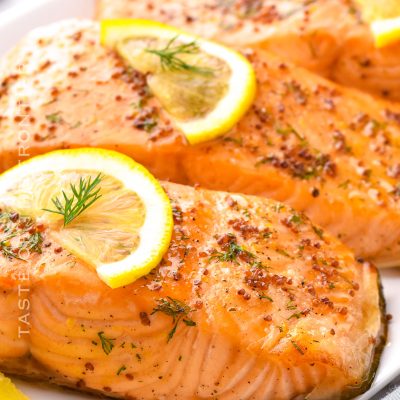
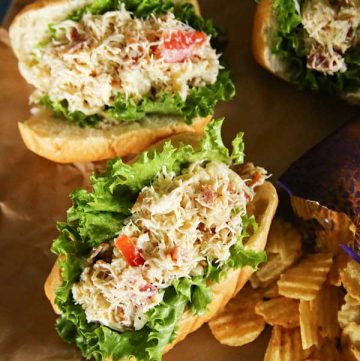
More Great Seafood Recipes
CONNECT WITH YUMMI HAUS!
Be sure to follow me on my social media, so you never miss a post!

Seared Scallops Recipe
Ingredients
- ½ lb king scallops
- ¼ tsp salt
- ¼ tsp pepper
- 1 tbsp olive oil
- 1 tbsp butter
- 1 tsp lemon juice
- 1 tsp lemon zest
Instructions
- Wash the scallops and gently pat them dry.
- Sprinkle with salt and pepper.
- Combine the olive oil and butter in a medium fry pan. Heat over medium-low until melted.
- Add the scallops to the pan and cook for 4 minutes.
- Flip and cook the other side for another 4 minutes.
- Remove. Season with lemon juice and lemon zest when serving.
Optional – serve with additional melted butter drizzled on top.
Nutrition
Nutritional information for the recipe is provided as a courtesy and is approximate. Please double-check with your own dietary calculator for the best accuracy. We at Yummi Haus cannot guarantee the accuracy of the nutritional information given for any recipe on this site.


Share Your Thoughts