Ruffle Piñata

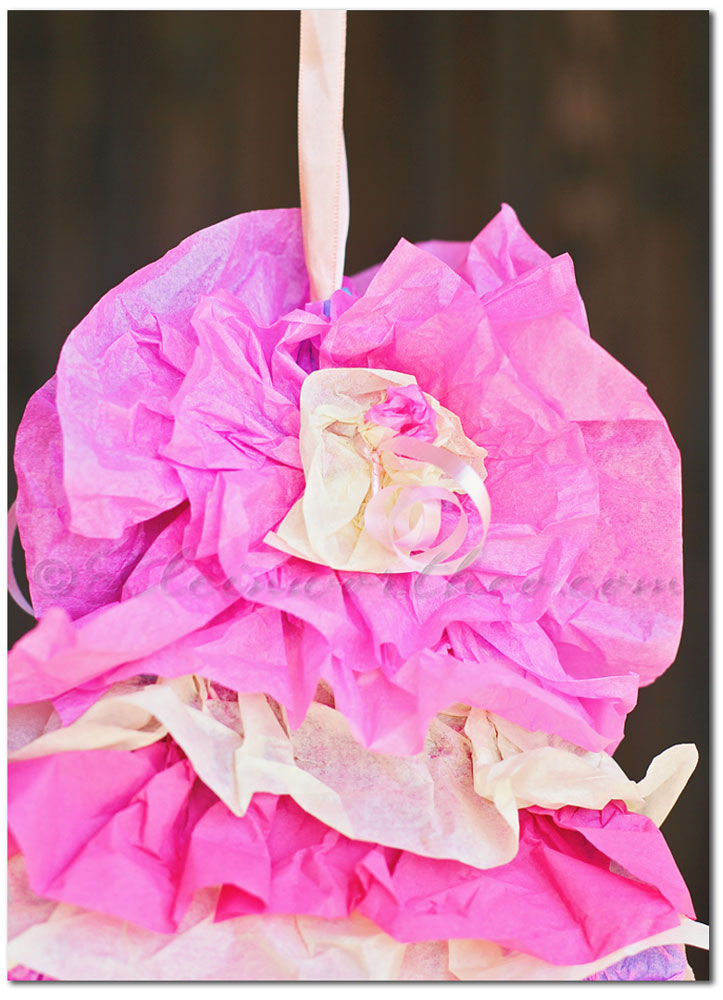
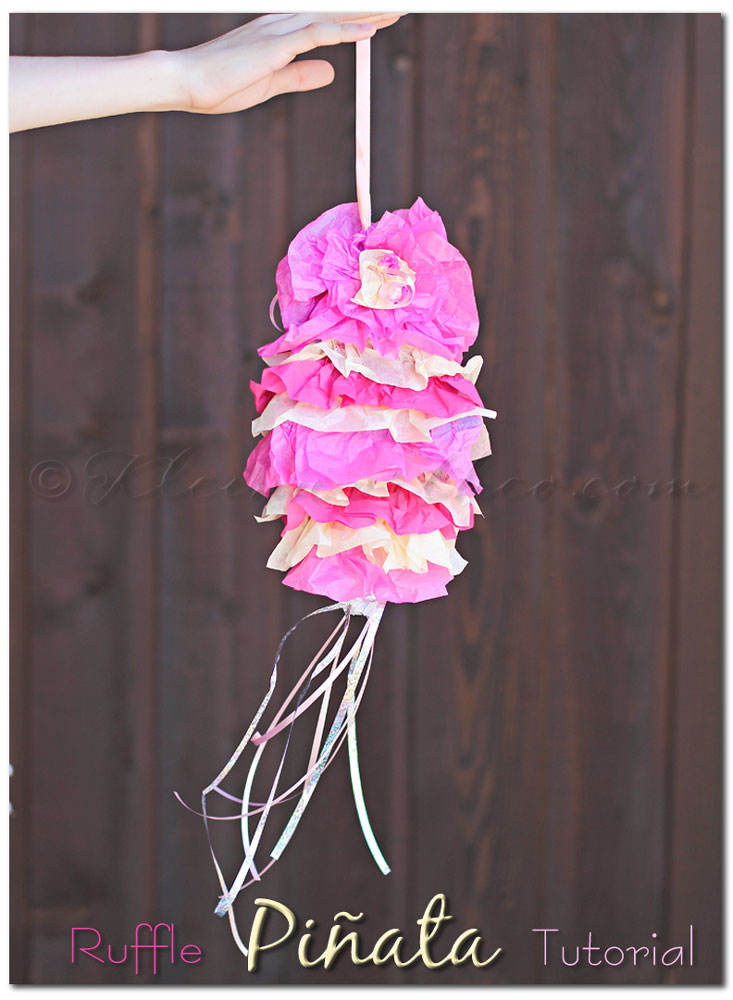
It came out so cute – the girls don’t even want to bust it apart.
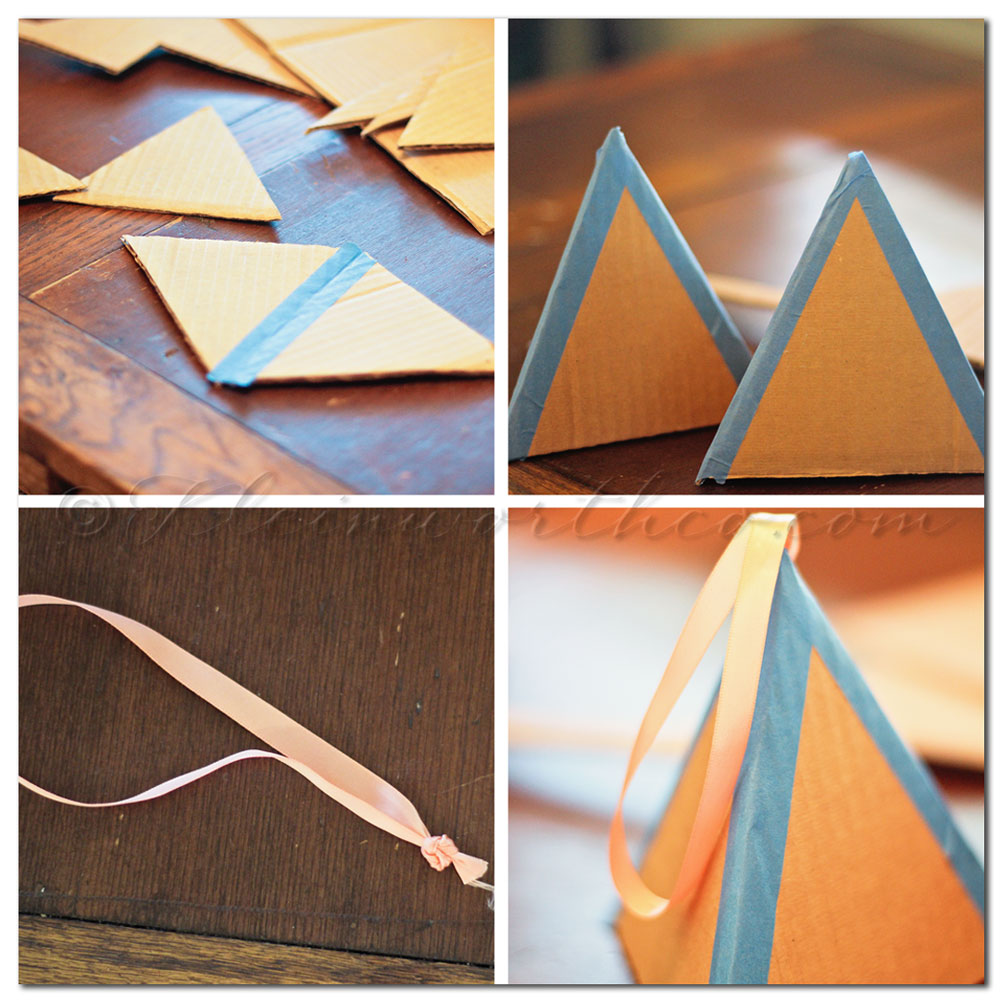
So here you start with 6 cardboard triangles- it will be diamond shaped but because I did ruffles- you can’t see that. I might do one with the traditional fringe & then you would see the shape better. Use painters tape so it comes apart easily when it’s hit with the bat. So then you have 2 pyramids. Take your ribbon & tie a knot in the end leaving your loop. Poke through the hole at the top of one pyramid so you will be able to hang it.
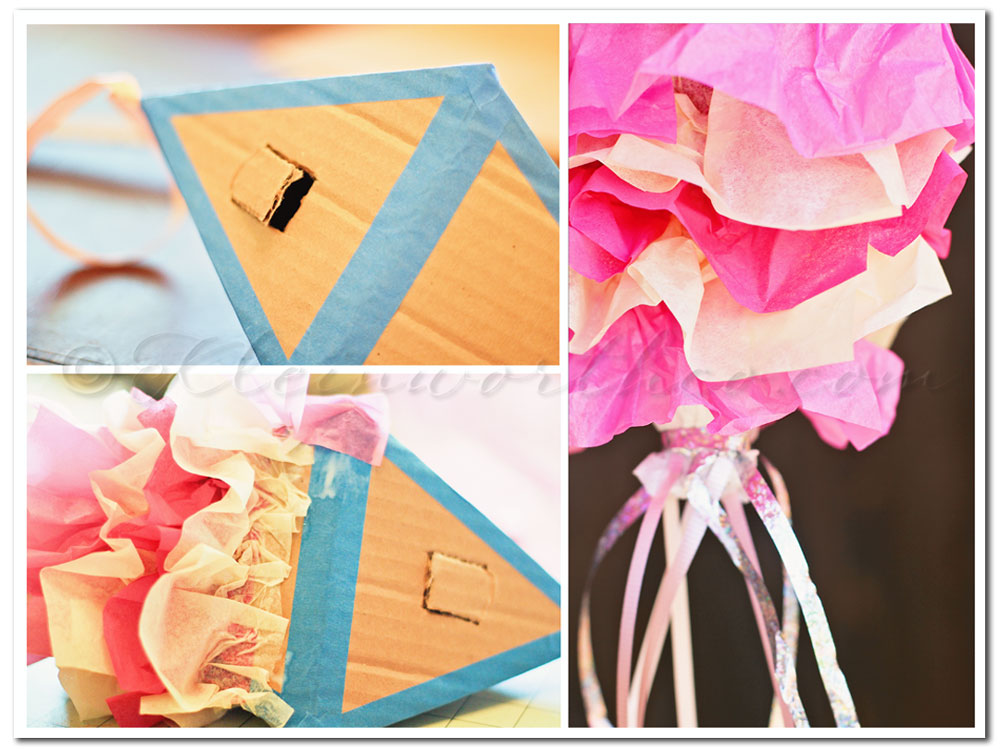
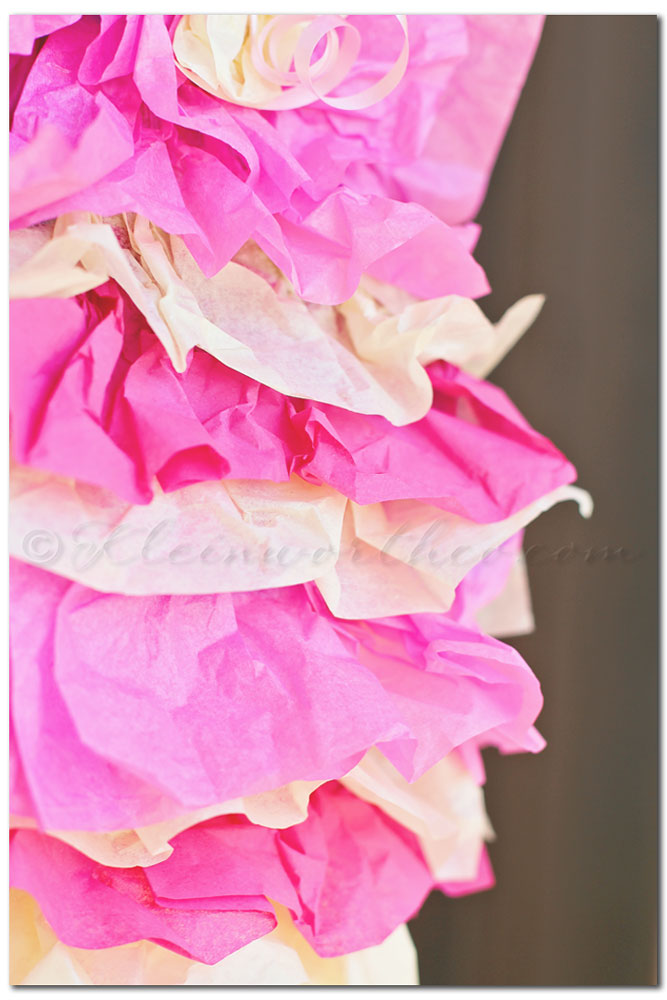
Cut your flap for your candy filling. Tape the pyramids together to make your diamond. Then cut strips of colored tissue paper. Working in strips, starting at the bottom of the piñata, paint on Mod Podge & then lay your strip of tissue over & pulling & pinching to ruffle it around the cardboard. Keep working up the sides making sure you are letting the un-glued part overlap the previous glued part. Go ahead & glue over your cut flap & then once dry- you can slice through the tissue to allow it to open. When I got to the top I decided to make tissue flowers so I just crumpled them to the center & tied with some curling ribbon to hold. Glued them on- one on each side. I decided to add some more curling ribbon in metallic & in coordinating pink to the bottom by just tying it around the bottom point.
I didn’t have orange tissue paper on hand to keep with the true yellow, pink & orange sorbet colors of the party decorations. So I just used 2 different shades of pink. I did all of this with things I had on hand here at the house. I broke it all down by doing the construction on the first afternoon- total time maybe 30 minutes. Then the next afternoon I worked for maybe 1-2 hours (including photos) adding on the tissue paper.
Supplies:
Cardboard
Scissors
Painters tape
Mod Podge
Tissue paper
Curling ribbon
Satin ribbon
TOTAL COST: $0.00
I was so happy to make something for the party that didn’t cost me anything but my time. Yes I purchased all these things at an earlier time but I had them on hand as leftovers from other birthday decorating & my regular craft supplies. No additional birthday cost which is more money I can spend on gifts for her. YAY!!
Now that I have done it- I will probably be making more for future birthdays.
So simple.
Don’t forget to come back & join me on Mondays for Project 52
To see where I am linking today- visit HERE
[jetpack_subscription_form]

