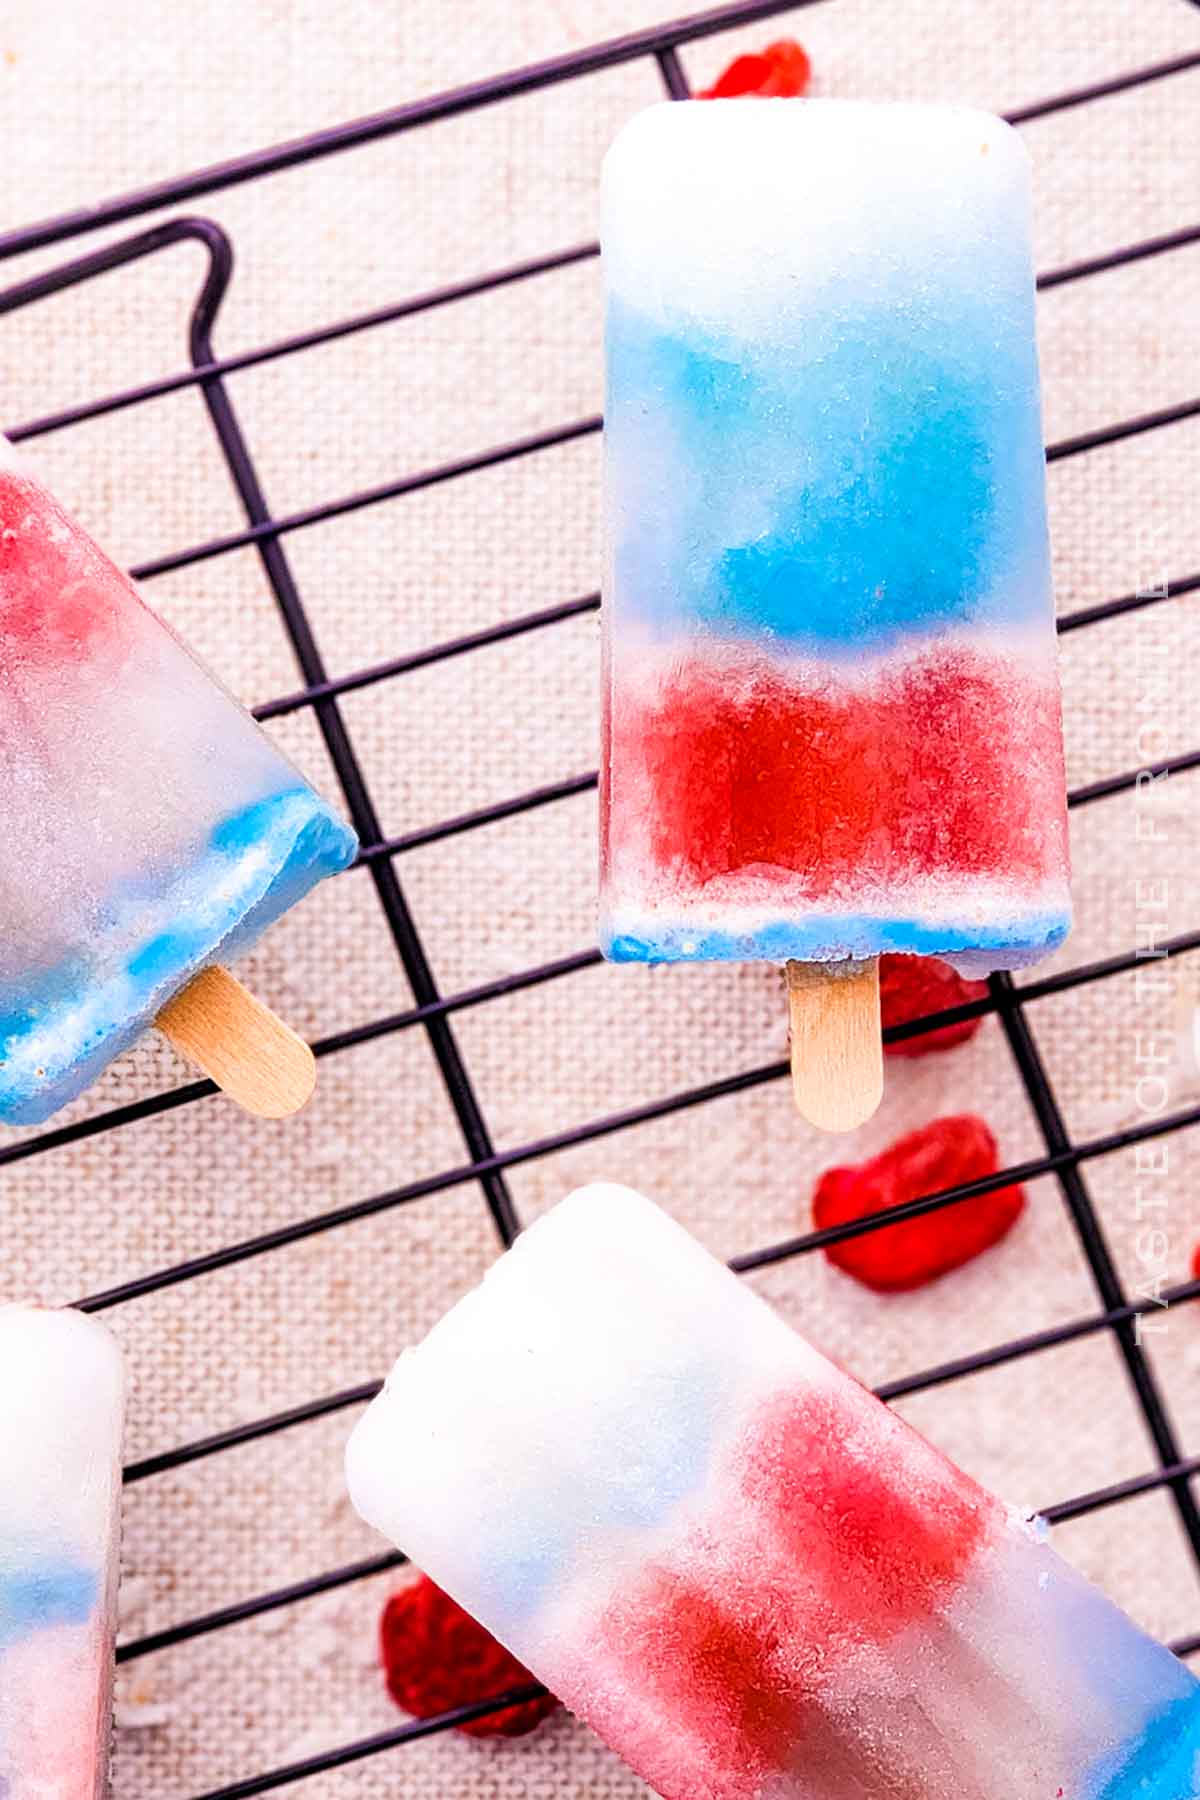
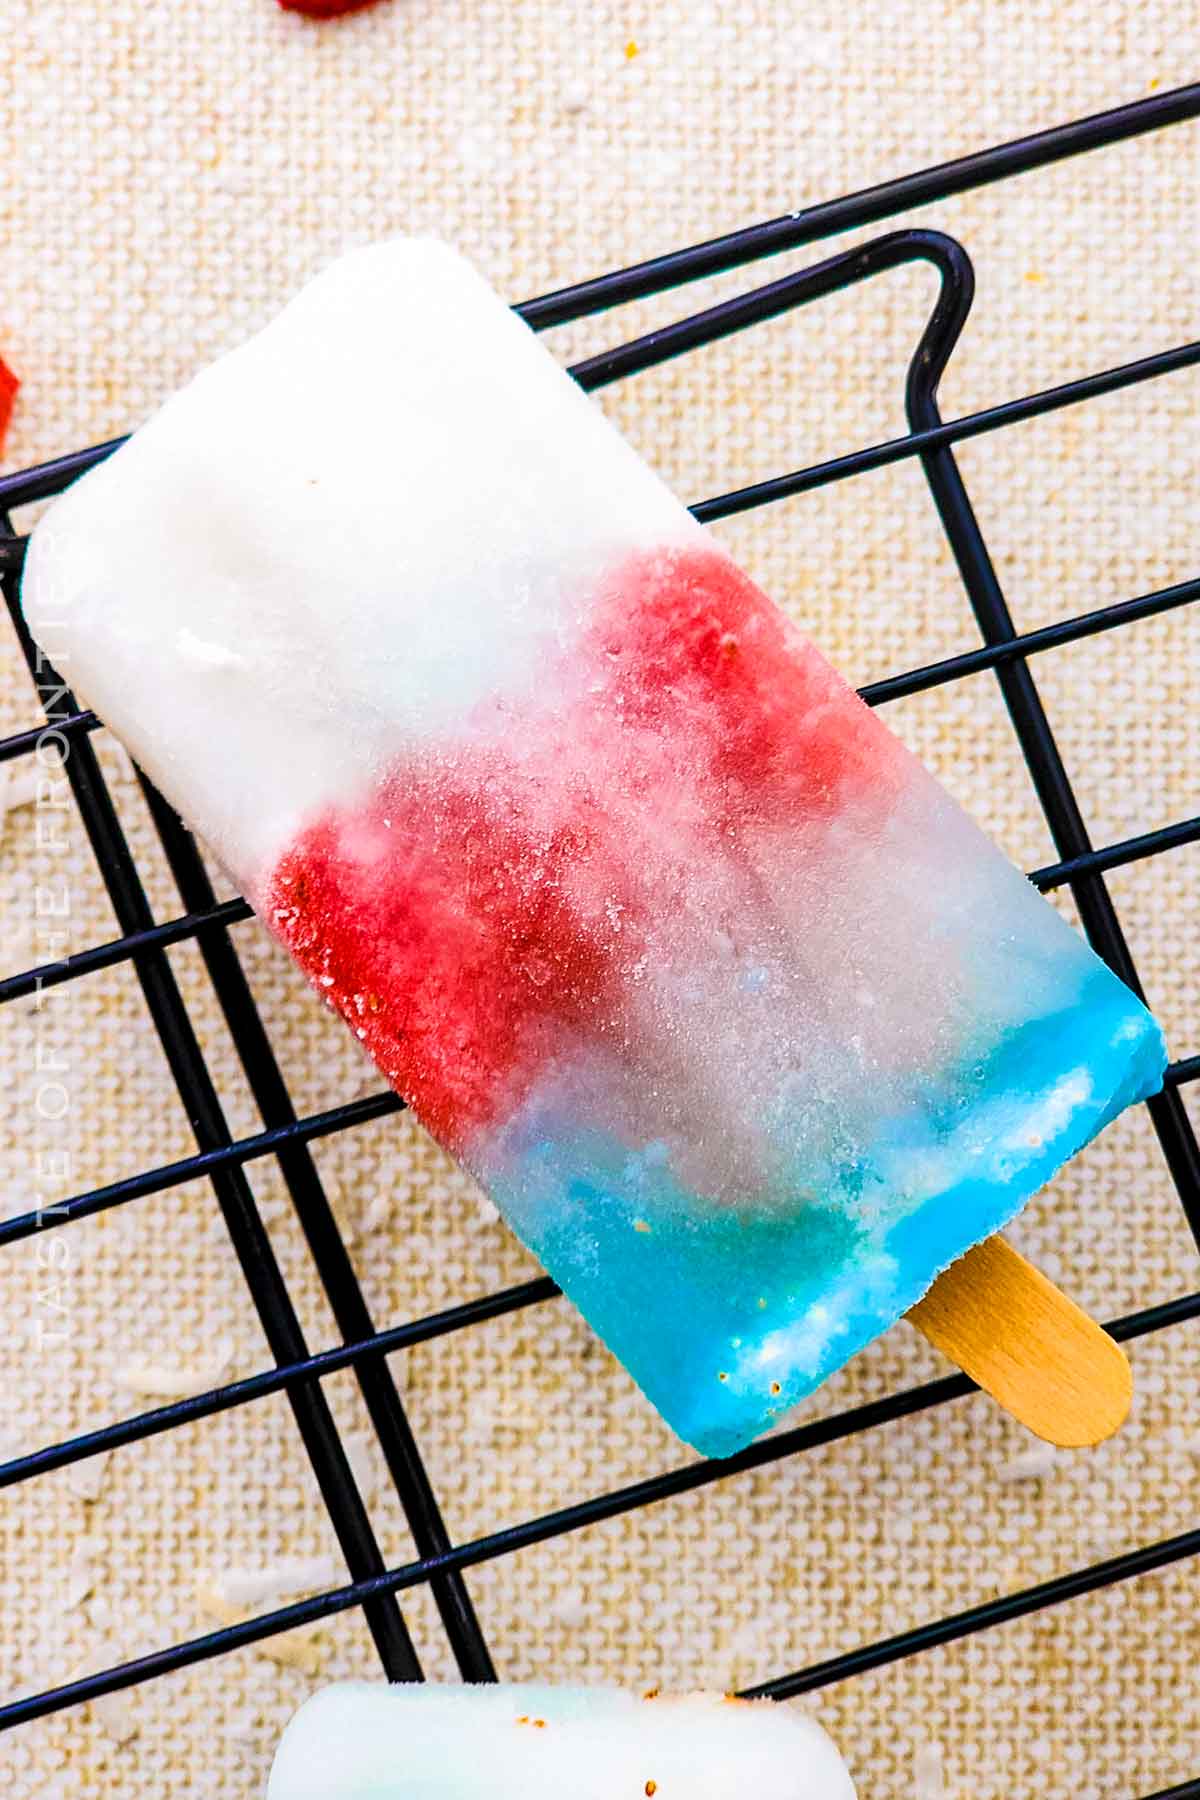
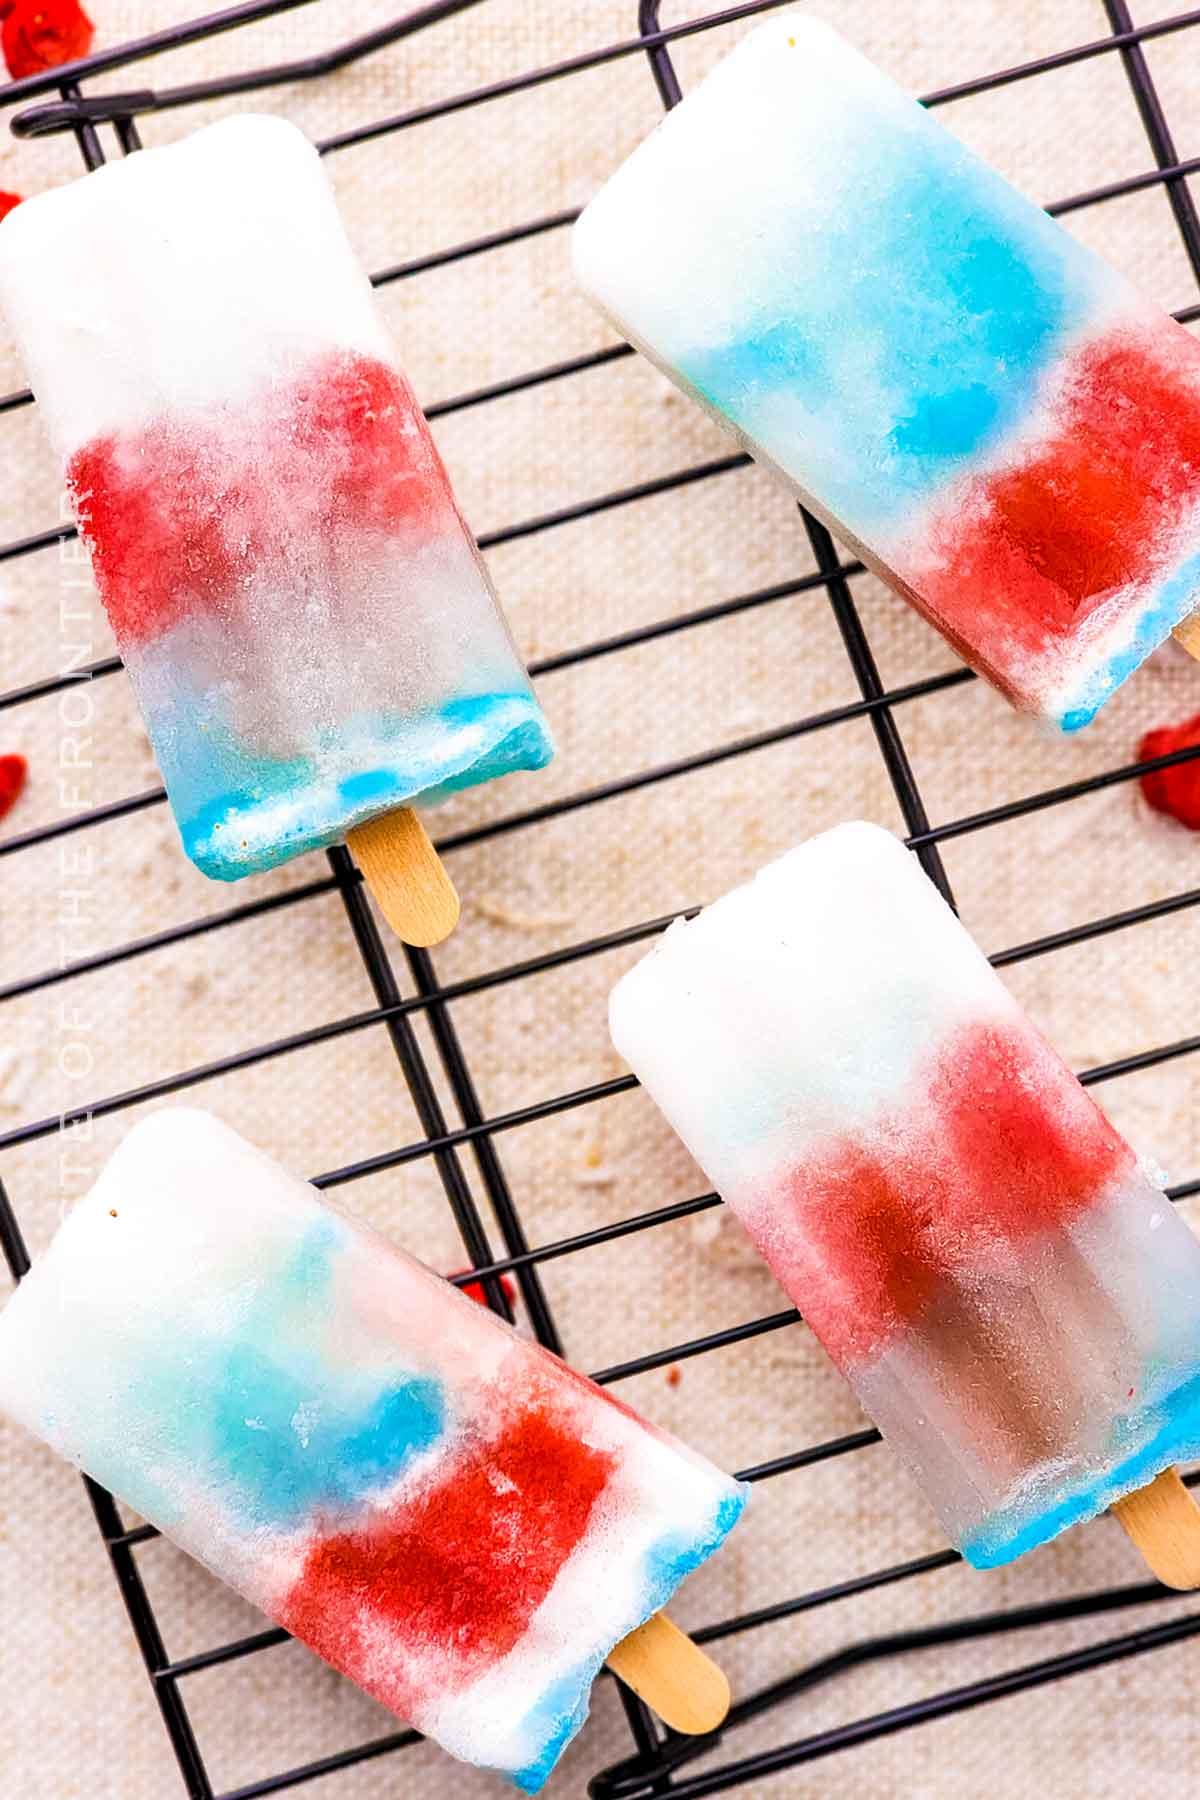
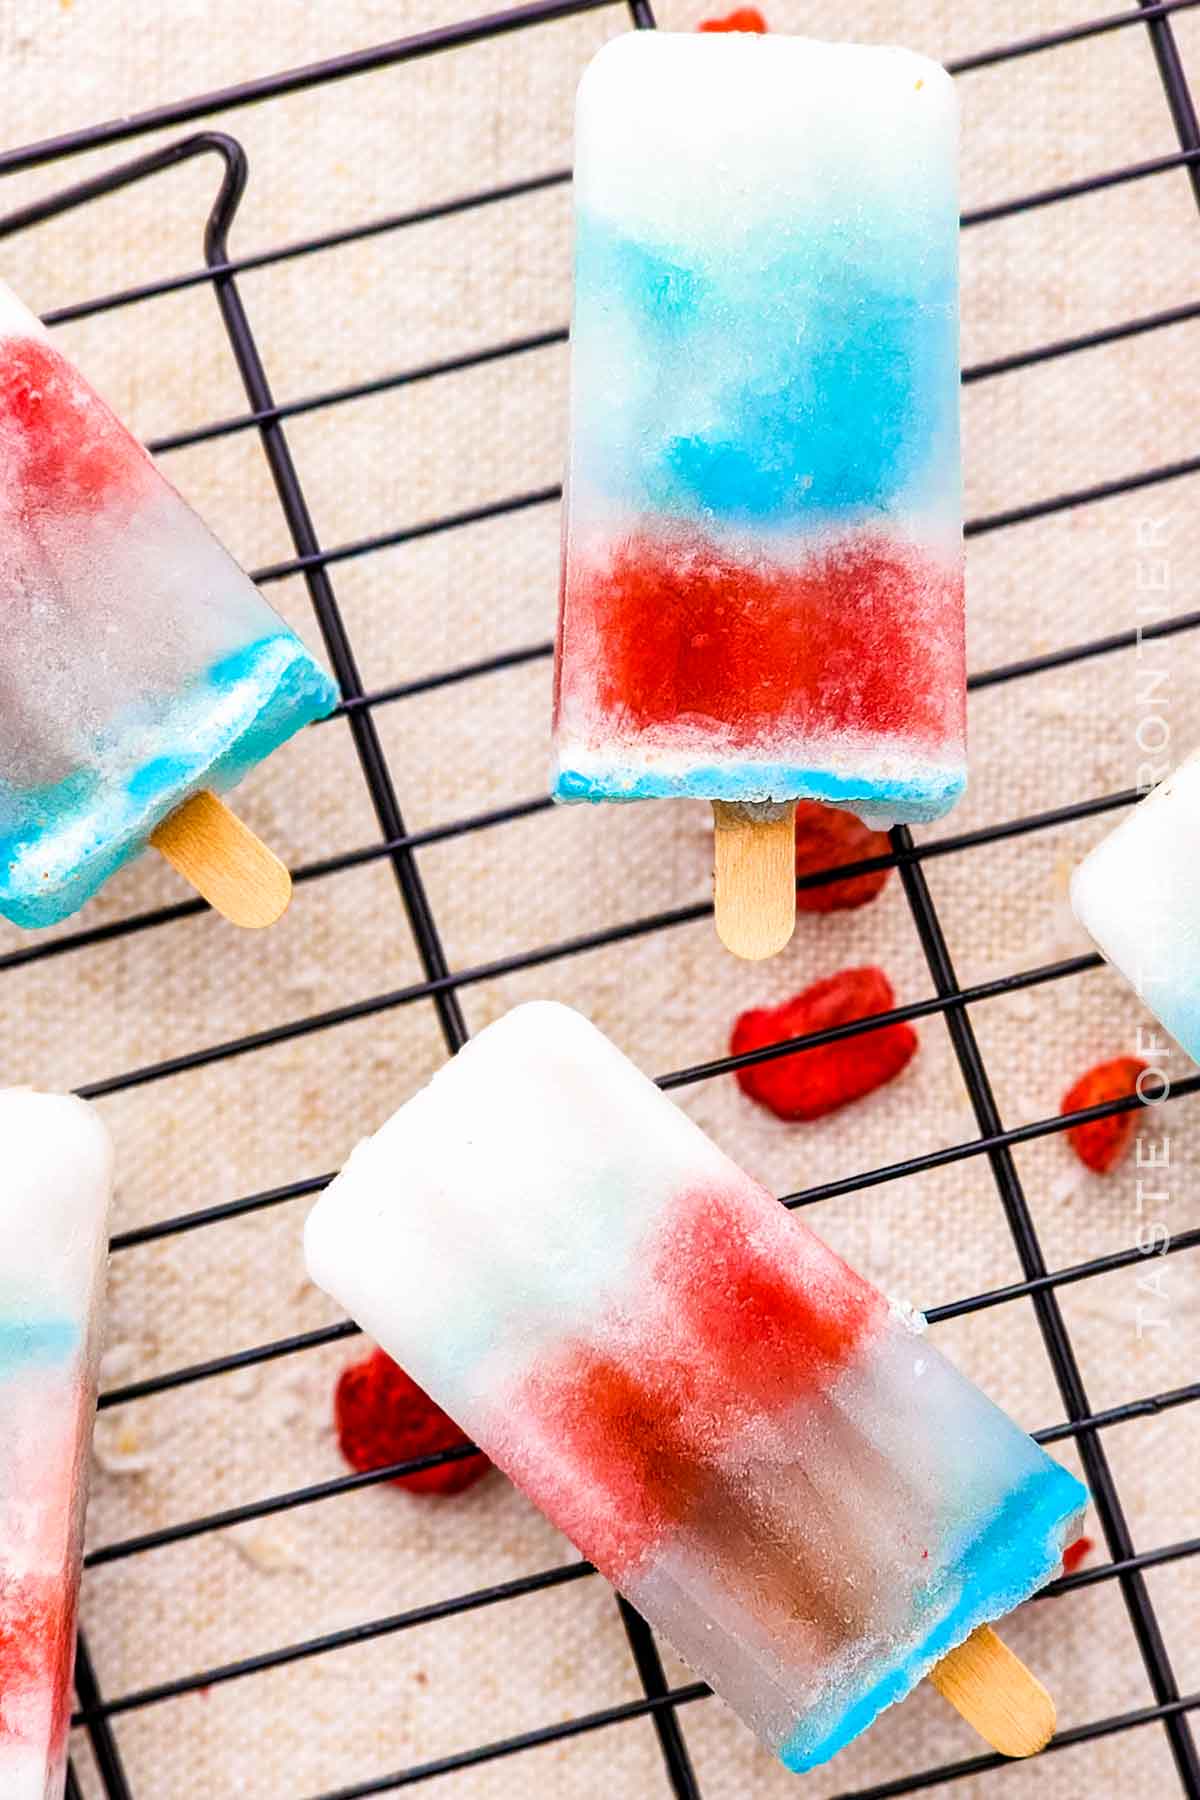
Embrace the spirit of summer and patriotism with our delightful Red White and Blue Popsicles. This homemade icy delight is a perfect treat for a hot summer day, and its festive appearance makes it the star of any Fourth of July party.
Crafted with simple and healthy ingredients, these patriotic popsicles are guaranteed to be a hit among kids and adults alike!
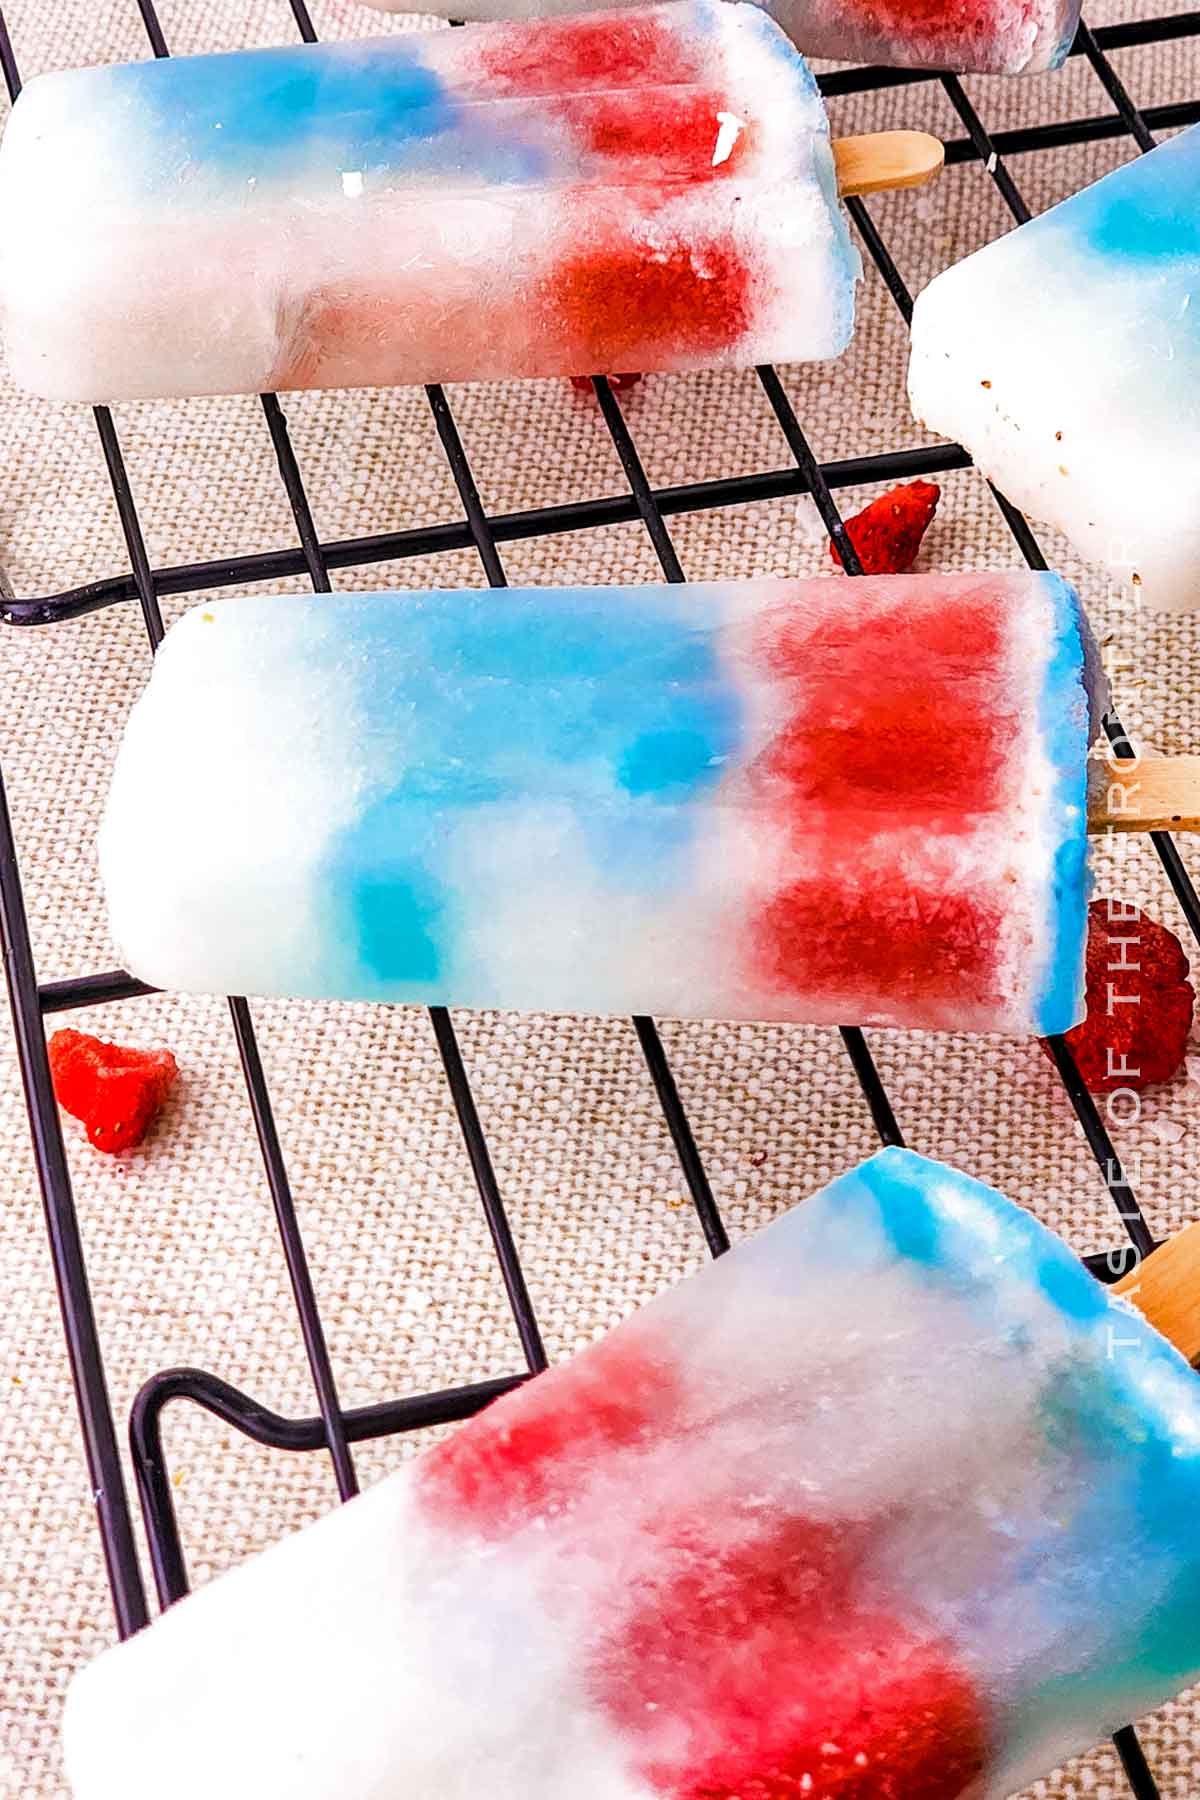
Our Red White and Blue Popsicles are a must-try this summer season. They offer a perfect blend of sweet, tart, and creamy flavors packed in colorful, patriotic layers.
Whether you’re hosting a Fourth of July party, planning a Memorial Day barbecue, or simply looking for a sweet treat to enjoy on a hot summer day, these popsicles are sure to impress.
Plus, they are so fun and easy to make; your kids will love being part of the process. Start the summer holiday right with these refreshing, homemade patriotic popsicles!
Common Questions About Red White and Blue Popsicles
Are these popsicles healthy?
Yes, these Red White, and Blue Popsicles are made with healthy ingredients such as fresh strawberries and coconut milk. You can also adjust the sugar level according to your preference or substitute it with a healthier alternative like maple syrup.
Can I use other fruits for the red layer?
Absolutely! While this recipe uses strawberries, you can substitute them with raspberries or any red fruit of your choice.
Can I make these popsicles without a popsicle mold?
Yes, if you don’t have a popsicle mold, you can use small paper cups or even an ice cube tray for mini popsicles. Just cover them with aluminum foil and poke the wooden popsicle sticks through.
Storage
These healthier popsicles keep things cool in the summer and avoid some of the chemicals found in other popsicles!
Refrigerator
The popsicle mixture can be stored in the refrigerator between layering, but the finished product should be kept in the freezer to maintain its shape and consistency.
Freezer
Once fully frozen, these popsicles can be stored in the freezer for up to 2 weeks. Wrap individual popsicles in wax paper and store them in airtight plastic bags to prevent freezer burn.
Tips
From the very start of summer, my kids are always asking for popsicles and other cold treats. These will be sure to satisfy everyone!
- Make sure each layer is fully frozen before adding the next one to get distinct red, white, and blue stripes.
- If you’re using fresh strawberries, add a little bit of extra sugar to enhance their sweetness.
- The sugar in the blue layer can be adjusted based on the sweetness of the Kool-Aid. Start with less sugar and add more if needed.
- Ensure your coconut milk or yogurt is full-fat for a creamier texture.
Ingredients
These patriotic treats will be a huge hit at your next July 4th party!
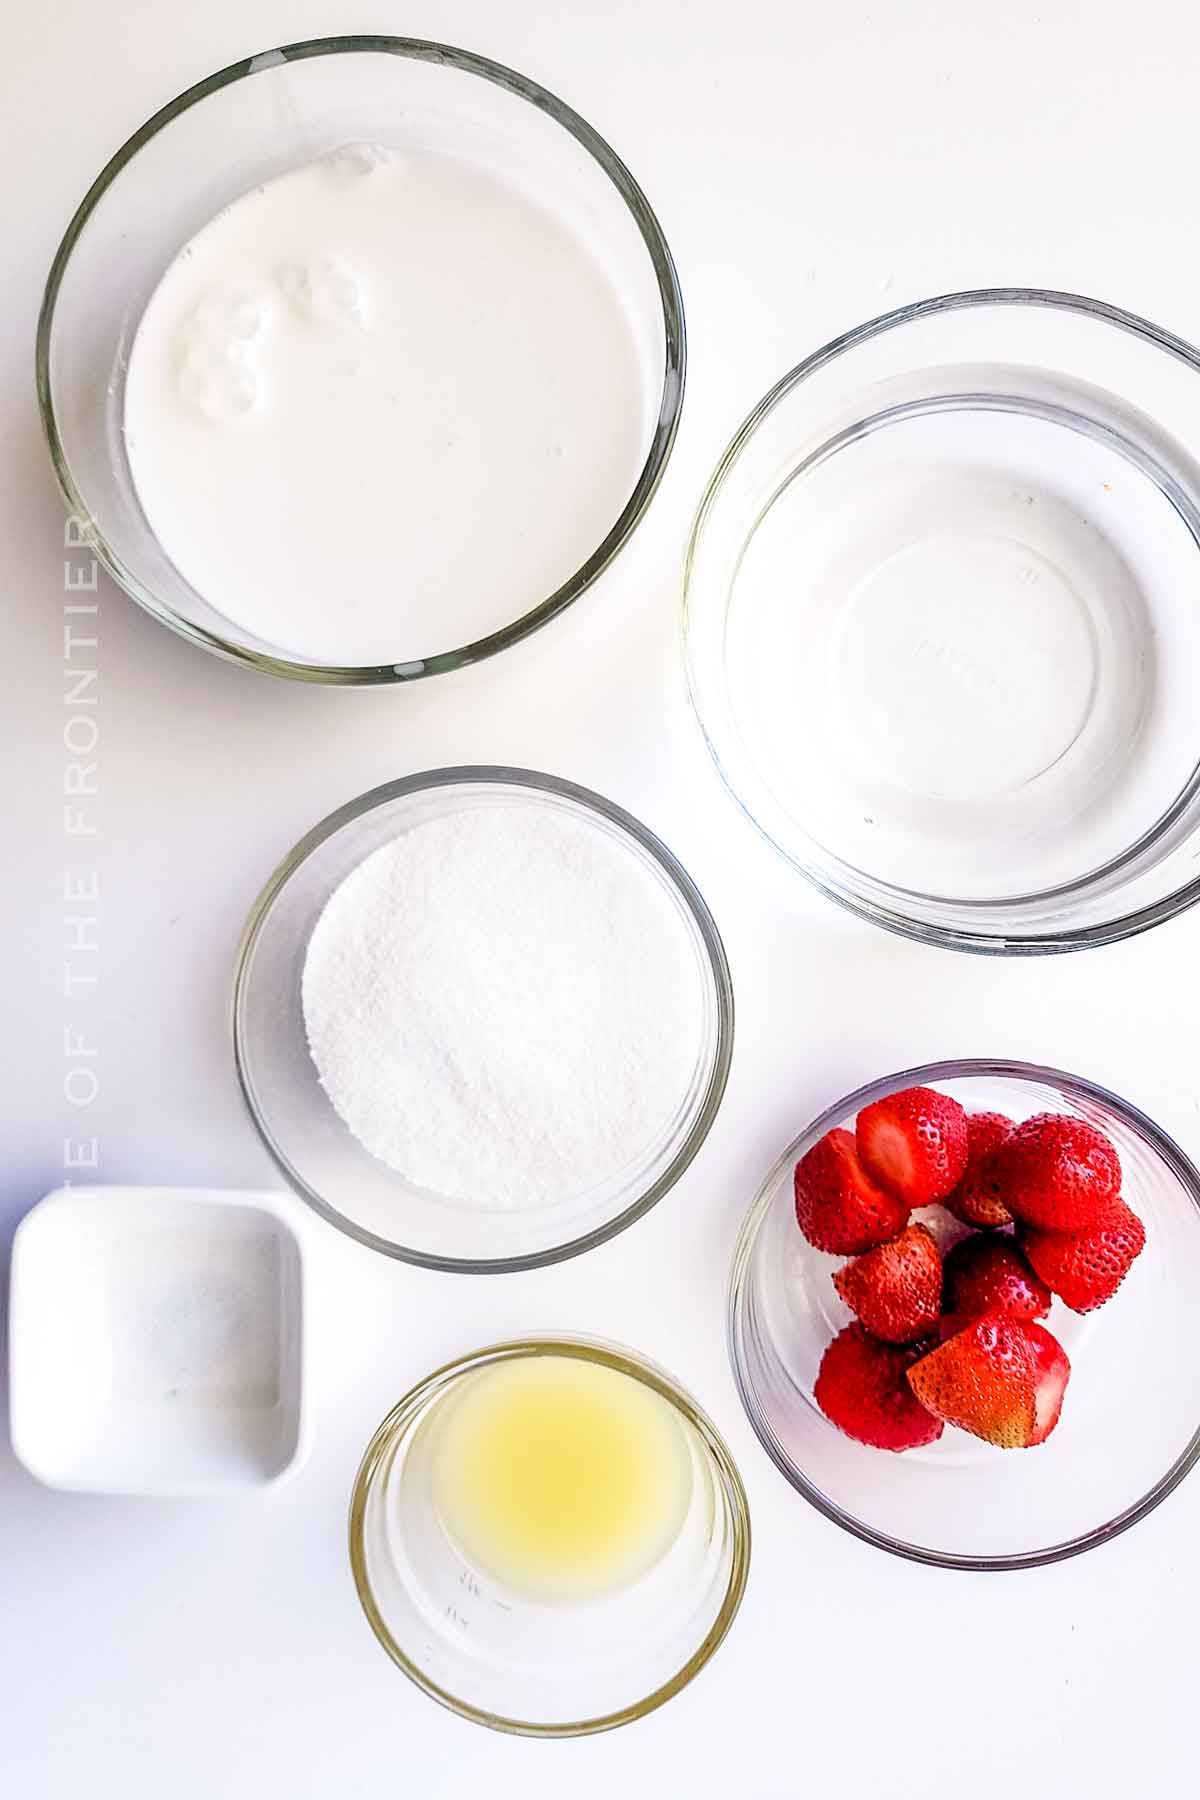
- Strawberries
- Water
- Granulated Sugar
- Coconut Milk
- Lemon Juice
- Blue Raspberry Kool-Aid
How to Make Red White and Blue Popsicles
Make these ahead of your next party. Be sure to let the kids get involved. Mine always love the process of freezing the different layers.
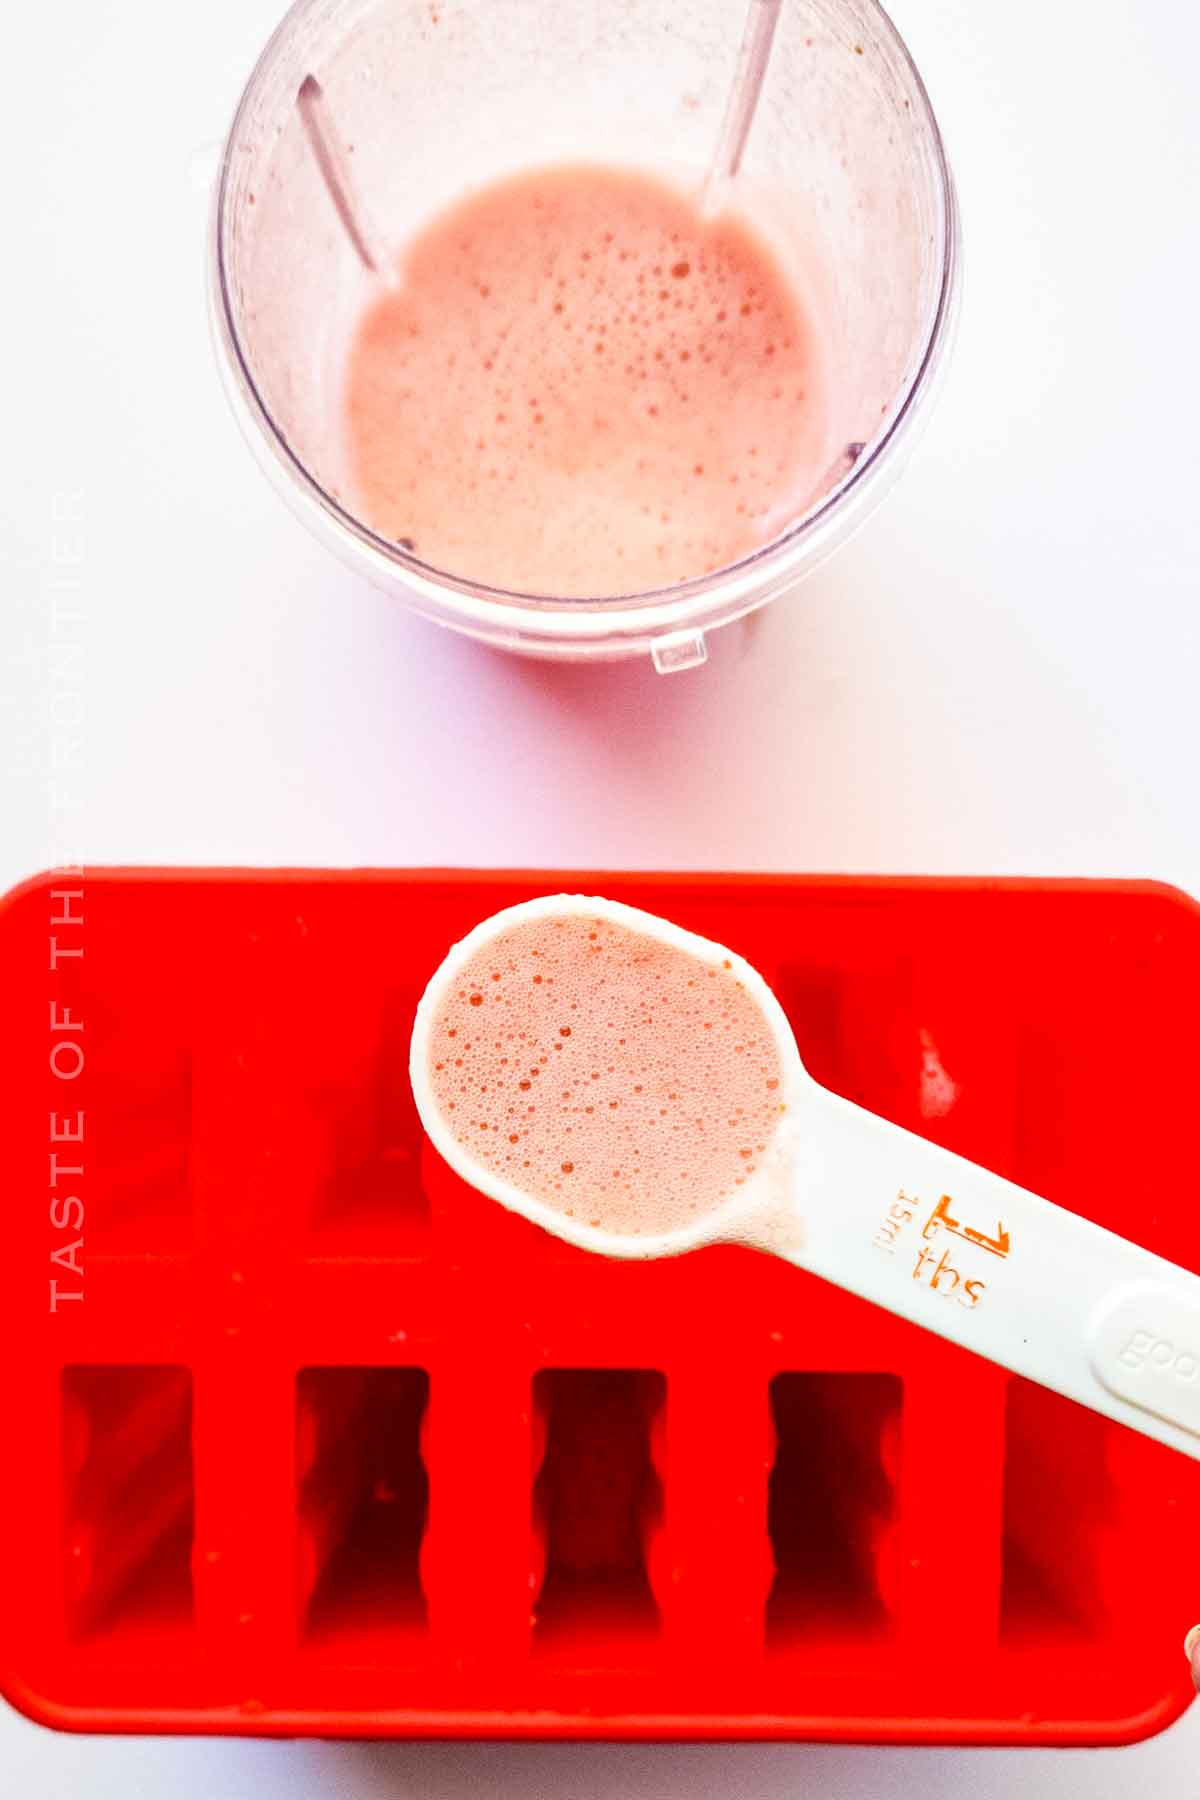
- In a blender, blend the strawberries, water, and sugar together.
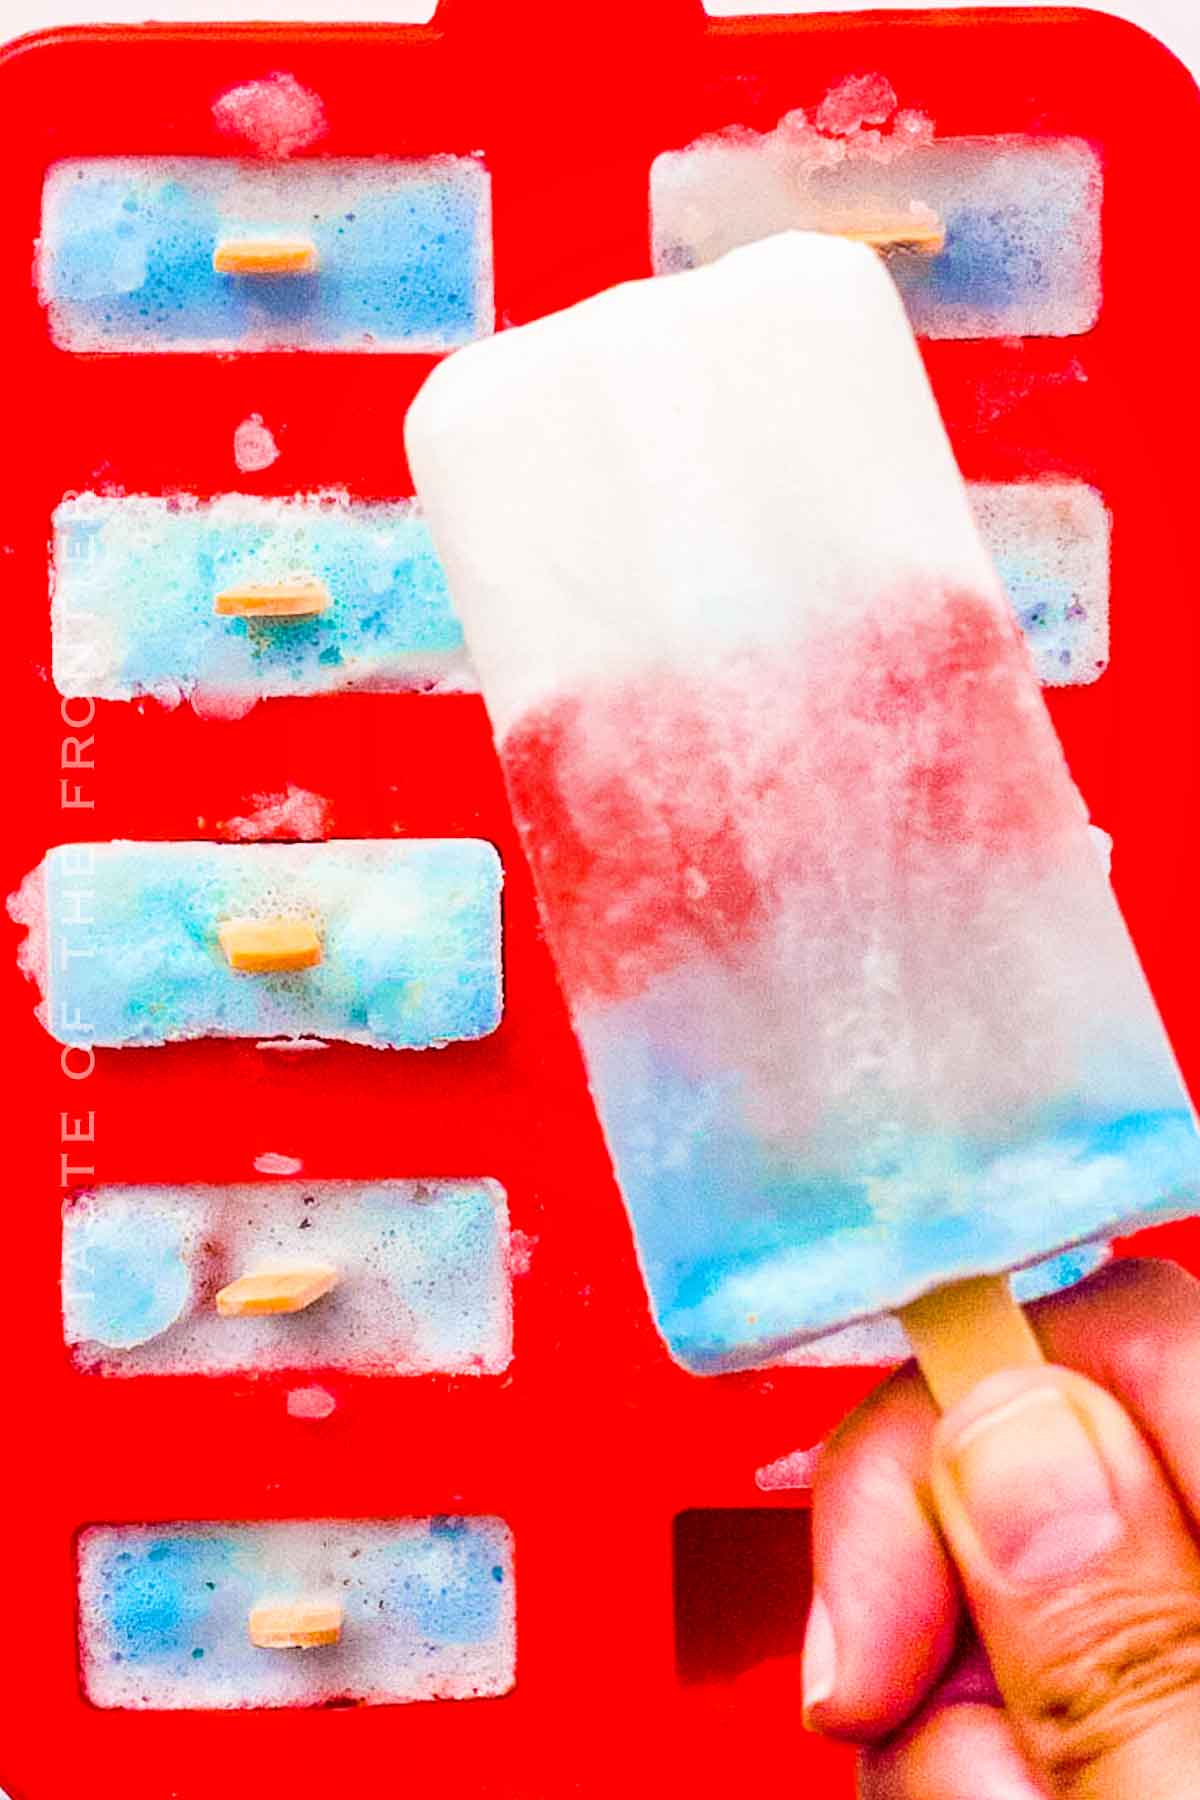
- Pour into the popsicle molds, filling each ⅓ full. Freeze for 2 hours.
- For the white layer, combine the coconut milk, sugar, and lemon juice in a blender and blend together.
- Pour this mixture on top of the frozen red layer filling each mold ⅔ of the way full. Freeze for another 2 hours.
- For the blue layer mix the water, sugar, and blue raspberry kool-aid. Add this layer to the top of the popsicles and freeze for 4 more hours.
Notes:
● You can substitute the strawberries for raspberries in the red layer if desired.
● Yogurt can be a substitute for coconut milk.
Kitchen Supplies You’ll Need for Red White and Blue Popsicles
It’s so simple! I’ve even done these in a star-shaped ice cube tray for a little extra patriotism!
- Popsicle Molds
- Popsicle Sticks
- Blender
- Large Measuring Cup
What to Serve With Red White and Blue Popsicles
These popsicles are a refreshing dessert on their own, but they pair well with other summer treats like watermelon slices or a scoop of vanilla ice cream.
Why You Should Make Red White and Blue Popsicles
As you’re making them you could even teach the kids about the meaning behind each of the colors in our flag. Use it as a learning opportunity!
- A perfect way to celebrate Independence Day or Memorial Day.
- A fun and creative way to get kids involved in the kitchen.
- A healthier alternative to store-bought popsicles, without artificial flavors or preservatives.
- Easy recipe with common ingredients, requiring minimal prep time.
- A refreshing treat to beat the heat on a hot summer day.
Variations and Add-Ins for Red White and Blue Popsicles
You could even try adding flavor extracts into the different layers to change things up. Try whatever comes to mind!
- For a creamier texture, use Greek yogurt instead of coconut milk for the white layer.
- Substitute blue raspberry Kool-Aid with blueberry puree for a natural blue layer.
- Add a few drops of red food coloring to the strawberry puree for a brighter red layer.
- Add a festive twist by inserting small white stars made from coconut cream between the layers.
- For a more natural option, use beetroot powder for the red layer and blue spirulina for the blue layer.
If you love this easy pops recipe, you’re going to love these other frozen treats too. Please click each link below to find the easy, printable recipe!
More Great Pop Recipes
Dirty Pineapple Whip Pops Recipe
White Chocolate Custard Frozen Pops
If you love this recipe for layered color pops as much as I do, please write a five-star review, and be sure to help me share on Facebook and Pinterest!
CONNECT WITH YUMMI HAUS!
Be sure to follow me on my social media, so you never miss a post!
Red White and Blue Popsicles
Ingredients
Red Layer:
- 8 strawberries frozen
- ½ cup water
- 2 tablespoons granulated sugar
White Layer:
- 12 ounces coconut milk
- ½ cup granulated sugar
- ¼ cup lemon juice
Blue Layer:
- 1 ½ cup warm water
- 3 tablespoons granulated sugar
- ½ teaspoon kool-aid blue raspberry
Instructions
Red Layer
- In a blender, blend the strawberries, water, and sugar together.
- Pour into the popsicle molds, filling each ⅓ full. Freeze for 2 hours.
White Layer
- Combine the coconut milk, sugar, and lemon juice in a blender and blend together.
- Pour this mixture on top of the frozen red layer filling each mold ⅔ of the way full. Freeze for another 2 hours.
Blue Layer
- Mix the water, sugar, and blue raspberry kool-aid. Add this layer to the top of the popsicles and freeze for 4 more hours.
Notes
● Yogurt can be a substitute for coconut milk.
Equipment
- Popsicle Molds
- Popsicle Sticks
- blender
Nutrition
Nutritional information for the recipe is provided as a courtesy and is approximate. Please double-check with your own dietary calculator for the best accuracy. We at Yummi Haus cannot guarantee the accuracy of the nutritional information given for any recipe on this site.



Share Your Thoughts