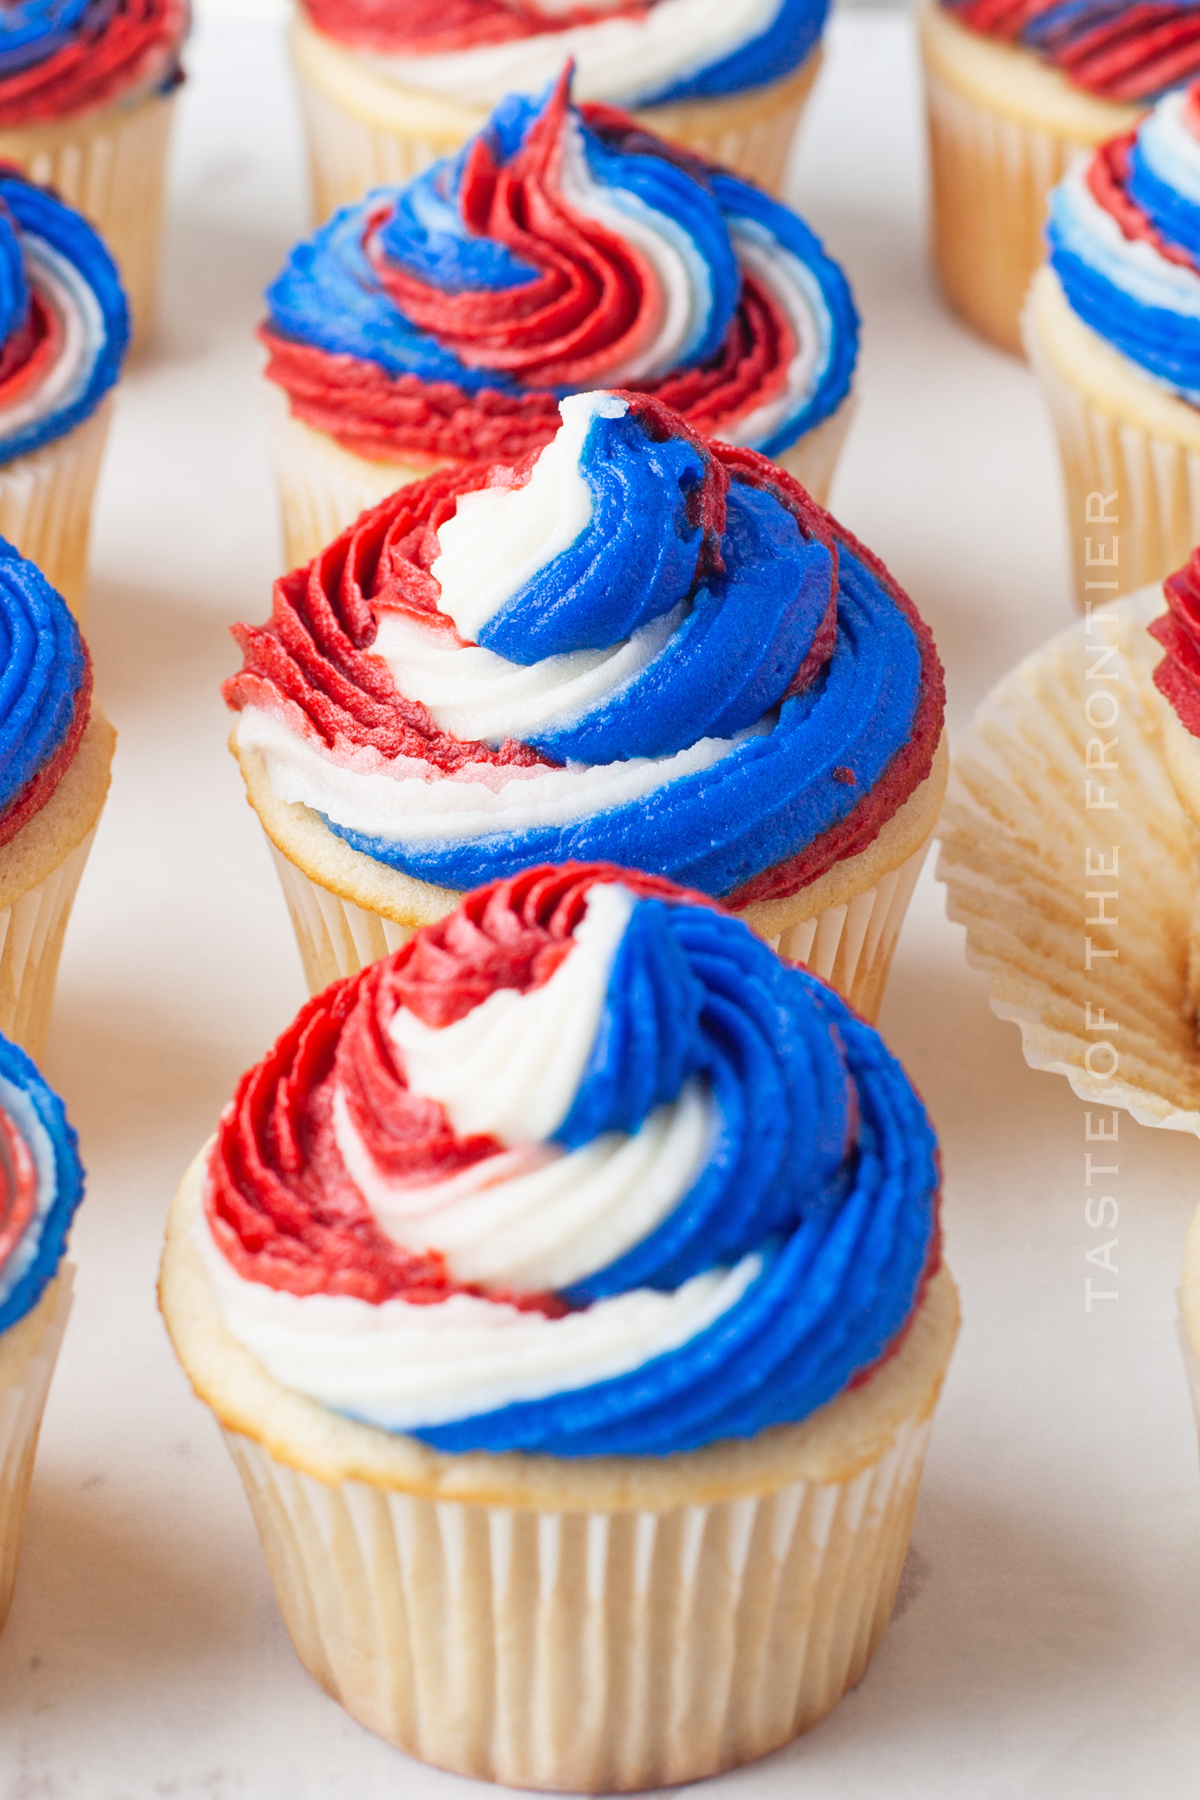
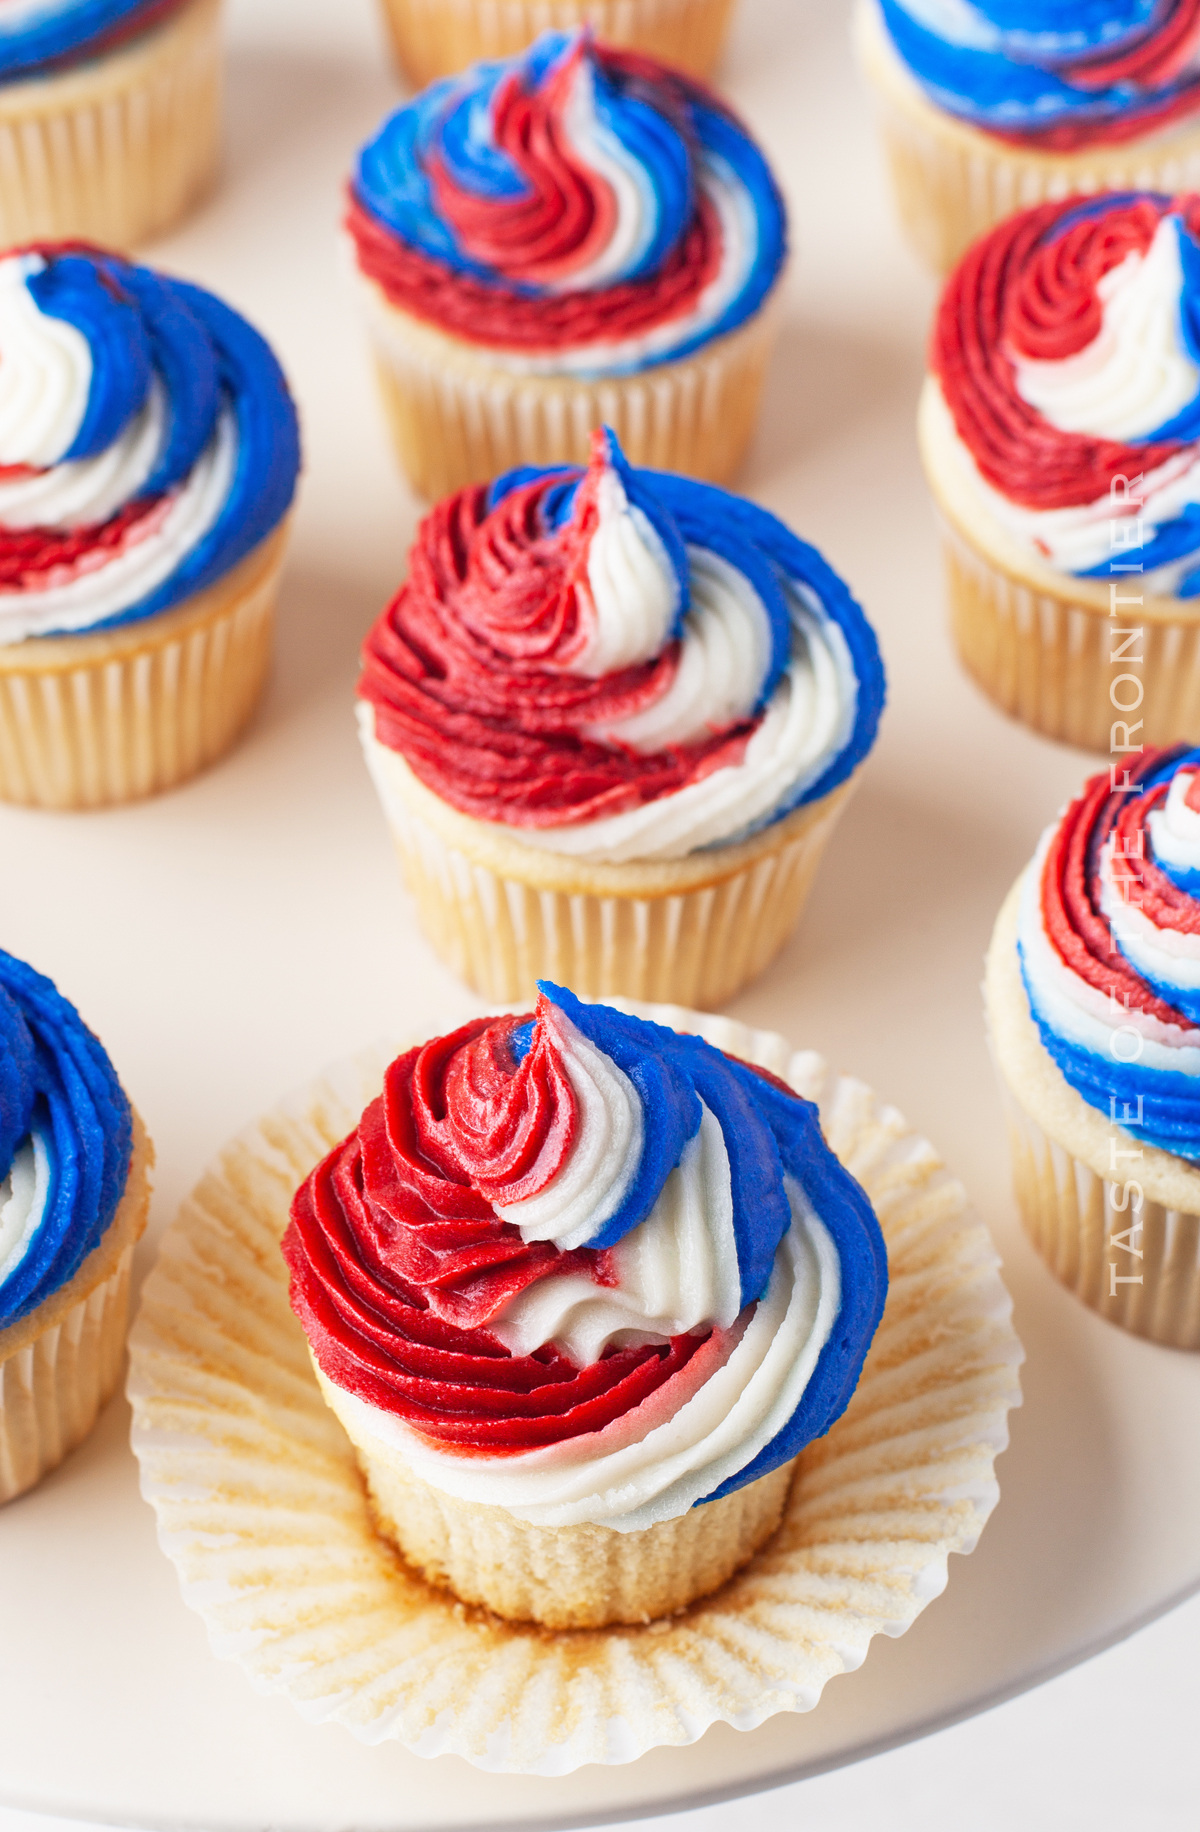
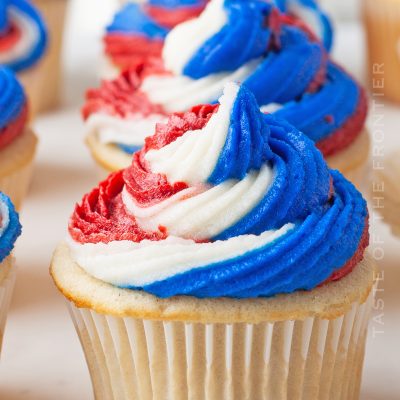
Whether you’re hosting a Fourth of July barbecue or a Memorial Day picnic, these Red White, and Blue Cupcakes are sure to be a hit.
Looking for a festive and patriotic way to celebrate your upcoming holiday? Red, white, and blue cupcakes are the perfect treat!
To make these patriotic cupcakes, start with a simple white chocolate cupcake recipe. Once your cupcakes are baked and cooled, it’s time to decorate with some fun colored buttercream frosting.
PIN THIS TO SAVE FOR LATER
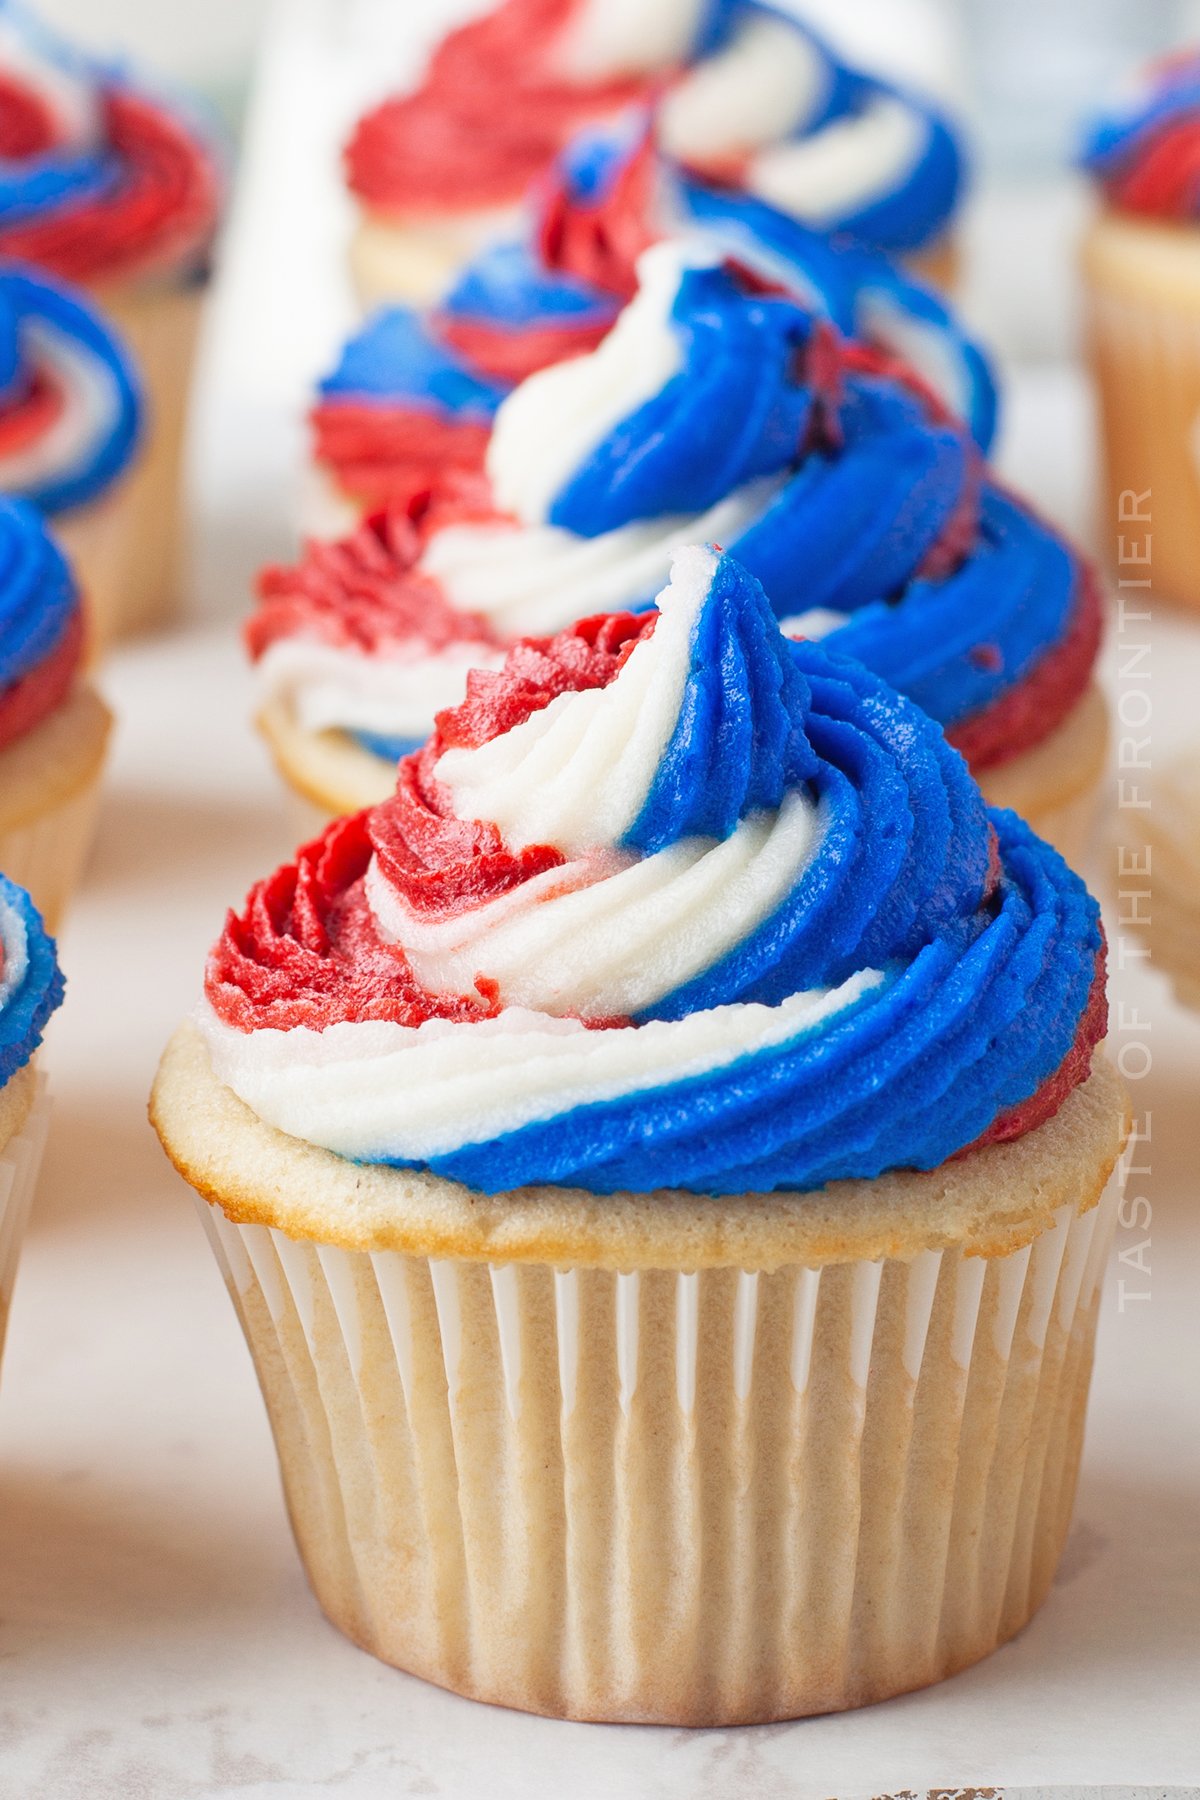
When it comes to holidays – my favorites are the patriotic ones. It could be that I love red, white and blue together. It could also be that all those holidays fall during the summer months when the weather here couldn’t be more glorious and I can finally shed the extra layers.
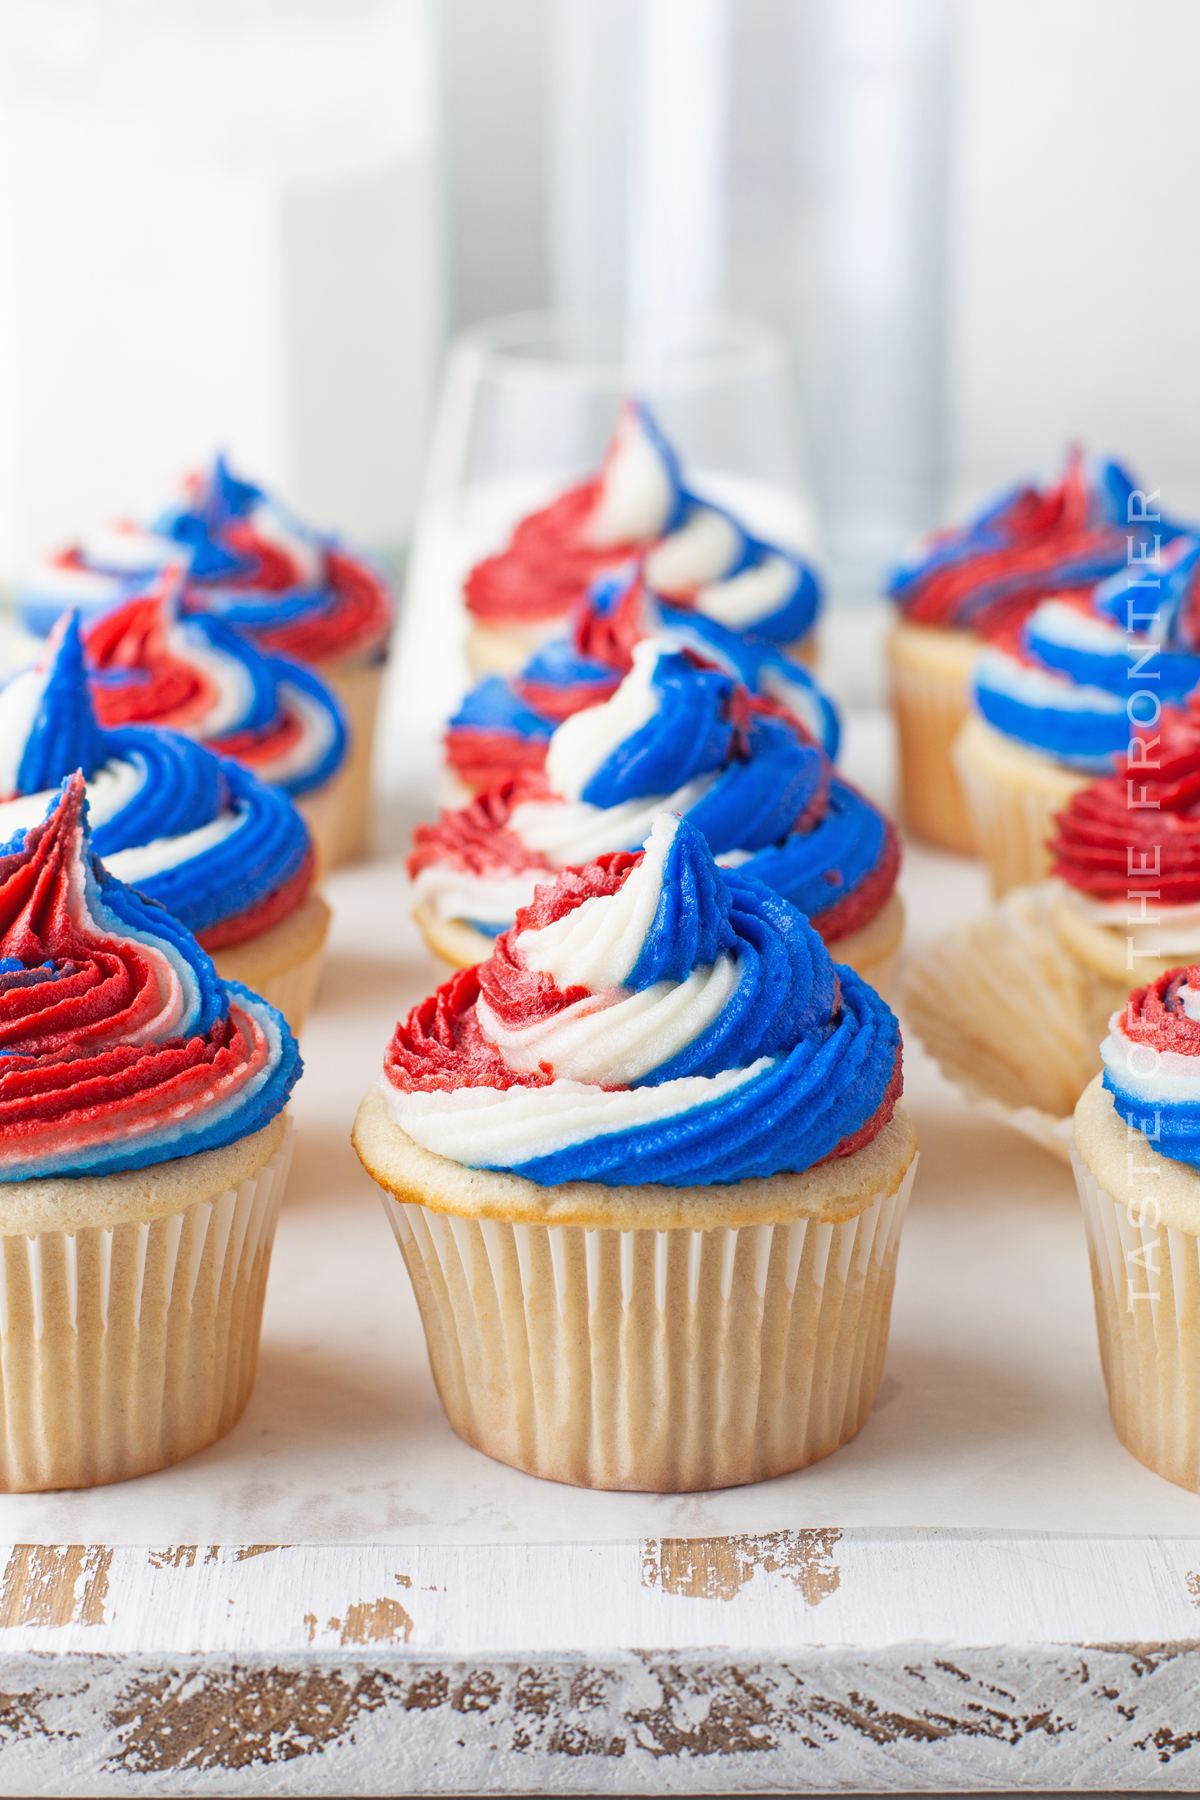
I’m not sure – but what I do know is that these white chocolate cupcakes topped with a swirl of red, white, and blue buttercream frosting make my heart go pitter-patter.
white chocolate cupcakes
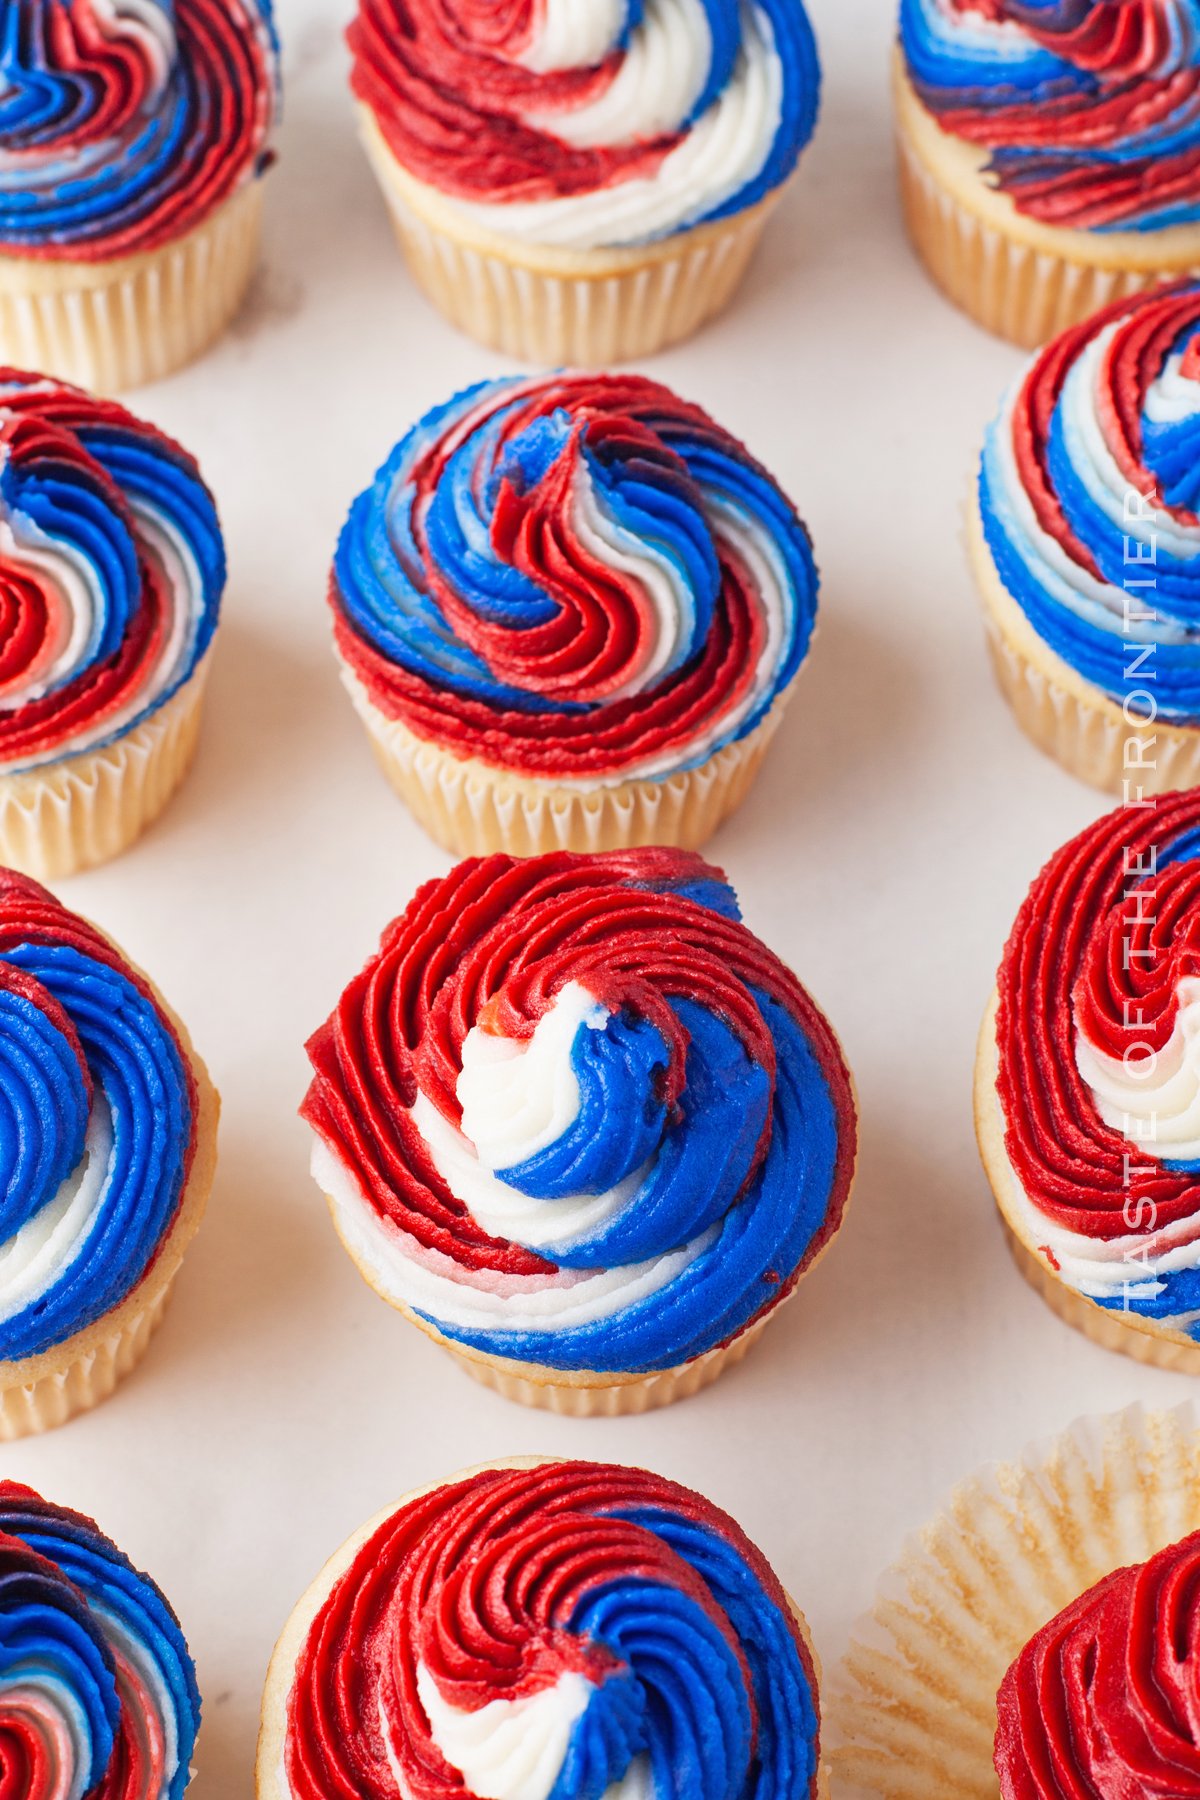
You see – my son was heading to a friend’s birthday party and he wanted to bring him some super patriotic cupcakes. I had been wanting to make these swirl-frosted cupcakes for years and this was my chance to finally do it.
Unfortunately, there were a number of factors that made the cupcakes flop. The room was too warm making the frosting melt, the swirls not turning out as pretty as I wanted. It was a bummer.
So I worked on it, each summer for the last few until I got it just right. I’m so thrilled to share them with you now.
I know you’ll love them as much as we do and you can wow your friends when you tell them they didn’t come from a bakery!
Here are some commonly asked questions
What is the best way to store Red White and Blue Cupcakes?
You can store the unfrosted cupcakes in an airtight container at room temperature for up to 4 days. Once they are frosted, I recommend refrigeration because of the butter and dairy in the frosting.
Keep in mind that if you are using sanding sugar or nonpareils for your sprinkles – the colors will bleed when stored in a moist place like the fridge. The jimmies and star sprinkles should hold up fine to refrigeration.
What’s The Secret To Moist Cupcakes?
The key to moist, fluffy cupcakes is to create air bubbles in the batter that expand during baking. You’ll wind up with dense, heavy cupcakes if you overmix your batter. Always use a low speed when mixing and stop just before all of the components are combined.
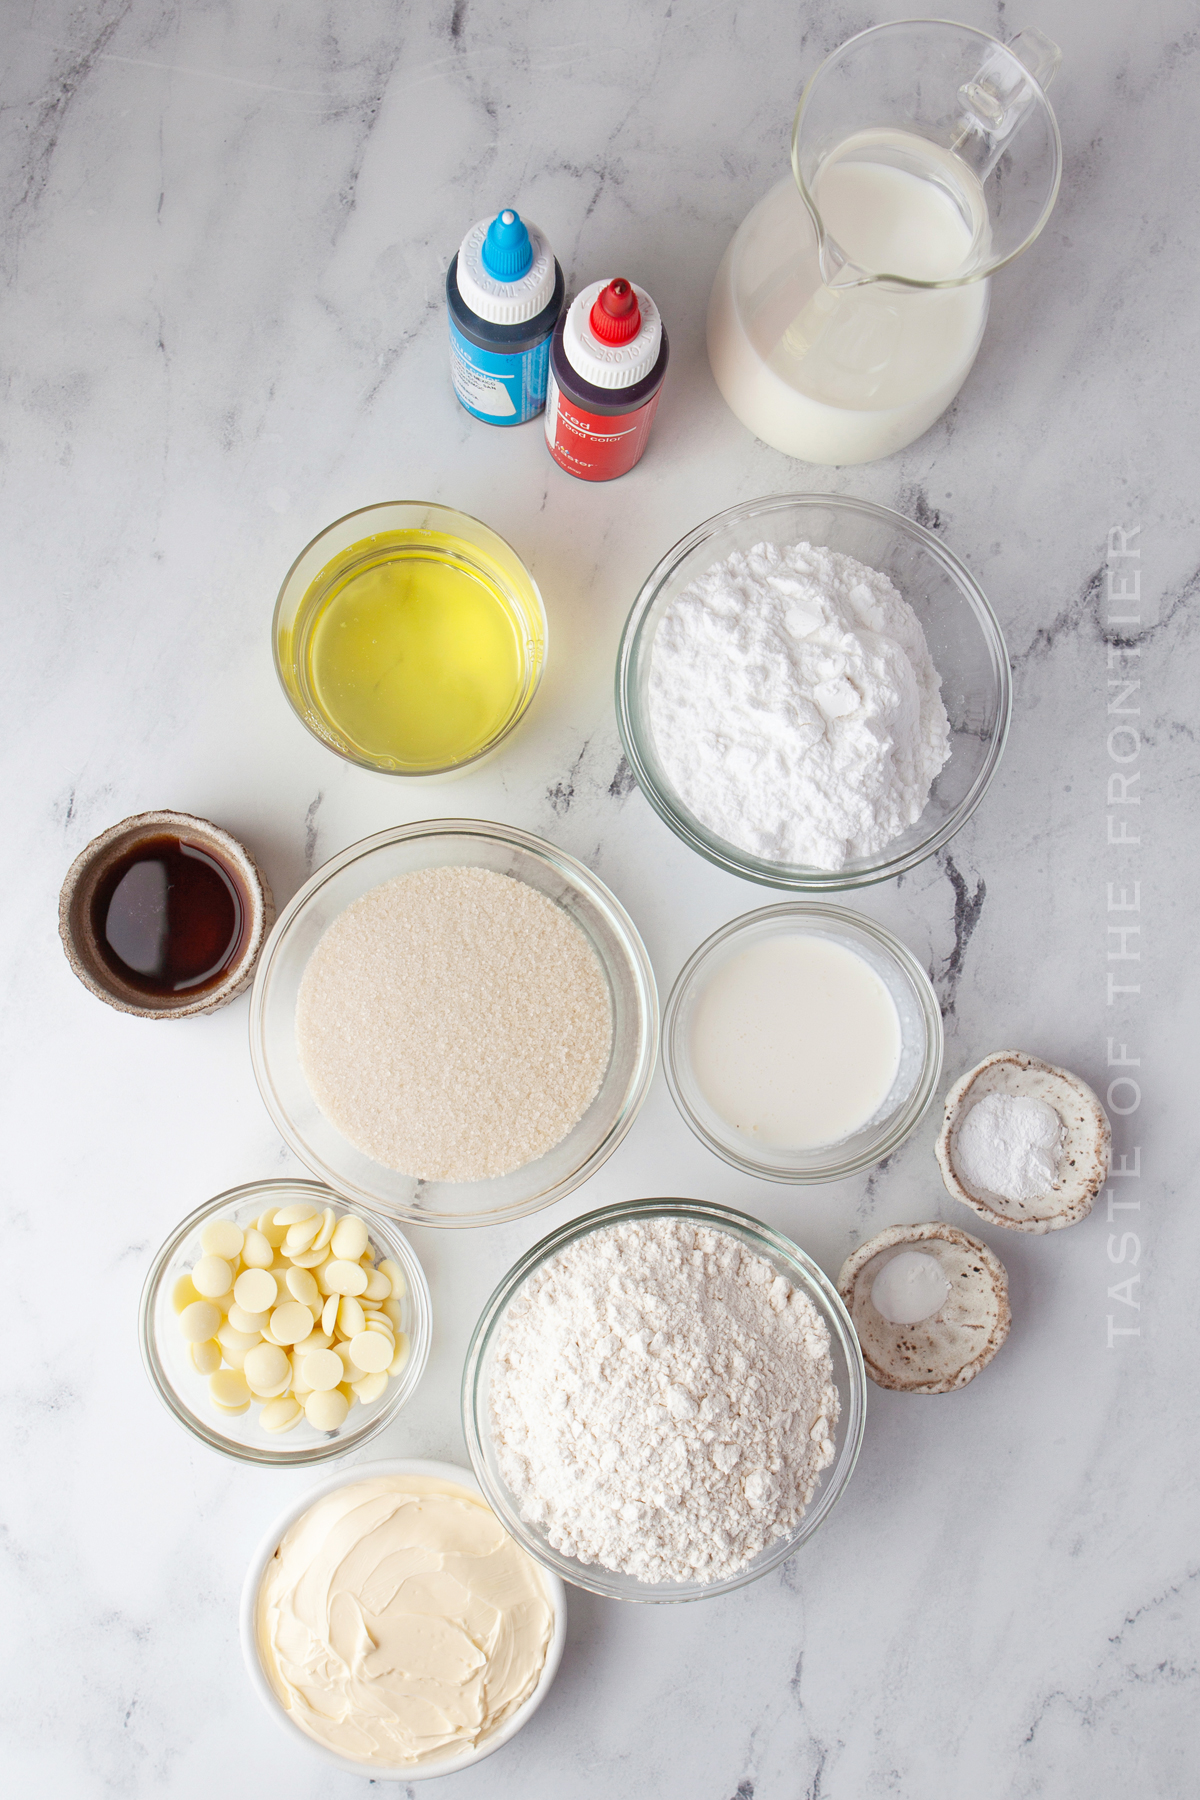
Ingredients for White Chocolate Cupcakes
- butter – softened
- granulated sugar + extra for the egg whites
- white chocolate
- all-purpose flour
- baking powder
- baking soda
- milk
- vanilla extract
- egg whites
Why do the ingredients need to be at room temperature?
Room temperature ingredients help to ensure that everything blends together perfectly. You don’t want any pockets of unblended butter. You want everything evenly disbursed for the perfect texture.
When your dairy products are at room temperature, they can create an emulsion. It’s essential to have an emulsion because air gets trapped, so the baked goods expand and get fluffy as it bakes.
What do you mean by soft butter?
You will need to take your butter out of the fridge about an hour before you would like to make the recipe for the butter to soften but not get too soft.
How to soften the butter to room temperature?
First
There are a couple of ways to do this. The first being that you can take the butter (& any other ingredients that need to be at room temperature) out, leave it on the counter for about 30 minutes while you prep for baking.
I usually start with all my chilled ingredients and pull everything I need out onto the counter before getting started – so I know for sure I have everything before I’m mid-way through I realize I’m out of something.
But sometimes it’s winter and that isn’t enough time to get the ingredients warmed up – OR – I’m just not that organized to plan ahead. It happens. So I have another couple of tricks.
Second
I place the butter in the microwave – wrapped in the paper. (don’t do this if it is wrapped in foil) Then I microwave for 2 seconds – flip – go another 2 seconds – flip again – and continue for 2 seconds on each side.
This is usually enough to get it perfect – sometimes stopping before if it feels soft enough. Take care when doing this method – overly softened butter from the microwave WILL ALTER the end result of the recipe. Don’t over-do it.
Third
My third method is to place the wrapped butter sticks in a zip-top bag and place it in a bowl of warm water. I do this with the eggs too. If the water isn’t too hot it can be THE PERFECT way to get “room-temperature” ingredients.
Why didn’t my chocolate wafers melt correctly?
When your chocolate wafers become chunky rather than creamy, it is said that the chocolate seized. This is typically due to overheating or contact with water or steam.
In the first case, the chocolate is just burning from excess heat, but in the second case, there is a negative reaction between the chocolate (which is waxy and has many oils that are hydrophobic, or “water-fearing”) and the water, causing the components of the chocolate to separate.
Be sure to refer to the package directions when melting chocolate to prevent this from happening.
Memorial Day Dessert
How to Make White Chocolate Cupcakes
- Preheat the oven to 350 degrees F. Place cupcake papers in a cupcake pan. – Set aside.
- In a stand mixer, cream the butter with all but 1 ½ tablespoons of the sugar until fluffy.
- Place the white chocolate in the microwave at 20-second intervals until completely melted. Make sure not to burn. If you have a high-watt microwave, use 50% power so you don’t seize the chocolate.
- Add the white chocolate to the sugar mixture.
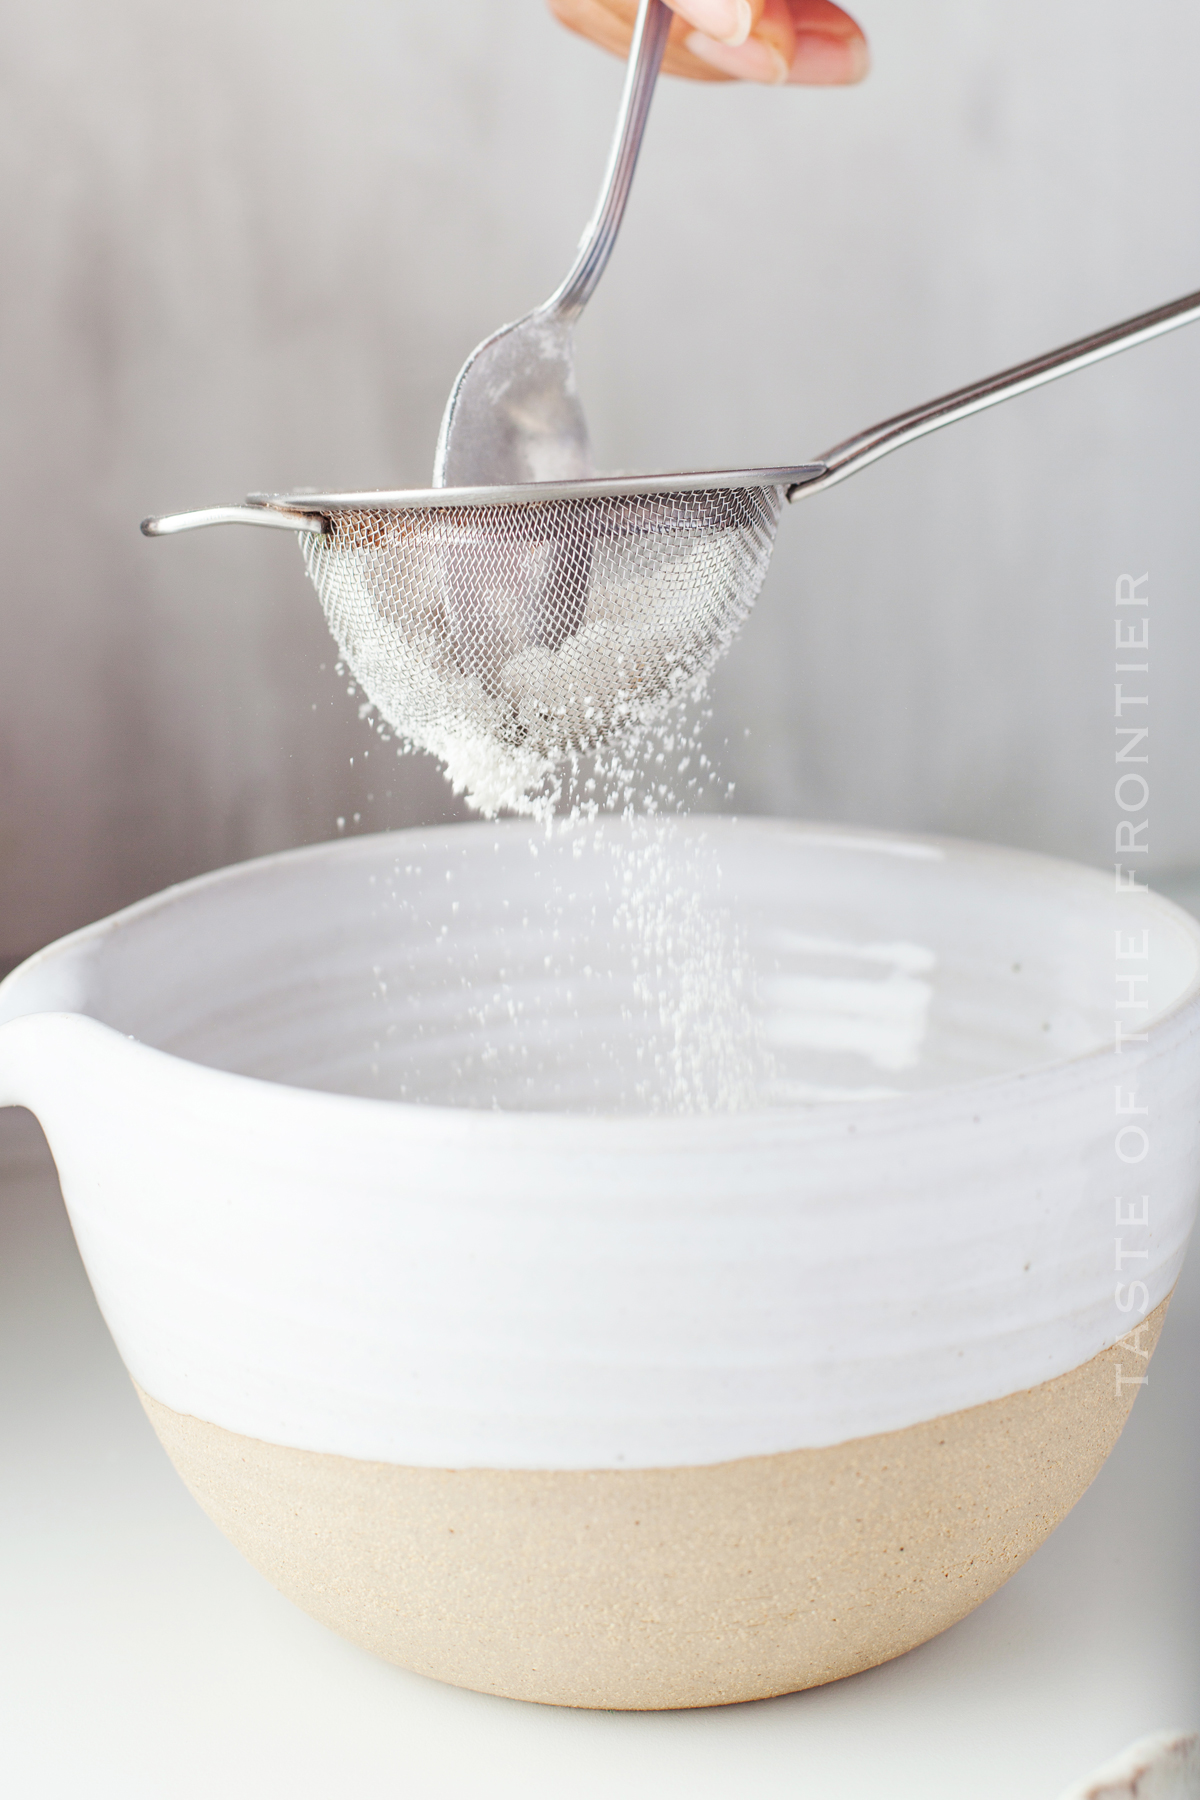
- Add the sifted flour, baking powder, and baking soda, alternating with the milk and vanilla. Mix until combined. Be careful to not over mix.
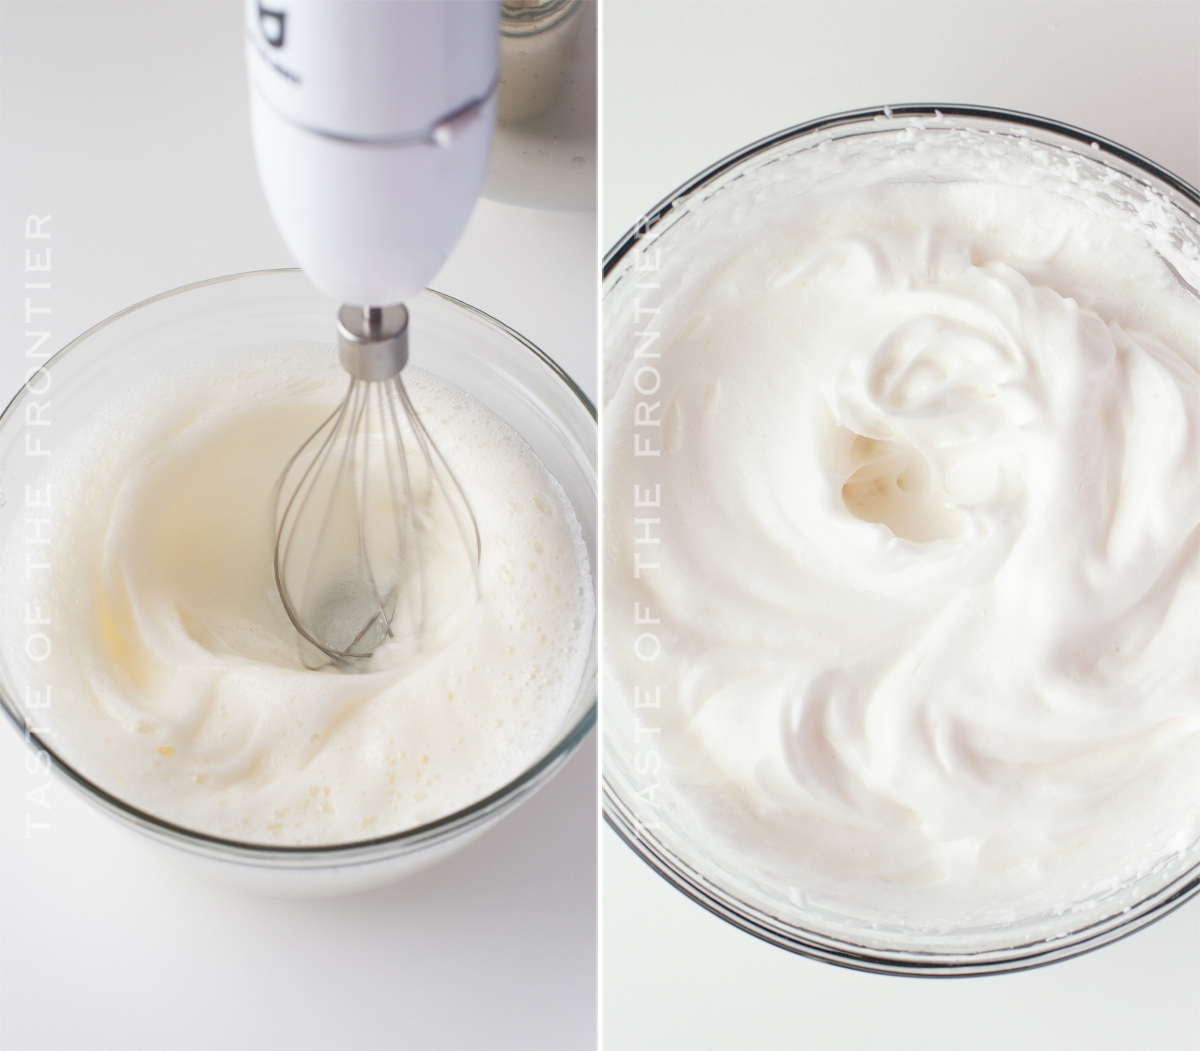
- In another bowl, whisk the egg whites until they are light and fluffy.
- Add in the 1 ½ tablespoons of reserved granulated sugar, little by little.
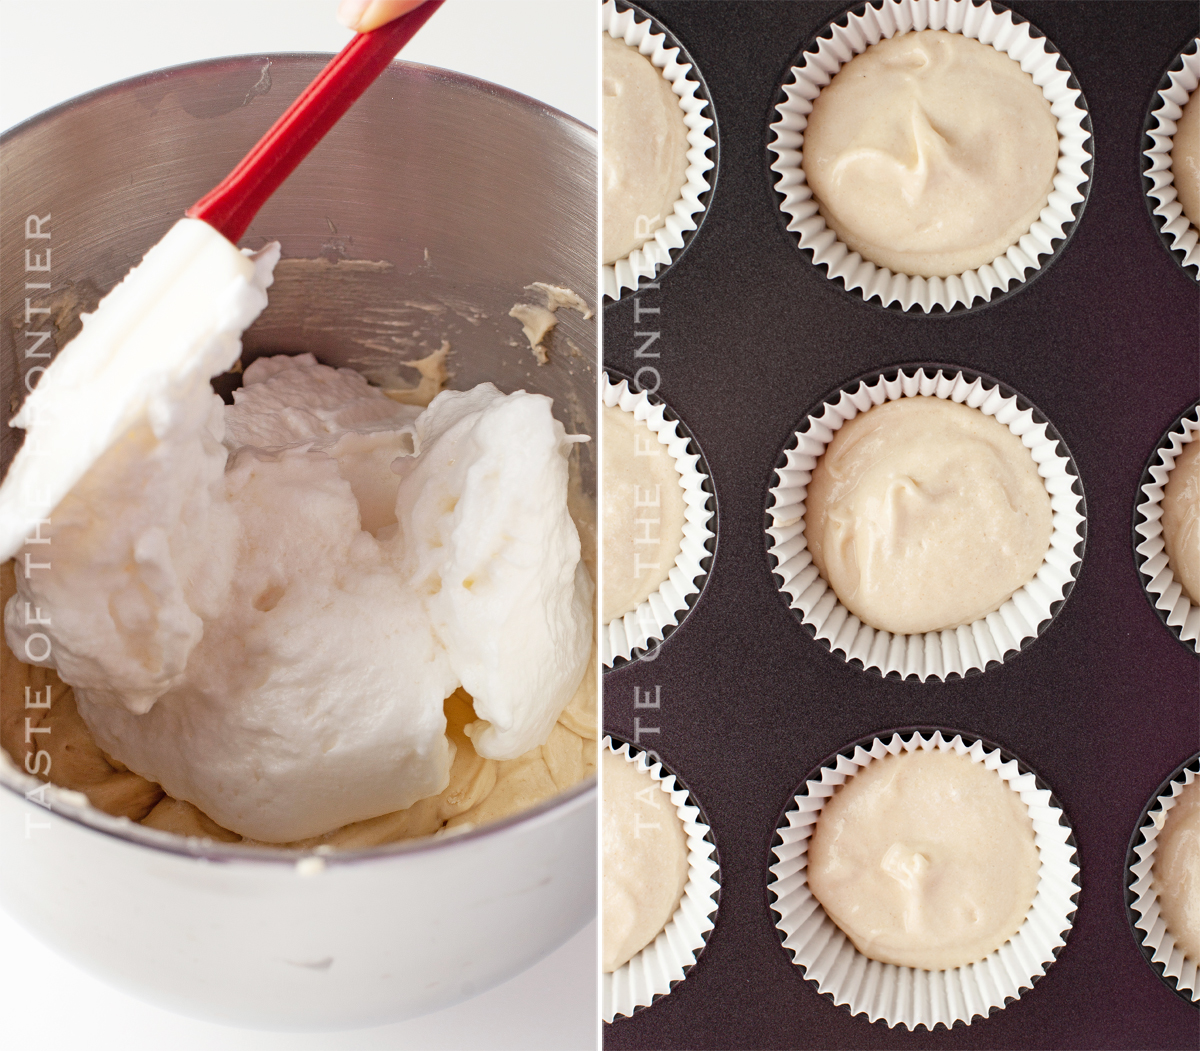
- Once the egg whites form peaks, fold them into the cupcake mixture.
- Distribute the batter evenly into cupcake liners, filling each liner about ⅔ of the way up.
- Bake for 19 – 20 minutes at 350 or until you the toothpick test comes out clean or they spring back when gently pressed in the center.
- Make sure your cupcakes are completely cooled before adding the icing. If not the frosting can melt.
Can I freeze white chocolate cupcakes?
es, you can freeze white chocolate cupcakes. Simply wrap them tightly in plastic wrap and store them in the freezer for up to two months.
Ingredients for Buttercream Frosting
- confectioner’s sugar–sifted
- butter – softened
- vanilla extract
- whipping cream
- food coloring of your choice – this recipe used red and blue
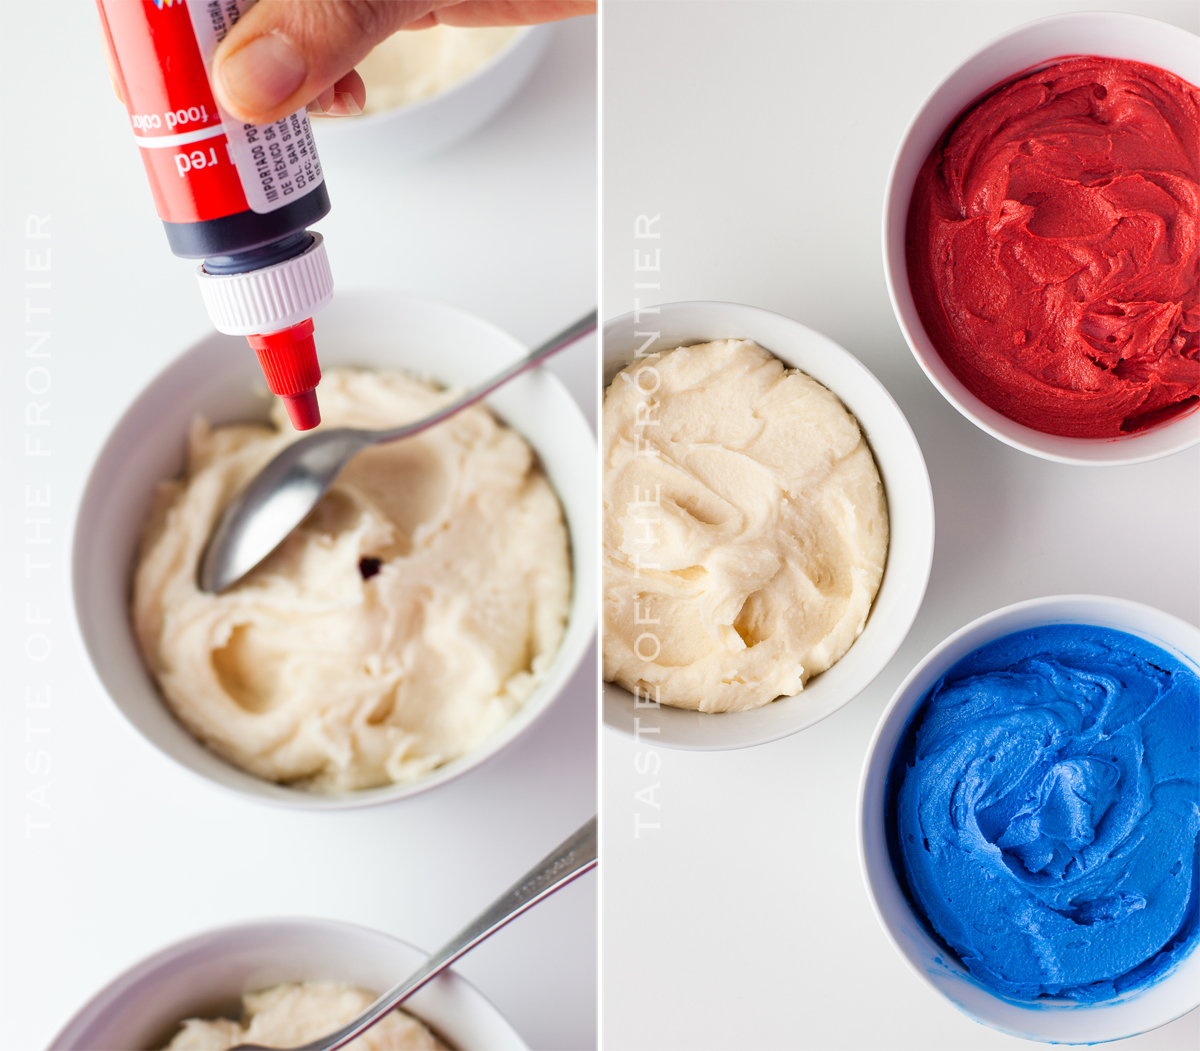
How to Make Buttercream Frosting
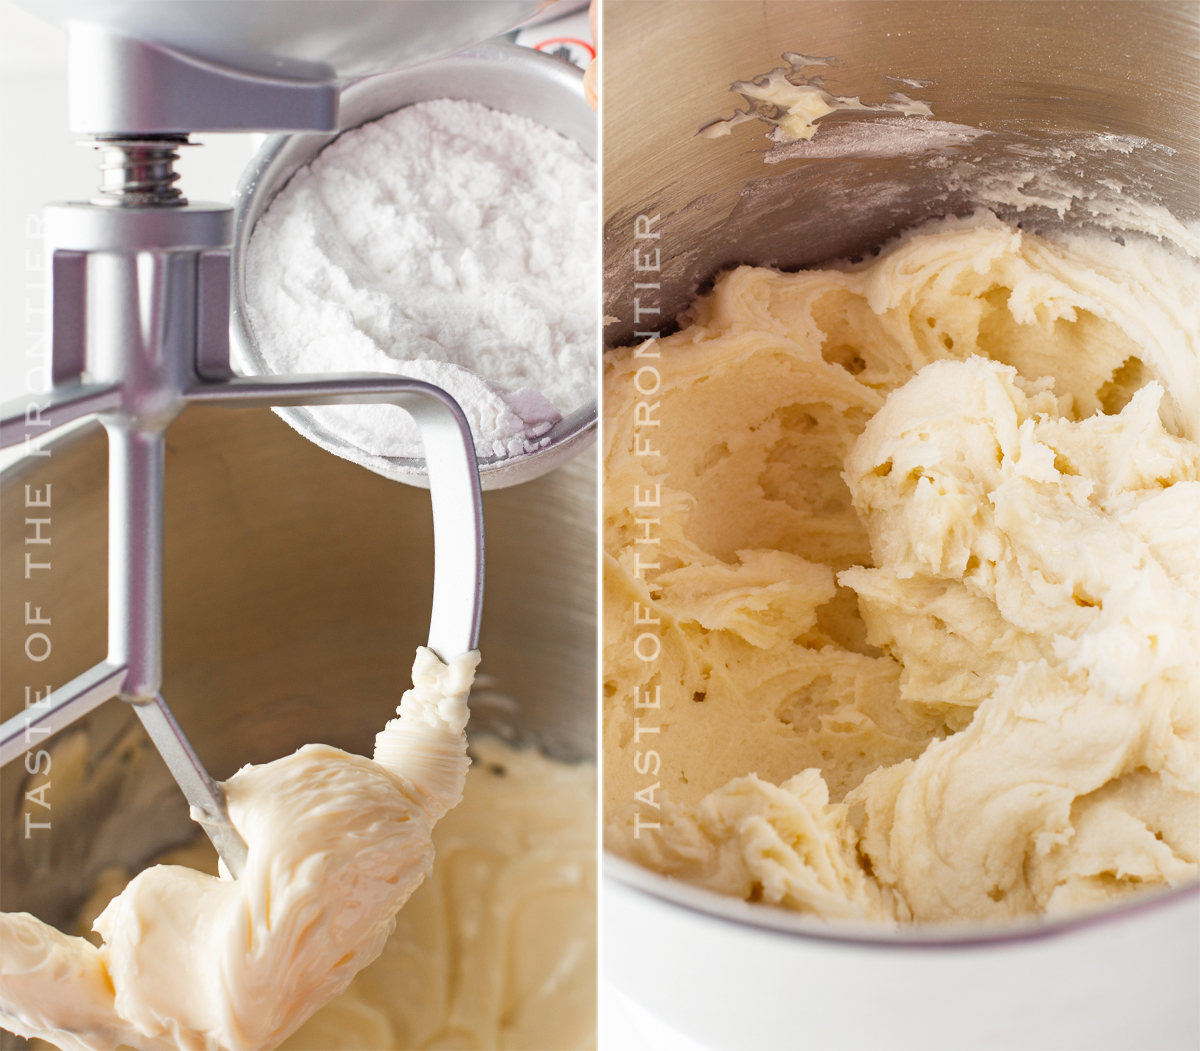
- Using a stand mixer, cream the butter until light and fluffy.
- Add in the sifted confectioner’s sugar, little by little, alternating with the vanilla and whipping cream.
- Mix until fluffy and then divide into three separate bowls. Distribute evenly, I would suggest using a kitchen scale.
- Add the food coloring to 2 of the bowls and mix until the color is even throughout all the buttercream. Reserve the 3rd for the white.
- Transfer each color into a piping bag.
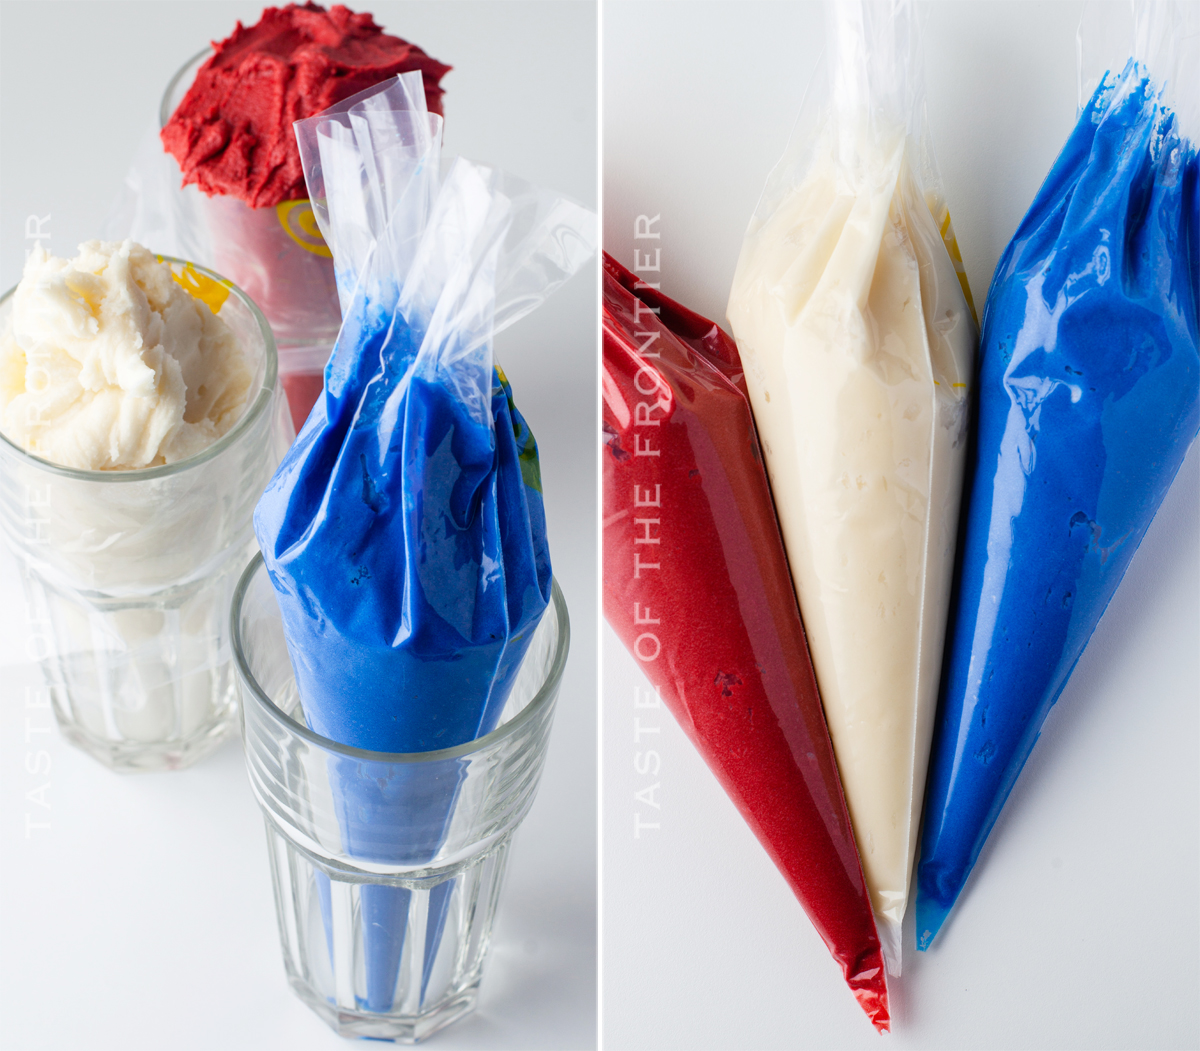
Expert Tips
- Frosting – Using clear vanilla extract will keep the buttercream super white. You can also use regular vanilla extract.
- Depending on the consistency, add more confectioner’s sugar or more heavy whipping cream.
- Don’t over do it on the food coloring. The colors will deepen as the frosting sits. So you might want to make the colors and refrigerate them overnight before proceeding further. It will also allow the frosting to become more firm and hold up to piping.
Can I use any type of food coloring to create swirls in my buttercream frosting?
Yes, you can use any type of food coloring to create swirls in your buttercream frosting. However, gel food coloring works best as it is more concentrated and will not thin out your frosting as much as a liquid food coloring.
How to Make Swirled Frosting Colors
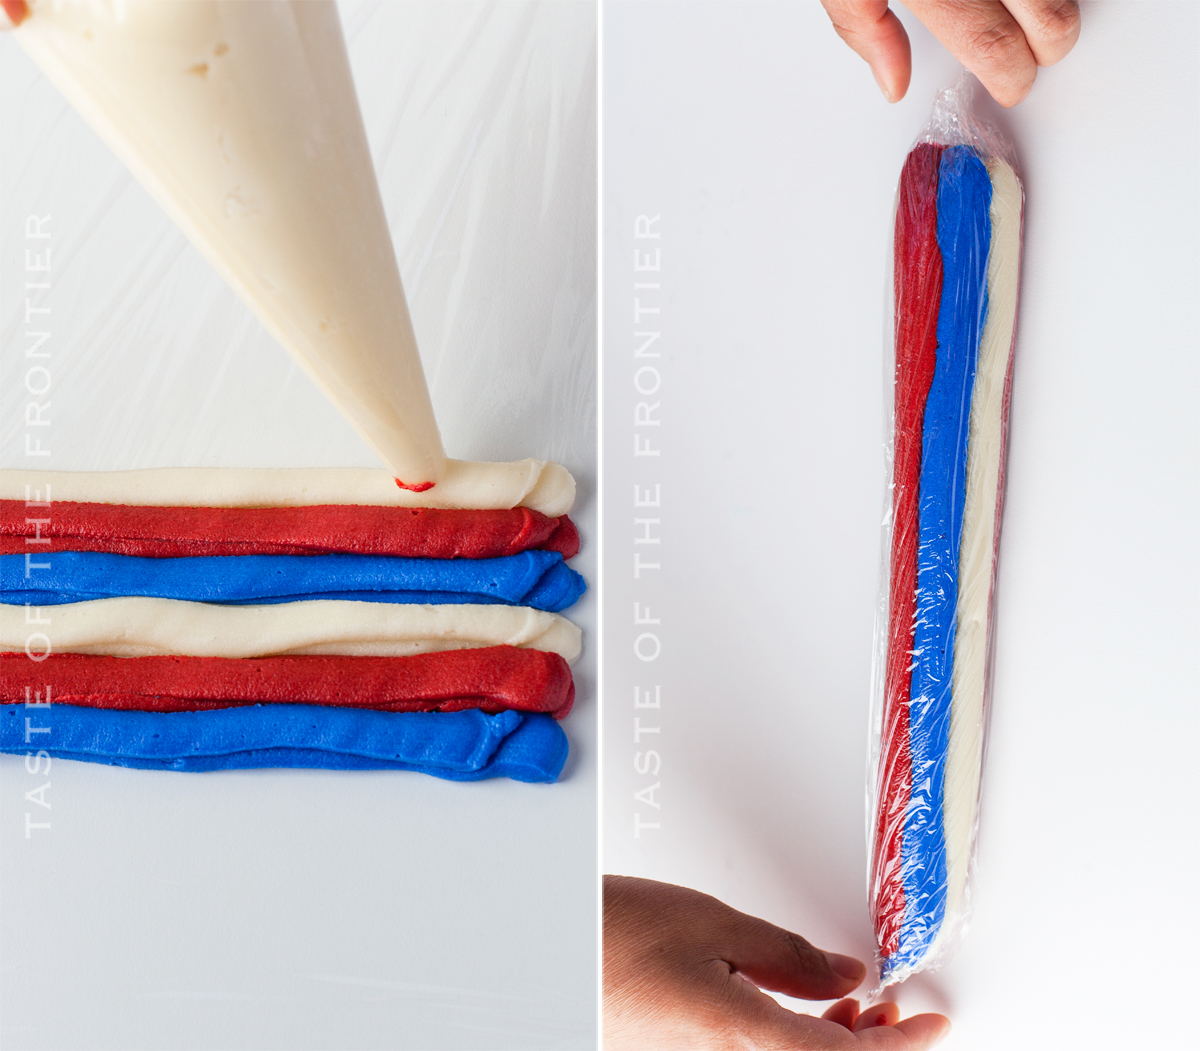
- Take a piece of plastic wrap and lay it on your counter.
- Then take the blue color piping bag and spread a line over the plastic wrap. The line should measure approximately the length of your piping bag. It should fit into the bag and fill it almost completely in length. Repeat once again on top so you have a line that is double the thickness.
- Continue doing the same thing for the red color, then the white, and repeat each color once more until there are two blue lines, two white, and two red.
- Roll one edge in until it touches the last color which should be white. At the end, the blue touches the white color. This will give you the shape of a cylinder.
- Tie up the ends.
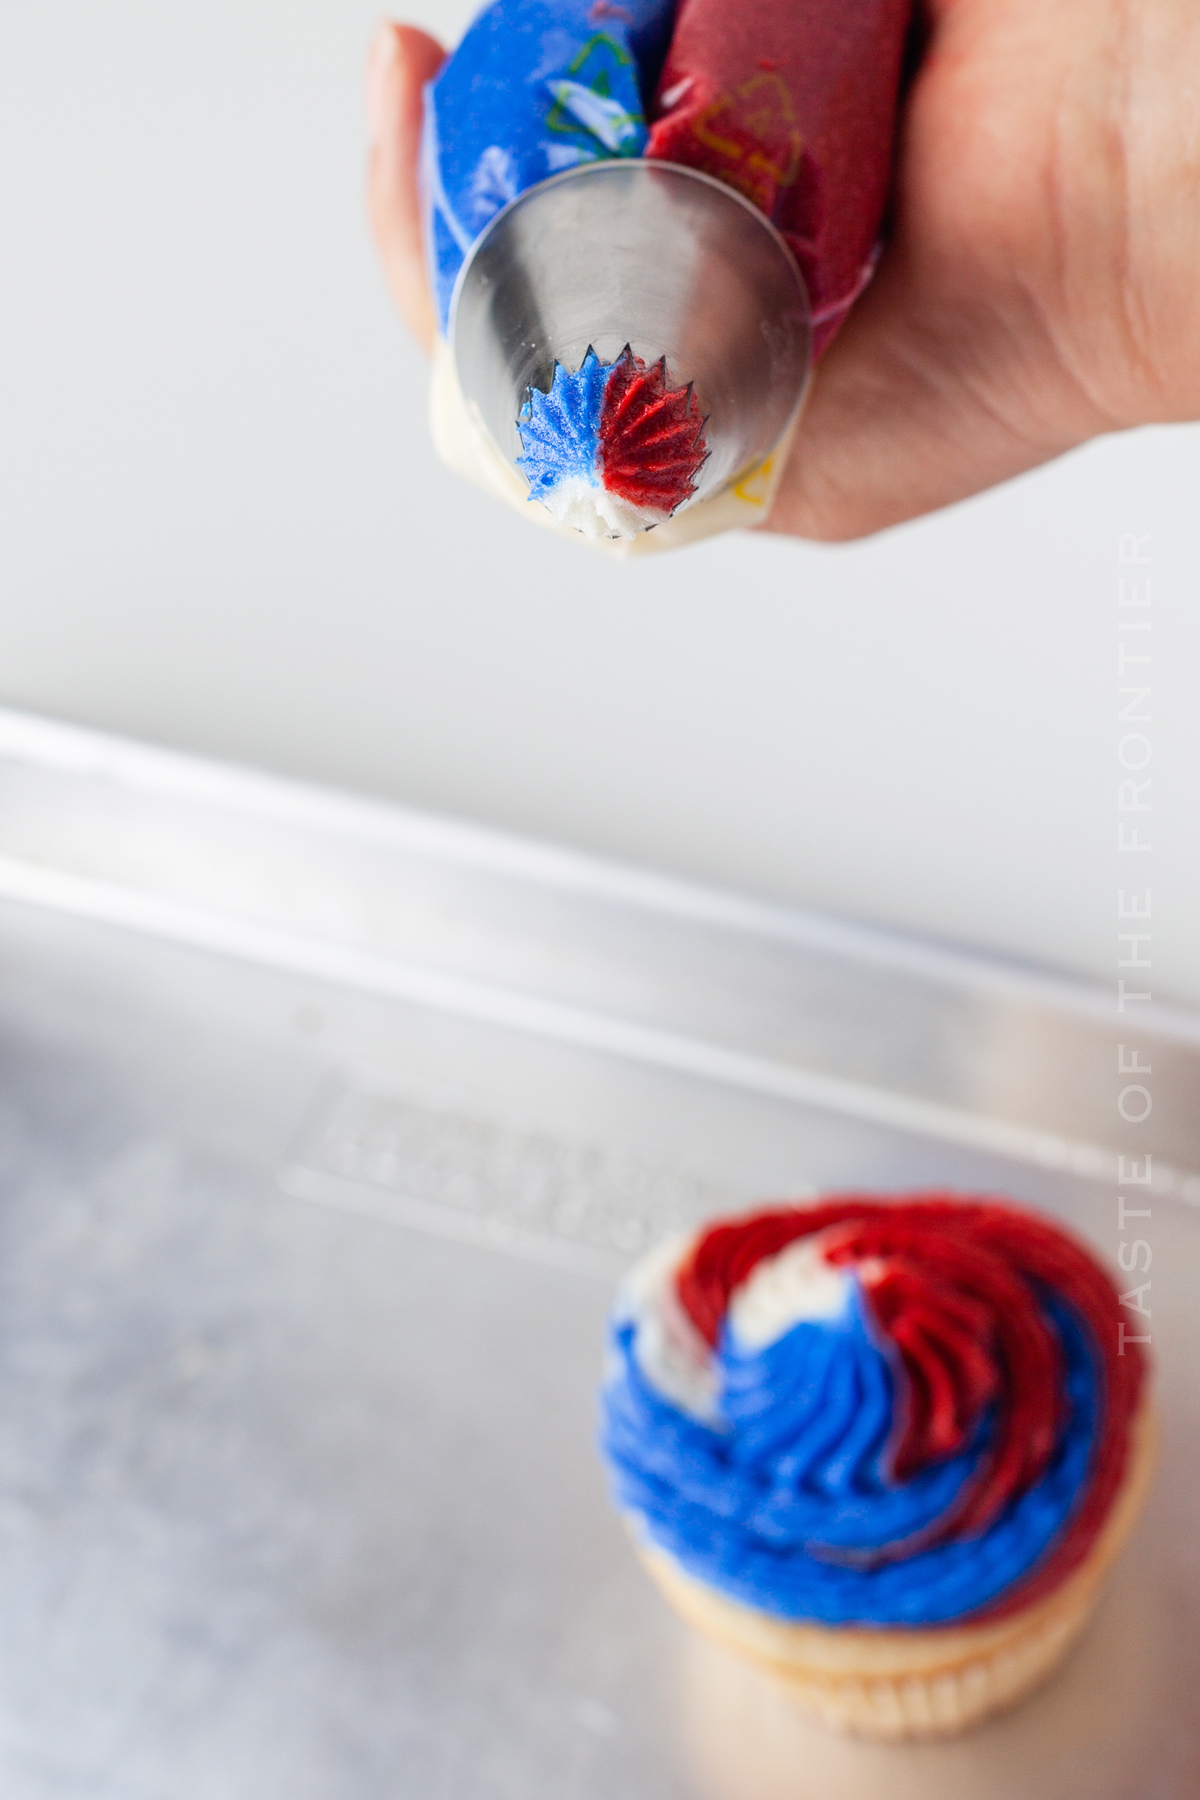
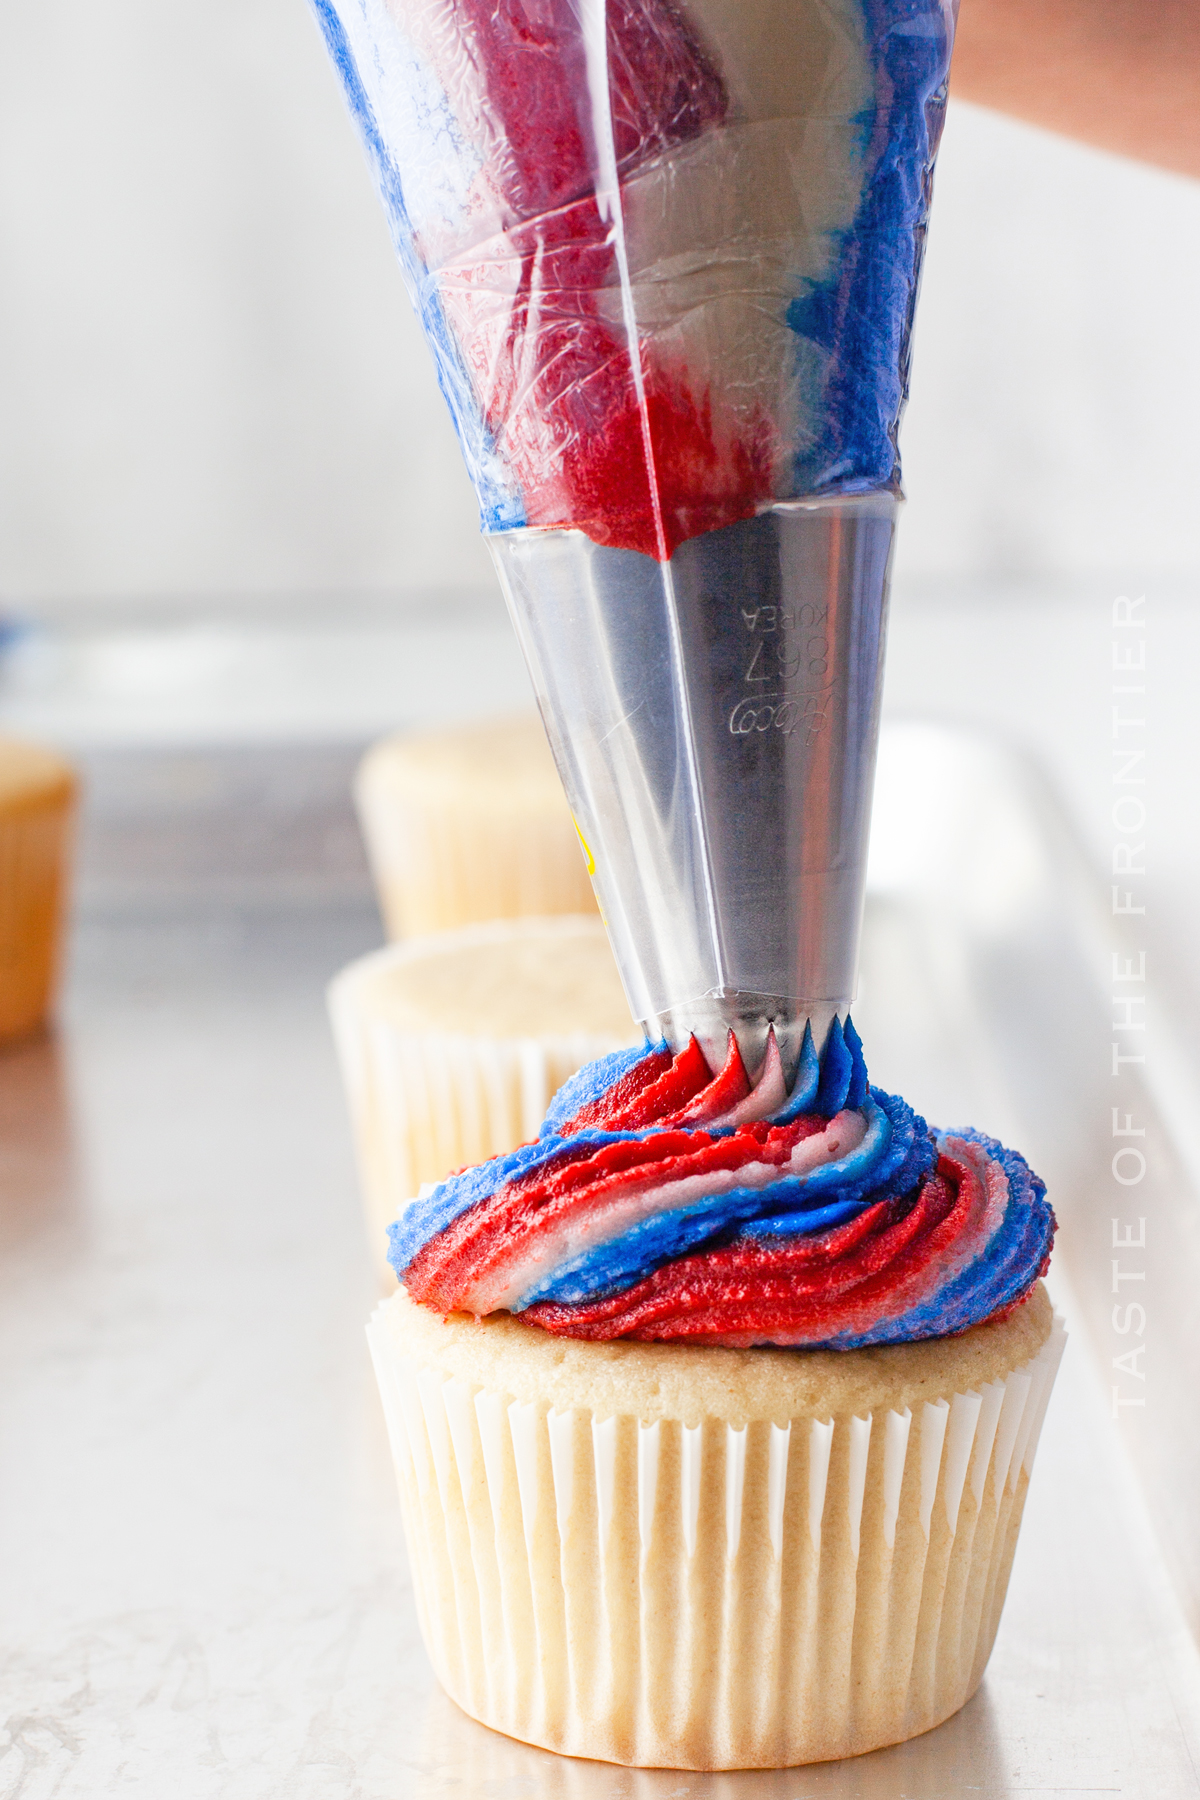
- Cut one of the ends and place that part into the tip of another piping bag with your decorating tip already in place. This way your swirl of icing will be three colors and the colors won’t smudge together.
- Pipe a quarter-sized round of frosting in the center of the cupcake- going straight up and down. Don’t swirl just yet. This will be the support for the center of the swirl you are about to make so the center doesn’t sink.
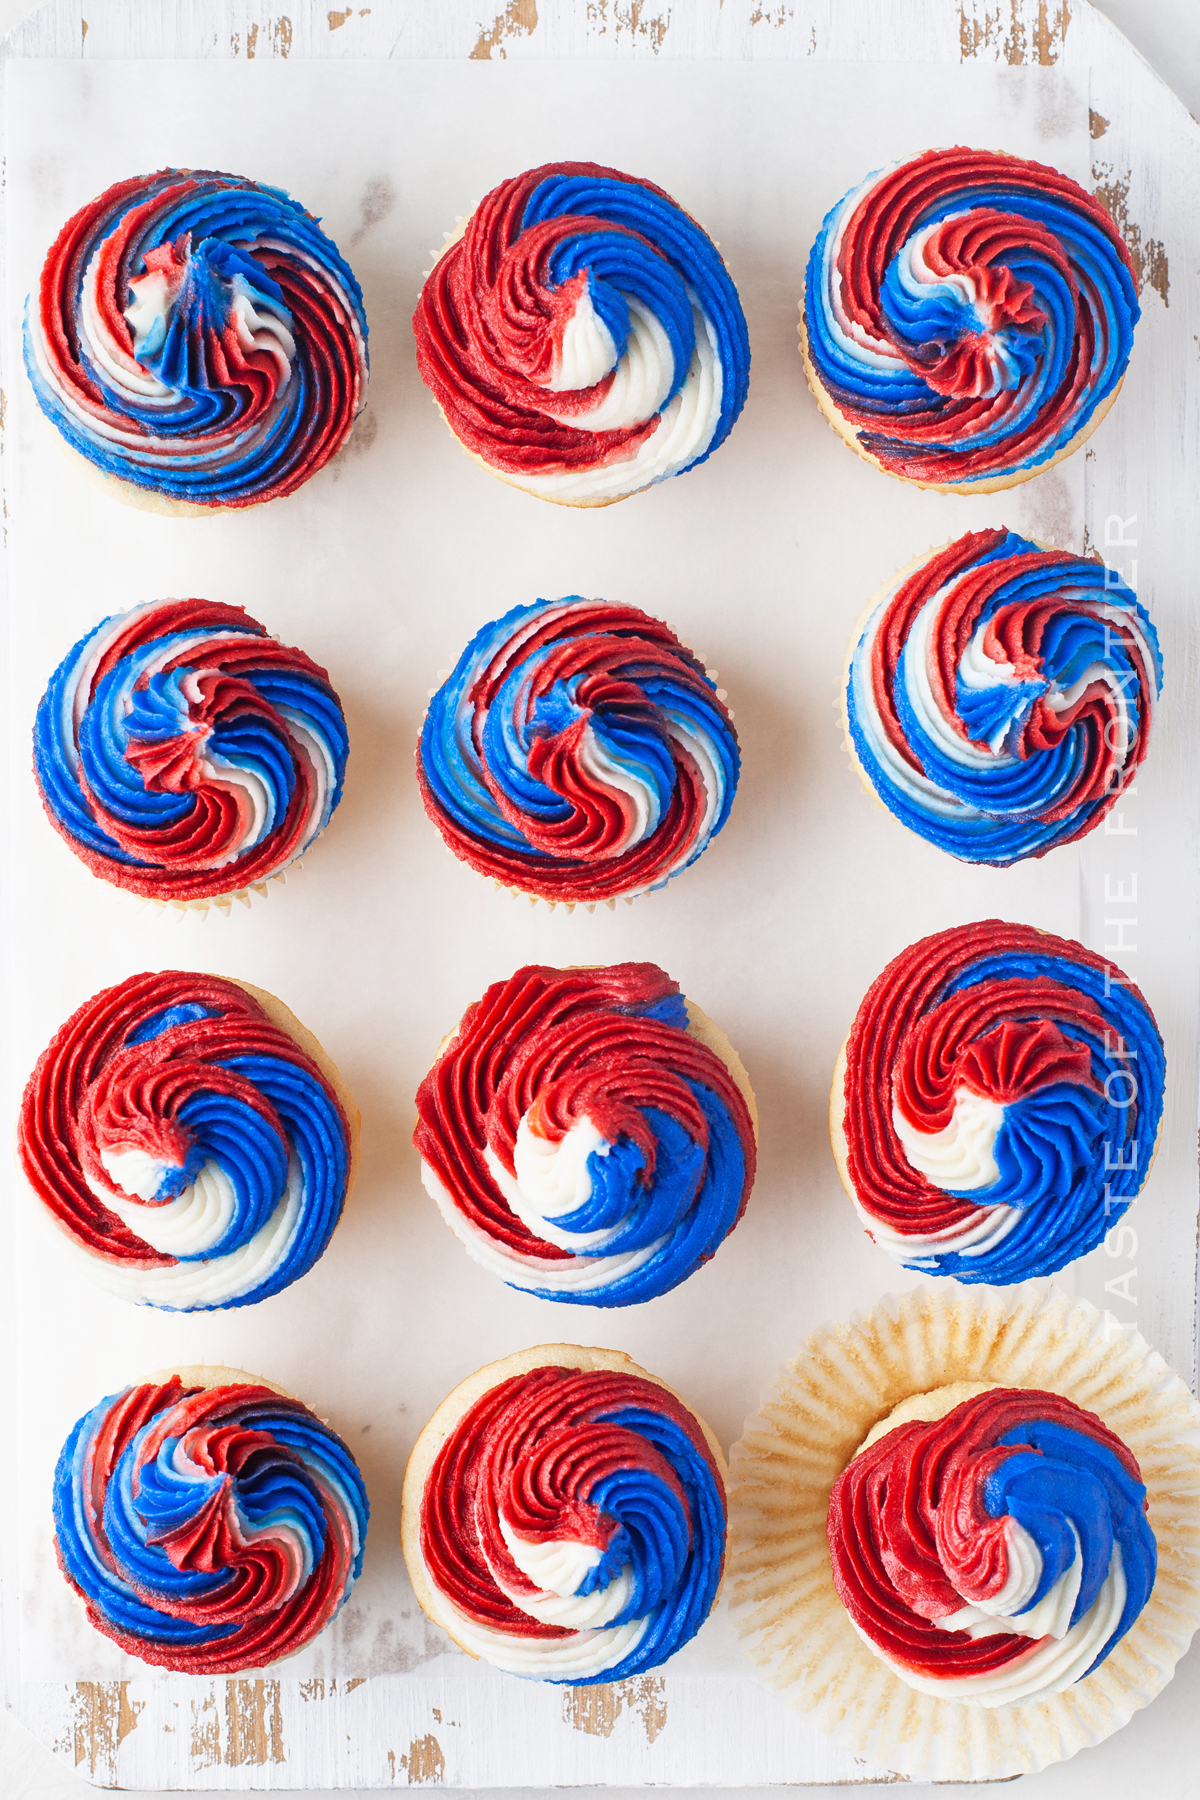
- Then add a large swirl onto each cupcake around the frosting you just added, from the outside inwards, wrapping around the center dollop for a nice colorful swirl.
How do I store buttercream frosting?
Buttercream frosting can be stored in an airtight container in the fridge for up to 2 weeks. Simply let it come to room temperature before using it.
Check out these other Patriotic ideas for your holiday
Can I freeze buttercream frosting?
Yes, you can freeze buttercream frosting. Simply place it in an airtight container and store it in the freezer for up to 3 months. Thaw it overnight in the fridge before using it.
Products I love when making 4th of July Cupcakes…
This cupcake recipe is SUPER EASY and delicious – and if you’re like me this time of year, then you maybe already have some of these items on hand OR maybe you have never made homemade cupcakes before, & you might be a bit nervous – but you’re going to love them. I have made a list below of the things I absolutely can’t live without when it comes to making this cupcake recipe.
- clear vanilla extract **see notes
- cupcake wrappers
- mixer
Decorations, optional
- plastic decorator bag
- #1M decorator tip or your favorite
If you love this easy patriotic cupcake recipe, you’re going to love these other patriotic recipes too. Please click each link below to find the easy, printable recipe!
If you love this recipe for Red White and Blue Cupcakes as much as I do, please write a five-star review, and be sure to help me share on Facebook and Pinterest!
CONNECT WITH YUMMI HAUS!
Be sure to follow me on my social media, so you never miss a post!
Red White, and Blue Cupcakes
Ingredients
Cupcakes
- 9 tablespoons butter – softened (130 g)
- ¾ cup granulated sugar and 1½ tablespoons extra for the egg whites
- ¼ cup white chocolate
- 2 cups all-purpose flour
- 1 teaspoon baking powder
- ¼ teaspoon baking soda
- 1 cup PLUS 1 tablespoon milk
- 1 teaspoon vanilla extract
- 3 egg whites
Buttercream
- 5½ cups confectioner’s sugar – sifted 800 grams
- 2 cups butter – softened 400 grams
- 1 teaspoon vanilla extract
- 2 tablespoons whipping cream
- food coloring of your choice This recipe is made with red and blue
Instructions
Cupcakes
- Preheat the oven to 350 degrees F. Place cupcake papers in a cupcake pan. – Set aside.
- In a stand mixer, cream the butter with all but 1 ½ tablespoons of the sugar until fluffy.
- Place the white chocolate in the microwave at 20 second intervals until completely melted. Make sure not to burn. If you have a high watt microwave, use 50% power so you don't seize the chocolate.
- Add the white chocolate to the sugar mixture.
- Add the sifted flour, baking powder, and baking soda, alternating with the milk and vanilla. Mix until combined. Be careful to not over mix.
- In another bowl, whisk the egg whites until they are light and fluffy.
- Add in the 1 ½ tablespoons of reserved granulated sugar, little by little.
- Once the egg whites form peaks, fold them into the cupcake mixture.
- Distribute the batter evenly into cupcake liners, filling each liner about ⅔ of the way up.
- Bake for 19 – 20 minutes at 350 or until you the toothpick test comes out clean or they spring back when gently pressed in the center.
- Make sure your cupcakes are completely cooled before adding the icing. If not the frosting can melt.
Buttercream
- Using a stand mixer, cream the butter until light and fluffy.
- Add in the sifted confectioner’s sugar, little by little, alternating with the vanilla and whipping cream.
- Mix until fluffy and then divide into three separate bowls. Distribute evenly, I would suggest using a kitchen scale.
- Add in the food coloring to 2 of the bowls and mix until the color is even throughout all the buttercream. Reserve the 3rd for the white.
- Transfer each color into a piping bag.
Decorating
- Take a piece of plastic wrap and lay it on your counter.
- Then take the blue color piping bag and spread a line over the plastic wrap. The line should measure approximately the length of your piping bag. It should fit into the bag and fill it almost completely in length. Repeat once again on top so you have a line that is double the thickness.
- Continue doing the same thing for the red color, then the white, and repeat each color once more until there are two blue lines, two white, and two red.
- Roll one edge in until it touches the last color which should be white. At the end, the blue touches the white color. This will give you the shape of a cylinder.
- Tie up the ends.
- Cut one of the ends and place that part into the tip of another piping bag with your decorating tip already in place. This way your swirl of icing will be three colors and the colors won’t smudge together.
- Pipe a quarter-sized round of frosting in the center of the cupcake- going straight up and down. Don’t swirl just yet. This will be the support for the center of the swirl you are about to make so the center doesn’t sink.
- Then add a large swirl onto each cupcake around the frosting you just added, from the outside inwards, wrapping around the center dollop for a nice colorful swirl.
Equipment
- 1 Stand mixer
- 2 cupcake pan
- 4 piping bag with tip
Nutritional information for the recipe is provided as a courtesy and is approximate. Please double-check with your own dietary calculator for the best accuracy. We at Yummi Haus cannot guarantee the accuracy of the nutritional information given for any recipe on this site.



Share Your Thoughts