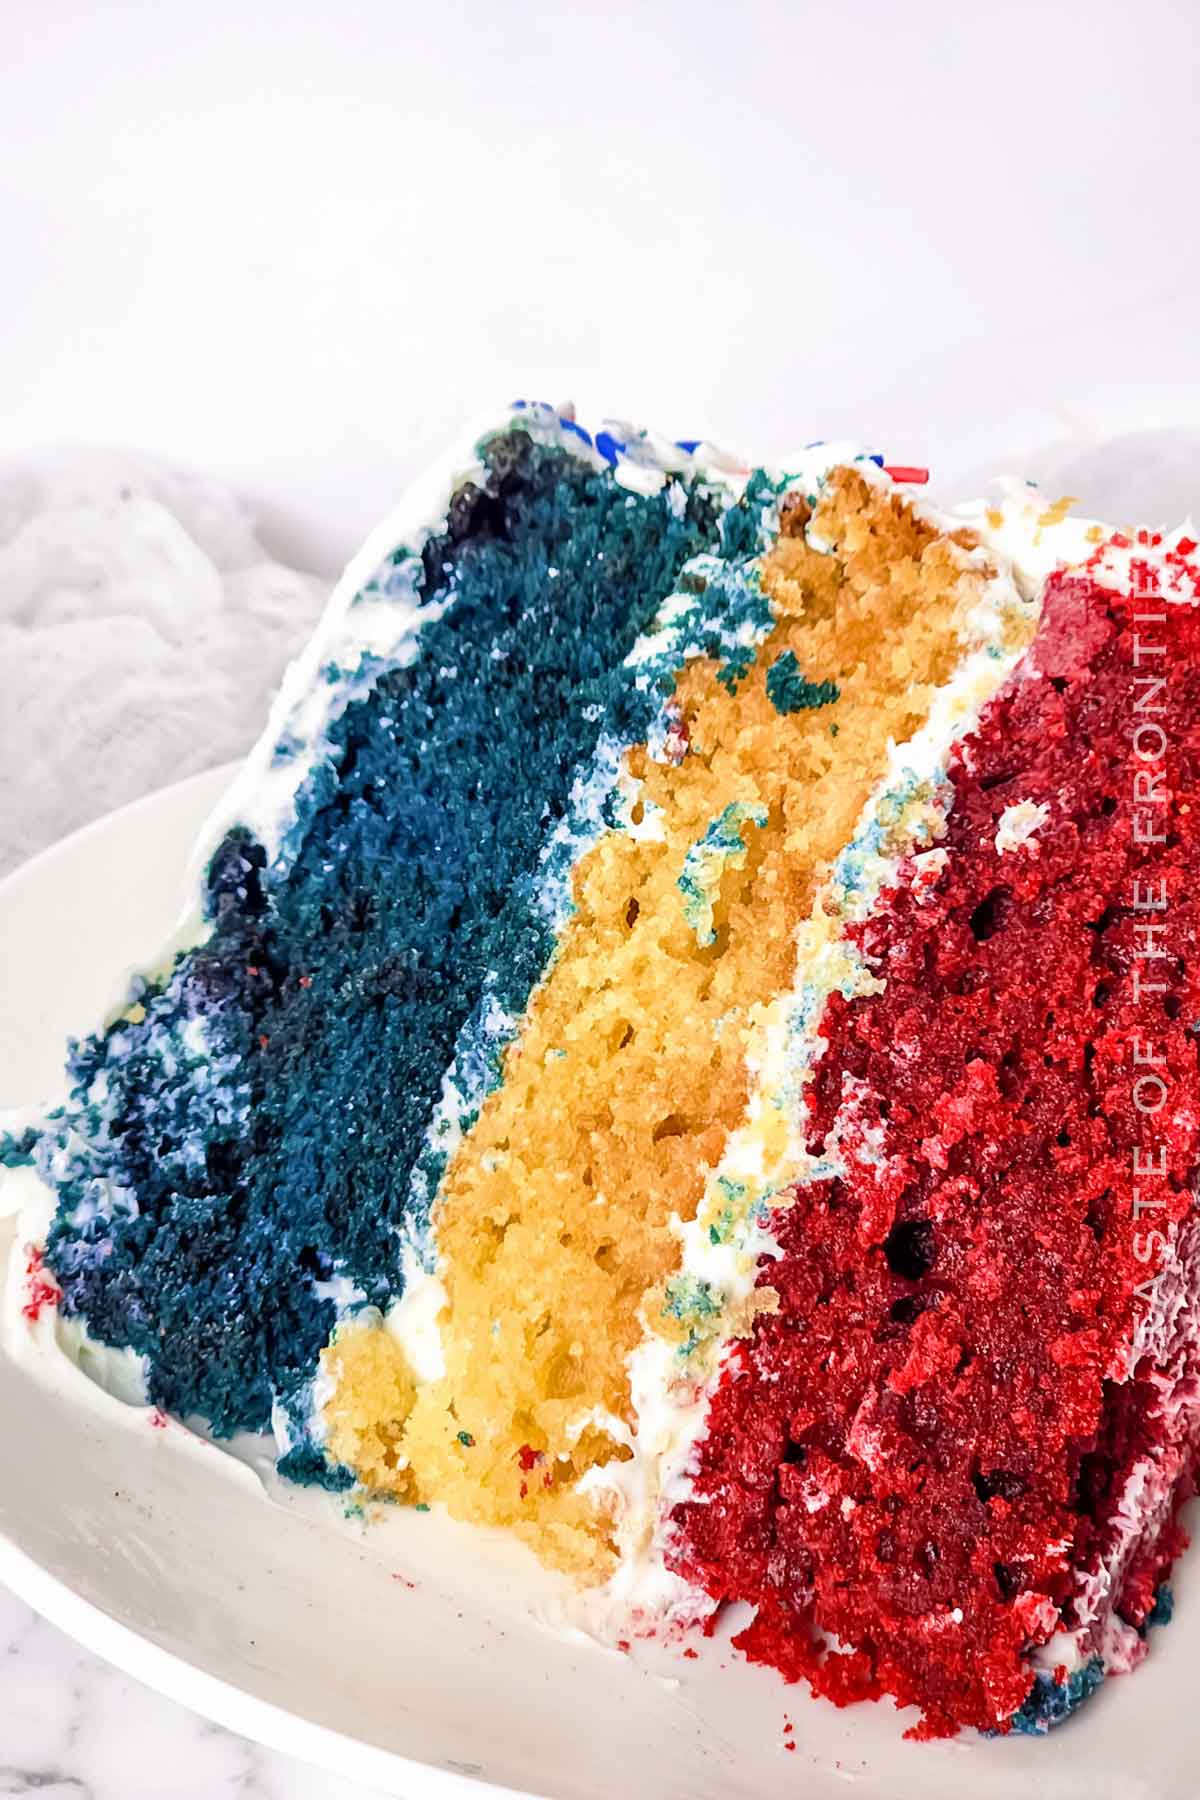
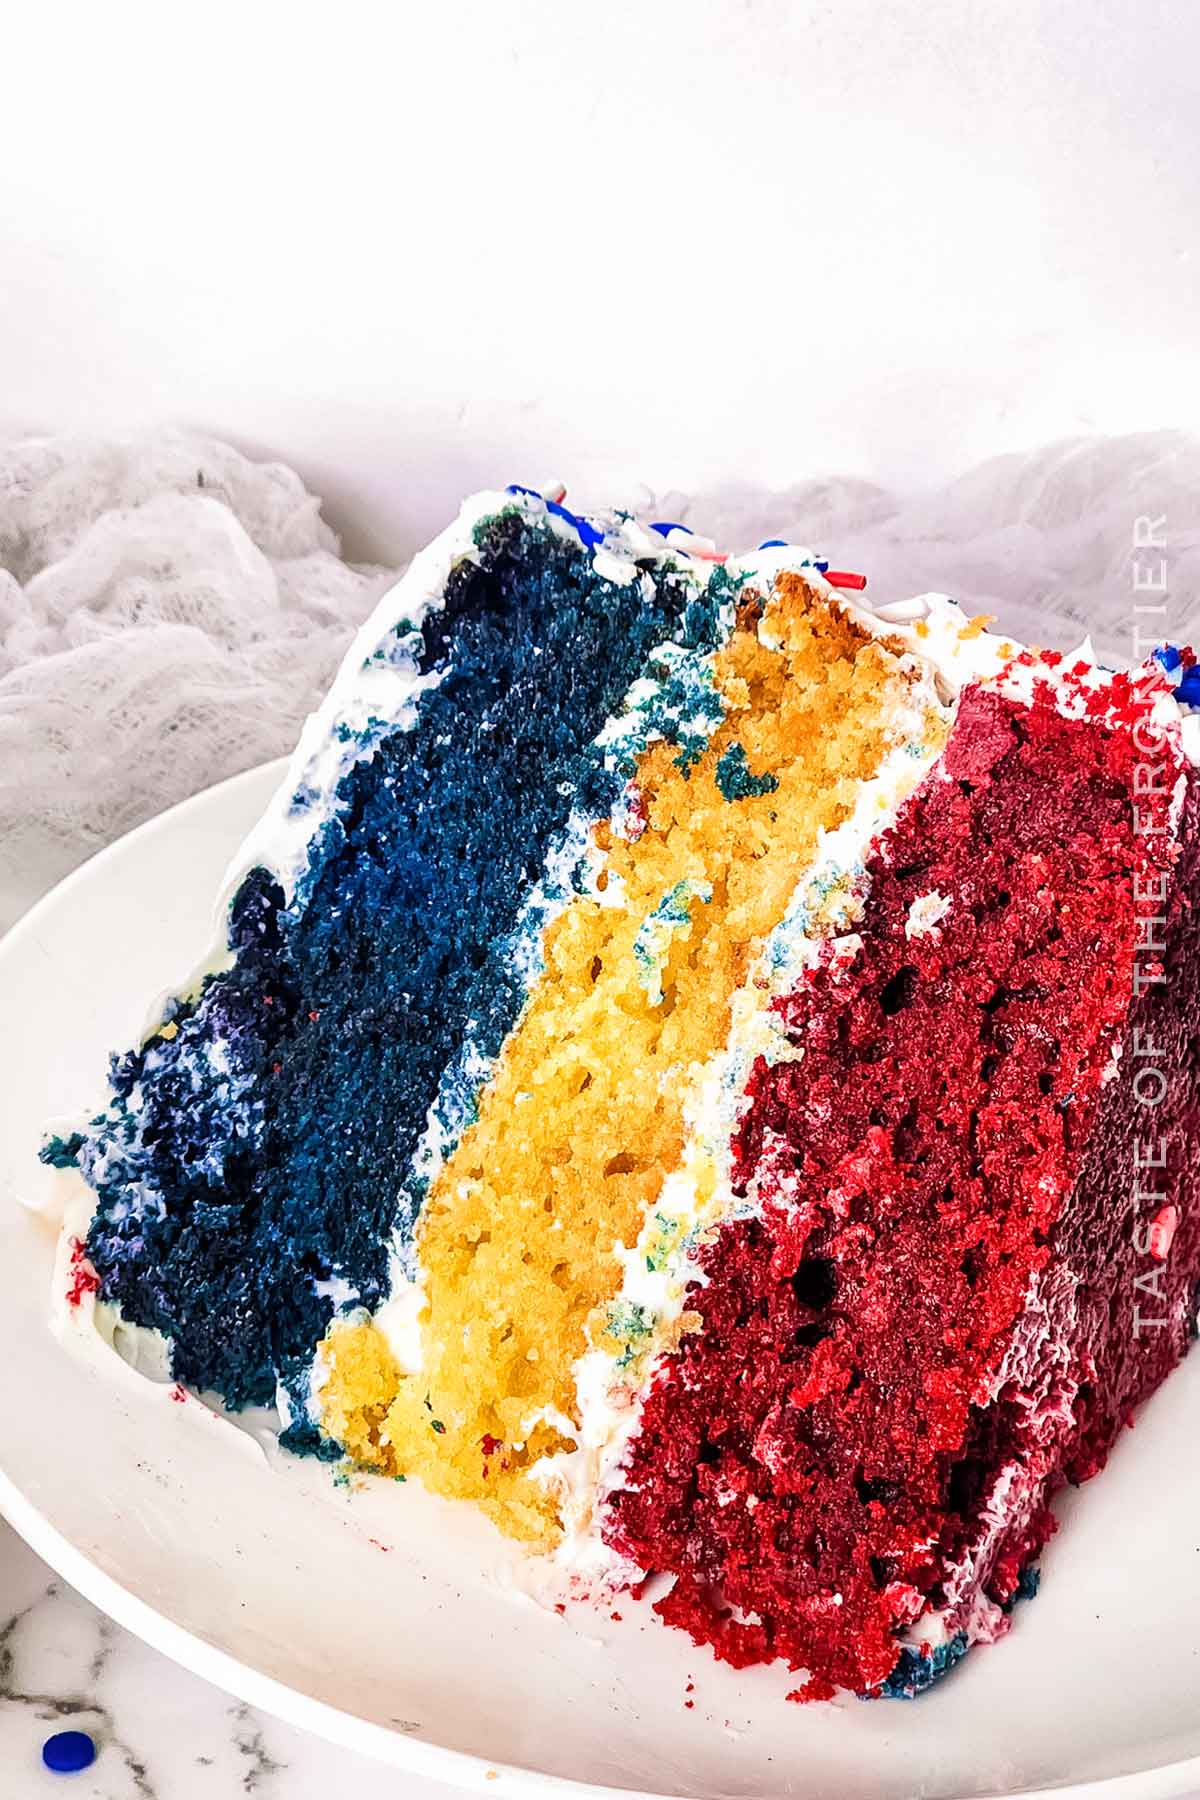
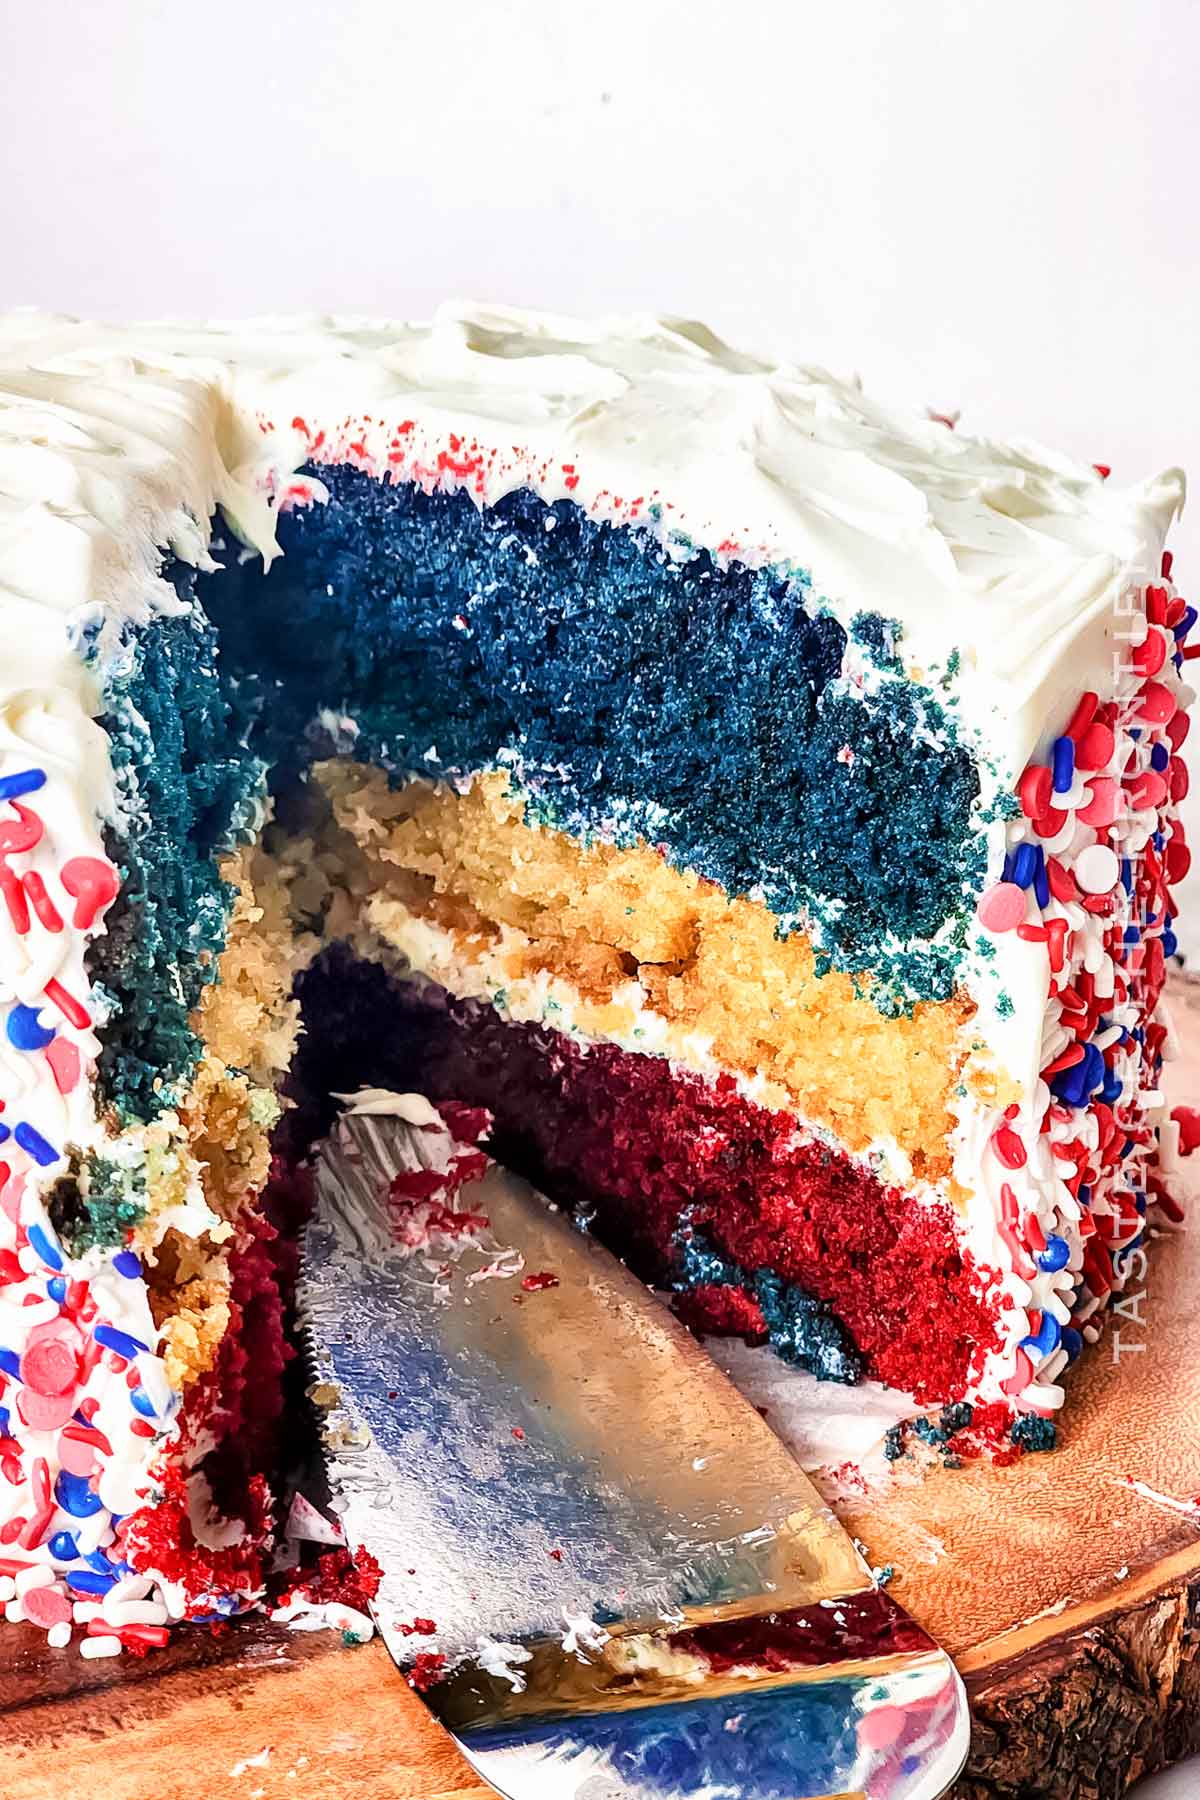
This 3-layer Red White and Blue Cake decorated with cream cheese frosting and sprinkles is the perfect dessert for your patriotic holiday celebrations.
Celebrate patriotic holidays in style with this delightful Red White and Blue Cake! This recipe is perfect for your Fourth of July celebrations, Memorial Day barbecues, or any other patriotic event.
This cake not only sports the colors of the American flag, but it’s also a taste sensation that your friends and family will love.
Made with simple ingredients, this three-layer velvet cake is topped with a creamy, dreamy cream cheese frosting and sprinkled with red, white, and blue sprinkles for a festive finish. It’s a showstopping dessert that’s sure to be a hit!
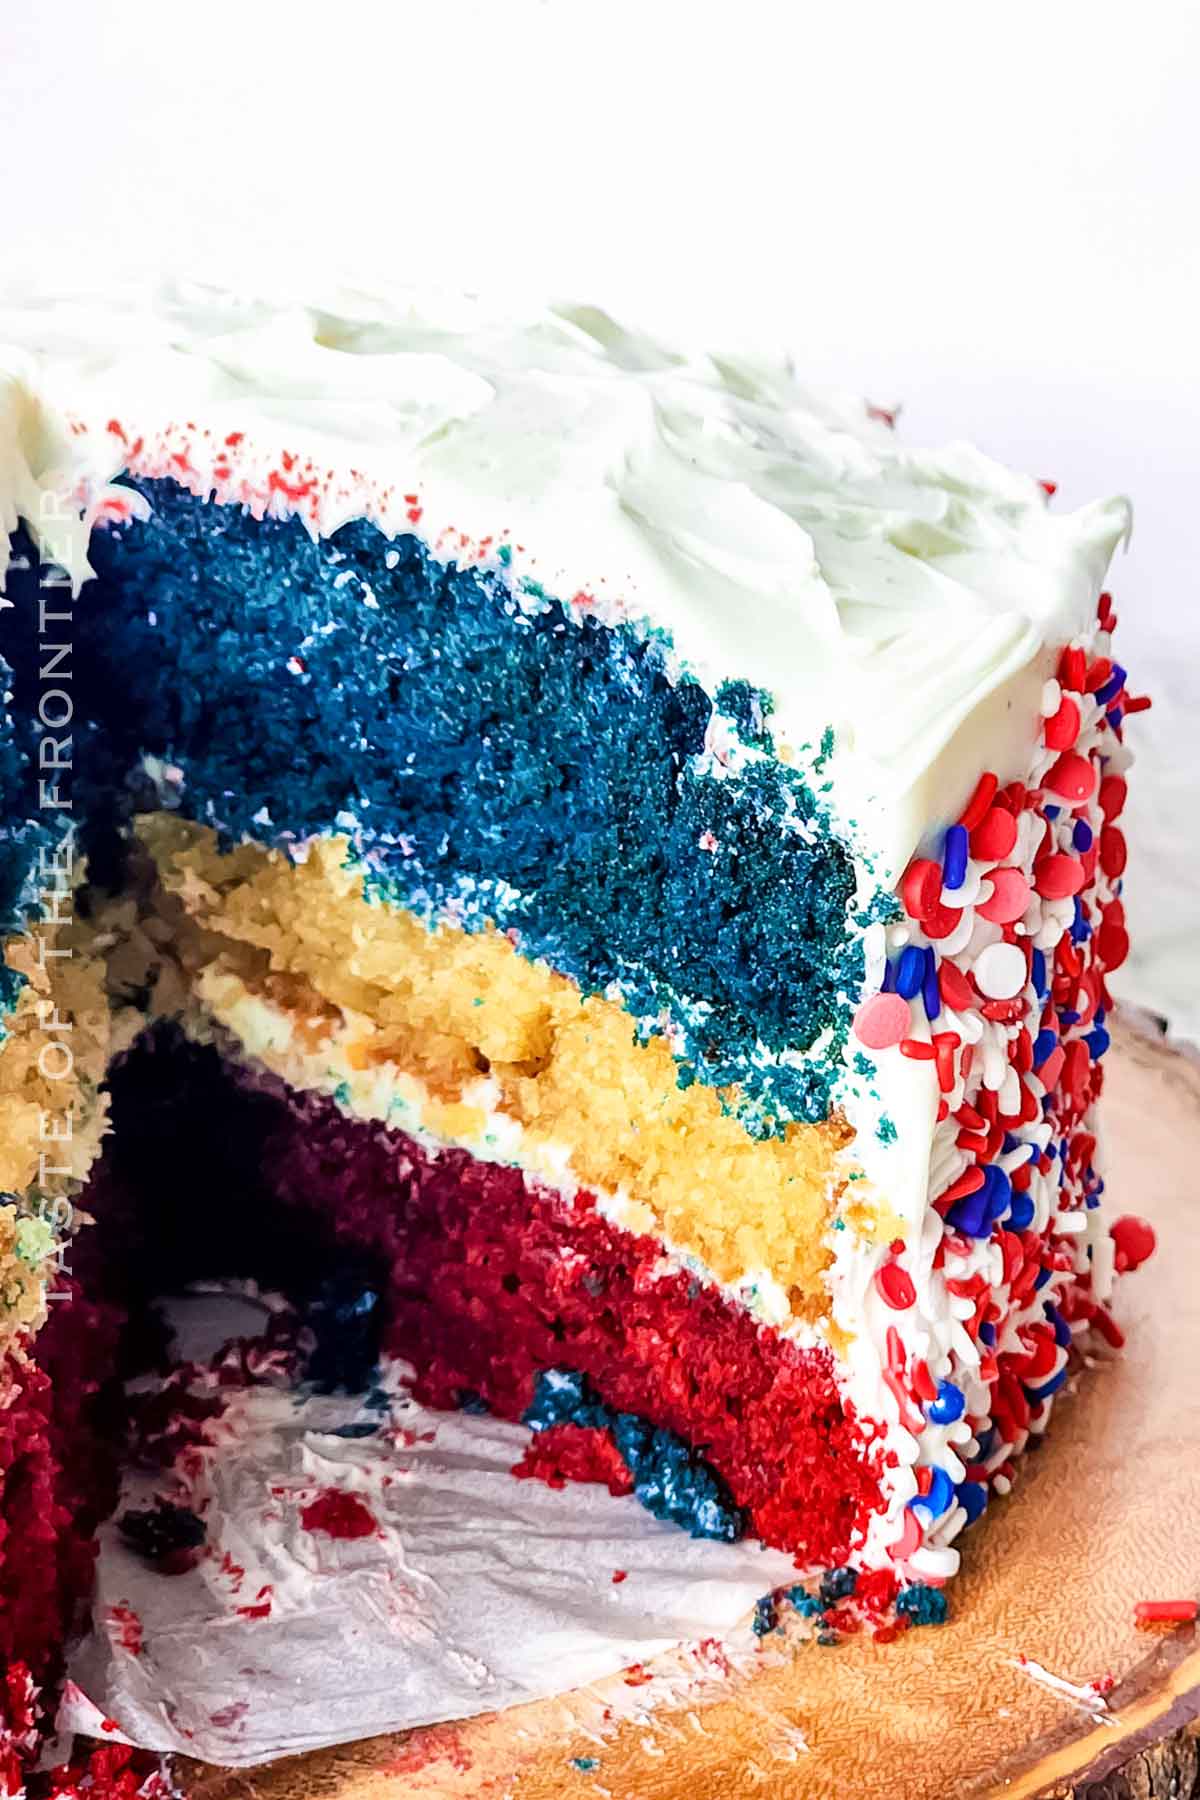
Celebrate the Fourth of July, Memorial Day, or any patriotic holiday with this spectacular Red White, and Blue Cake. With its vibrant layers, creamy frosting, and festive sprinkles, this cake is sure to be a hit.
Plus, it’s easier to make than you might think, especially if you follow the tips provided.
So grab your mixer, gather your ingredients, and get ready to bake a cake that’s as impressive as a Fourth of July fireworks display!
Common Questions About Red White and Blue Cake
Can I use egg whites instead of whole eggs in the cake recipe?
Yes, you can. Using egg whites can give the cake a lighter texture. If you decide to use egg whites, two egg whites typically replace one whole egg.
How can I ensure the cake layers are even?
Achieving even cake layers can be a bit tricky. To get the best results, use a kitchen scale to measure out equal amounts of batter for each layer. If you don’t have a scale, try using a measuring cup to help distribute the cake batter evenly between your cake pans.
Do I have to use cream cheese frosting?
While cream cheese frosting is a classic choice for this cake, you can use other types of frosting if you prefer. Vanilla buttercream or even whipped cream frosting would also work well.
Storage
This is the absolute perfect cake for this years Independence Day party. You couldn’t ask for a better 4th of July cake!
Refrigerator
This Red White and Blue Cake should be stored in the refrigerator due to the cream cheese frosting. It should be kept in an airtight container and will last for up to 5 days.
Freezer
If you have leftovers or want to make the cake in advance, it can be frozen. Wrap the entire cake or individual slices in plastic wrap, then place in an airtight container or a freezer bag. This cake can be frozen for up to 3 months. Thaw overnight in the refrigerator before serving.
Tips
An electric mixer makes this process go much faster. Let technology do the work for you!
- Ensure that your ingredients, particularly the butter and eggs, are at room temperature before starting. This will help your ingredients combine more smoothly.
- To avoid a dry cake, do not overmix the cake batter once the dry ingredients have been added.
- Allow the cake layers to completely cool on a wire rack before frosting. If the cake layers are warm, the frosting can melt.
- Apply a thin layer of frosting, known as a crumb coat, to the entire cake before applying the final layer of frosting. This helps lock in the crumbs and makes frosting the cake easier.
- Use an offset spatula to spread the frosting for a smoother finish.
- To ensure a flat, even cake, you may trim the tops of the cakes if they have domed during baking.
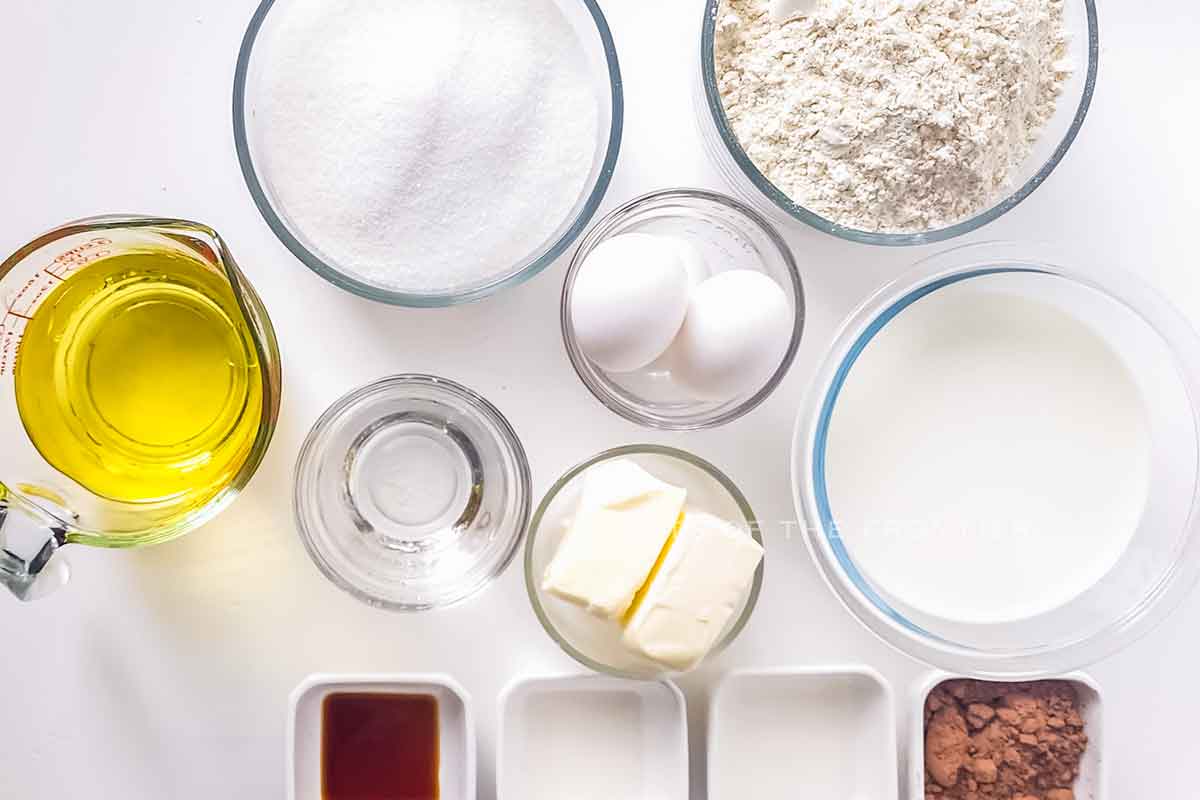
Ingredients
If you really want to, you can use a box mix for each of the cake layers. I prefer to do it all from scratch!
- Unsalted butter
- Salt
- Granulated sugar
- Eggs
- Milk
- Vegetable oil
- Warm water
- White vinegar
- Vanilla extract
- Almond extract
- All-purpose flour
- Baking soda
- Baking powder
- Cocoa powder
- Red and blue food dye
- Cream cheese
- Confectioner’s sugar
- Red, white, and blue sprinkles (optional)
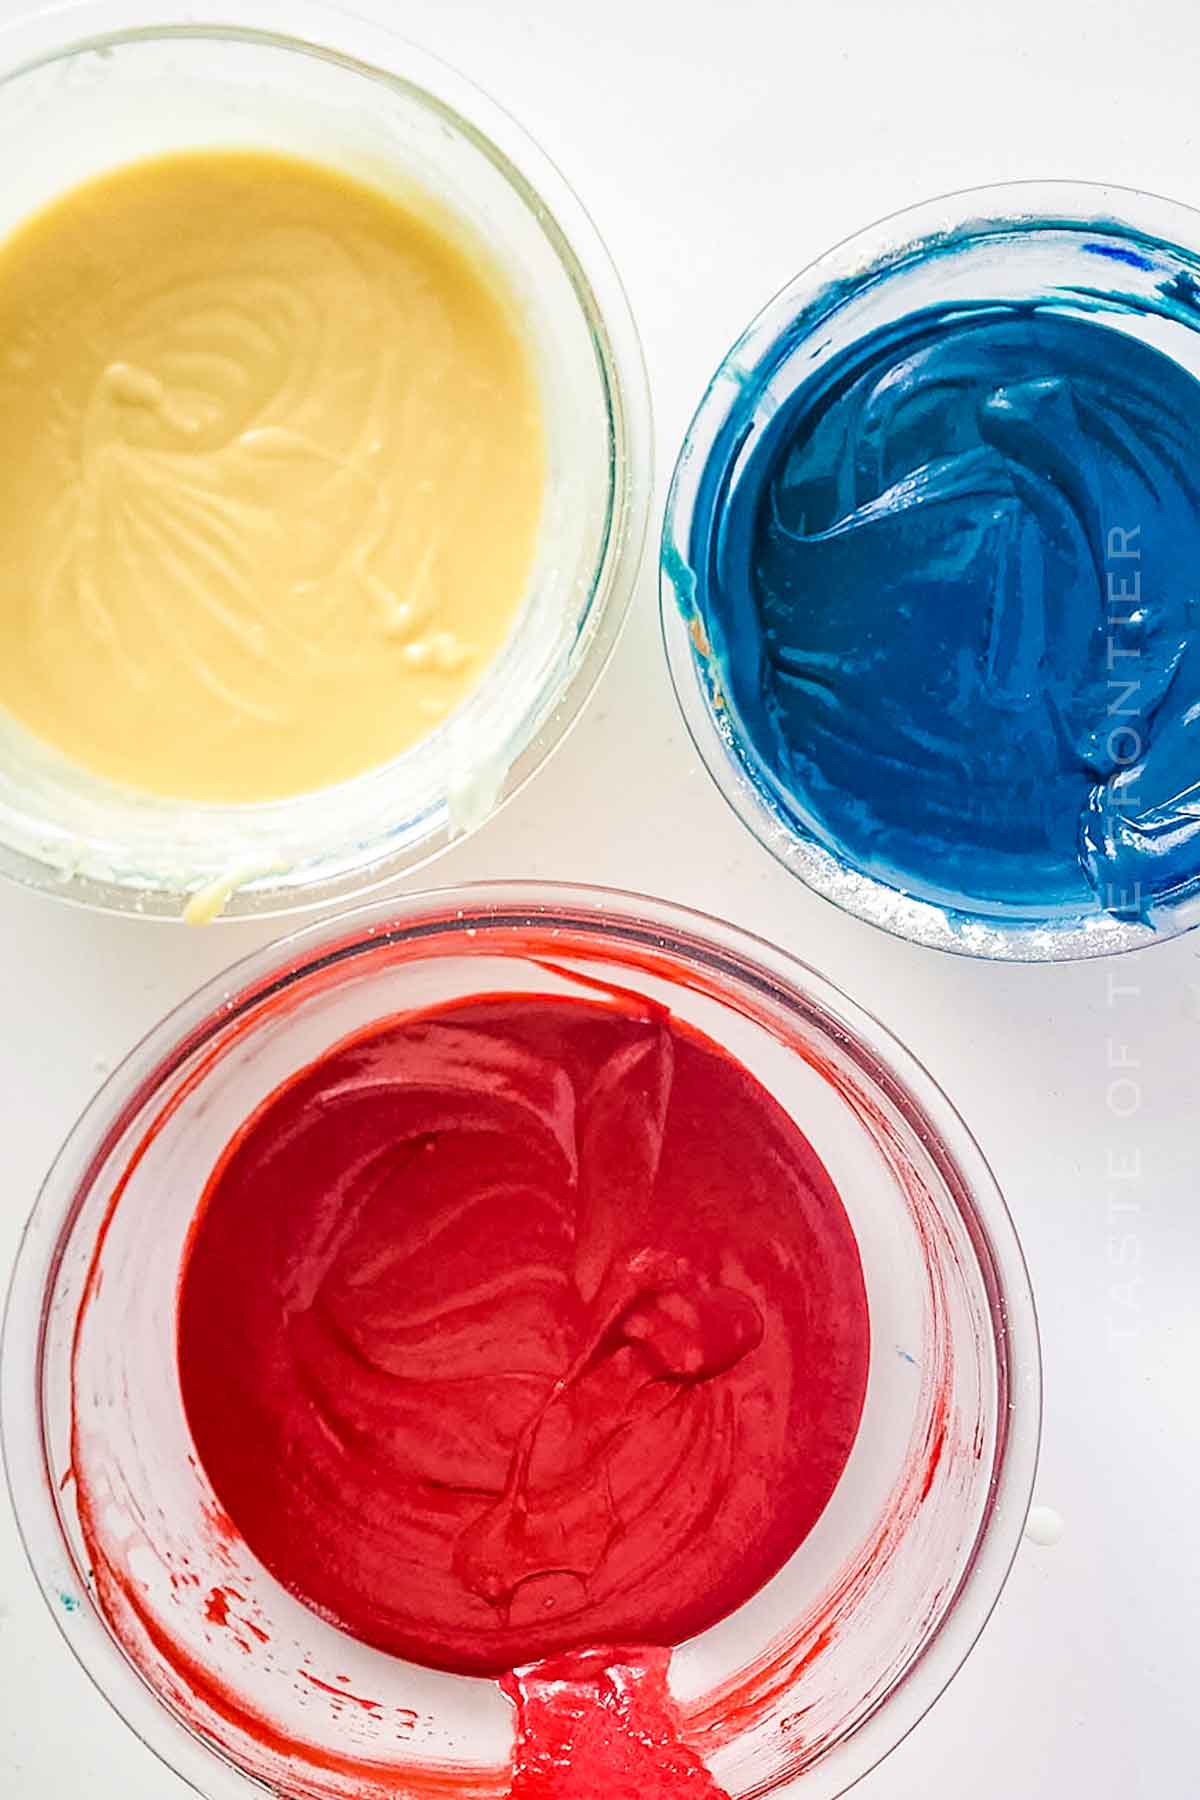
How to Make Red White and Blue Cake
Once you get into it, you’ll find this is a surprisingly easy recipe.
Cake
- Preheat the oven to 350 degrees Fahrenheit.
- Coat three 8-inch round pans with nonstick spray. Set aside.
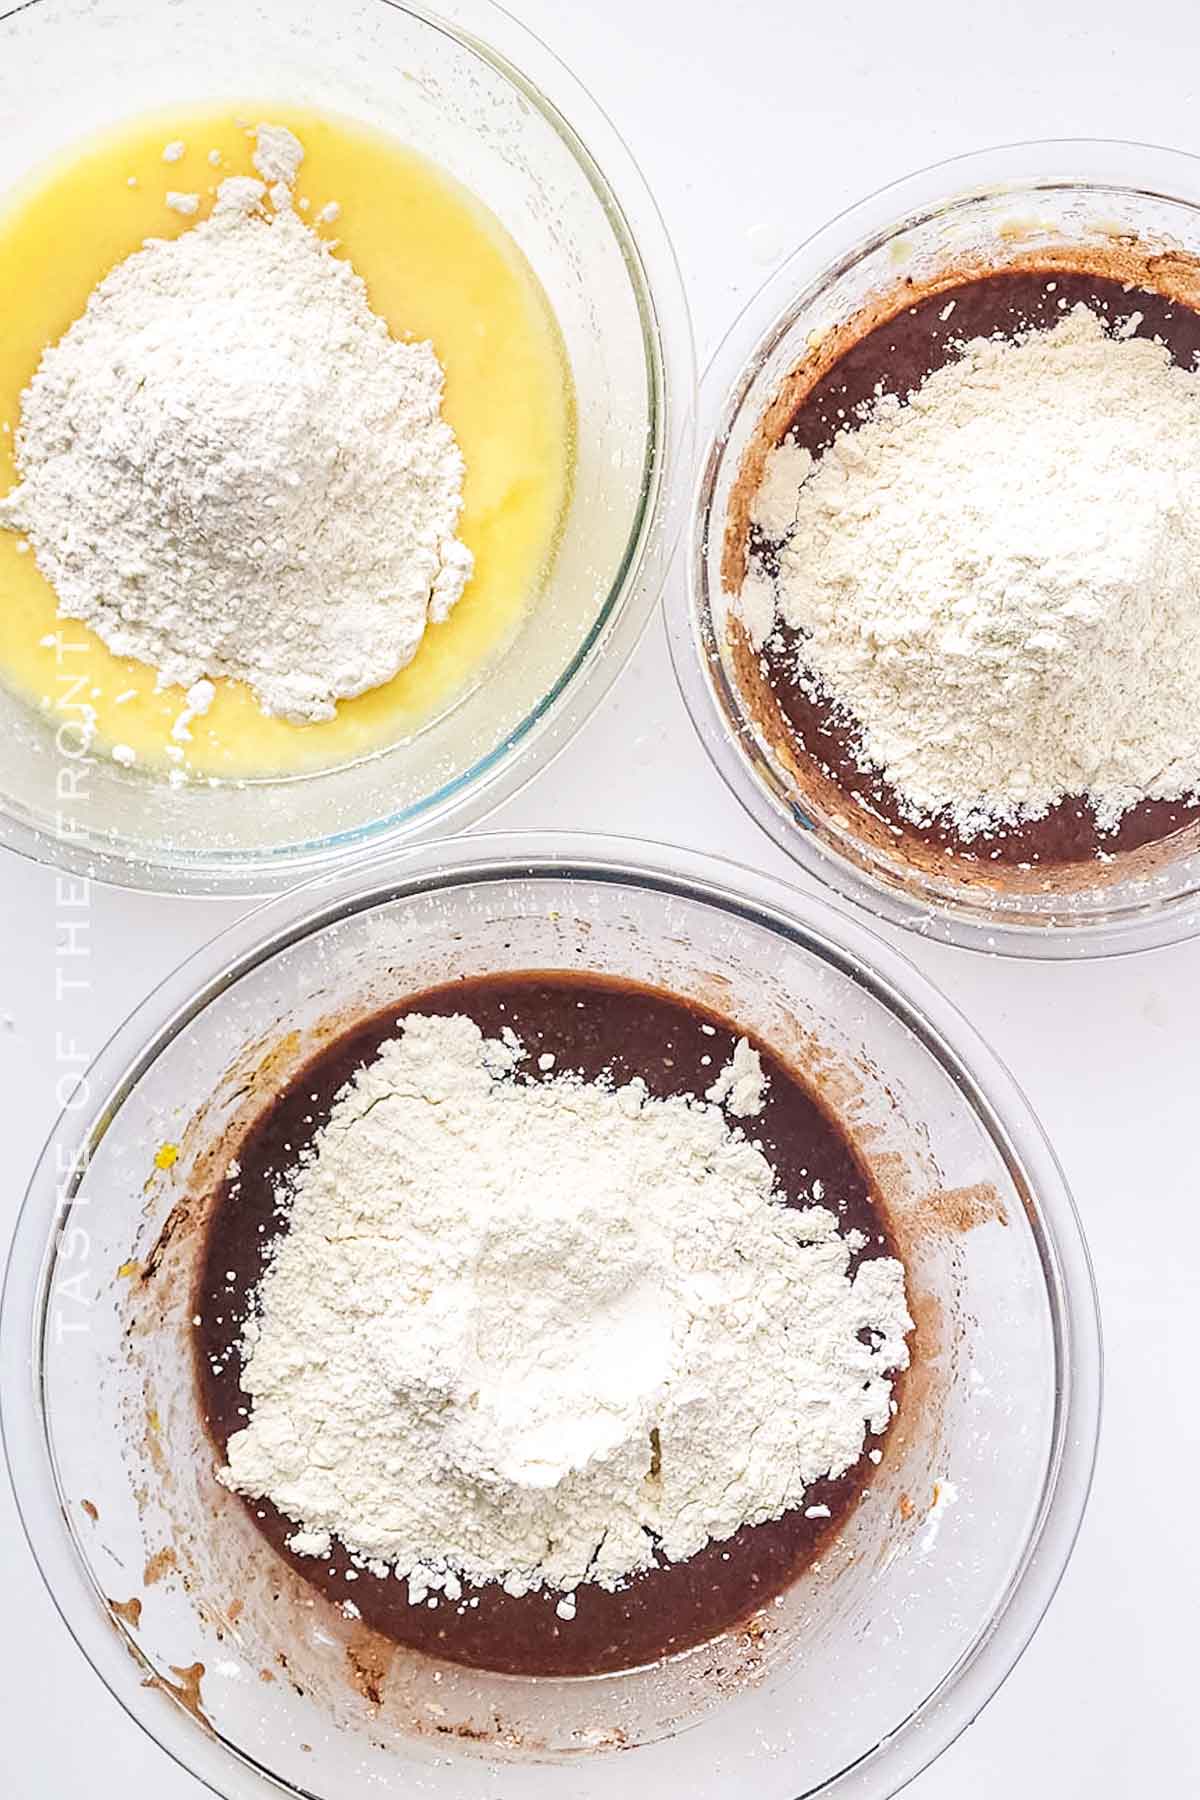
- Each in a separate bowl, you will make all three layers at the same time.
- Add the butter and salt to each bowl and beat together with a hand mixer.
- Then add the granulated sugar to each bowl and beat until creamy.
- Now add the egg, milk, vegetable oil, warm water, white vinegar, and extracts to each of the bowls. Once again use the hand mixer to combine everything.
- In the bowl for the white velvet layer, first add the flour, baking soda, and baking powder, then mix until the batter is smooth to complete that layer.
- Then add the flour, cocoa powder, baking soda, and baking powder to the red and blue velvet bowls, mixing with the hand mixer until the batters are smooth.
- Add 3-4 drops of red food dye to the red velvet bowl and 3-4 drops of blue food dye to the blue velvet bowl. Use a rubber spatula to mix in the colors in each and finish off those batter mixtures.
- Pour each of the batters into one of the prepared round pans that have been sprayed with nonstick spray earlier.
- Bake in the oven for 35-40 minutes, or until a toothpick is inserted and comes out clean.
- Let the cakes cool completely before frosting.
Frosting
- In the bowl of a stand mixer fitted with the paddle attachment, beat the cream cheese until whipped.
- Add in the butter and beat again until well blended.
- Slowly mix in the vanilla and 1 cup of the confectioner’s sugar until just incorporated.
- Continue adding the sugar, one cup at a time, and mixing until just incorporated.
- Once the sugar is just blended in, increase the speed of the mixer and whip on high for 1-2 minutes to really aerate the frosting and get everything blended well.
- You can then spread the frosting onto a cooled cake to decorate. If you plan on piping the frosting, I do recommend chilling it in the refrigerator for about 1-2 hours so it is firm enough to hold shape before using. This way, your decorations don’t sag before you can chill the whole, finished dessert.
Decorate
- Place the bottom layer as the blue velvet.
- Add frosting to that layer, place the white layer next, frosting again, and then the red on top, frosting everything.
- Sprinkle with red, white, or blue sprinkles if desired.
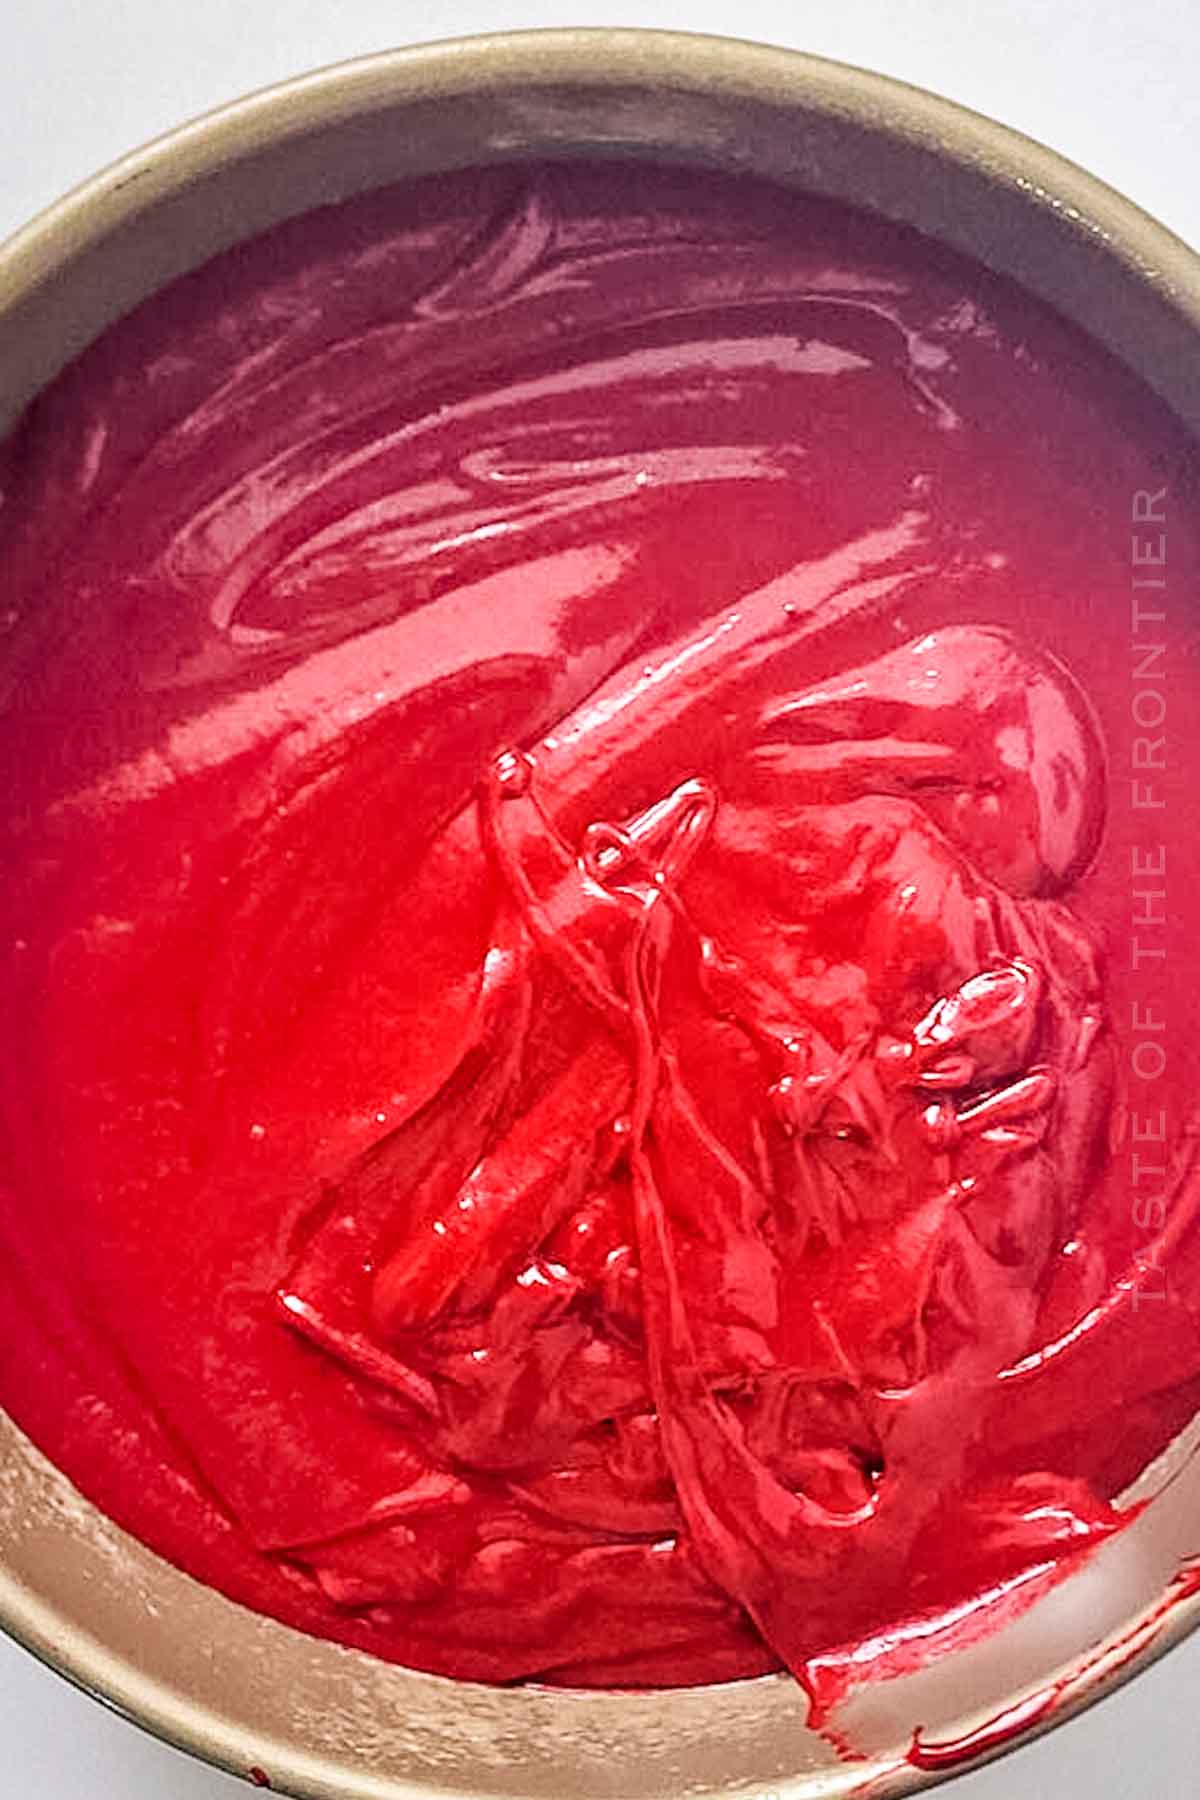
Kitchen Supplies You’ll Need for Red White and Blue Cake
Be sure to let the cake cool on a wire cooling rack. If it’s too warm when you spread the frosting, the cake will crumble!
- THREE 8-inch round pans
- Mixer
- Large bowl
- Medium bowl
- Spatula
- Wire cooling rack
- Parchment paper
- Offset spatula
What to Serve With Red White and Blue Cake
The Red White and Blue Cake is a festive treat that really brings the feel of a joyful summer celebration. Consider pairing this vibrant dessert with a glass of sparkling lemonade or iced tea.
These refreshing beverages complement the rich, sweet flavors of the cake. For another choice, a lightly sweetened iced coffee could provide a great contrast.
If you’re serving this at a barbecue, consider pairing the cake with grilled peaches or tangy fruit sorbet for an extra-special treat.
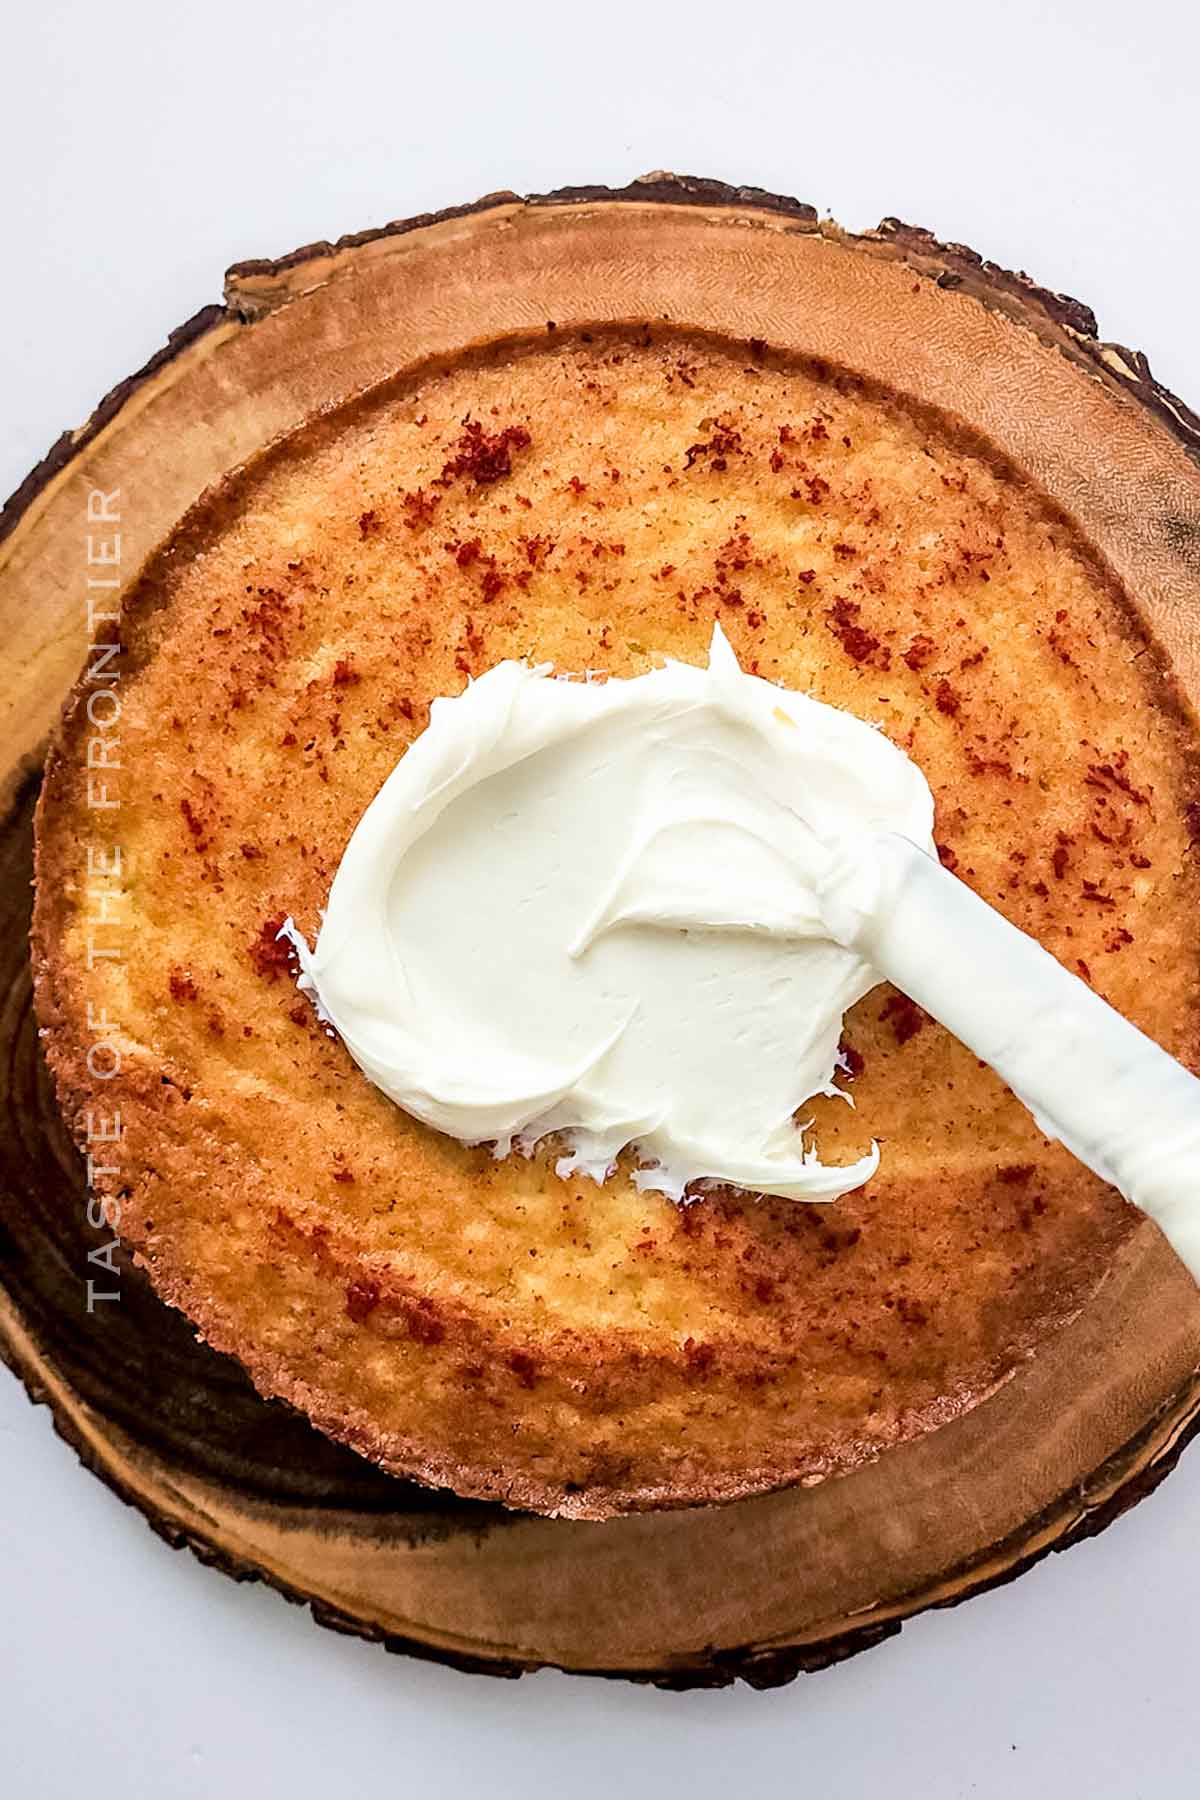
Why You Should Make Red White and Blue Cake
I just love how this cake pops in the middle of our party spread. It always brings compliments from the crowd!
- Festive: This cake brings a patriotic spirit to any gathering with its bold red, white, and blue colors.
- Delicious: This isn’t just a pretty cake, it’s a delicious one too! The moist velvet cake layers combined with the rich cream cheese frosting is a crowd-pleaser.
- Versatile: You can customize this cake for other holidays by changing the colors.
- Fun: Baking this cake is a fun activity that can be shared with family or friends. It’s the perfect dessert to involve the kids too!
Variations and Add-Ins for Red White and Blue Cake
- Different colors: Depending on the occasion, you can change the colors of the layers to match.
- Different frostings: You can try different types of frostings like vanilla buttercream, chocolate, or even lemon cream cheese frosting.
- Berries: Decorate with fresh berries for added freshness and color.
- Candy: Top with patriotic-colored M&Ms or other candy for a fun twist.
- Sparklers: For a real Fourth of July effect, add some sparklers on top just before serving (outdoors only).
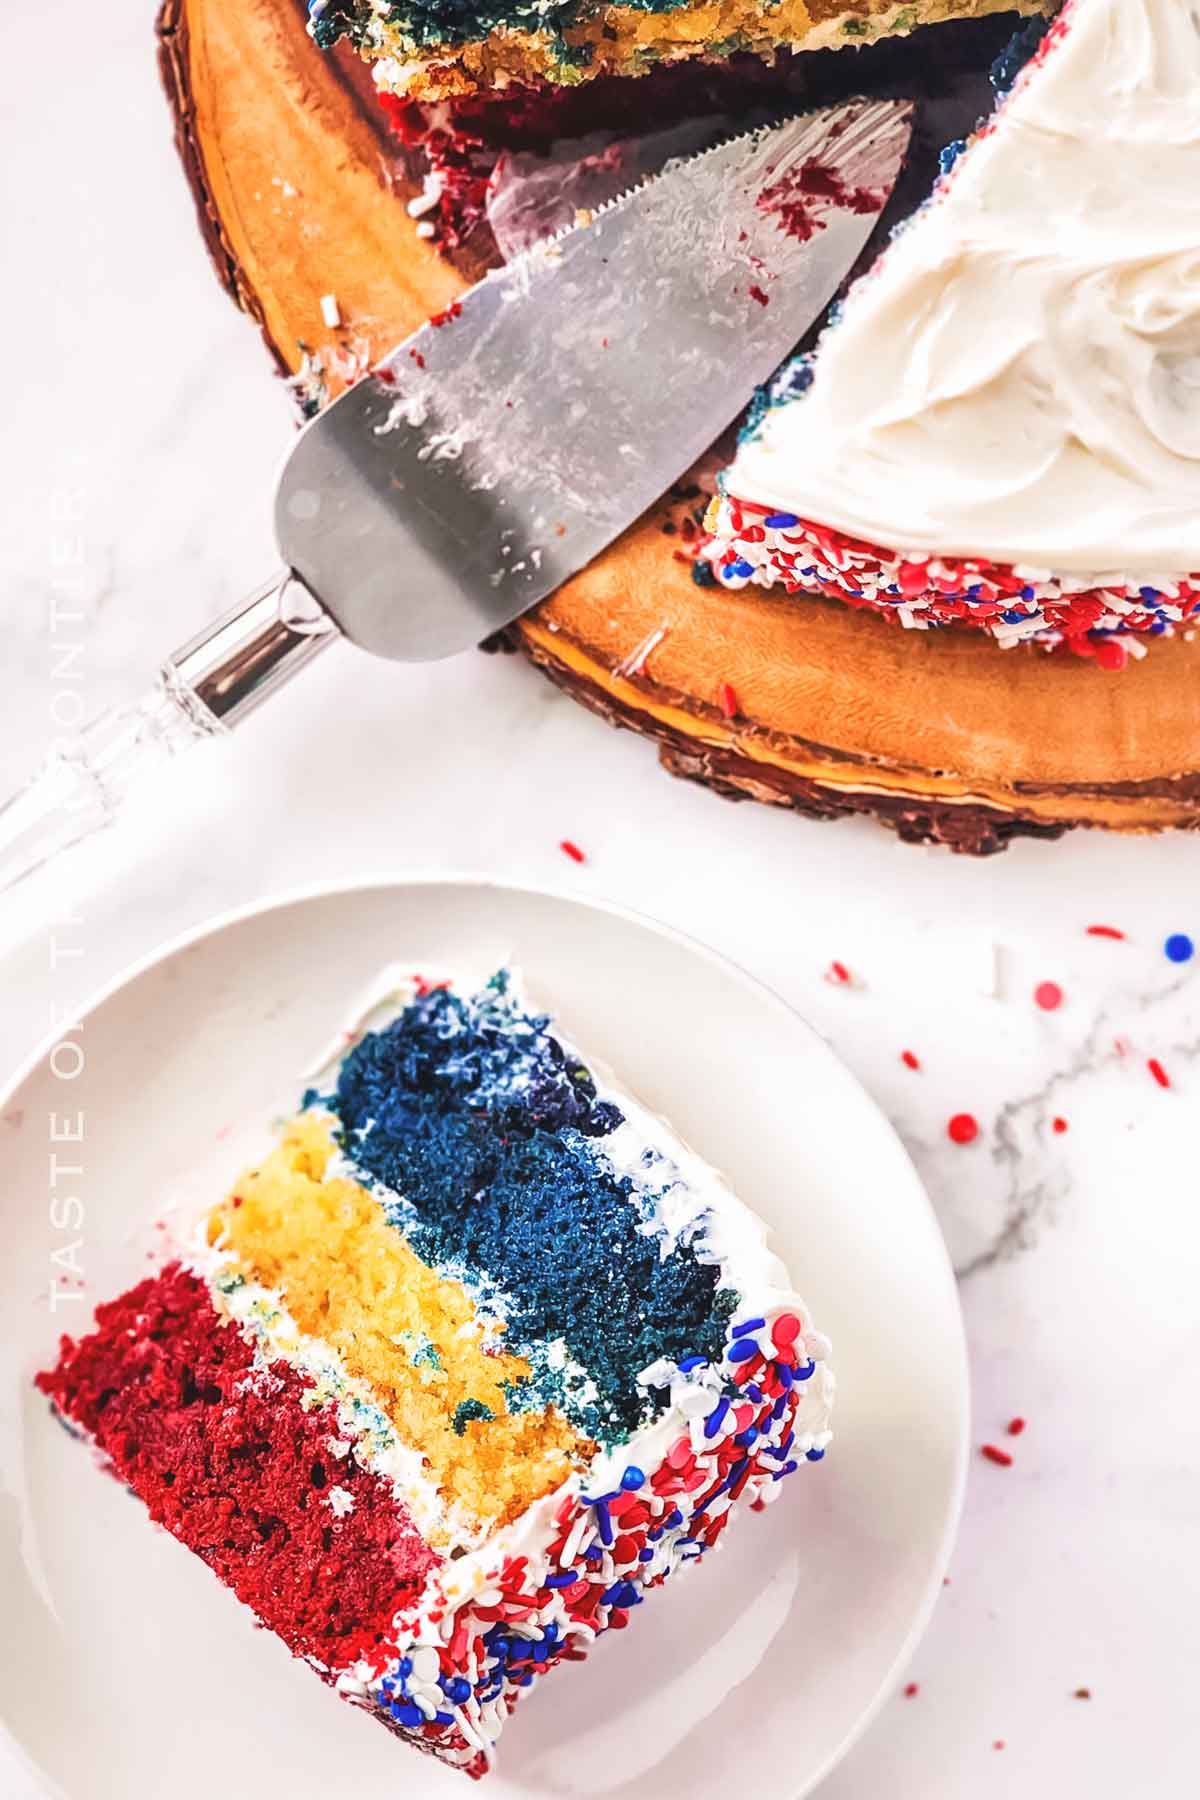
If you love this easy patriotic cake recipe, you’re going to love these other patriotic treats too.. Please click each link below to find the easy, printable recipe!

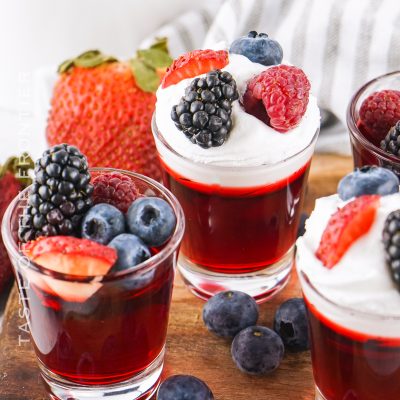
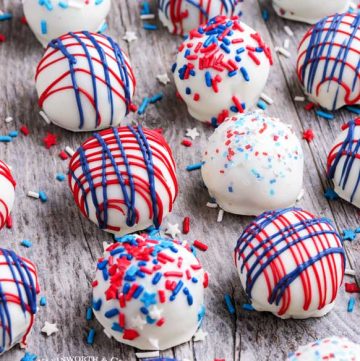
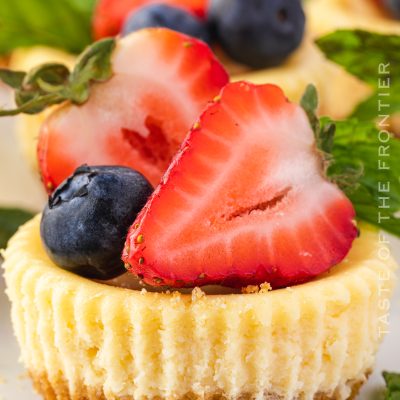
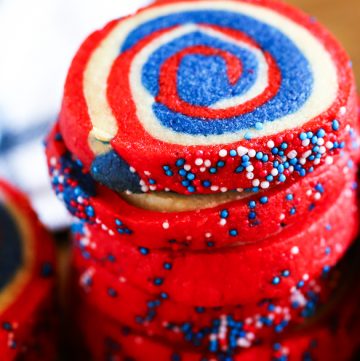
More Great Red, White, and Blue Recipes
If you love this recipe for this patriotic cake as much as I do, please write a five-star review, and be sure to help me share on Facebook and Pinterest!
CONNECT WITH YUMMI HAUS!
Be sure to follow me on my social media, so you never miss a post!
Red White and Blue Cake
Ingredients
White Velvet Layer
- ¼ cup unsalted butter
- ½ teaspoon salt
- 1 cup granulated sugar
- 1 egg
- ½ cup milk
- ½ cup vegetable oil
- ⅛ cup warm water
- 1 ½ teaspoons white vinegar
- ½ teaspoon vanilla extract
- ¼ teaspoon almond extract
- 1 ¼ cup all-purpose flour
- ½ teaspoon baking soda
- ¼ teaspoon baking powder
Red Velvet Layer
- ¼ cup unsalted butter
- ½ teaspoon salt
- 1 cup granulated sugar
- 1 egg
- ½ cup milk
- ½ cup vegetable oil
- ⅛ cup warm water
- 1 ½ teaspoons white vinegar
- ¼ teaspoon vanilla extract
- ¼ teaspoon almond extract
- 1 ¼ cup all-purpose flour
- 1 ½ tablespoons cocoa powder
- ½ teaspoon baking soda
- ¼ teaspoon baking powder
Red food dye
Blue Velvet Layer
- ¼ cup unsalted butter
- ½ teaspoon salt
- 1 cup granulated sugar
- 1 egg
- ½ cup milk
- ½ cup vegetable oil
- ⅛ cup warm water
- 1 ½ teaspoons white vinegar
- ¼ teaspoon vanilla extract
- ¼ teaspoon almond extract
- 1 ¼ cup all-purpose flour
- 1 ½ tablespoons cocoa powder
- ½ teaspoon baking soda
- ¼ teaspoon baking powder
Blue food dye
Red, white, and blue sprinkles – optional
Cream cheese frosting
- 16 ounces cream cheese – the brick- not the whipped variety – room temperature
- 1 cup butter 2 sticks – room temperature
- 3 tsp vanilla extract
- 5 cups confectioner’s sugar
Instructions
Cake
- Preheat the oven to 350 degrees Fahrenheit.
- Coat 3, 8-inch round pans with nonstick spray. Set aside.
- Using 3 separate bowls you will make all three layers at the same time.
- Add the butter and salt to each bowl and beat together with a hand mixer.
- Then add the granulated sugar to each bowl and beat until creamy.
- Now add the egg, milk, vegetable oil, warm water, white vinegar, and extracts to each of the bowls. Once again use the hand mixer to combine everything.
- In the bowl for the white velvet layer first add the flour, baking soda, and baking powder, then mix until the batter is smooth to complete that layer.
- Then add the flour, cocoa powder, baking soda, and baking powder to the red and blue velvet bowls, mixing with the hand mixer until the batters are smooth.
- Add 3-4 drops of red food dye to the red velvet bowl and 3-4 drops of blue dye to the blue velvet bowl. Use a rubber spatula to mix in the colors in each and finish off those batter mixtures.
- Pour each of the batters into one of the prepared round pans that have been sprayed with nonstick spray earlier.
- Bake in the oven for 35-40 minutes or until a toothpick is inserted and comes out clean.
- Let the cakes cool completely before frosting.
Frosting
- In the bowl of a stand mixer fitted with the paddle attachment, beat the cream cheese until whipped.
- Add in the butter and beat again until well blended.
- Slowly mix in the vanilla and 1 cup of the confectioner’s sugar until just incorporated.
- Continue adding the sugar, one cup at a time, and mixing until just incorporated.
- Once the sugar is just blended in, increase the speed of the mixer and whip on high for 1-2 minutes to really aerate the frosting and get everything blended well.
- You can then spread the frosting onto a cooled cake to decorate. If you plan on piping the frosting, I do recommend chilling it in the refrigerator for about 1-2 hours so it is firm enough to hold shape before using. This way your decorations don’t sag before you can chill the whole, finished dessert.
Decorate
- Place the bottom layer as the blue velvet.
- Add frosting to that layer, place the white layer next, frosting again, and then the red on top, frosting everything.
- Sprinkle with red, white, and or blue sprinkles if desired.
Equipment
- 3 8-inch round pans
- Mixer
Nutrition
Nutritional information for the recipe is provided as a courtesy and is approximate. Please double-check with your own dietary calculator for the best accuracy. We at Yummi Haus cannot guarantee the accuracy of the nutritional information given for any recipe on this site.



Share Your Thoughts