No need to find a Cheesecake Factory location. This copycat Red Velvet Oreo Cheesecake is so rich and creamy with the perfect Oreo crust. It’s simple to make too!
Today, I’m thrilled to share with you a recipe that’s a showstopper on any dessert table – Red Velvet Oreo Cheesecake. It’s three of my favorite things in one amazing dessert! This decadent cheesecake combines the rich, tangy flavors of classic red velvet cake with the beloved crunch of an Oreo crust.
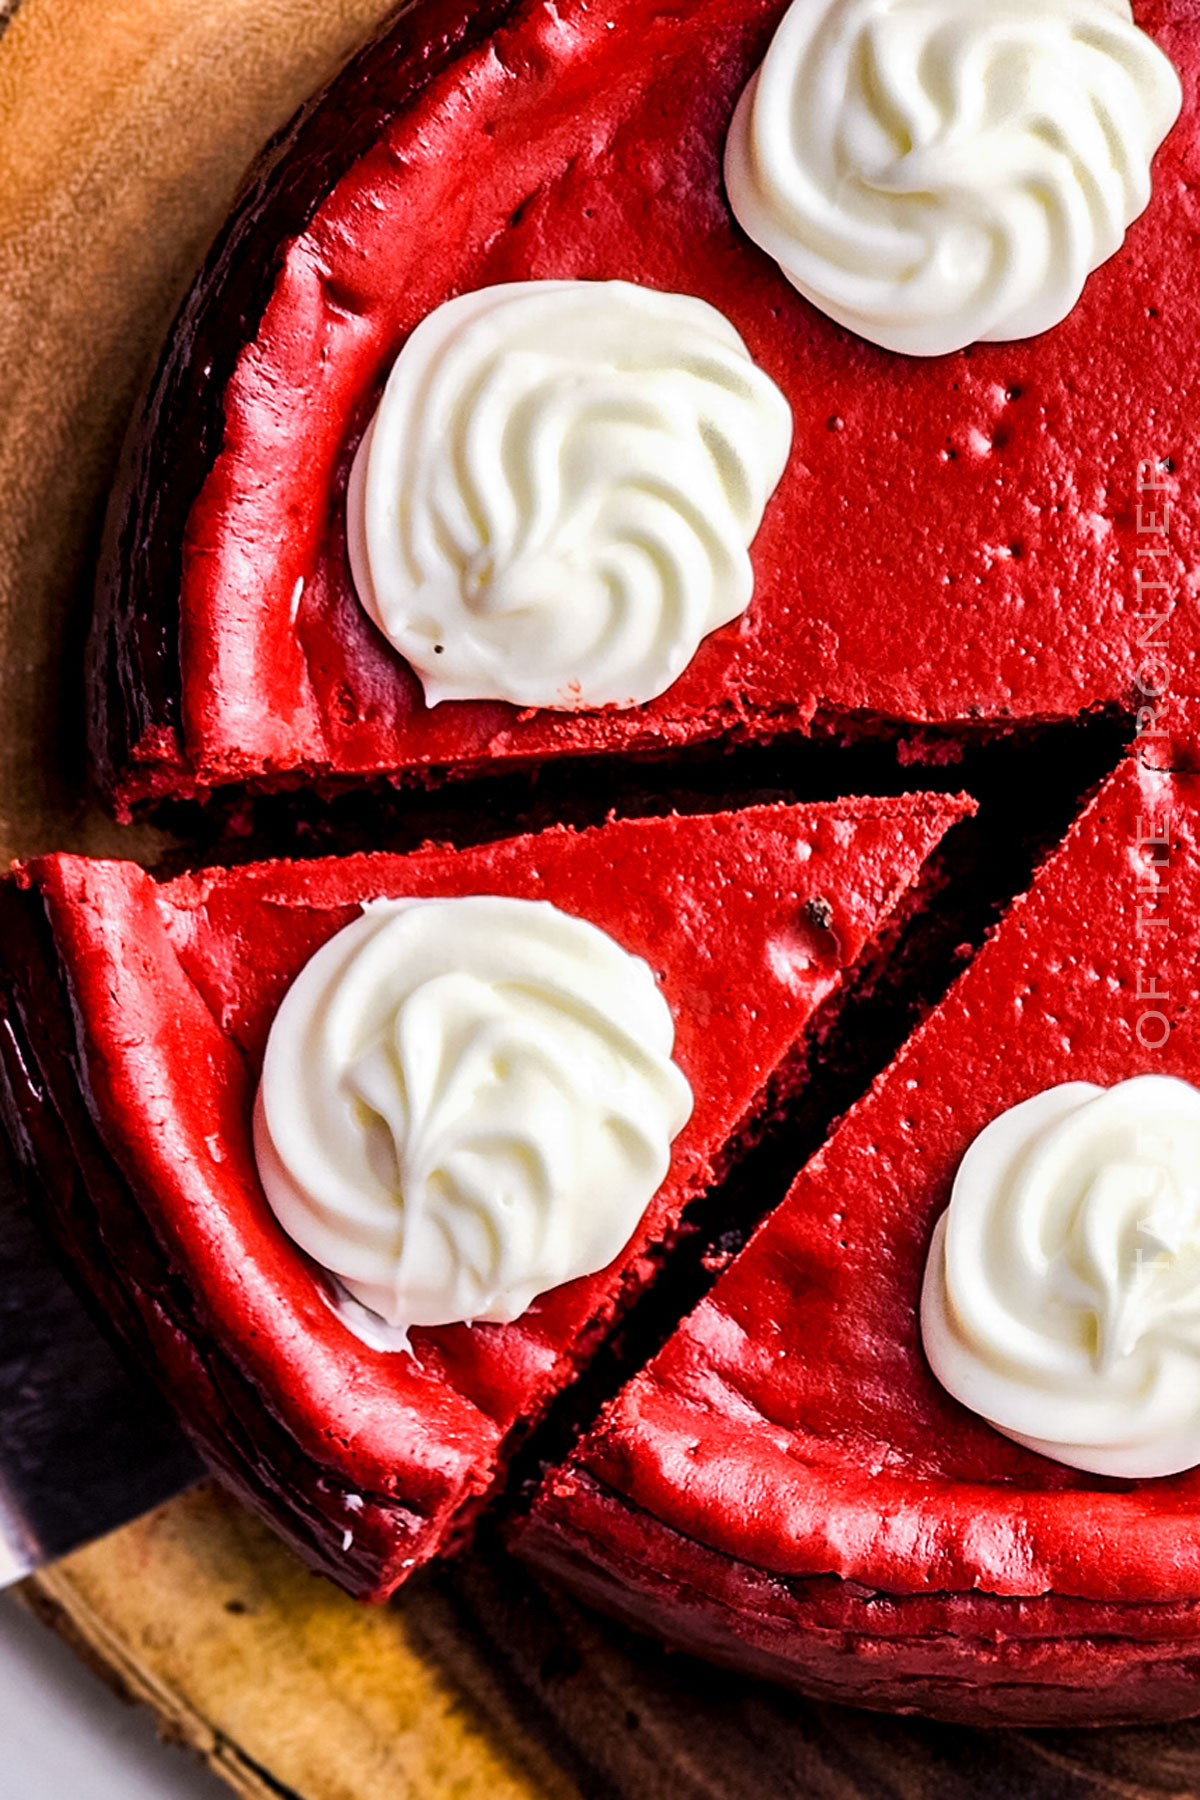
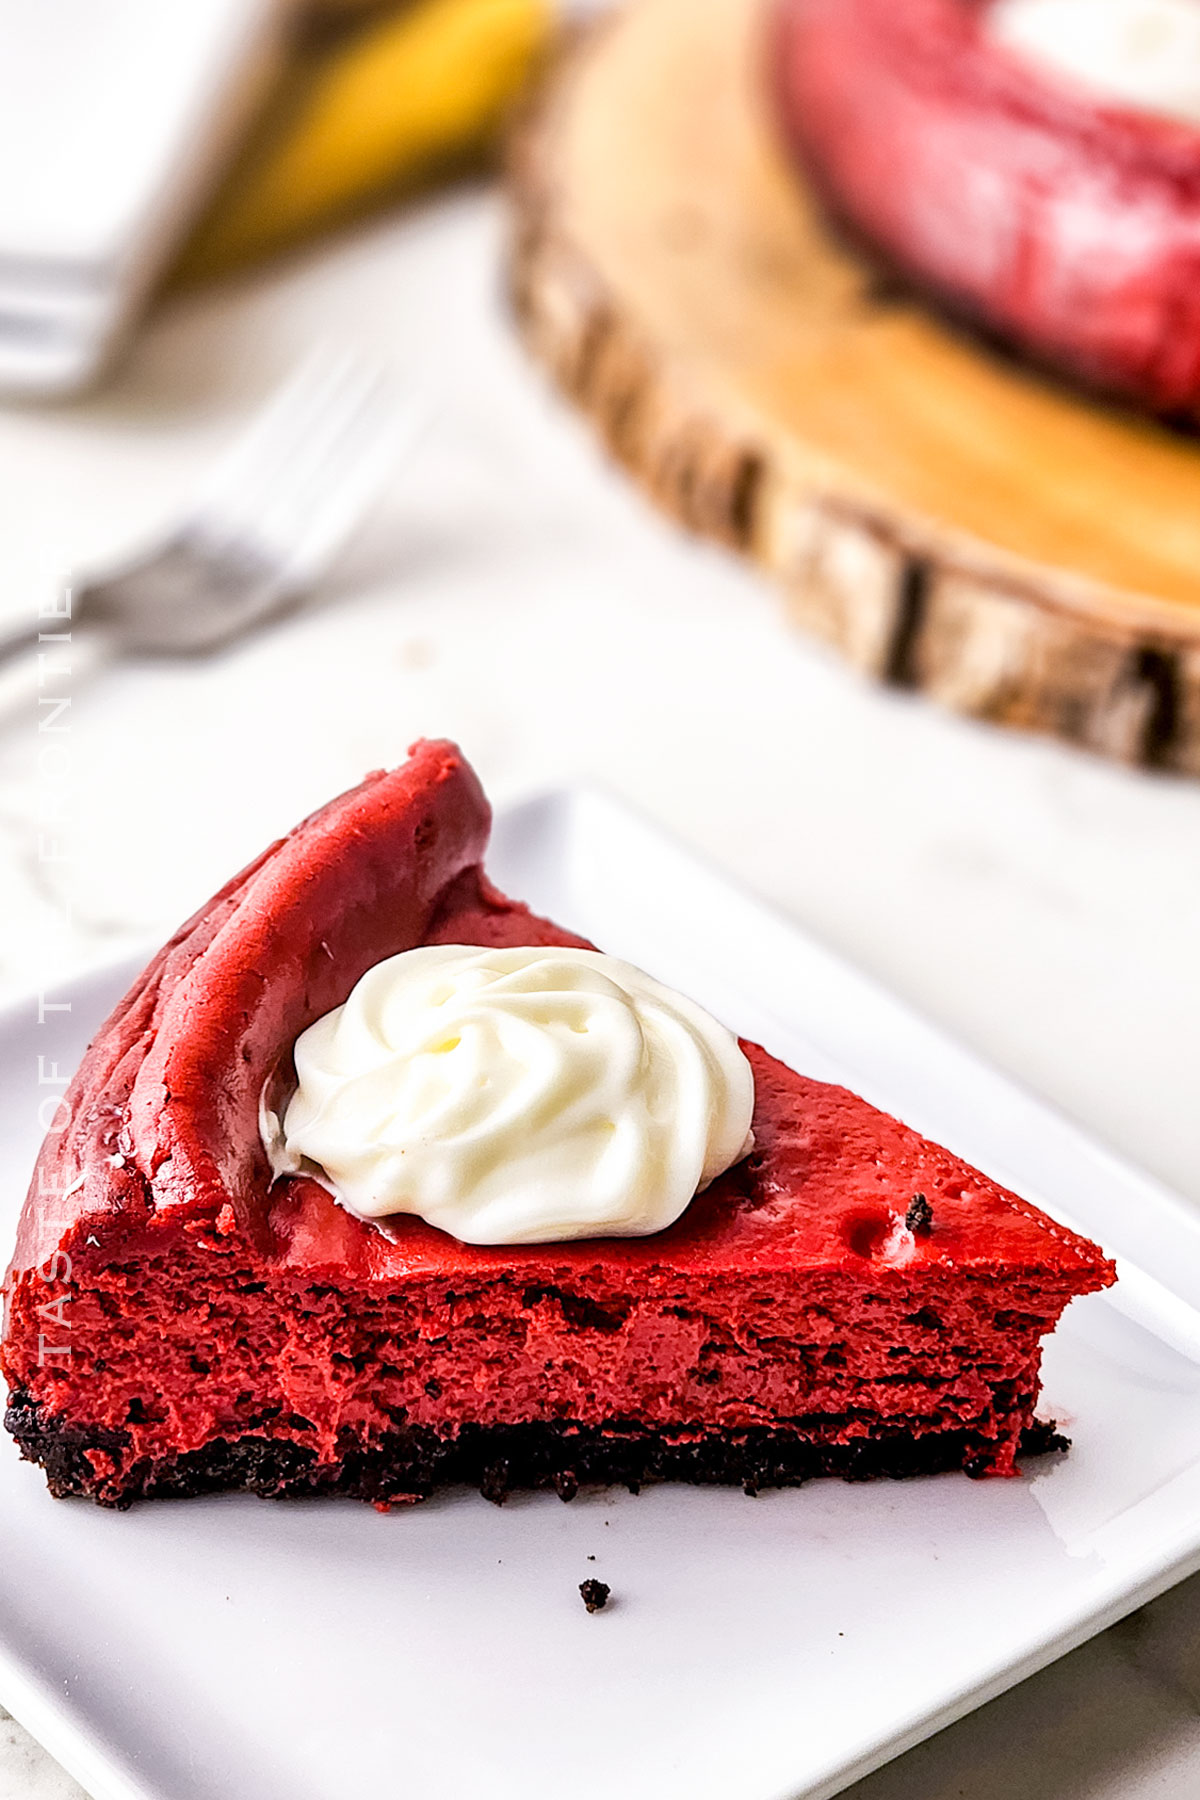
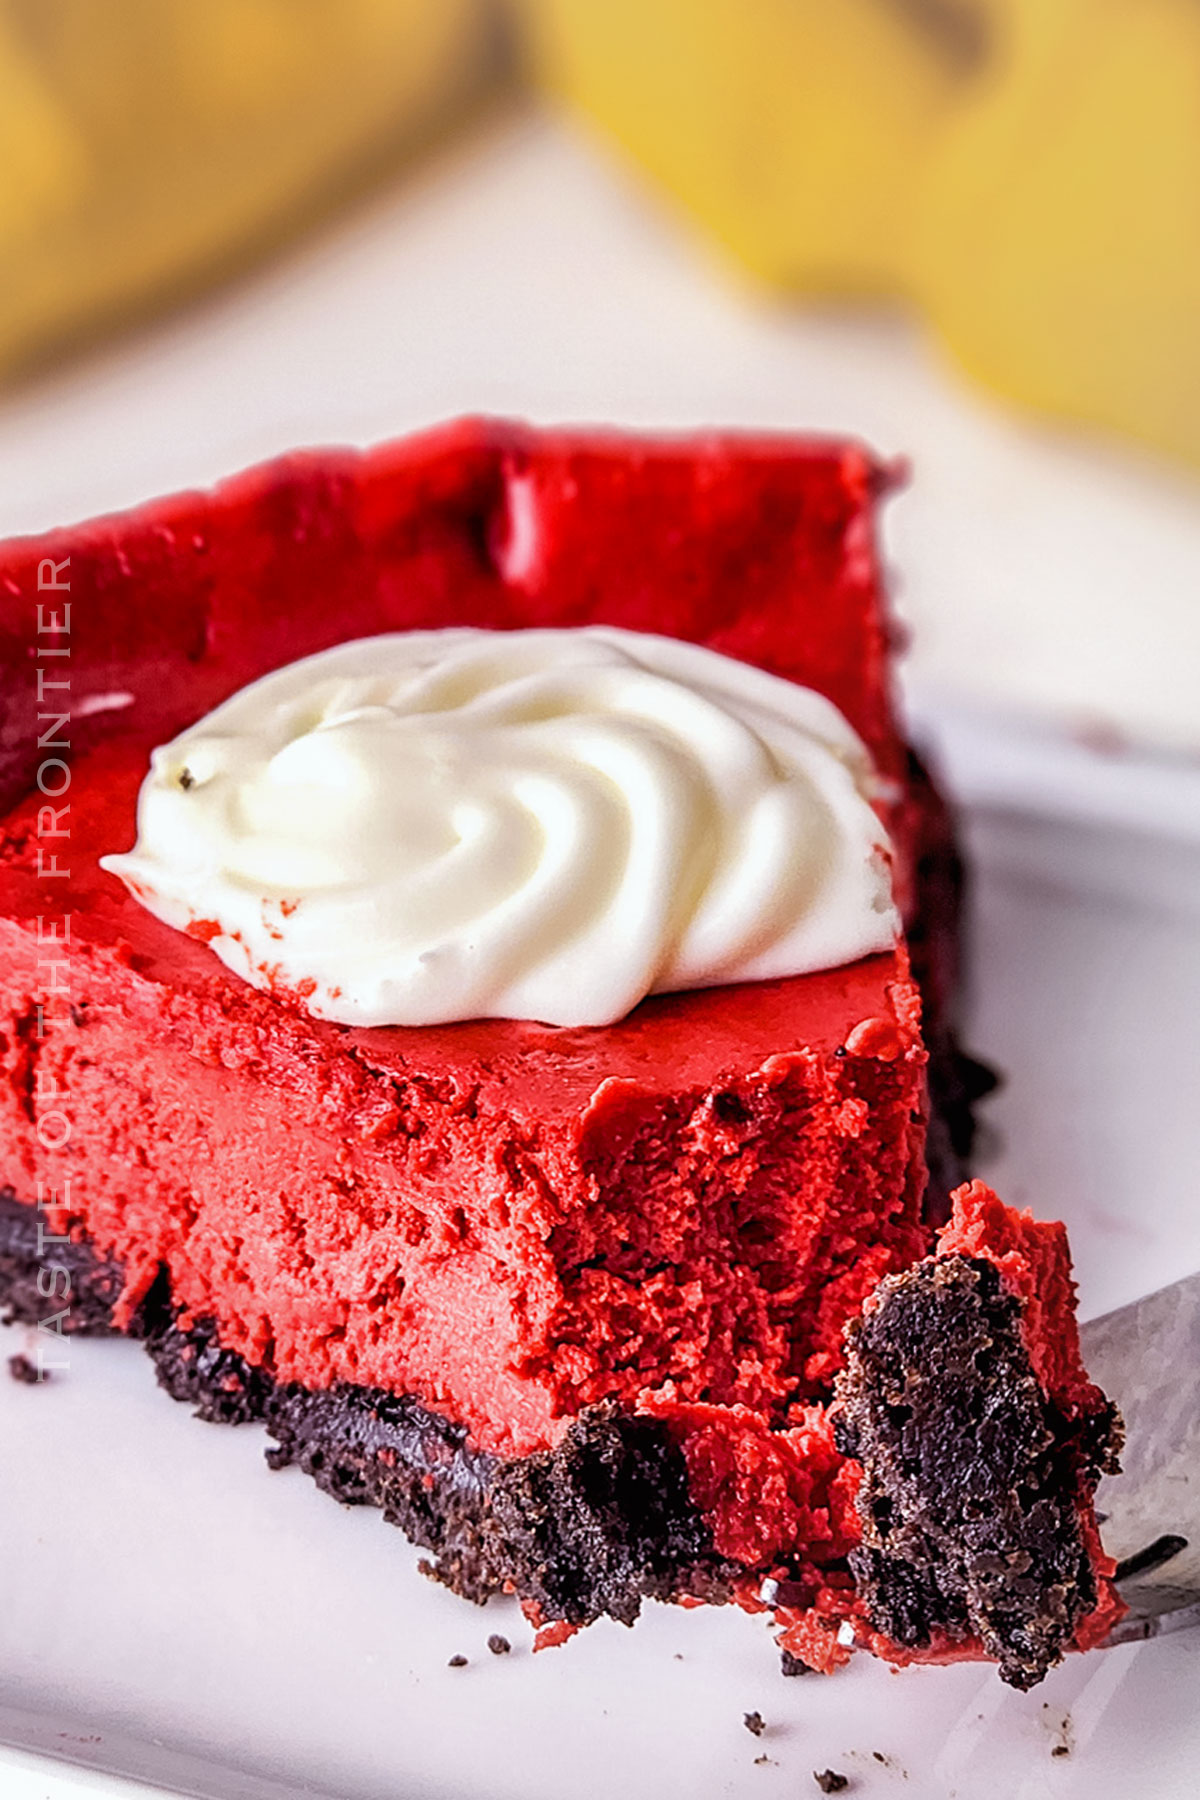
Imagine a creamy red velvet filling, nestled on a bed of crushed Oreo cookies, and topped with a light and fluffy cream cheese frosting. It’s a match made in heaven, perfect for special occasions like Valentine’s Day, Christmas, or just because you deserve a treat!
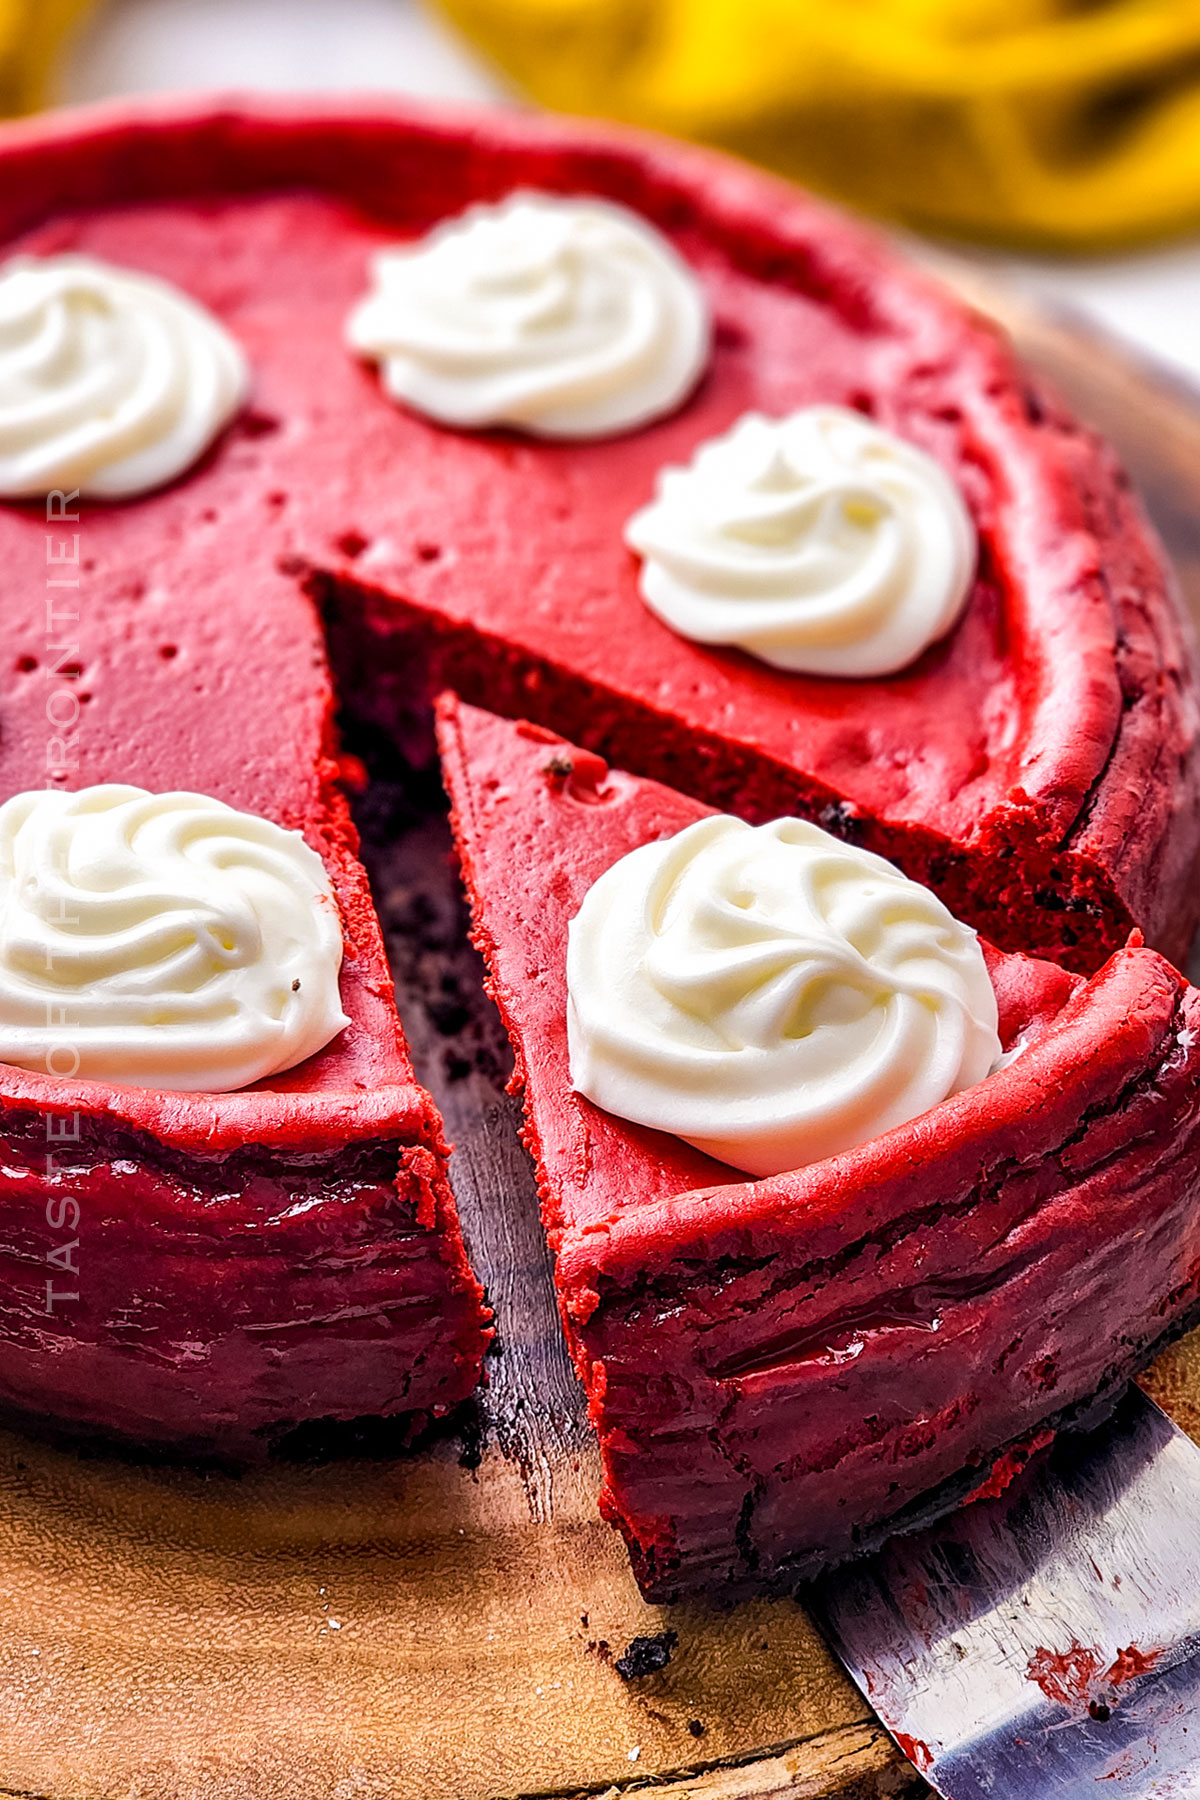
Making this Red Velvet Oreo Cheesecake is a baking adventure that brings joy and indulgence to your kitchen. It’s the perfect way to celebrate the holidays, treat someone special, or simply satisfy your sweet tooth.
The combination of a chocolatey Oreo base with a tangy, velvety red velvet filling, all topped off with a creamy frosting, is sure to make this dessert a new favorite.
So, preheat your oven, gather your ingredients, and let’s create a cheesecake that’s as delightful to eat as it is to present. Happy baking, and enjoy every delicious bite!
Common Questions About Red Velvet Oreo Cheesecake
Can I Make This Cheesecake Without a Springform Pan?
While a springform pan is ideal for cheesecakes, you can use a regular cake pan lined with parchment paper for easy removal. I know sometimes you just have to use what’s available!
How Do I Prevent Cracks in My Cheesecake?
Avoid opening the oven door while baking and let the cheesecake cool gradually in the oven to prevent sudden temperature changes. That’s really all there is to it!
Can This Cheesecake Be Made in Advance?
Yes, you can prepare this cheesecake a day ahead and keep it refrigerated until ready to serve. I mean, who doesn’t love having a cheesecake in the fridge, ready to go?
Storage
Keep in mind that this cheesecake will often disappear “mysteriously”. It’s hard to explain. Every time I open the fridge there seems to be a little bit less there!
Refrigerator
Store the cheesecake in an airtight container in the fridge for up to 5 days.
Freezer
Freeze individual slices wrapped in plastic wrap and aluminum foil for up to a month. Thaw in the refrigerator.
Tips
I know that getting a cheesecake to turn out perfectly can be challenging sometimes. Here are a few pointers to help you on that front. Often times it’s the little things that make all the difference!
- Room Temperature Ingredients: Ensure your cream cheese and eggs are at room temperature for a smooth cheesecake mixture.
- Gentle Mixing: Mix on low speed to avoid incorporating too much air into the batter, which can cause cracks.
- Press Crust Firmly: Use the back of a spoon to press the Oreo crust evenly into the bottom of the pan.
- Water Bath Alternative: Place a pan of hot water on the rack below the cheesecake to create a moist environment in the oven.
- Cool Slowly: Let the cheesecake cool in the turned-off oven with the door slightly ajar to prevent sudden temperature changes.
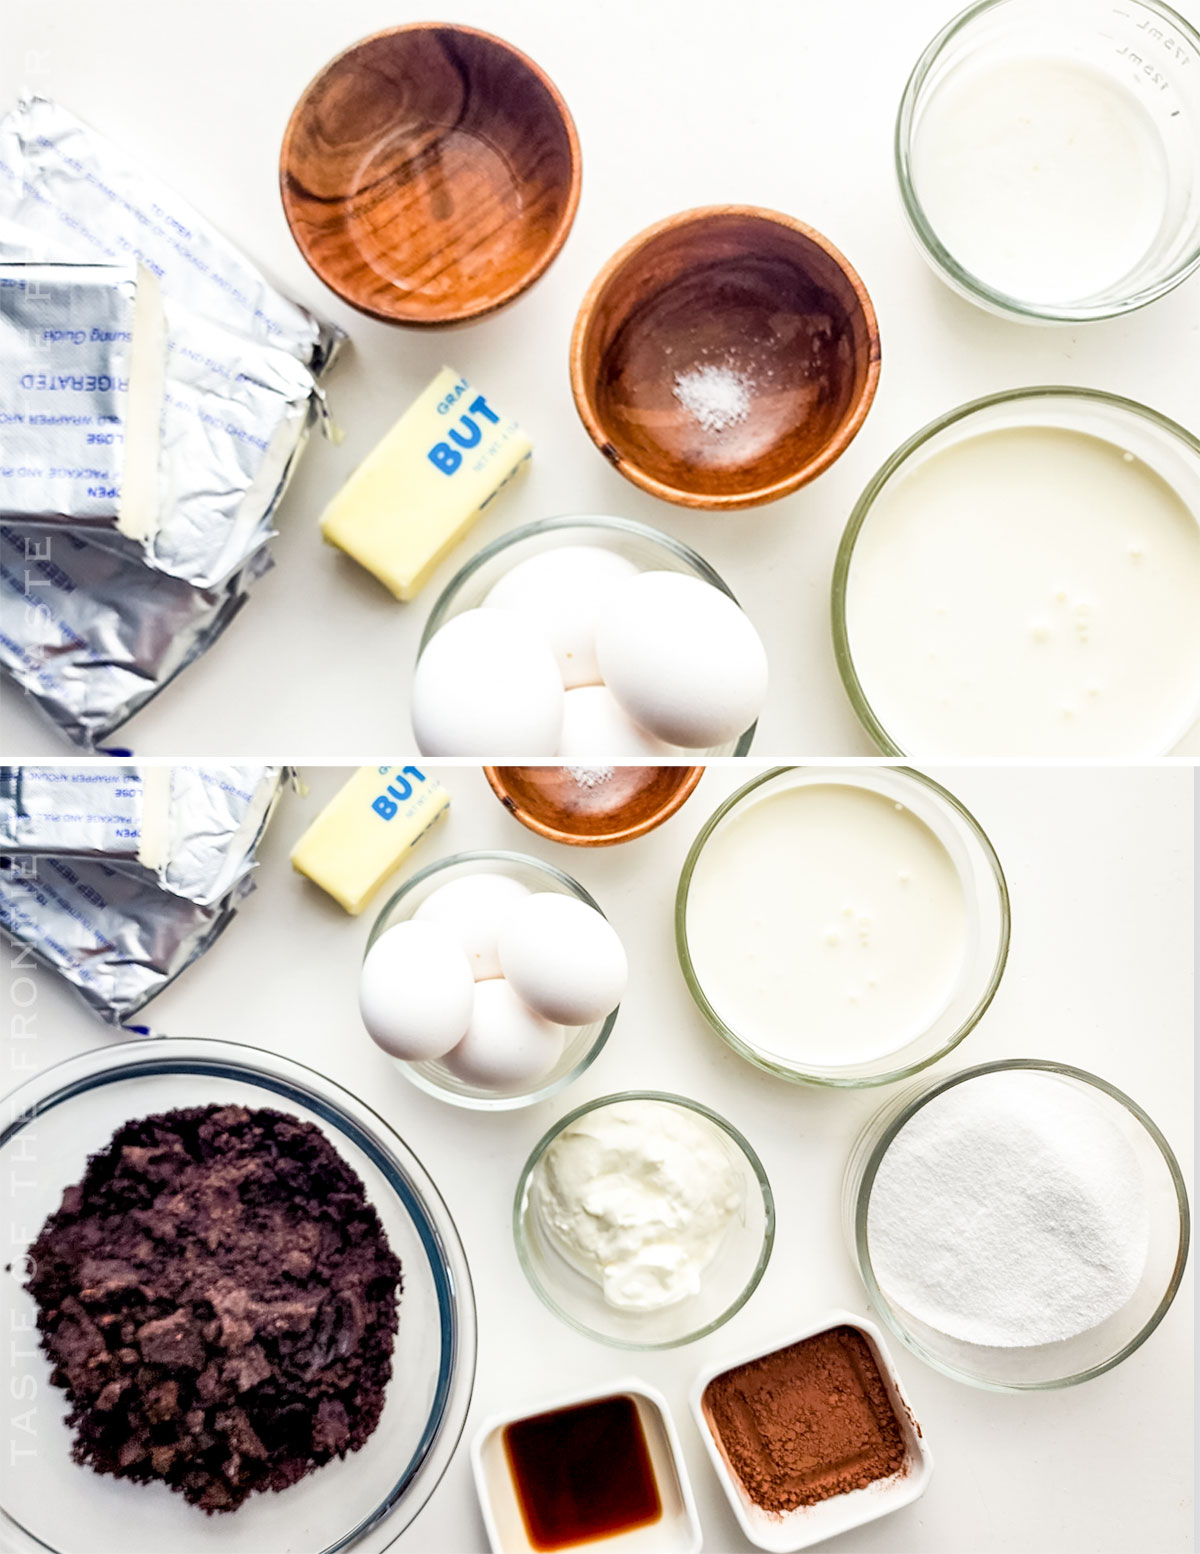
Ingredients
This creamy red velvet cheesecake is all you’re hoping for and more. Just look at that list of ingredients. Scrumptious, right?
- Oreo cookie crumbs
- Unsalted butter
- Cream cheese
- Granulated sugar
- Cocoa powder
- Milk
- White vinegar
- Sour cream
- Vanilla extract
- Large eggs
- Egg yolk
- Red food dye
- Heavy cream
How to Make Red Velvet Oreo Cheesecake
Ok, here we go. Don’t worry, this recipe is very simple. Just follow these steps and, before you know it, you’ll be in red velvet Oreo cheesecake heaven!
Crust
- Preheat the oven to 350 degrees Fahrenheit.
- Prepare a springform pan with parchment paper on the bottom and around the edges of the pan.
- Combine the Oreo crumbs and melted butter in a medium bowl. Use a fork to blend until combined and the texture is slightly crumbly.
- Transfer the mixture to the prepared springform pan and press into an even layer in the bottom and slightly up the sides of the pan. Place in the freezer while making the cream cheese filling.
Filling
- In a large mixing bowl blend the cream cheese until smooth and lump-free.
- Add the sugar and blend again until combined.
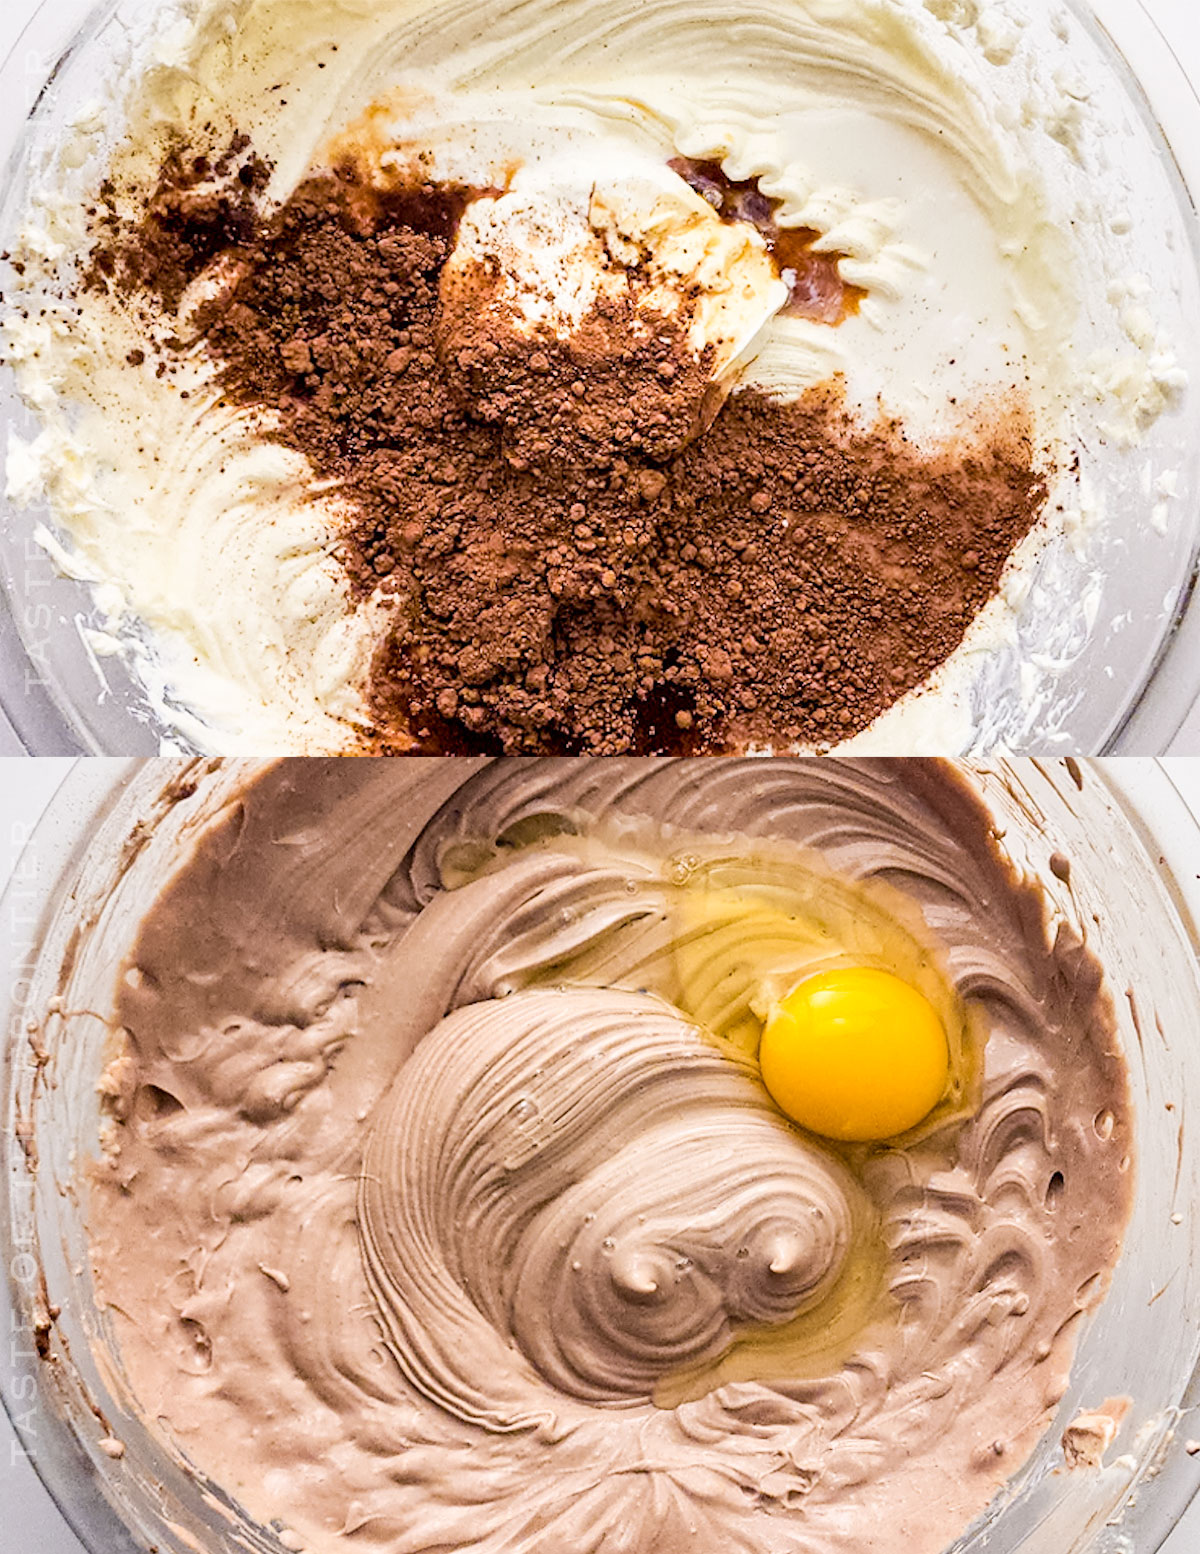
- Mix in the milk, vinegar, vanilla extract, sour cream, and cocoa powder until thoroughly combined. Scrap the sides of the bowl if needed.
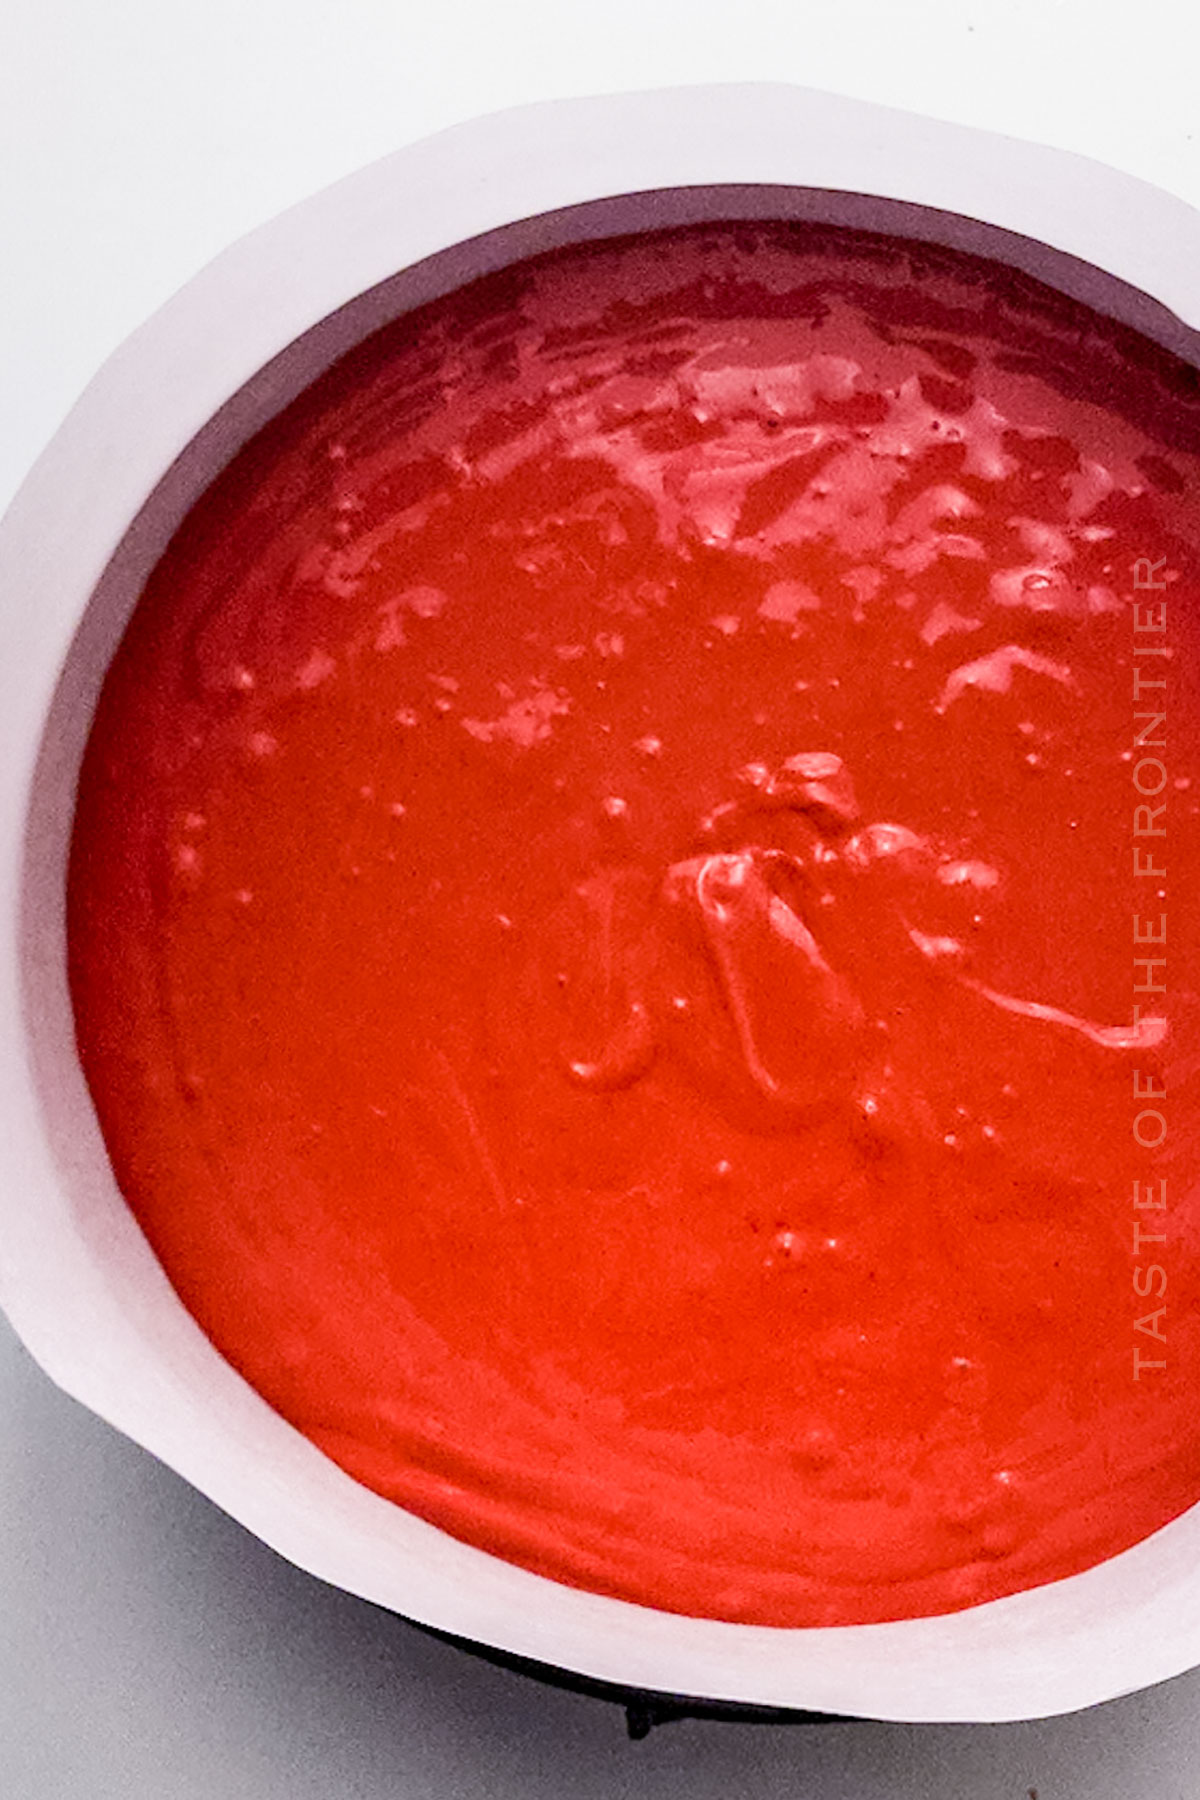
- Add in each egg, one at a time, blending between each addition. On the last egg yolk, add the food dye, using a generous amount depending on the vibrancy of your food dye of choice. The batter is a little brown so you want the batter to be a nice deep red once everything is mixed thoroughly.
- Remove the Oreo crust from the freezer and pour the red velvet mixture into the springform pan.
- Slightly shake/jiggle the pan to even out the filling and then bake for 60 minutes.
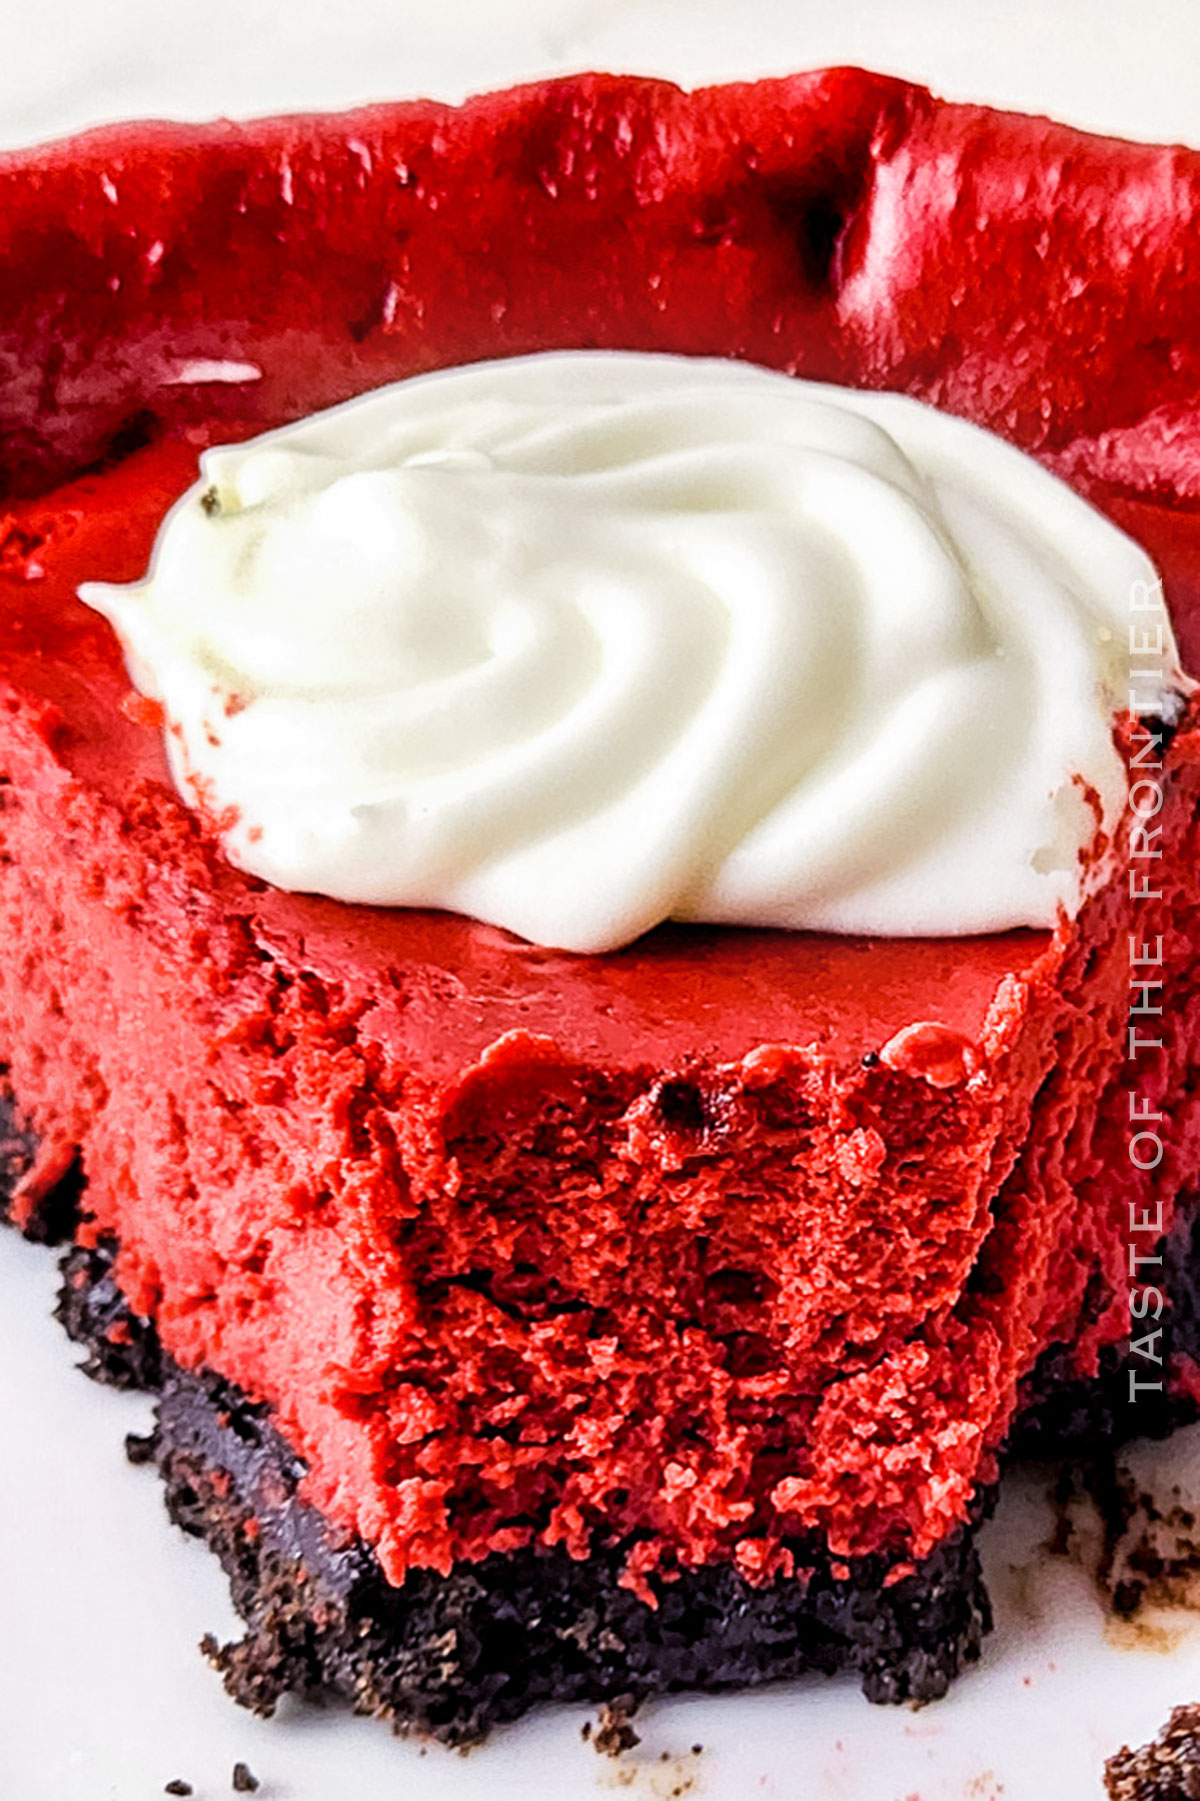
- The cheesecake will still be slightly jiggly in the center when done. Turn the oven off and let the cheesecake stay in the warm oven for another hour to finish cooking. This will allow it to set perfectly.
- Remove from the oven and transfer to the refrigerator to chill for at least 6 hours or overnight.
Cream Cheese Topping
- When ready to serve, make the cream cheese topping.
- In a bowl, combine the cream cheese and sugar. Blend until smooth.
- Then add the vanilla and salt. Mix once more until combined.
- In a separate, smaller bowl, whip the heavy cream until stiff peaks form.
- Gently fold the whipped cream into the cream cheese mixture until smooth and no streaks are left.
- Transfer to a piping bag fitted with a large star piping tip.
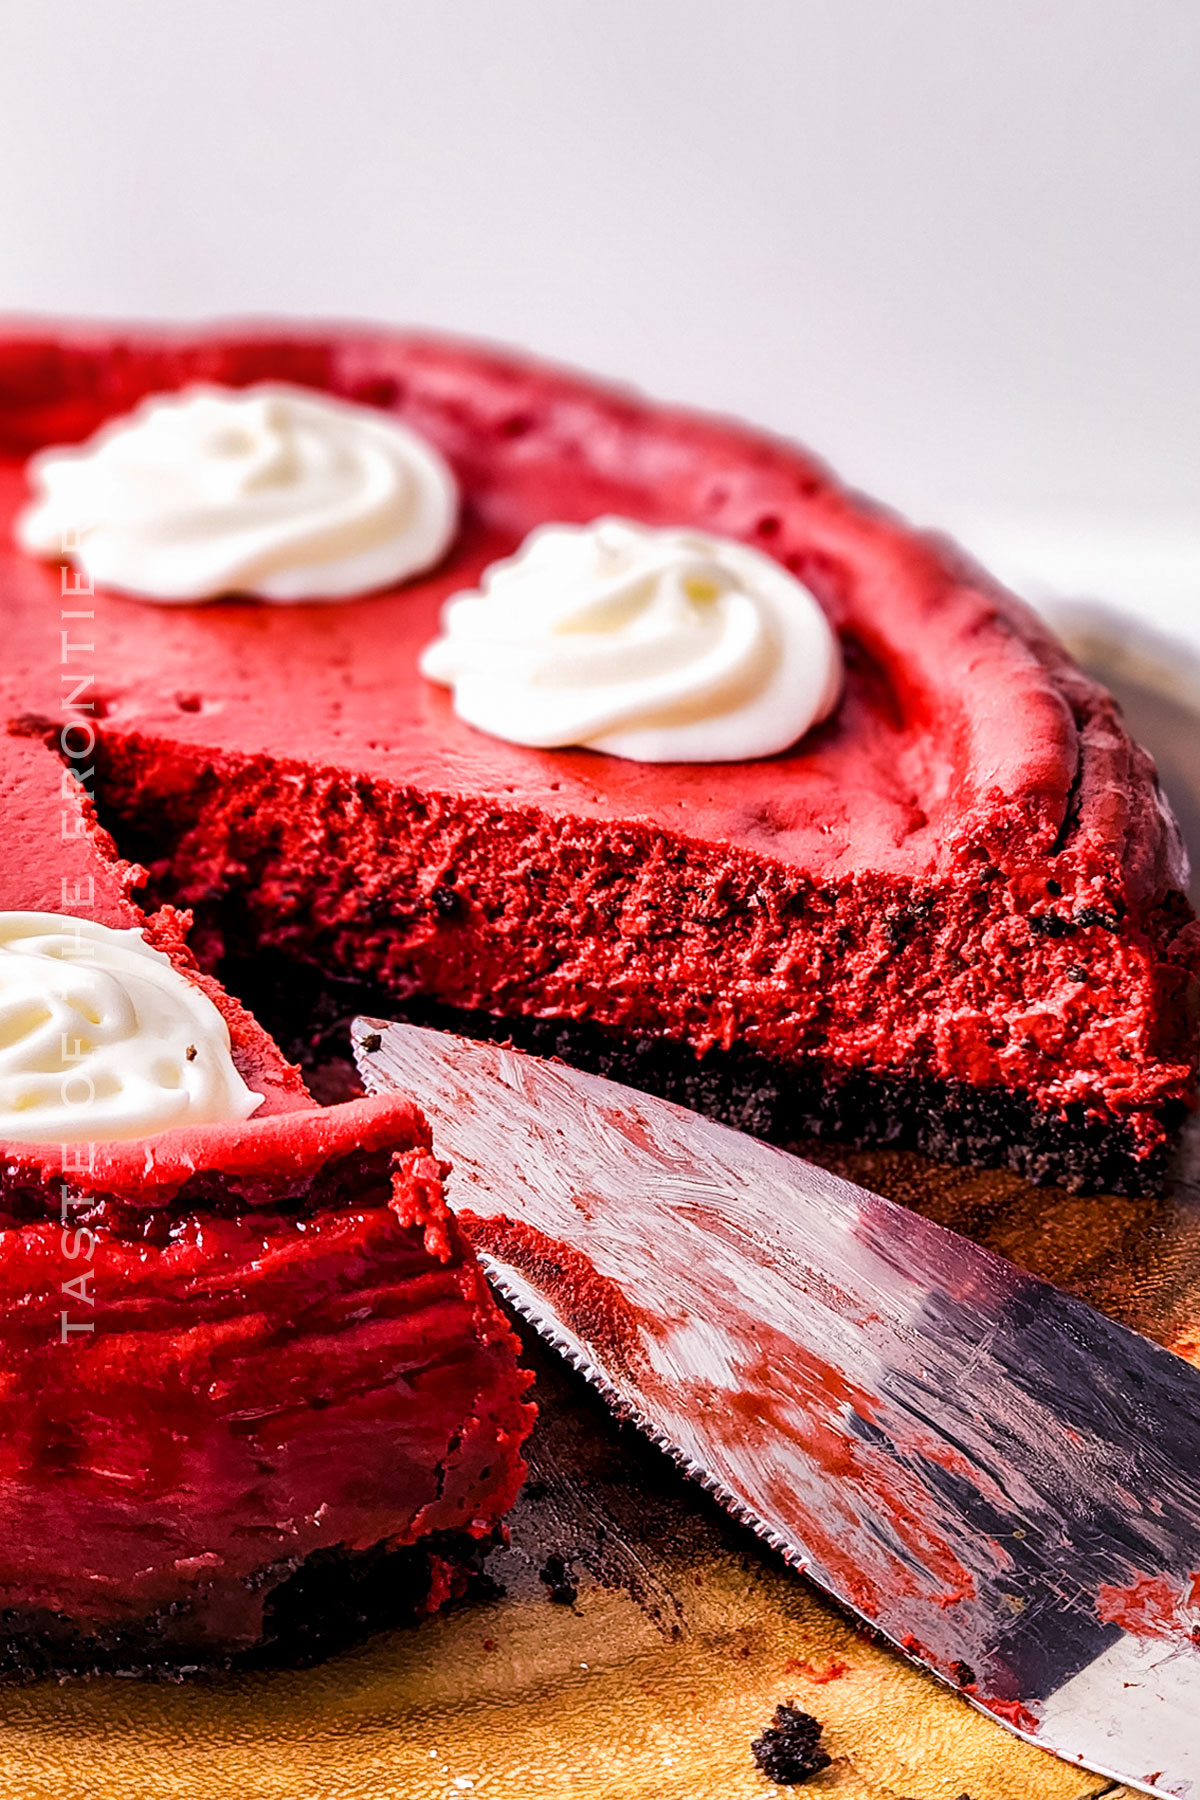
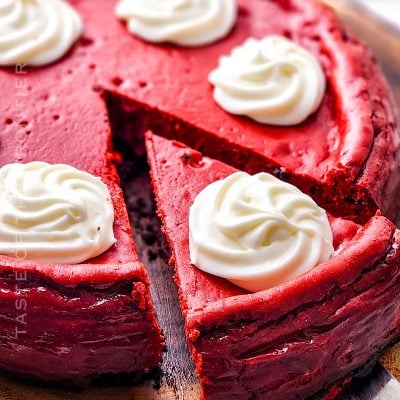
- Create 6-8 swirls on top of the cheesecake to decorate as desired.
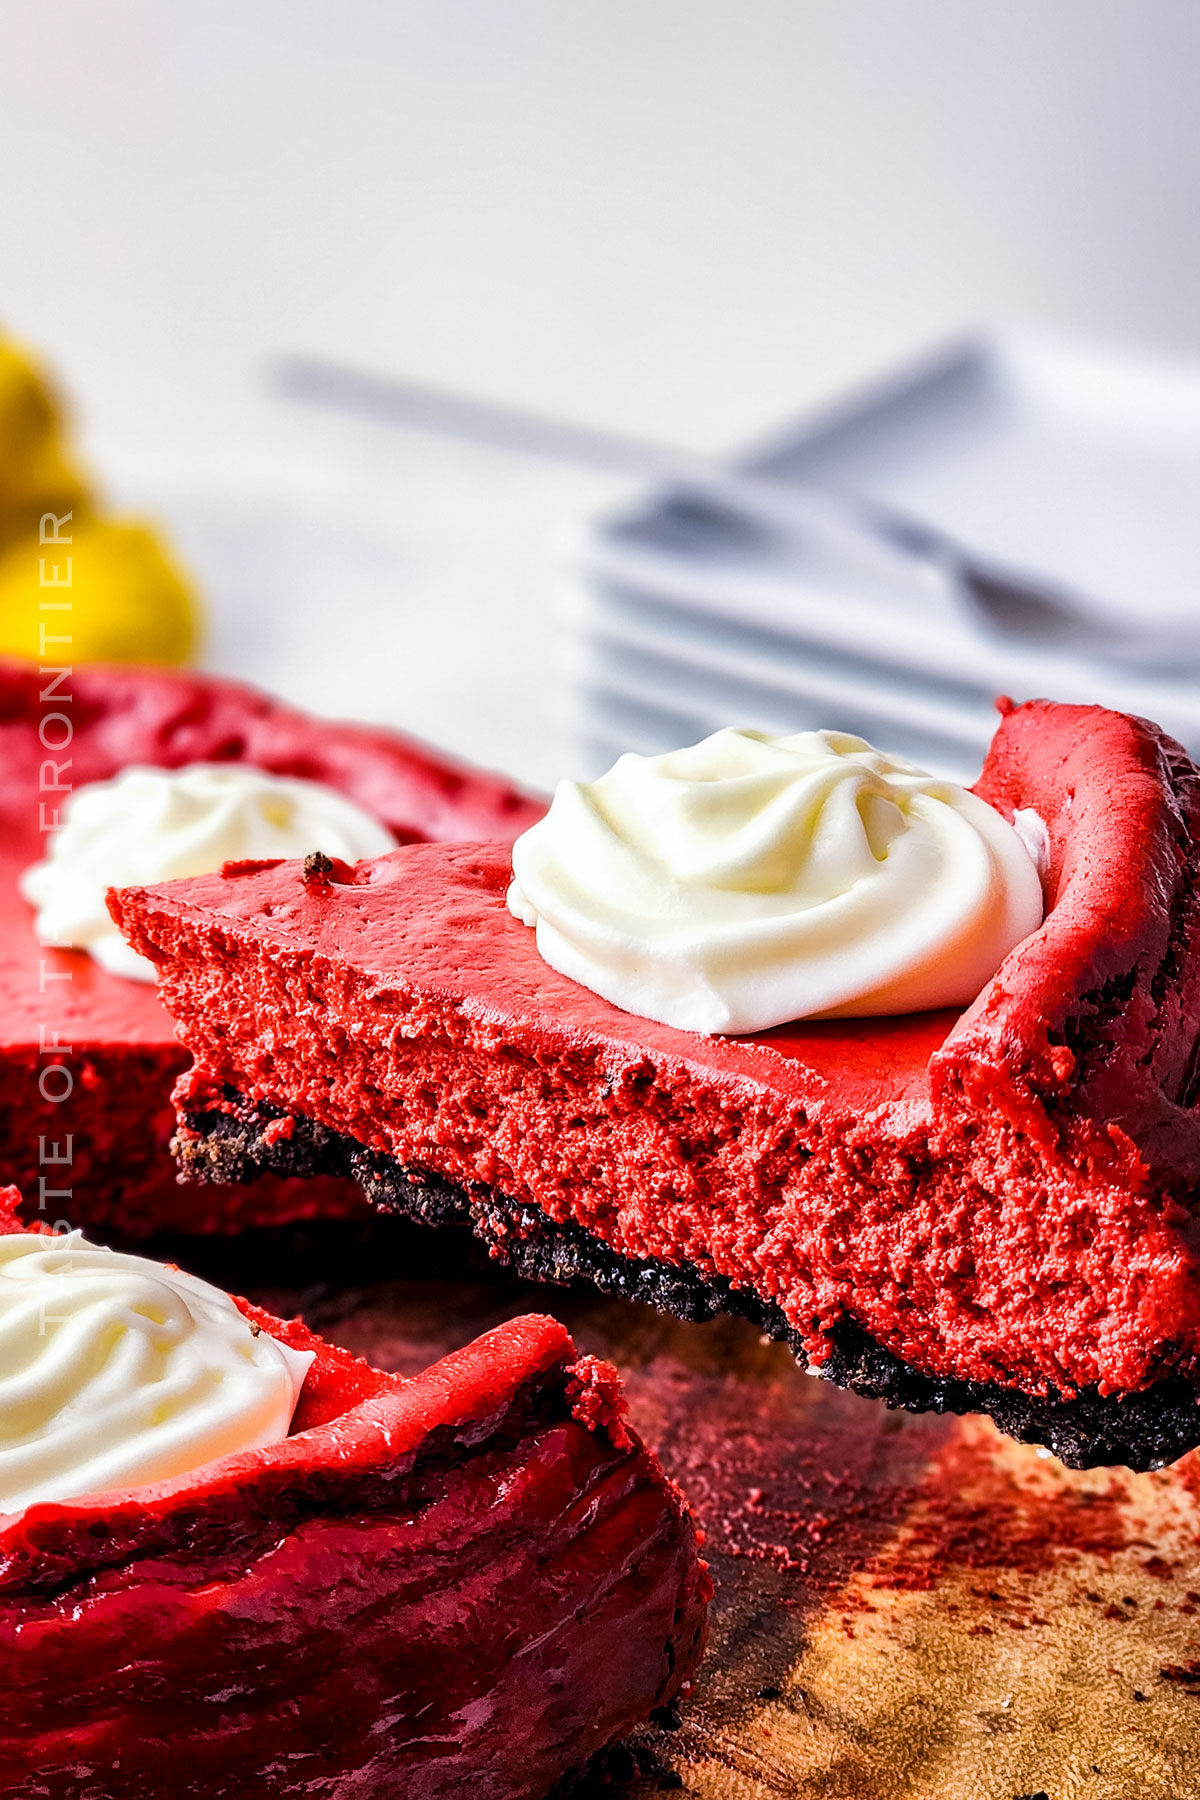
- Cut and serve.
Kitchen Supplies You’ll Need for Red Velvet Oreo Cheesecake
This list should cover things. If you feel like I left anything out, or you have a handy secret tool for making cheesecake, let me know in the comments below!
- 9-inch Springform pan
- Parchment paper
- Hand mixer or stand mixer with paddle attachment
- Large and medium mixing bowls
- Rubber spatula
- Piping bag with star metal piping tip
- Measuring cups and spoons
What to Serve With Red Velvet Oreo Cheesecake
The classics are considered classics for a reason! Personally, I love to have a good mug of hot cocoa with my cheesecake. It’s just the right combo for this particular recipe!
- Serve with a dollop of whipped cream for an extra creamy touch.
- Pair with a cup of hot coffee or a glass of milk.
- Accompany with a drizzle of chocolate ganache for chocolate lovers.
Why You Should Make Red Velvet Oreo Cheesecake
I don’t think I really need to tell you why you should make this cheesecake. I mean, the title sort of gives you all you need to know. Am I right? Ha!
- Festive and Elegant: Perfect for holiday celebrations and special occasions.
- Unique Flavor Combination: The blend of red velvet and Oreo flavors is simply irresistible.
- Impressive Dessert: Guaranteed to wow your guests and family.
- Versatile: A delightful treat for any season, not just for holidays.
Variations and Add-Ins for Red Velvet Oreo Cheesecake
I’m a fan of drizzling chocolate syrup over the top of this one. Then again, I like chocolate syrup on a lot of things. What do you think? Got a favorite way to add a little something to this recipe?
- Chocolate Chips: Mix in some chocolate chips into the batter for a chocolatey surprise.
- Lemon Juice: Add a teaspoon of lemon juice to the batter for a subtle tangy flavor.
- Fruit Toppings: Garnish with fresh berries for a refreshing twist.
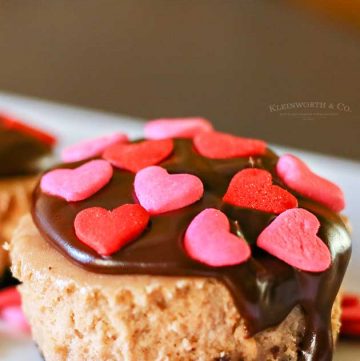
- Mini Cheesecakes: Make individual servings using a muffin tin for mini red velvet Oreo cheesecakes.
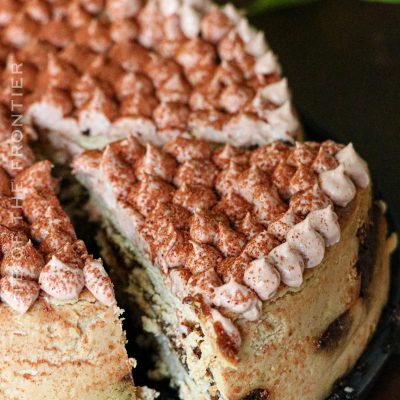
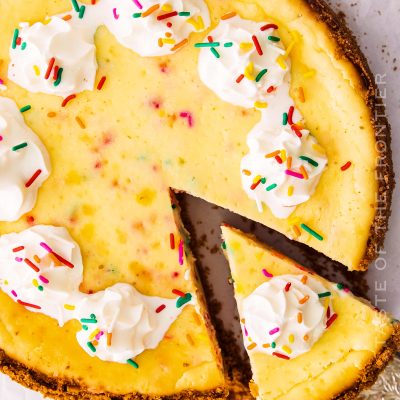
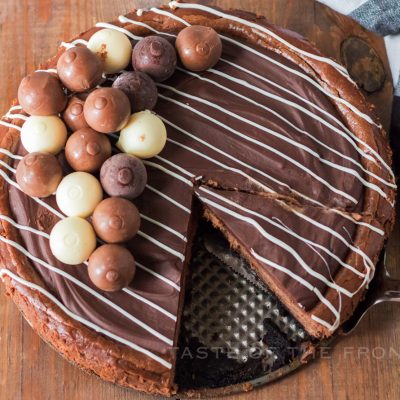
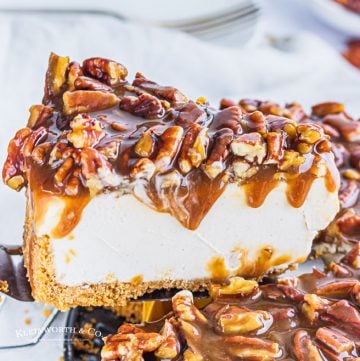
If you love this cheesecake recipe, you’re going to love these other cheesecakes too. Please click each link below to find the easy, printable recipe!
More Great Red Velvet Recipes
Red Velvet Cake Mix Crinkle Cookies
Chocolate Chip Red Velvet Mini Loaves
CONNECT WITH YUMMI HAUS!
Be sure to follow me on my social media, so you never miss a post!
Red Velvet Oreo Cheesecake
Ingredients
Oreo Crust
- 2 cups oreo cookie crumbs
- 4 tablespoons butter unsalted – melted
Cheesecake Filling
- 24 ounces cream cheese softened to room temperature
- 1 cup granulated sugar
- 3 tablespoons cocoa powder
- ¼ cup milk
- 2 teaspoons white vinegar
- ⅓ cup sour cream
- 2 teaspoons vanilla extract
- 3 large eggs
- 1 egg yolk
- Red Food Dye
Cream Cheese Topping
- 4 ounces cream cheese
- ⅓ cup granulated sugar
- ½ teaspoon vanilla extract
- ⅛ teaspoon salt
- 1 cup heavy cream
Instructions
- Preheat the oven to 350 degrees Fahrenheit.
- Prepare a springform pan with parchment paper on the bottom and around the edges of the pan.
- Combine the Oreo crumbs and melted butter in a medium bowl. Use a fork to blend until combined and the texture is slightly crumbly.
- Transfer the mixture to the prepared springform pan and press into an even layer in the bottom and slightly up the sides of the pan. Place in the freezer while making the cream cheese filling.
- In a large mixing bowl blend the cream cheese until smooth and lump-free.
- Add the sugar and blend again until combined.
- Mix in the milk, vinegar, vanilla extract, sour cream, and cocoa powder until thoroughly combined. Scrap the sides of the bowl if needed.
- Add in each egg, one at a time, blending between each addition. On the last egg yolk, add the food dye, using a generous amount depending on the vibrancy of your food dye of choice. The batter is a little brown so you want the batter to be a nice deep red once everything is mixed thoroughly.
- Remove the Oreo crust from the freezer and pour the red velvet mixture into the springform pan.
- Slightly shake/jiggle the pan to even out the filling and then bake for 60 minutes.
- The cheesecake will still be slightly jiggly in the center when done. Turn the oven off and let the cheesecake stay in the warm oven for another hour to finish cooking. This will allow it to set perfectly.
- Remove from the oven and transfer to the refrigerator to chill for at least 6 hours or overnight.
- When ready to serve, make the cream cheese topping.
- In a bowl, combine the cream cheese and sugar. Blend until smooth.
- Then add the vanilla and salt. Mix once more until combined.
- In a separate, smaller bowl, whip the heavy cream until stiff peaks form.
- Gently fold the whipped cream into the cream cheese mixture until smooth and no streaks are left.
- Transfer to a piping bag fitted with a large star piping tip.
- Create 6-8 swirls on top of the cheesecake to decorate as desired.
- Cut and serve.
Equipment
- 9-Inch Springform Pan
- Parchment Paper
- Hand mixer
- piping bag
- Star Metal Piping Tip
Nutrition
Nutritional information for the recipe is provided as a courtesy and is approximate. Please double-check with your own dietary calculator for the best accuracy. We at Yummi Haus cannot guarantee the accuracy of the nutritional information given for any recipe on this site.




Share Your Thoughts