
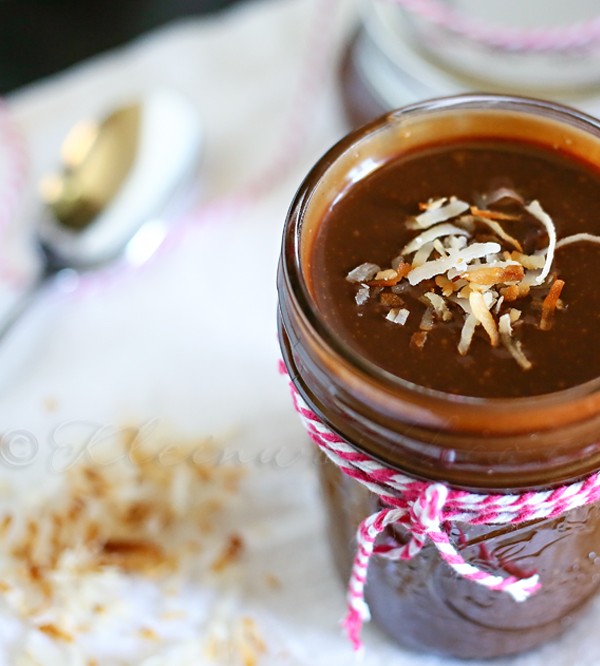
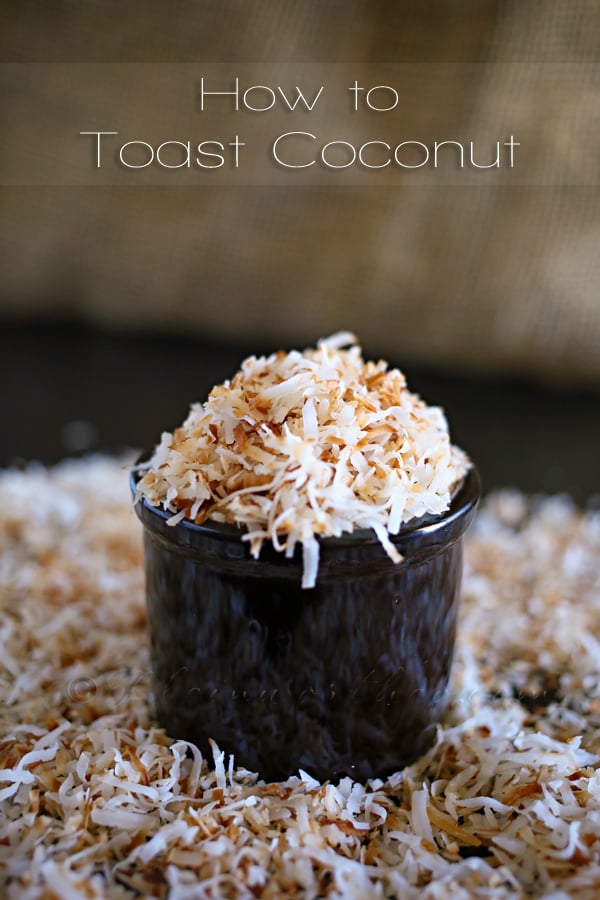
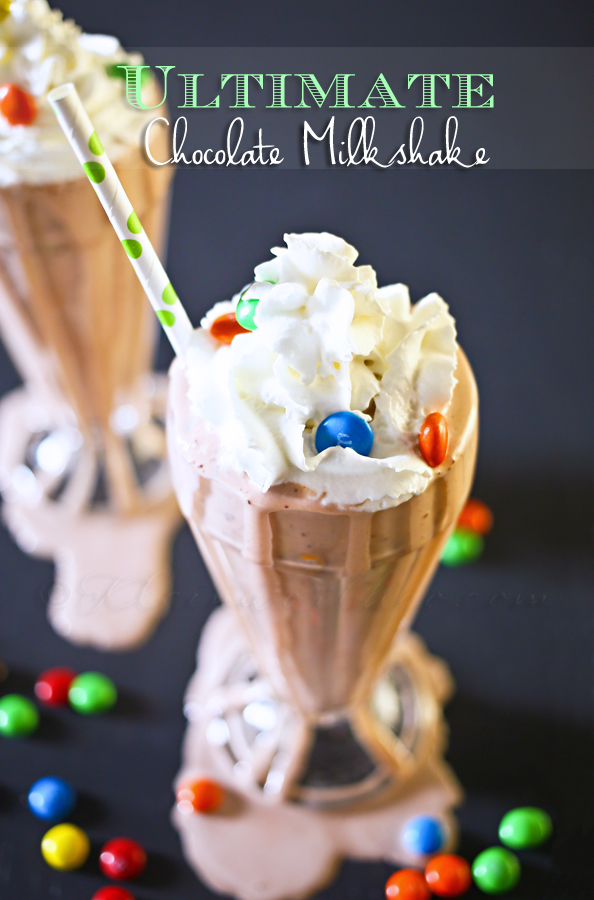
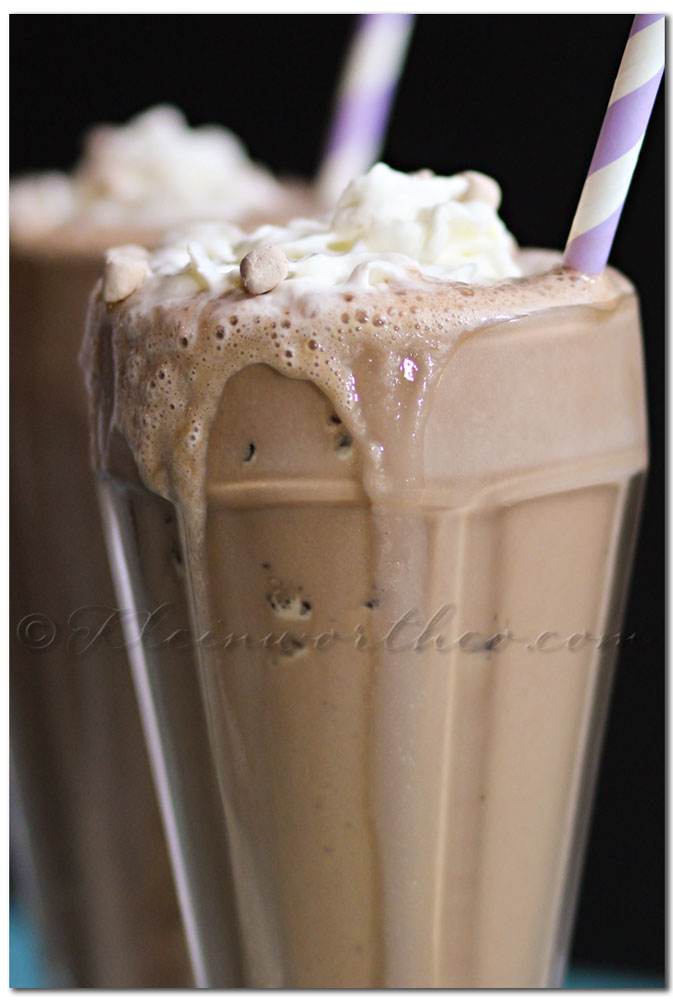
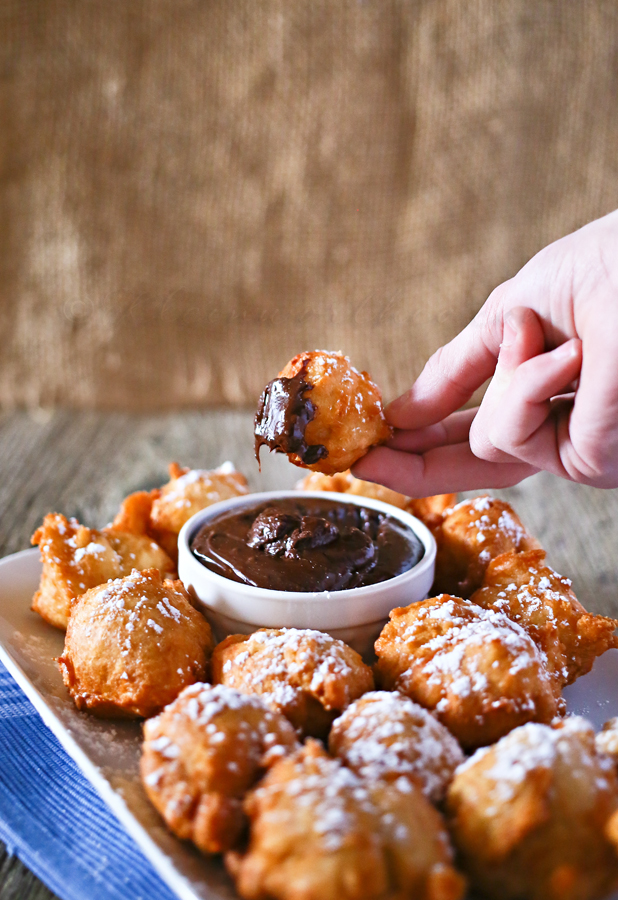
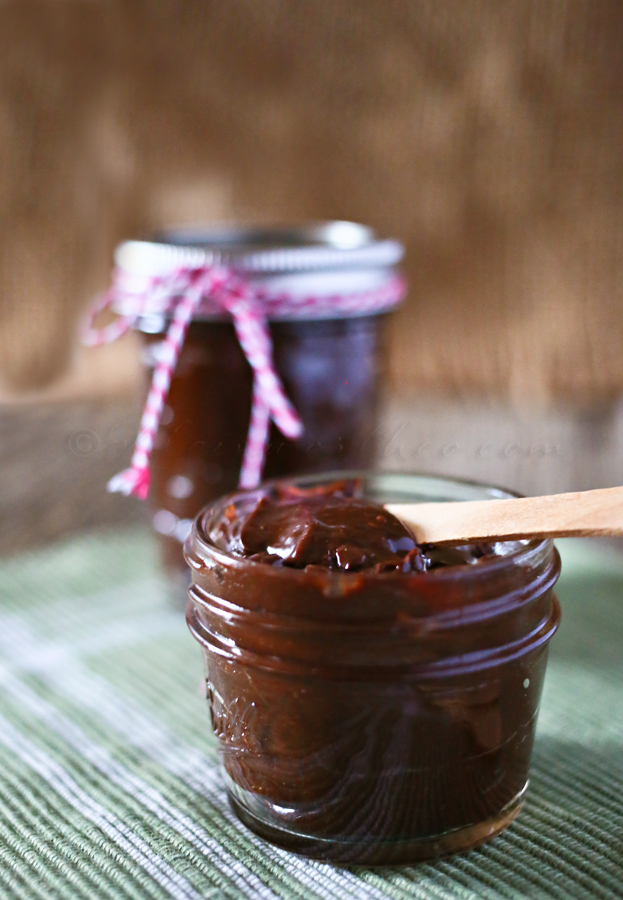
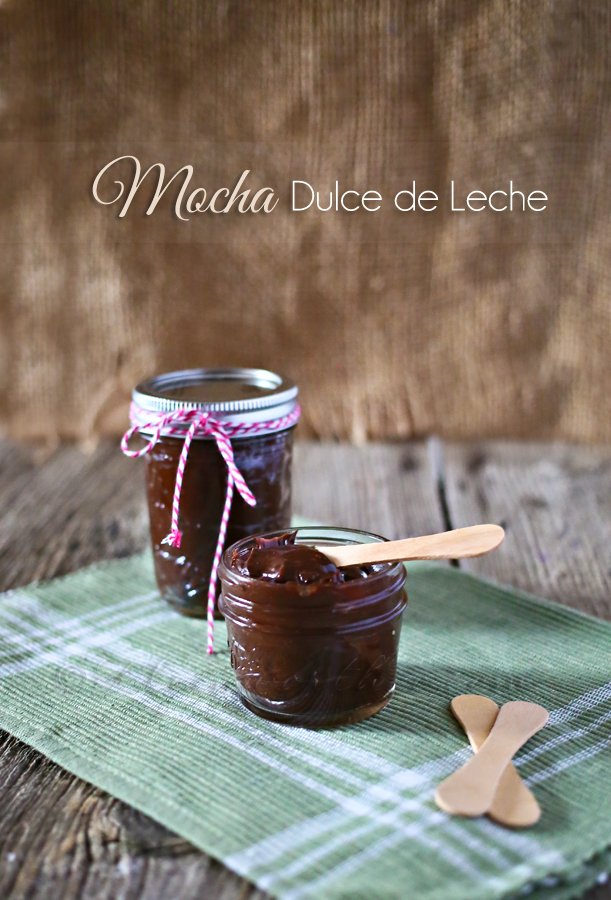
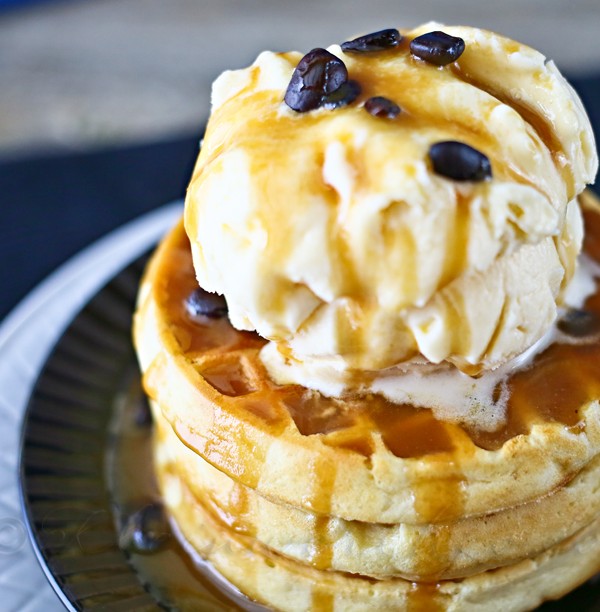
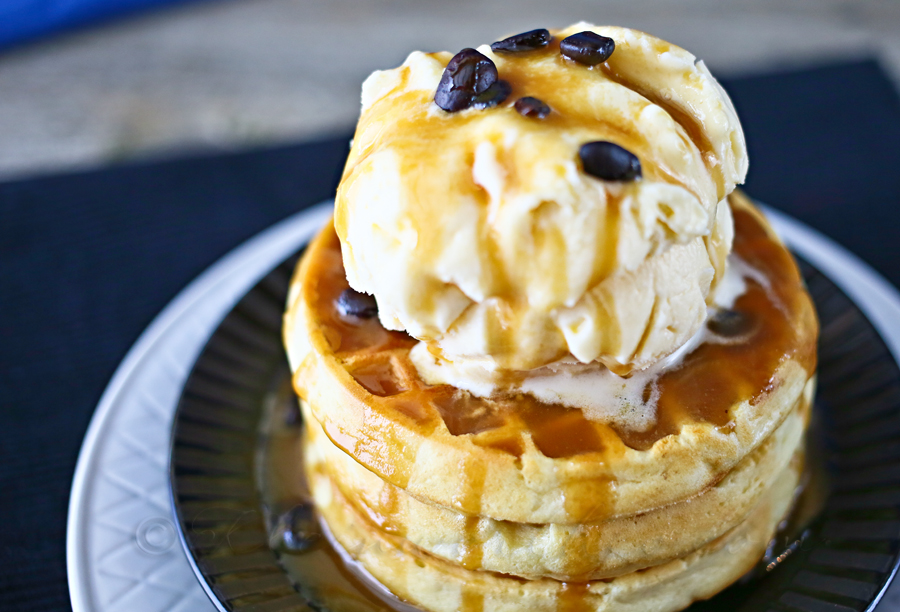
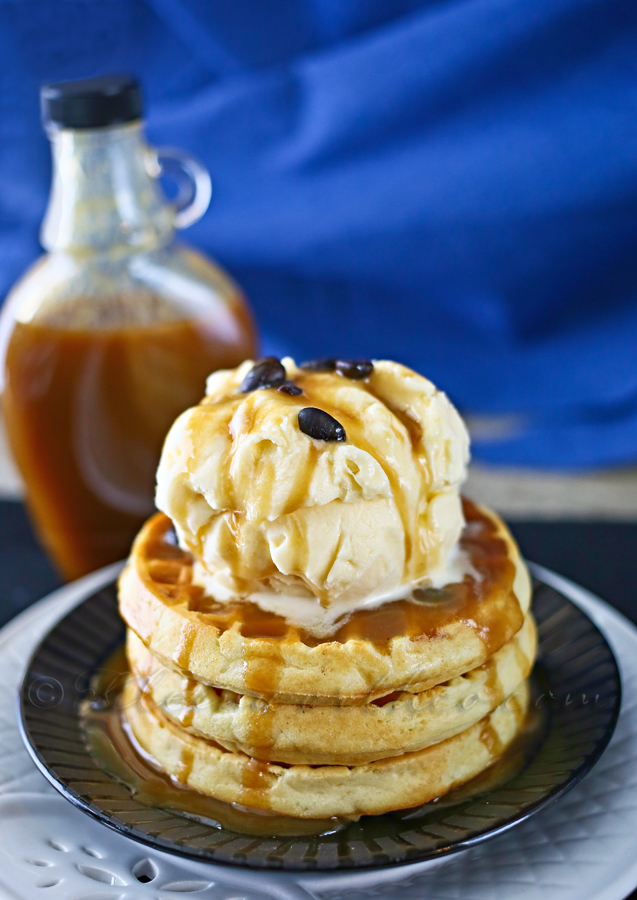
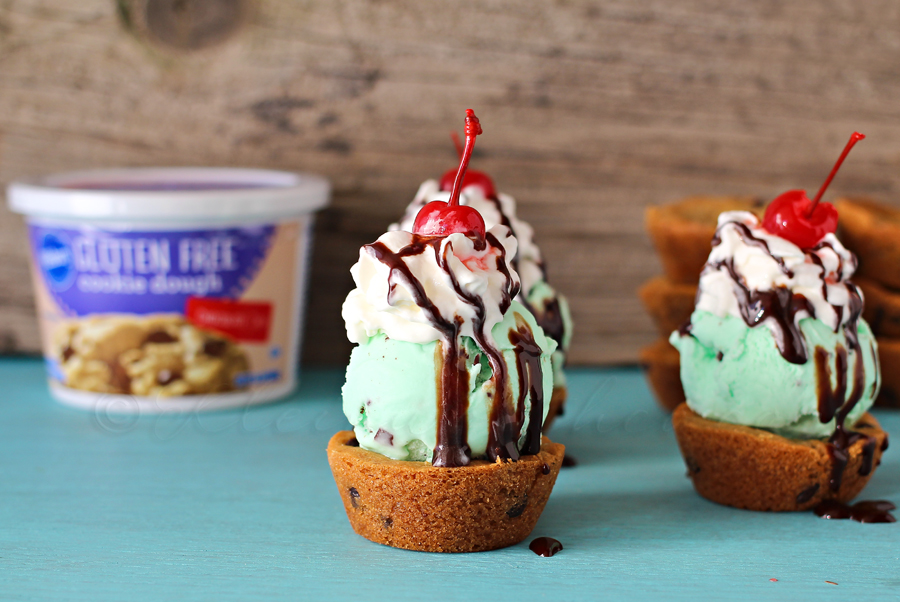
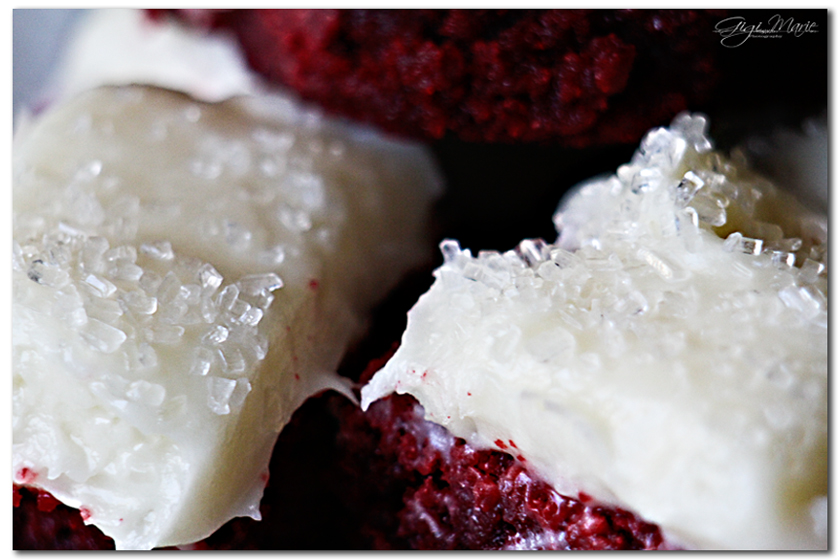
It’s no secret- when it comes to treats- for me MORE is MORE. If I can add an extra little something to make it even more over the top- I will. So it is no surprise that I like to keep homemade hot fudge in the house. I will put it on top of everything I can. I shared with you all earlier this week just how much I LOVE coconut. I have been sharing coconut recipes all week- including How to Toast Coconut. I decided to take the Toasted Coconut Butter I made & make this Toasted Coconut Hot Fudge. It really does take hot fudge to a whole new level- AND adds just another coconut flavored recipe to make my eyes roll to the back of my head. I can’t get enough. Do you see a pattern here? I told you I am crazy for coconut.
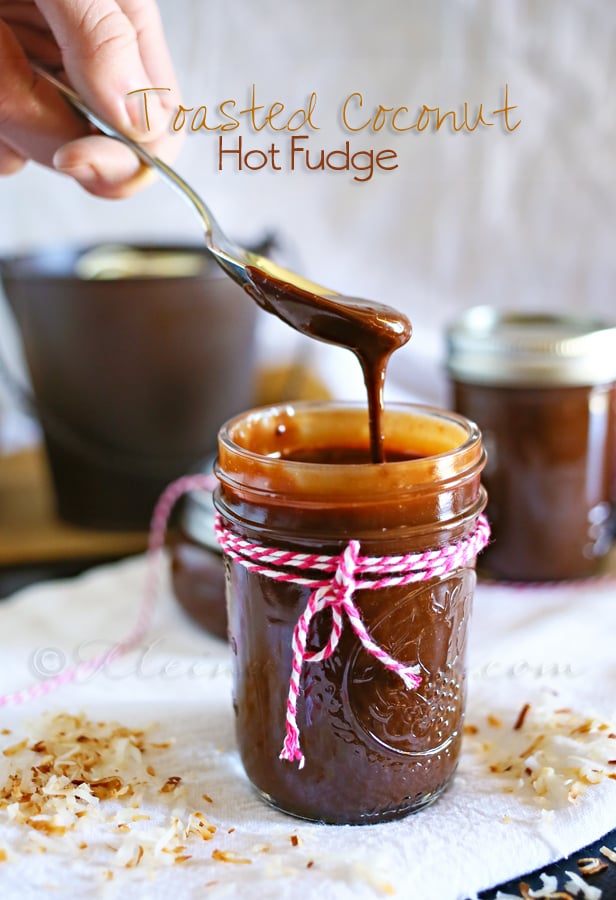
Swooning- seriously I could eat it out of the jar. I don’t even care.
I love that it’s so simple- I can have it ready before the hubs is even done scooping the ice cream.


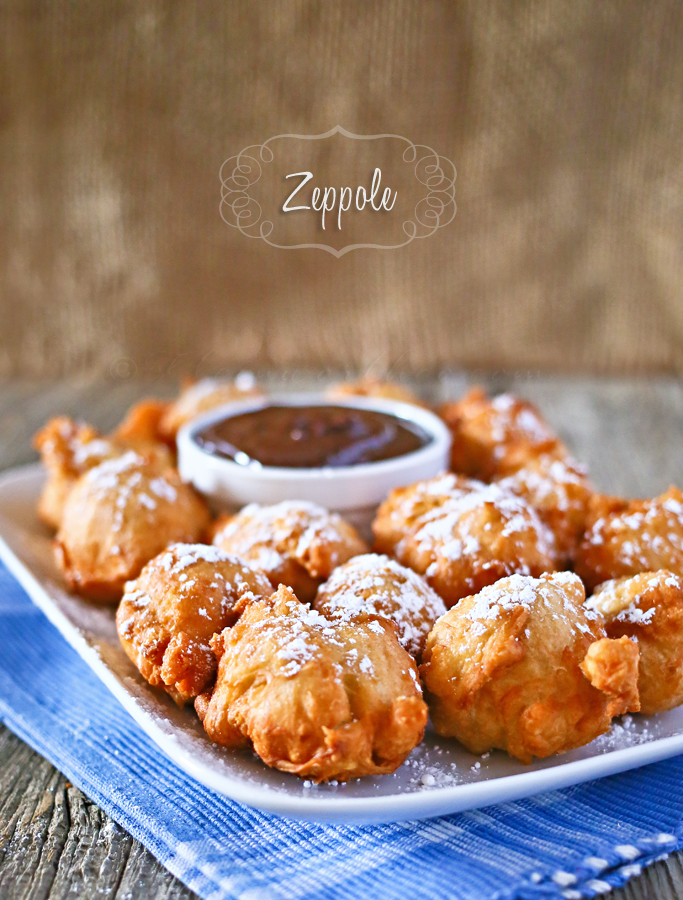
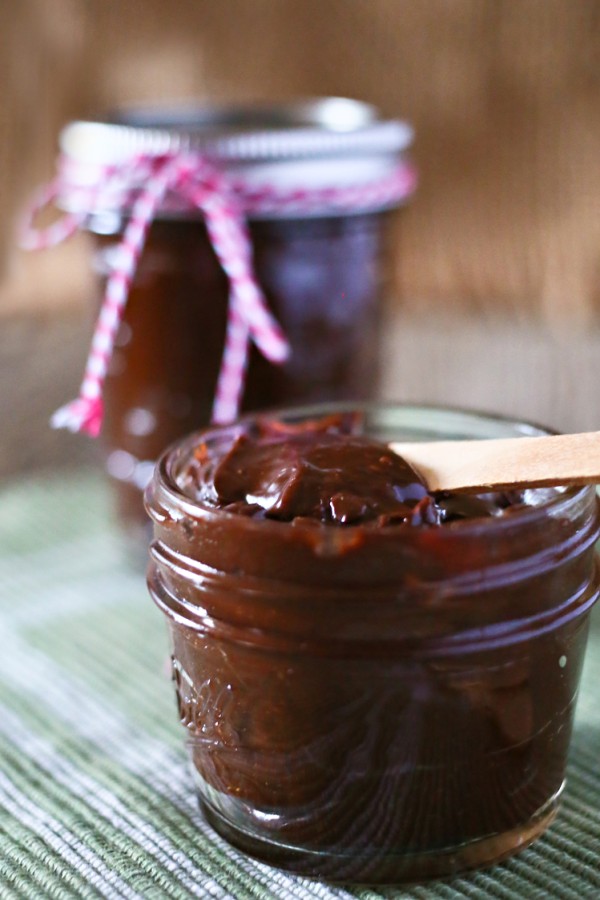
Toasted Coconut Hot Fudge
Ingredients
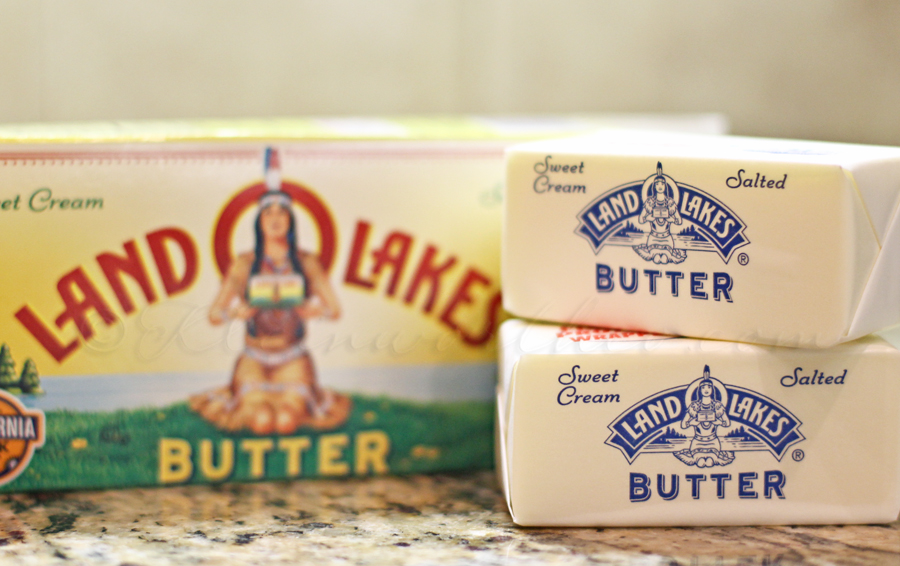
- 1/2 cup 1 stick unsalted butter
- 1 cup semi-sweet chocolate chips
- 1 14 ounce can sweetened condensed milk
- 2 tbsp toasted coconut butter
Instructions
- Combine all ingredients in small saucepan - cook over medium heat
- Stir constantly, do not bring to a boil- cook until butter is melted & sauce is smooth
- Remove from heat
- Transfer to sterilized jar or other airtight container
- Store in refrigerator
- Reheat as needed
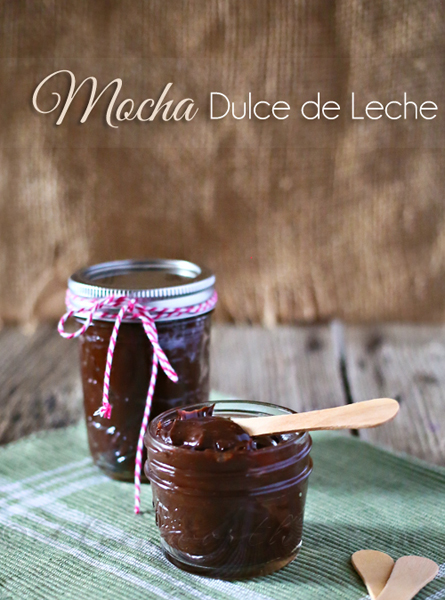
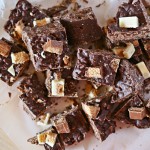
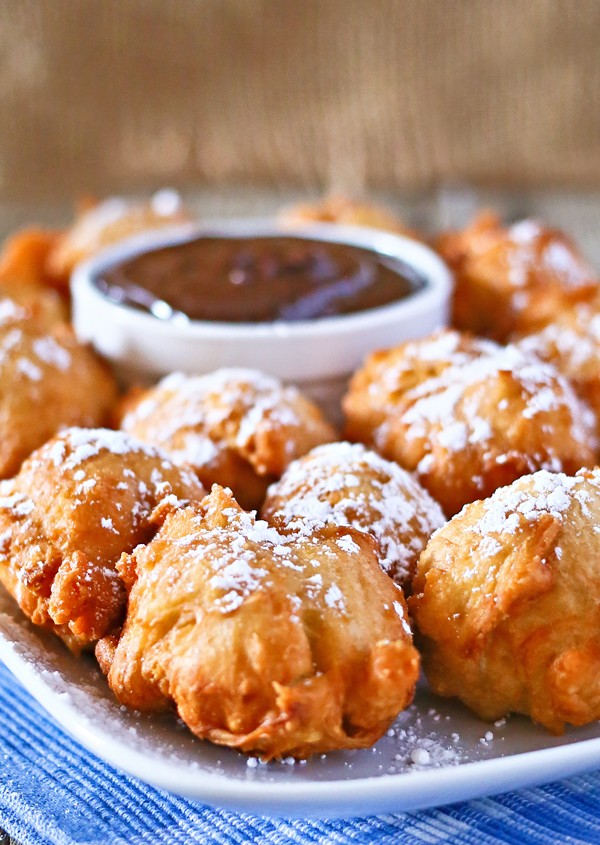
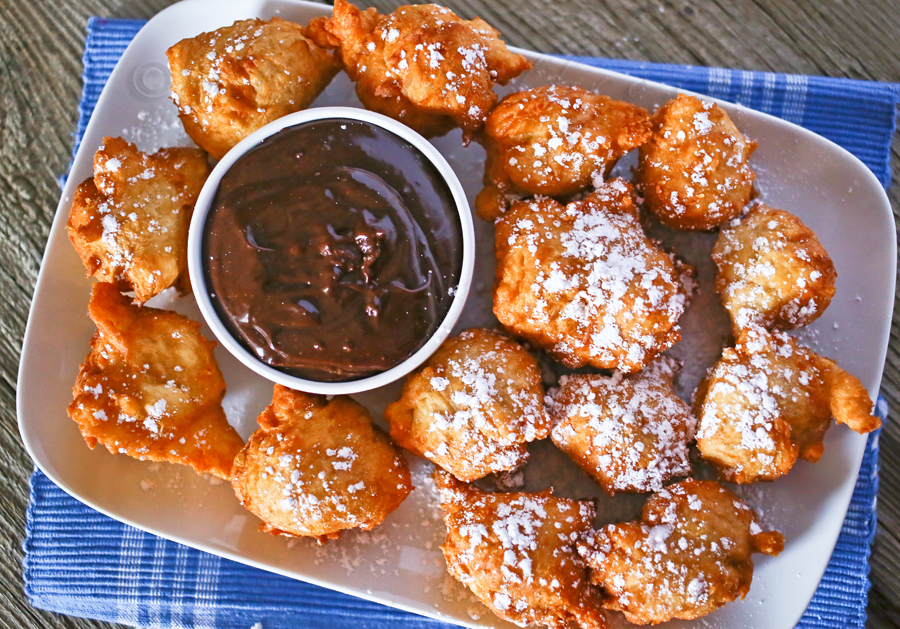
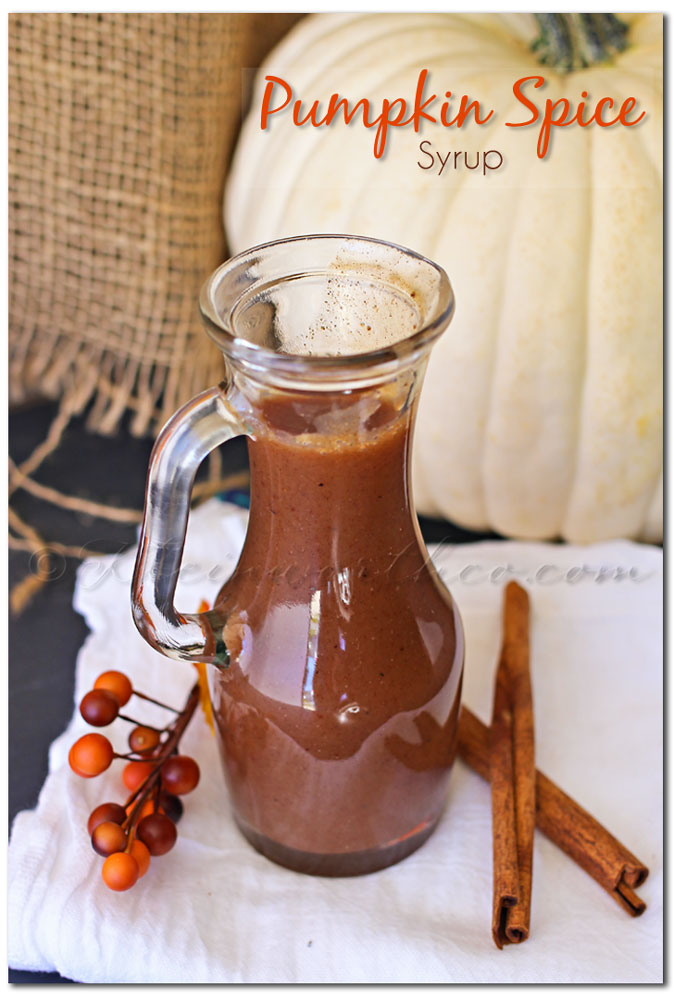
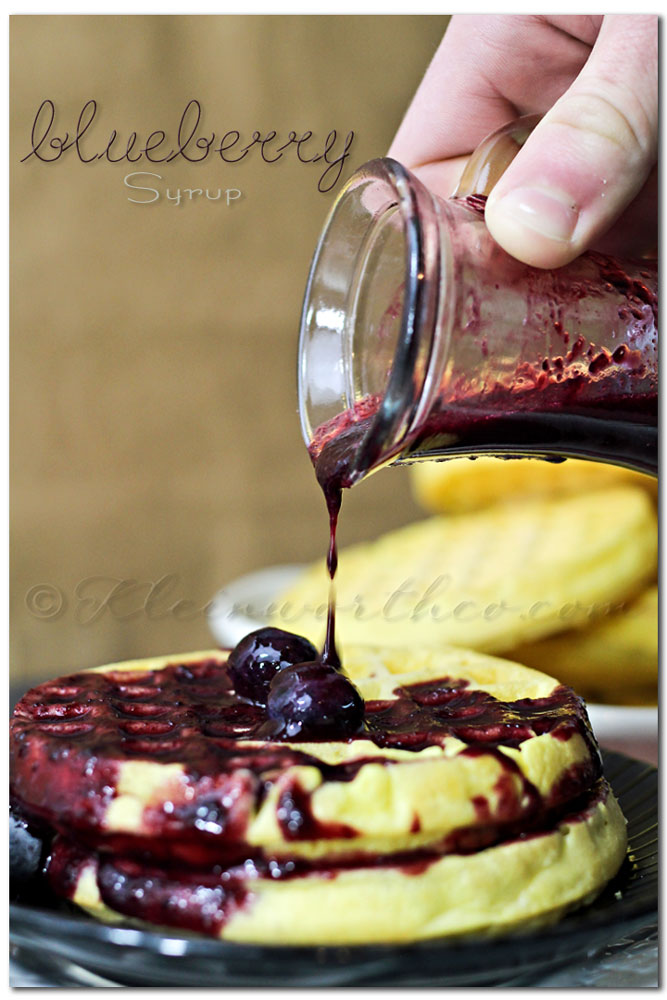
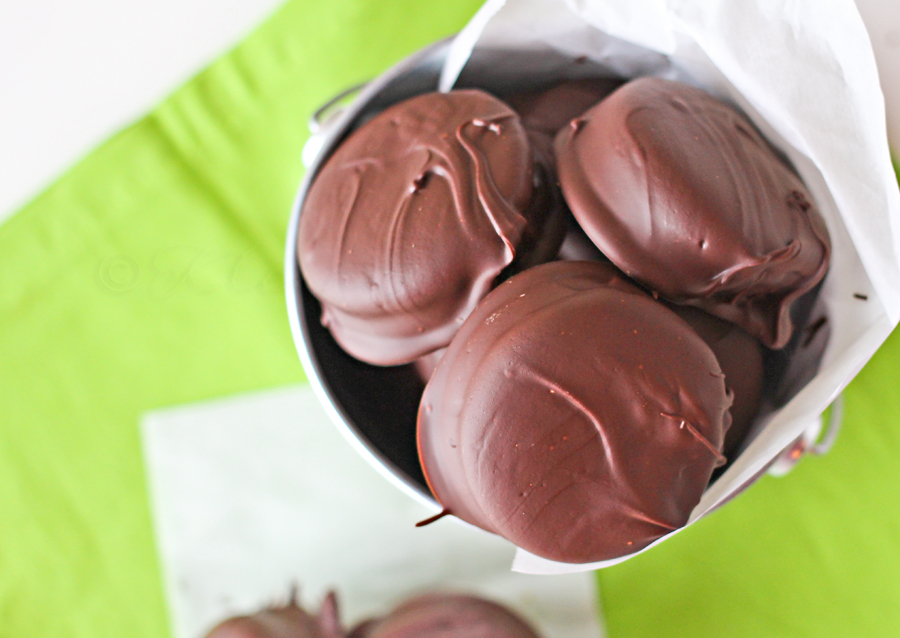
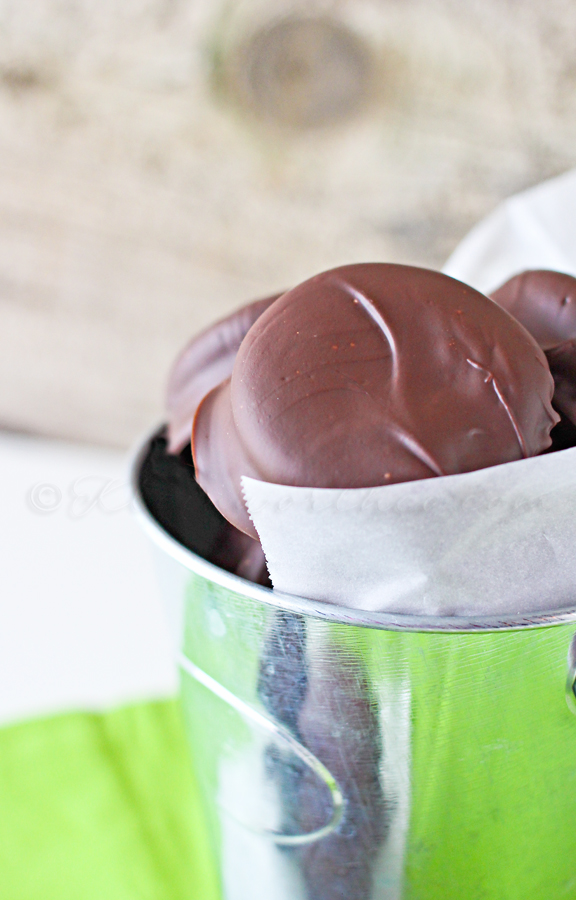
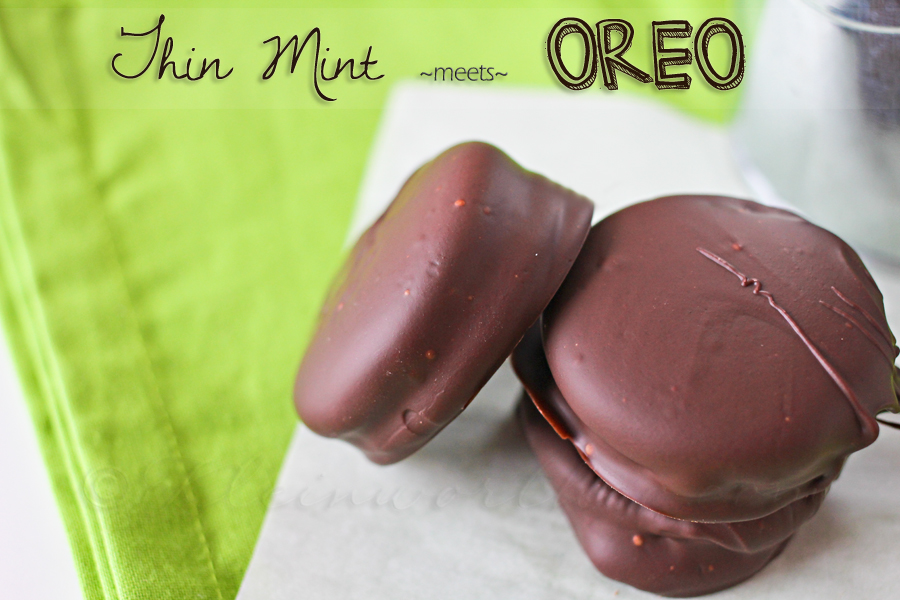
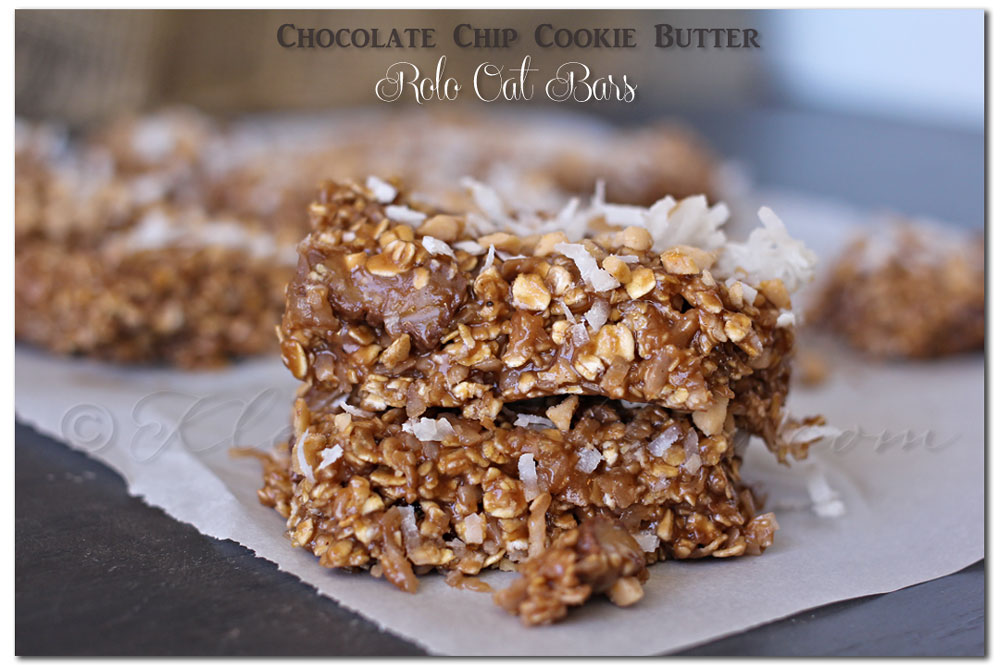
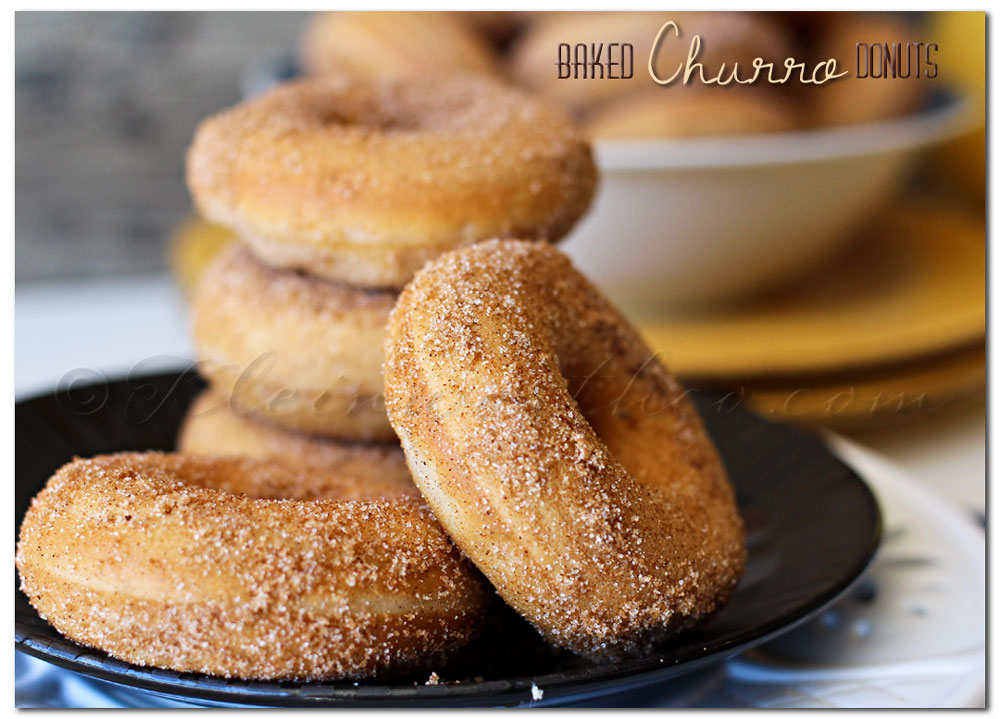
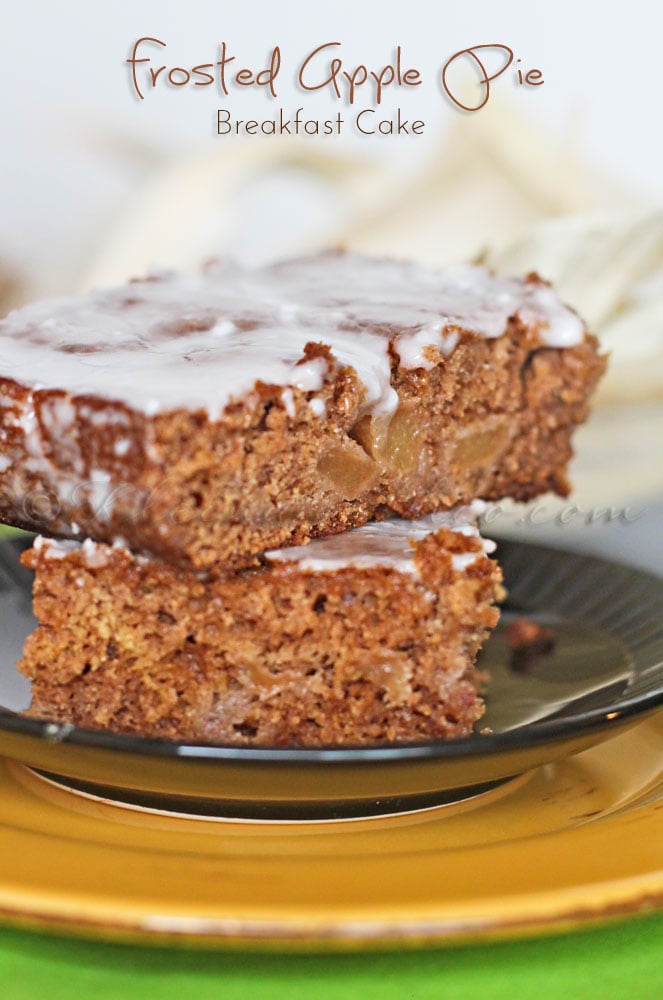
Want More Toppings?
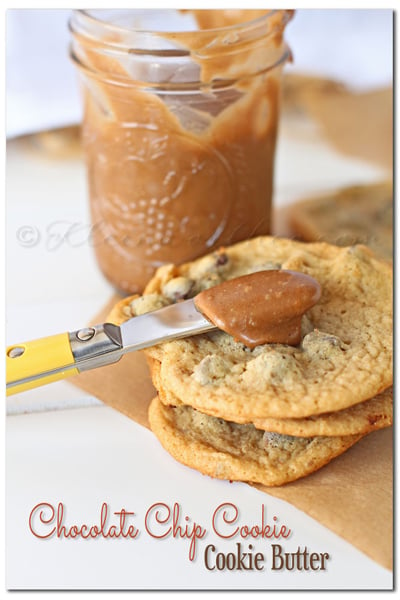
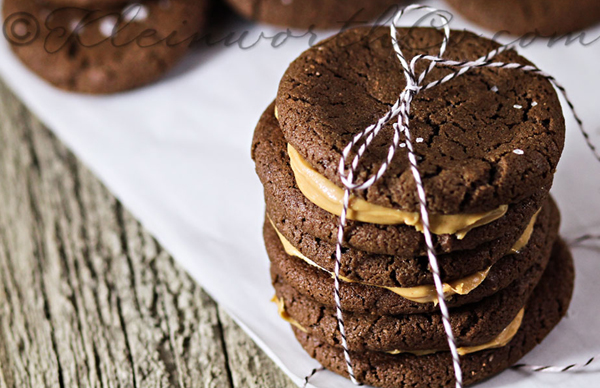
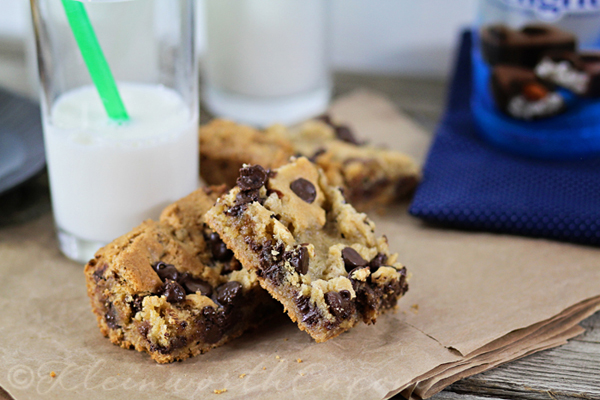
Chocolate Chip Cookie- Cookie Butter
To see where I am linking today- visit HERE


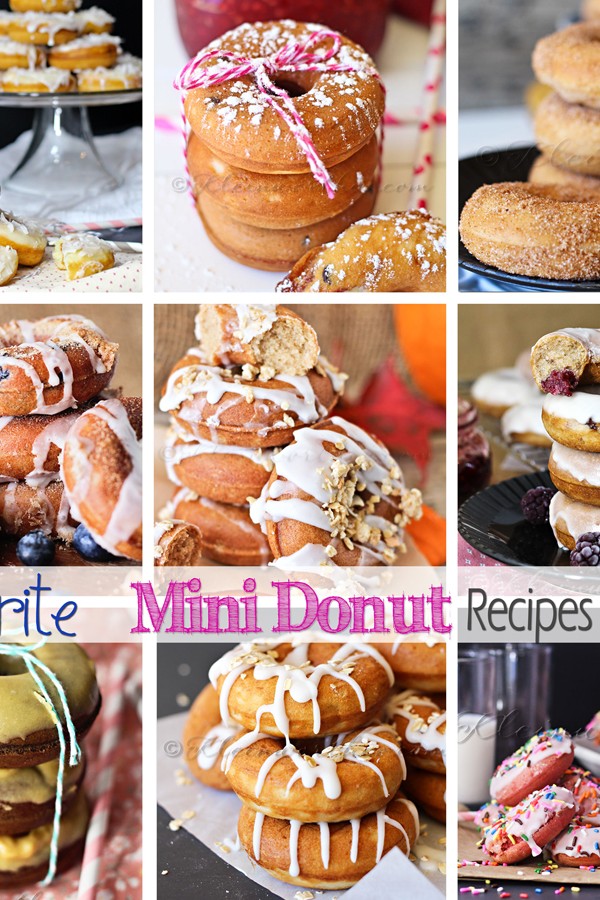
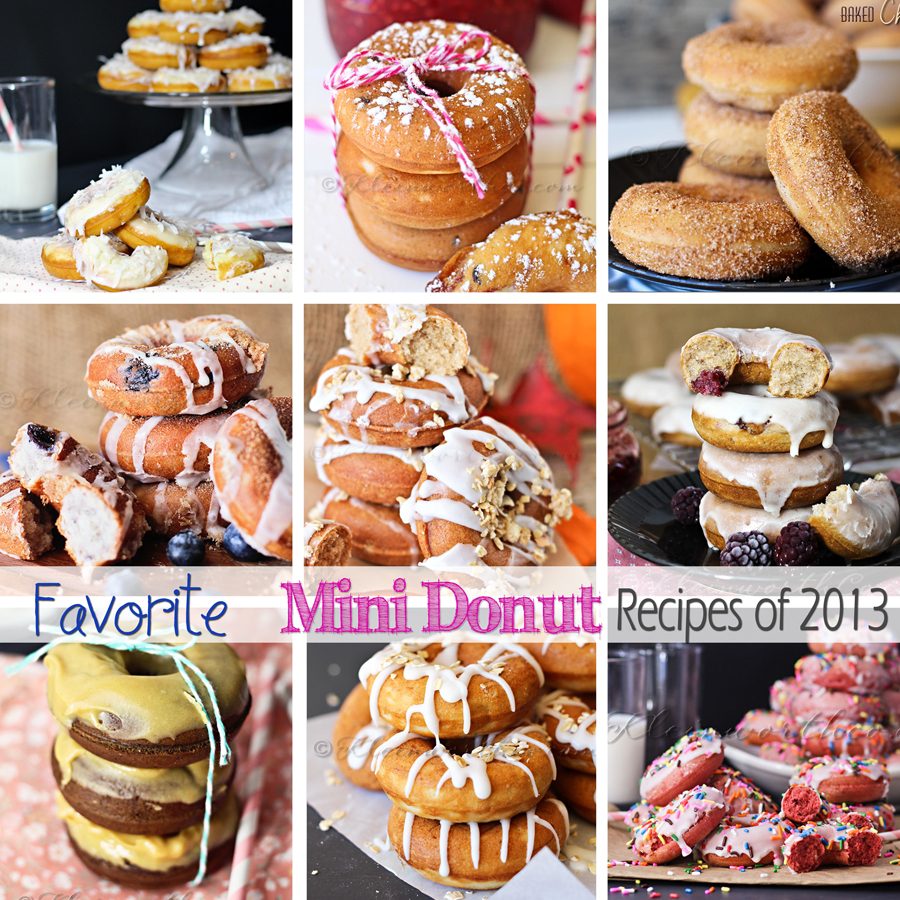


 You can find


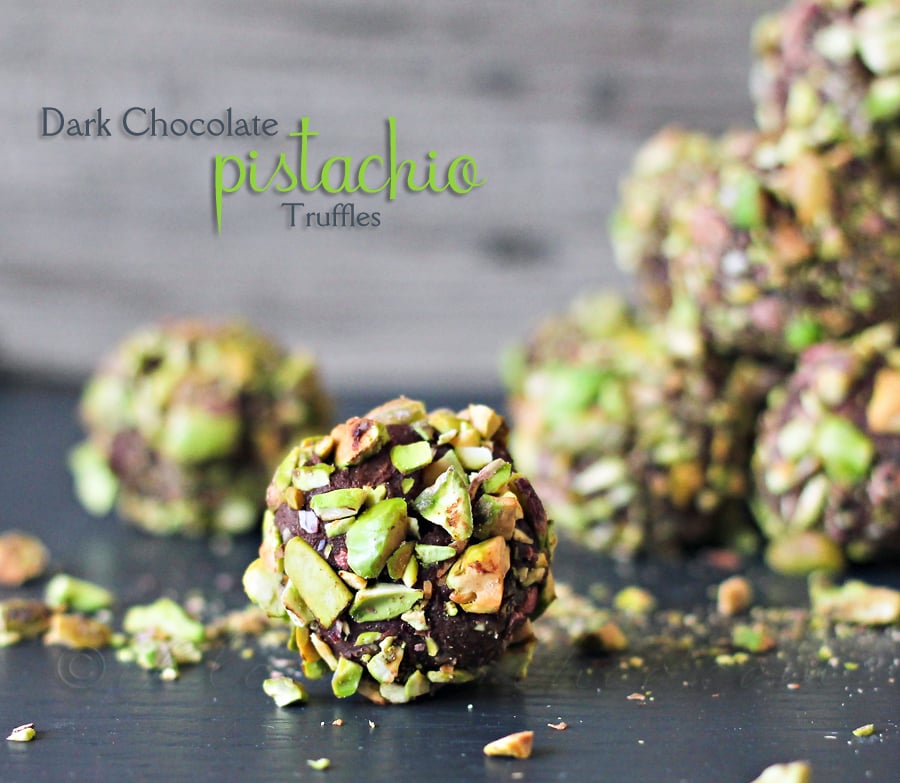
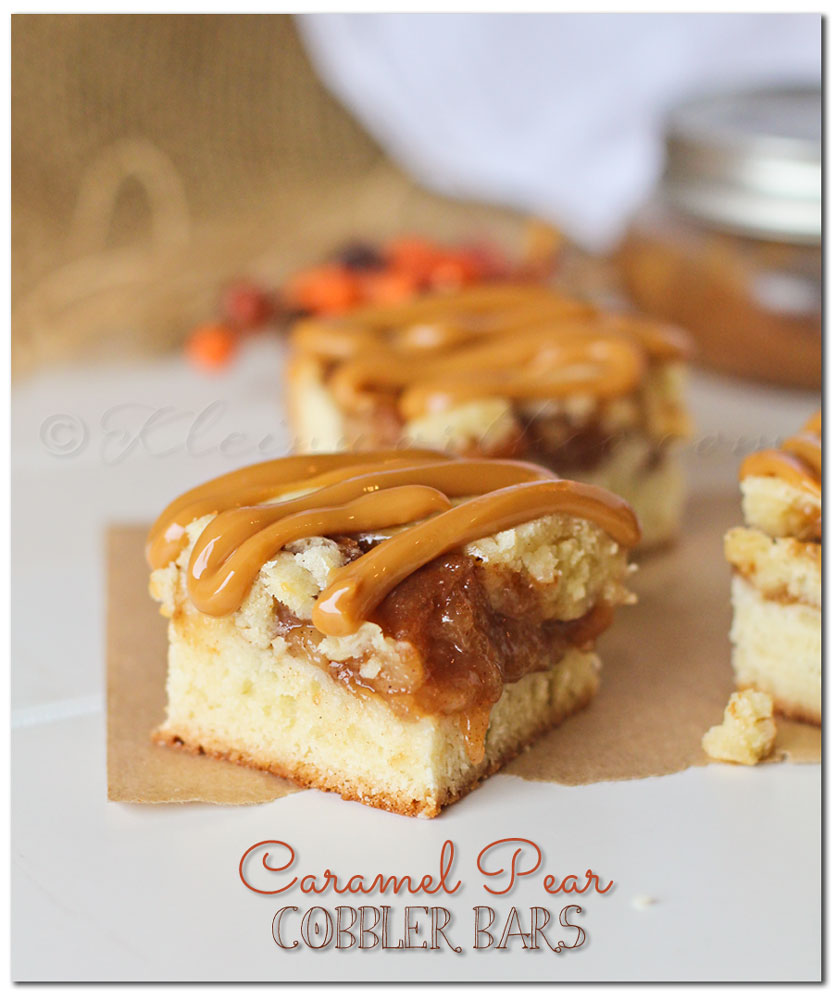
 These were so much fun to make.


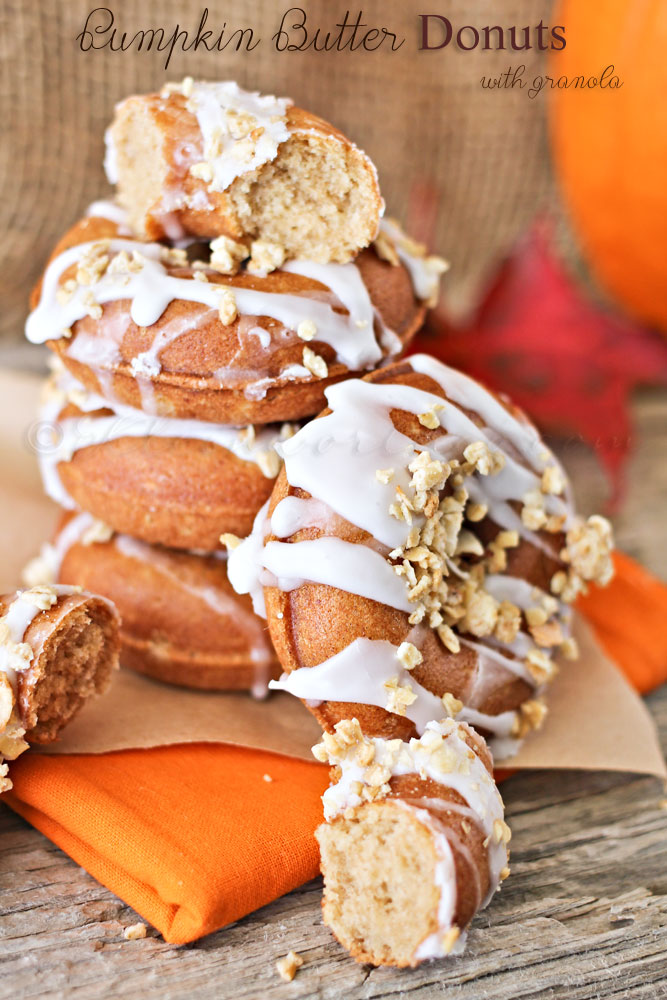
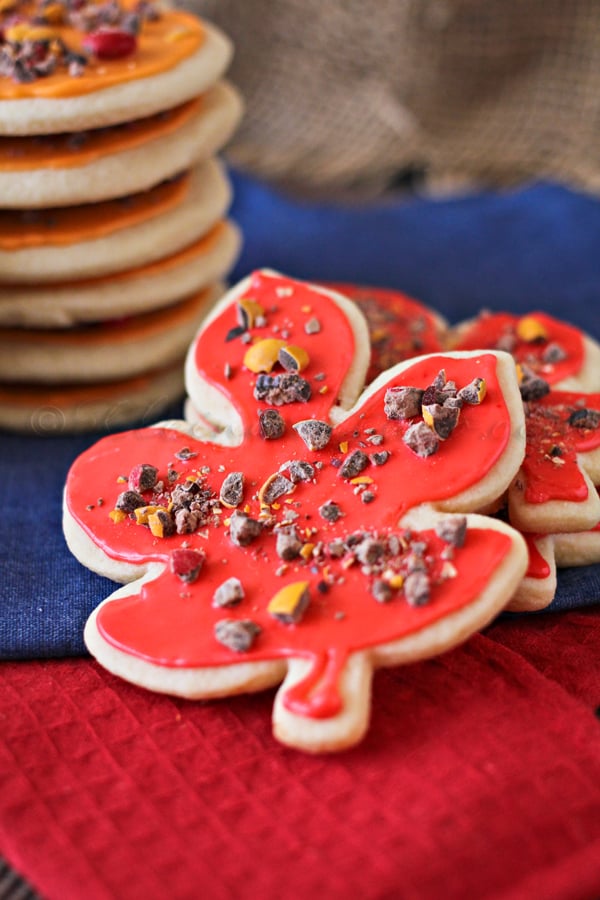
 The flavor of pumpkin spice in the drizzle is so yummy.
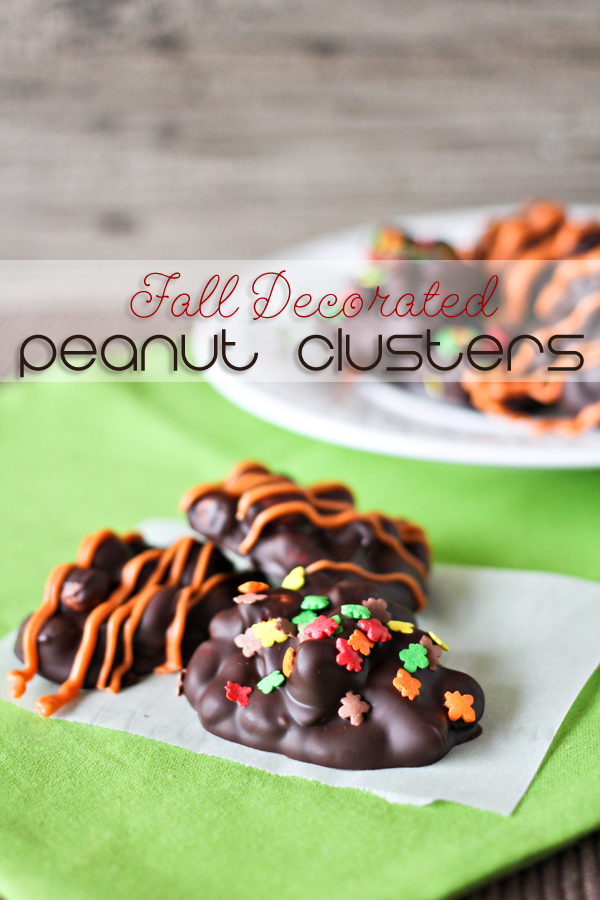

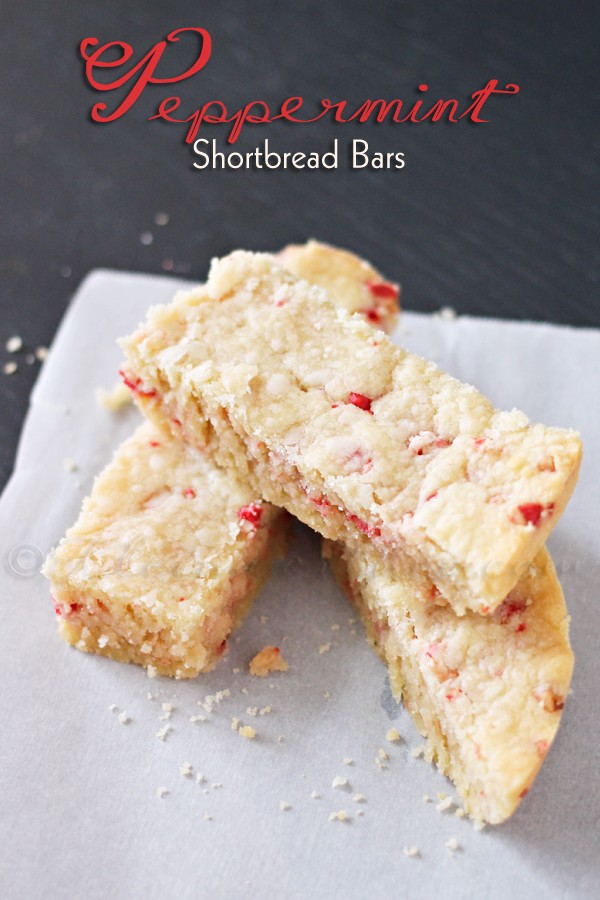
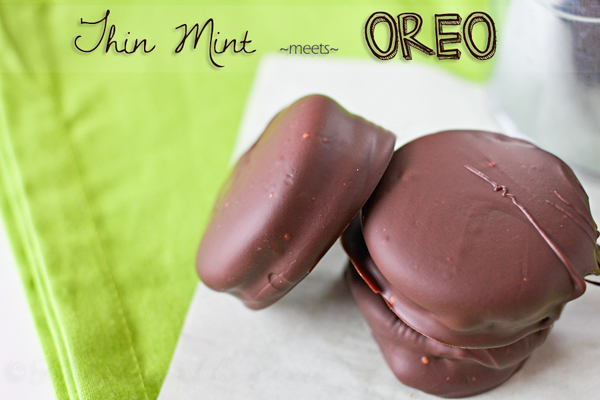
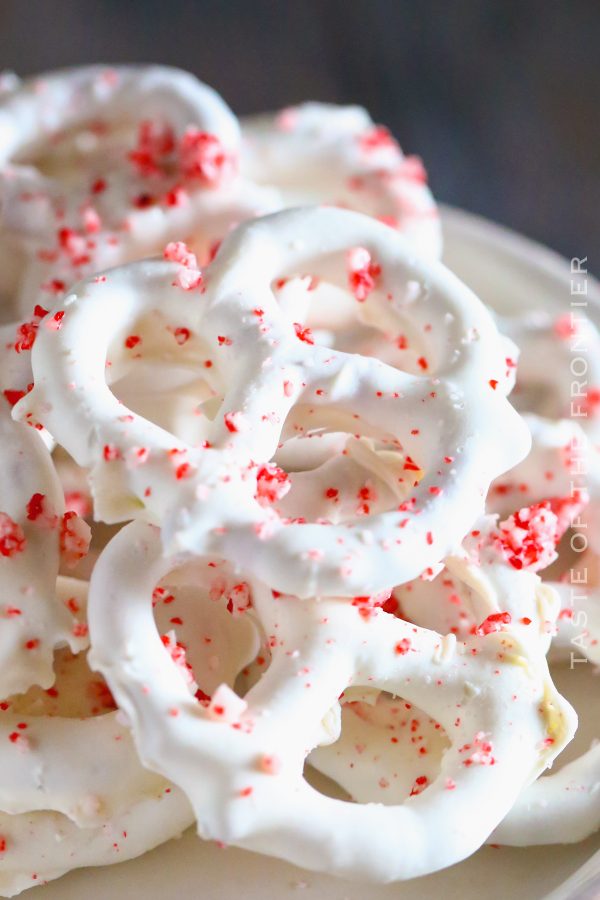
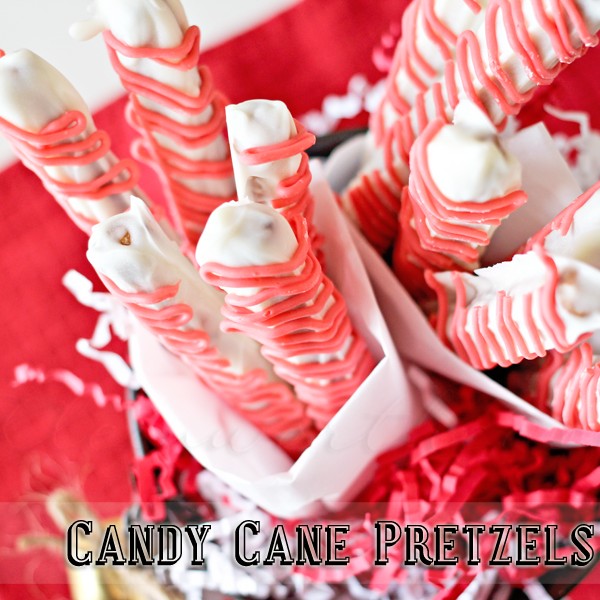
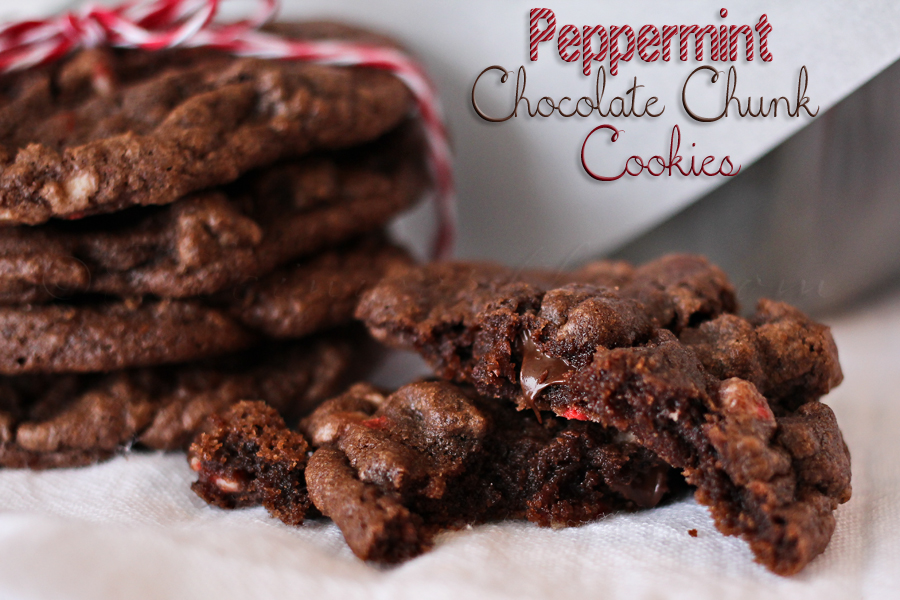
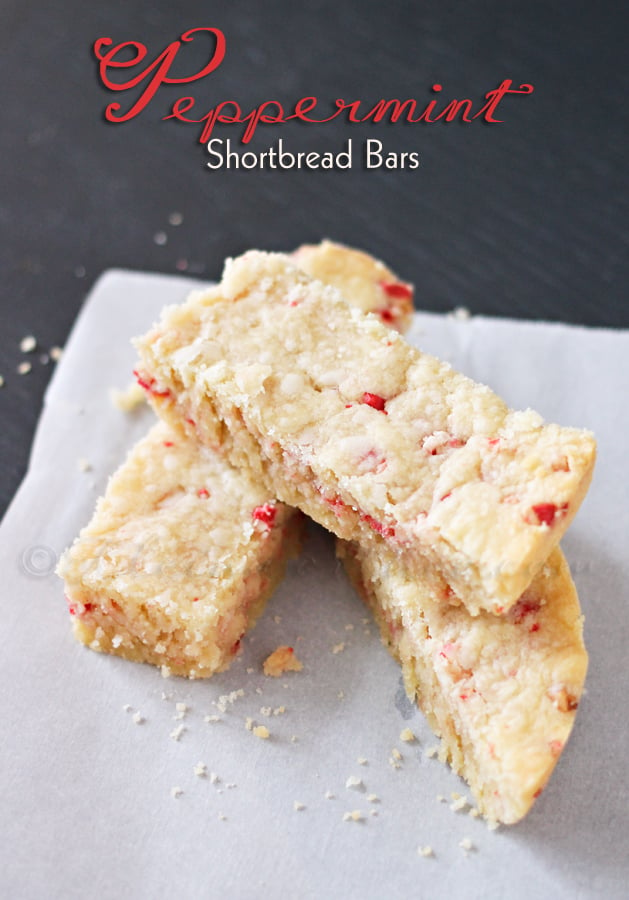
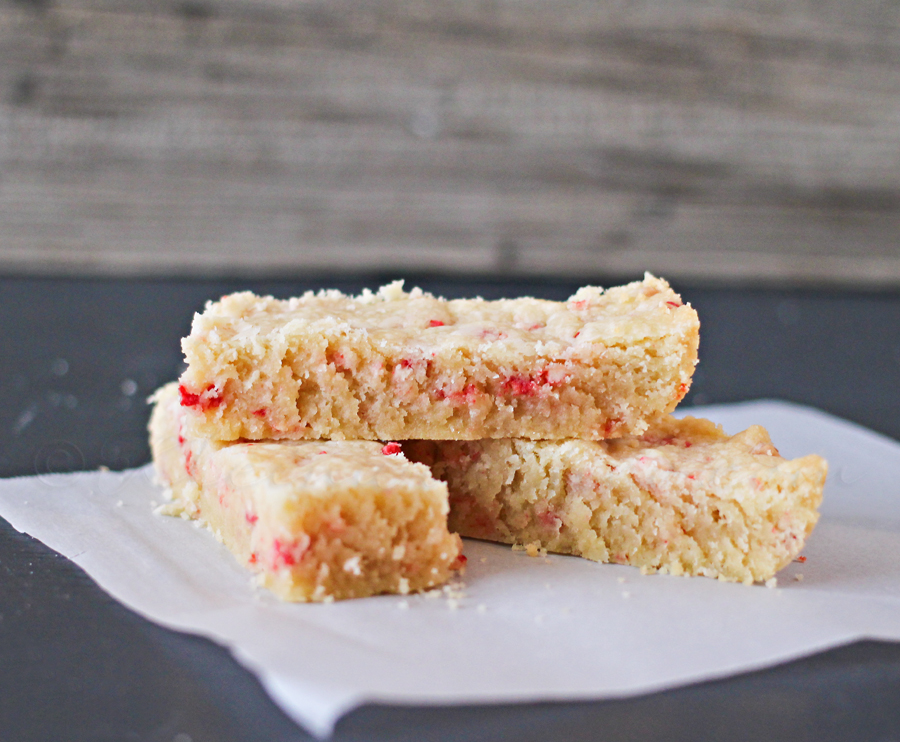 Buttery & rich with those little bits of peppermint to give your mouth a little pop.


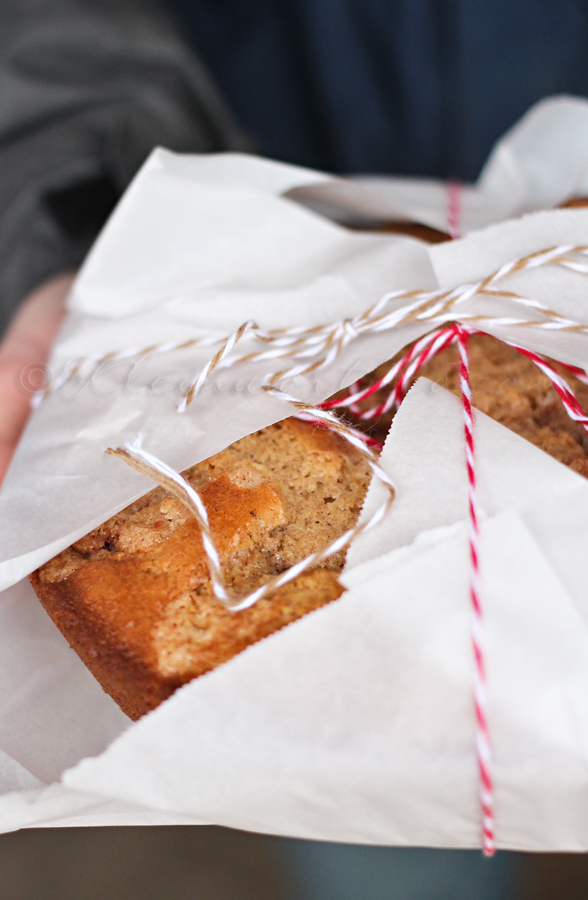 I give it a light wrap with parchment & some bakers twine.
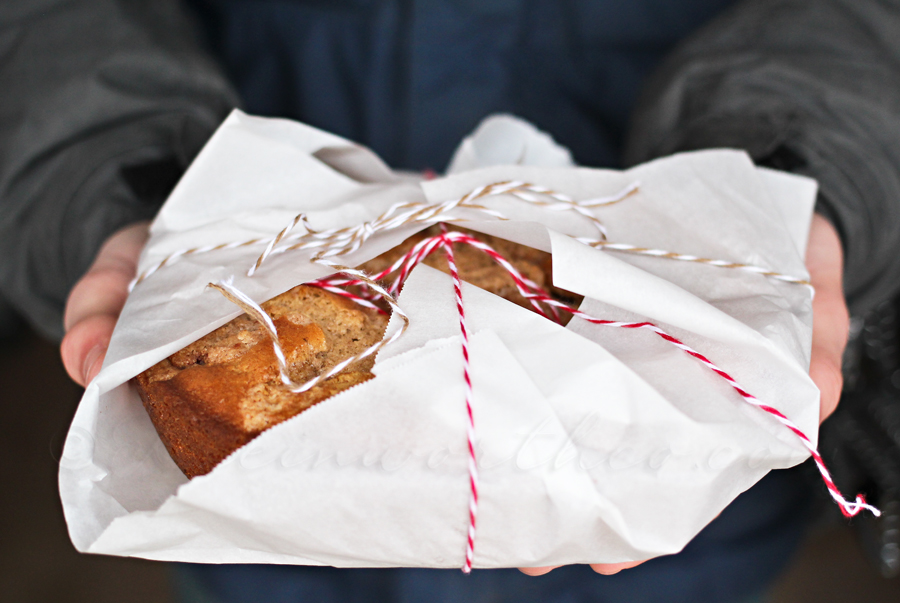 Then I send the kids out to do the deliveries.
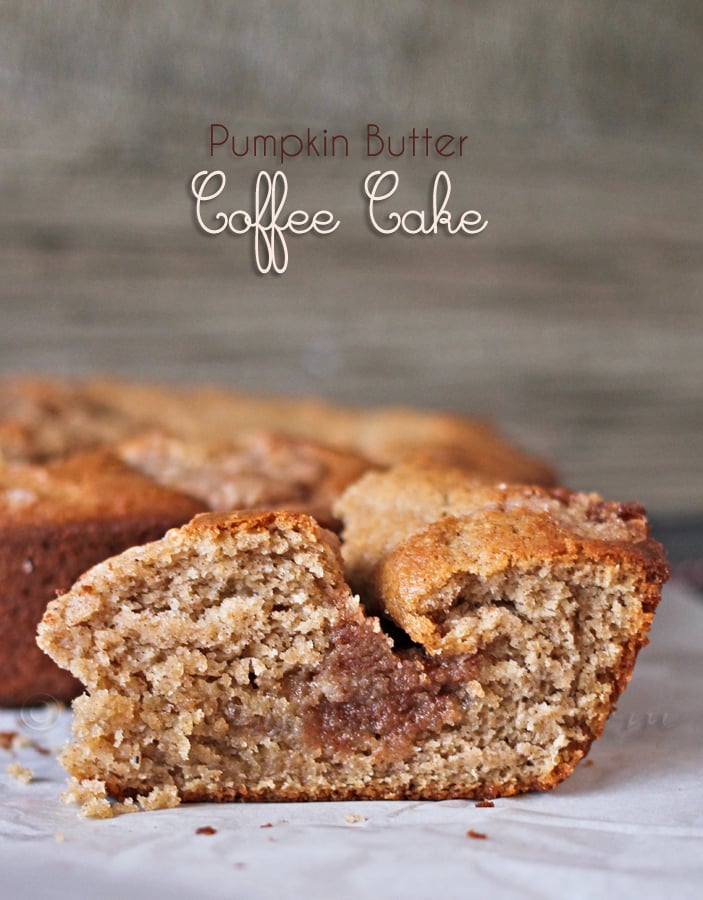
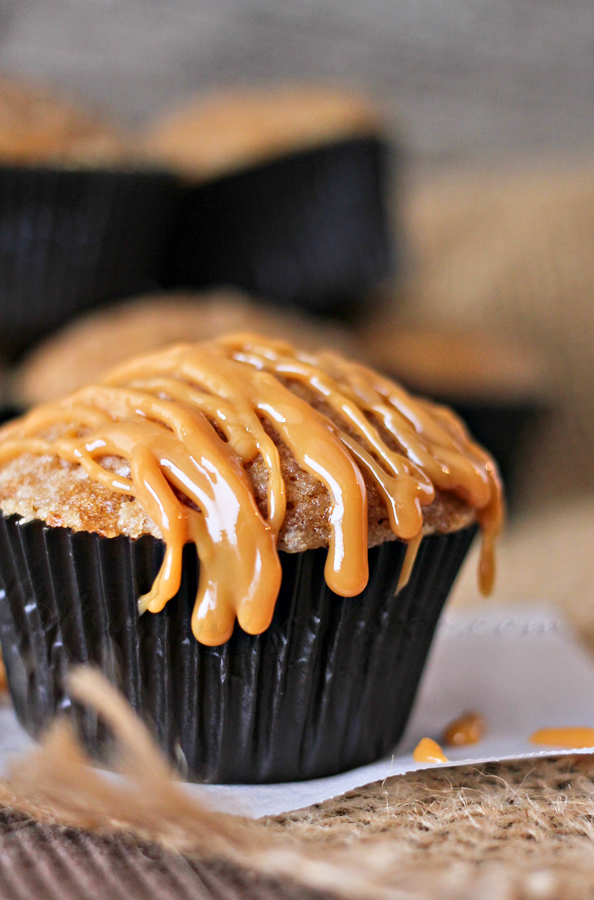
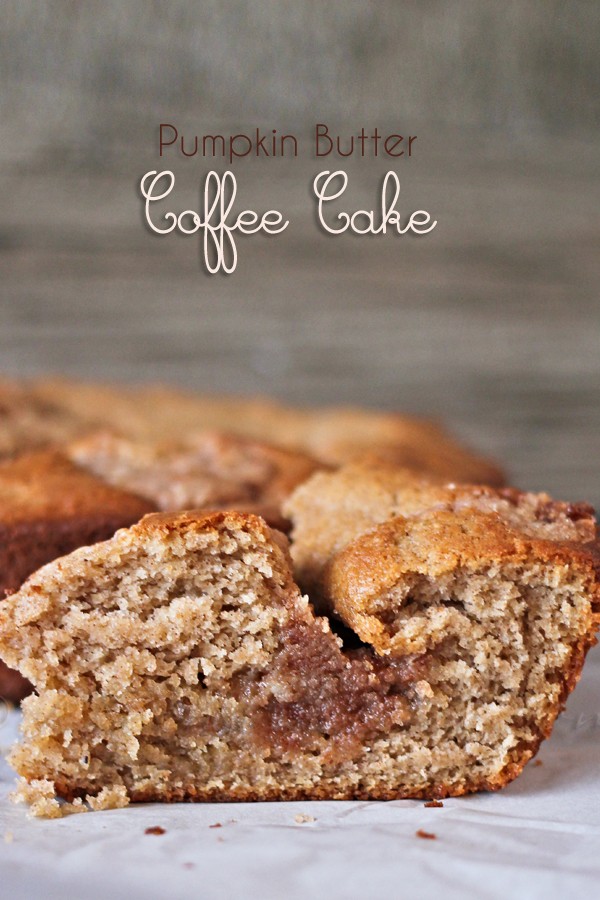
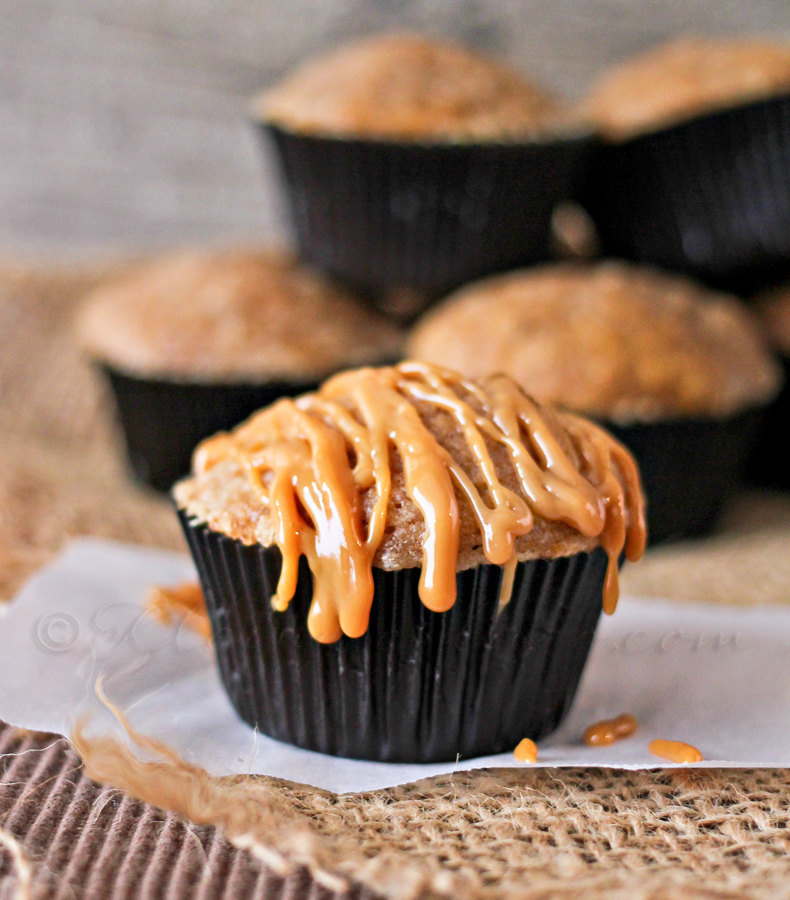 As if the pumpkin muffins weren’t tasty enough- that Dulce de Leche makes it goodness overload.
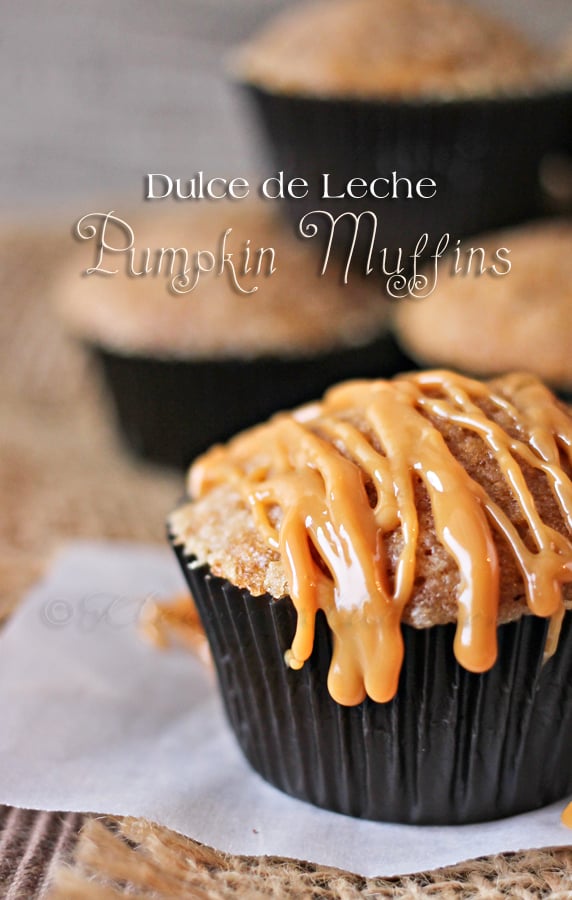 You know you want one 🙂


