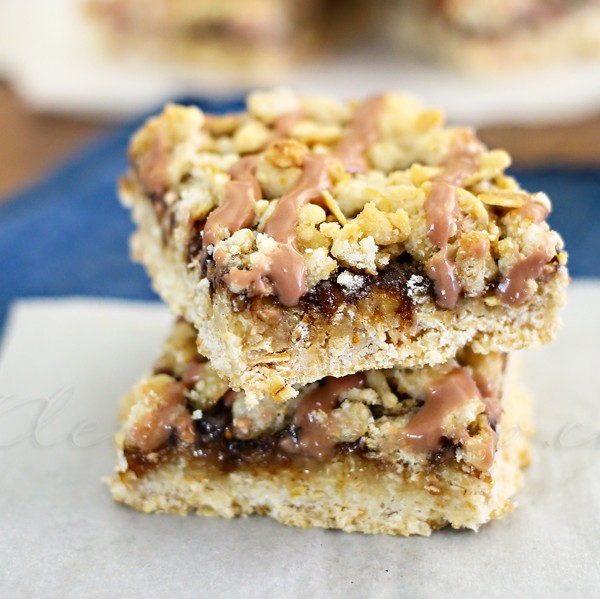
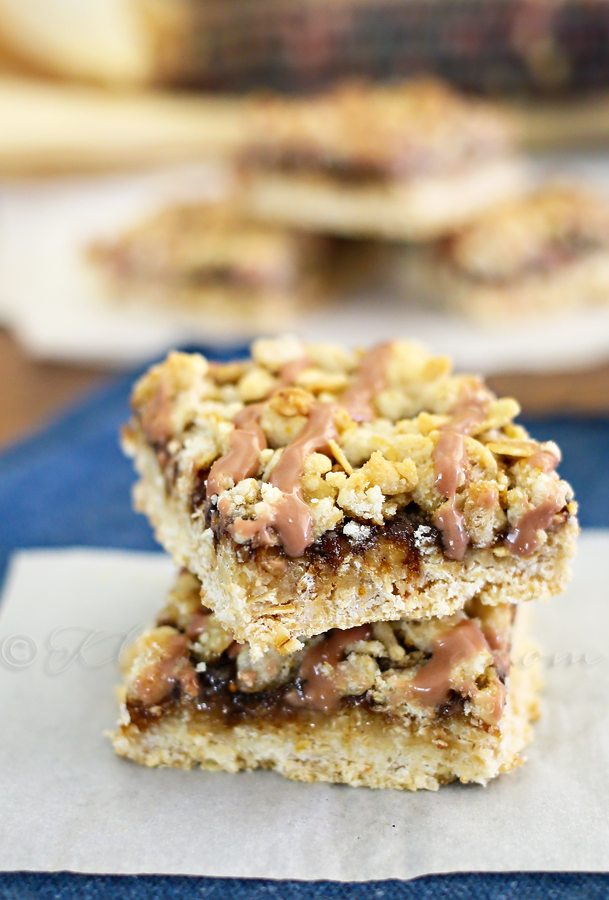
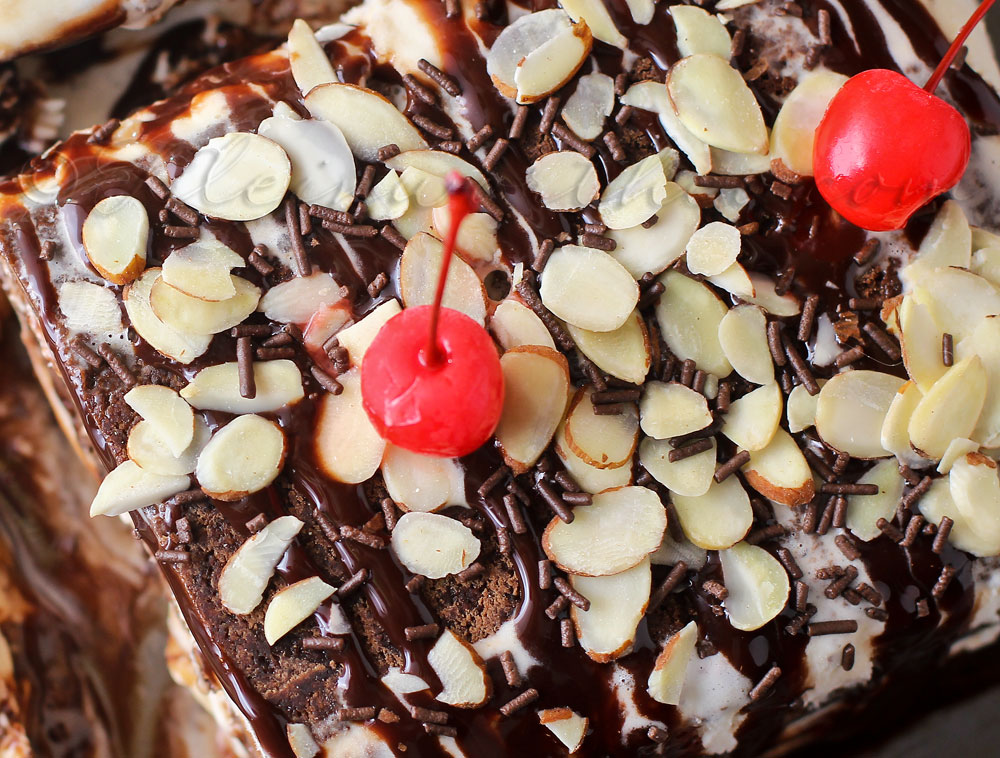
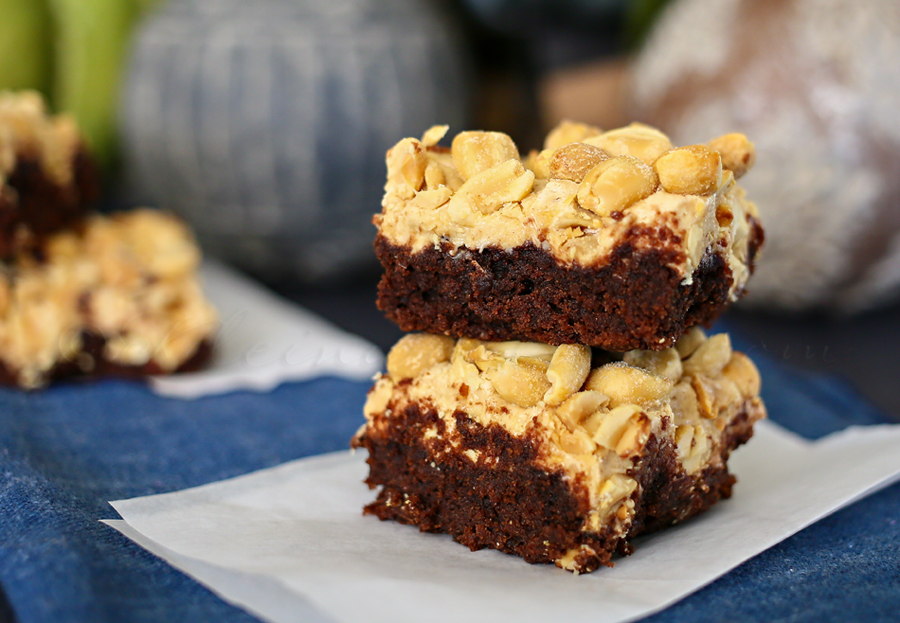
Are you a chocolate person or do you prefer salty treats?? For me it depends on the day. But my son – he likes his treats to be a mix of both – but he doesn’t go for the chocolate. His favorite goodie is a PayDay bar. He will grab that every time. I like them – I almost grab one – but then the urge to have chocolate overrides & I pass on the salty, sweet peanut butter. What can I say? I have to have the chocolate. So I have been promising him that I would make him a whole tray of homemade PayDay bars for a long time now. But that no chocolate thing always keeps me from doing it. That is until I found the perfect compromise. A nice chocolaty brownie topped with homemade PayDay becomes PayDay Brownies & they are AMAZING!! I love Yummy Bar Recipes!
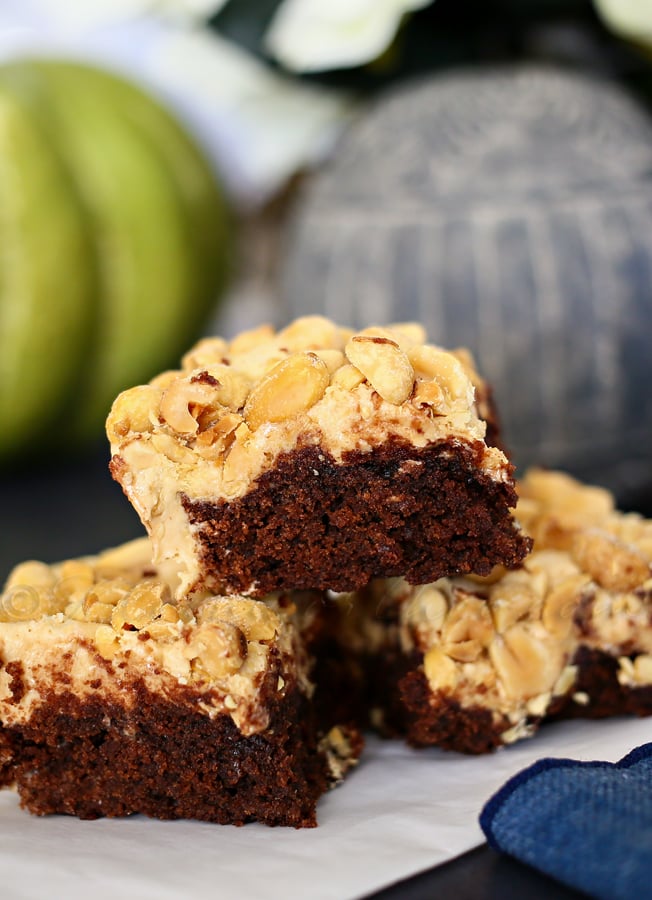
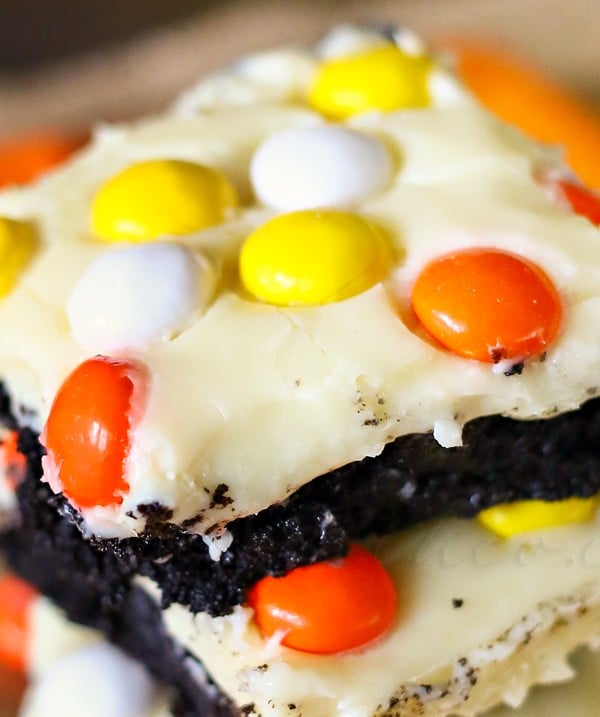
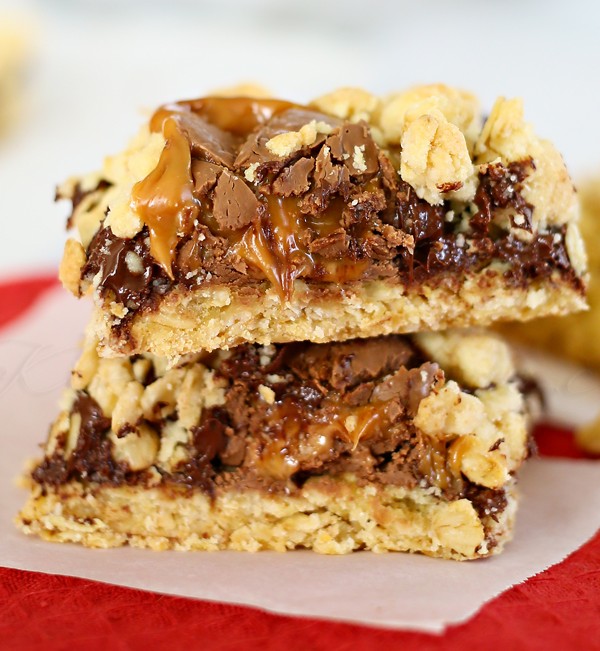
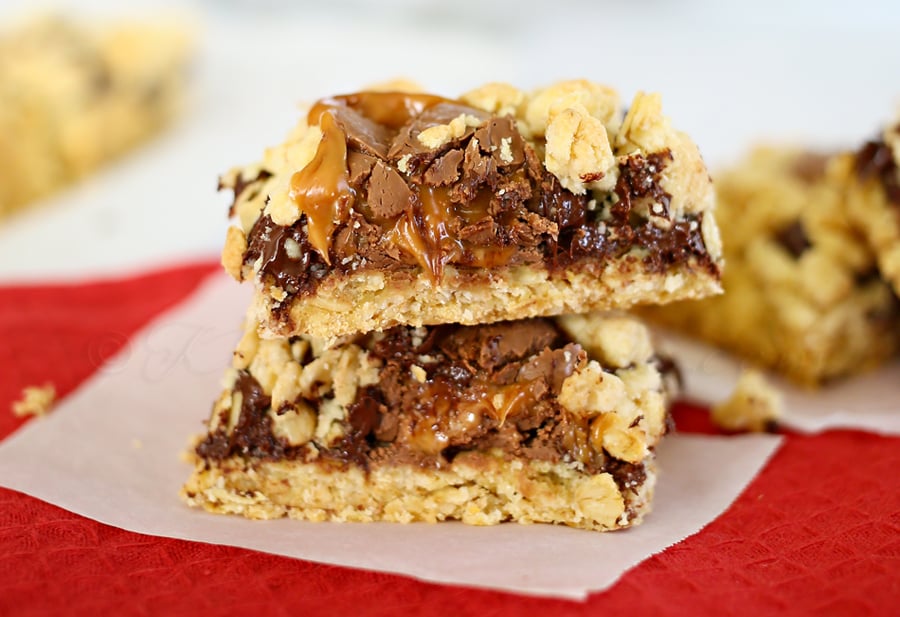
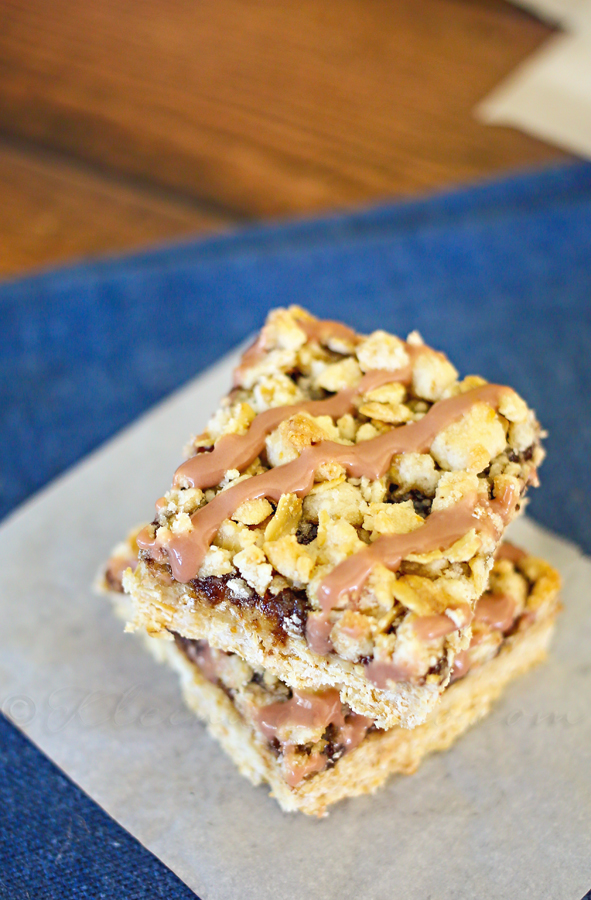
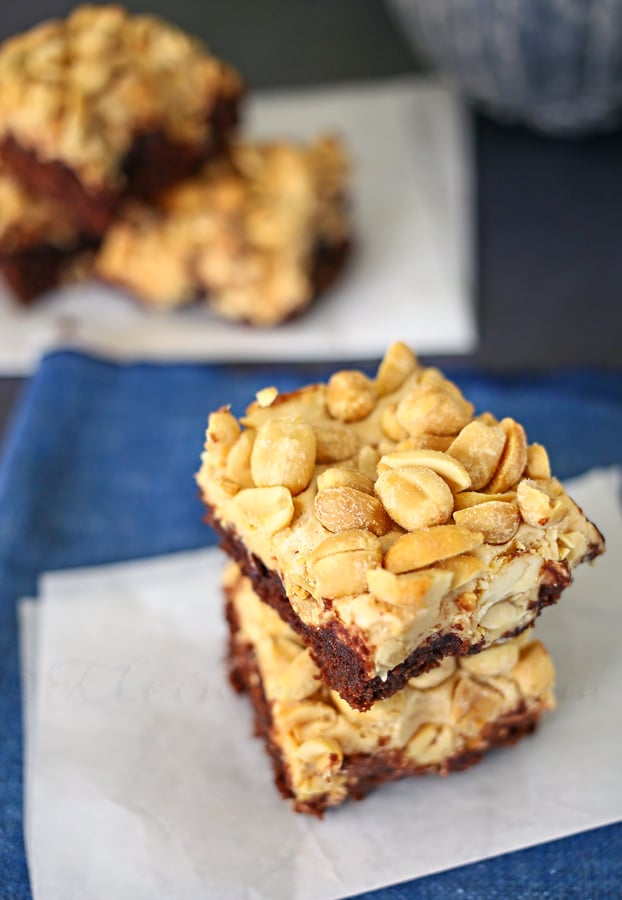
Oh yeah – the brownie & then the sweet & chewy inner part of the payday – then topped with salty peanuts.
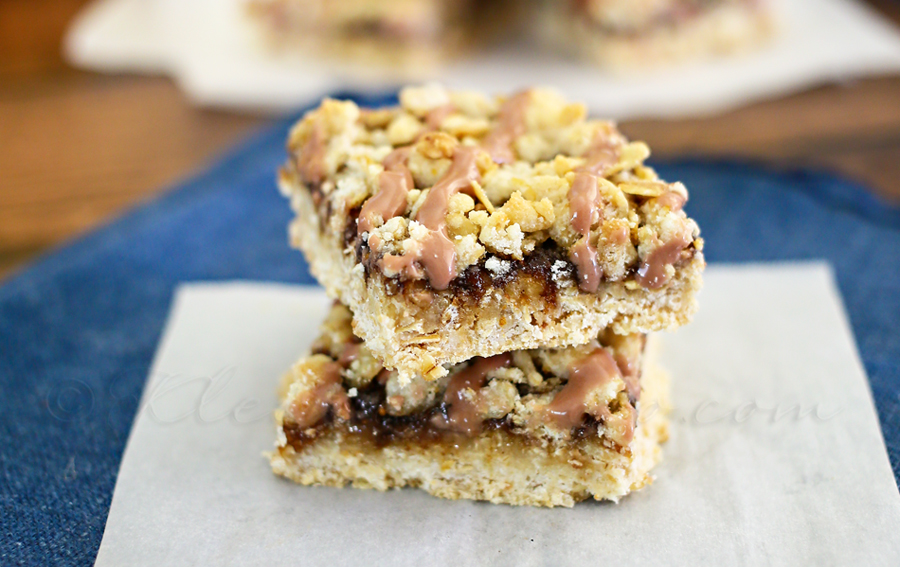
Heavens – I am usually pretty good about only sampling the things I share here & letting others finish it all off. These – well, I had a hard time not eating the whole pan.
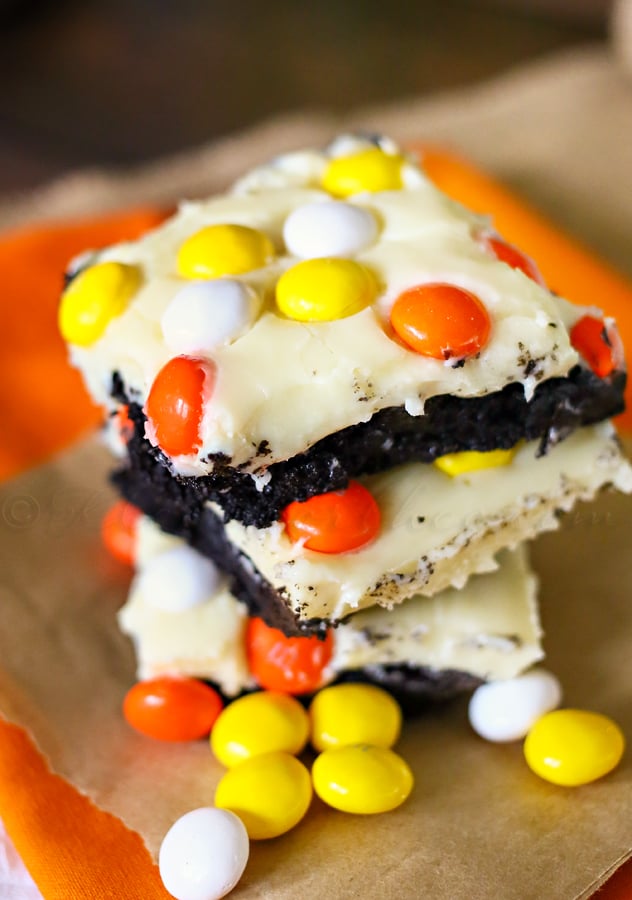
It was certainly hard to share. I found myself feeling sad when I had to divvy them out.
I gotta say – my son & everyone else sure loved these.
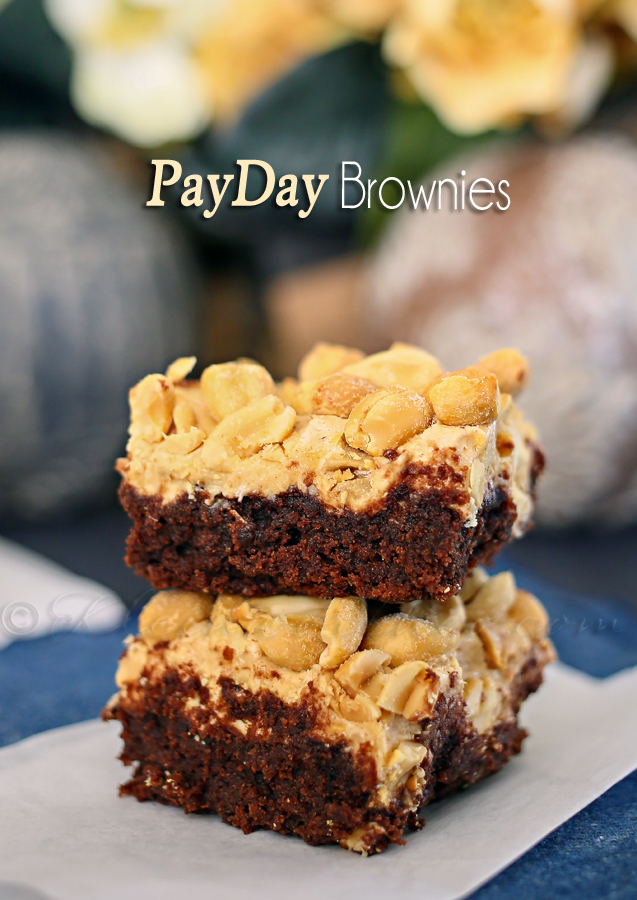

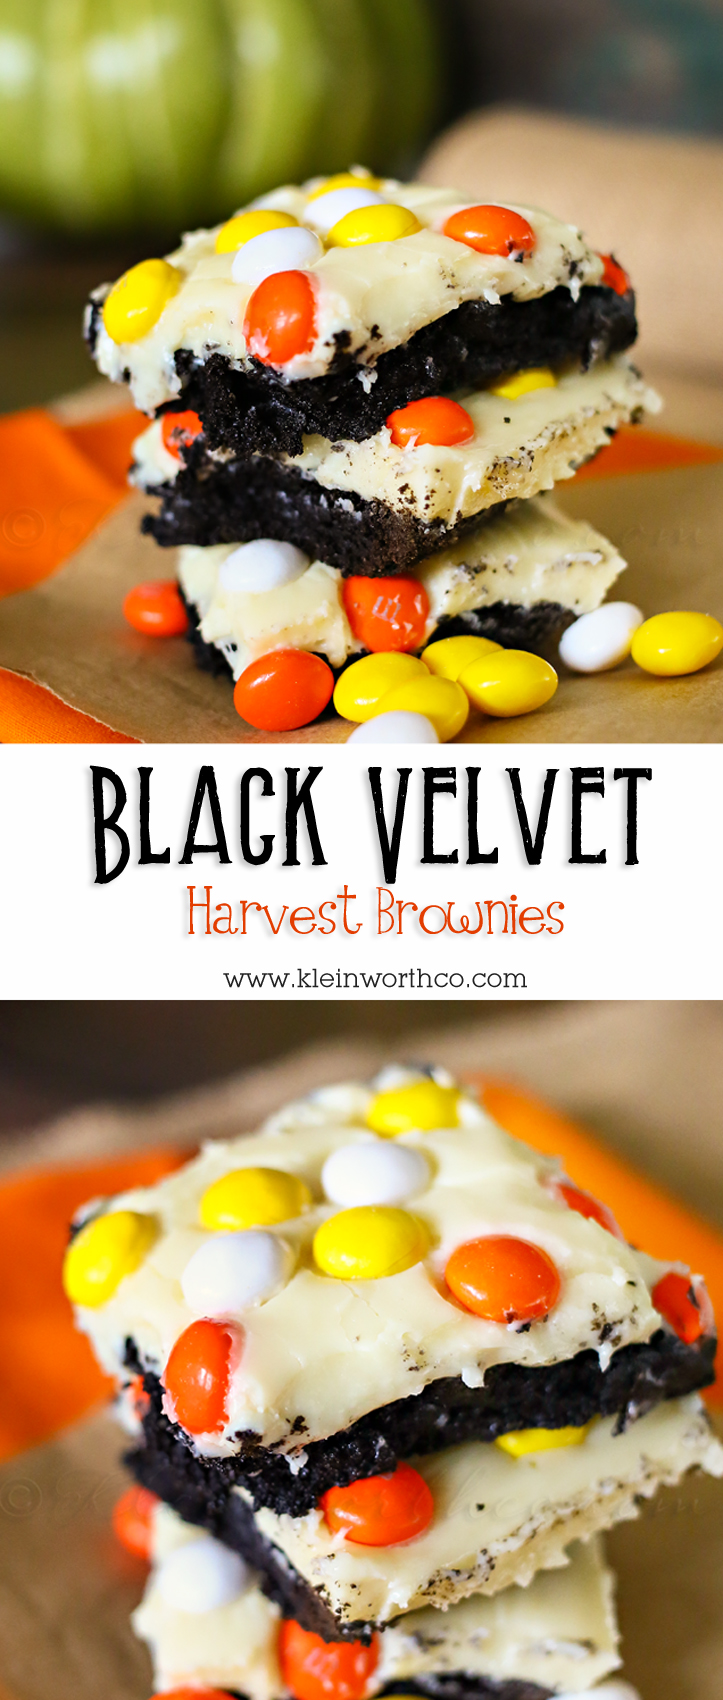
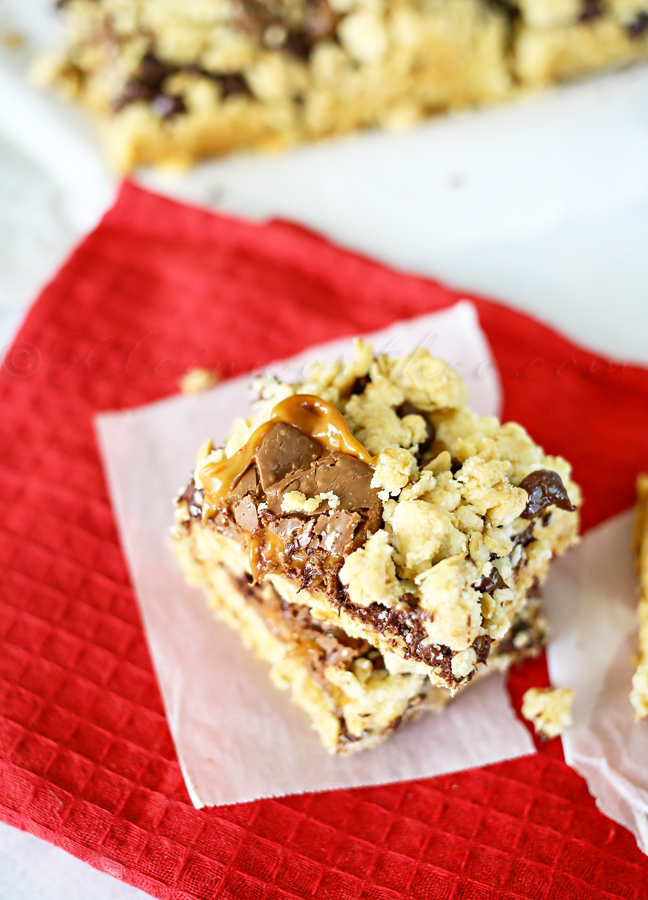
PayDay Brownies
Ingredients
- 1 box brownie mix & called for ingredients
- 1-1/2 cups salted peanuts
- 3 tbsp butter
- 2 cups peanut butter chips
- 1 7 oz container marshmallow creme
- 1 14 oz can sweetened condensed milk
Instructions
- Prepare brownies to package instructions.
- Once done baking brownies - set aside to cool slightly & start working on your PayDay topping
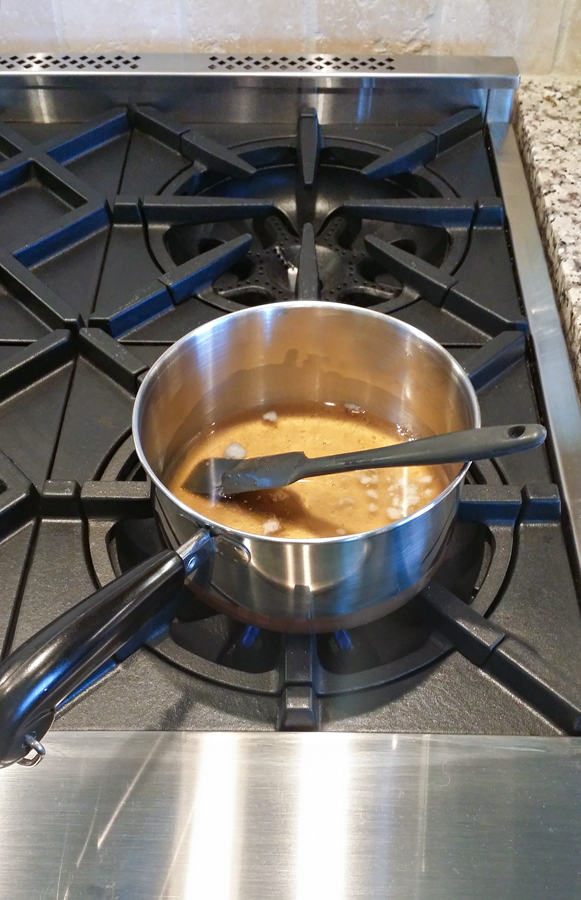
- In a medium saucepan - melt butter & peanut butter chips until combined
- Add condensed milk & marshmallow creme & stir well until fully incorporated & marshmallow is melted
- Pour over prepared brownies & smooth into a nice even layer
- Top with peanuts
- Place in refrigerator to cool quickly
- Cool completely before cutting
- Store at room temperature in airtight container
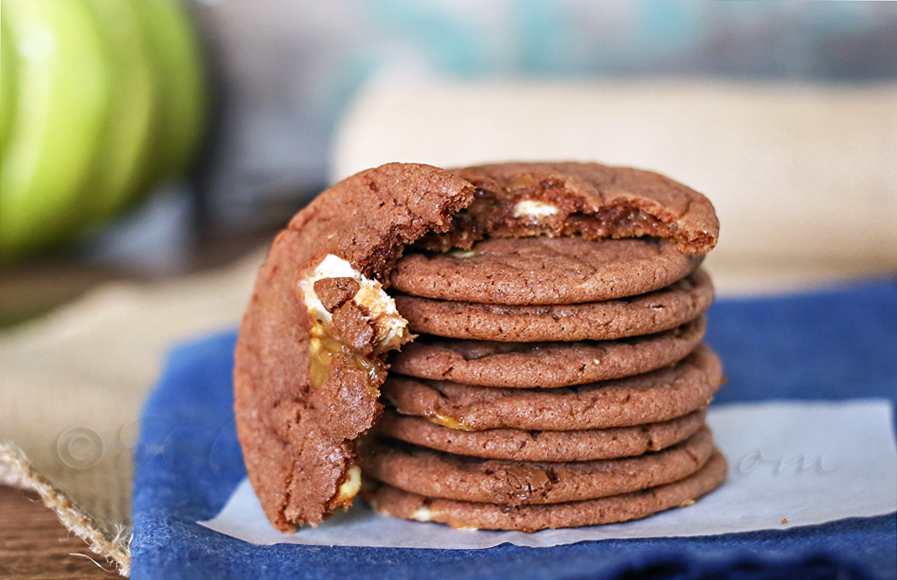
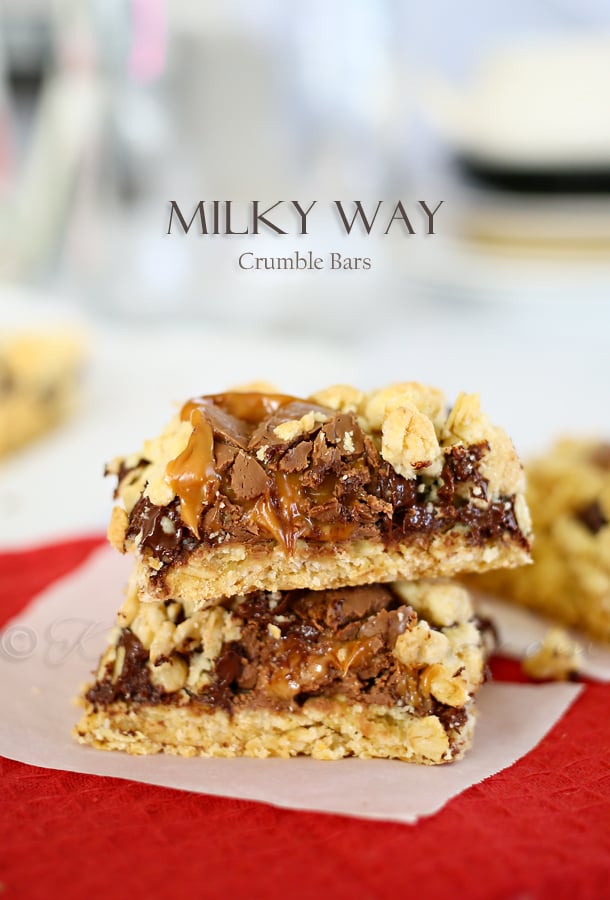
Want more famous goodie inspired treats?

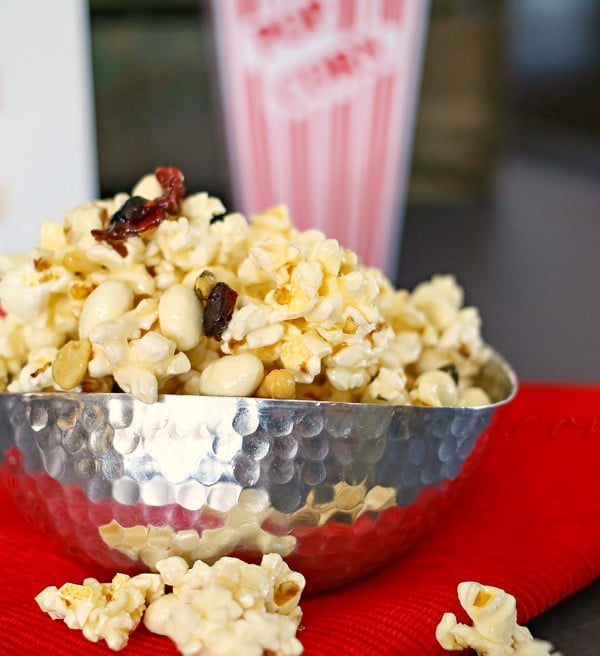
Halloween Oreo Cookie Butter Popcorn

To see where I am linking today- visit HERE