Perfect for cooling off on a hot day, this Rainbow Sherbet brings together sweet and tangy flavors, and creamy texture for a taste sensation everyone will love.
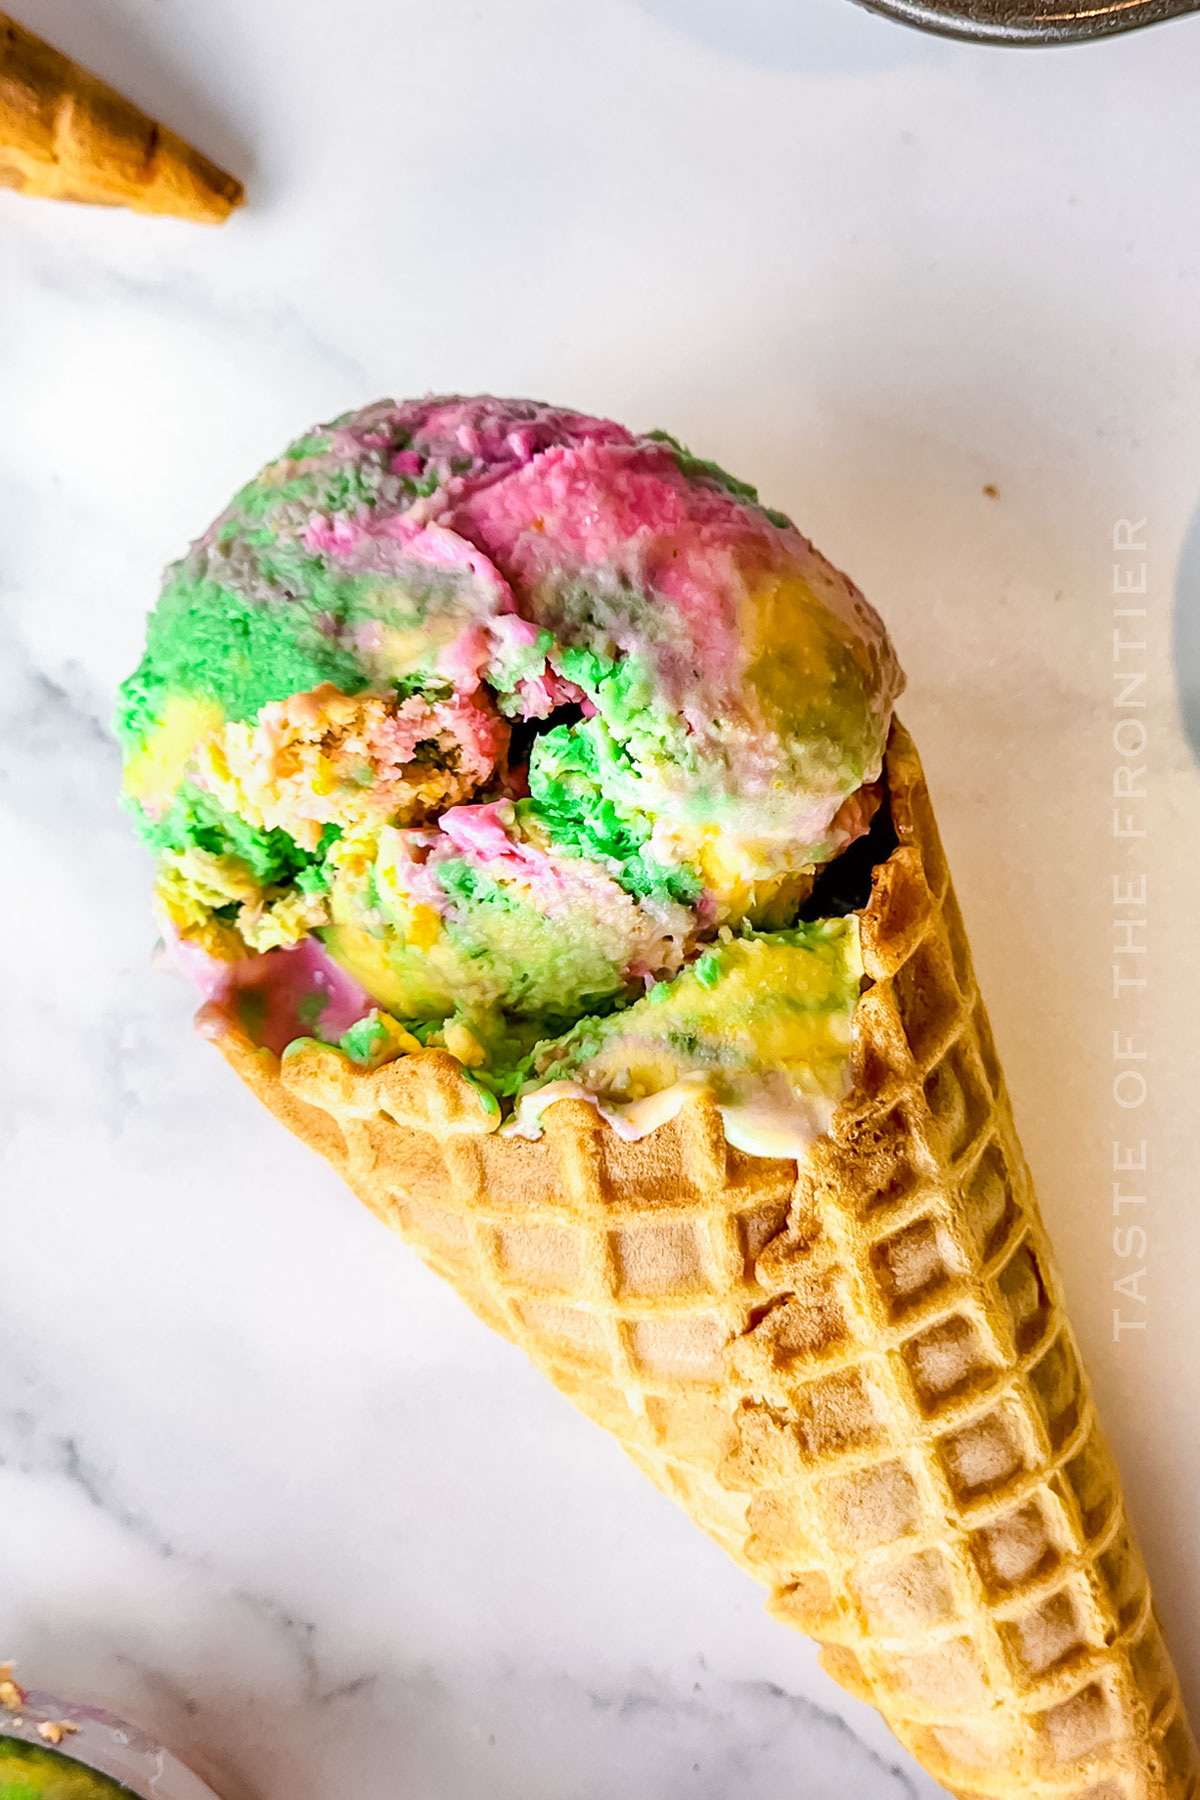
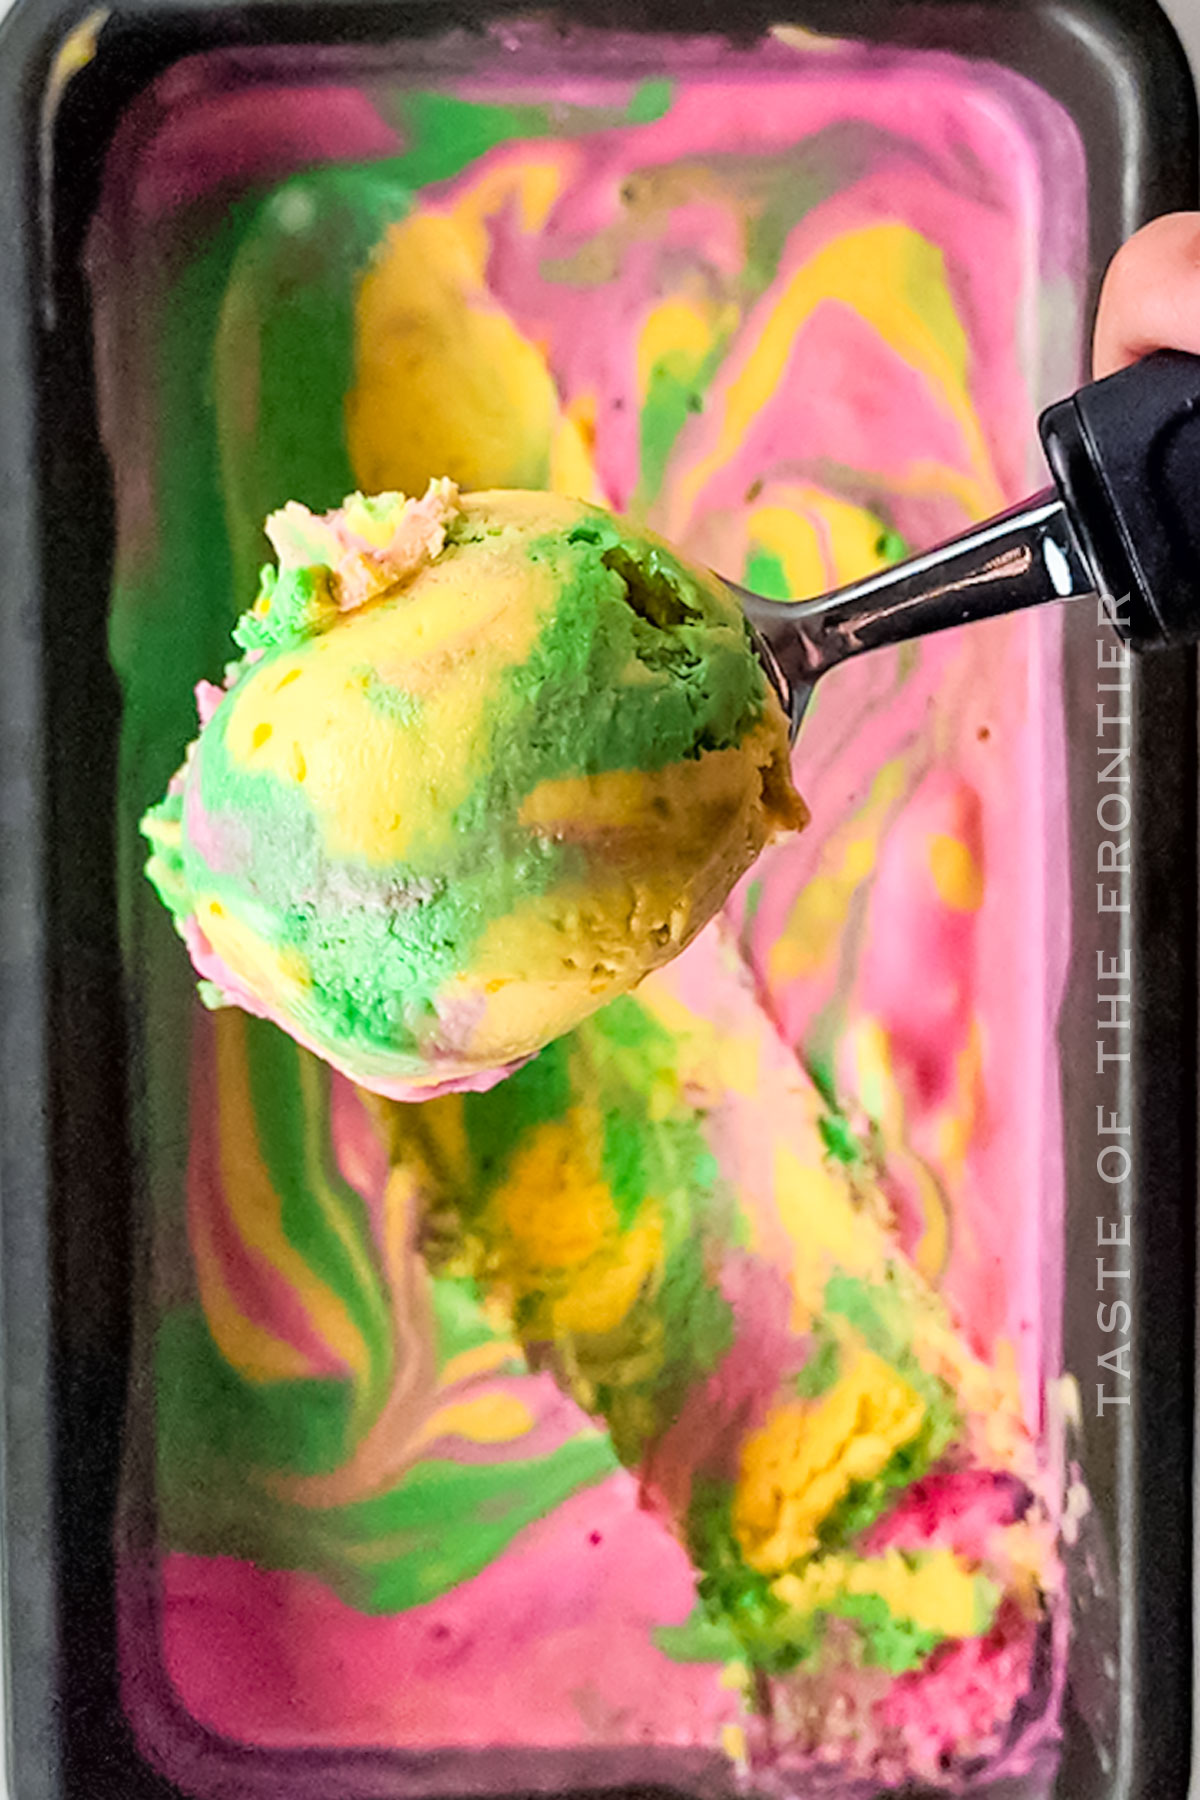
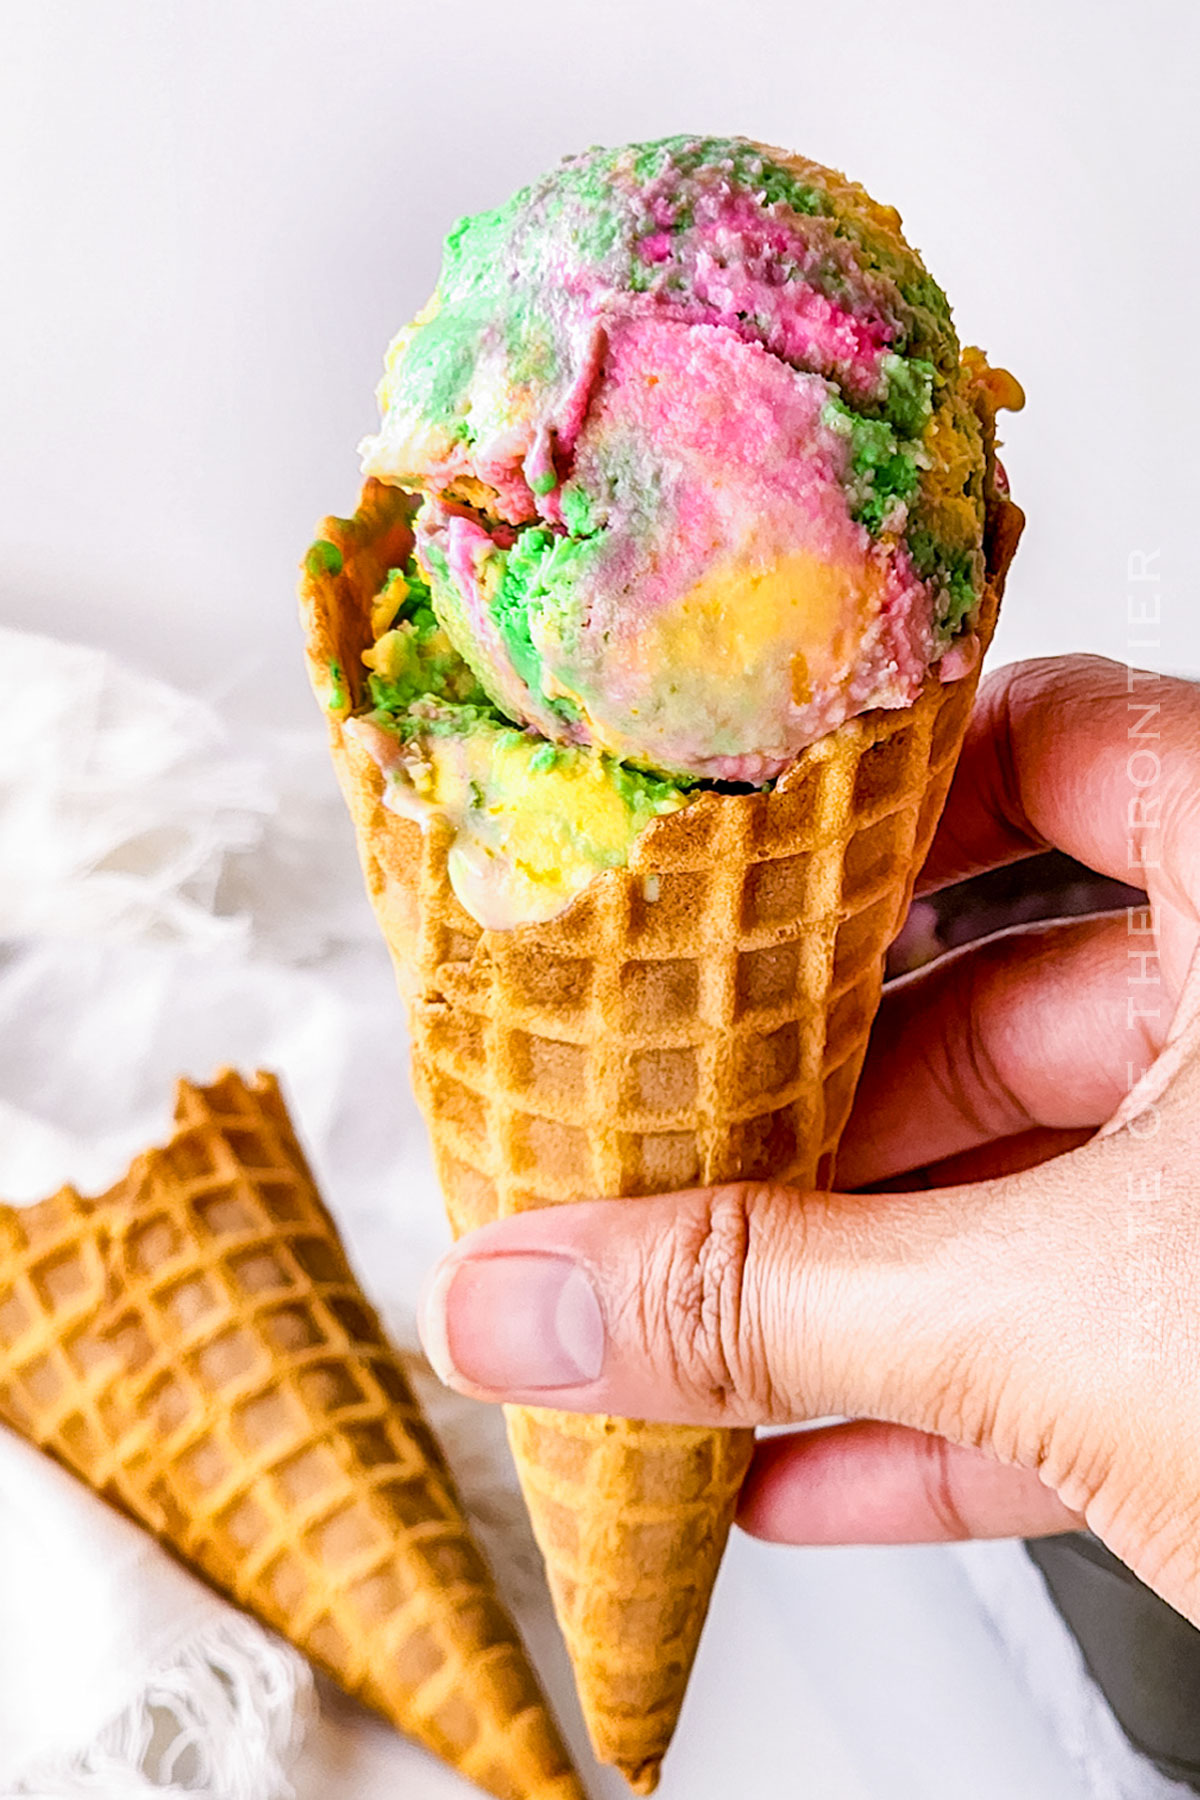
Here comes Rainbow Sherbet! It’s a refreshing treat that paints your bowl with swirls of pink, orange, and green. Each scoop is a burst of fruity flavors, making it a yummy way to cool off on a sunny day.
This sherbet combines the tangy sweetness of citrus fruits with the creamy luxury of traditional ice cream, yet it’s light enough to enjoy as a guilt-free dessert. No high fructose corn syrup here. We’re using juice concentrate!
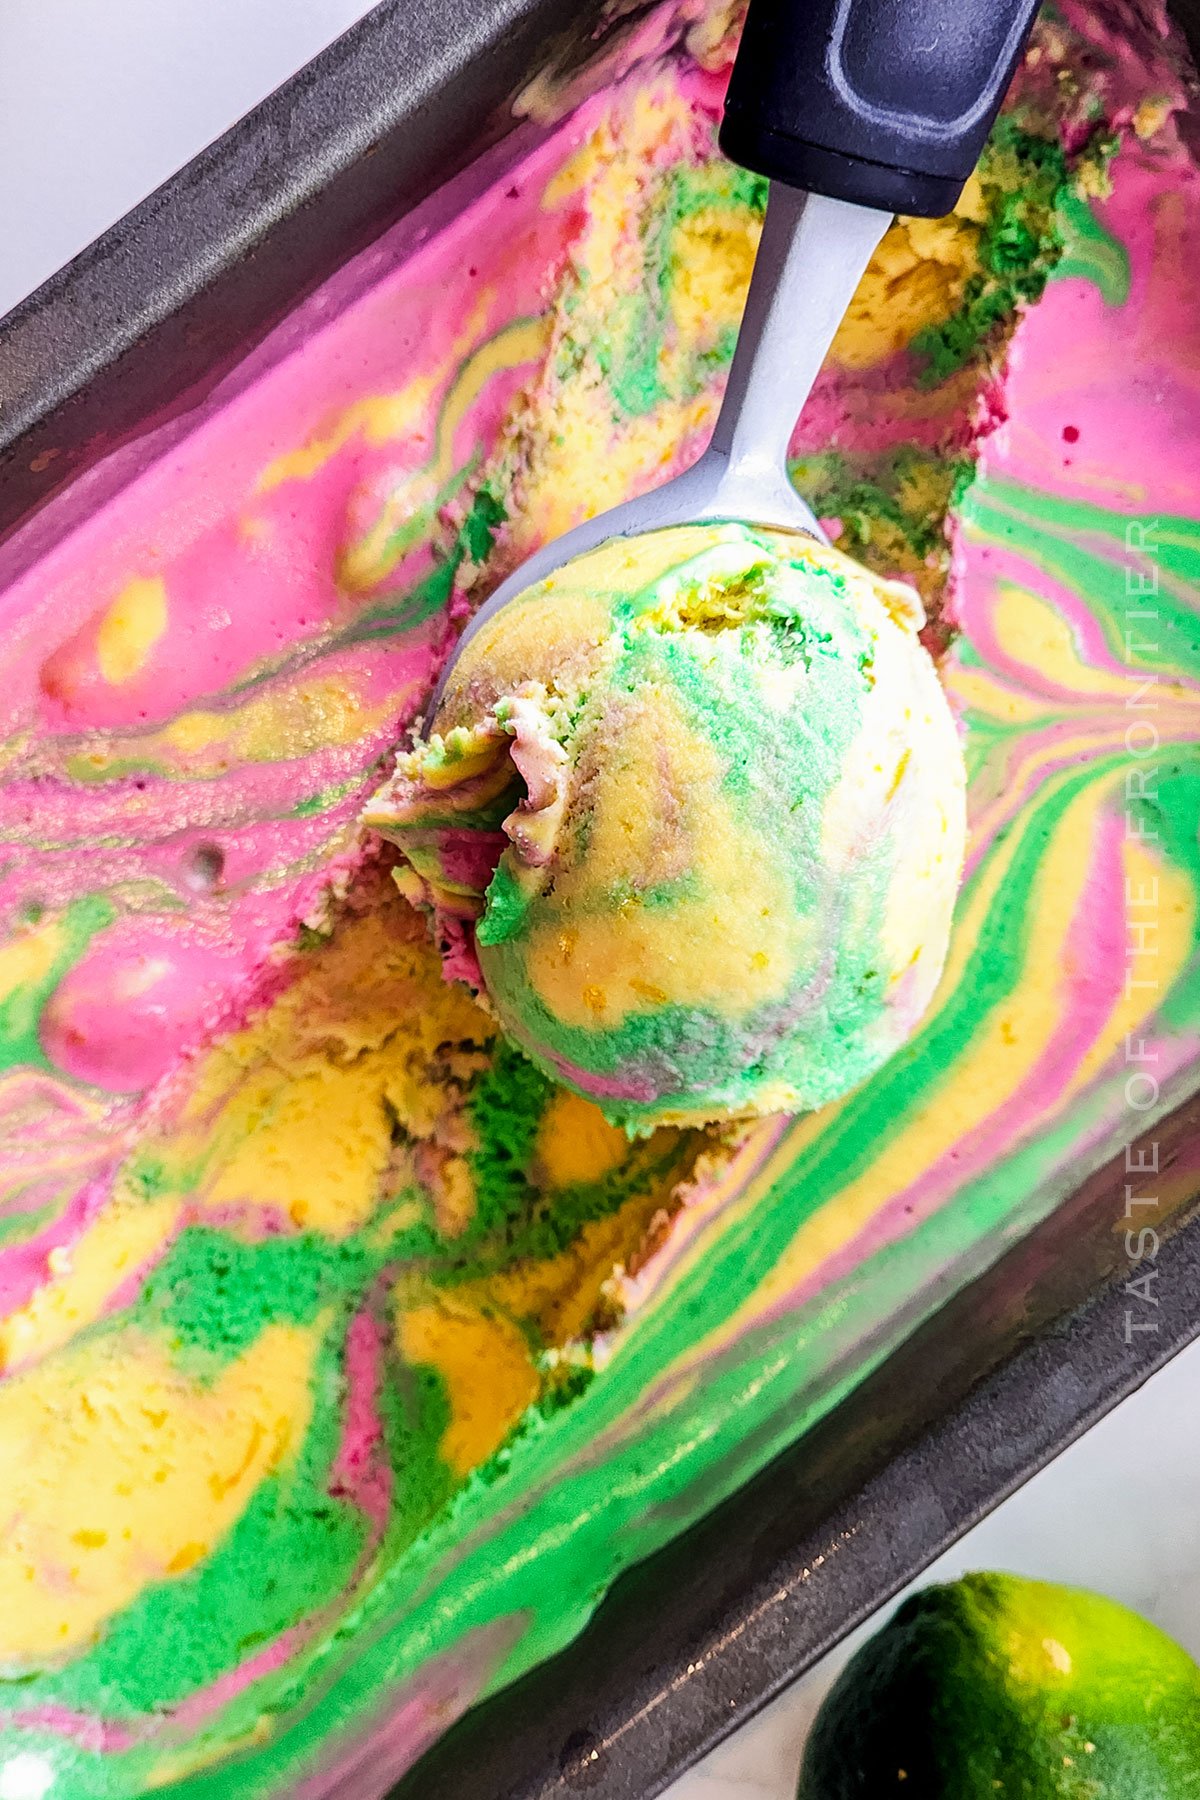
Whether you’re planning a kids’ party or just treating yourself, this rainbow sherbet will be the highlight of the dessert table.
Crafting your own Rainbow Sherbet is an easy and enjoyable way to bring a splash of color and a burst of flavor to any occasion.
With its simple ingredients and straightforward preparation, this recipe allows you to create a dessert that is as fun to make as it is to eat. So grab your spoons, and get ready to taste the rainbow in every delightful scoop!
Common Questions About Rainbow Sherbet
How long can I store homemade sherbet?
Homemade rainbow sherbet can be stored in the freezer in an airtight container for up to 2 weeks. For the best texture, cover the surface of the sherbet with plastic wrap before sealing the container to prevent ice crystals from forming.
What makes sherbet different from ice cream and sorbet?
Rainbow sherbet is a frozen dessert that incorporates both fruit juice and a small amount of dairy, typically in the form of heavy cream or buttermilk, giving it a creamy texture that lies between the richness of ice cream and the lightness of sorbet.
It typically has a lower milk fat content than ice cream and is flavored with natural fruit juices and purees, making it distinct in both composition and taste.
Can I make this recipe without an ice cream maker?
Absolutely! While an ice cream maker can help churn the sherbet to a smoother texture, you can achieve delicious results without one.
Simply place the mixture in the freezer and stir vigorously every 30 minutes to break up ice crystals until it’s uniformly frozen, usually taking about 2-3 hours.
Storage
Too often I see things like guar gum and whey solids added to things like this. Homemade means we know all of what’s in it!
Refrigerator
Briefly store for softening before serving, but not recommended for long-term storage.
Freezer
Best kept in the freezer compartment where it can be stored for up to two weeks while maintaining optimal flavor and texture.
Tips
Lime juice concentrate might be another great addition to this recipe. You decide!
- Optimal Flavor Combination: Balance the citrus notes by using a combination of orange juice concentrate, limeade concentrate, and pink lemonade concentrate.
- Creamy Texture: Achieve a creamy, smooth texture by using heavy cream and whipping it to stiff peaks before folding it into the fruit base.
- Vibrant Colors: Use natural food coloring to enhance the visual appeal of each flavor—orange, green, and pink to represent the different fruit flavors effectively.
- Freezing Technique: For the best results, partially freeze each flavor separately before layering to maintain distinct colors and prevent blending.
Ingredients
Growing up, orange sherbet was always my favorite. I wish I’d had this sherbet flavor to pick from back then!
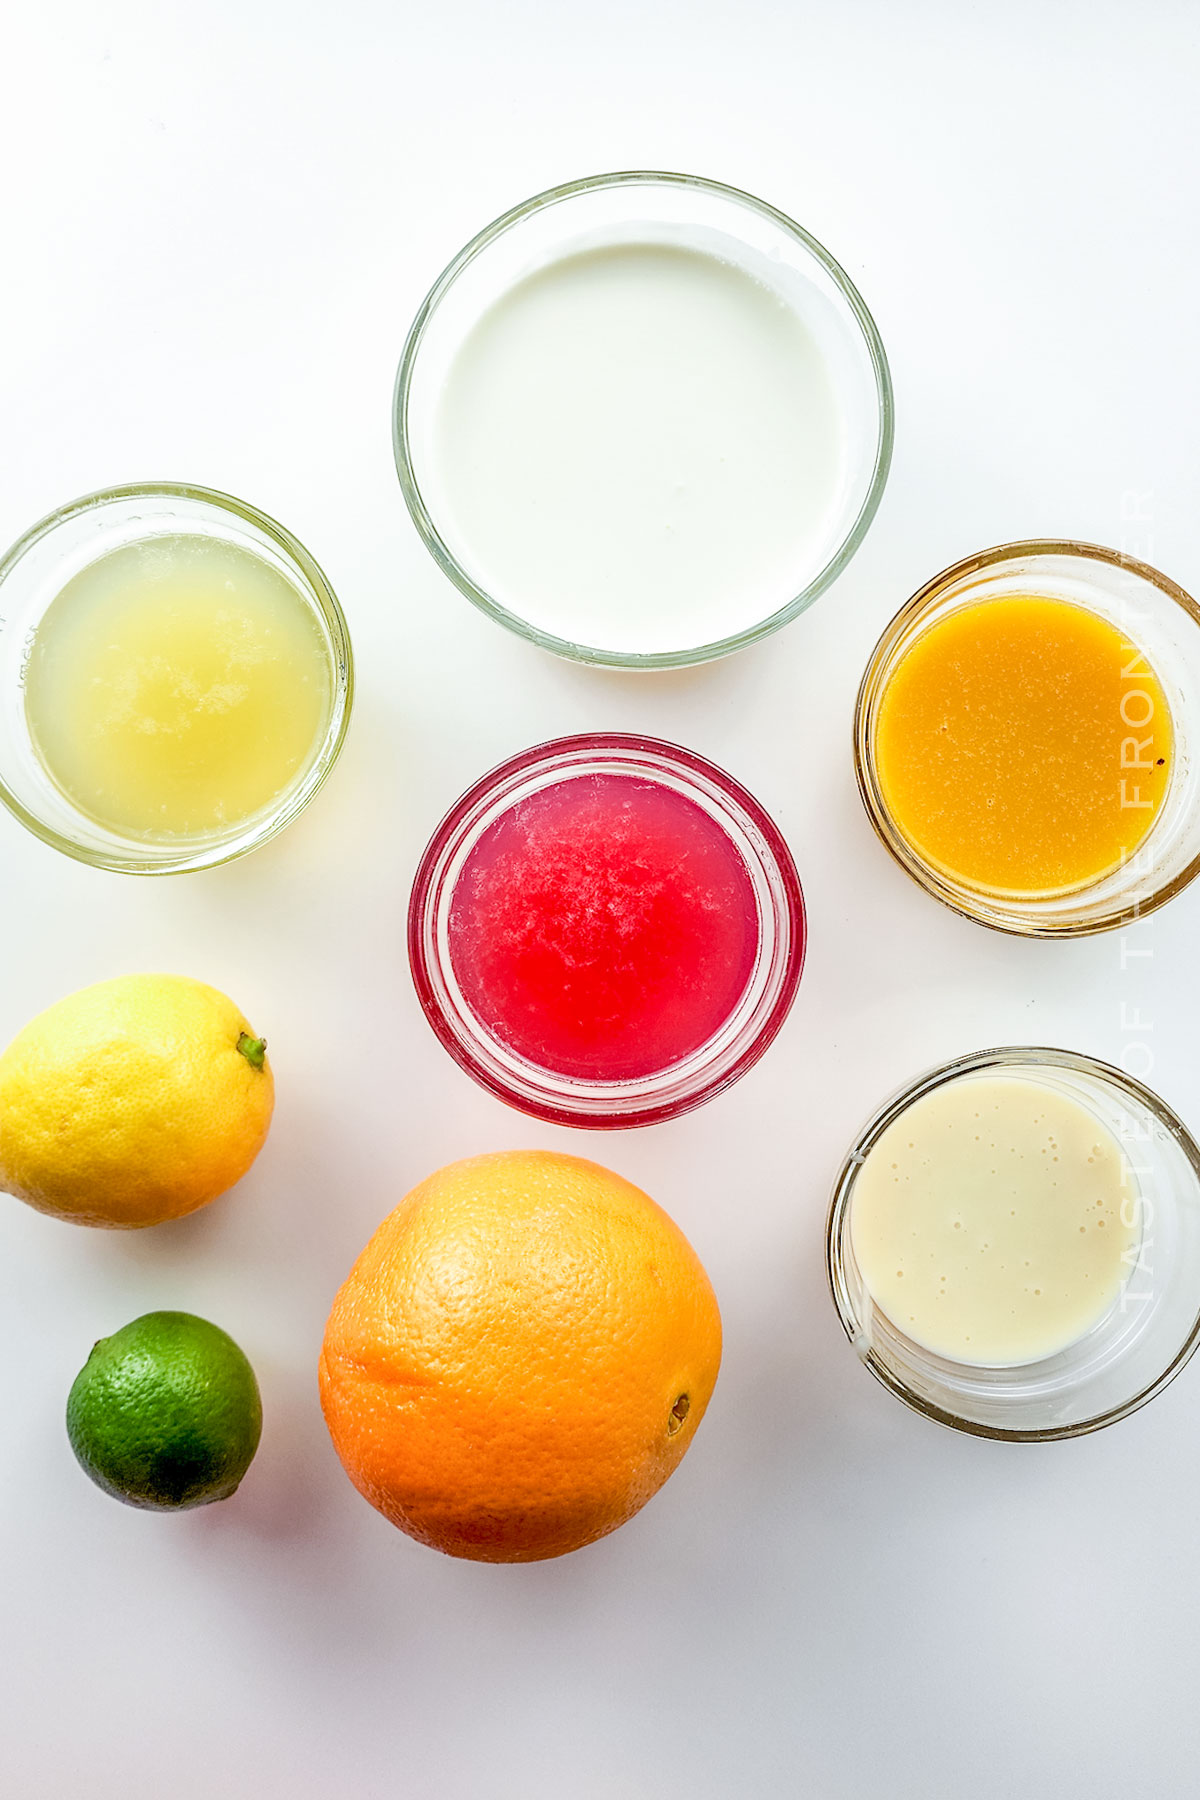
- Orange juice concentrate
- Limeade concentrate
- Pink lemonade concentrate
- Heavy cream
- Sweetened condensed milk
- Orange zest, lime zest, lemon zest
- Natural food coloring
How to Make Rainbow Sherbert
I love the natural flavor we’re using in this recipe. Better than store bought I would say!
- Thaw each of the juice concentrates.
- Once thawed, place each flavor in a separate bowl along with the corresponding zest flavor. Whisk to combine each. Set aside.
- Blend the heavy cream in a large mixing bowl at high speed until it is whipped and forms stiff peaks.
- Gently fold in the sweetened condensed milk until combined.
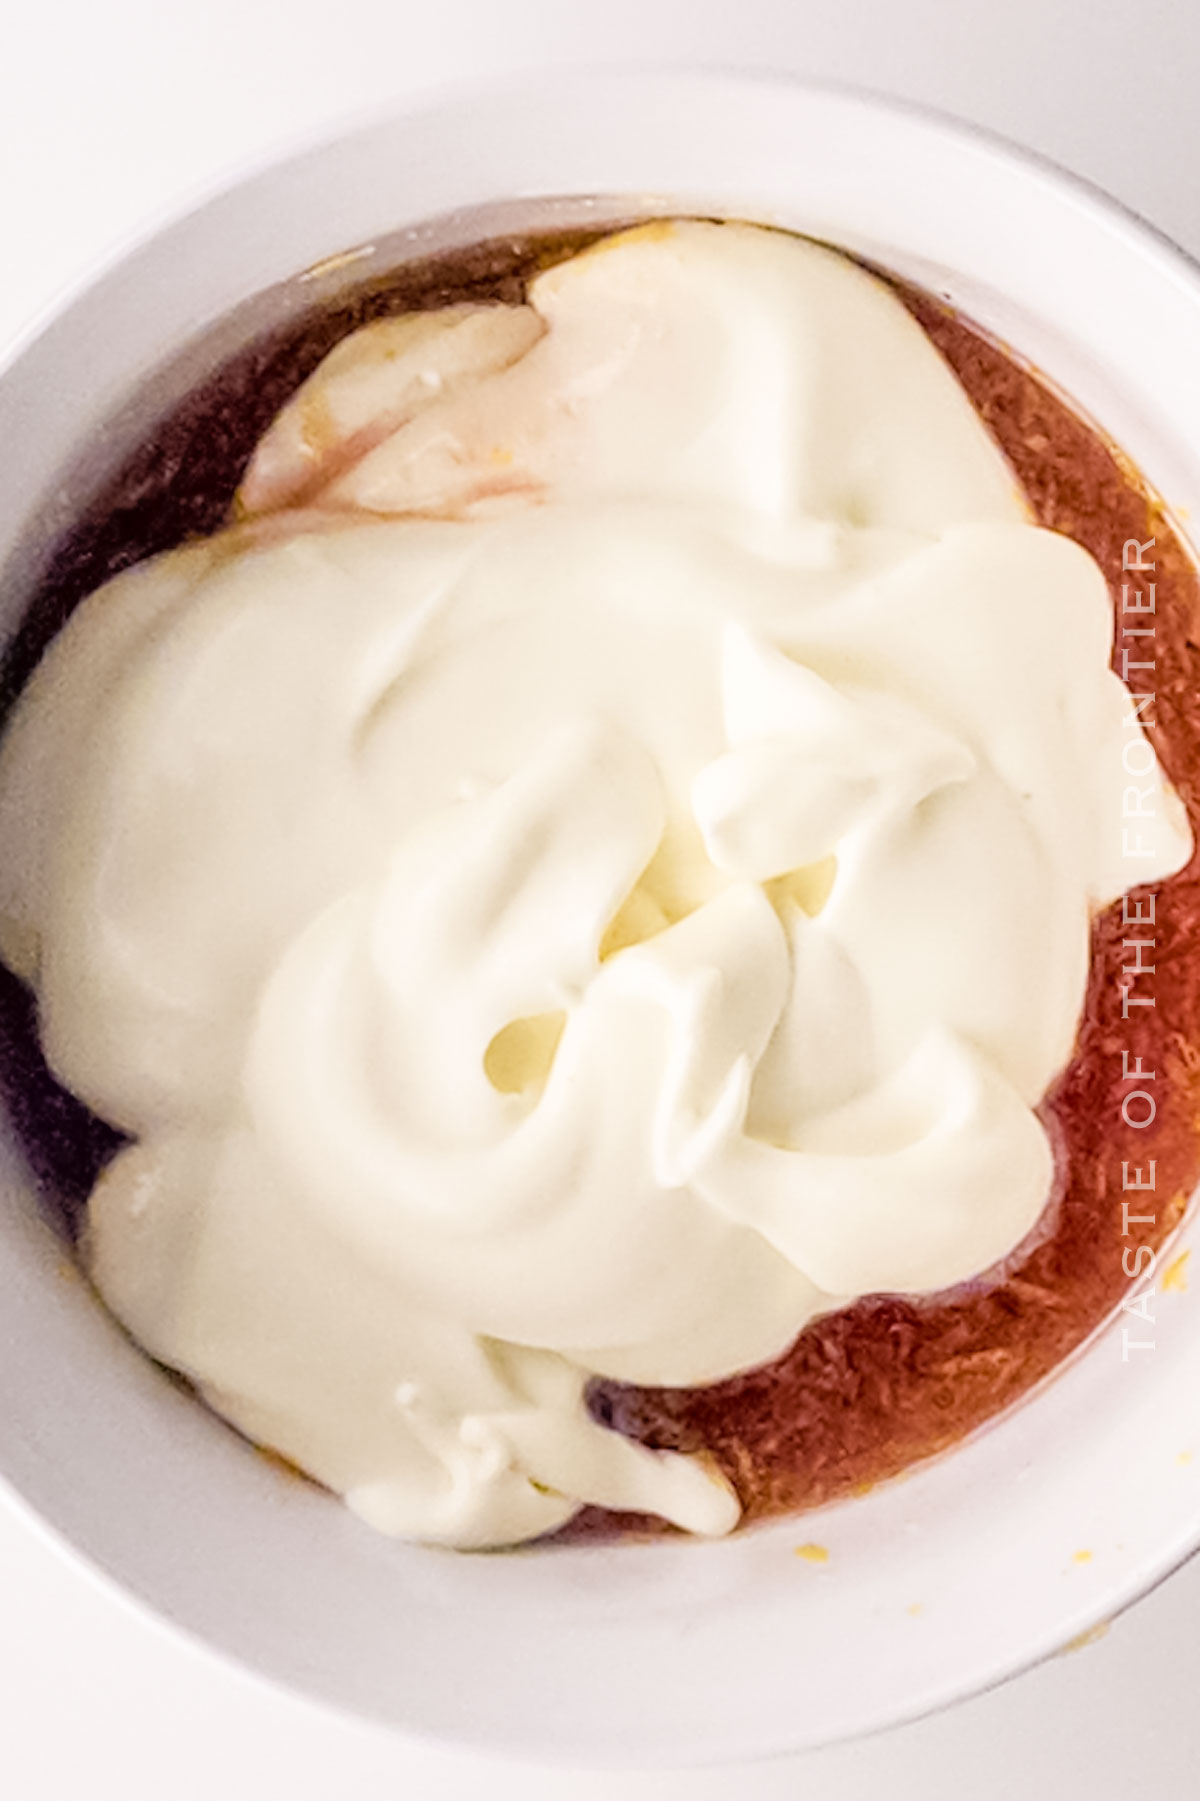
- Divide the whipped cream into thirds, placing each portion of the cream into each of the concentrate bowls.
- Fold each flavor until it is fully incorporated and creamy.
- Add a drop or two of green food coloring to the limeade mixture, pink food coloring to the pink lemonade mixture, and orange food coloring to the orange mixture. Mix thoroughly until combined.
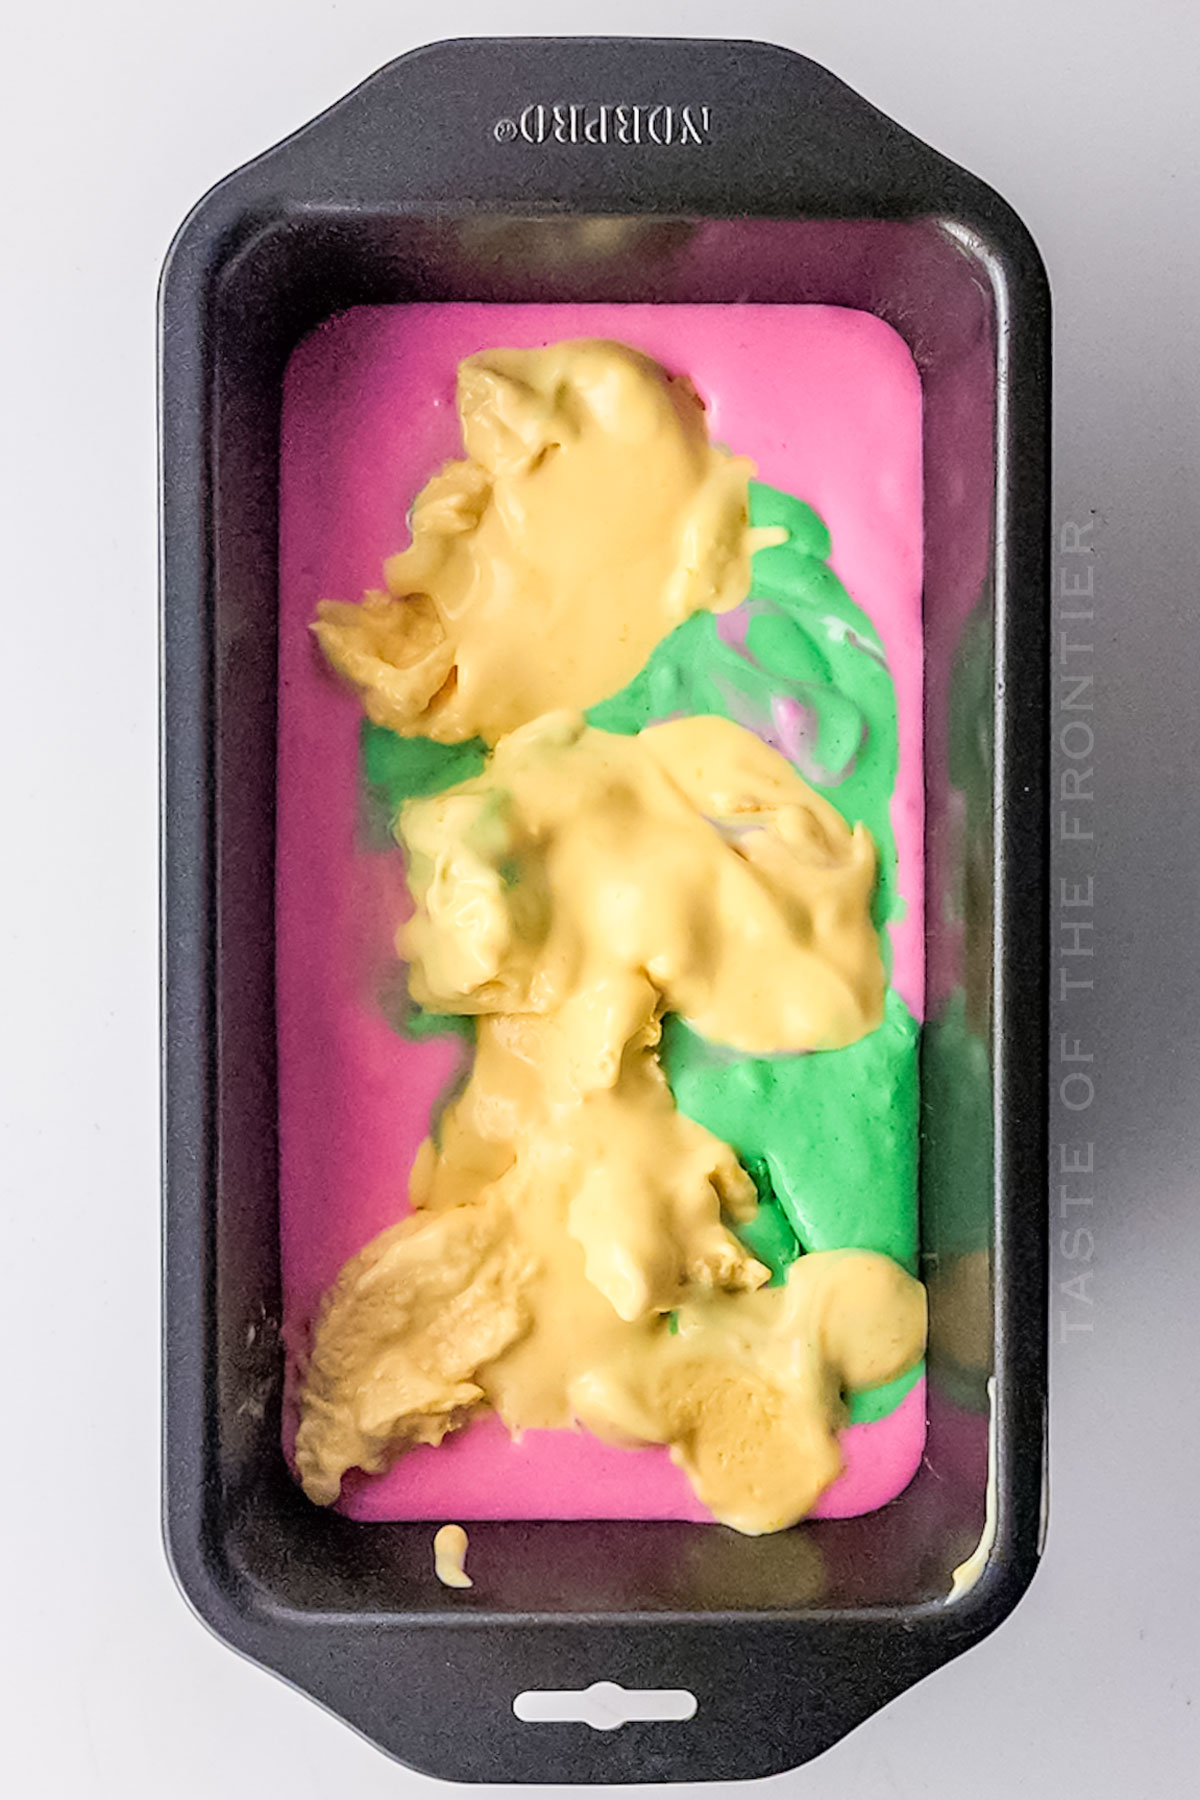
- Place all three bowls into the freezer for 2 hours, until the mixtures become slightly frozen and thickened.
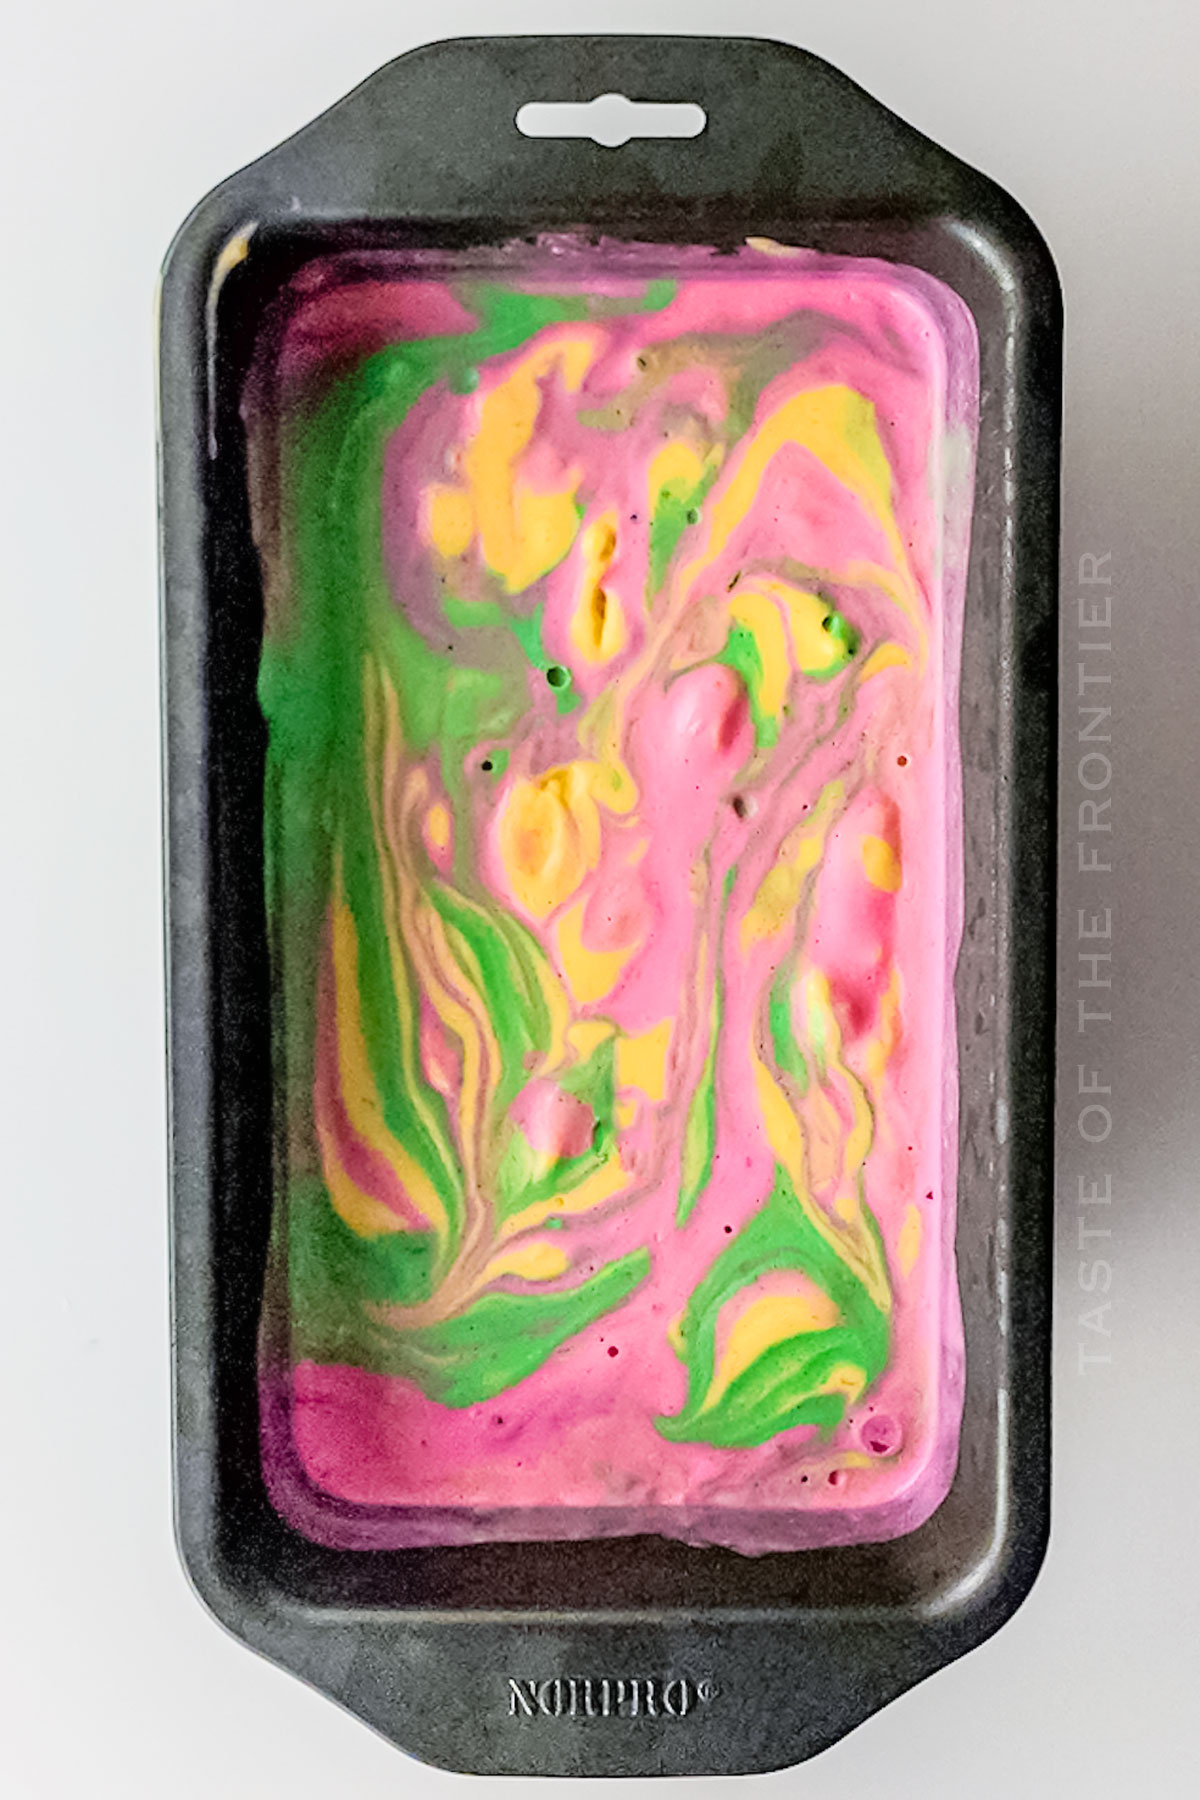
- Once thickened, combine the flavors into one loaf pan, alternating in a random pattern. Then drag a butter knife through the flavors to create swirls in the sherbet.
- Cover and place the sherbet back in the freezer for at least 6 more hours or overnight until firm before serving.
Kitchen Supplies You’ll Need
This is one serving of food that you won’t soon forget. The whole family will love it!
- Loaf pan
- Hand mixer
- Ice cream scooper
- Mixing bowls
- Whisk
- Freezer-safe containers
What to Serve With Rainbow Sherbet
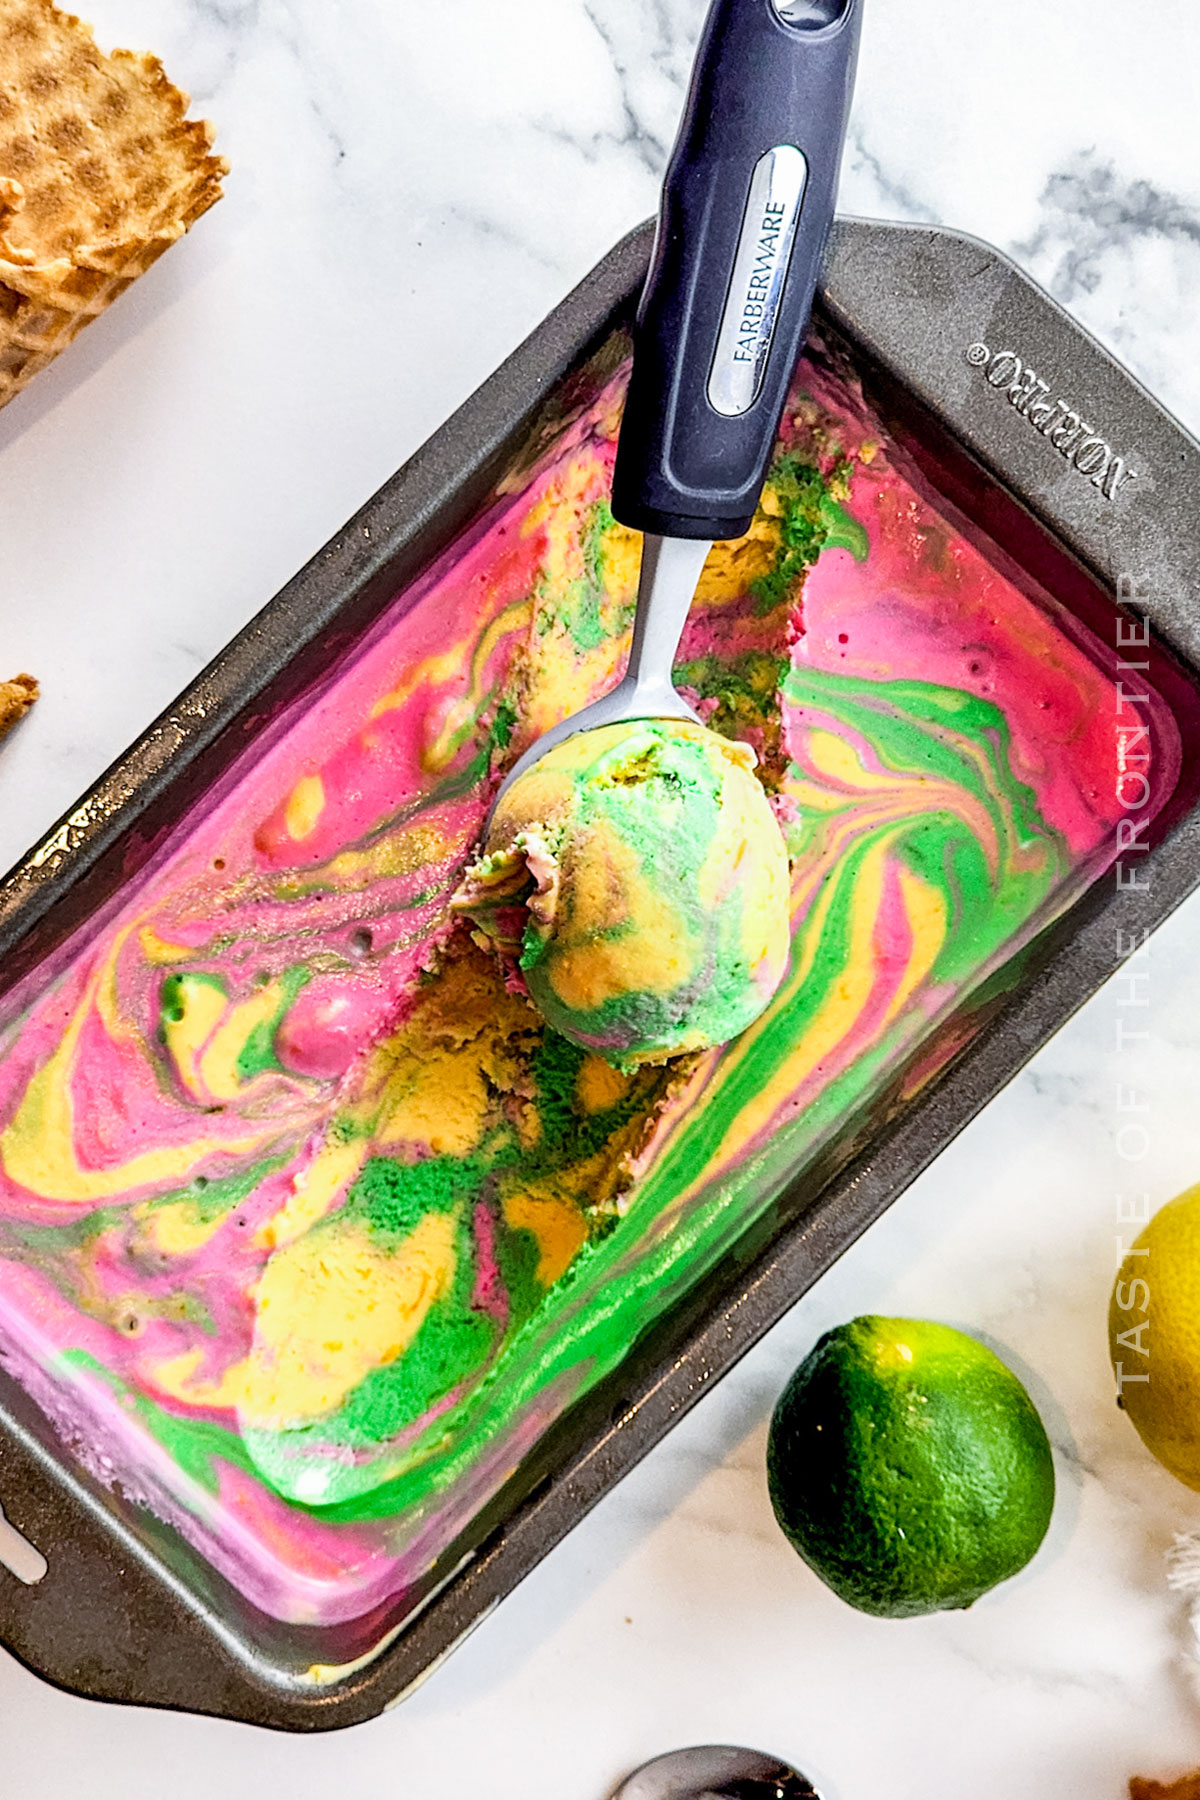
Pair rainbow sherbet with fresh fruit salads, light pastries, or simply enjoy it on its own for a refreshing treat. It also pairs wonderfully with sparkling white wines or a crisp rosé at adult gatherings, offering a fun palate cleanser between courses.
Why You Should Make Rainbow Sherbet
The different flavors are a big part of the fun. I’ve added orange pulp before and leveled up the texture. There are so many options!
- Perfect for Kids and Adults: Its colorful presentation and refreshing taste appeal to all ages.
- Light and Refreshing: Ideal for those seeking a dessert that is less heavy than traditional ice cream.
- Simple and Fun to Make: Enjoy the process of creating something that is both beautiful and tasty.
- Versatile for Events: A hit at parties, especially during the warmer months.
Variations and Add-Ins for Rainbow Sherbet
If you want to take extra steps and give your sherbet more flair, go ahead. Maybe try out some popsicle molds! Get your daily diet of fun, haha.
- Tropical Flair: Add coconut milk and pineapple chunks for a tropical twist.
- Berry Fusion: Introduce raspberry puree, raspberry juice concentrate, or blueberry juice for added depth and new flavors.
- Herbal Notes: Infuse the sherbet with mint or basil for a refreshing herbal note.
- Adult Version: Mix in a splash of sour ale or citrus-infused spirits for an adult-friendly version.
- More Citrus: Stick to lemon and lime flavors for a citrus experience. Orange puree is always welcome. I’ve even seen orange oil used!
If you love this easy sherbet recipe, you’re going to love these frozen treat recipes too. Please click each link below to find the easy, printable recipe!
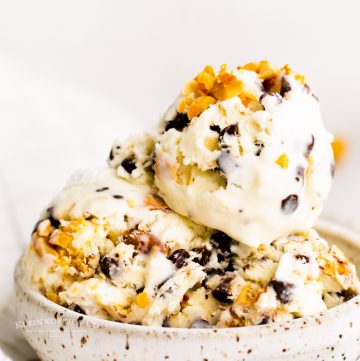
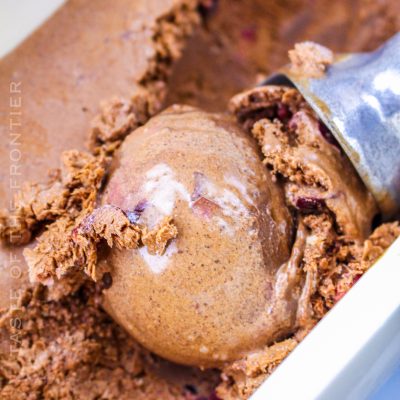
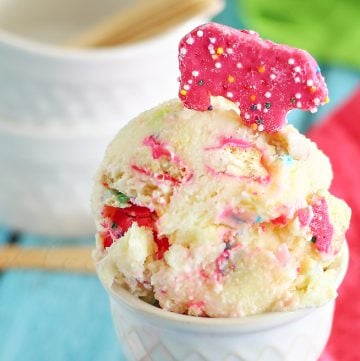
More Rainbow Treats
CONNECT WITH YUMMI HAUS!
Be sure to follow me on my social media, so you never miss a post!
Rainbow Sherbet
Ingredients
- ½ cup orange juice concentrate – thawed
- ½ cup limeade concentrate – thawed
- ½ cup pink lemonade concentrate – thawed
- 1 teaspoon orange zest
- 1 teaspoon lime zest
- 1 teaspoon lemon zest
- 1 cup heavy cream
- 7 ounces sweetened condensed milk ½ can
Food coloring – orange, green, pink
Instructions
- Thaw each of the juice concentrates.
- Once thawed, place each flavor in a separate bowl along with the corresponding zest flavor. Whisk to combine each. Set aside.
- Blend the heavy cream in a large mixing bowl at high speed until it is whipped and forms stiff peaks.
- Gently fold in the sweetened condensed milk until combined.
- Divide the whipped cream into thirds, placing each portion of the cream into each of the concentrate bowls.
- Fold each flavor until it is fully incorporated and creamy.
- Add a drop or two of green food coloring to the limeade mixture, pink food coloring to the pink lemonade mixture, and orange food coloring to the orange mixture. Mix thoroughly until combined.
- Place all three bowls into the freezer for 2 hours, until the mixtures become slightly frozen and thickened.
- Once thickened, combine the flavors into one loaf pan, alternating in a random pattern. Then drag a butter knife through the flavors to create swirls in the sherbet.
- Cover and place the sherbet back in the freezer for at least 6 more hours or overnight until firm before serving.
Equipment
- Loaf Pan
- Hand mixer
- Ice Cream Scooper
Nutrition
Nutritional information for the recipe is provided as a courtesy and is approximate. Please double-check with your own dietary calculator for the best accuracy. We at Yummi Haus cannot guarantee the accuracy of the nutritional information given for any recipe on this site.



Share Your Thoughts