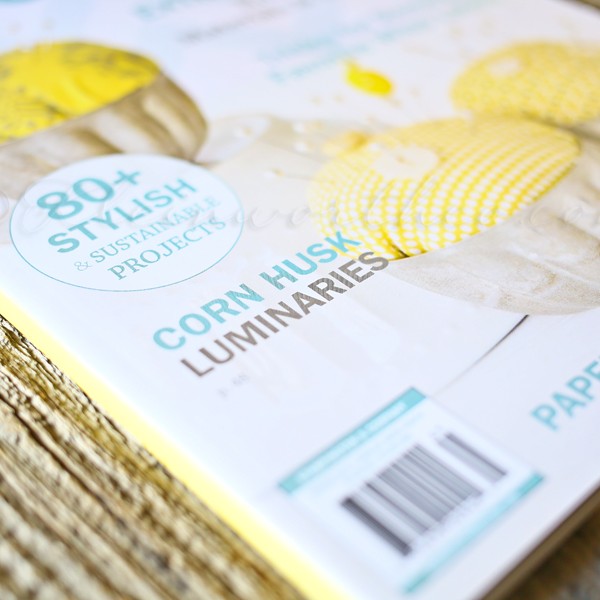
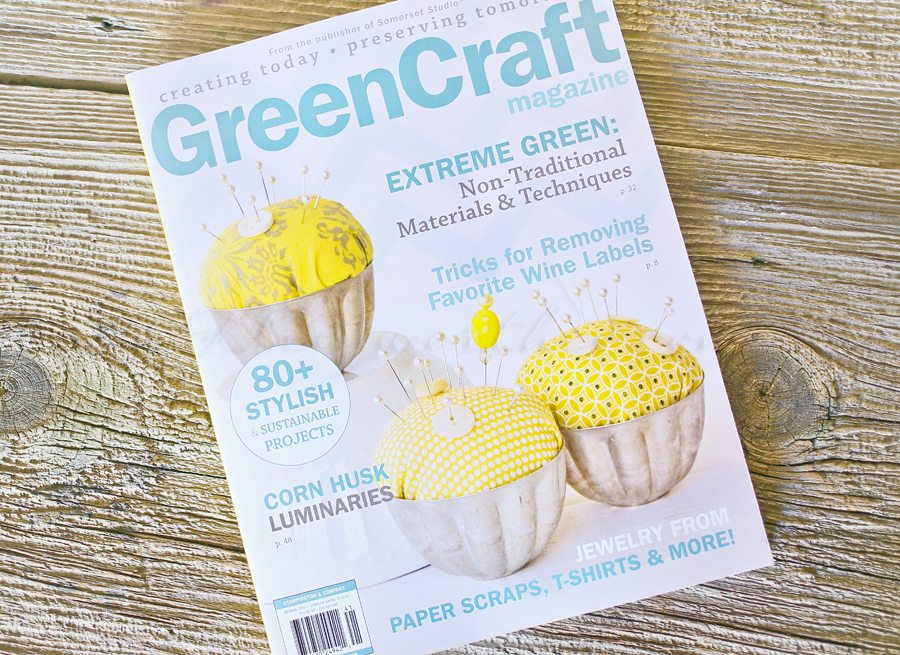
I have something special to share with you all today. Exciting news for me!! I have the pleasure of being featured in Green Craft Magazine. A long time ago I created my Corn Husk Luminaries which are sitting on my mantle right now. I don’t know how- but they were found by the editor & she contacted me to see if I would be interested in putting together an article on the project & a little about me too. Of course I’m interested. How fun!!! I can’t show you the whole thing- you have to go buy the issue to see it. But I can give you a peek.
Posts
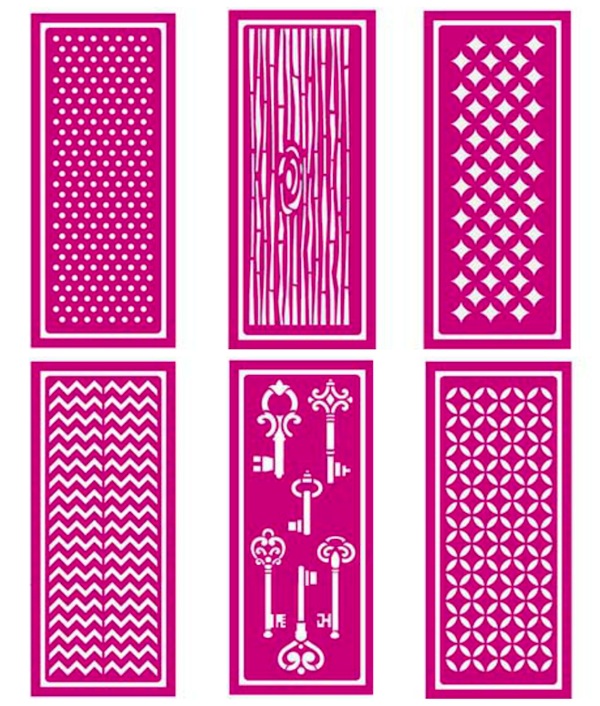
Stenciled Canvas Wall Art ~ Girl’s Room
*Disclosure: I was given some of these supplies to facilitate this post. All opinions expressed are my own.
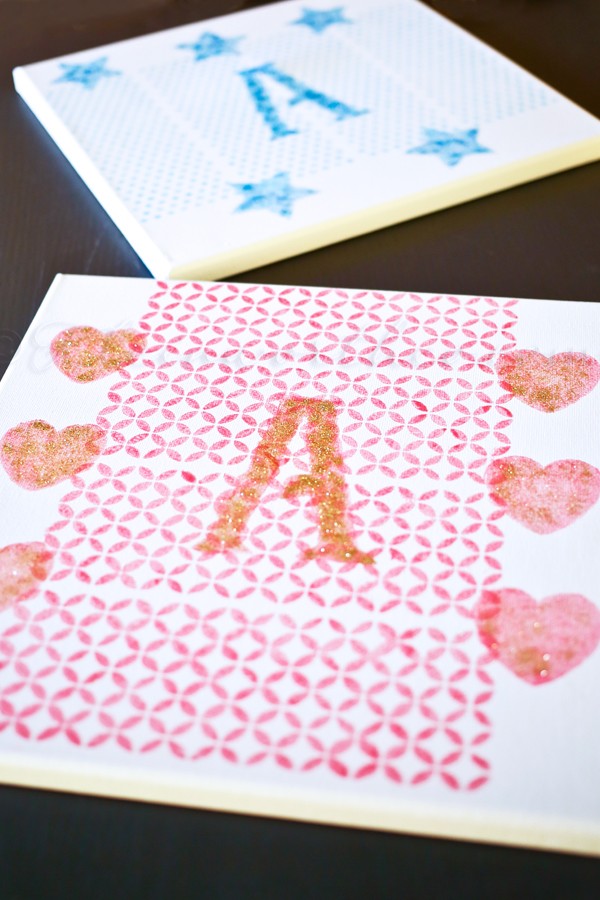
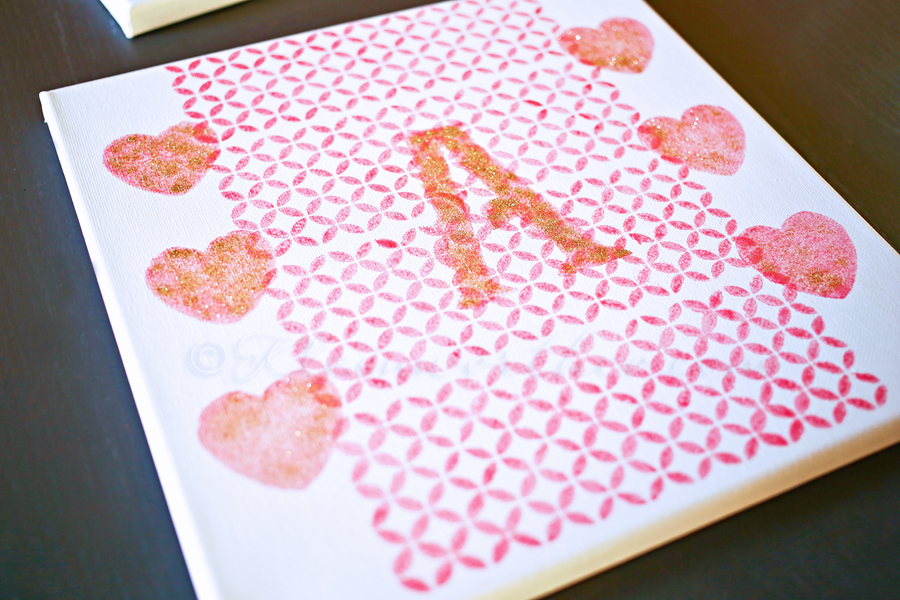
While we have a few more months until the girls don’t have to share a room anymore, we are already making little things to give each one their own special flare once we are able to start decorating them. The girls are super excited. They have always shared a room – so this will be a big deal for them. Getting to decorate their own space is even better. So I was super thrilled to get the opportunity to try out the new stencils from Mod Podge Rocks! I adore Amy & I was so excited to find out that she was going to have her own line of stencils through Plaid. I think I squealed when they arrived. I couldn’t wait to start creating.
Stenciled Canvas Wall Art ~ Girl’s Room
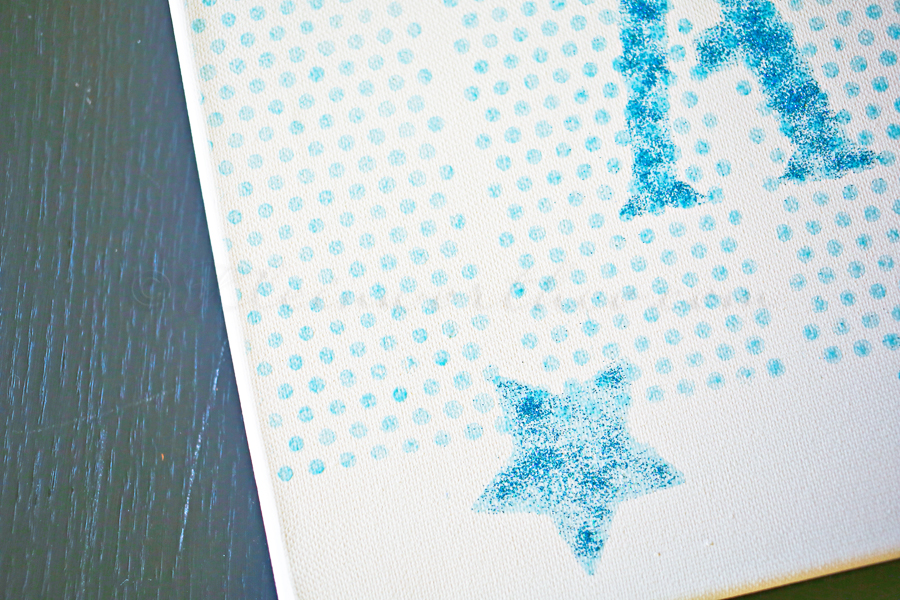
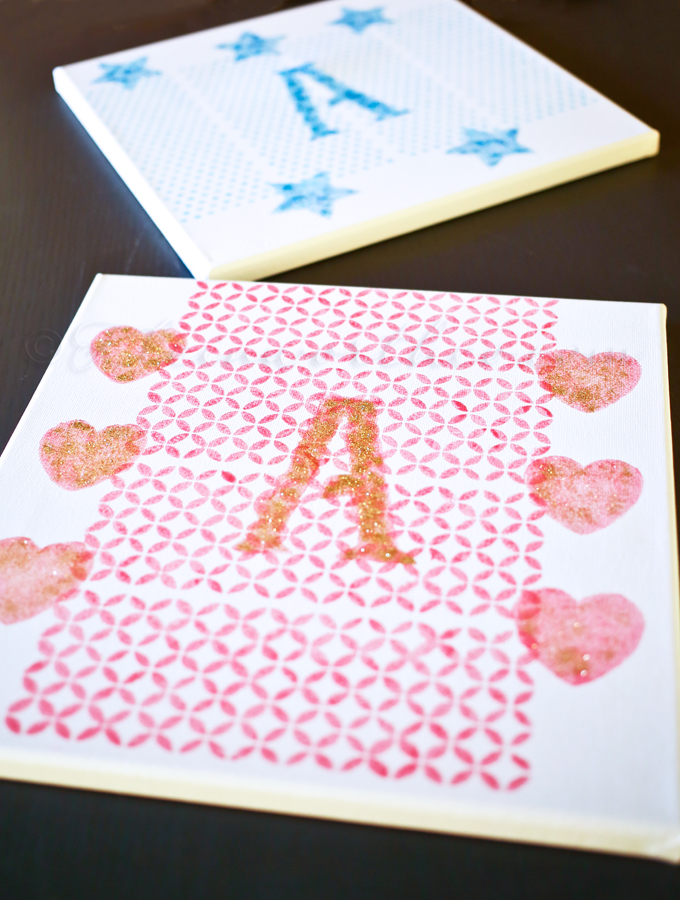
I used these Spouncer Applicators & applied Mod Podge Sheer Color in the blue & in pink. I decided to use the Mod Podge Sheer Color instead of paint because I wanted a sheer look. I didn’t want it to be opaque & this worked out well. It dried quickly too- which is always good for me because I’m super impatient when it comes to projects.
I LOVE these. So simple- you just peel off the backing, stick down to your surface & add your Mod Podge or paint. Then it just peels off & you can re-stick to another part or put it back on the backing sheet & rinse off to clean for the next use. I absolutely love the fact that they stick down because I have not learned how to use the vinyl cutting machine that I inherited from my mom. Using regular stencils that don’t stick down is a pain. This was absolutely 100% easy & quick. I hope they make them in all shapes, sizes, patterns & letters too.
I used these Mod Podge Podgeable Glitters once I had my Mod Podge in place.
Want to try them out???
I’m giving away 1 stencil (pattern chosen at random) to one lucky reader!
Just leave me a comment letting me know what you would make with them first.
Check out: Learn How to Use Mod Podge Peel & Stick Stencils for more details & inspiration.
You can learn more about Mod Podge Rocks! Peel & Stick Stencils on the Plaid site.
Want More Projects?
To see where I am linking today- visit HERE
[include id=”1″ title=”Footer Ad”]
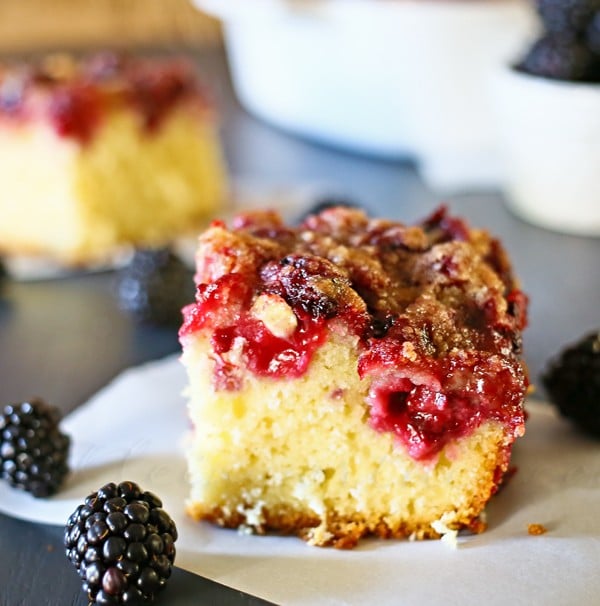
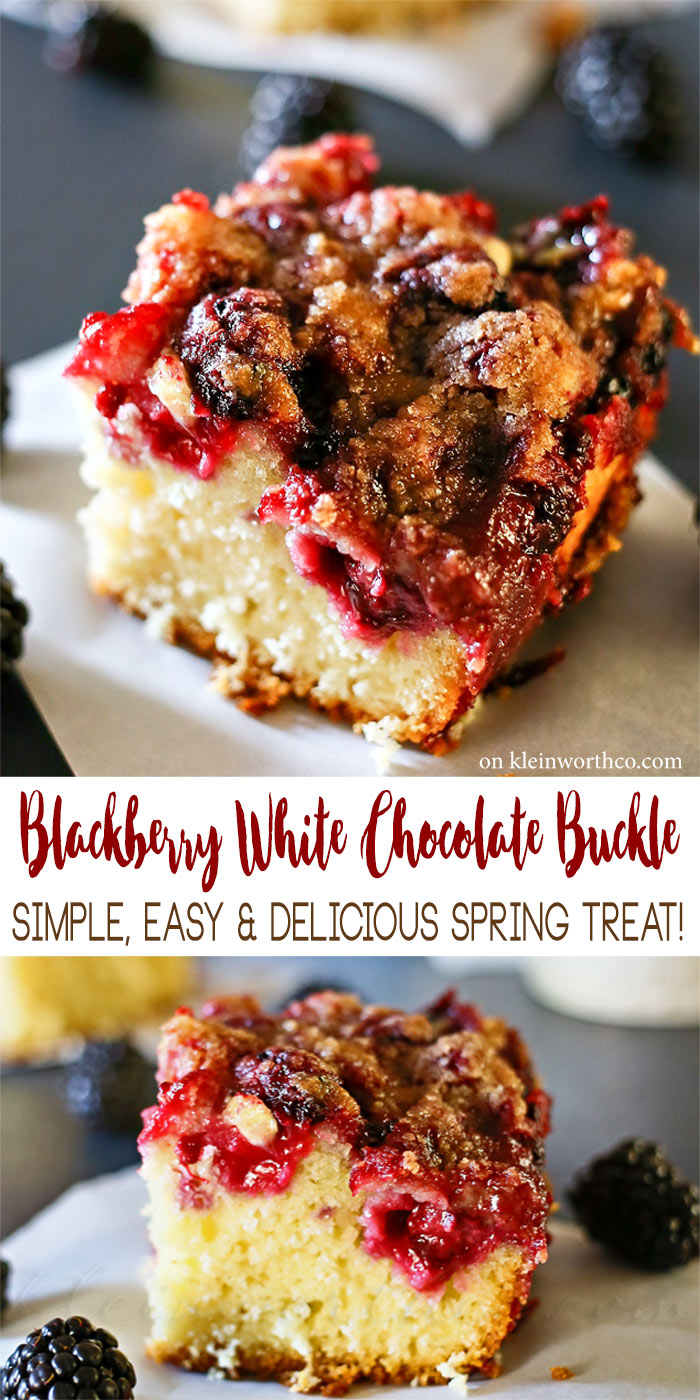
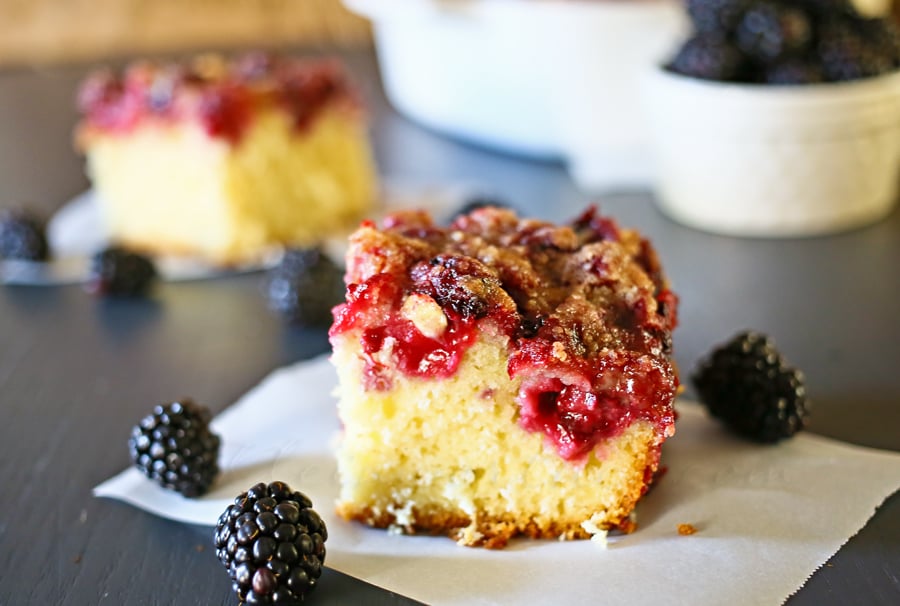
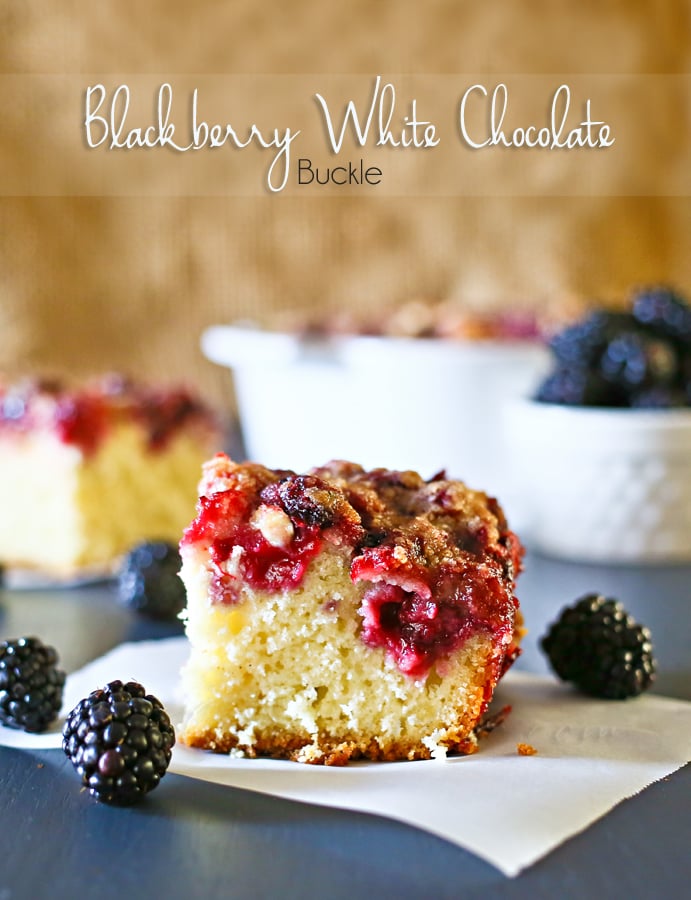
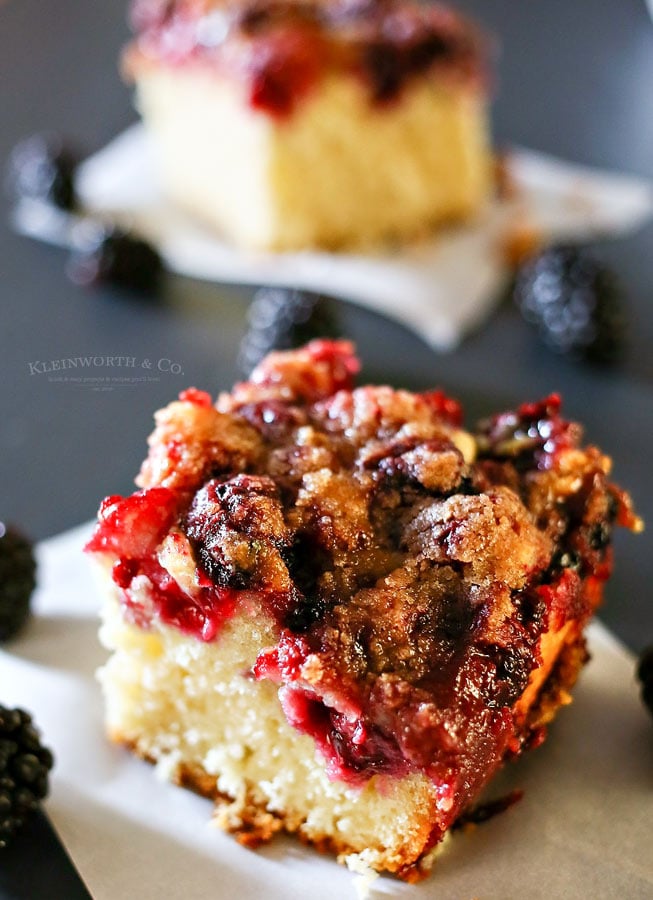
Blackberry White Chocolate Buckle
Blackberry White Chocolate Buckle is the perfect Easter or Mother’s Day dessert. Quick & easy dessert for blackberry lovers that’s like a cobbler & so good!
You know how I love having fruit in the house. I get pretty giddy when my fridge & counters are overflowing with produce. It spurs all sorts of inspiration. I want to get in there & start creating things & letting my imagination run wild. This time I decided to work with the several containers of blackberries we just picked up. They are a family favorite. I remember when the kids were really little- I couldn’t give them enough to satisfy their craving for them. I really don’t blame them- blackberries are a wonderful snack. I whipped them up with some white chocolate chips for this super tasty treat.
Blackberry White Chocolate Buckle
I remember the first time I had a wild blackberry. I was expecting my son- over 16 years ago TODAY (wow). The hubs & I were out on one of our walks to give the baby some exercise. We lived in a place where they grew on the side of random trails. He picked one off & told me to try it. I grew up in So Cal. You were taught to never just pick things & eat them- you didn’t know what they would do. So I was cautious. I had never lived like that- just picking things growing wherever. It was life changing. I loved it.
Blackberry White Chocolate Buckle
Ingredients
- 2-2/3 cups all-purpose flour divided
- 2 tsp baking powder
- 1/2 tsp salt
- 1-1/2 stick butter - room temperature
- 3/4 cup sugar divided
- 1 large egg
- 3/4 cup milk
- 2-1/2 cups fresh blackberries
- 1 tbsp lime juice
- 1/2 tsp cinnamon
- 1/3 cup white chocolate chips
Instructions
- Preheat oven to 375 degrees
- Spray 9" glass baking dish with cooking spray & set aside
- In mixer - beat 1/2 cup butter until smooth.
- Add in 1/2 cup sugar & beat until light & fluffy
- Add egg - beat until well combined
- Beat in 2-1/3 cups flour & your baking powder & salt
- Add in milk as it's beating in the dry ingredients
- Transfer to prepared pan- spread out
- In small bowl- toss berries with lime juice & then pour over batter
- Add white chocolate chips
- In another small bowl combine remaining butter, cinnamon, remaining sugar & remaining flour- mix with pastry blender until large crumbles remain.
- Sprinkle over the top of your berries & spread out to cover
- Bake 50-60 minutes or until toothpick test comes out almost clean.
- Cool in pan on wire rack
- Serve warm with a scoop of vanilla ice cream on top *opt
If you make this recipe- please leave a link or tag me on Instagram @KleinworthCo
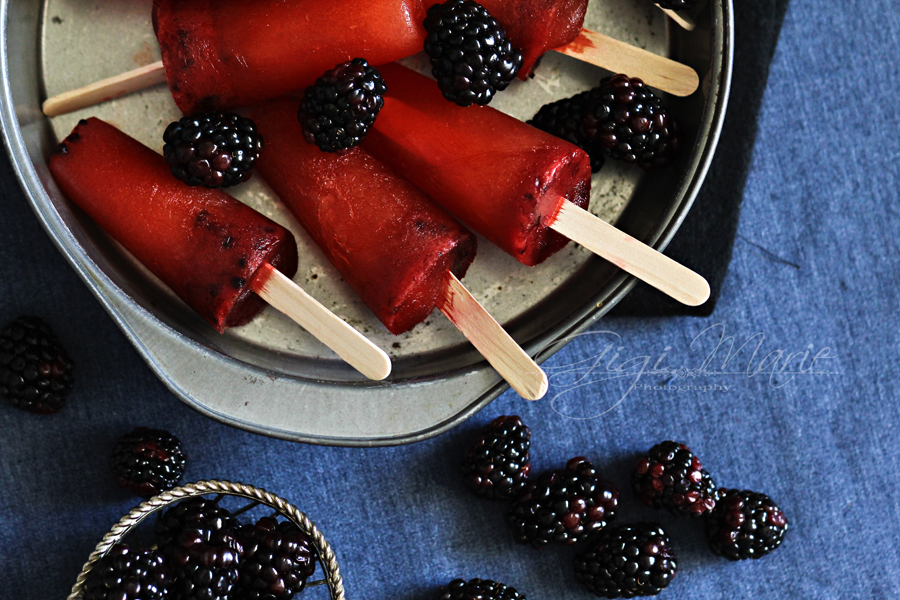
Want More Blackberries?
Blackberry Whole Wheat Mini Donuts
To see where I am linking today- visit HERE
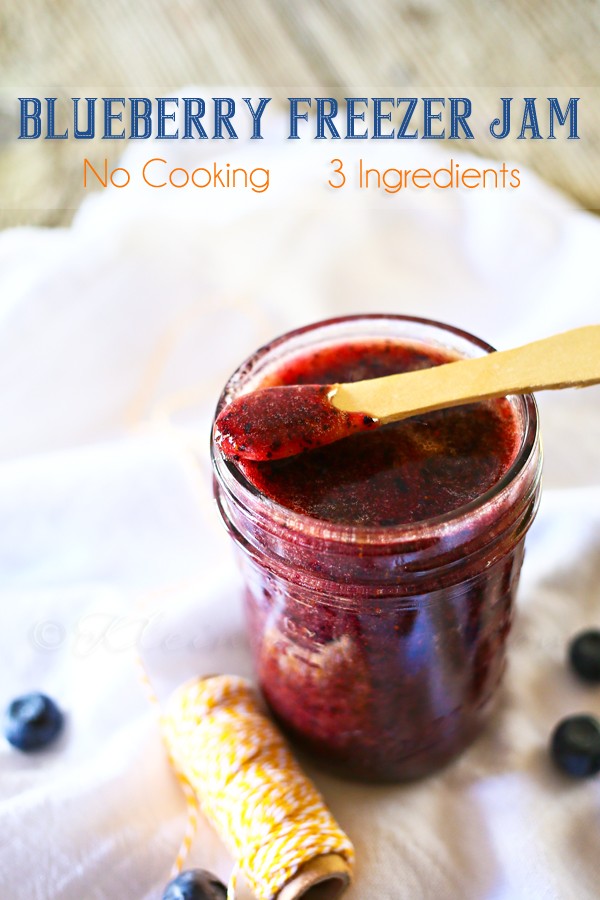
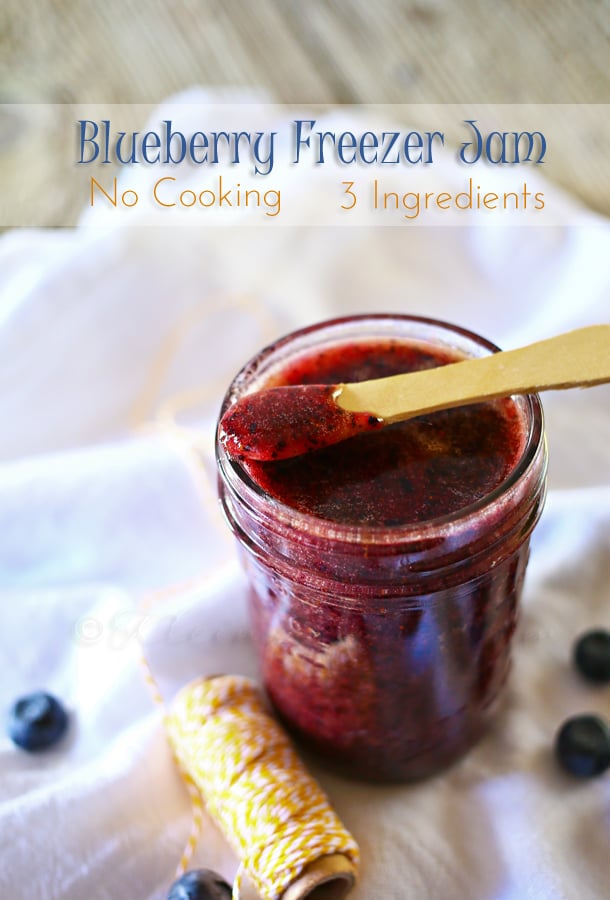
Blueberry Freezer Jam
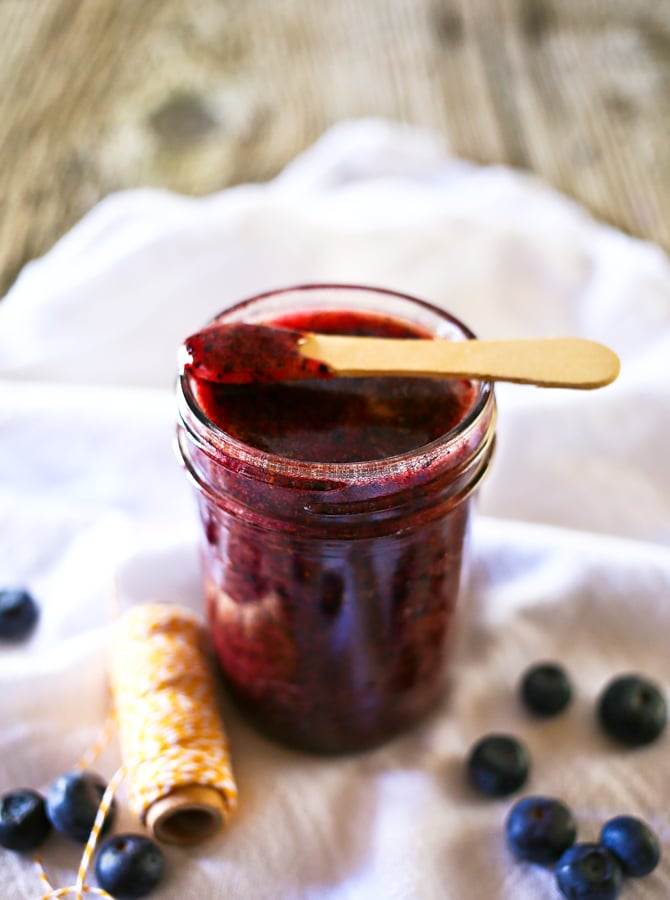
I love making preserves. There is something about looking in the fridge & seeing a multitude of jars filled with things I have made myself. Normally I take my favorite marmalade recipe & just tweak it to whatever fruit I happen to be working with at the time. But that takes the better part of an hour. My days seem to be getting shorter & it seems I have less & less time to be in the kitchen. So spending hours in there making homemade jam just isn’t happening anymore. So I decided to make a NO COOK – SIMPLE – only 3 INGREDIENTS freezer jam that was ready in record time. I may never go back to my other method again. I love how this turned out.
Blueberry Freezer Jam
I’m starting to get so excited about spring. I really get depressed when the market & our co-op have few things to choose from for produce during the winter months. Come spring & summer our house will be packed with produce & I literally can’t wait.
Blueberry Freezer Jam
Ingredients
- 2 cups fresh blueberries
- 2-1/2 tbsp pectin
- 1 cup granulated sugar
Instructions
- Sterilize your jars & set aside
- In a medium size bowl- combine sugar & pectin. Set aside.
- In a food processor- pulse your blueberries until they are liquid & no lumps or large pieces remain
- Pour over your sugar mix & whisk well for approx 2-3 minutes- making sure all sugar has dissolved
- Ladle into your jar & leave about 1/2" space at the top for expansion
- Place your lids on & allow to set at room temperature for about 30 minutes before transferring to freezer.
- *Will store in freezer approx 6 months. In refrigerator 6 weeks.
Want More Blueberries?
To see where I am linking today- visit HERE
[include id=”1″ title=”Footer Ad”]
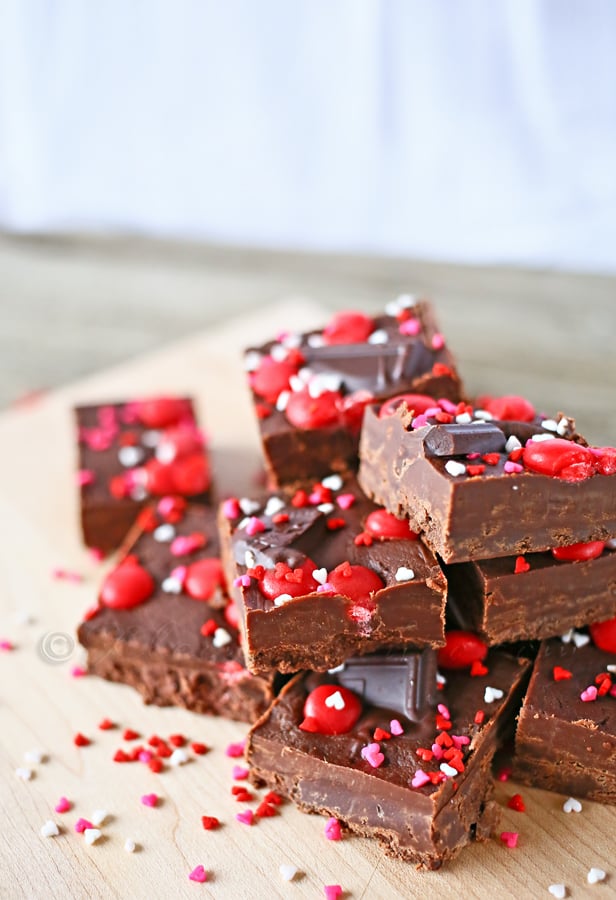
Red Hot Dark Chocolate Fudge
We are on the countdown to Valentine’s Day!! When I think of Valentine’s Day I definitely think of dark chocolate. I could be because it’s my hubs favorite of all the different types of chocolate available. So I am always trying new recipes for him using his beloved 60% Cacao chocolate. So- are you looking for a simple no bake dessert that will still have your sweetie swooning too?
Red Hot Dark Chocolate Fudge
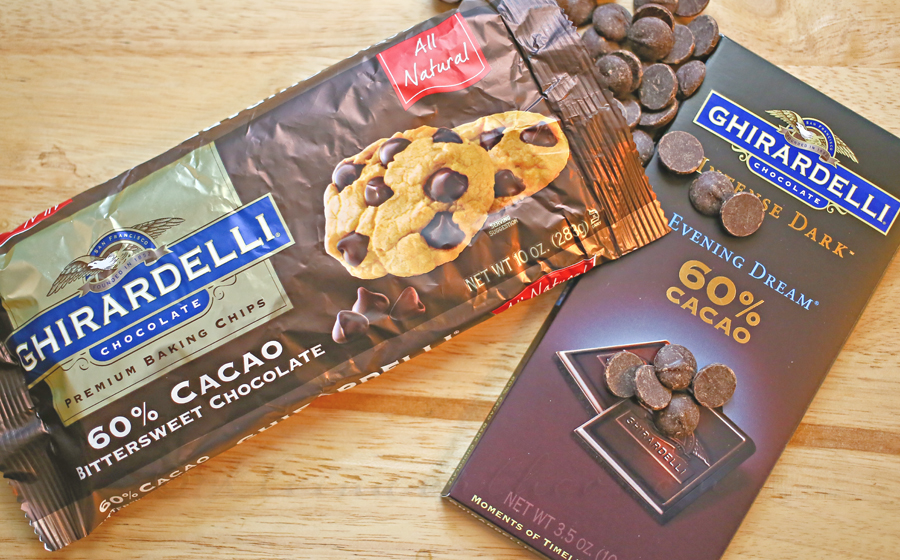
Always start with PREMIUM chocolate, especially when working with dark chocolate. I have discussed this before but I will say it again. It is critical that you use high quality chocolate for this recipe. Because of the high Cacao content, it is the key to getting a silky consistency with your fudge. This is why I love using Ghirardelli. I love that it’s available at my grocer & I don’t have to go to a specialty store to find premium chocolate for my recipes. The variety of flavors & products is fantastic. Usually I go to the store to pick up one item but often find so much inspiration with everything else on the shelf that I pick up several varieties for future recipes too.
For this recipe I used Ghirardelli 60% Cacao Bittersweet Baking Chips & the 4 oz Bars.
Red Hot Dark Chocolate Fudge
Ingredients
- 1 1/2 Cup Sugar
- 1/2 Cup Margarine do not use butter
- 1 5oz Can Evaporated Milk
- 1 7oz Jar Marshmallow Cream
- 1/2 Cup Semi-Sweet Chocolate Chips
- 2-1/2 Cup Ghirardelli 60% Cacao Bittersweet Chocolate Chips
- 1/2 Teaspoon Vanilla Extract
- 4 squares of Ghirardelli Dark Chocolate Bars - broken into pieces
- 1/4 cup Red Hots
- Valentine Sprinkles
Instructions
- Line 9x13 glass pan with parchment & then spray lightly with cooking spray. Set aside.
- Put chocolate chips & vanilla in mixer bowl. Set aside.
- Heat sugar, margarine, evaporated milk & marshmallow cream in 3 qt. heavy saucepan over medium heat.
- Stir until mixture boils, boil for 5 full minutes- stirring constantly.
- Remove from heat. Pour into mixer bowl over the top of the chocolate chips.
- Beat with whip attachment in mixer until it's smooth & looks like silk. (if you did not use premium chocolate- it will be grainy & watery)
- Transfer to your prepared dish.
- Top with red hots, chocolate bar pieces & Valentine sprinkles
- Refrigerate for at least 2 hours before cutting & serving.
Ghirardelli baking chips and bars are the ultimate dessert indulgence. Headlined by their famous 60% cacao chips, Ghirardelli baking ingredients provide bakers with premium options for all of their baking needs. Available in 10-12 oz chips bags and 4 oz bars, Ghirardelli baking products deliver lingering pleasure in every dessert, for impressive results worth sharing.
60% cacao and milk chips come in a larger size for more flavor impact
Availability: Grocery, mass, and club stores nationwide
I was selected for this opportunity as a member of Clever Girls Collective and the content and opinions expressed here are all my own.
To see where I am linking today- visit HERE
Chocolate Marshmallow Iced Coffee ~ #TruMoo
*Disclosure: Sponsored Post- I have been compensated for this post either monetarily or with product. All opinions are truthful & my own.
Oh do I have a treat for you?? Do you love Iced Coffee?? I soooo do & so does my hubs. One thing we love to do is make a couple glasses of iced coffee in the afternoons & just sit in our retreat & chat a little. We close the door & tune out the noise of the day. We talk about things that are happening- major life events, plans for the day, plans for the things coming up in the week & the all important dreams for the future. These often include things like “hey- we will be going to the Ortho this week” & bigger topics like “What color shades were you thinking of for the walls in the new house?” But the key here is- our discussions always involve us enjoying these moments together while sharing something tasty. My standard iced coffee recipe was kicked up to a whole new level of YUM when I had the chance to try TruMoo Chocolate Marshmallow. SO I created the ultimate beverage.
Chocolate Marshmallow Iced Coffee
Perfect to share with your sweetie for Valentine’s Day!!
This drink is so simple to make- BECAUSE I used TruMoo Chocolate Marshmallow Milk. Using chocolate milk for this beverage would have already made a traditional iced coffee really tasty. But to use the TruMoo Chocolate Marshmallow flavor- OMG!!! So Good! I have a deep love & affection for marshmallow flavored anything so this really truly makes me happy. TruMoo Chocolate Marshmallow will be available through February & Chocolate and Vanilla milks are available year-round. I sure hope they decide to make the Chocolate Marshmallow year round too – I may be really sad when I can’t get it anymore.
Those that TRULY LOVE Chocolate Milk!
Some facts about TruMoo
TruMoo Chocolate Marshmallow milk is made with fresh white milk sourced from regional dairies around the country – pure cocoa and just enough natural sugar to make it taste great.
Nutritious and Delicious!
TruMoo Milk contains no artificial growth hormones and no high fructose corn syrup. This is a HUGE thing for me. This means that I don’t have to purchase unpasteurized milk from the local farmer if I want to get away from additives in the milk I serve my family. Incredibly important to me & I am so happy to have this option.
Enjoy TruMoo Chocolate Marshmallow hot or cold!
Try it as an ingredient in your favorite mocktail. Enjoy it hot and you have yourself a s’more!
It’s available in the dairy section at grocery stores nationwide through the month of February.
I picked mine up at Target.
Chocolate Marshmallow Iced Coffee ~ #TruMoo
Ingredients
- TruMoo Chocolate Marshmallow Milk
- Strong Coffee
- Ice
Instructions
- Fill your glass with ice to desired level
- Pour in coffee until glass is about 1/4 - 1/2 full
- Fill remaining glass with TruMoo Chocolate Marshmallow Milk - allow flavors to swirl (this is my favorite part of the prep process)
- Give it a quick stir with your straw
- That's it! Told you it was EASY & OH SO GOOD!
Connect with TruMoo
Facebook — Website — Twitter — Store Locator
Sweet Valentine Printables
So are you ready for a fun little printable?? I created this sheet for my kiddos to give to their friends here in the neighborhood. They helped me in deciding how they wanted them & they designed them with me. Those kids- they are so creative. Suppose I should let them start their own blogs. They would probably pass me by 🙂 So anyhow- here they are. Print away!!
Sweet Valentine’s Day Printables
Don’t you just love the colors of Valentines Day?? The pinks & reds – oh so cute together. They make me smile. I wish it were acceptable to pair the two all year long 🙂 But it’s not so I have to really embrace it while we are in this season.
Want More Valentine Printables?
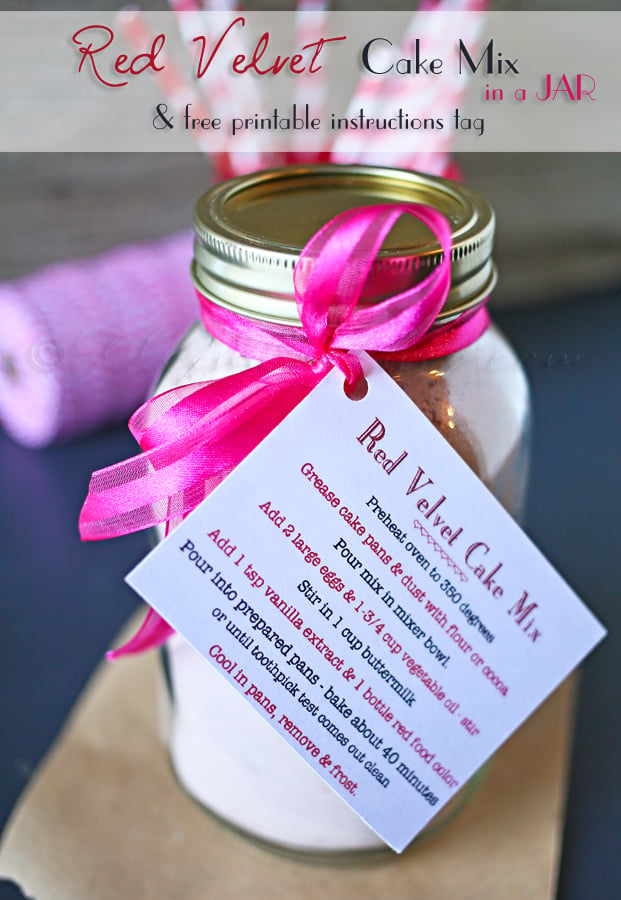
Red Velvet Cake Mix Recipe Instructions
To see where I am linking today- visit HERE
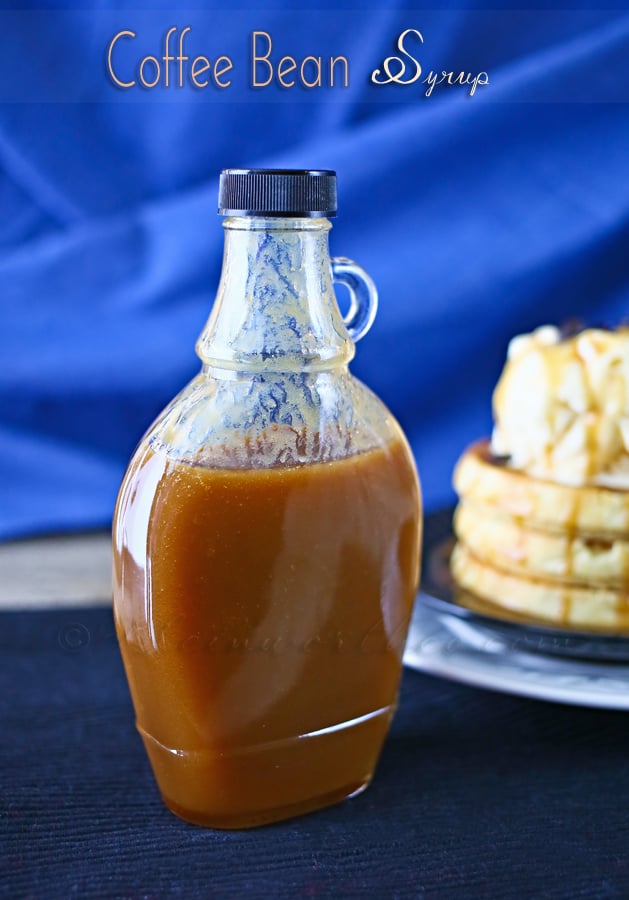
Coffee Bean Syrup
Ooohhhhh – I can’t even begin to tell you just how excited I am about this recipe. If you are a COFFEE LOVER like I am – you try to add a little java to just about anything you can. I start my day off with a 28 ounce mug of some really strong coffee. Sometimes that isn’t quite enough. Soooo….I decided to see if I could give a jolt to my breakfast too. Because really- I wanted to see if I COULD. The result was over the top- so much better than I ever imagined.
Coffee Bean Syrup
I grew up with whip cream on my waffles & pancakes. Then in high school one of my best friends was from Australia. When she told me that they serve waffles with a scoop of ice cream on it for breakfast – that was it for me. GENIUS! Why didn’t I ever think of that before??!! A reason to have ice cream for breakfast- I’m all over that. So the perfect combination here is waffles & vanilla ice cream topped with this Coffee Bean Syrup. HEAVEN on a breakfast plate – I’m tellin’ ya.
One little taste- my eyes rolled to the back of my head. TO DIE FOR!
Coffee Bean Syrup
Ingredients
- 1 cup corn syrup
- 2 cups granulated sugar
- 4 tsp strong instant coffee granules
- 1/2 cup water
- 1 cup evaporated milk
- 2 tsp vanilla extract
Instructions
- Place corn syrup, sugar, water & coffee granules in saucepan.
- Heat over medium - stirring to combine.
- Keep stirring & allow to come to a boil - boiling & stirring about 3-5 minutes
- Remove from heat & add evaporated milk & vanilla.
- Stir to combine.
- Set aside to cool to room temperature before transferring to bottles.
- Store in refrigerator for up to 6 weeks.
- Heat in microwave for about 30 seconds to bring back to drizzle consistency before serving.
Want More Syrup?
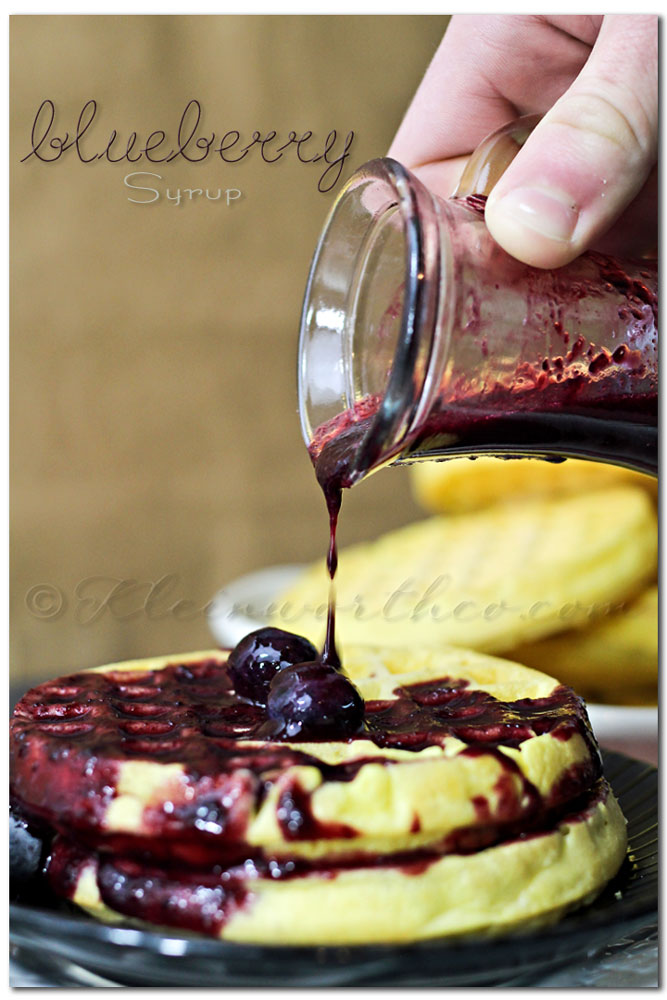
Blueberry Syrup
To see where I am linking today- visit HERE
[include id=”1″ title=”Footer Ad”]
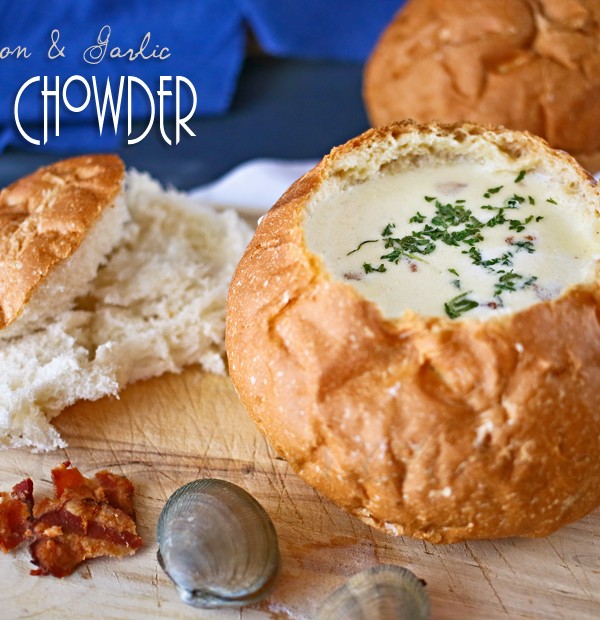
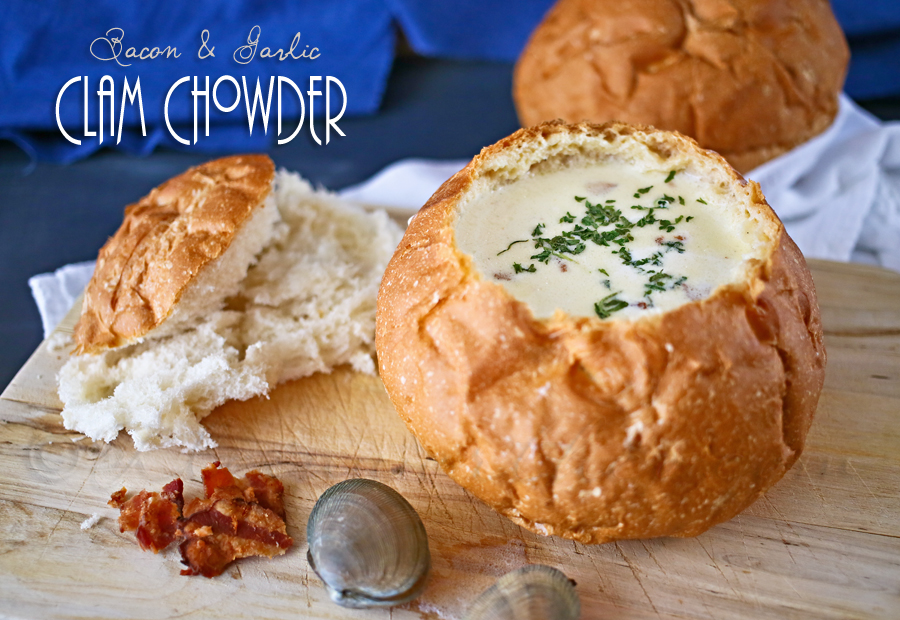
Bacon and Garlic Clam Chowder
Is it cold where you are?? Yeah- it’s pretty chilly here in North Idaho too. Makes me want to cook up something yummy & hot & curl up in my chair with my favorite blanket & get cozy. One of my all time favorite Easy Family Dinner Ideas to make when it’s cold & blustery outside is clam chowder. But the hubs doesn’t make just your typical New England Clam Chowder – he puts some serious flavor love into it & comes out with this amazing bowl of YUM.
Bacon and Garlic Clam Chowder
Pour it in your bread bowl- you can’t beat it on a cold winter day.
Bacon and Garlic Clam Chowder
Ingredients
- 6 slices bacon - chopped
- 2-1/4 cup chopped onion
- 3 cups water
- 6 cups peeled & diced potatoes
- pepper to taste
- 1 tbsp minced garlic
- 7 cups half & half
- 1/2 cup butter 1 stick
- 3 6.5 ounce cans chopped clams
- 1/2 pound fresh steamer clams
Instructions
- Scrub clams & then place in a bowl of salt water for 20 minutes (1/3 cup salt in 1 gallon water).
- Remove from water - rinse & repeat 2 more times to allow the clams to release the sand inside.
- Once done - fill stockpot with water just to cover the bottom. Place clams inside.
- Cover & bring to a boil & let the clams steam 5-7 minutes or until they open.
- Remove clams from shells & set aside.
- While you are soaking your clams for the last time - peel & dice your potatoes & onion. Set aside.
- Place diced bacon in another large stockpot & cook over high heat - until cooked & crisp.
- Leaving bacon & grease in bottom of pot & add in your onions & garlic - cook & stir until onions are soft.
- Add in butter - allow to melt & blend flavors. Keep stirring.
- Stir in water & potatoes.
- Add pepper to taste (I purposely do not add salt because of the salt content of the other ingredients- you don't want too much)
- Bring potatoes to a boil & cook uncovered about 15 minutes or until potatoes are fork tender.
- Pour in your half & half
- Drain your cans of clams - reserving the clam liquid.
- Add in your canned clams & your fresh clams.
- Add 1/2 of your reserved clam juice.
- Stir & cook until hot- do not bring to a boil
- Serve hot.
- *note - this is a thinner, lighter chowder. I will be sharing a thicker, heartier version of this later.
I’m sharing this recipe as part of January’s Recipe Round-Up.
I have teamed up with a wonderful group of talented gals to bring you some of the best COMFORT FOOD recipes you’ll ever find.
Check out all the other recipes by these AMAZING bloggers that have joined in this month.
[inlinkz_linkup id=364822 mode=1 pageSize=300]
Want More Soup?
To see where I am linking today- visit HERE
[include id=”1″ title=”Footer Ad”]
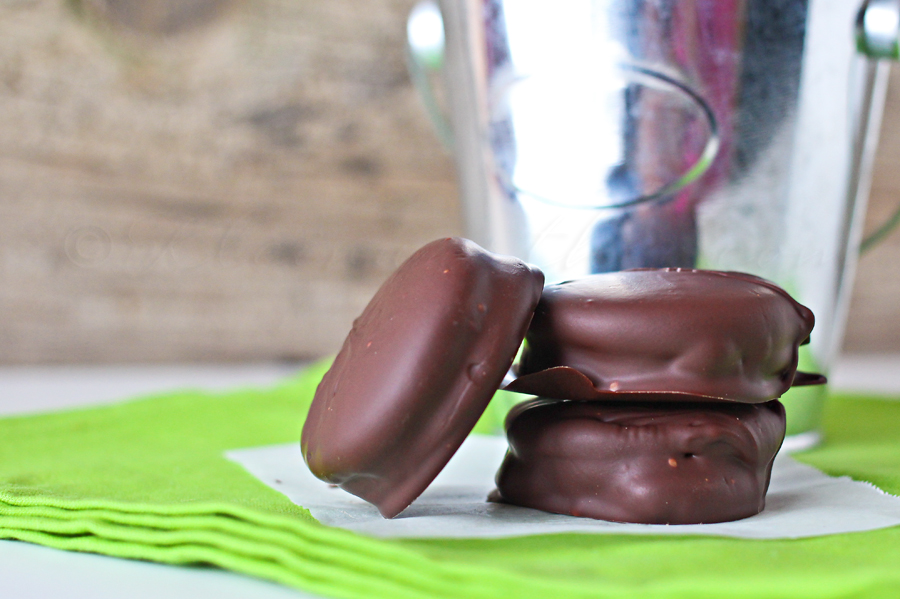
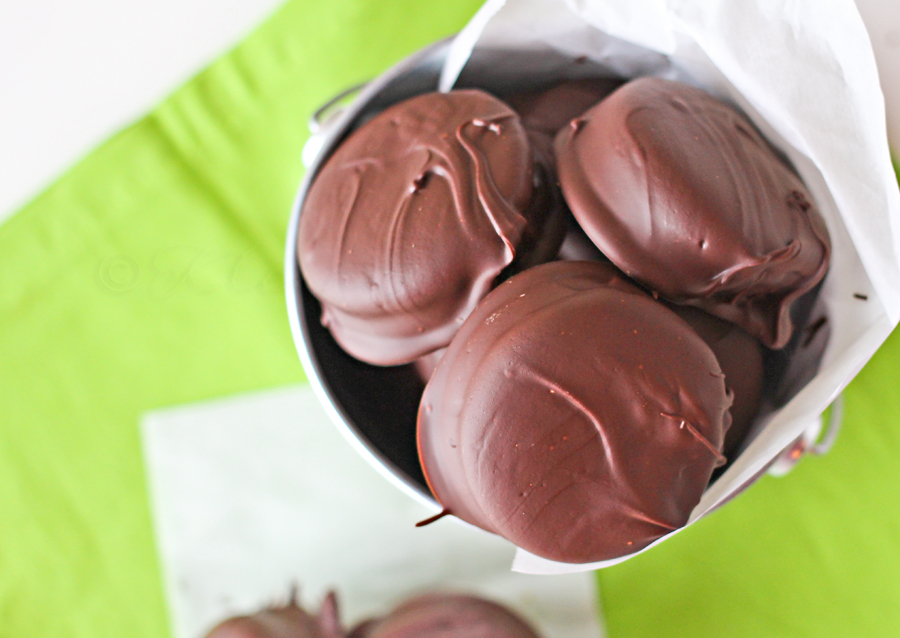
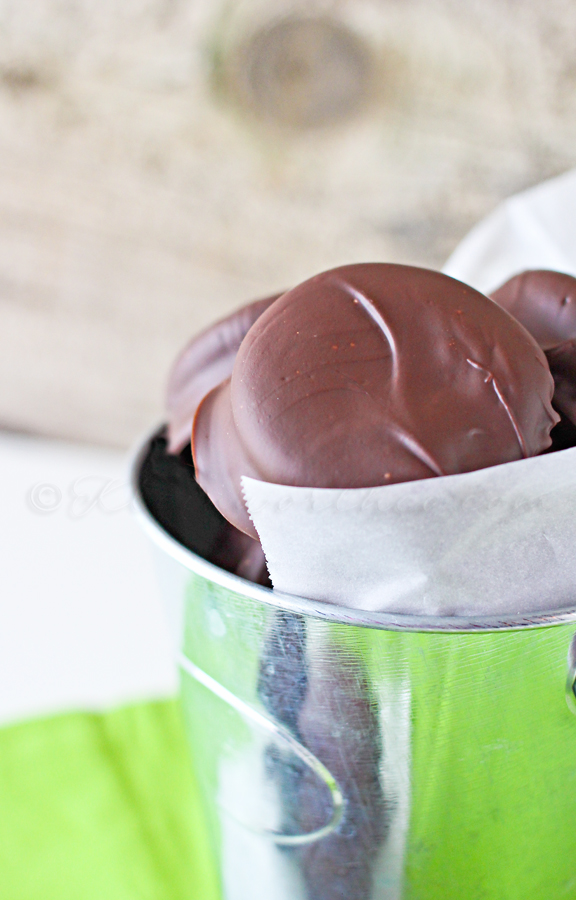
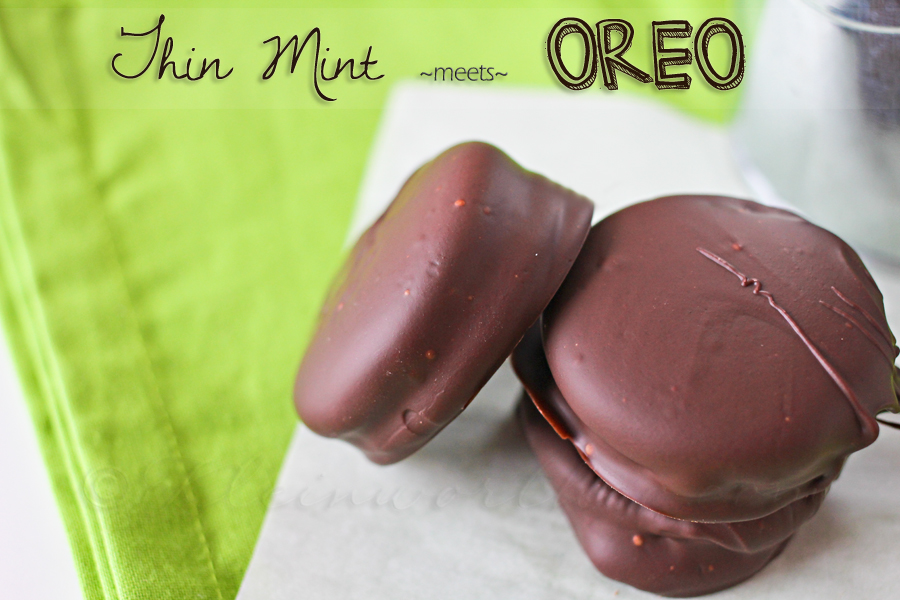
Thin Mint Meets Oreo
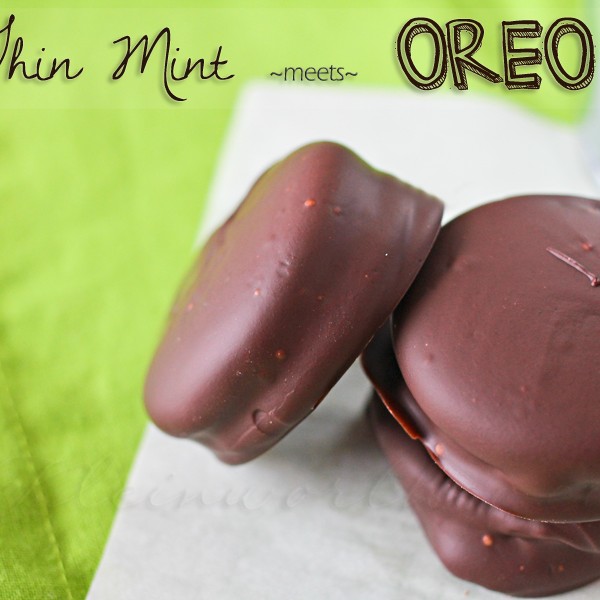
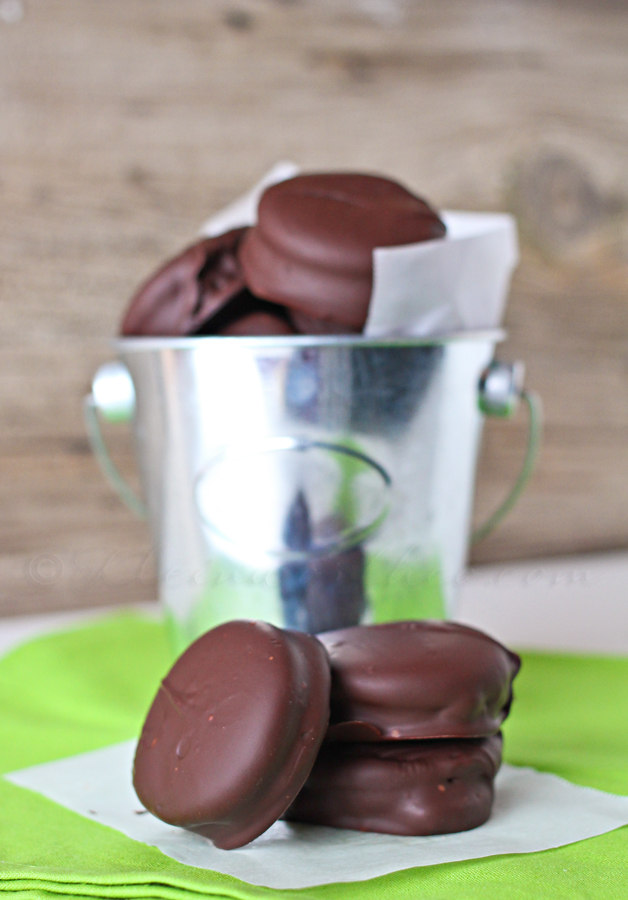
I think it’s pretty safe to say that America has a love affair with 2 very special cookies. The Thin Mint (lovingly brought to us by the Girl Scouts) and the Oreo. Both in my opinion are nothing short of AMAZING!! I have seen several bloggers- some of which are also my friends, use the cookie part of an Oreo to make their own Thin Mint cookies. While I think it’s absolutely GENIUS – I was also quite saddened by the thought of scraping out what I view as the essence of the Oreo & dare I say….discarding (GASP) it!!!! Really?? So I thought- why on earth do I have to choose between the genius of making my own Thin Mints & the essence of the Oreo? So I came up with my own solution.
This post was originally shared by me on “Or So She Says…” several weeks ago but I love this one so much I just had to share it here in my own space too.
Thin Mint Meets Oreo
Mint & Oreo – Yep, every bit as good as you imagine.
I’m not really sure I can ever go back to eating either of them the “normal” way again.
It really is the perfect marriage of 2 iconic cookies.
Mmmmmm- make these for your next gathering. They will be gone in a flash.
Thin Mint Meets Oreo
Ingredients
- 16-20 Double Stuffed Oreo Cookies
- 16 ounces 2 cups Semi-Sweet Chocolate Chips
- 1 tsp Peppermint Extract
Instructions
- In medium size glass bowl - microwave your chocolate chips 1-2 minutes on 50% power. Be sure to take out & stir every 30 seconds to make sure it's heating & melting evenly.
- Once it's very melted & smooth stir in extract.
- Lower your your cookies one by one with a fork into the chocolate, flipping to coat completely.
- Raise out of the chocolate & allow excess to drain off.
- Place on parchment lined baking sheet.
- Continue with remaining cookies.
- Place in refrigerator to set chocolate for several hours.
- Remove & allow to cookies to come to room temperature before serving.
- Store in airtight container.
Want More Goodies?
To see where I am linking today- visit HERE
[include id=”1″ title=”Footer Ad”]
Valentine Porch Sign
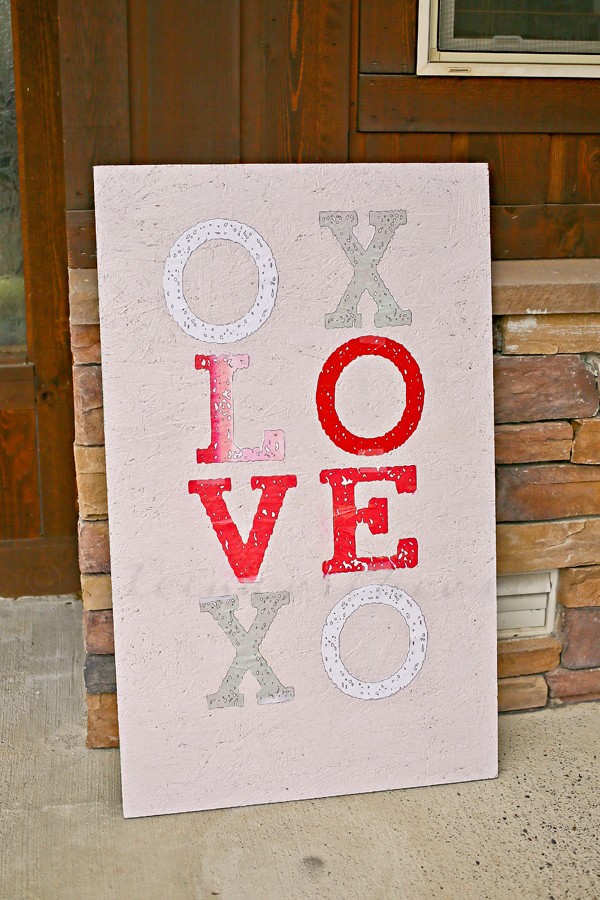
Each month I put a new wreath on the front door. It usually fits the holiday of the month or the feel of the season. But that is usually as far as I take it. But this past fall I decorated the whole front porch with corn husks & a painted board. I then painted a board for Christmas- only I didn’t get to use it because we were in So Cal. SO I decided that after the porch bring absolutely bare – besides my January wreath, I needed to start thinking about what I would decorate with for February. I mean – I am doing all sorts of things for Valentine’s Day here in the house- I should be doing something for the porch too. So I decided to make another sign.
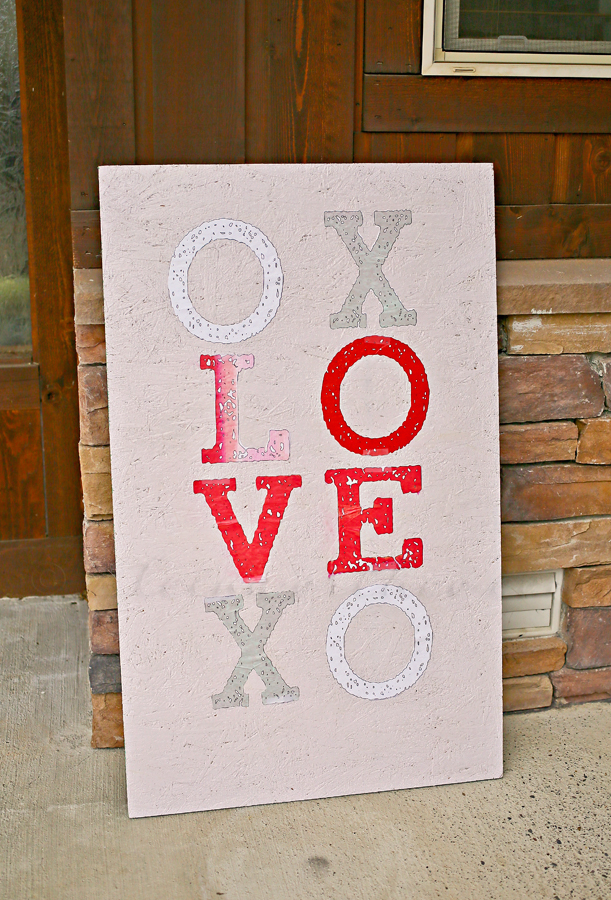
Valentine Porch Sign
It was fun to work on & the kids were able to jump in & help too.
This was super simple to create.
1 – I painted the board with a light lavender paint.
2 – Printed & cut out my paper letters to apply.
3 – Arranged the letters on the board to get an idea of placement.
4 – Brushed on a thick layer of Mod Podge Gloss under each letter & pressed the letters down to stick
5 – Once the letters were somewhat dried onto the board & gave another full thick coat of Mod Podge Gloss over the entire board to seal in the paper & give a shiny finish over the whole thing.
I told you it was simple. Now I can have the porch decorated for Valentines Day.
I’ll be working on a wreath this weekend I hope. It’s almost February.
To see where I am linking today- visit HERE
[include id=”1″ title=”Footer Ad”]
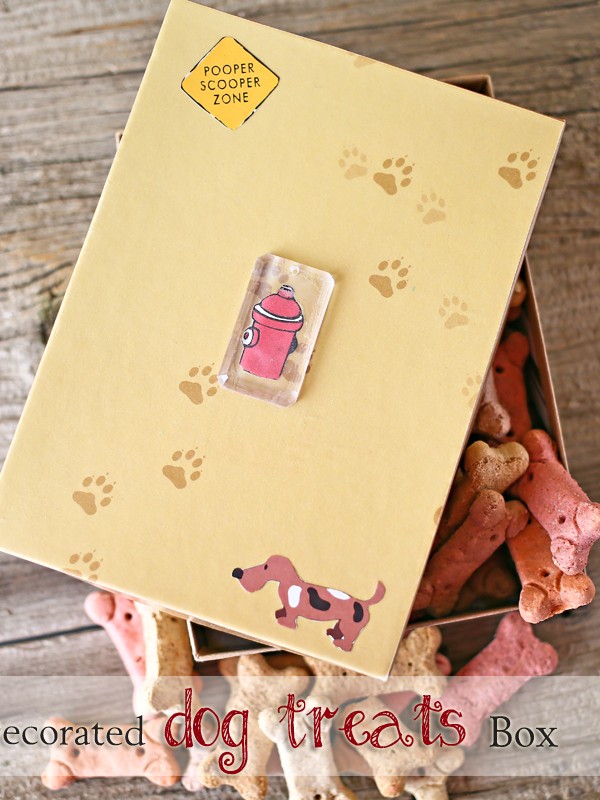
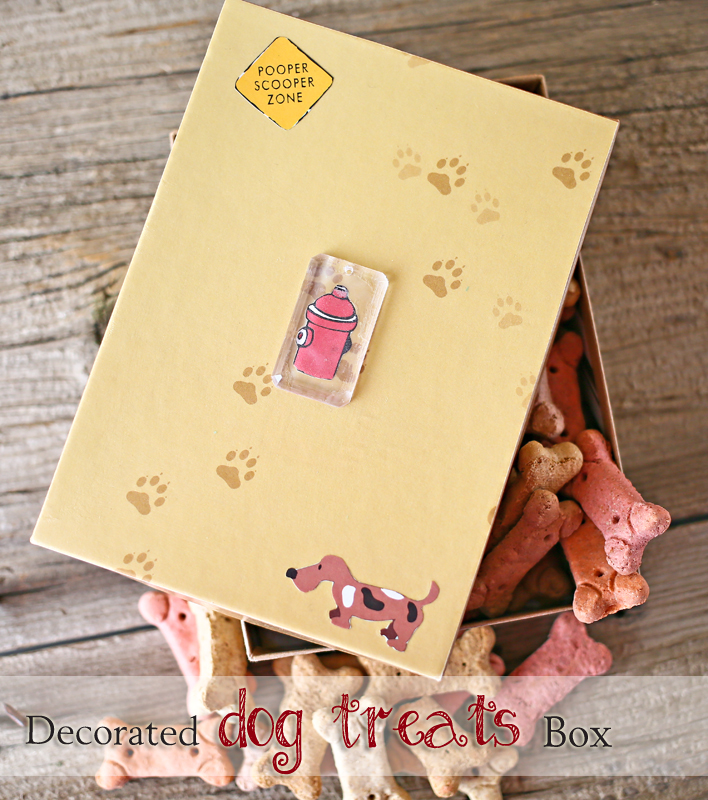
Decorated Dog Treats Box
*Disclosure: Sponsored Post- I have been compensated for this post either monetarily or with product. All opinions are truthful & my own.
It seems that January is the time to get organized. Everyone is focusing on “out with the old & in with the new” & I am no exception. There is something about starting the new year fresh & getting rid of the clutter- both mentally & around the house. One thing I decided to tackle is how we contain our treats for our dog. The kids wanted something cute for him & so we pulled out some fabulous new products from Mod Podge & got a little creative. I let the kids take the reigns with this one & decide what we would do. I have many other projects on my list but this was the first one we tackled with the Mod Podge.
Decorated Dog Treats Box
I love how adorable it is. Let me show you how simple it was to make.
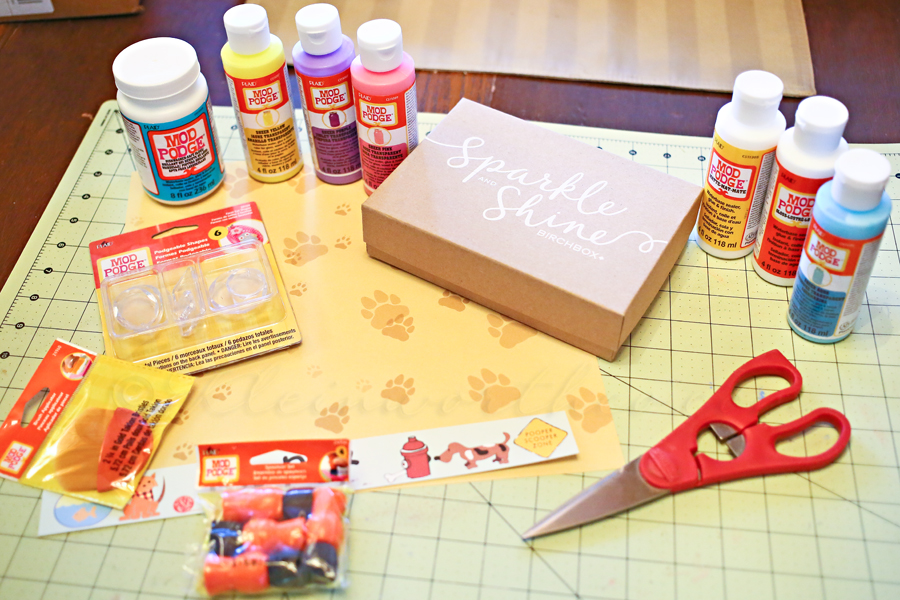
Here are the products I started out with – I didn’t end up using them all but I like to have them all out in front of me so that if I change my mind mid-way through (like I did with this project) I have everything at the ready for a game change.
Shown here in the picture: Mod Podge Dishwasher Safe Gloss (to be used in some upcoming projects), Mod Podge Sheer Colors in Yellow, Purple, Pink & Blue (also to be used in some great new projects coming up – I can’t wait to use these to tint some jars too), Mod Podge Facet Shapes, Mod Podge Stampers, Mod Podge Brush, Mod Podge Matte Finish, Mod Podge Gloss Finish, scissors, scrapbook paper & my protective mat since I was working on our antique table that day.
Don’t miss these great tutorial videos from Plaid:
How to Tint Glass with Mod Podge Sheer Colors
Learn How to Use Mod Podge Sheer Colors
Mod Podge Sheer Colors are a NEW product that just launched this month (Jan 2014). They come in 9 transparent colors. They work great on glass, wood, metal & more. The Mod Podge Dishwasher Safe is also a NEW project launching this month. It’s Top-Rack dishwasher safe & good for indoor or outdoor use. I can’t wait to play with both of these more in the coming weeks.
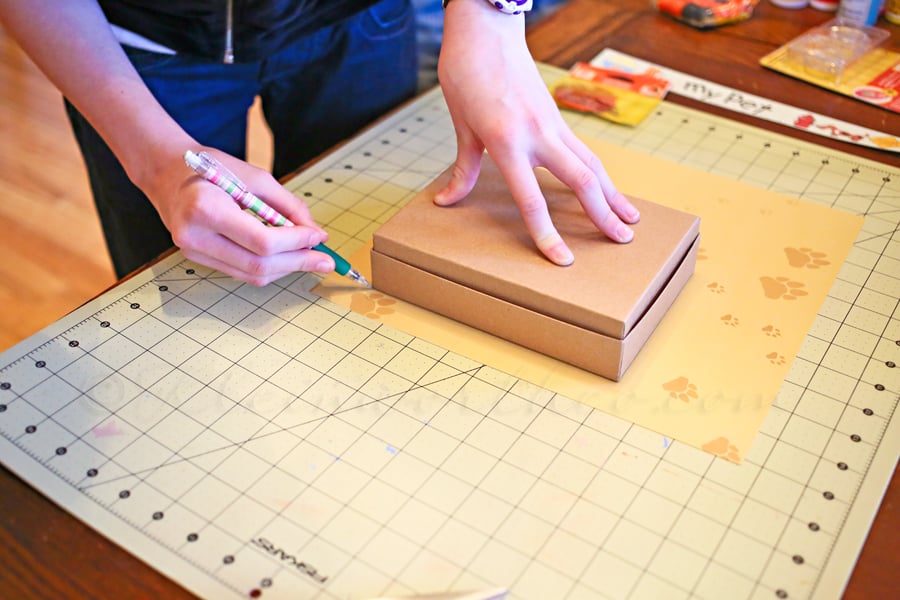
I knew we wanted to cover the top of the box with the scrapbook paper – so we started with tracing the size of the lid.
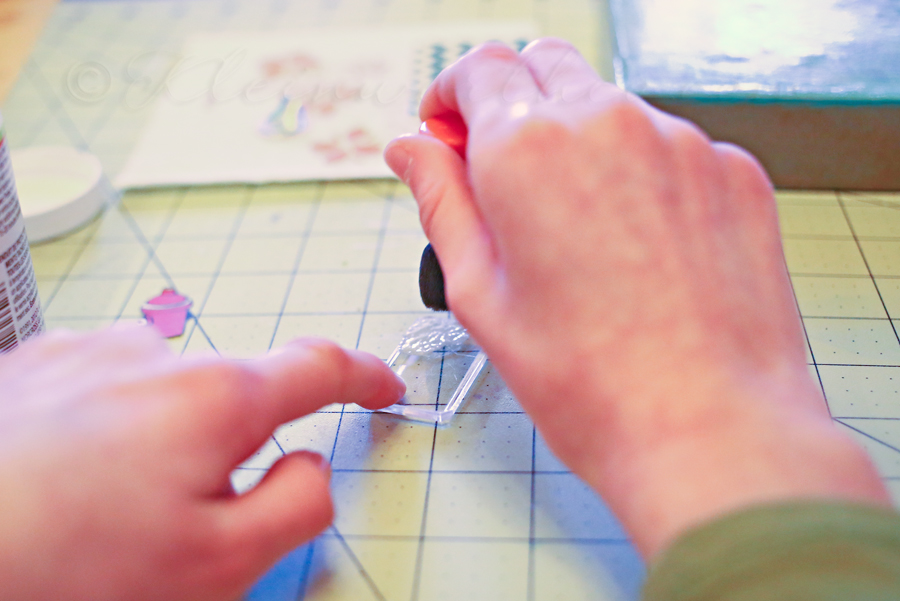
The munchkin wanted to add one of the Facet Shapes with the fire hydrant on it –
so she added a little Mod Podge Gloss to the back & then we adhered the hydrant cutout on it.
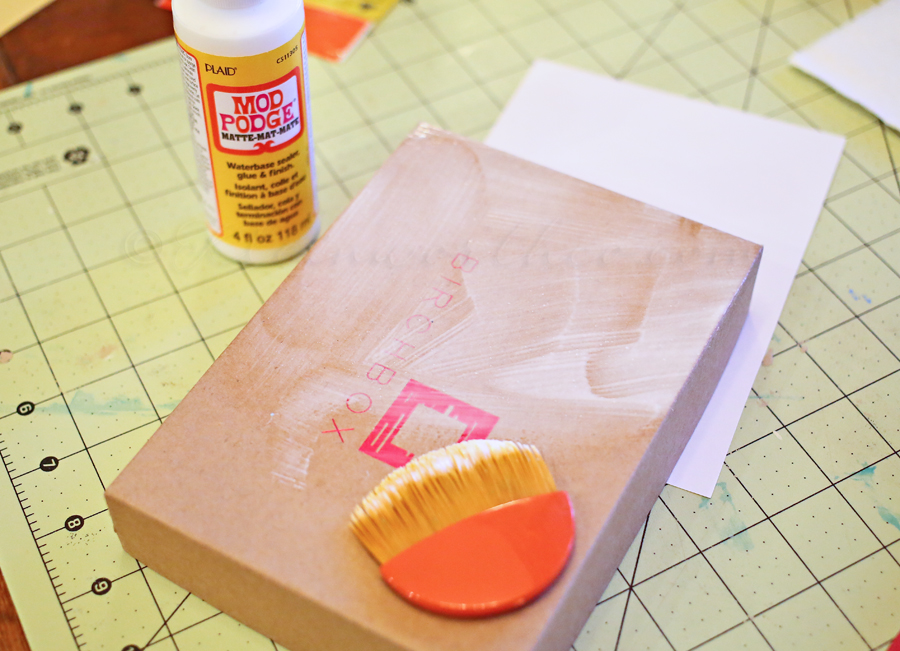
I gave the lid a nice thick coat of Mod Podge Matte finish – placed my piece of scrapbook paper on top & used a gift card to really smooth it out.
Then I added another top coat of Mod Podge to seal it down.
Note: we started with a different box- the kids insisted on using the Mod Podge Sheer color in blue- which worked great except the blue on top of the brown didn’t look so great. If it had been a white box- maybe better. So I had to step in & change things up a little. Sooooo- this is what I meant by having to shift things on the fly sometimes. Because I love the beautiful glossy blue finish of the other box – I am super anxious to give it a try again on the right surface. So stay tuned for another post on that. I am really looking forward to playing with it more soon.
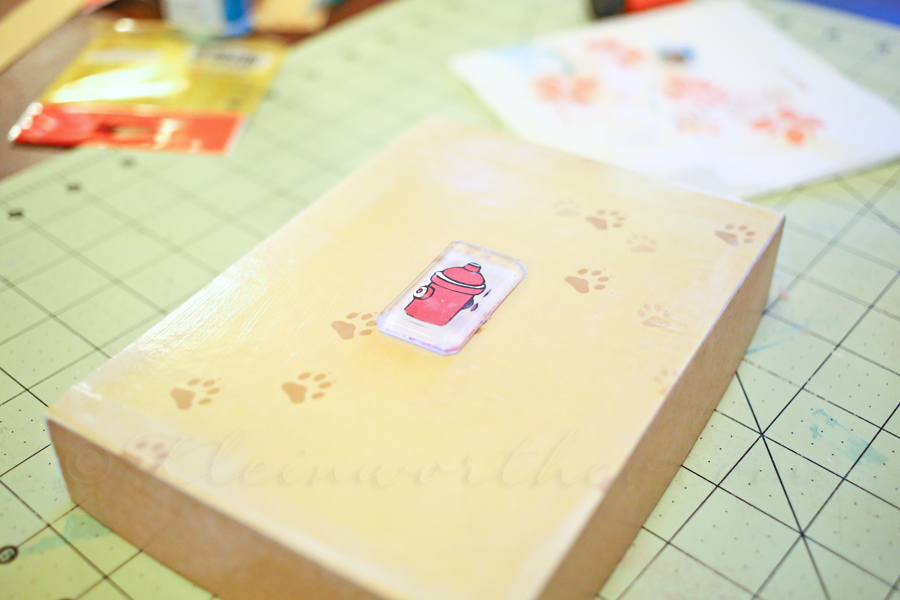
We placed the Facet Shape with the hydrant on it in the middle using the Mod Podge as adhesive.
Then we added a couple more shapes we cut out – also using the Mod Podge as adhesive & then a coat on top to seal.
I love how adorable it turned out & the kids smile every time they get to open the box to give the dog a treat.
I love the little Facet Shapes-
the girls are really looking forward to using them with more decorative papers & creating some jewelry projects.
Sign up for Plaid’s weekly newsletter for tutorials and inspiration HERE
Get more inspiration and more Mod Podge ideas on Plaid’s Pinterest Board
Find Mod Podge Sheer Colors, Facet Shapes and Dishwasher Safe Mod Podge in Michaels or on Plaid’s website HERE
Check out all these other Mod Podge Projects
To see where I am linking today- visit HERE
[include id="1" title="Footer Ad"]
Red Velvet Biscotti
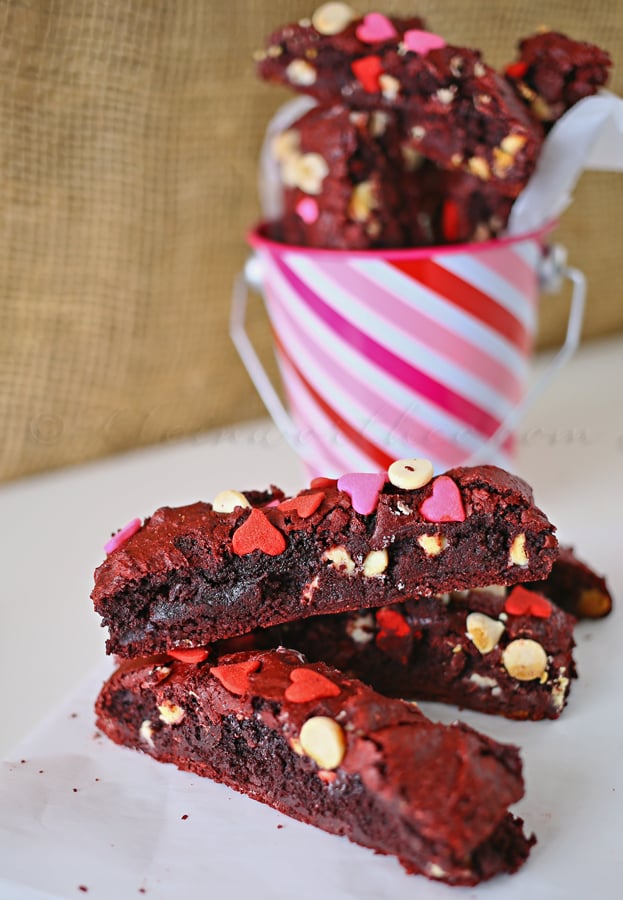
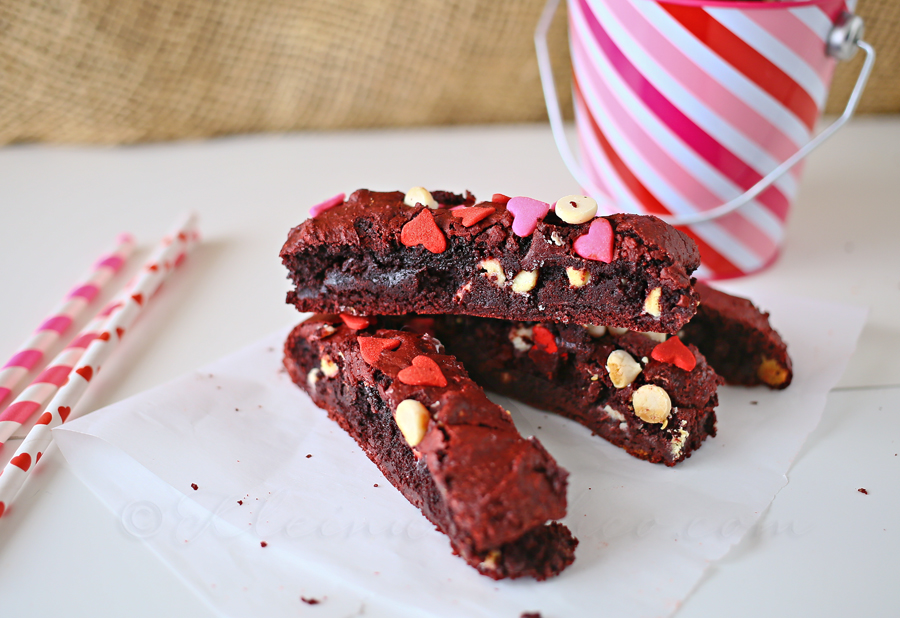
Would you agree with me that when you think of Red Velvet flavored anything- your mind sort of automatically thinks of Valentines Day? I know mine does. Which is why I can’t seem to stop wit the red velvet recipes. It’s so incredibly good & there is just something about it that screams special. So I couldn’t help myself from making this tasty little coffee time snack to make my weekend a little more exciting.
Red Velvet Biscotti
I had so much fun in Michaels picking up all the little Valentine sprinkles & decorations. I really have to hold myself back in there. The hubs thought I had lost my mind. When I left CA I shipped home 4 LARGE boxes of my mom’s cake decorating/baking supplies. He didn’t think I would need to be buying any sort of baking item for a very long time. Buuuut – I wandered in to Michaels & walked out with several bags full of more baking supplies. Go figure.
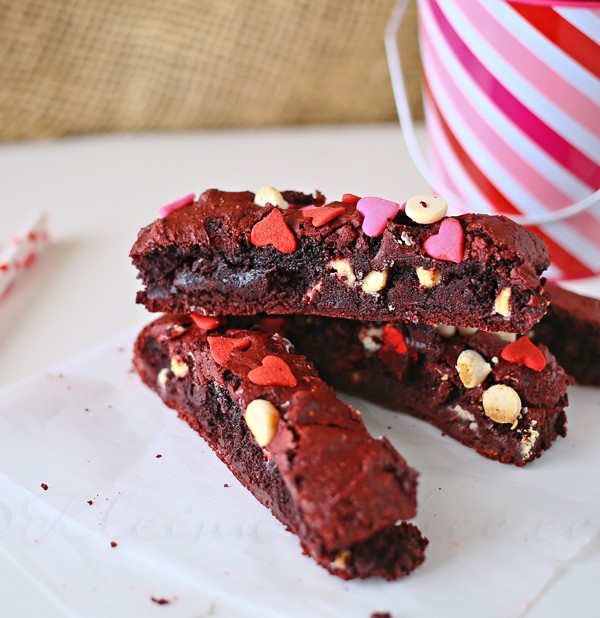
Look at how fun these little hearts are mixed with the white chocolate chips.
Red Velvet Biscotti
Ingredients
- 2½ cups all-purpose flour spooned into your measuring cup- don't scoop in with the cup - this packs it in & gives too much in the recipe
- 2 cups sugar
- 1 cup dutch processed cocoa powder
- 2 oz liquid red food color or 2 tbsp gel food color
- 1½ tsp baking powder
- 1/4 tsp salt
- 5 large eggs
- 1½ tsp vanilla extract
- 1 cup white chocolate chips
- ½ cup heart sprinkles
Instructions
- Pre-heat oven to 350 degrees
- Mix flour, sugar, cocoa, food color, baking powder, & salt in the mixer bowl & turn it on the slowest setting. (stir)
- Combine eggs, & vanilla in small bowl & beat lightly with a fork.
- Add the egg mixture to the flour mixture & mix well until combined. It will be sticky but firm.
- Fold in the white chocolate chips.
- Divide the dough in half for 2 large loaves - I did 3 medium-sized instead. (You should end up with 2 rectangles measuring approximately 4-5 inches on the short end & 7-8 inches on the long end.)
- On a lightly floured surface, form each log & place on a parchment-lined baking sheet.
- Bake for about 30 minutes or until tops are set.
- Remove from the oven & reduce oven temperature to 300 degrees.
- Allow logs to cool & then slice about ½ - 1 inch wide.
- Lay slices on their side on the baking sheet & bake at 300 for 10 minutes.
- Remove- flip the slices over & bake an additional 8-10 minutes.
- Cool on a wire rack before decorating or placing them in an airtight container for storage.
Want More Red Velvet?
You can make this Homemade Red Velvet Cake Mix & print the instructions tag for a great gift.
To see where I am linking today- visit HERE
[include id=”1″ title=”Footer Ad”]
Easy Grilled & Ready Kabobs
I am a member of the Collective Bias® Social Fabric® Community. This shop has been compensated as part of a social shopper amplification for Collective Bias and its advertiser.
You know how I love my football. That is no secret. If you are a regular reader here then you also know that I love to make a HUGE spread of snacks for every game. Not just the BIG game – but all games. REALLY – football season is 6 months long. That can really add up to a whole lot of eating things that I probably shouldn’t. So we have been trying to add in healthier choices in not just what we eat but how we prepare it too. Who says football snacks have to be bad for you? Looking for Easy Family Dinner Ideas? I set out to create a fresh, tasty & healthier snack for the family to munch on & came up with something they are begging me to put on the permanent menu.
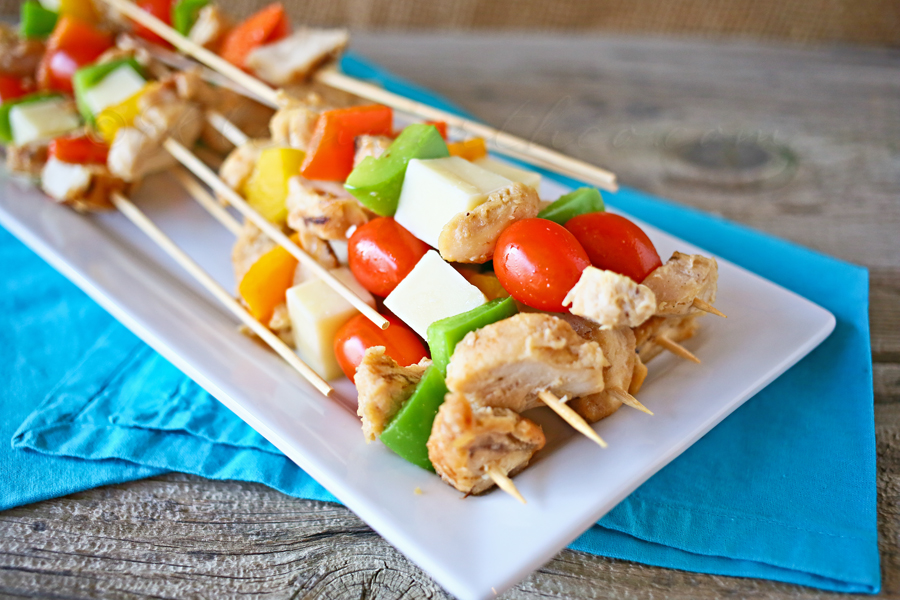
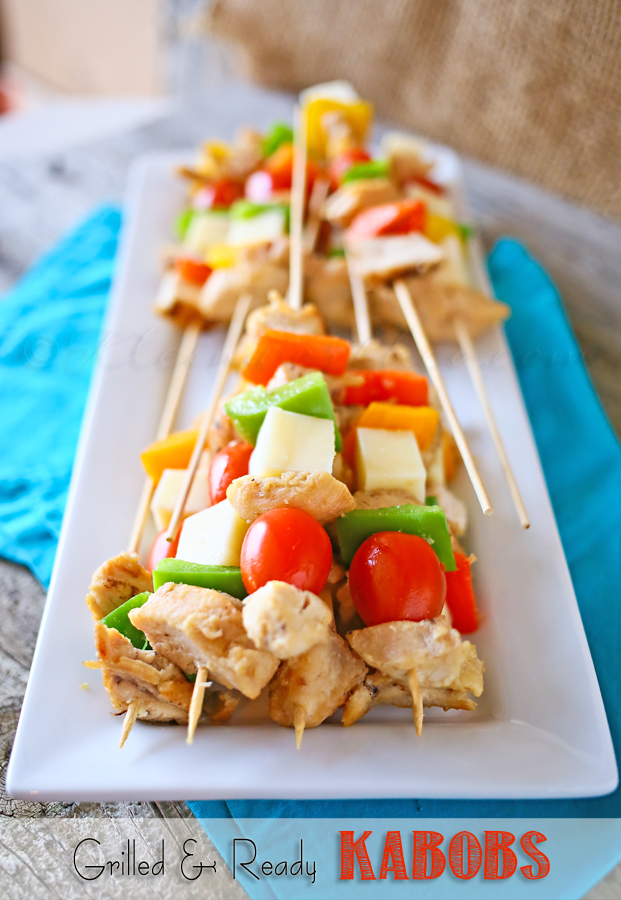
Easy Grilled & Ready Kabobs
You are not going to believe how quick & simple these are.
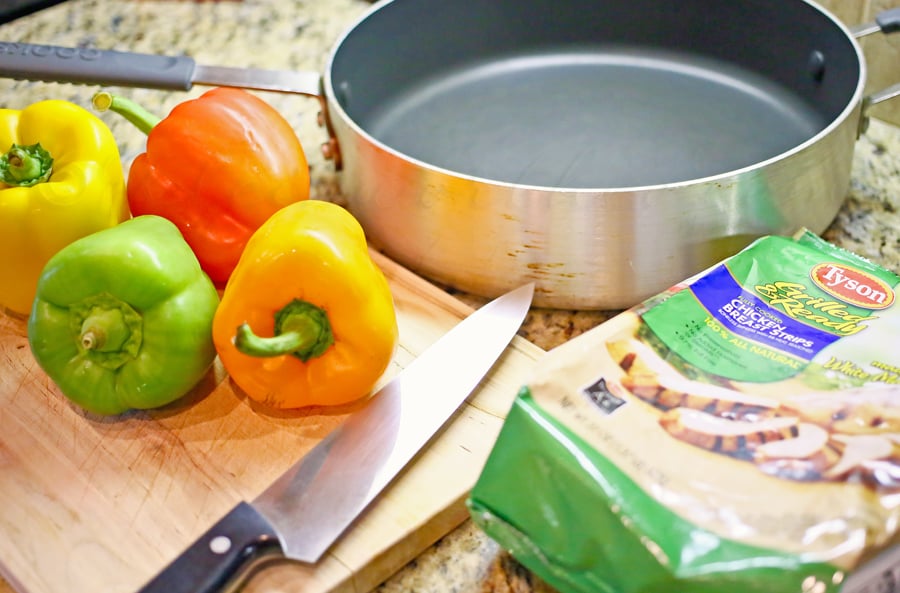
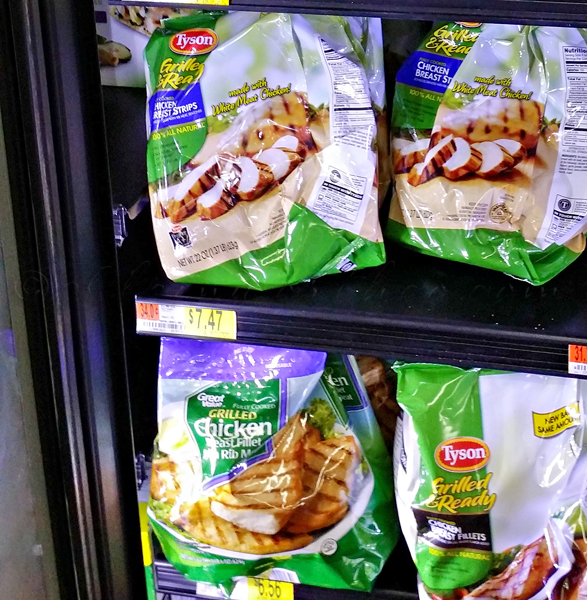
I basically started with 2 bags Tyson Grilled & Ready Chicken Breast Strips. Poured them both into a large skillet. Then I cut up 4 bell peppers into squares – one in each color for a little visual fun.
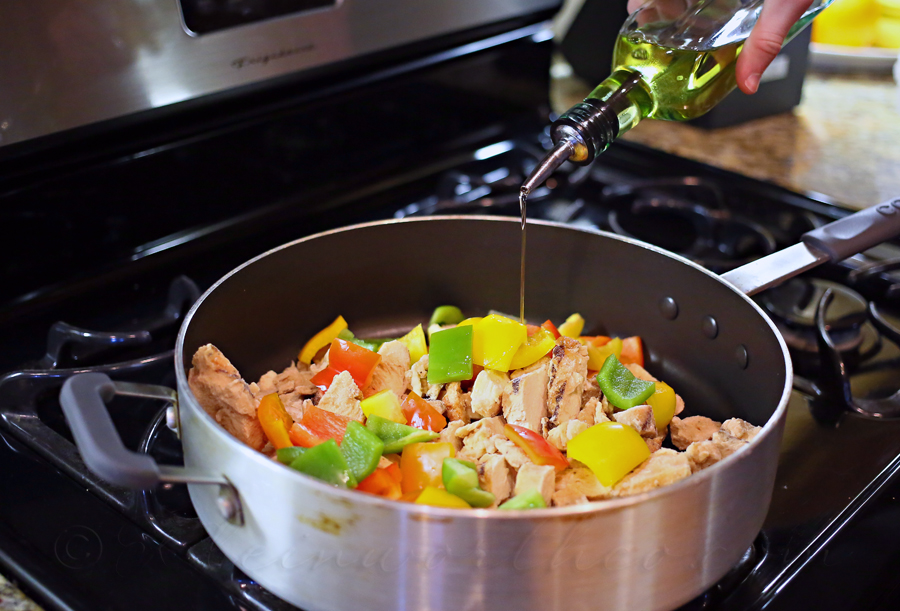
I drizzled a little olive oil over everything- about 2 tbsp. Then I added a healthy dose of granulated garlic because I add garlic to nearly everything I make.
Then I just sauteed & stirred until the chicken was hot & the peppers were soft & all the flavors had a chance to blend.
I then washed a large bowl of cherry tomatoes & cut about 8 ounces of mozzarella cheese into cubes.
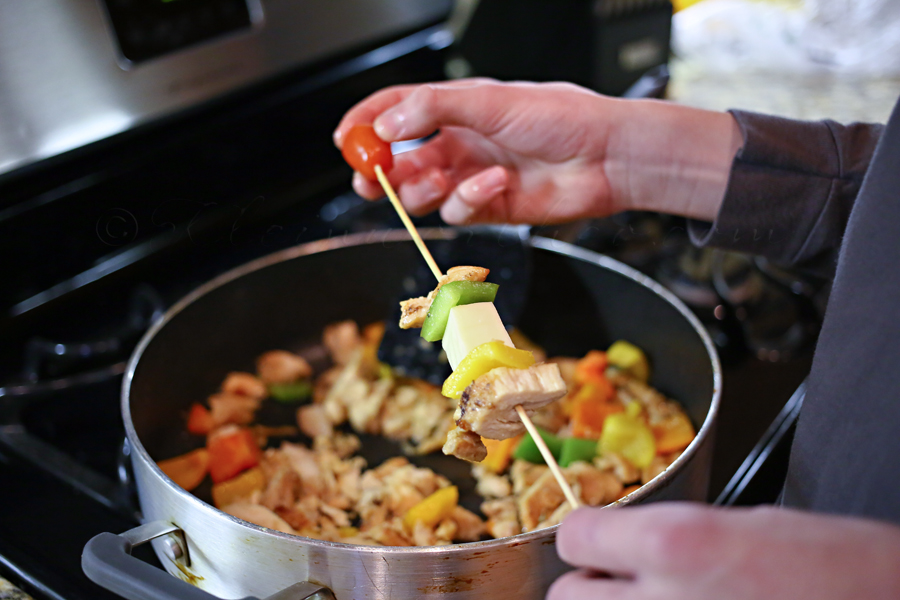
By this time the contents of the skillet had cooled enough to handle with our fingers. I brought my son in for an extra set of hands to help assemble.
Just grab, stick & done.
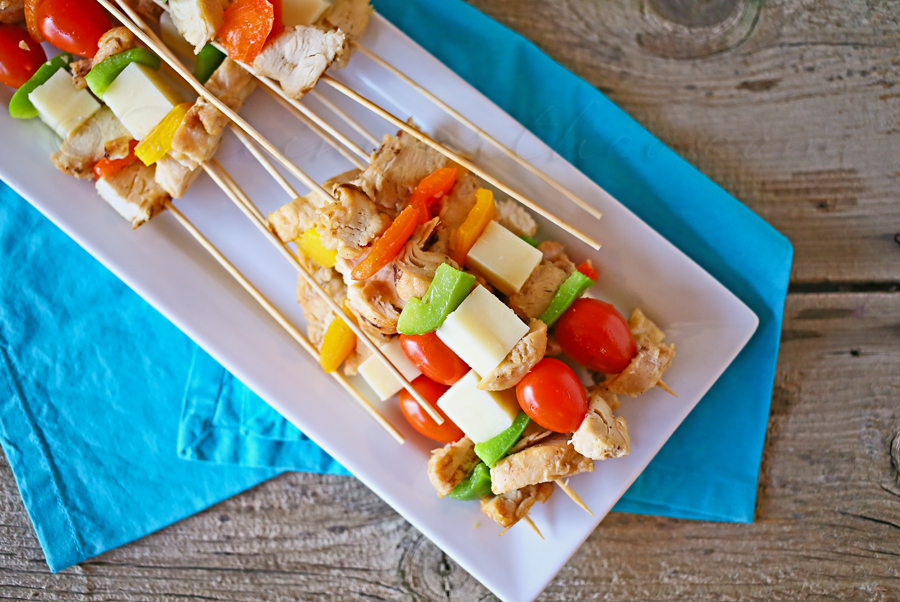
For me presentation is everything when it comes to making our meals fun & exciting. So I picked up this perfect platter just for these kabobs.
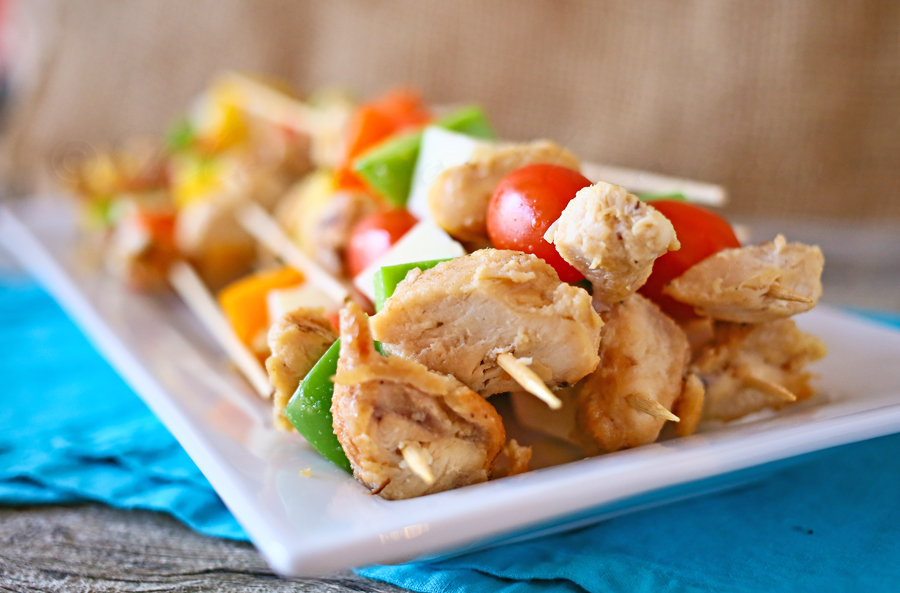
The medley of colors just makes them so appealing – we had a hard time making sure everyone had enough & no one person missed out.
I absolutely LOVE the fact that these packs of Tyson Grilled & Ready Chicken Breast Strips have no preservatives. You know that I have REALLY been working hard at eliminating as many foods containing preservatives as I possibly can. So I was absolutely THRILLED to see that these not only were convenient & affordable for our large family, but that I didn’t have to compromise on some of our new healthier habits just to have a quick dinner option.
Easy Grilled & Ready Kabobs
Ingredients
- 2 bags Tyson Grilled & Ready Chicken Breast Strips
- 4 Bell Peppers - colors of choice
- 2 cups cherry tomatoes
- 8 ounces mozzarella cheese
- 2 tbsp olive oil
- 3 tbsp granulated garlic opt
- 15-20 skewers
Instructions
- Add Chicken Breast Strips to large skillet.
- Cut bell peppers into squares & add to skillet.
- Add in your olive oil & garlic
- Saute until thoroughly heated & bell peppers have softened & flavors blended
- Remove from heat & set aside to cool slightly
- While your skillet is cooling - wash your cherry tomatoes
- Then cube your cheese.
- By now your skillet should be cool enough for you to start assembling your kabobs
- Stick on your skewer - remembering to alternate colors & choices for visual interest.
- Eat immediately
I picked up my Tyson Grilled & Ready products at Walmart. Right now Walmart has all Grilled & Ready products on Rollback for just $5.87 – which makes an easy dinner so affordable.
This is really COOL – a super fridge for these products will be in 1,067 Walmart stores. See store list HERE and see if these stores are in your area so you can check it out!
Be sure to visit Tyson on Facebook & join them for “Just Add This” where you can get daily healthier for you recipes & some great fitness ideas.
You can also win GREAT PRIZES too. All through January – March!
Connect with Tyson: Website, Twitter @ TysonTweets , Facebook
You can also check out other Tyson Grilled & Ready recipes on Pinterest.
To see where I am linking today- visit HERE
Valentine Red Hots Votive
You know- sometimes putting together a simple little craft can make one so happy. I love having votives sitting around in various places in the house & I love making each one unique & interesting. I brought this one home from my moms- it was actually a small vase from her services. But when I cleaned it out & looked at it- I knew exactly what I wanted to do with it. We packed it ever so carefully in the car for the long drive home. I was shocked it made the 1300 mile journey without breaking. I have ever so patiently been waiting to jump into Valentine’s Day mode since I had this idea in my head since early December. I was so thrilled to actually be able to put it together.
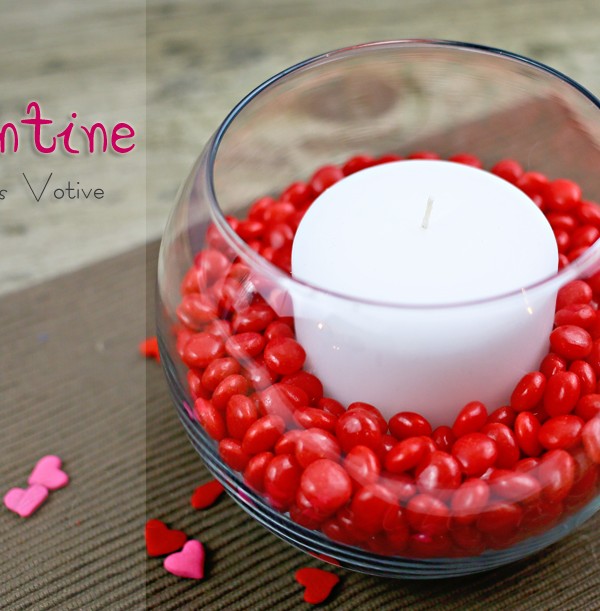
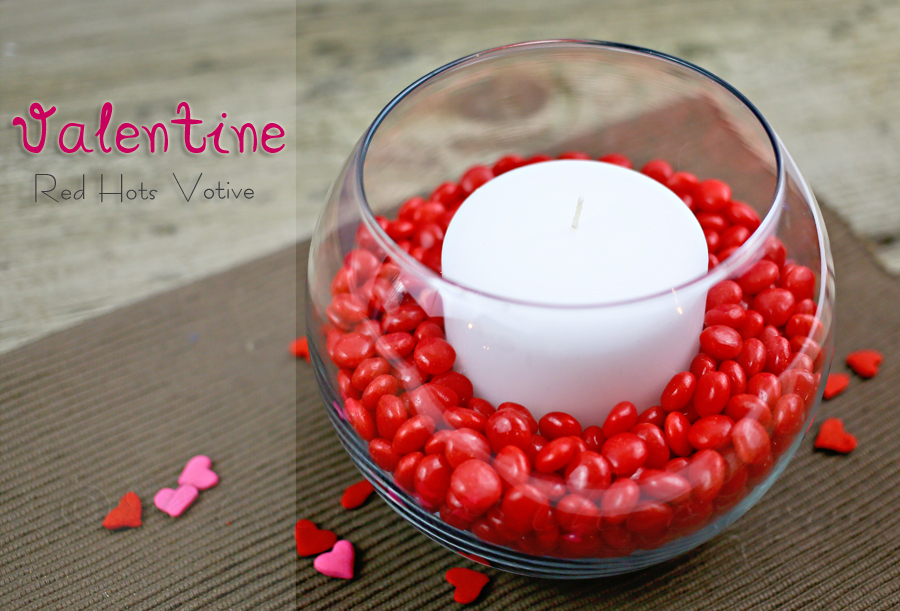
Valentine Red Hots Votive
This took literally all of about 30 seconds to put together & yet it looks so cute. I can tell you – it took about 1000 times longer to photograph. Ever single place I set it – there was this lovely catchlight glare spot on it. Grrr. I used my filter, moved from room to room – it was a bear. This time of year usually isn’t an issue. Usually we don’t see the sun for 4 months – this year is quite different. You know we don’t have any snow on the ground??!! Usually we have about 28-30 inches at this point all stacked up. Strange- I know. But anyhow- so sunny day + glass = frustration with reflections. This is why you are only getting one image today 🙂 Normally I wouldn’t have shared all of that- but I’m trying to keep it real here. There are plenty of things I have to work on with my photography- this is one of them.
So anyhow- it’s literally just the 3 things you see here – vase, red hots & the candle. Nothing hidden underneath to prop it up- but you could do that as long as it’s flame retardant. It’s just a fun little way to bring a little more Valentine into your home & get you feeling the LOVE.
To see where I am linking today- visit HERE
[include id=”1″ title=”Footer Ad”]
Homemade Sipping Brandy
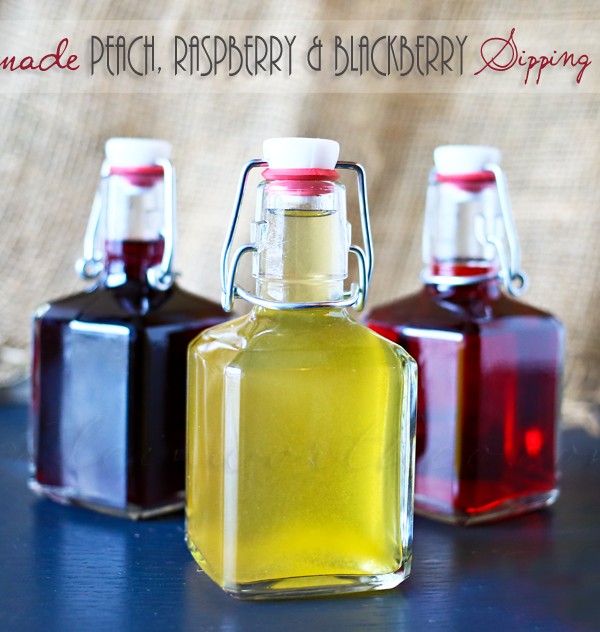
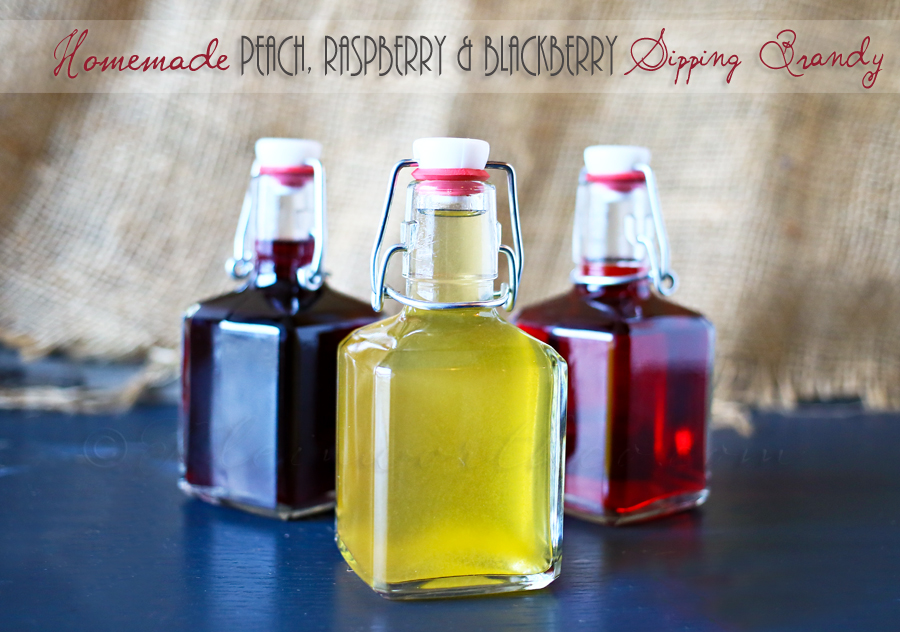
Remember back in September when I originally shared with you my recipe for making Homemade Liquors? Well I had originally planned on finishing up those liquors & bottling them for holiday gifts. I didn’t really get around to doing that but I still needed to do something with what I had already started. So I searched out for some really great little swing top bottles & the got to work getting them all filled with our Homemade Brandy.
Homemade Sipping Brandy
These turned out EXACTLY like my mother-in-law used to make. I was so pleased when the hubs told me that I was able to re-create what she would make as it brought back so many great memories for him.
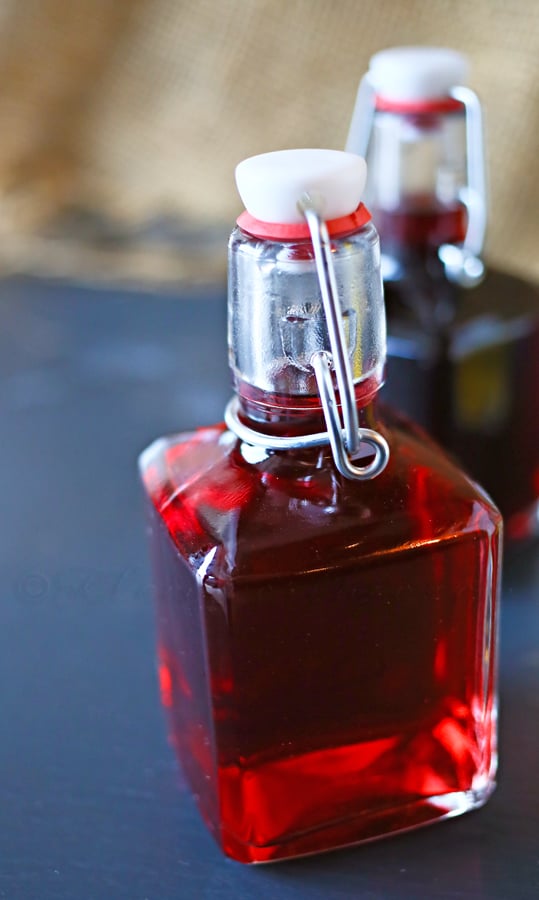
I just love the colors when the light shines through them.
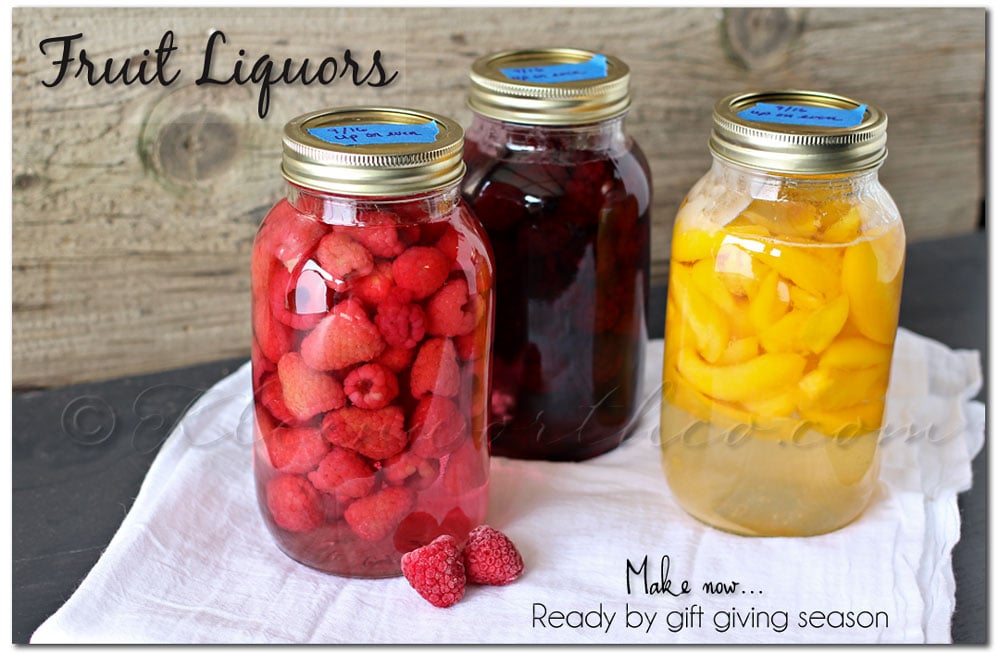
Here is what we started with & what it looks like at the beginning of the process.
Visit my How to Make Homemade Liquors post to print the directions.
Want more homemade liquors? Try this
To see where I am linking today- visit HERE
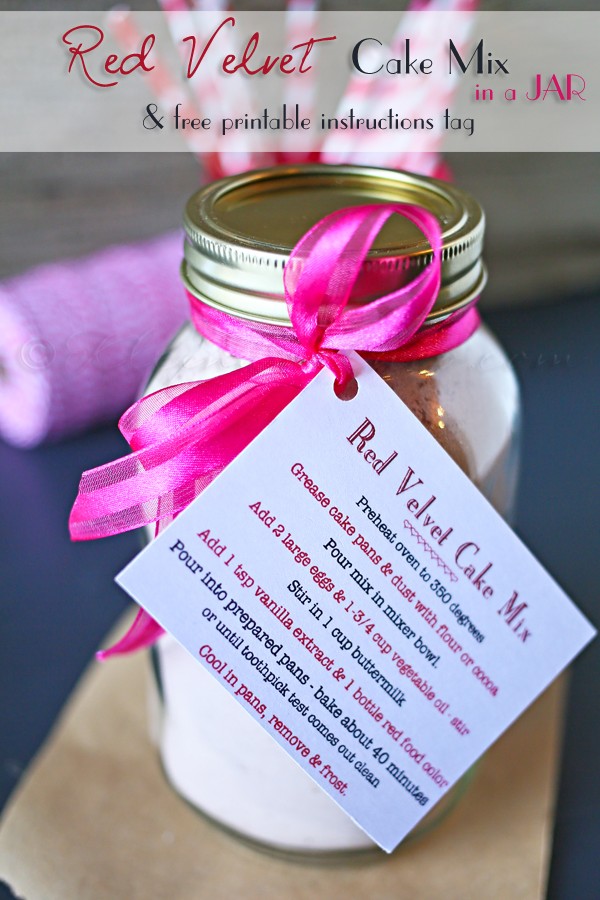
Red Velvet Cake Mix & Free Printable
I don’t know about you- but I get sort of frustrated when I go to print off a recipe & it calls for cake mix. Especially when it’s a flavor I don’t keep on hand – like Red Velvet Cake. I do like the ease of using cake mix so I have a few flavors I keep in the pantry for when I need something quick. But more & more I am making things from scratch & keeping less & less of these pre-packaged boxes in the kitchen. So after finding several recipes that called for red velvet cake mix & not having any on hand – I decided to make my own so I could make red velvet cake for Valentine’s Day.
Red Velvet Cake Mix
Don’t get me wrong- if I kept a large variety of cake mix flavors on hand I wouldn’t be frustrated at all. But I do like being able to print off a recipe & go in my kitchen & create what I have been craving while using things I keep continually stocked in my kitchen- usually in bulk. Things like flour & sugar I buy in the bulk 50lb bags & I try to always make sure I have plenty of cocoa powder & other things that I use several cups at a time on a daily basis. It just makes being in the kitchen so much easier when I can pull from what I have & satisfy that craving. So this jar mix is perfect for that.
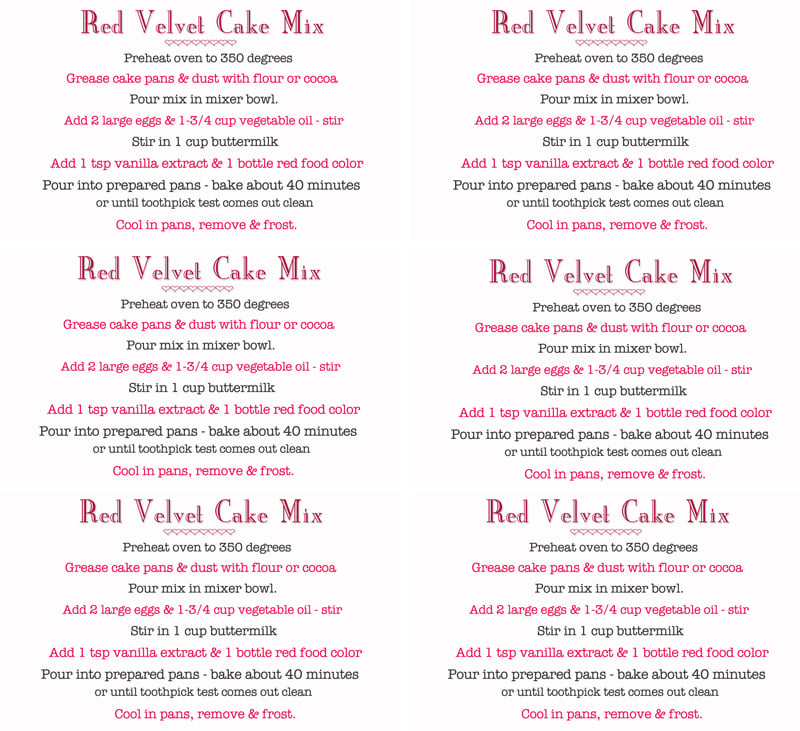
To create the mix – follow these instructions & then print the tag with the remaining ingredients & instructions to make the cake at a later date. This makes quite a bit- I had to really pack the mix down in the jar & it filled it to the very top.
Red Velvet Cake Mix & Free Printable
Ingredients
- 2-1/2 cups all-purpose flour
- 1/4 cup unsweetened cocoa powder
- 1 tsp baking soda
- 2 tsp baking powder
- 1 tsp salt
- 2 cups granulated sugar
Instructions
- Combine all ingredients in a large bowl & whisk together to combine.
- Transfer to 2qt jar & attach printable instructions for later baking.
Here are the instructions.
Want More Red Velvet?
To see where I am linking today- visit HERE
[include id=”1″ title=”Footer Ad”]
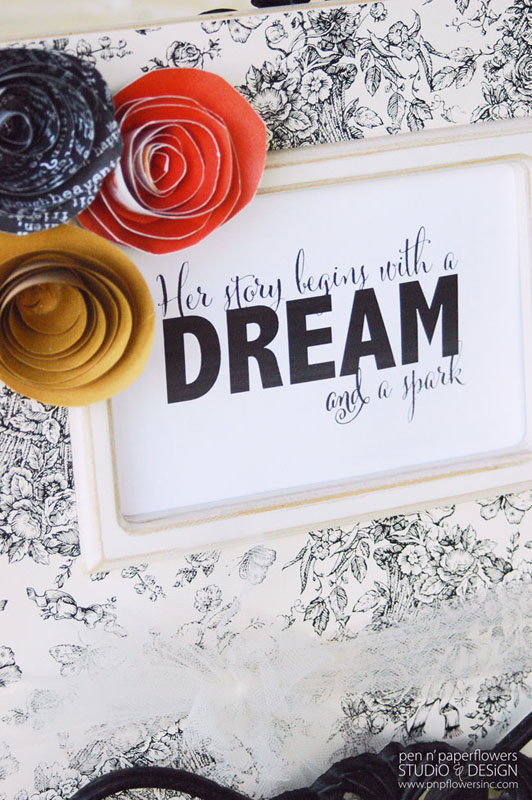
Her Story Begins with a Dream & a Spark ~ Free Printable
Hi All! How are you today? I have the pleasure of having another one of my fellow SNAP! contributors here today to share with you this great motivational printable. I just love the message & the design is perfect. My favorite is the color version- but Jessica has created both color & black & white for you here today. Give a warm Kleinworth & Co. welcome to Jessica & click on over to download your printable.
Her Story Begins with a Dream & a Spark ~ Free Printable
Hello Kleinworth and Co. friends. I’m Jessica, Founder and Creative Director at Pen N’ Paper Flowers and I am excited to be here today sharing a FREE Art Print I created.
The inspiration behind this simple art print came from the start of a new year. We typically view this time of year with hope and promise for good things to come, fresh starts and the inspiration to reach our dreams and make big things happen.
The words of the quote were actually inspired by one of my youngest daughter’s favorite songs called “The Glow”. It’s an uplifting song all about finding your strength, believing in yourself, letting your light shine and ultimately being the princess (woman) you were created to be.
My hope is that you’ll be inspired to print and frame this for yourself, or someone you know, as a daily reminder to dream…and be all you can be.
I’ve included the black and white version of the 5×7 Art Print as well as a color version for you to enjoy!
Download the Black and White Art Print HERE
Download the COLOR Art Print HERE
Thank you so much Jessica for creating this to share today!!!
Be sure to head on over & visit Jessica @ Pen N’ Paper Flowers & check out her fabulous space.
Want More Printables?
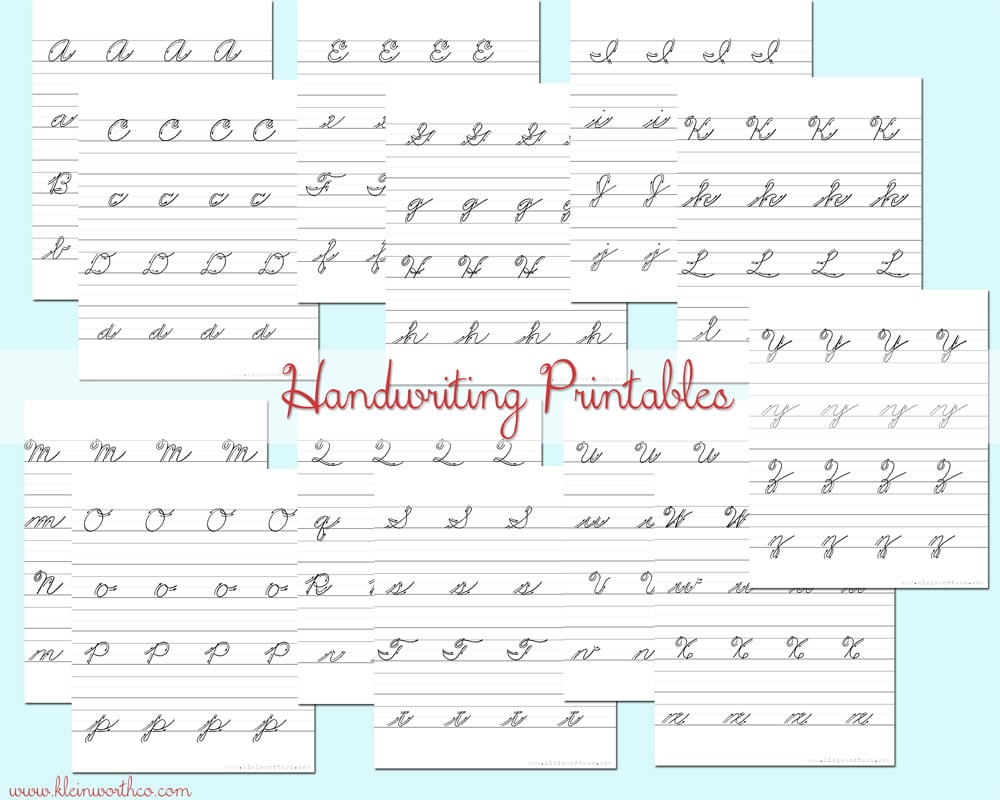
Cursive Handwriting Practice Sheets
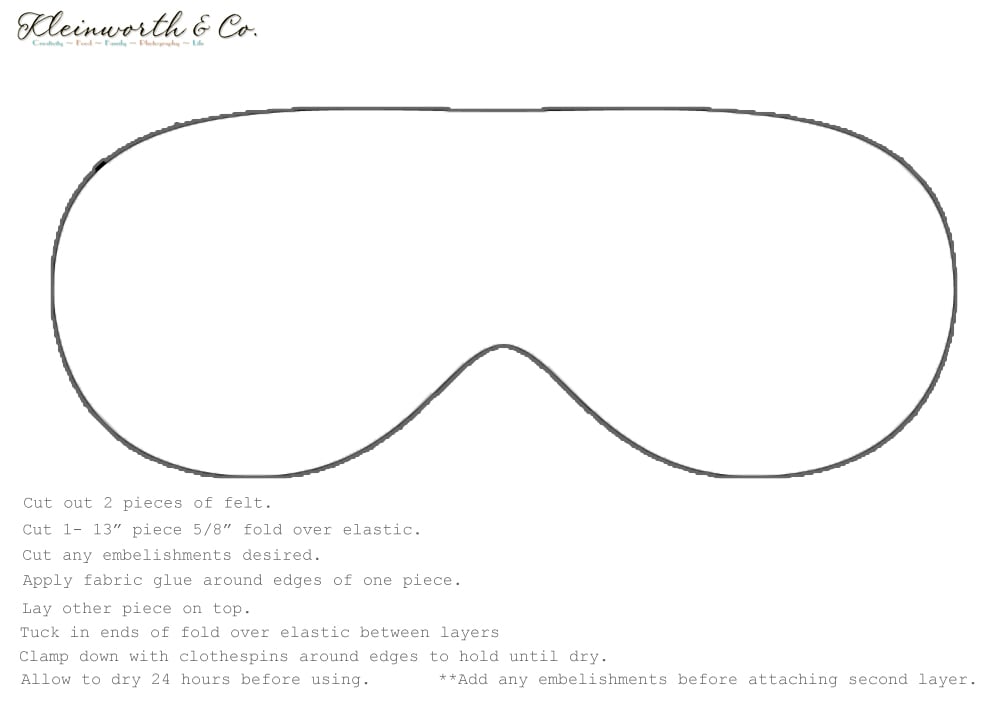
No Sew Sleep Mask Pattern & Instructions
To see where I am linking today- visit HERE
[include id=”1″ title=”Footer Ad”]
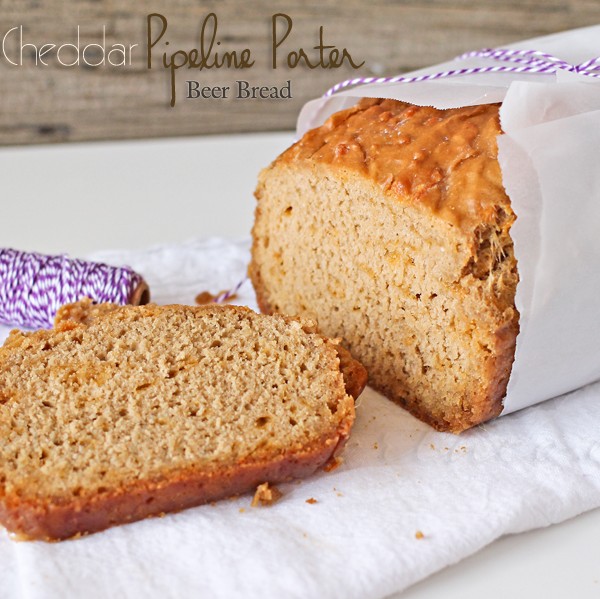
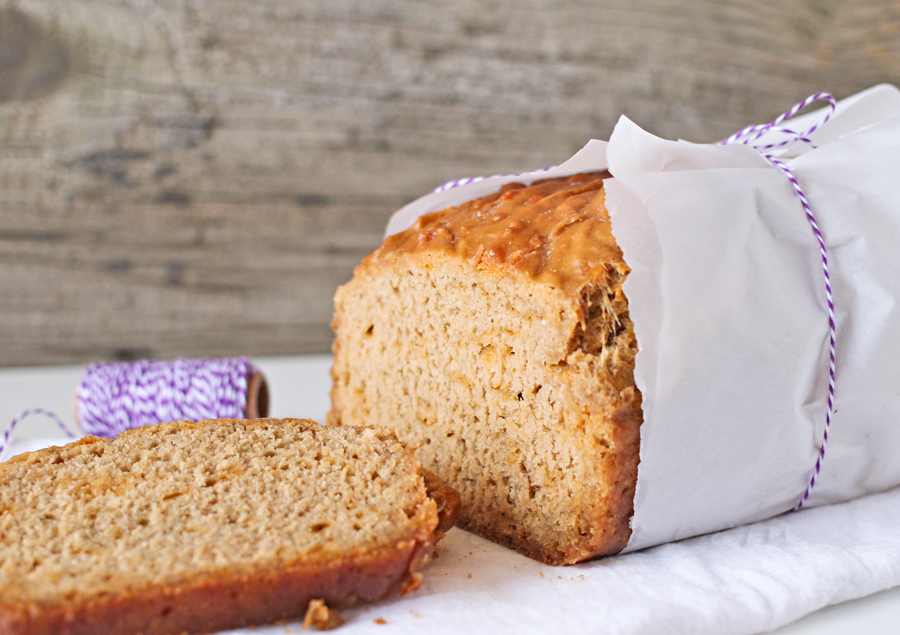
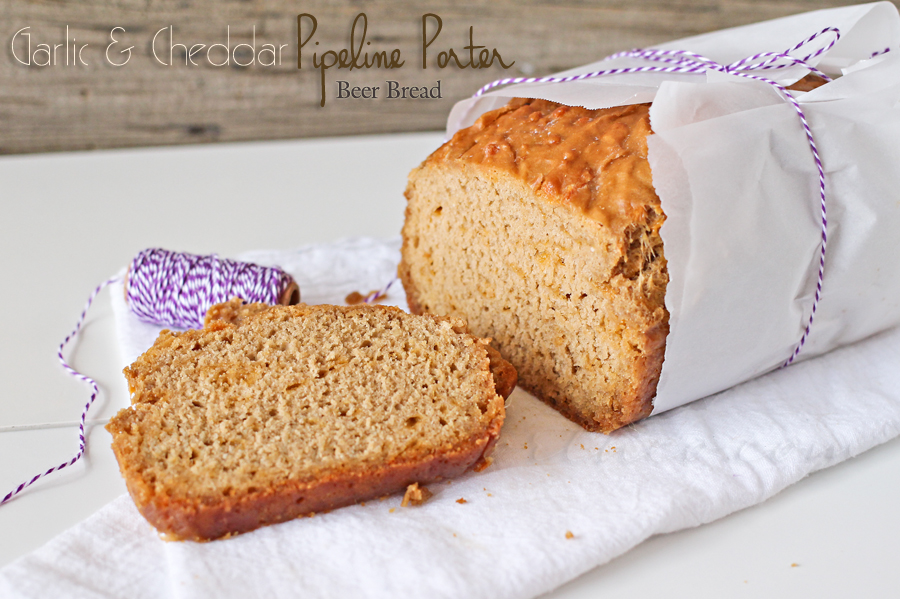
Garlic & Cheddar Pipeline Porter Beer Bread
Don’t you just love the smell of bread baking in the oven? I love it!!! I don’t always have time to make bread from scratch though. So I often pull out my beer bread recipe & play with it to fit the dish we are having. I always love the ease of this particular recipe because it’s ready to go in the oven so quickly that it often takes longer for the oven to heat than it does to prepare it for baking. You really can’t beat that when it comes to fresh homemade bread. It’s the best side with dinner because you don’t have to plan hours ahead to have it with your meal. So much flavor too. I love having it fresh & hot out of the oven.
Garlic & Cheddar Pipeline Porter Beer Bread
This went so well with our soup the other night- OH MY!
I decided to use this great little IPA – Pipeline Porter from the Kona Brewing Company. The flavor it gives to the bread is great.
Garlic & Cheddar Pipeline Porter Beer Bread
Ingredients
- 3 cups self rising flour
- 3 tbsp granulated sugar
- 1 bottle Pipeline Porter beer
- 1/2 cup shredded sharp cheddar cheese
- 1/2 tbsp minded garlic
- 1 stick butter
Instructions
- Preheat oven to 350 degrees
- Spray large glass loaf pan with cooking spray
- Mix flour, sugar & beer in mixer bowl with dough hook attachment until combined & dough like
- Slowly mix in cheese & garlic
- Transfer to prepared pan.
- Bake 40 minutes
- Melt butter in microwave.
- After bread has baked 40 minutes- remove from oven & pour 2/3 of the melted butter over the top
- Return to oven & bake another 20 minutes.
- Remove & pour remaining butter over the top & allow to soak in & cool until it is able to be handled.
- Slice gently & serve warm.
Want More bread ?
To see where I am linking today- visit HERE
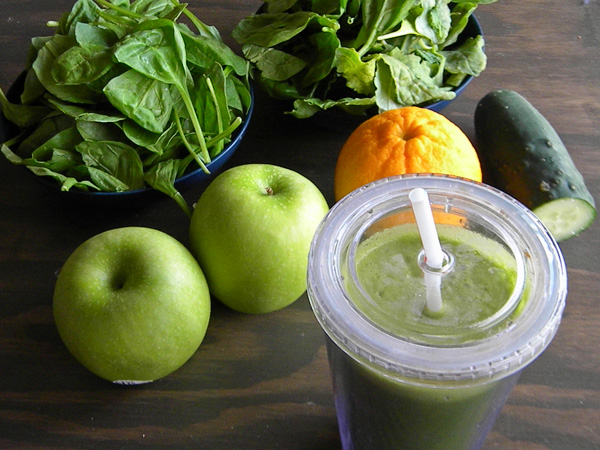
The Best Green Juice
I want you to met someone special today. Kendra is the owner & creator of Key Lime Digital Designs. She is a fellow contributor for SNAP! & all around creative genius. Her blog designs are gorgeous & her creativity is incredibly inspiring. Today I have the honor of having her here today sharing this recipe that is sure to kick off my 2014 in the right direction.
The Best Green Juice
Hi! My name is Kendra from Key Lime Digital Designs. I am very excited to be here today sharing with you! Typically on my blog I only post about blog design, blogging tips, and fonts (I’m sort of a font-aholic) but today I am excited to take this chance to share something totally different and non computer-ish! Enter the Green Machine.
This juice is so refreshing and delicious. If you have any New Years health resolutions you are going to love this juice!
You might be a little skeptic about the kale. I promise the bitterness of the Kale is covered up by the oranges. The oranges are the sneaky, not so green, ingredient. They add sweetness to the juice that make it so yummy!
Let’s talk about juicing in general for a min. There are a lot of opinion on juicing. Here’s mine … Can juicing be expensive? Yes. Should you juice all the time for your sole nutrients? Hmm, probably not. Does juicing actually taste good? Yes, it can! And this green juice recipe is my favorite. All time favorite. Can juicing be refreshing and a good way to reset your system? Absolutely!
I have used this green juice after I had both of my babies to help get rid of that extra baby weight. When I decide to “juice” I typically juice for 3-4 days – drinking this green machine for breakfast and lunch and then eating a sensible dinner.
You are gonna love this because you will feel so refreshed and energetic after you drink this! Get your juicers out pronto!
The Best Green Juice
Ingredients
- 2 Huge handfuls of kale
- 2 Huge handfuls of spinach
- 1 Cucumber
- 2 Granny smith apples
- 1 Large orange
Instructions
- Twist the stems off the apples and cut them in half.
- Peel the oranges.
- Thrown everything in the juicer.
- Mix the juice and enjoy! (And don't be to picky about the amounts listed above. Give a little take a little.)
Notes: The amount of juice this produces can vary based on your produce but typically I find it makes about 36-40oz. You can refrigerate the juice for 2-3 days in an airtight container. Shake well before drinking.[br][br]If you feel like your juice is still a little bitter, just add another orange.
-Kendra
I am a wife and mom of 2 energetic kids!
My family keeps me busy but I also love to blog, create in photoshop, collect fonts, oh and eat cookie dough 🙂
Thank you so much Kendra – I’m thrilled to have you here today!!!
To see where I am linking today- visit HERE
[include id=”1″ title=”Footer Ad”]
2 ingredient White Chocolate Popcorn
Hi Everyone!!! Have I got a treat for you today. The lovely & amazingly talented Ariean from OneKriegerChick is here today to share with you a tasty little treat to help you kick off your family movie night on the right foot. You see Ariean is a fellow SNAP! contributor & so you know what that means…. everything she does is FABULOUS!!!!!!! I’m telling you- if you have not had the pleasure of visiting her space before- then head on over to OneKriegerChick & sign up for her email updates. You will be so happy you did. But first – be sure to grab her recipe here today.
2 ingredient White Chocolate Popcorn
Hello New Friends! I’m Ariean from OneKriegerChick and I am thrilled to be here today sharing one of my favorite sweet treats…
It is unbelieveably easy, but oh so delicious…I should mention Highly Addictive too.
Once you taste it, you’ll have to come back a few more times. Best to make it for a crowd!
Why not whip up a batch with sprinkles in the colors of your favorite team…Perfect for Super Bowl coming up in a few weeks!
2 ingredient White Chocolate Popcorn
Ingredients
- 10-12 cups air popped popcorn or 2 bags popped popcorn not buttered
- 1/2 block Almond bark 6 cubes
- Optional: sprinkles or other seasonal add-in
Instructions
- Pop popcorn and remove un-popped kernels.
- Melt Almond bark in microwave. Melt in 30 second intervals stirring in between each until smooth. It took about 1 1/2 minutes in my microwave.
- In a large bowl, drizzle melted Almond bark over popped popcorn and stir until covered.
- If desired, add sprinkles or add-ins before chocolate completely hardens.
- Enjoy!
If you liked this recipe, I would love to have you stop by OneKriegerChick where I share other fun ideas like this Snow Ice Cream Kit…
Thank you so very much for having me Gina!
~Ariean
Isn’t this AWESOME??!!!! I love the salty & sweet mix of chocolate popcorn AND – this Snow Ice Cream kit – HELLO!! That is just perfect for just about every neighbor I have. Thank you so much Ariean. I can’t tell you just how much I love having you here today.
Want More Popcorn Recipes?
To see where I am linking today- visit HERE
Favorite Mini Donut Recipes
Happy New Year!!!
Hope you all had lots of fun during your New Years Celebrations. I also hope you had a chance to recover yesterday & you are excited to be kicking off 2014. I know I am. I thought I would get started by getting inspired with my my favorite thing to make the kids for breakfast & round up all my top recipes.
Favorite Mini Donut Recipes
I’m hungry already just looking at the set as a whole.
Here we go – get your donut maker ready!
Raspberry Chocolate Chip Donuts
Chocolate Cake Donuts & Peanut Butter Glaze
Blackberry Whole Wheat Mini-Donuts
So there you have it- my favorite mini donut recipes.
I can’t wait to start whipping up even more new donut recipes this year!
To see where I am linking today- visit HERE
Sparkling Cider New Year’s Eve Mocktails
Are you ready for a special treat?? Are you planning your New Years Eve celebrations?? Today my friend Jessica from One Martini at a Time (who is my “go-to” gal for beverages) is sharing a FABULOUS recipe that will take care of your party beverage planning. I have known Jessica for a long time. We bonded through both being residents of Nevada at the time & that we both homeschool. We worked together in my Photography Workshop. We also share a love for creating beverages & sharing them in our own little spaces – which is so much fun. If you are looking for any type of drink recipe- Jessica has you covered. Please give her a nice warm welcome & check out this YUMMY New Year’s Eve Recipe.
Sparkling Cider New Year’s Eve Mocktails
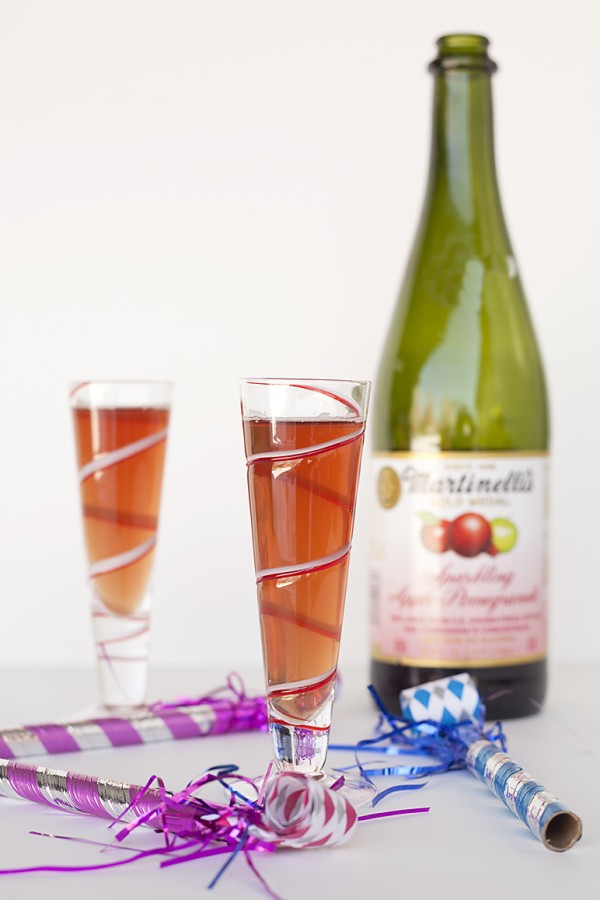
On holidays and special occasions my kids like to have something fancy to drink. Normally I serve them regular sparkling cider but they insist that’s no longer fun. So, this year I came up with these Sparkling Cider New Year’s Eve Mocktails for them. They are a kid-friendly version of a cava cocktail with vodka that I created for adults who are toasting the New Year.
I went with Martinelli’s Sparkling Apple-Pomegranate Cider for the bubbles because it’s one of my kids’ favorite flavors. However, the Sparking Apple-Peach or the regular Sparkling Apple Cider will also work in these mocktails. I found that my kids didn’t like as much fresh squeezed lime as I do in my cocktails. I bumped that back a little, but you can adjust according to what your kids like the best.
Enjoy your New Year’s Eve celebration with the family and cheers to a good year!
Sparkling Cider New Year’s Eve Mocktails
Ingredients
- Serves 2
- 2 ounces passion fruit juice
- ½ ounce fresh squeezed lime juice
- Sparkling cider of your choice
- Optional: pomegranate seeds for garnish
Instructions
- Add 1 ounce of passion fruit juice and ¼ ounce fresh squeezed lime juice into two kid friendly glasses.
- Top with sparkling cider and garnish with pomegranate seeds if using.
Jessica Torres is the chief cocktail creator at One Martini. When not taste testing new spirits or shaking up cocktails, she can be found working on her food and drink photography, reading books about booze or attempting to nap. She can also be found at allParenting, Savvy Sassy Moms and on Facebook where she overshares cocktails recipes.
Want More Cider Recipes?
Thank you SO MUCH Jessica for being here today. It was such a pleasure to share this.
To see where I am linking today- visit HERE
Sweet Pepper Garlic & Cheese Cups
So I have a special treat for you today! Looking for Easy Family Dinner Ideas? Lyuba from Will Cook For Smiles is here today to share with you this AMAZING little recipe that will keep your New Year’s Eve party guest coming back for more. You see- Lyuba is a genius in the kitchen & with her camera. She creates the most amazing recipes & her ability to photograph each one is awe inspiring. She always makes me want to reach through the screen & have a little bit of what she’s whipped up. I definitely can’t wait to meet her one day & hopefully share some time in the kitchen together. But for now- I’ll be enjoying this tasty snack.
Hello there, Gina’s readers!
This is Lyuba from Will Cook For Smiles! I am so happy to help Gina with her blog during this tough time.
Gina is such a wonderful person and I’m so happy to be here when she needs me.
Today, I brought you something delicious and easy to make for the upcoming New Year’s parties.
I’m sure you will be partying like a rock star, greeting the 2014. You will need something yummy to serve to your guests. So I present…
Sweet Pepper Garlic & Cheese Cups
Christmas is over. I hope you all enjoyed your holiday time and got some nice gifts!
Now it’s getting to the time when we say goodbye to the old 2013 and greet the new 2014. New Year’s is coming fast and I bet you have fun parties planned. Hope you get to greet the new year properly and I do hope you will have January 1st off. (It is just cruel to work on the 1st!)
I love New Year’s! Party…party…party!
For a great party, you need great drinks and great food. I have a little something here just for that reason. A creamy cheese/veggie filled pastry cups. It’s pie cups that are stuffed with cheesy filling, that’s mixed with sweet peppers and fresh garlic for extra kick.
Seriously, these are so easy, they won’t take more than 30 minutes. All you have to do is bake some pie shell cups and mix the tasty filling.
These cups are so tasty, you and your guests are sure to love it!
Sweet Pepper Garlic & Cheese Cups
Ingredients
- 2 pie dough rounds
- 8 oz cream cheese softened
- 2 garlic cloves
- 1/2 cup minced sweet peppers
- 1/2 cup of shredded mozarella cheese
- 1/2 cup of shredded sharp cheddar cheese
- salt to taste
Instructions
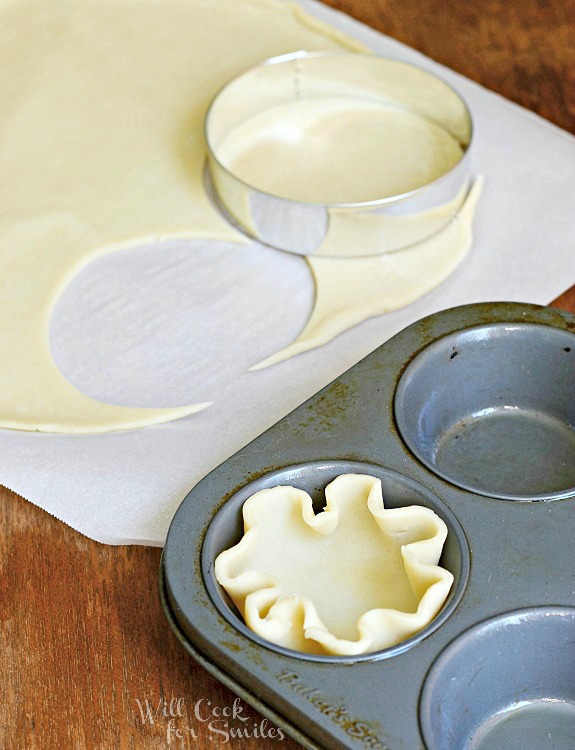
- Preheat the oven to 400 and grease a muffin pan.
- Cut out six circles out of each pie crust round.
- Gently place the circles in each muffin cup, not too deep in or the edges might fold in. Lightly press the ripples that are touching the sides of the cup (again, to help them not fold in).
- Bake for 7-8 minutes, until golden brown. Take out the dough cups carefully and let them cool.
- In a bowl, combine cream cheese, minced sweet peppers, cheese, pressed garlic and salt. Mix until all thoroughly incorporated.
- Divide the cheese filling among the cups. Be gentle!
Want More Appetizer Ideas?
Cranberry Maple Baked Brie
Crab Stuffed Mushrooms
Chicken Ranch Nachos
See!!! I told you she was AMAZING!!!!!!!!!
Thank you Lyuba – it was a pleasure having you here today!
If you make this recipe- please leave a link or tag me on Instagram @KleinworthCo
To see where I am linking today- visit HERE
Chocolate Chip Cookie Cup Sundae ~ Gluten Free
*Disclosure: This post is sponsored by Pillsbury & Linqia. All opinions are truthful & my own.
Do you have a party planned for New Year’s Eve? Are you wondering what to serve your guests that can accommodate their dietary restrictions? Have I created the perfect little bit of gluten free goodness that all your guests will love – even if they aren’t gluten free. I’m telling you- these are DELISH. You are going to LOVE Pillsbury for creating this dough. Your gluten free prayers are answered & you no longer have to go without dessert.
Chocolate Chip Cookie Cup Sundae
These are so incredibly simple & quick. You won’t have to spend too much time in the kitchen to prepare these. Which means you can take a nap before your guest arrive so you can make it until the clock strikes 12.
You just scoop & press into your muffin tins – bake. Cool.
Then you can line them up on a cookie sheet. Scoop your gluten free ice cream on top.
Just pop them back into the freezer & when you are ready to serve – just add your toppings.
I told you it was simple. They are SO GOOD too. All your guests will love them.
Chocolate Chip Cookie Cup Sundae ~ Gluten Free
Ingredients
- Makes approx 10 cookie cups
- 1 container Pillsbury Gluten Free Cookie Dough
- Gluten Free Ice Cream
- Whip Cream
- Chocolate Syrup
- Cherries
Instructions
- Preheat oven to 350 degrees
- Spray your muffin tin with cooking spray
- Take large tablespoonfuls of dough & press into the bottom of each well of your muffin tin - they should be packed in & filled about 1/2 - 3/4 full.
- Bake 12-15 minutes or until golden brown & no longer gooey in the center.
- Cool IN your muffin tins at least 10 minutes before removing & allow to cool completely on wire rack.
- Line cookie cups on baking sheet.
- Top with one large scoop of gluten free ice cream of choice
- Return to freezer until ready to serve.
- When you are ready- add whip cream, chocolate syrup & cherry.
I ended up buying several tubs of this Pillsbury Gluten Free dough so I will be making these all the time. They are great for when you just want a little something extra to make your sundae special.
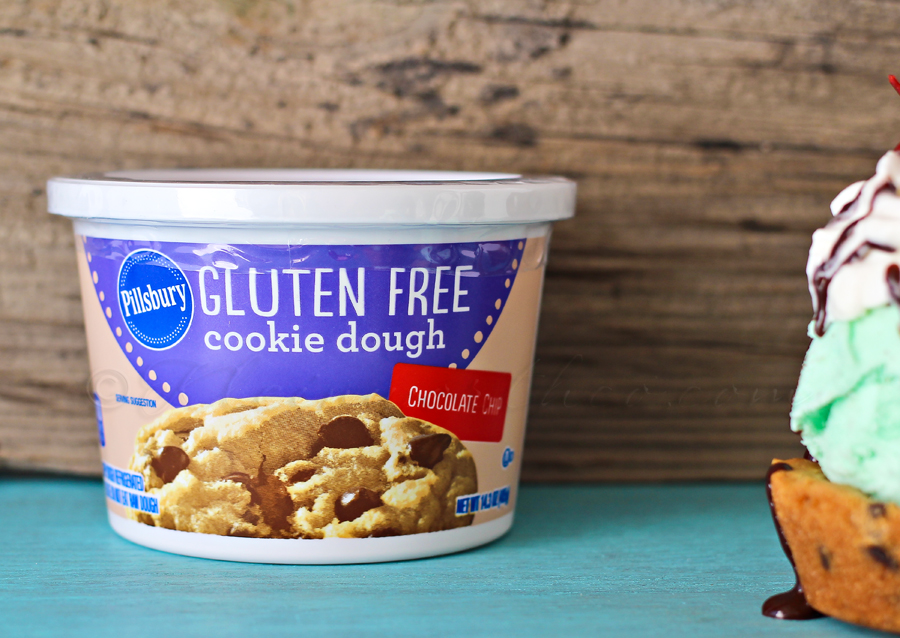
Some of the exciting benefits of new Pillsbury Gluten Free Dough include:
• All three varieties come in convenient, refrigerated containers and will be available at major grocery retailers and super centers • Instead of thawing frozen gluten free bread products or combining dry-mix items, you can just use the refrigerated dough and eliminate extra preparation • In addition to being convenient, the new dough has a delicious taste the whole family will appreciate
About Pillsbury Gluten Free Dough
New Pillsbury Gluten Free Dough is available in three varieties, each under $5.00, and found in convenient tubs in the refrigerated aisle: • Pie and Pastry Dough • Chocolate Chip Cookie Dough • Thin Crust Pizza Dough Chocolate Chip Cookie Dough • 14.3 oz. tub for easy storage • Makes approximately 16 2” cookies • Classic Chocolate Chip variety • 110 calories per serving Thin Crust Pizza Dough • 13 oz. tub for easy storage • Makes one 10” pizza crust • 170 calories per serving Pie/Pastry Dough • 15.8 oz. tub for easy storage • Makes 29” pie crusts • 250 calories per serving
You can find all sorts of Pillsbury Gluten Free Inspiration on the Pillsbury Gluten Free Pinterest Board.
Want More Pillsbury Gluten Free Recipes?

Be sure to visit my Pillsbury Gluten Free Dessert Inspiration Pinterest board.
To see where I am linking today- visit HERE

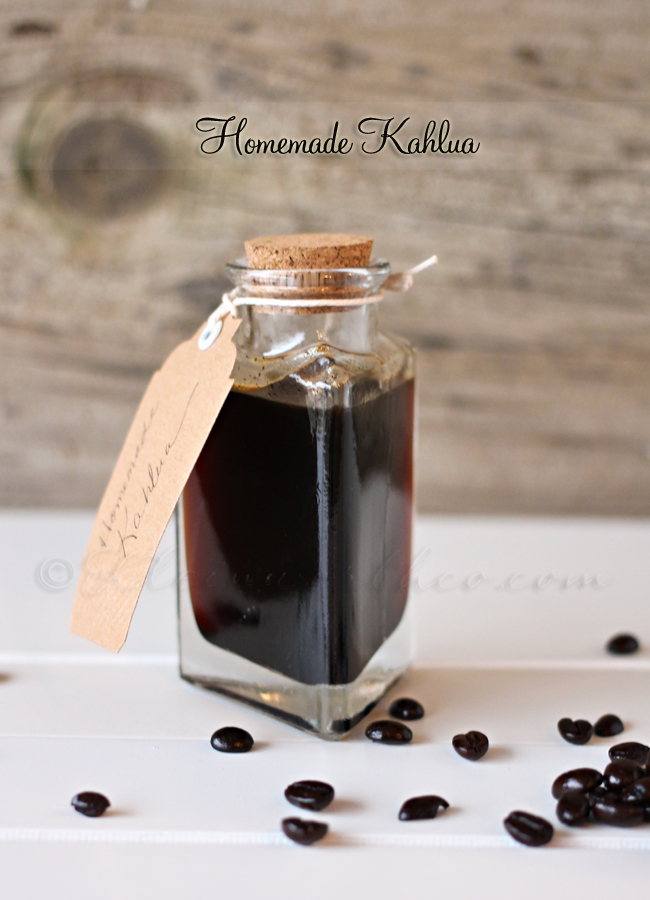
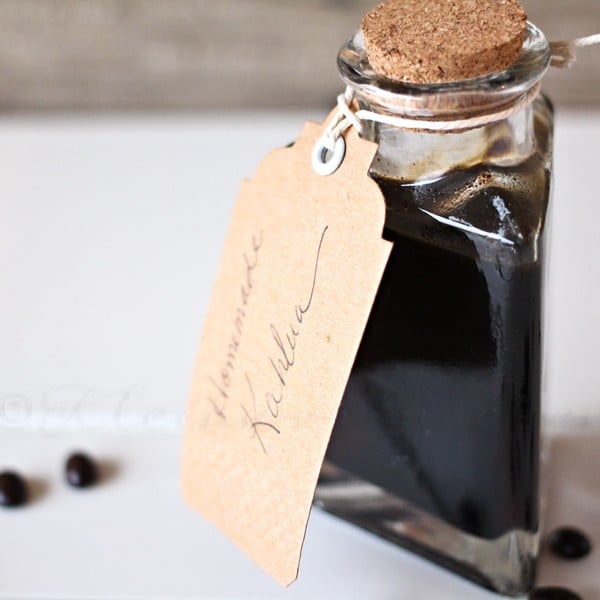
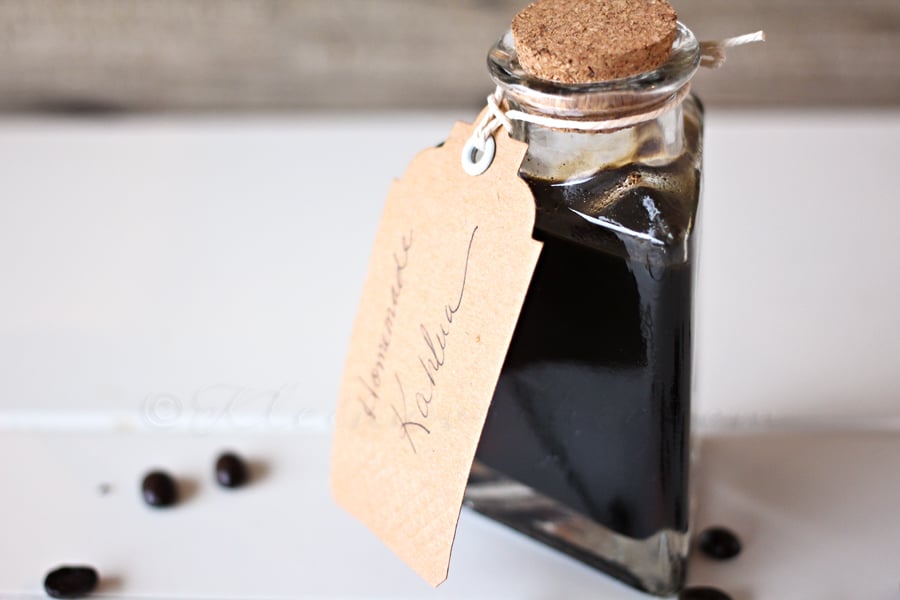
Homemade Kahlua
Hi there! Did you all have a wonderful Christmas? I sure hope it was joyful!
I shared this recipe a couple weeks ago over at Reasons to Skip the Housework but I wanted to be sure you all saw it here as well. As you all know I love coffee like so many people out there. I try to find ways to add the flavor of coffee to my recipes as much as possible. It adds such a rich, bold flavor to everything from desserts to meats. Where we live in Idaho it’s a little inconvenient to find things like Kahlua. So when I needed some Kahlua for a recipe I decided to make my own. Now I will always be able to have some on hand for any recipe I’m working on.
Homemade Kahlua
This tastes really great even before adding the alcohol. So if you are looking for the flavor in your recipe but don’t plan on cooking out the alcohol & want it “virgin” style- you can omit the vodka at the end.
Homemade Kahlua
Ingredients
- 1-1/4 cup water
- 3/4 cup strong brewed coffee
- 3/4 cup instant coffee crystals
- 2-1/4 cups good quality Vodka we use Stoli or Grey Goose
- 4 cups granulated sugar
- 1 tbsp vanilla extract
Instructions
- Mix water, coffee, instant coffee & sugar in stock pot.
- Heat & stir over medium - high heat until coffee & sugar is dissolved.
- It will resemble a thick syrup.
- Cool to room temperature.
- Stir in Vodka & vanilla. (if omitting vodka- just add vanilla at this point)
- Pour into glass bottles, jars or storage containers.
- Store at room temperature in pantry.
Notes
That’s it! Super simple & it makes a great gift too.
Want More homemade liquors?
To see where I am linking today- visit HERE
DIY Party Favor Tutorial
Merry Christmas!!!
I hope you all are feeling ready for Christmas! I have a special treat for you today! My (incredibly talented) friend Taryn from Design Dining & Diapers is here today to share with you a simple DIY Party Favor Tutorial for your New Year’s Eve Celebrations. Taryn always comes up with the most clever ideas that are classic & chic. She also co-hosts a really fun party on Thursday evenings- Inspiration Gallery – so be sure to check that out & get to know her.
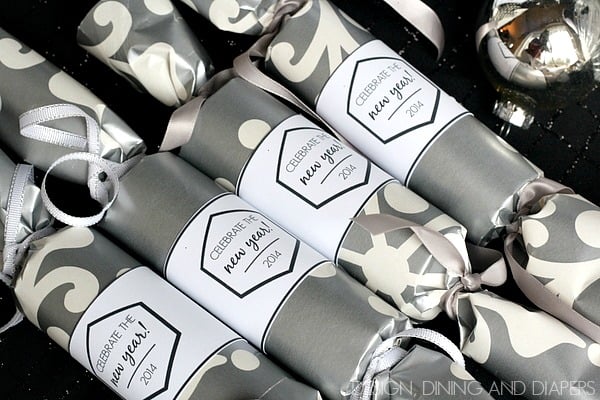
Hi New Friends! I’m Taryn from Design, Dining and Diapers and it’s a really huge honor to be here today! I adore Gina and love love all of the things that she shares with all of you. Today, I’m going to be sharing an easy DIY News Years Party Favor that includes a free printable!
I’m all about using what I’ve got on hand and recycling, so I came up with these simple New Years Favors made entirely from recycled Christmas wrap! So before you are done wrapping tonight, be sure to save your scraps!
Supplies:
– 1 wrapping paper roll (cut into 4″ pieces)
– wrapping paper scraps
– ribbon scraps
– tape
Cut your wrapping paper into 5″ X 11″ strips. Tape one edge of the paper onto the roll and then roll it up.
Secure with an additional piece of tape.
Tie a ribbon onto one end, fill with your favorite candy and tie up the other side! See SUPER simple.
Then, print out your FREE printable by downloading it HERE.
Even if you just have a small gathering, it’s still fun to make favors for everyone, especially if they are just about FREE!
Check out my blog next week for more free New Year’s Printables!
And here are some of my other winter projects that you may like:
Thanks so much for having me over today Gina!
Wishing you all a Merry Christmas!
Taryn
You see- I told you she was FABULOUS!!!!! Thanks you SO MUCH Taryn!!!!
I love having you here today!
To see where I am linking today- visit HERE
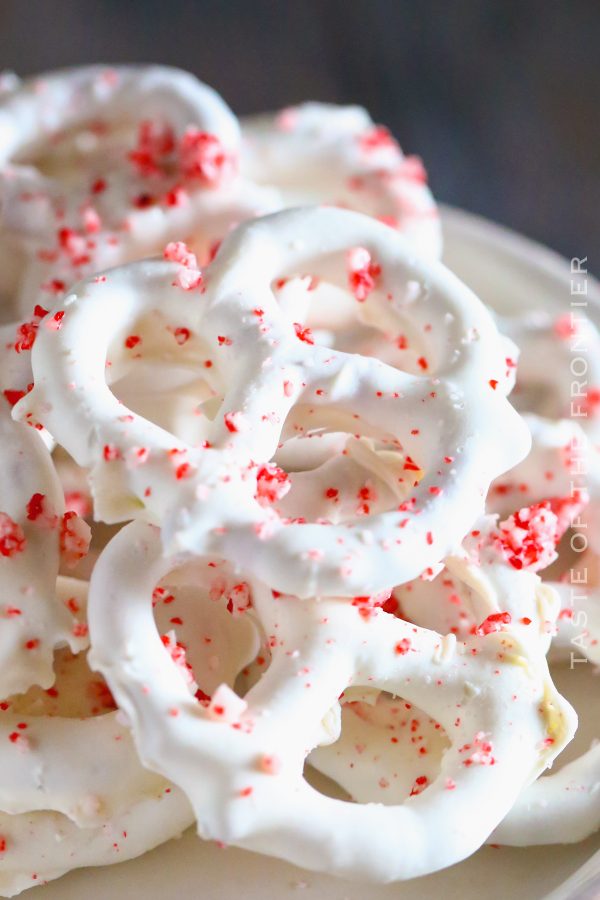
White Chocolate Peppermint Pretzels
White Chocolate Peppermint Pretzels are made with mini pretzel twists and coated in white chocolate and topped with crushed peppermint candy canes. Quick and simple to make with just 3 ingredients.
Looking for a festive and fun treat to make this Christmas? Look no further than white chocolate peppermint pretzels! These sweet and salty treats are perfect for any holiday party, and they’re easy to make too.
So gather your ingredients and get started – these pretzels will be gone in no time!
PIN NOW TO SAVE FOR LATER
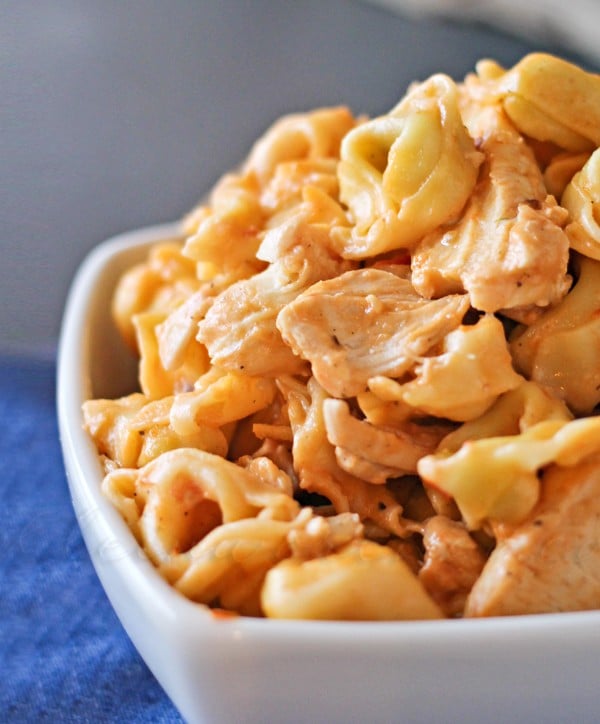
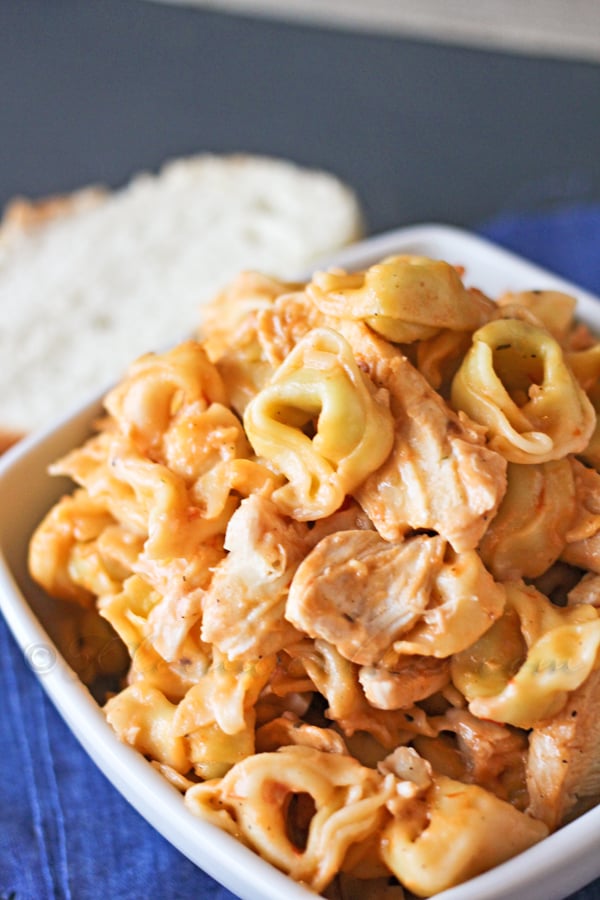
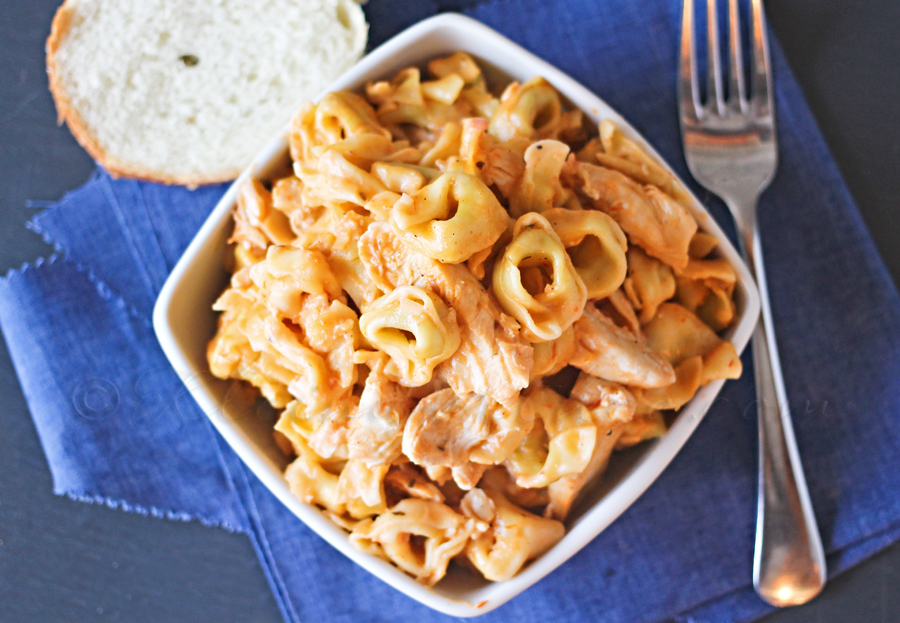
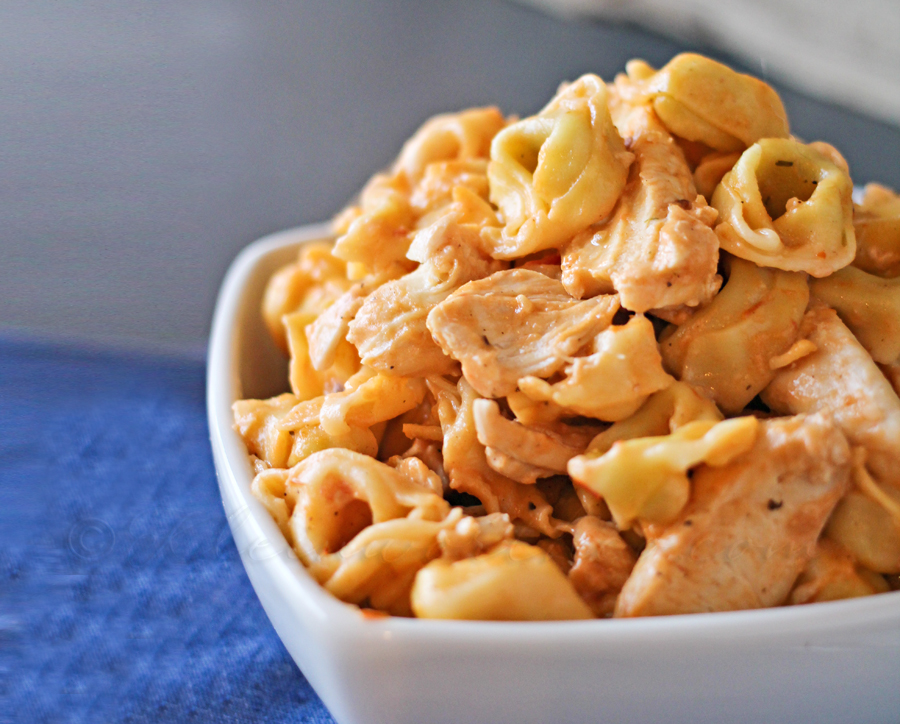
Chicken Vodka Tortellini
This time of year I really gravitate towards comfort food. For me- Easy Family Dinner Ideas tops my list when I want something warm & tasty to enjoy. A family favorite for us is typically an Alfredo tortellini. But this time we decided to twist things & make it even better. We came up with this new tortellini recipe that just makes all others pale in comparison. Oh my it was delicious.
Chicken Vodka Tortellini
We decided to change things from our traditional Alfredo sauce & add some Vodka sauce in there too.
The blend of the sauces was AMAZING!!!
It’s also key here to make sure you grill or saute you chicken before hand. It gives such a wonderful flavor vs. just boiling it.
This turned out so good. I can’t wait to make it again. Definitely a new family favorite.
I may never go back to regular Alfredo tortellini.
Chicken Vodka Tortellini
Ingredients
- 2 4-6 serving bags Cheese & Spinach Barilla Tortellini
- 1 4-6 serving bag of Three Cheese Barilla Tortellini
- 2 jars Alfredo sauce
- 1 jar Vodka Sauce
- 6 pieces boneless skinless chicken breast
- Seasonings
- Shredded Parmesan cheese for topping
Instructions
- Cut chicken into bite sized pieces & saute in large skillet until fully cooked & crispy on the edges. Be sure to use your favorite seasonings & spice it up to your liking.
- Add in the 2 jars of Alfredo sauce & half the jar of Vodka sauce & stir into chicken. Bring to a simmer.
- (or you can grill the chicken & shred into pieces- then just add to a skillet with the sauces to heat & combine together.)
- Continue to simmer sauce & chicken on low while you cook your tortellini
- In large stock pot- bring water to a boil.
- Cook your tortellini to package directions - drain & put back in large stock pot.
- Pour in your chicken/sauce mix over tortellini & stir to combine
- Serve & top with Parmesan cheese.
Want More Pasta ? Try this…
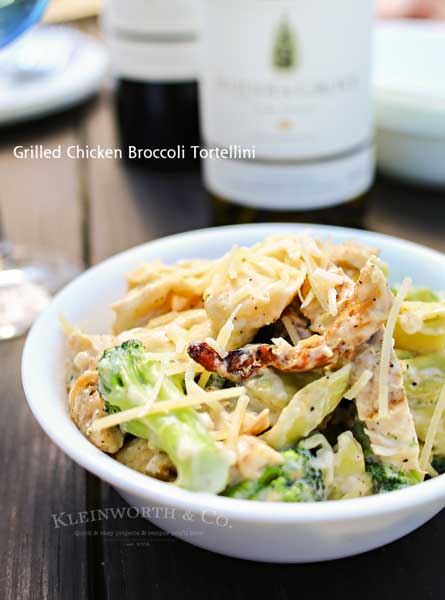
Grilled Chicken Broccoli Tortellini
To see where I am linking today- visit HERE
This post was originally part of a social shopper marketing insight campaign with Pollinate Media Group™ and Barilla, but all my opinions are my own..
Quick Tips for More Creative Holiday Photos
I have a very special person I would love you all to meet today. I have known Melissa from Serendipity is Sweet for many years. We met through our photo blogs long before we started our businesses & were just moms learning our craft while capturing our children in their everyday. We share the bond of homeschooling & so much more as well. We have grown close over the years- exchanging Christmas cards, helping each other in times of need & giving a supportive shoulder. Melissa is kind, generous & an amazing friend. Her photography is captivating. I love her & her children so very much. Please give her a nice warm welcome as she shares some great tips for capturing your Christmas.
Quick Tips for More Creative Holiday Photos
Most of us look forward to the holiday season in anticipation of the wonder and splendor of it all. We look forward to spending quality time with our families and to filling our hearts to the brim with memories of all the sweet moments we share. We picture ourselves wrapped in cozy blankets, sitting around the tree, or Menorah, sipping cocoa and eating Pinterest-worthy treats amidst the twinkling lights. Of course, our smiling families are filled with gratitude, as they sing carols and share stories of holidays past. And we, the memory keepers, record it all in beautiful photographs to cherish for years to come. Well, I don’t know about you, but that’s not how it usually goes down at my house.
My house is small and filled to the brim with 4 kids. At 11, 8, 6 and 3, it is a rare occasion when they all sit in one place for more than a moment or two without squirming, whining, or arguing. All the beautiful holiday decorations, while I love them, can get lost among the daily clutter. I used to love baking, but I am working full time now in addition to homeschooling and I have yet to bake a Christmas cookie this year. So much for Pinterest-worthy treats. Furthermore, not a one of us could carry a tune in a bucket. Despite the fact that I run a business as a portrait and event photographer, most of my holiday family photos look like they were taken by a toddler on a shooting spree with mommy’s phone – half of them probably were. But, over the years I have learned a thing or two about how to improve those photos without losing my mind, or putting my family through agony to “get the perfect shot.” I thought I’d share a few quick tips for better holiday photos. We all want to capture those priceless memories, but picture perfect often goes out the window in the frenzy of holiday celebrations. A little preparation and forethought can go a long way toward getting the shots WE love, without spoiling the moment for our loved ones.
1. Set it up first. This one is a no-brainer but I have still forgotten a time or two. Check your exposure and adjust your camera settings before you announce that you are taking photos. Nothing elicits groans like getting everyone in front of the tree and then having to fiddle with your camera, change memory cards or grab a flash to get the shot. Be ready, then get their attention. This will force you to think about the shot before hand and you are more likely to get creative exposures if you have time to plan – think starbursts on tree lights, creative framing, etc. Go through the set up before adding your subjects and they are much more likely to cooperate.
2. Use it or lose it. Think of creative ways to incorporate the clutter or remove it before you shoot.
3. Get high, get low, get creative with compositions. I crouch, lay on the floor or stand on chairs to get a better perspective and eliminate distractions.
4. Get reflective. Look for reflections in windows, ornaments, mirrors, etc. I love a mirror shot that peeks in on a family moment. It adds much more of a storytelling feel to an image.
5. Speaking of peeping, use your environment for framing. Tree branches, doorways, windows, even drink ware or gift boxes, they all add an element of interest to your photos (and they can block unwanted mess from view).
6. Get close to get those details and back up….back way up, to get the whole scene. Even the clutter of toy boxes and wrapping paper tell the story of the day.
7. Peek out and peer in. Don’t forget to get a shot through the window of everyone playing out in the snow, or go outside at dusk and capture a shot peeking in at your family through the window or door.
8. Focus on what you want, and lose the rest. Use a wide aperture and selective focus to capture small details while the background melts away. Bring your subject away from your background for the best result.
Here is one example of what I’ve discussed:
I wanted a shot of my kids in front of our tree and I knew giving them a book to read would keep them busy for a moment. I’m not crazy about our carpet, so I grabbed a fuzzy throw for the floor and another for them to cuddle up in (bonus: I didn’t have to ask them to change clothes). Our house is tiny, and our furniture is packed in next to the tree, so I also moved a couch and checked my camera settings before getting the kids in place. I added a flashlight for a bit of extra glow and fill light on their faces. Then, I put the kids in place and tried my shot. My three year old has become Mrs. Crankypants lately, so I knew I’d have to be quick, but my chances were much better with just a few minutes of prep.
I fired off several shots and managed to get one I like.
I also got this – typical real life version:
Of course, the photographer in me wishes I had set up a backdrop to remove more of the clutter, used a wider lens and bought a bigger house, fixed their hair, put them in jammies and pulled them farther away from the tree. But, I didn’t have that much time, or energy, or money on hand, so I got what I could get and that will have to be good enough for this year. The end.
These are just a few tips to get you thinking about simple ways to get creative with those holiday shots. Have fun and when all else fails, capture the real deal and just embrace the chaos.
Thank you so much Melissa for sharing here today. It was such a pleasure to have you.
If you are in the Virginia Beach, Norfolk, Chesapeake, Portsmouth, Williamsburg, Virginia areas- connect with Melissa & book a session.
She does AMAZING work! Visit: Melissa Bliss Photography
To see where I am linking today- visit HERE
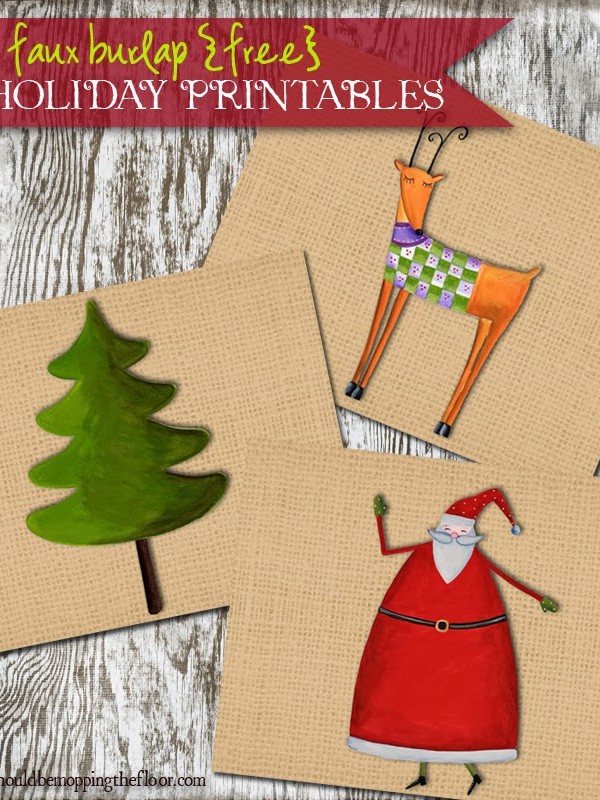
Burlap Holiday Printables
Hi Everyone! I’m still here in So Cal & my mom’s memorial/ reception service is today. We had the funeral last week & I expect to be heading home this coming weekend. It’s been a very full couple of weeks that didn’t end like I had hoped when I started my drive home to So Cal & I will fill in all the blanks here soon- I promise. I hope to spend this next week over Christmas getting caught up on things & finally shopping for the kids. Yep- with all the stuff going on- I have yet to even buy a gift or set up any decorations. But fortunately the kids understand & really aren’t in that mindset this year.
Free Printable Checklist Templates
So since I’m still away the FABULOUS Kristi from I Should Be Mopping the Floor has something special for you all today. Have you met Kristi? She’s just all around AWESOME – incredibly talented. I’m so thankful for her help & for sharing her talents here today.
Thank You Kristi!!! These are perfect for my last minute holiday prep this year!!
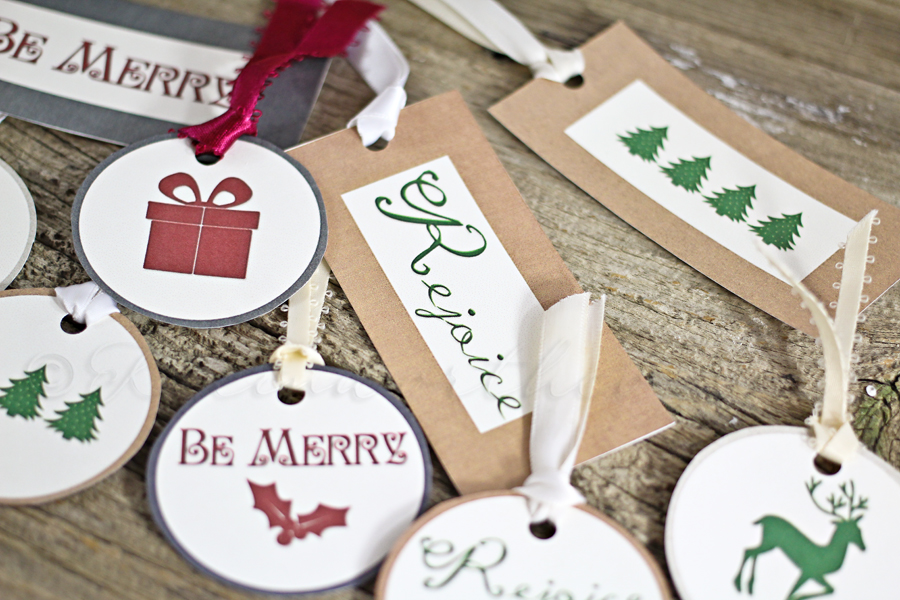
Want more holiday printables?
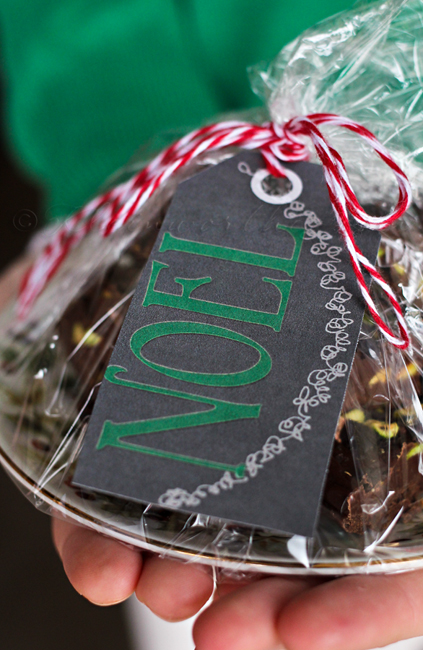
Neighbor Gift – Gift Tags
To see where I am linking today- visit HERE
Holiday Photo Tips ~ Project 52 Week 50
Hi Everyone! I’m still here in So Cal helping my step dad with getting things situated & organized before I head back home to Idaho at the end of the week. My mom’s reception/gathering is tomorrow afternoon for the community to come & visit with us. Still really not wrapping my head around what is really happening. I have something really exciting coming up just after the new year & I thought for a moment about how excited she will be when I tell/show her. Then it hit me- I can’t do that anymore. My biggest cheerleader is gone. No one to get excited about the things I accomplish or achieve. It’s just unreal how things have transpired. So anyhow- since I am still out of sorts- my WONDERFUL & AMAZING friend Kim is here today to share with you some photography tips for the season. Kim takes the most BEAUTIFUL images of her everyday life. I’m always in awe & I feel to blessed to have her here helping me out again today.
Please welcome Kim from Little by Little for some great photography tips for the season.
Holiday Photo Tips
Mamas, I don’t know about you, but doesn’t the Christmas busy sometimes get in the way of the enjoyment of the season? The shopping, endless parties, and programs leave me exhausted.
Every year I get swept up in the busy and people pleasing that I forget to make my own memories and capture the memories I most want to savor.
This year I did a great deal of scratching off my list those things that really just seem like “fillers”, and I have been carving out time to do those things we most want to do.
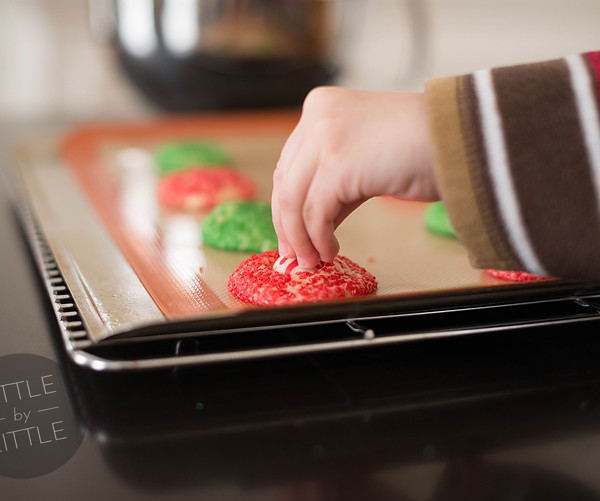
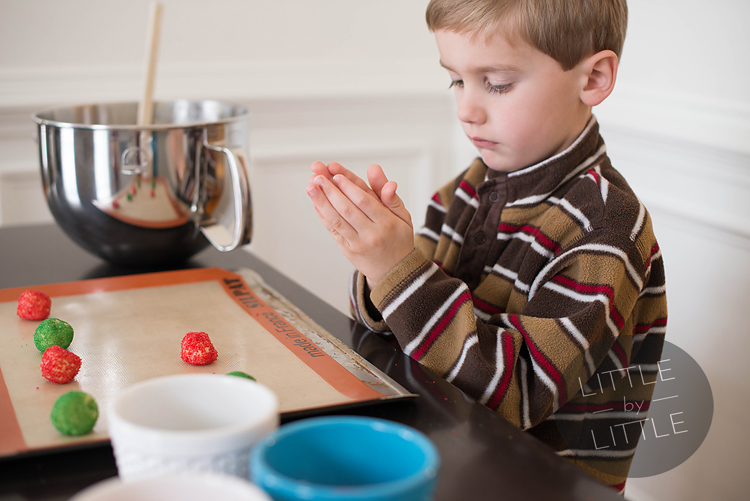
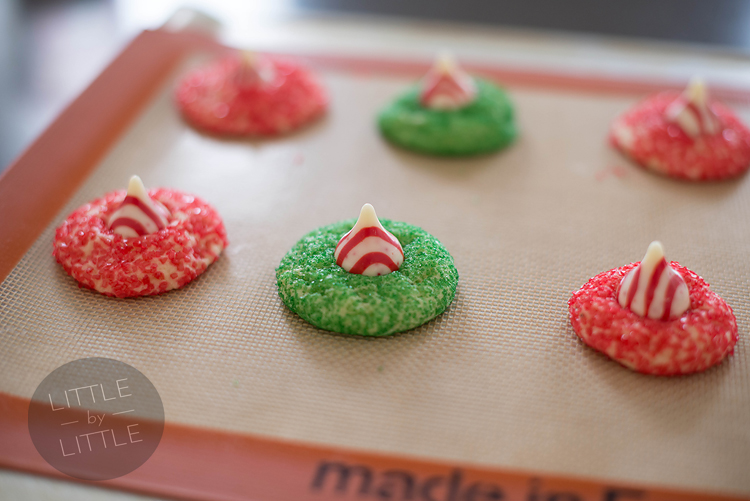
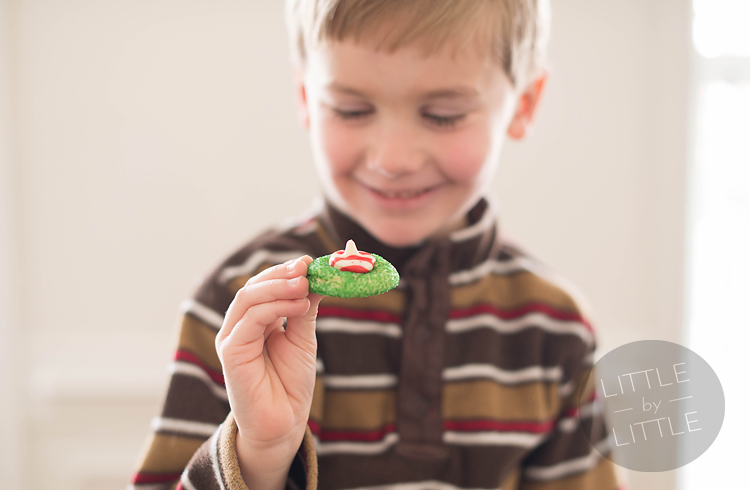
Like baking cookies with my kids. And … and this is a big and…I would enjoy and capture the process instead of being stressed about just getting it done for some event.
My encouragement to you is to pull out your cameras and capture the dailies happening in your homes this season. Capture those tiny details you most want to treasure, like little fingers rolling dough. Strive for real, not posed. Christmas is a great time to be a lifestyle photographer!
You will thank yourself. In the years to come it won’t be the numerous programs and activities of days gone by that will bring a smile to your face. It will be these memories made at home evidenced in your images.
Thank you so much Kim for sharing that here today. I always say that life passes by too quickly & that we need to cherish & capture the moments while we can. I believe that now more than ever. My priorities have shifted & capturing life is once again at the top. I am hoping to find more time to do that in this coming year.
Now it’s time for you to share what you have been up to .
The P52 Details
* Post 1 photo or as many as you like each week on Mondays.
* The button or text link should be present in your post- but not absolutely necessary.
* Please visit some other blogs & leave some love & encouragement.
* Submit the URL of your blog post – not your home page.
Project 52

Grab the button HERE
To see where I am linking today- visit HERE

