
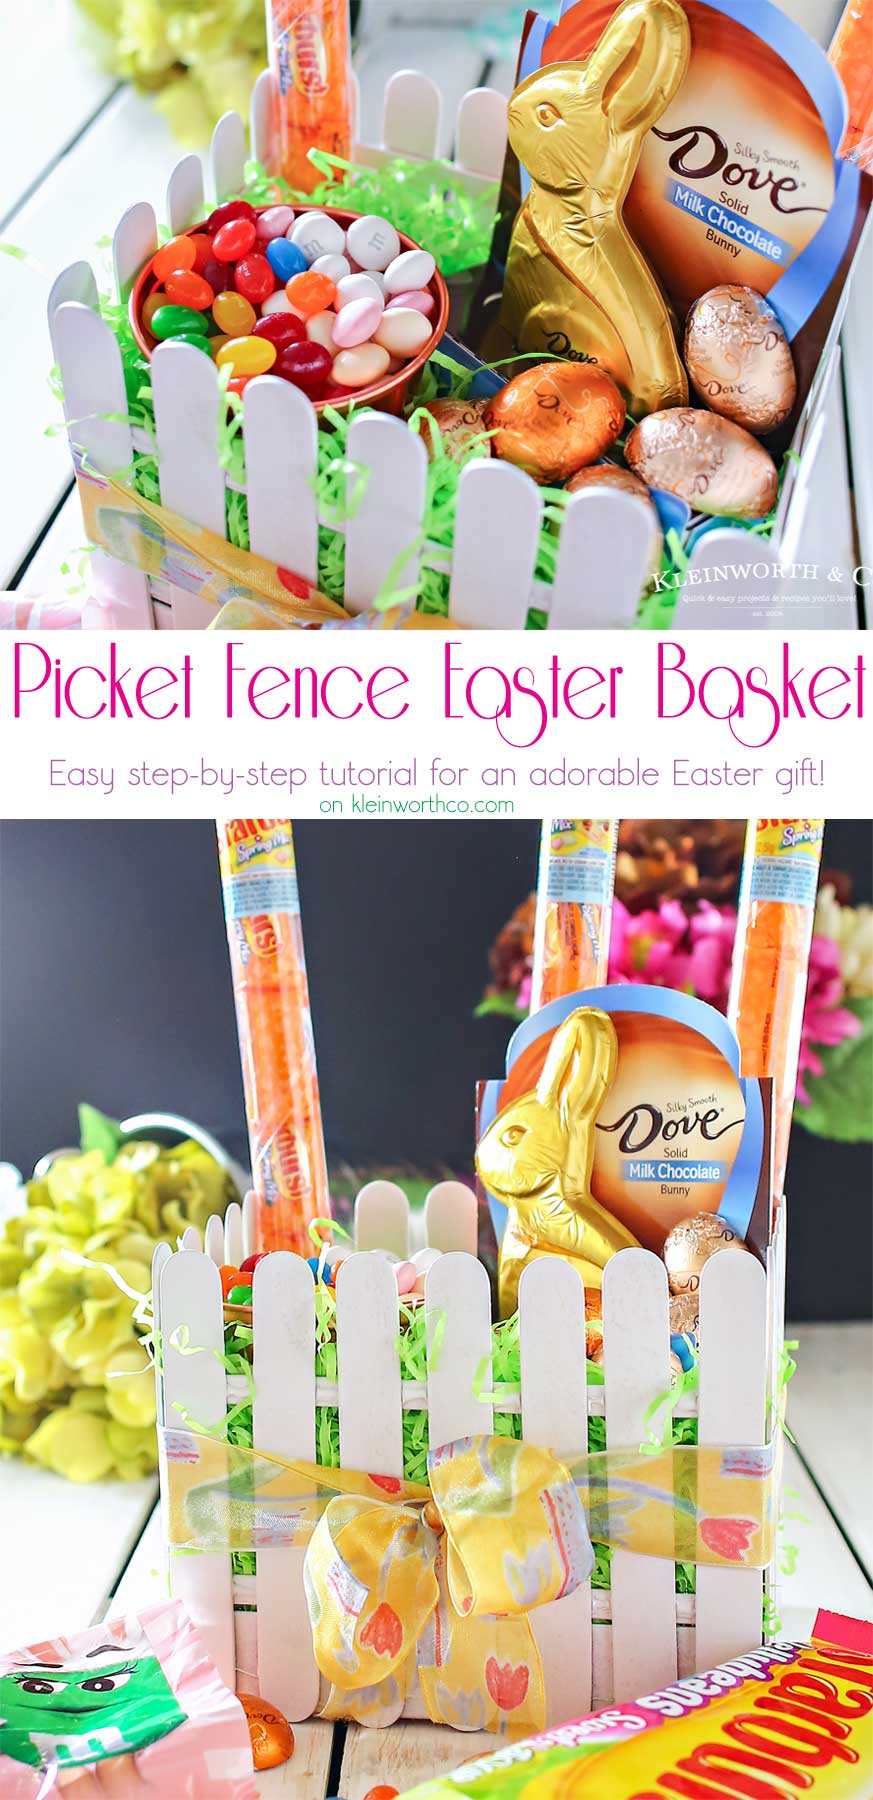
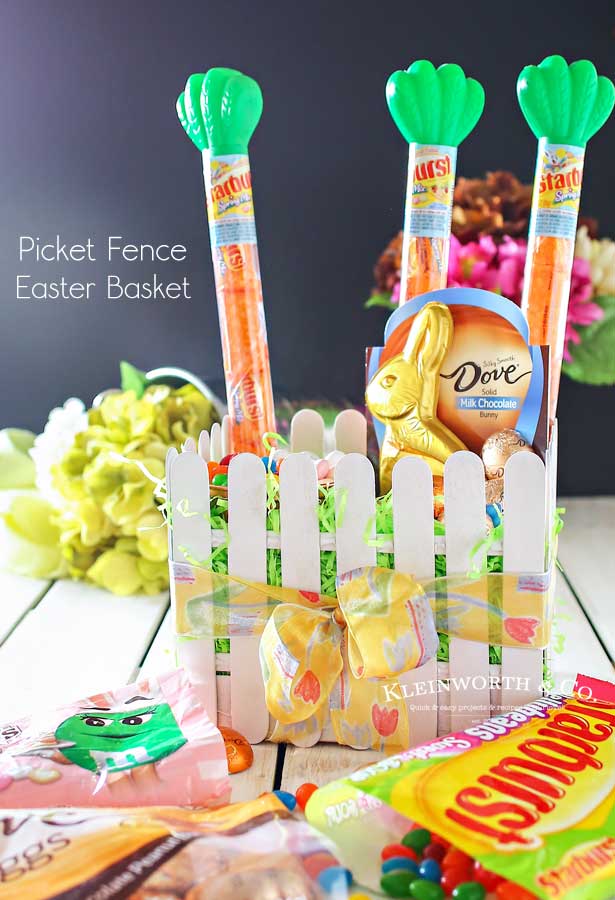
This adorable Picket Fence Easter Basket is easy to make with this step-by-step tutorial using tongue depressors or popsicle sticks. Load it full of your favorite Easter candy & you know everyone will love it.
It’s definitely my favorite Easter craft! Makes for a great display in an entryway for all your Easter party guests or even to decorate at your office. You won’t believe just how quickly you can make your own!
Unreal that we are already talking Easter. I have to say I am so excited to see all the Easter-themed things showing up all over. It’s so much fun & all the bright & happy colors perk me up after a cold & grey winter.
It’s this time when I bring out the cute decorations & start creating new ones.
One thing I like to do is set out little baskets of goodies on the table in our entryway for our guests to take when they drop by. It’s definitely welcoming & gives them a little smile as they come in & often as they walk out as well.
This year I wanted something a little more unique than the typical basket, so I pulled out my bag of tongue depressors & popsicle sticks to create this cute little “basket” that looks like a picket fence.
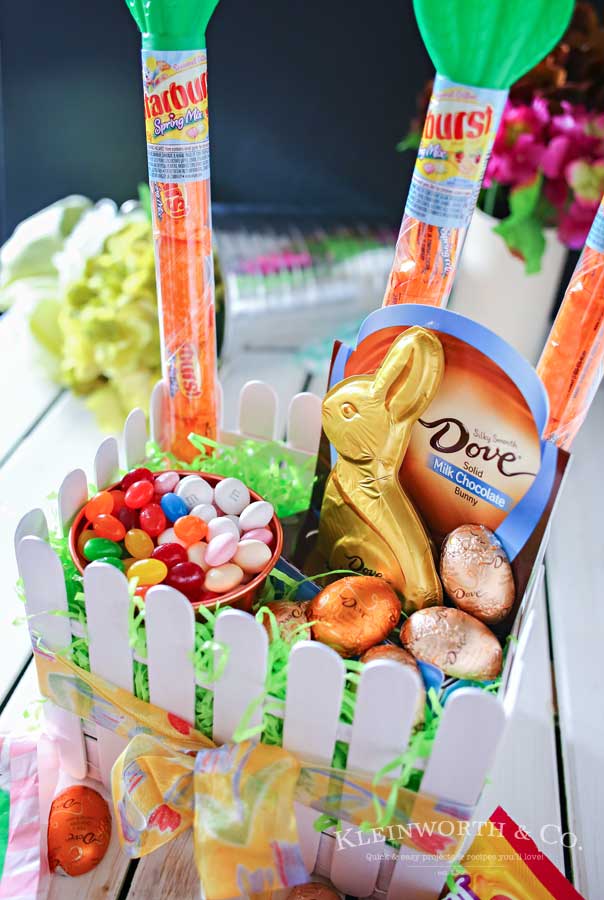
It’s like a little garden of candy. Let me show you just how quickly & easily you can make one too.
Supplies Needed
How to Make a DIY Easter Basket
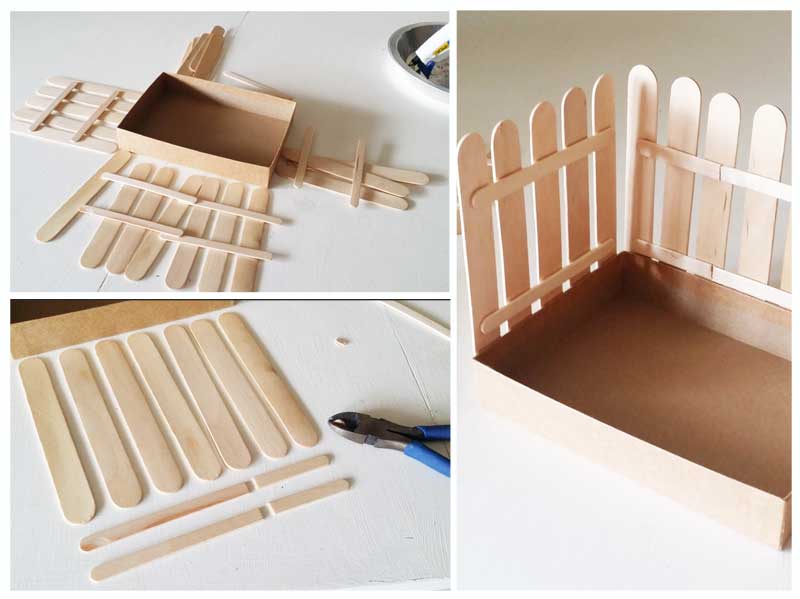
- To create the basket I started with the lid to a box, a handful of tongue depressors & popsicle sticks & my hot glue gun. I started by laying out the tongue depressors along the sides of the box to get the spacing just right.
- Then on the short sides, the popsicle sticks were the perfect length for the support pieces. So I just attached 2 sticks across with a strip of hot glue. Then I did the same with the long sides except I had to cut the tip off 2 of the sticks & then add another 1/2 popsicle stick to the end to make 2 long supports for all those tongue depressors.
- Again- I attached with hot glue. Then I just added about a nickel-sized spot of hot glue on the bottom of each tongue depressor & secured it to the side of the box. This took less than 10 minutes to do all these steps.
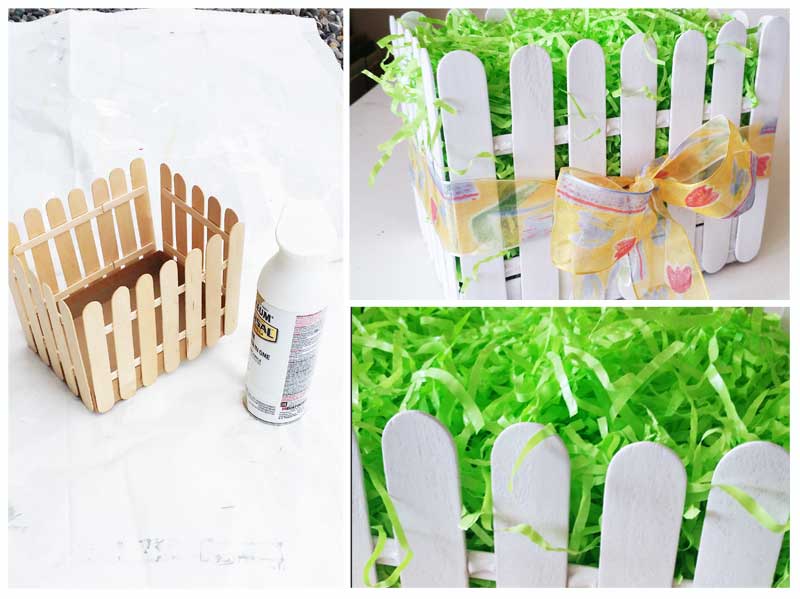
- Once I had my little fence built I took it outside I set it on an old shower curtain & gave it several coats of white spray paint. Let it dry for a couple of hours & then you can add a ribbon of choice around the whole thing.
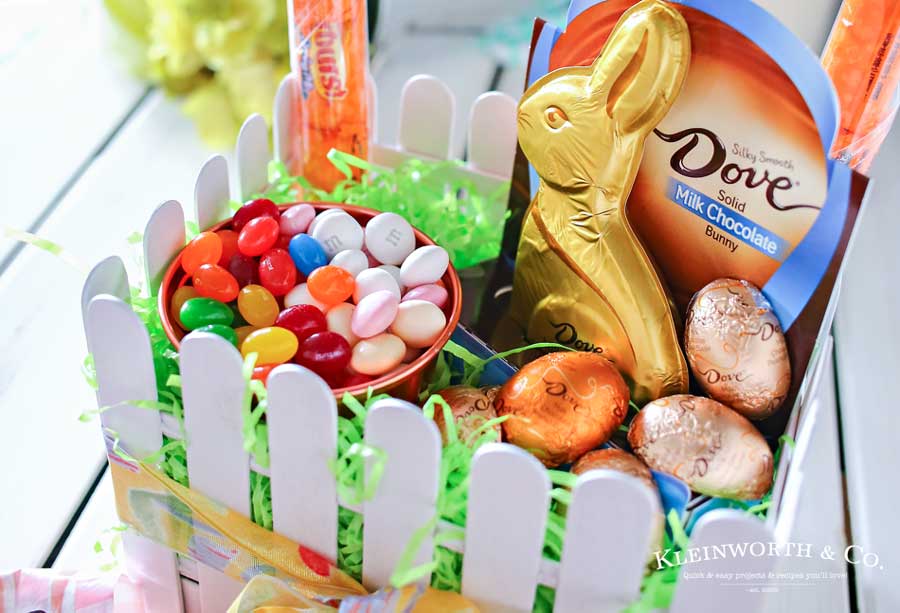
- The ribbon helps give it a little support around the middle. Add your Easter grass & then your candy. That’s IT!!
Candies to Include with this Easter Basket Craft
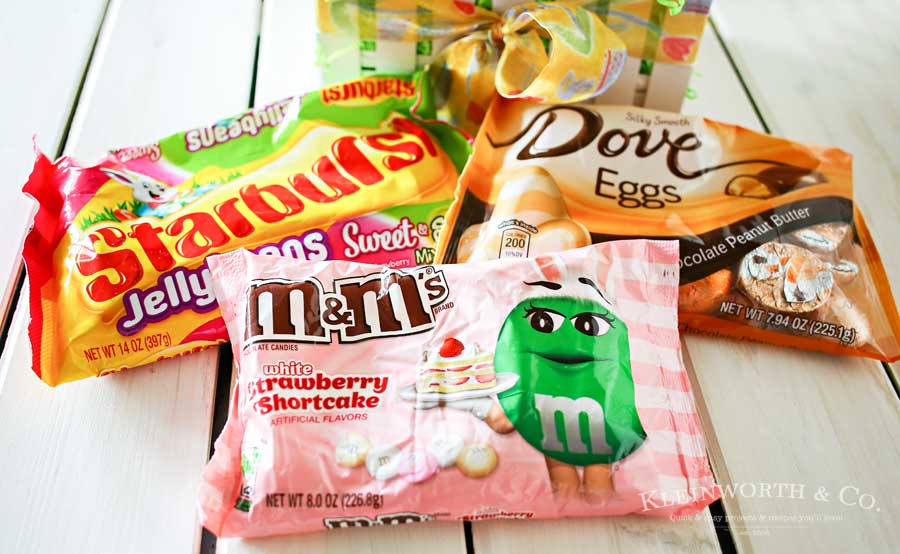
For this basket, I picked up Easter M&M’s White Strawberry Shortcake 8oz, Easter DOVE Peanut Butter Eggs, DOVE Milk Chocolate Bunny 4.5oz, Starburst Sweet & Sour Jellybeans & the Carrot shaped bag of candies to make it all happen.
There’s a little something in there for everyone! I know the hubs was very excited to see those peanut butter ones!
I love how the carrots look like they are growing from the grass! So cute! Create this Easter basket for your home!
Frequently Asked Questions When Making This Craft
What should I use as the base of the basket?
A small cardboard box, plastic container, or even a sturdy paper cup can work as the base. Just make sure it’s strong enough to hold treats.
How do I attach a handle?
I chose not to add a handle since it is supposed to look like a fence – but you can certainly do that.
You can use a strip of cardboard, a wooden craft stick, or a thick ribbon. Glue each end to opposite sides of the basket for a sturdy grip.
How can I personalize the basket?
Add name tags, stickers, or tiny flowers for decoration. You can also tie a ribbon around the basket for extra charm.
Can kids make this craft?
Yes, but adult supervision is recommended when using a hot glue gun. Kids can help paint and decorate!
Don’t miss more of our favorite Easter ideas!
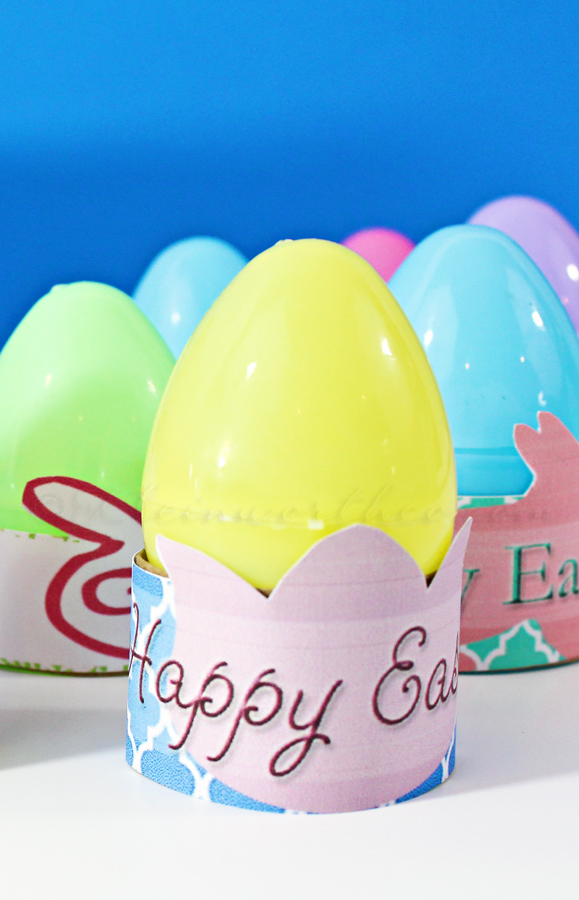
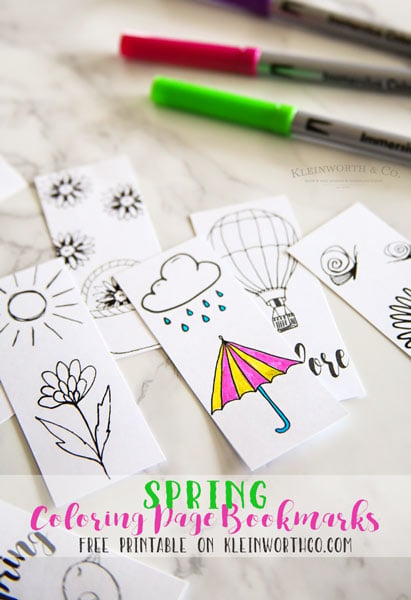
Spring Printable Coloring Page Bookmarks

CONNECT WITH YUMMI HAUS!
Be sure to follow me on my social media, so you never miss a post!


What a fun Easter craft, and so functional too! I like the idea of filling it with goodies for guests. [client]
These are adorable!
This is so adorable! Love it!