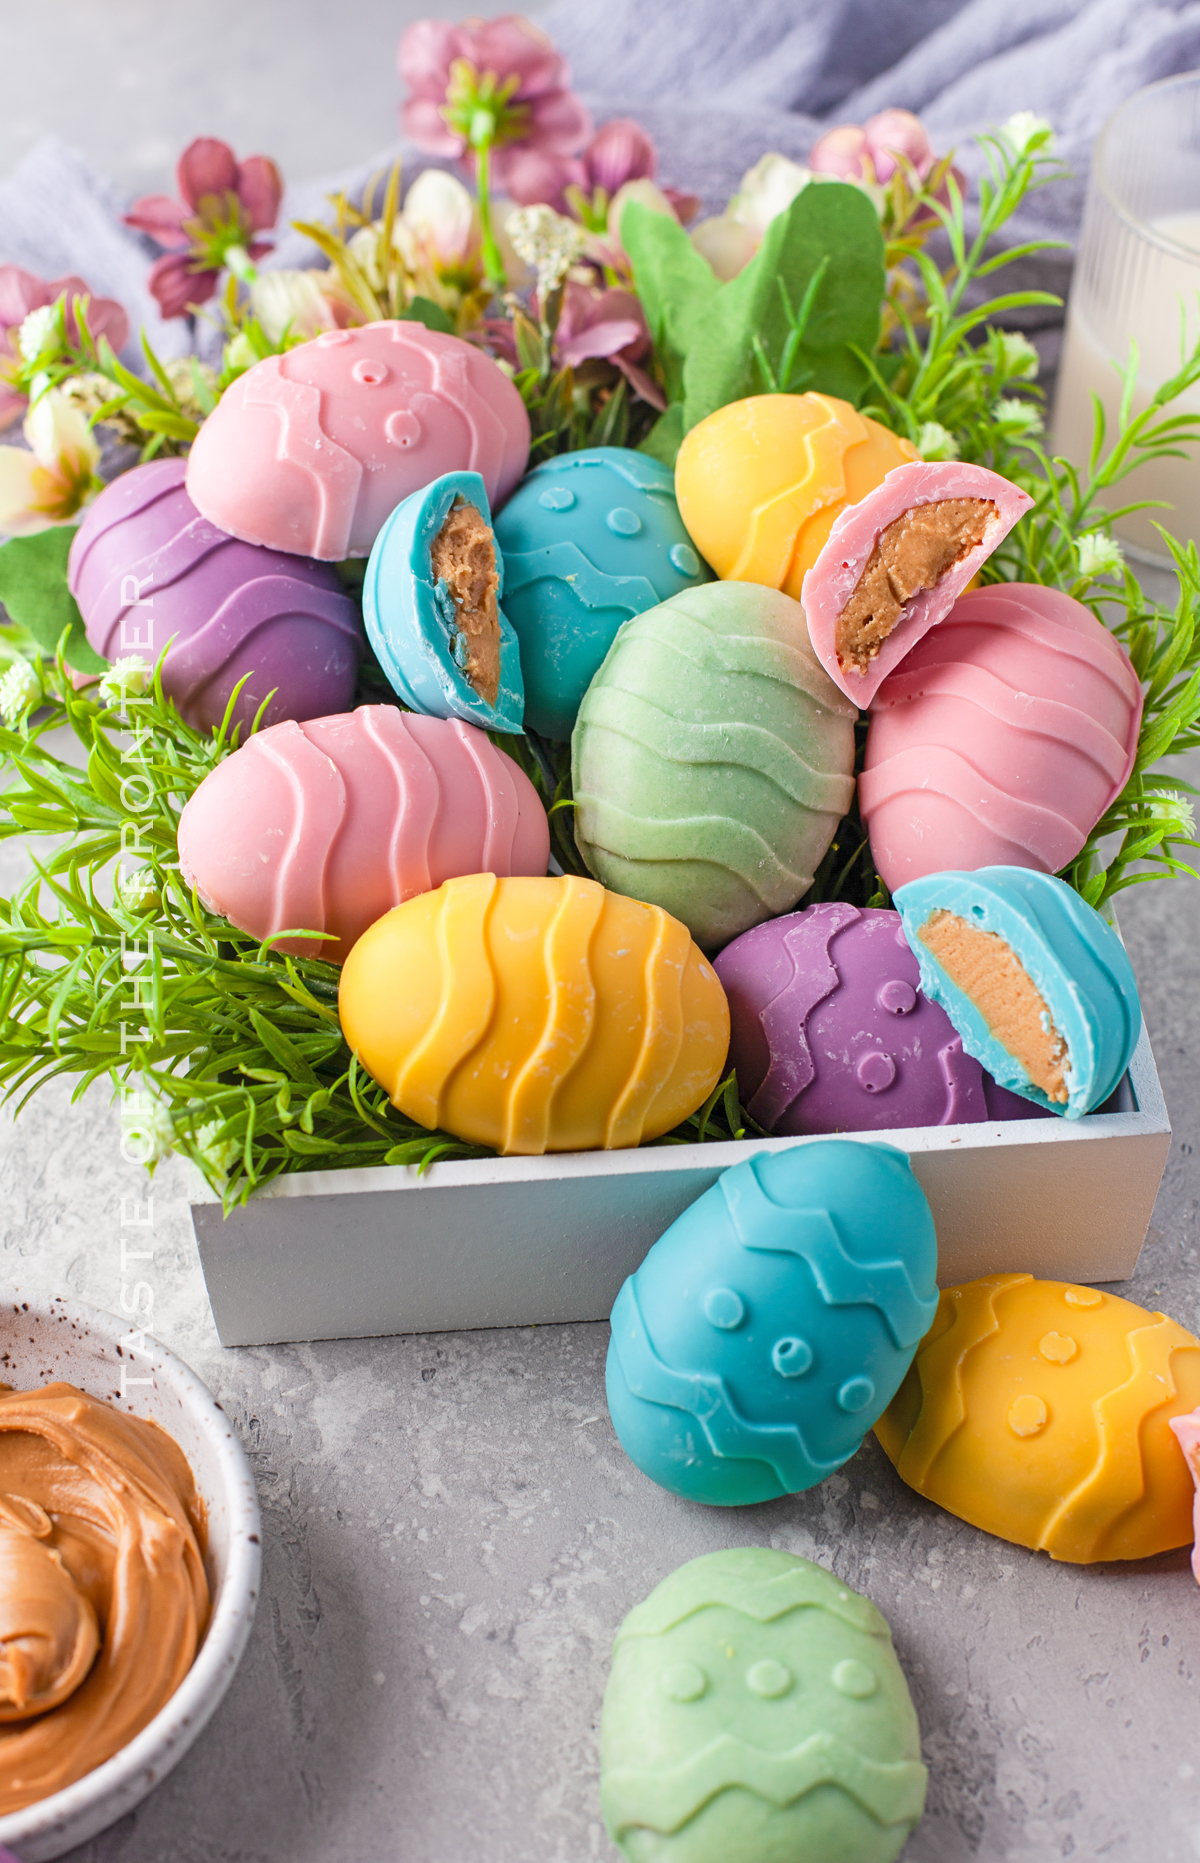
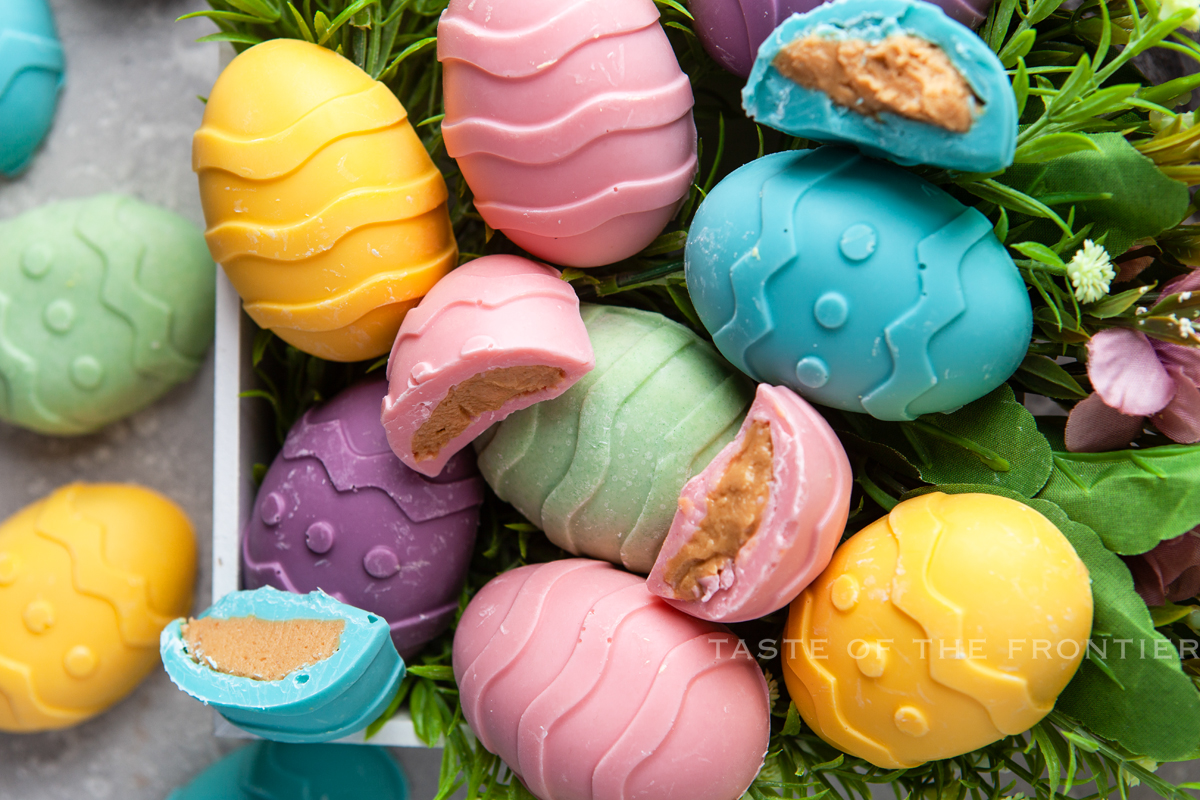
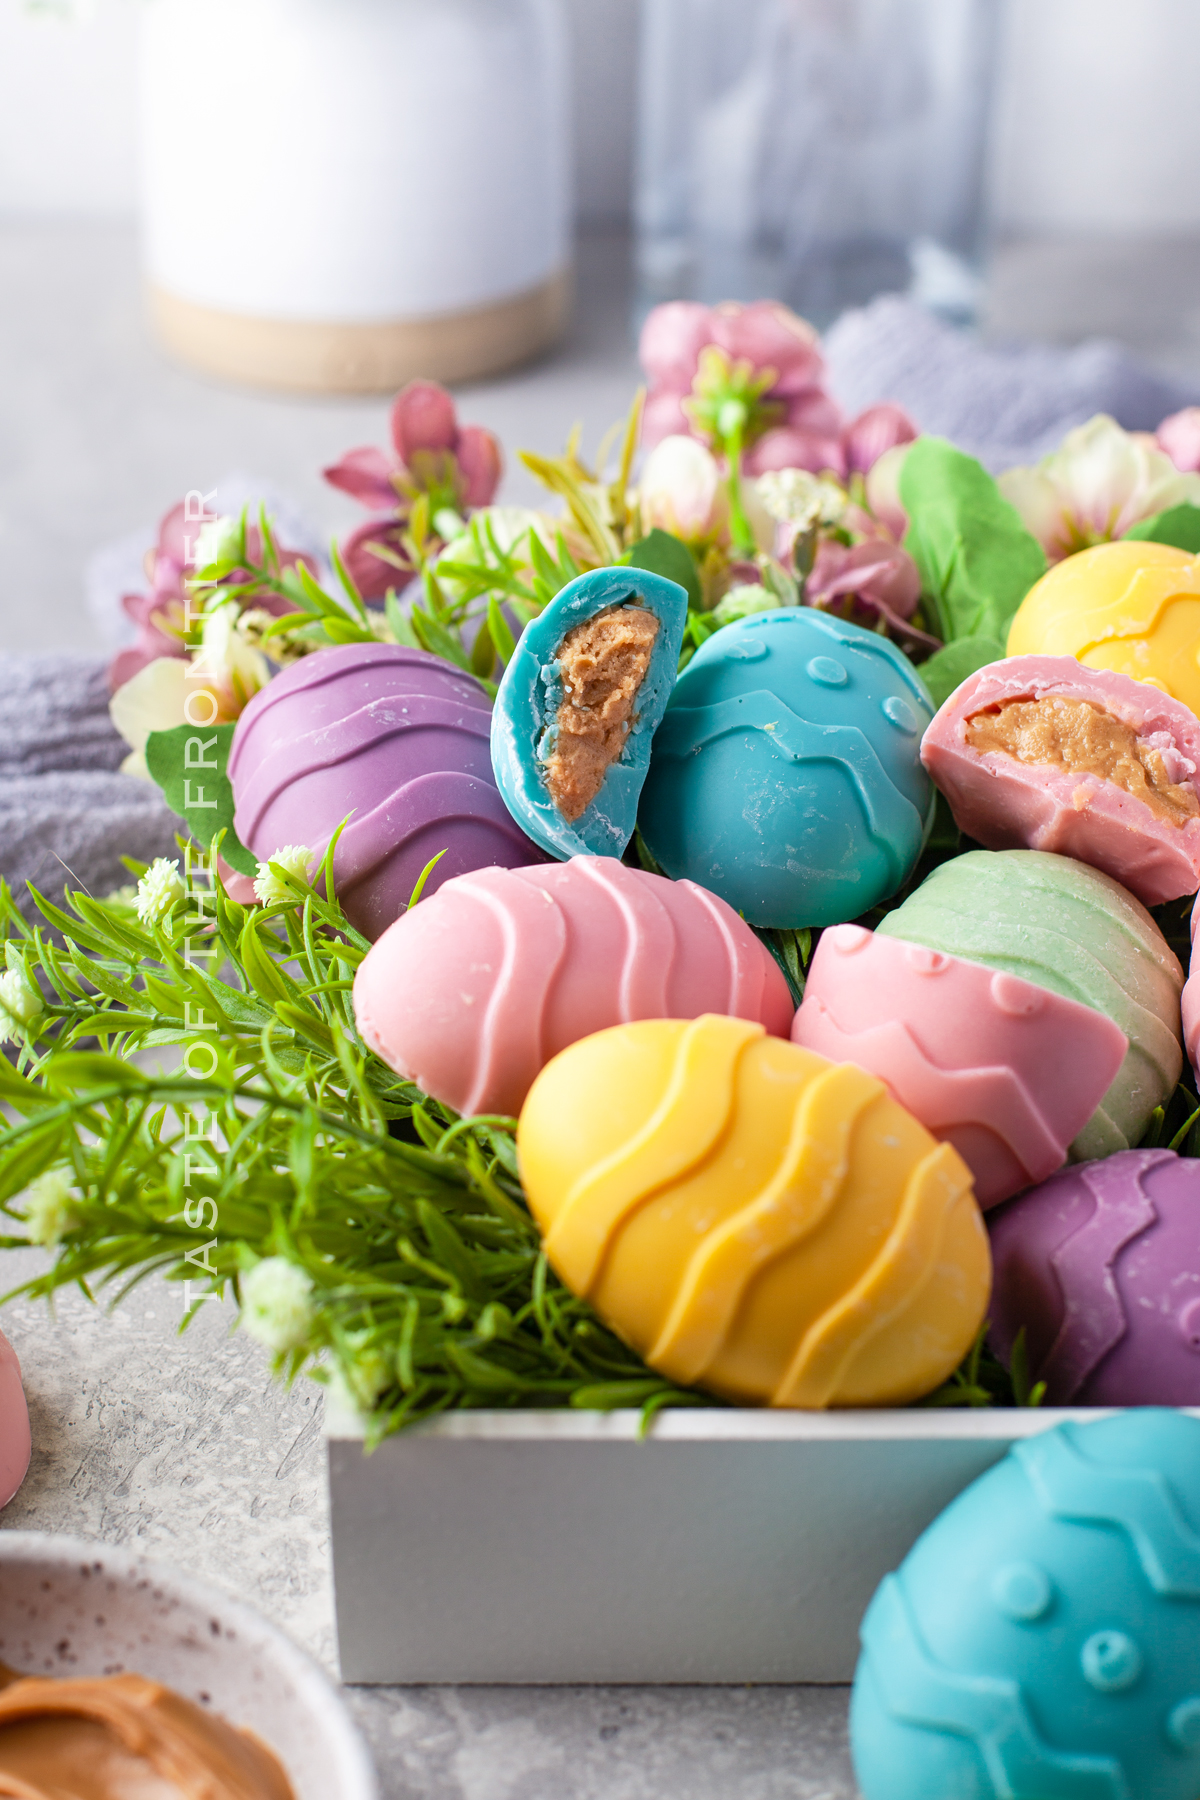
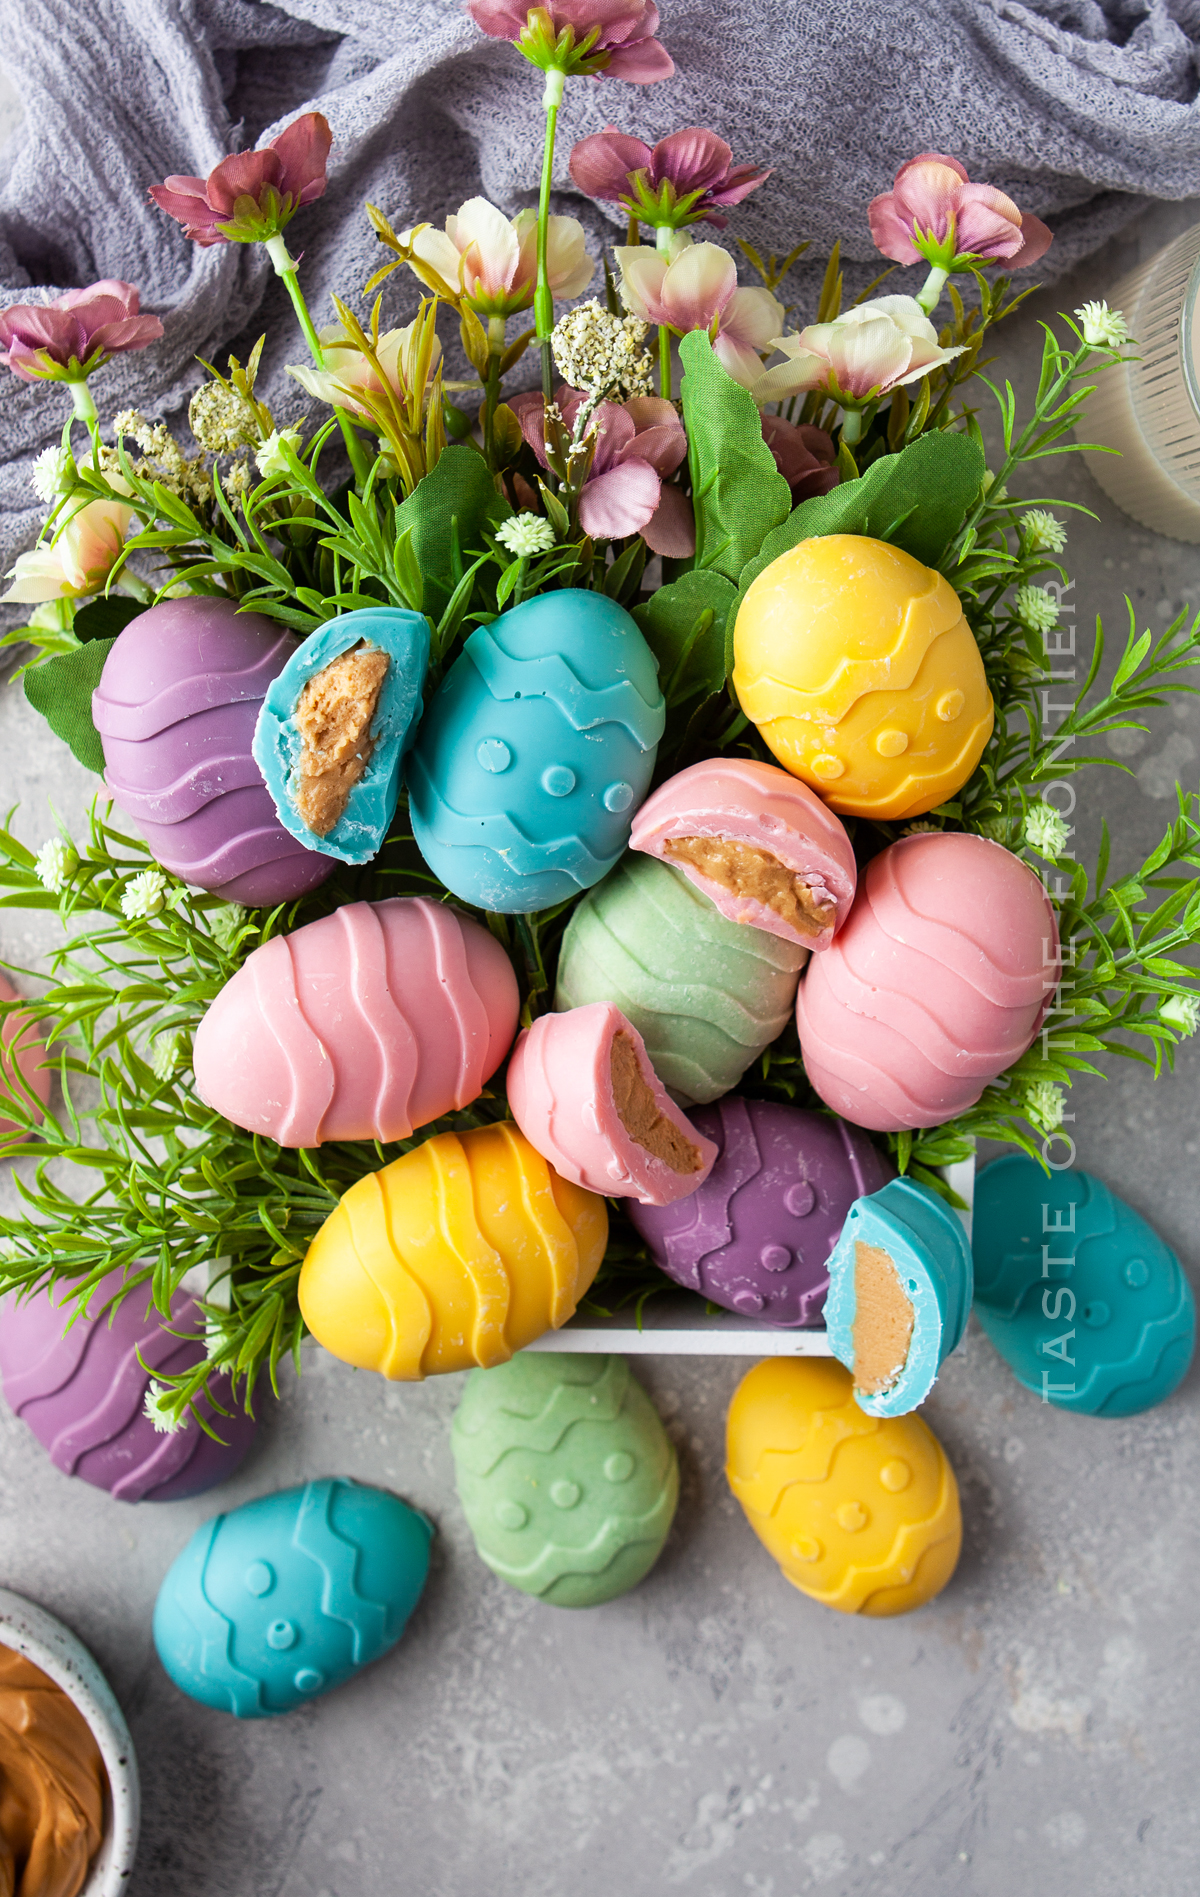
The best eggs for Easter are Peanut Butter Eggs, a holiday classic. These eggs use only 5 ingredients and are always the holiday favorite!
If you love those delicious peanut butter eggs that come around every spring, you’ll love this homemade recipe to make your own.
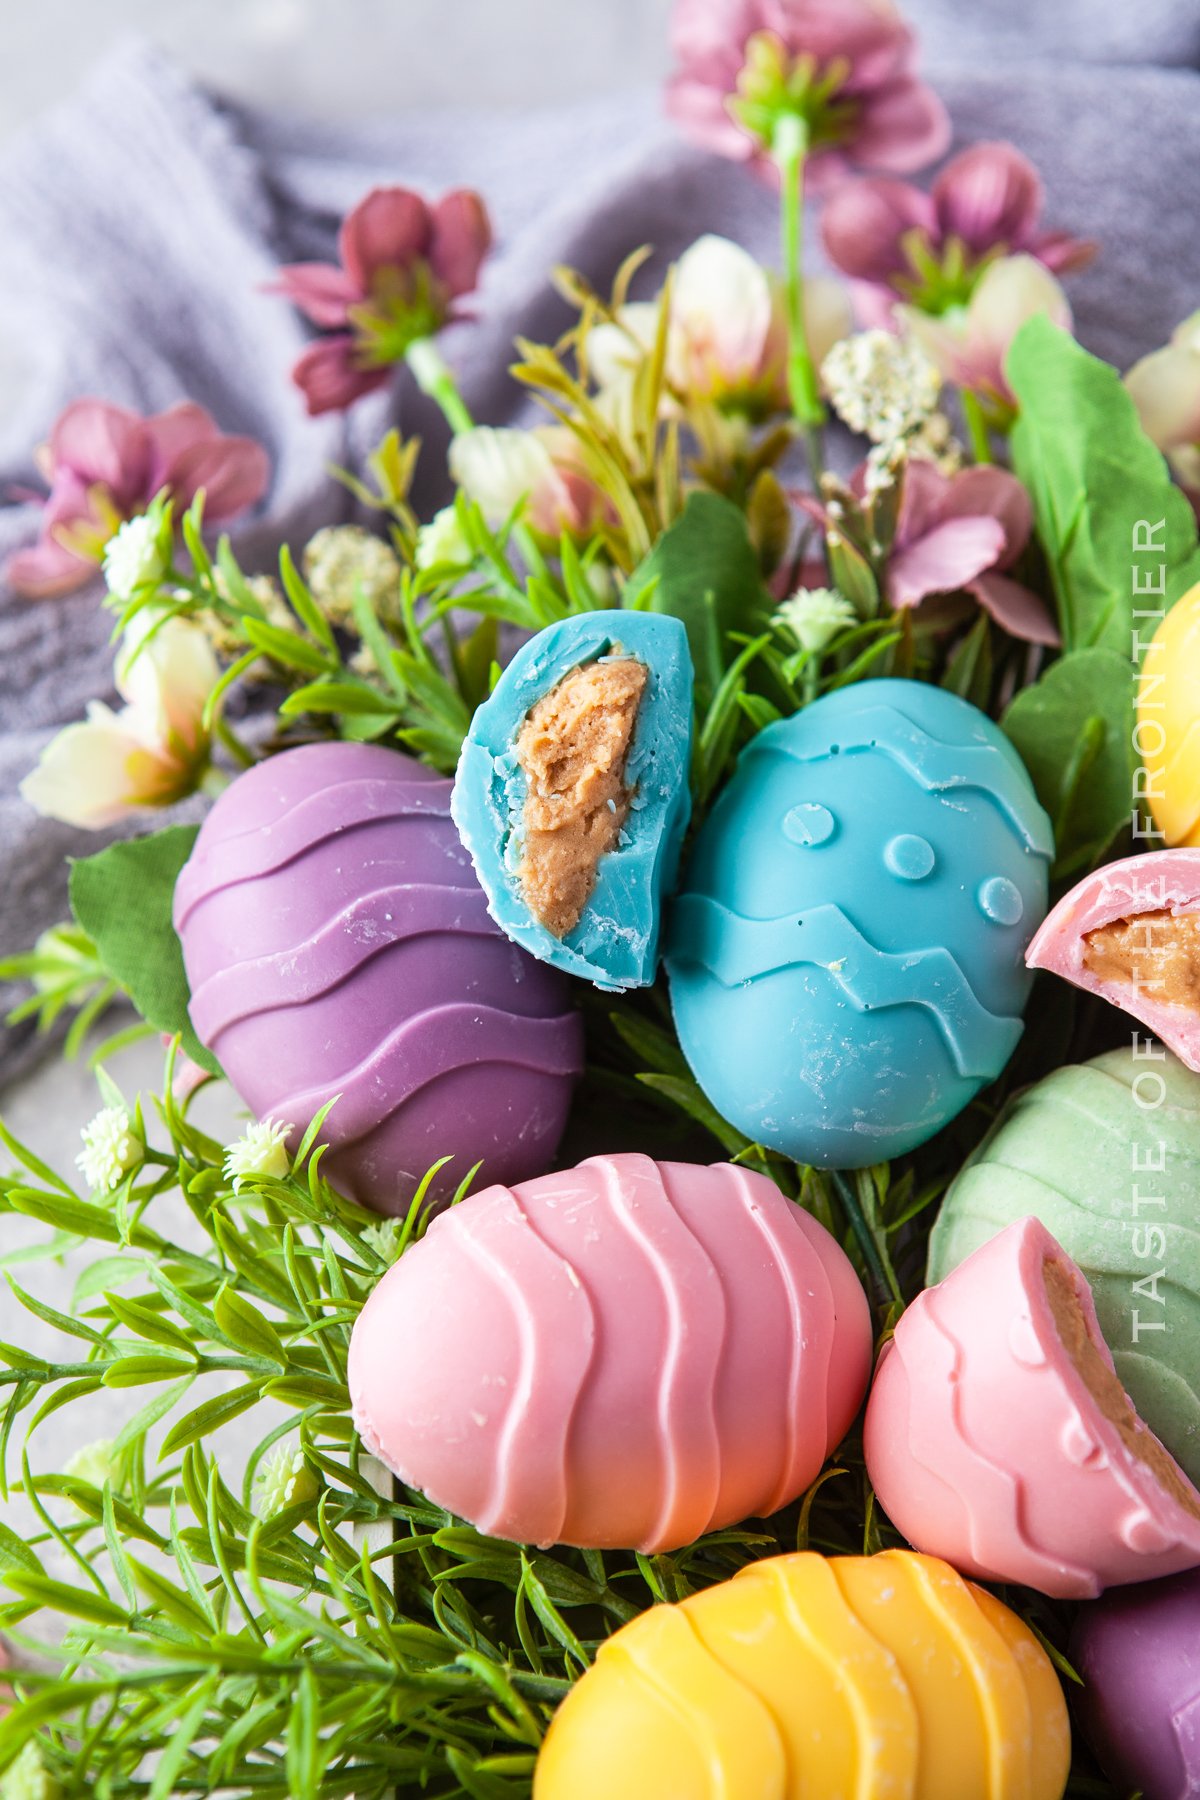
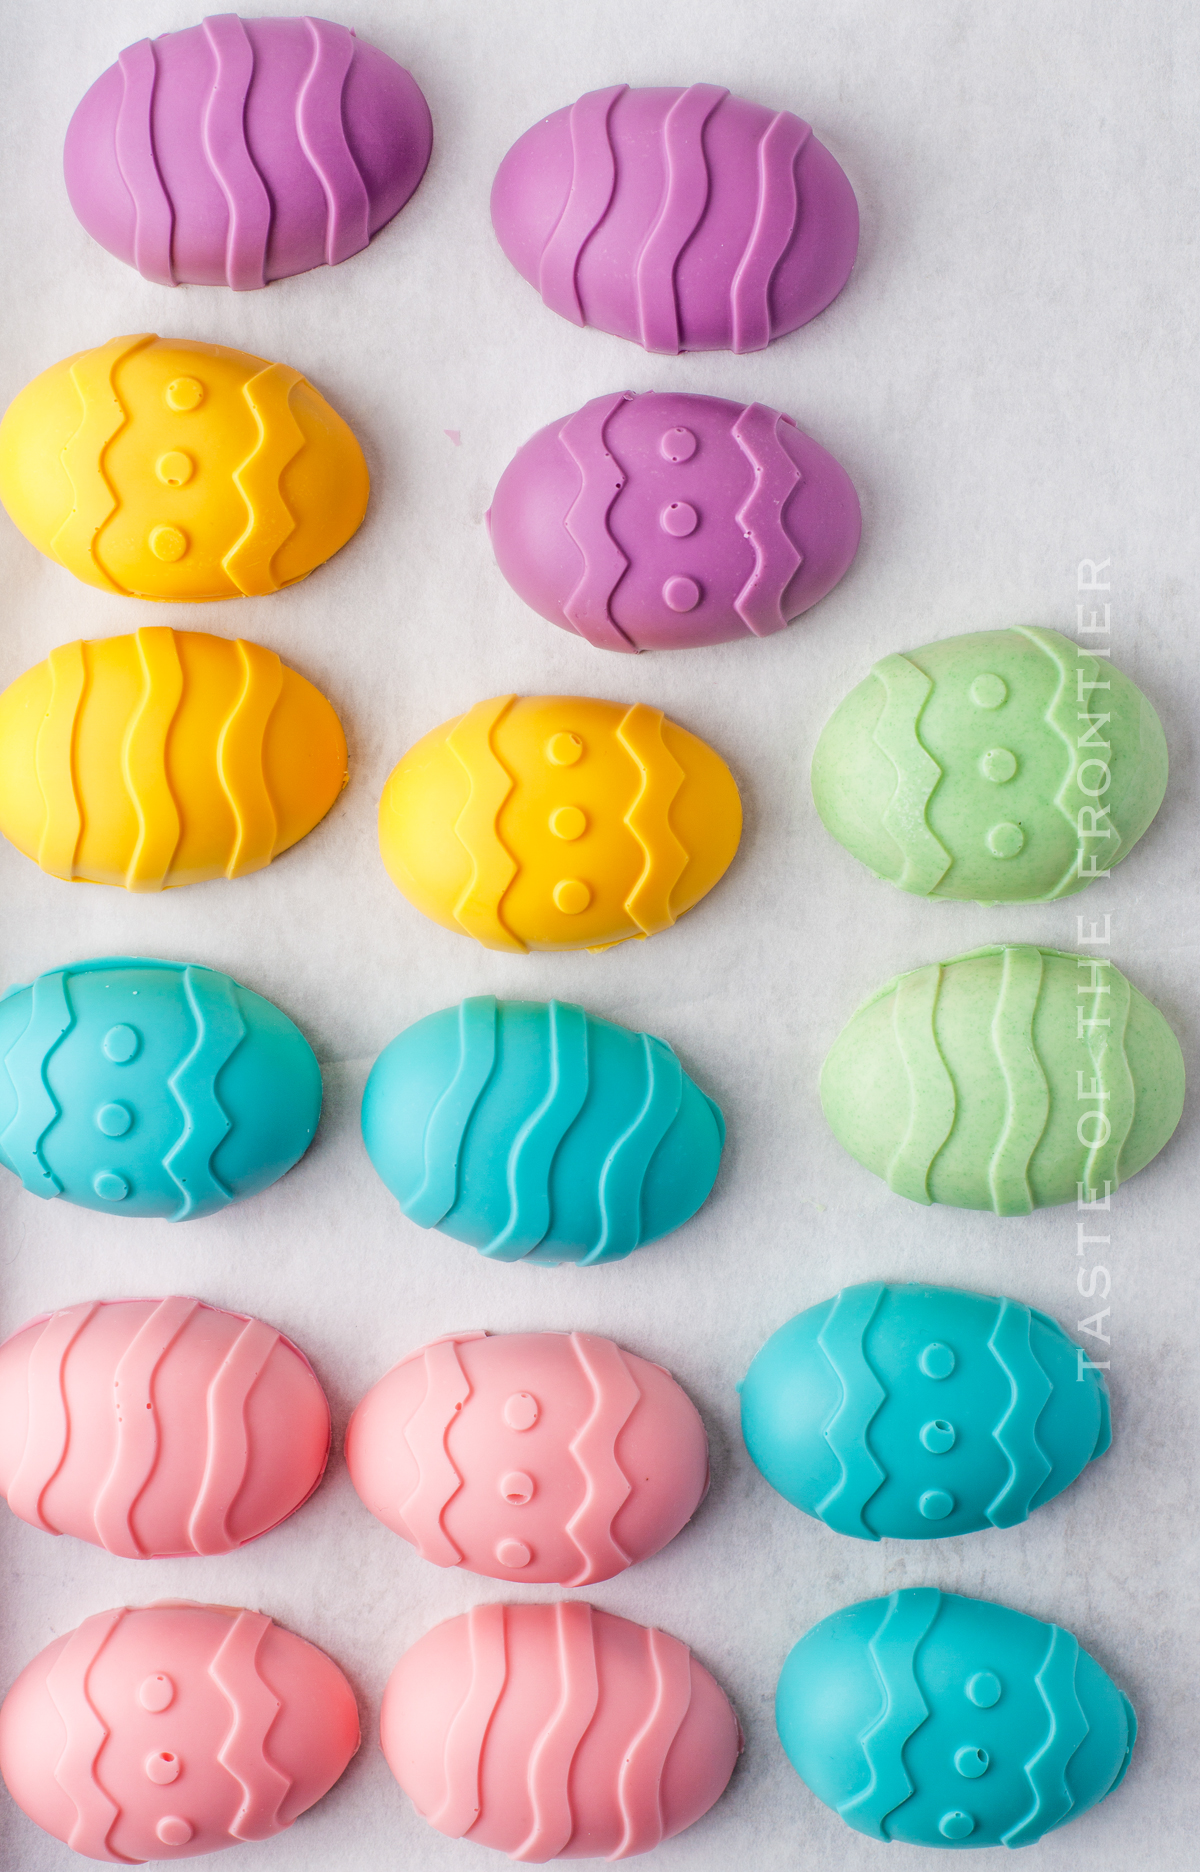
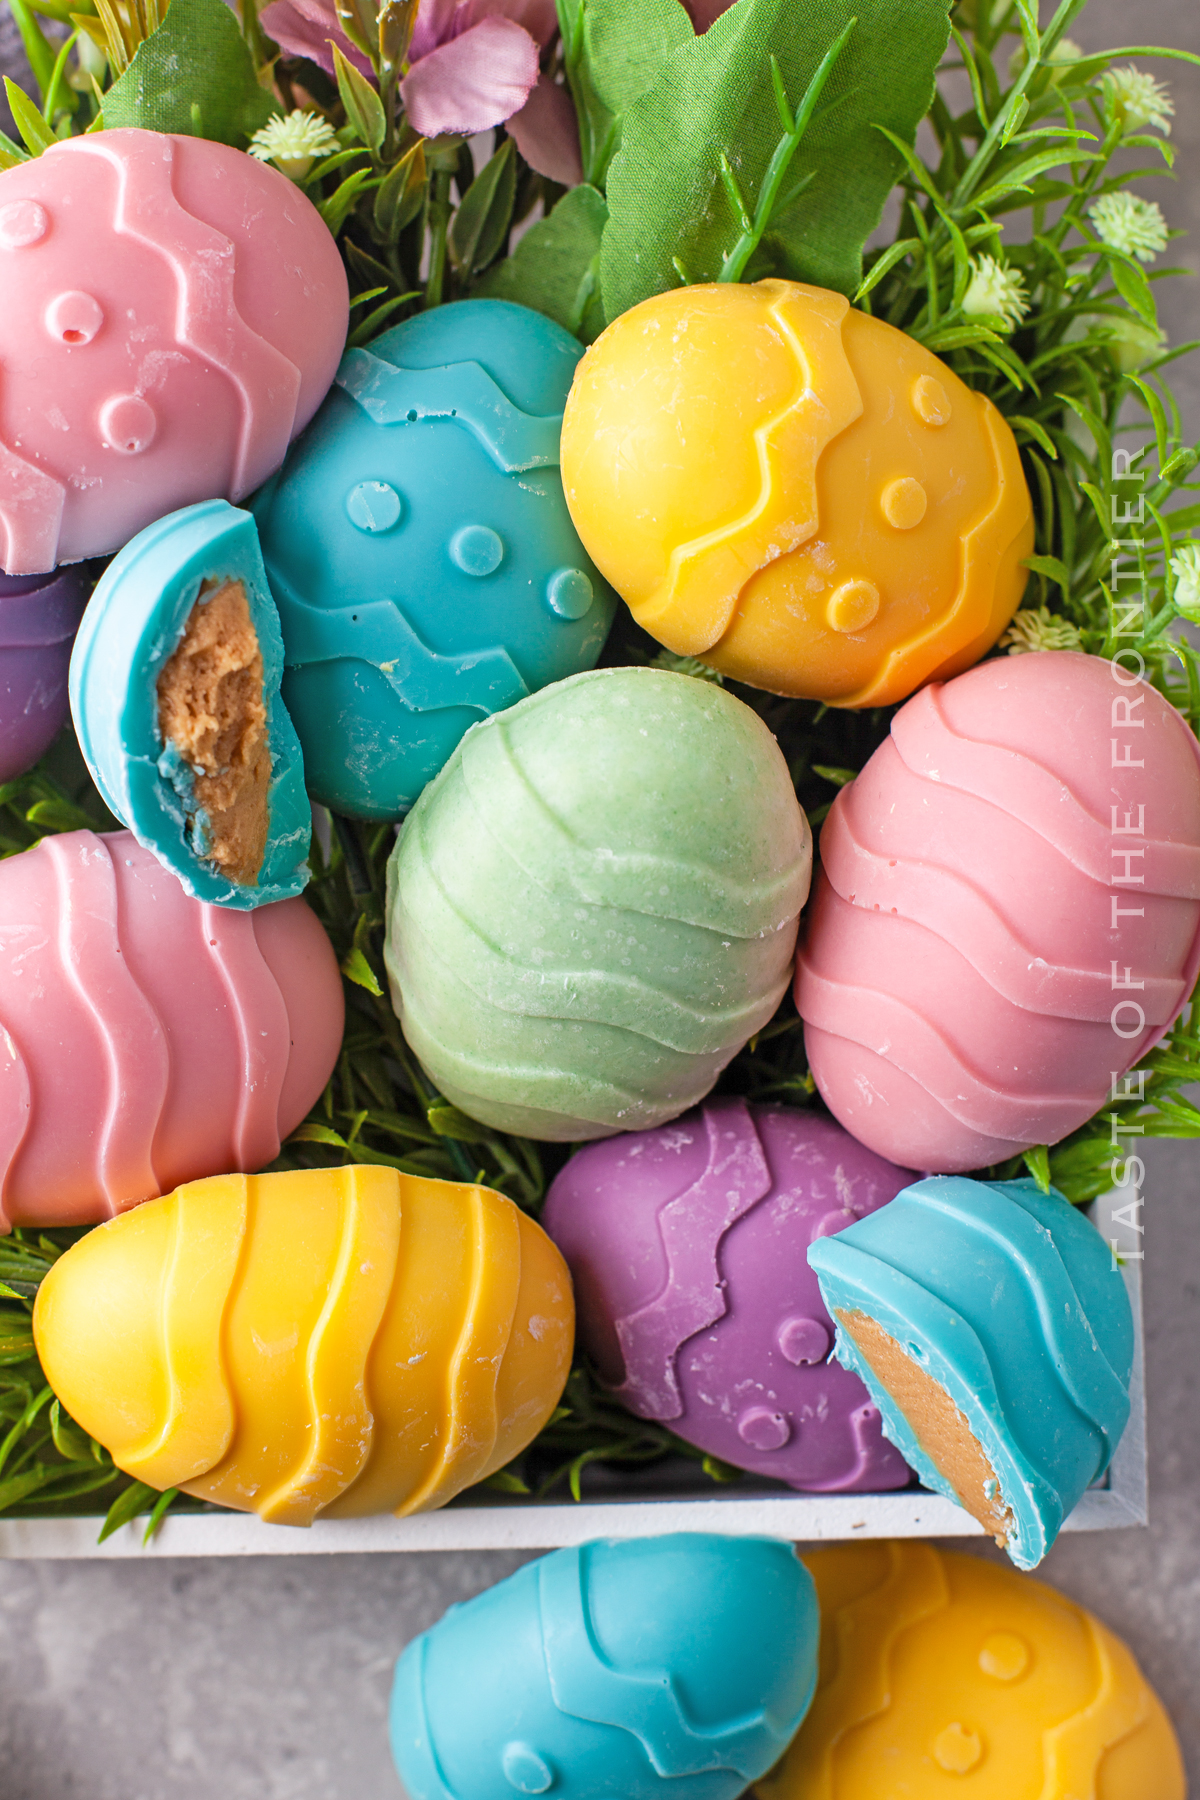
We changed up the recipe to use candy melts to make them in bright, spring colors like actual Easter eggs instead of standard milk chocolate and they turned out so cute.
SAVE TO PINTEREST
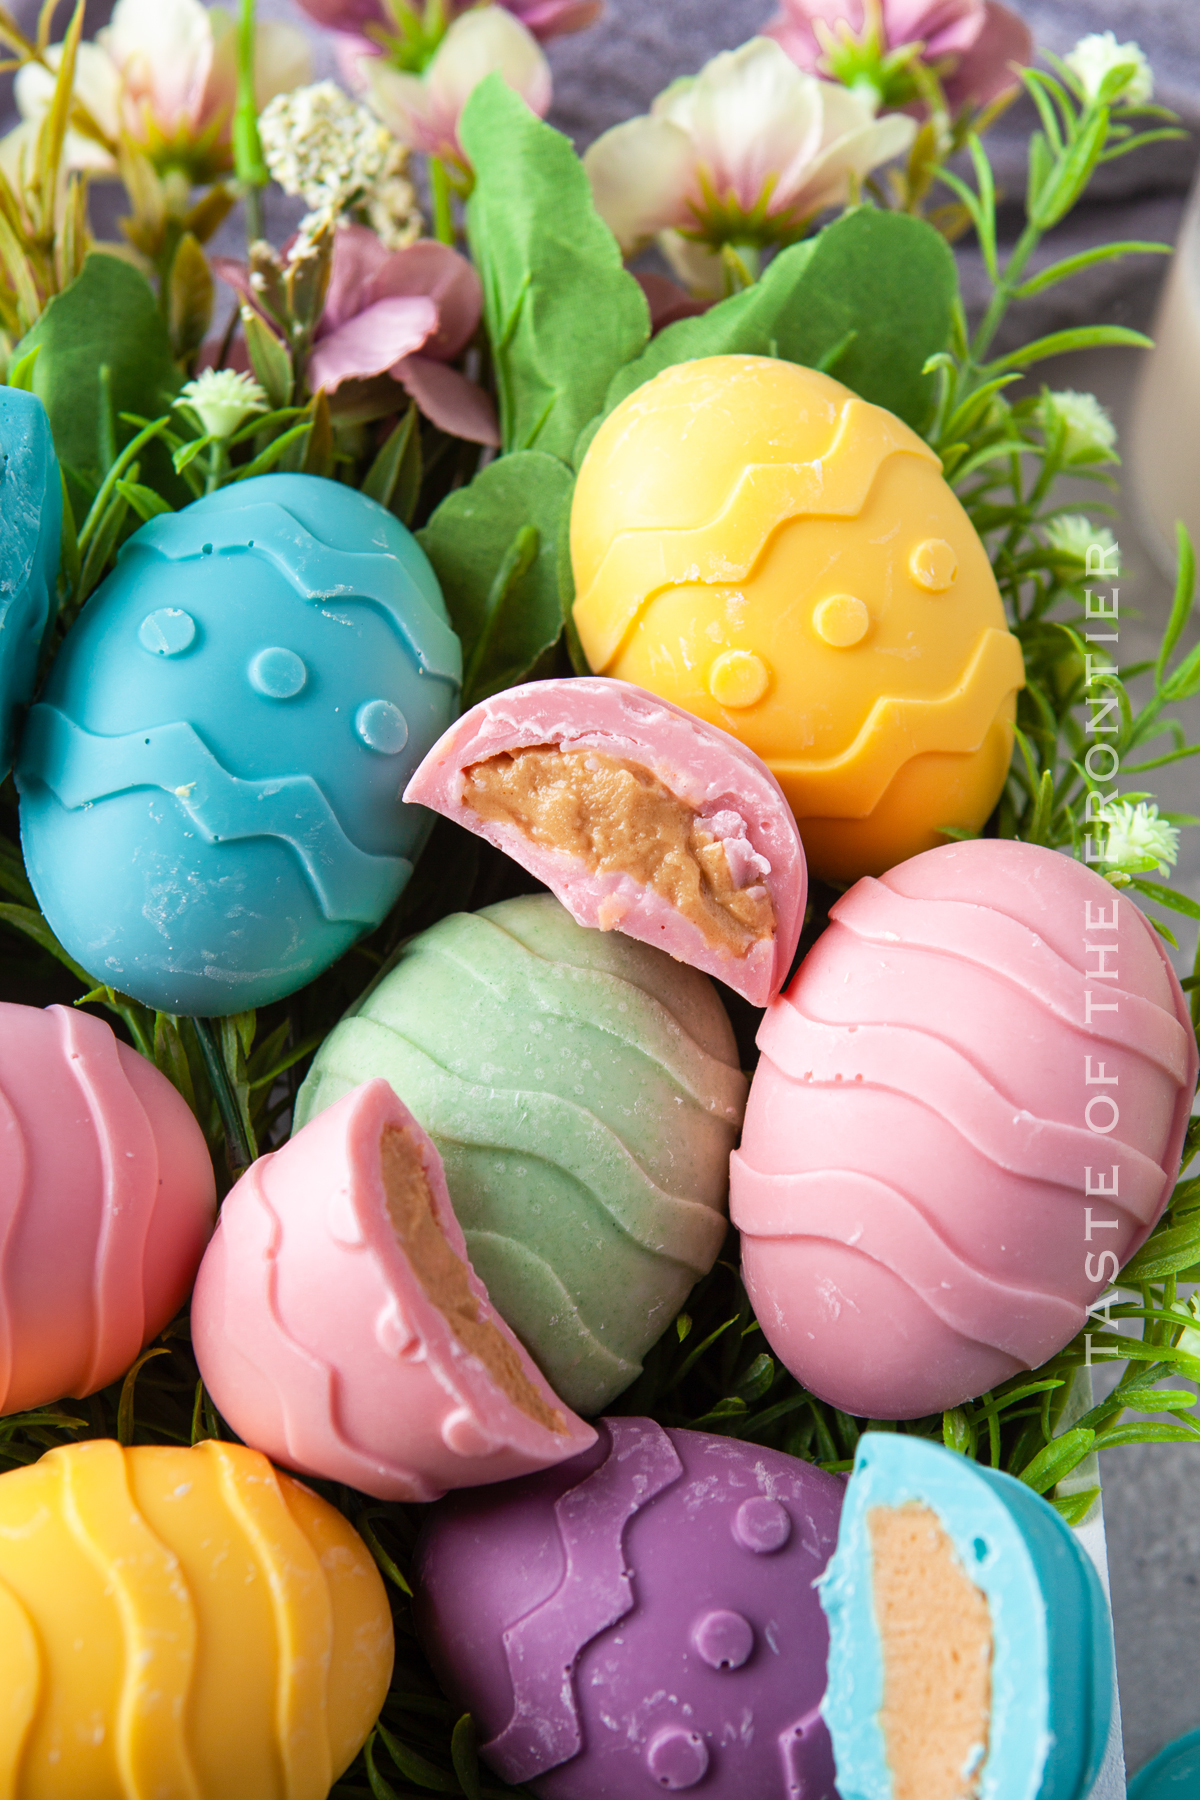
What I really love about making them at home is that they are much larger than what you get in the store these days. Do you remember when we were kids and Reese’s peanut butter eggs were so big that it took several bites to get through just one?
Since they are basically one bite now, I definitely prefer making them at home. I almost always have the ingredients on hand and then I can customize them to our liking. I think you and the kiddos will really love these!
Easter Peanut Butter Eggs
Here are some commonly asked questions
What are Reese’s eggs?
Reese’s eggs are peanut butter eggs that are coated in chocolate. They were first created in Reese’s peanut butter cups, and they have since become a popular Easter candy.
Are these gluten-free?
Yes – if you check all of the ingredients and make sure you are using the gluten-free versions available out there.
Do peanut butter eggs have dairy?
Yes – these do contain dairy in the butter and chocolate. If you are familiar with dairy-free alternatives, you can always give those a try.
Can I use a different type of chocolate?
Yes – these can be made with a different type of chocolate. If you don’t want to make them in colors, you can use milk, semi-sweet, white, or dark chocolate candy melts.
Can these be made with chocolate chips?
Yes – you can use chocolate chips if you aren’t making these in the cute spring colors. Keep in mind that the chocolate chips will melt a bit differently than the candy melts. See my notes below for the best way to melt those.
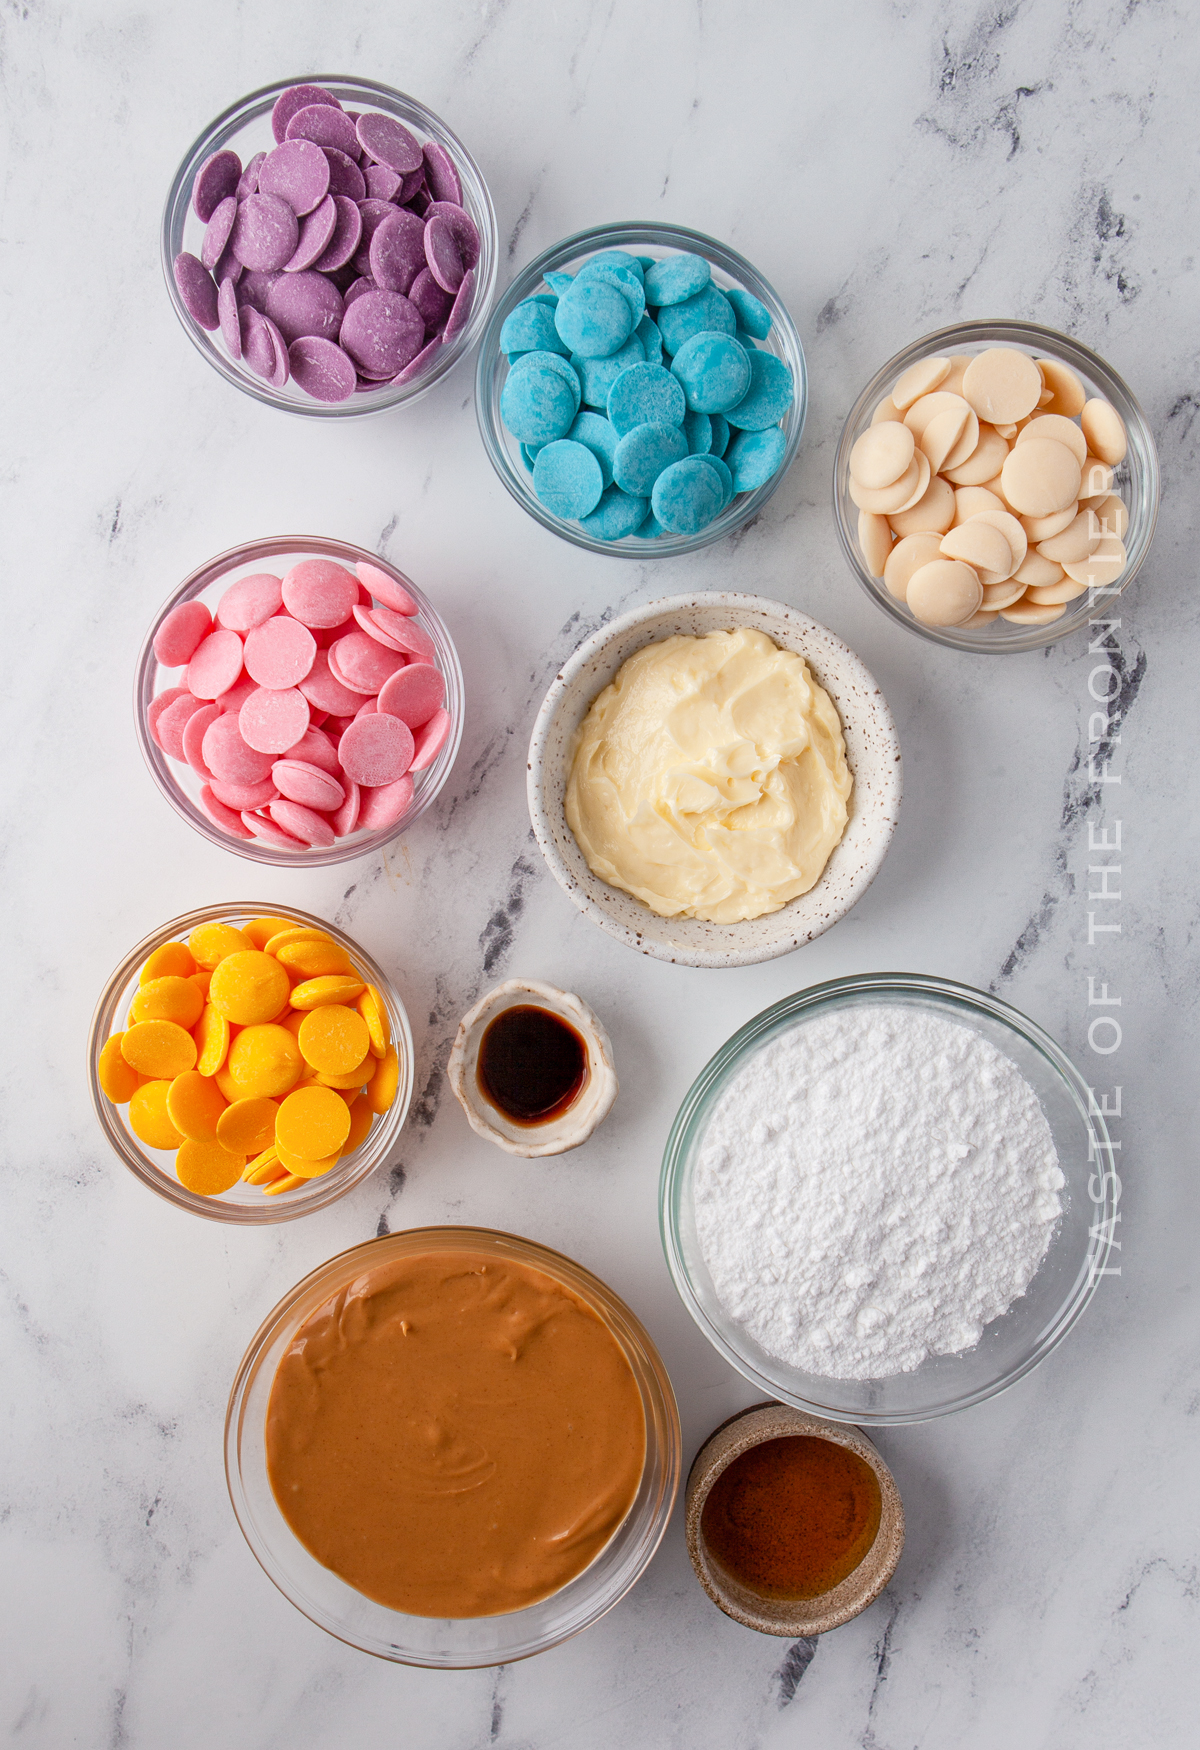
Ingredients for Peanut Butter Eggs
- peanut butter
- confectioner’s sugar
- vanilla extract
- unsalted butter – softened
- candy melts – colors of your choice
Can this recipe be doubled?
You can, and we do it often. It might take a bit longer and you might want to work in batches when it comes to melting the chocolate – working portions of the bag each time.
How to Make Peanut Butter Eggs
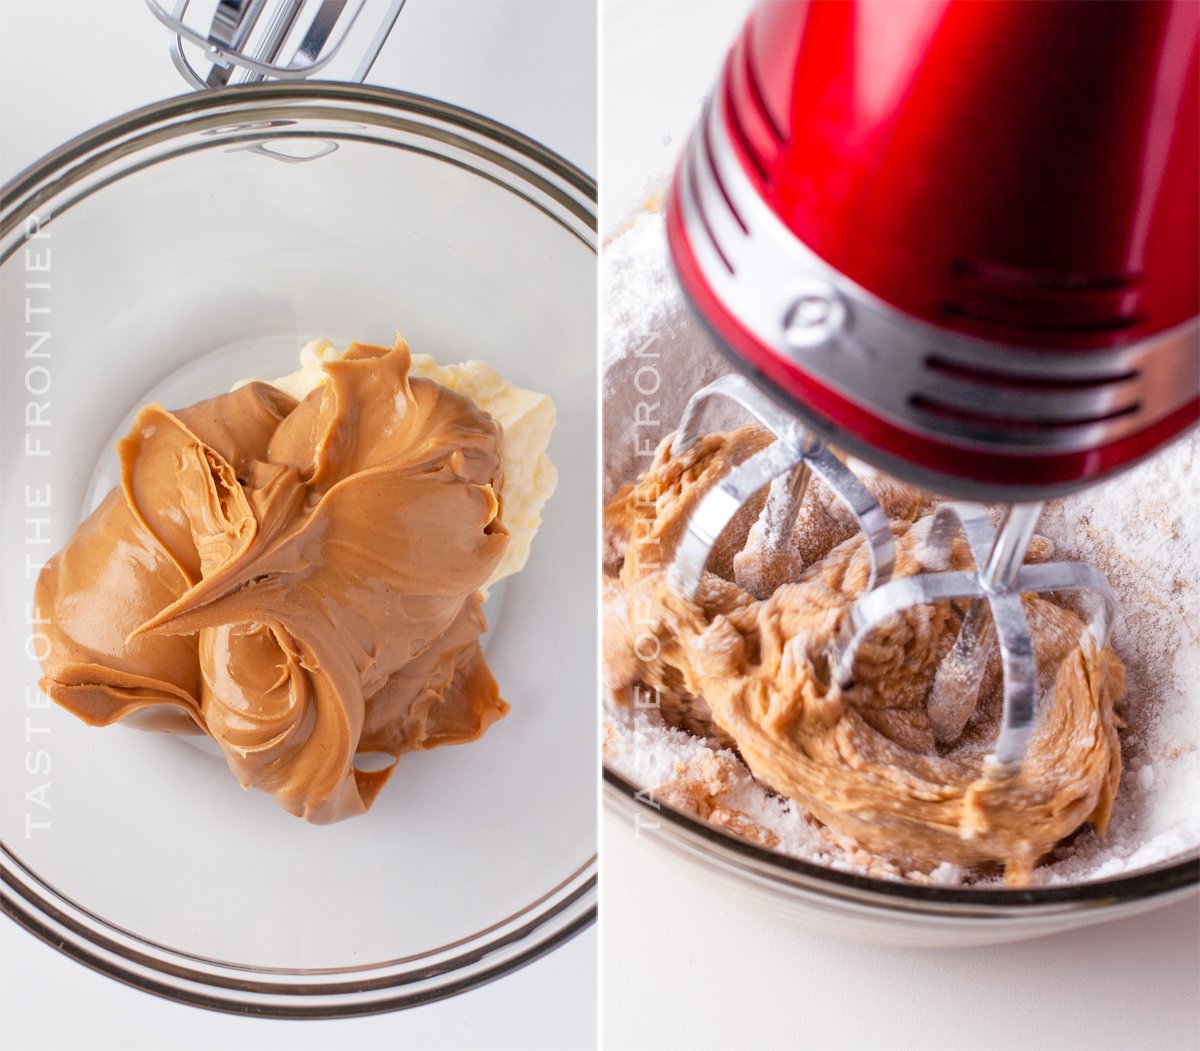
- In a small bowl mix the peanut butter with the butter until it is light and fluffy.
- Add in the confectioner’s sugar and vanilla. Mix until combined.
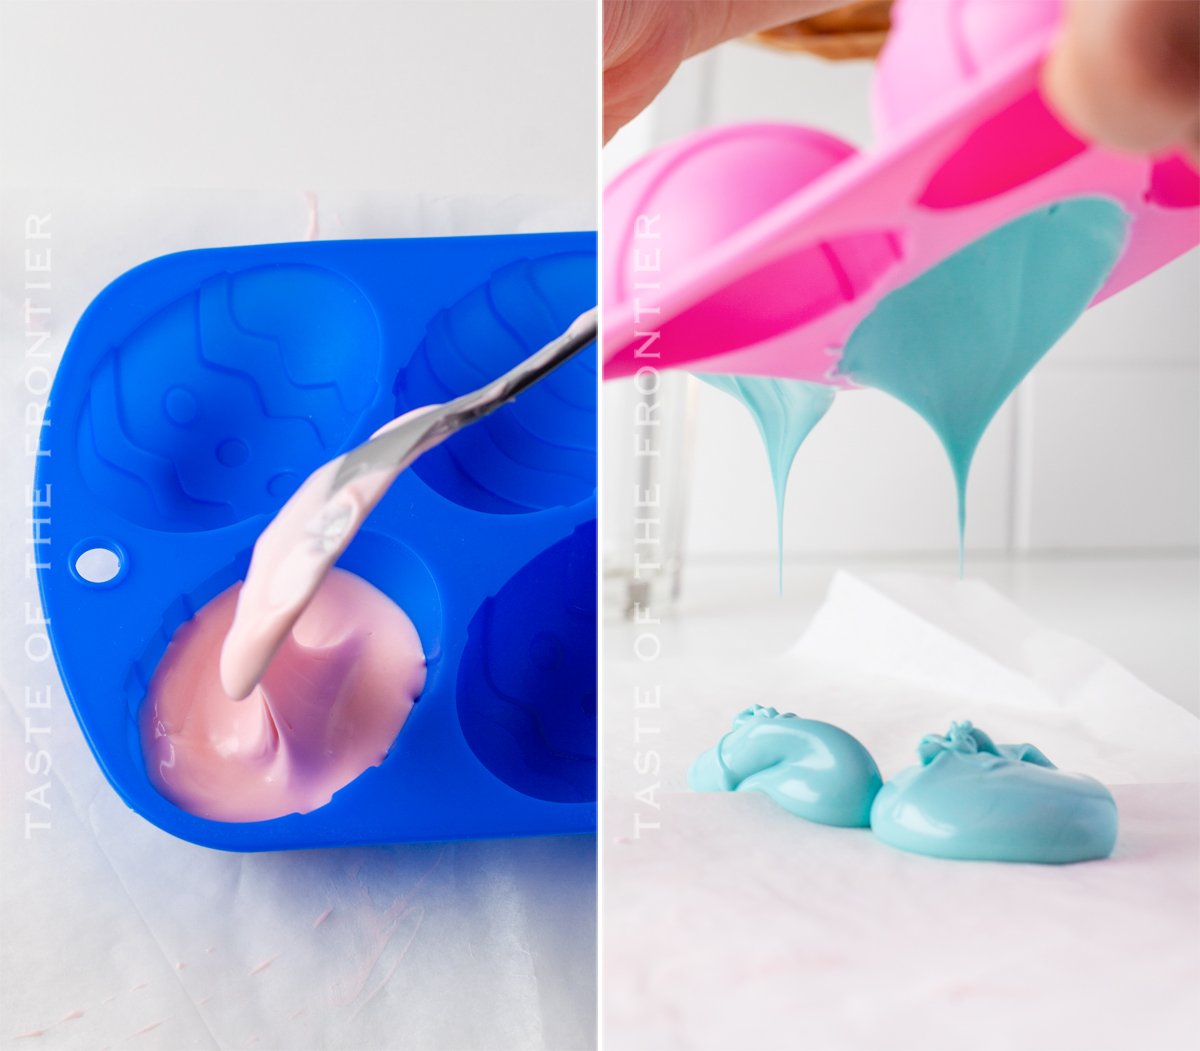
- In another bowl, melt the candy melts one color at a time, in 20-second intervals in the microwave, until completely melted. Make sure they do not burn. You may need to set the microwave to 50% power.
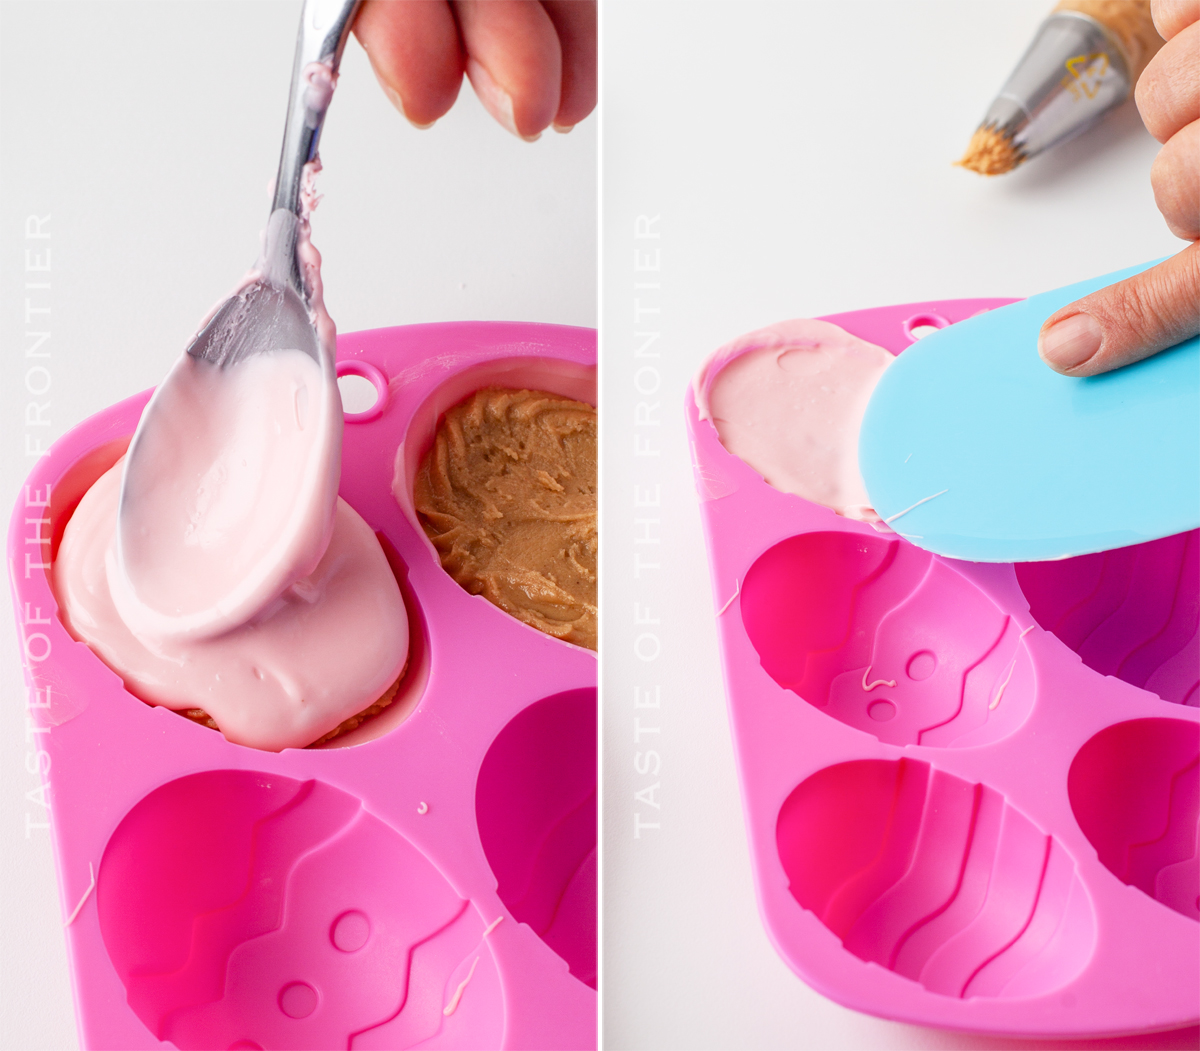
- Fill each cavity of the egg mold with the melted chocolate. Turn the mold upside down above some parchment paper, and allow the excess chocolate to drip out.
- Now turn the mold upright for a little while so the chocolate can harden for about 10 – 12 minutes or 5 minutes in the refrigerator.
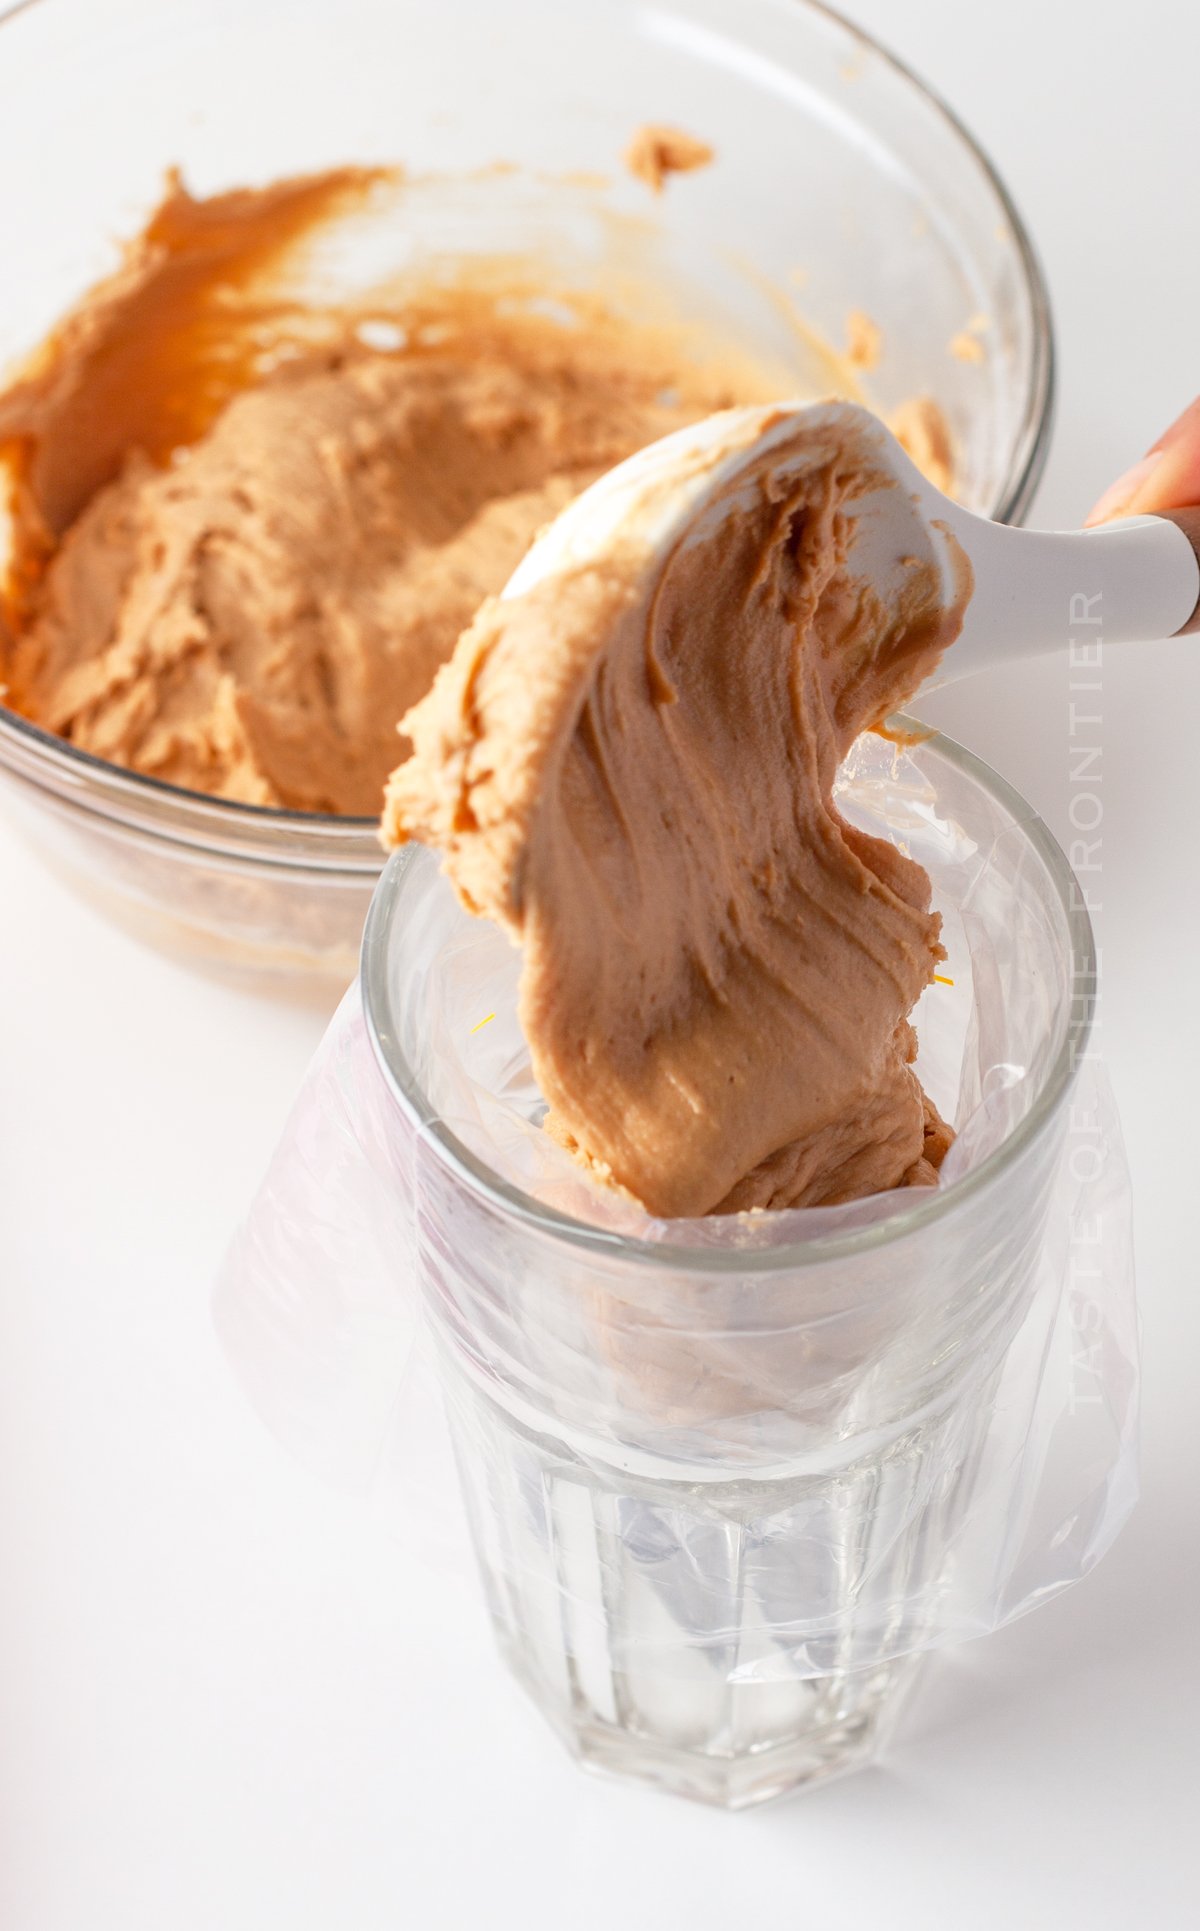
- Meanwhile, place the peanut butter mixture into a piping bag, so you can fill the candy cavities easily.
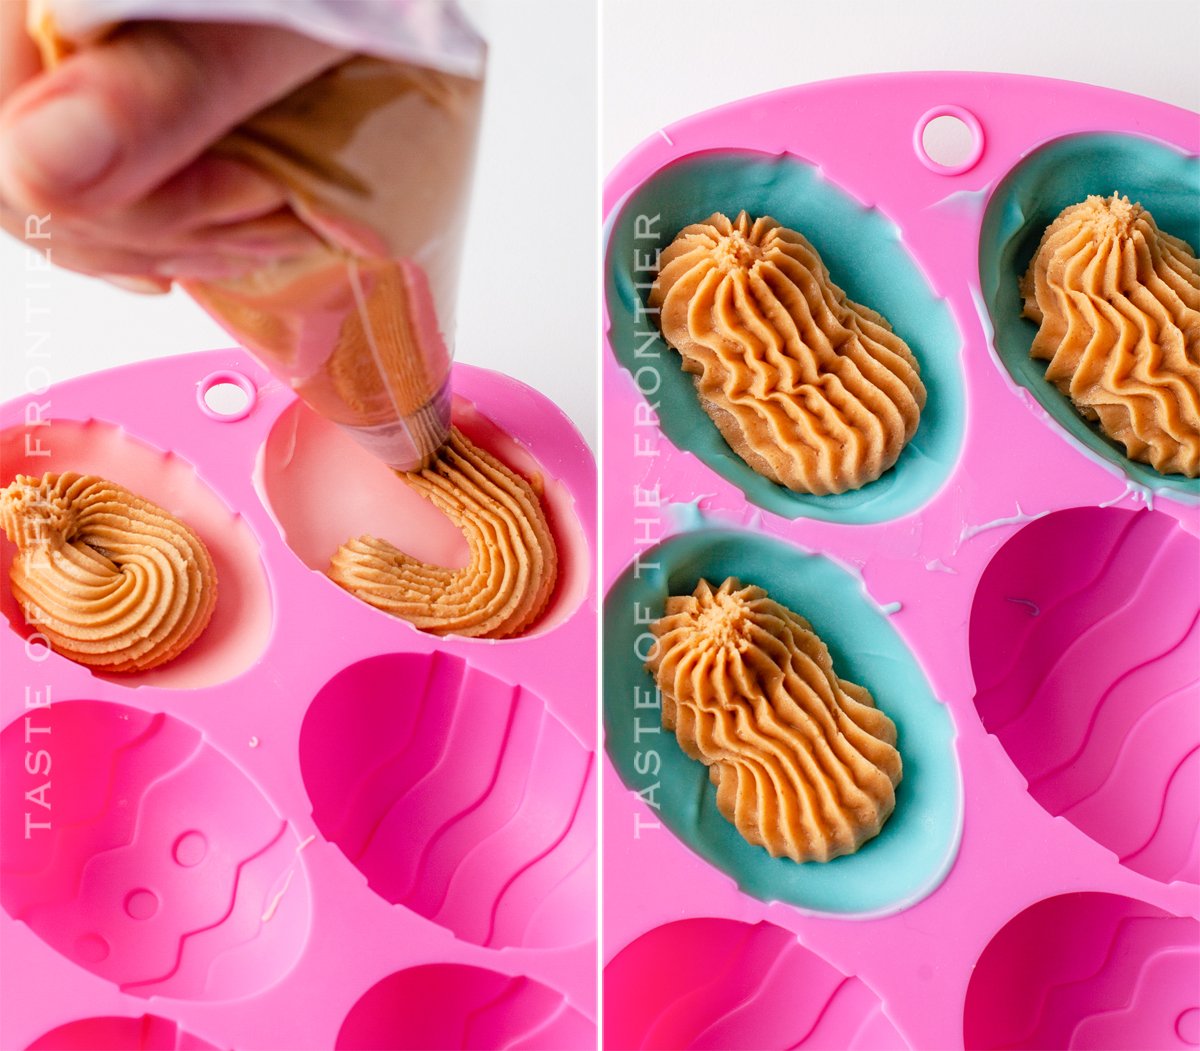
- Once the chocolate has set, add the peanut butter filling into each mold – filling them ⅔ full with a piping bag. Do not overfill.
- Seal with another layer of the melted chocolate and scrape the mold to remove the excess chocolate on top.
- Place in the refrigerator for 10 – 15 minutes until completely set and then remove them from the mold.
- Repeat the steps 3 – 8 for the rest of the chocolate for each color you are using. It is important to make them by color so when you turn the mold upside down you don’t mix the colors and you can reuse what is on the parchment paper.
- Once you have done this with all of the colors you are ready to enjoy.
Why didn’t my chocolate wafers melt correctly?
When your chocolate wafers become chunky rather than creamy, it is said that the chocolate is seized. This is typically due to overheating or contact with water or steam.
In the first case, the chocolate is just burning from excess heat, but in the second case, there is a negative reaction between the chocolate (which is waxy and has many oils that are hydrophobic, or “water-fearing”) and the water, causing the components of the chocolate to separate.
Be sure to refer to the package directions when melting chocolate to prevent this from happening.
NOTE – if you don’t have a candy mold – like the egg-shaped one we are using here – you can still make these. You’ll want to do the following…
- Chill the peanut butter mixture. This is fastest in the freezer – just don’t let it got too firm.
- Once it is cold, roll it out like you would if you were making cut out cookies. This is often easiest if you place the mixture between two sheets of parchment paper like a sandwich. Then you can roll on top of the parchment and keep the filling from sticking to your rolling pin.
- Once it is flat, take an egg-shaped cookie cutter and cut out all of your eggs.
- Return to the freezer, this time let them freeze completely so they are firm.
- When they are frozen, dip them into the melted chocolate and then place them on a wire rack for the chocolate to harden.
- Keep them refrigerated until ready to serve.
How to Store Peanut Butter Eggs?
Once you have finished making the eggs, you’ll want to keep them in an airtight container in the refrigerator. I prefer a reusable one, so they don’t get too jostled around and break. But you can keep them in a zip-top bag if you like.
They should keep for about a month. Because of the butter in the filling, I don’t recommend keeping them at room temperature.
Make Clean-Up a Breeze
Use fresh parchment paper for each color of candy melt so that you can reuse it for making the rest of the eggs.
Can I freeze peanut butter eggs?
Yes – these peanut butter eggs will freeze well. You can actually keep them in there for up to 6 months – so you no longer have to wait for spring to enjoy them again.
What is the best chocolate for peanut butter eggs?
While you can use chocolate chips to make these, I have found that it often requires a bit of coconut oil or shortening to get the chocolate to melt to the right consistency.
I like to use candy melts because the chocolate is made with just the right formula so that it performs exactly as needed.
The candy melts come in a multitude of colors, varieties, and flavors so the sky is the limit on what you can do with them when it comes to making these fun little treats.
Other Cute Easter Ideas to Try
Products I love when making these chocolate overed eggs…
This chocolate peanut butter eggs recipe is SUPER EASY and delicious – and if you’re like me this time of year, then you maybe already have some of these items on hand OR maybe you have never made homemade peanut butter eggs before, & you might be a bit nervous – but you’re going to love them. I have made a list below of the things I absolutely can’t live without when it comes to making this dessert recipe. (you can also SHOP MY FAVORITES in my store)
If you love this recipe for Easter peanut butter eggs, you’re going to love these other treats too. Please click each link below to find the easy, printable recipe!
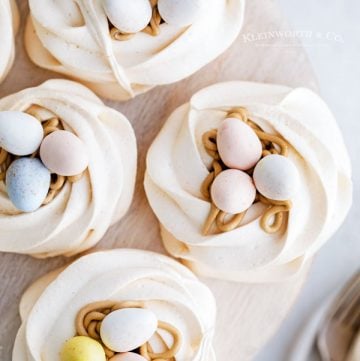


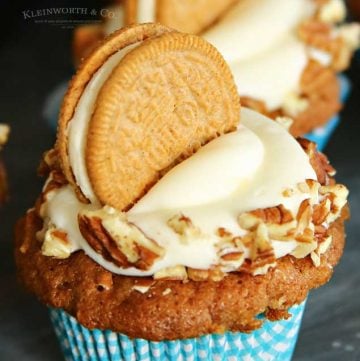
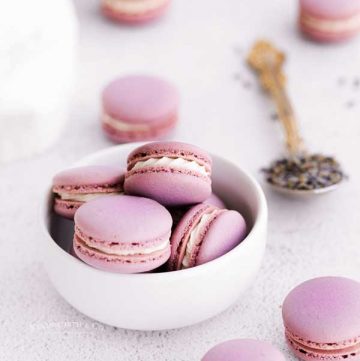
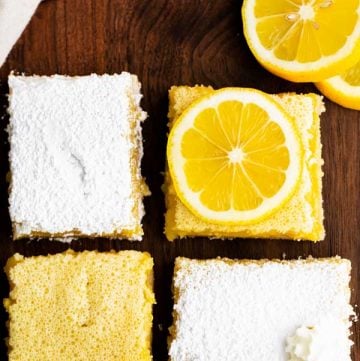
If you love this recipe for Homemade Peanut Butter Eggs as much as I do, please write a five-star review, and be sure to help me share on Facebook and Pinterest!
CONNECT WITH YUMMI HAUS!
Be sure to follow me on my social media, so you never miss a post!
Peanut Butter Eggs
Ingredients
- 1 cup peanut butter
- 1 cup confectioner’s sugar
- 1 teaspoon vanilla
- 3 tablespoons unsalted butter – softened
- 4 ¾ cups candy melts colors of your choice
Instructions
- In a small bowl mix the peanut butter with the butter until it is light and fluffy.
- Add in the confectioner’s sugar and vanilla. Mix until combined.
- In another bowl, melt the candy melts one color at a time, in 20-second intervals in the microwave, until completely melted. Make sure they do not burn. You may need to set the microwave to 50% power.
- Fill each cavity of the egg mold with the melted chocolate. Turn the mold upside down above some parchment paper, and allow the excess chocolate to drip out.
- Now turn the mold upright for a little while so the chocolate can harden for about 10 – 12 minutes or 5 minutes in the refrigerator.
- Meanwhile, place the peanut butter mixture into a piping bag, so you can fill the candy cavities easily.
- Once the chocolate has set, add the peanut butter filling into each mold – filling them ⅔ full with a piping bag. Do not overfill.
- Seal with another layer of the melted chocolate and scrape the mold to remove the excess chocolate on top.
- Place in the refrigerator for 10 – 15 minutes until completely set and then remove them from the mold.
- Repeat the steps 3 – 8 for the rest of the chocolate for each color you are using. It is important to make them by color so when you turn the mold upside down you don’t mix the colors and you can reuse what is on the parchment paper.
- Once you have done this with all of the colors you are ready to enjoy.
Notes
Equipment
- 1 silicone egg-shaped mold
Nutritional information for the recipe is provided as a courtesy and is approximate. Please double-check with your own dietary calculator for the best accuracy. We at Yummi Haus cannot guarantee the accuracy of the nutritional information given for any recipe on this site.




Share Your Thoughts