Most decadent ice cream cake with peanut butter layer, homemade ice cream, and chocolate topping.
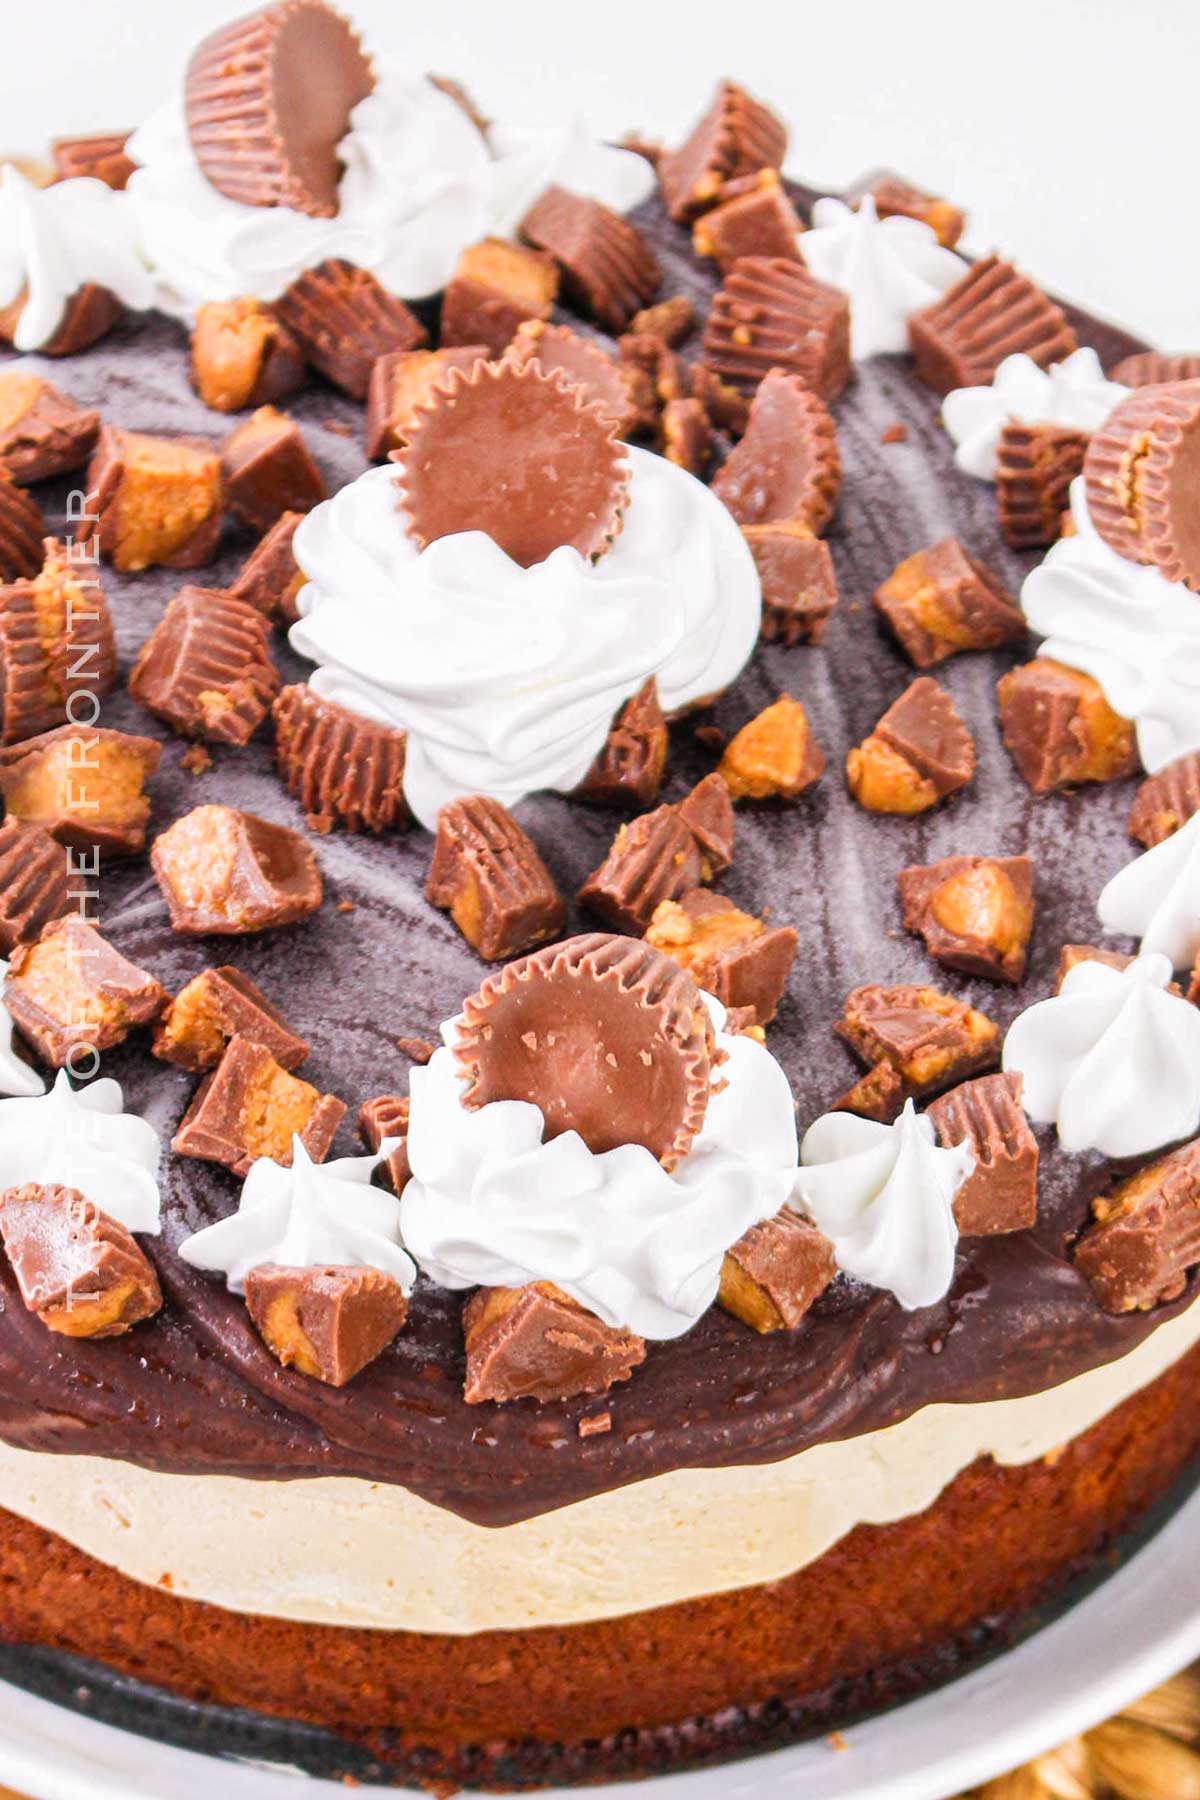
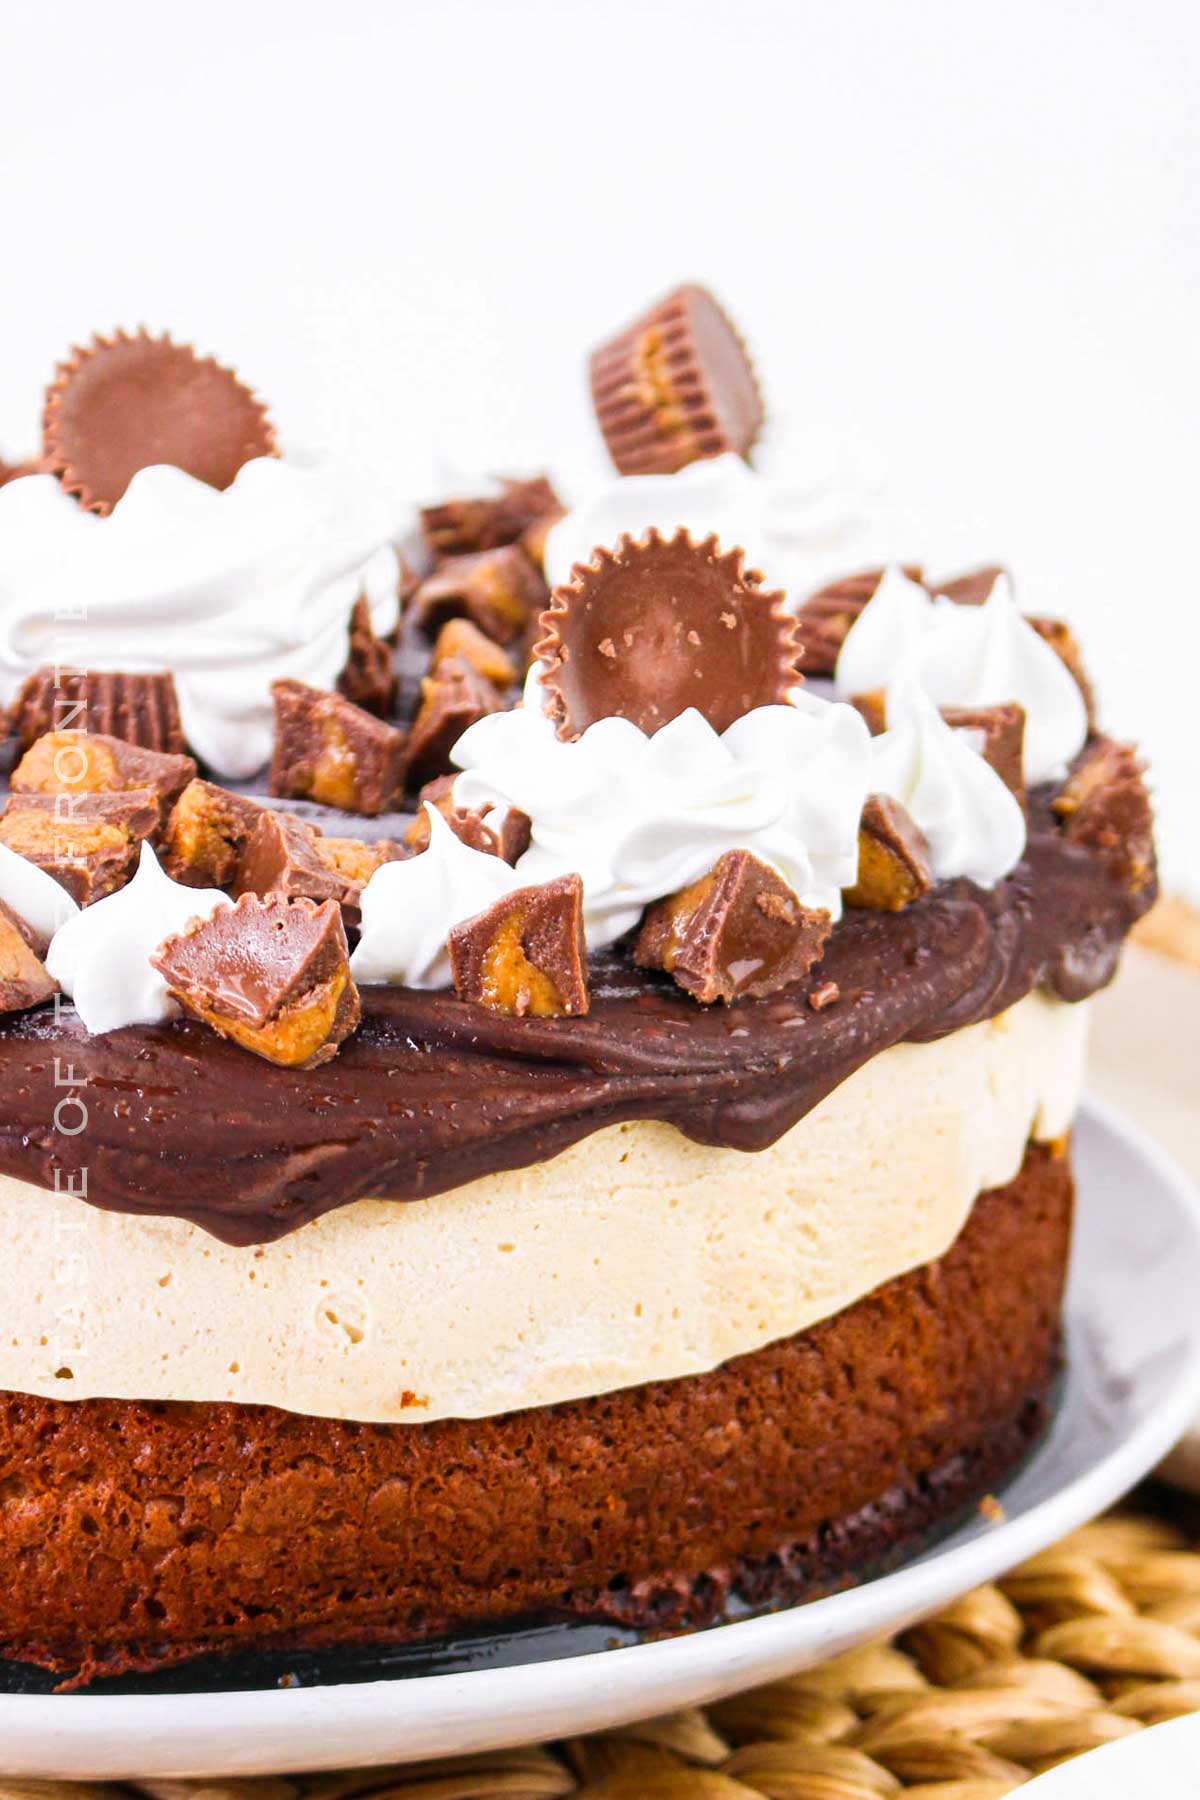
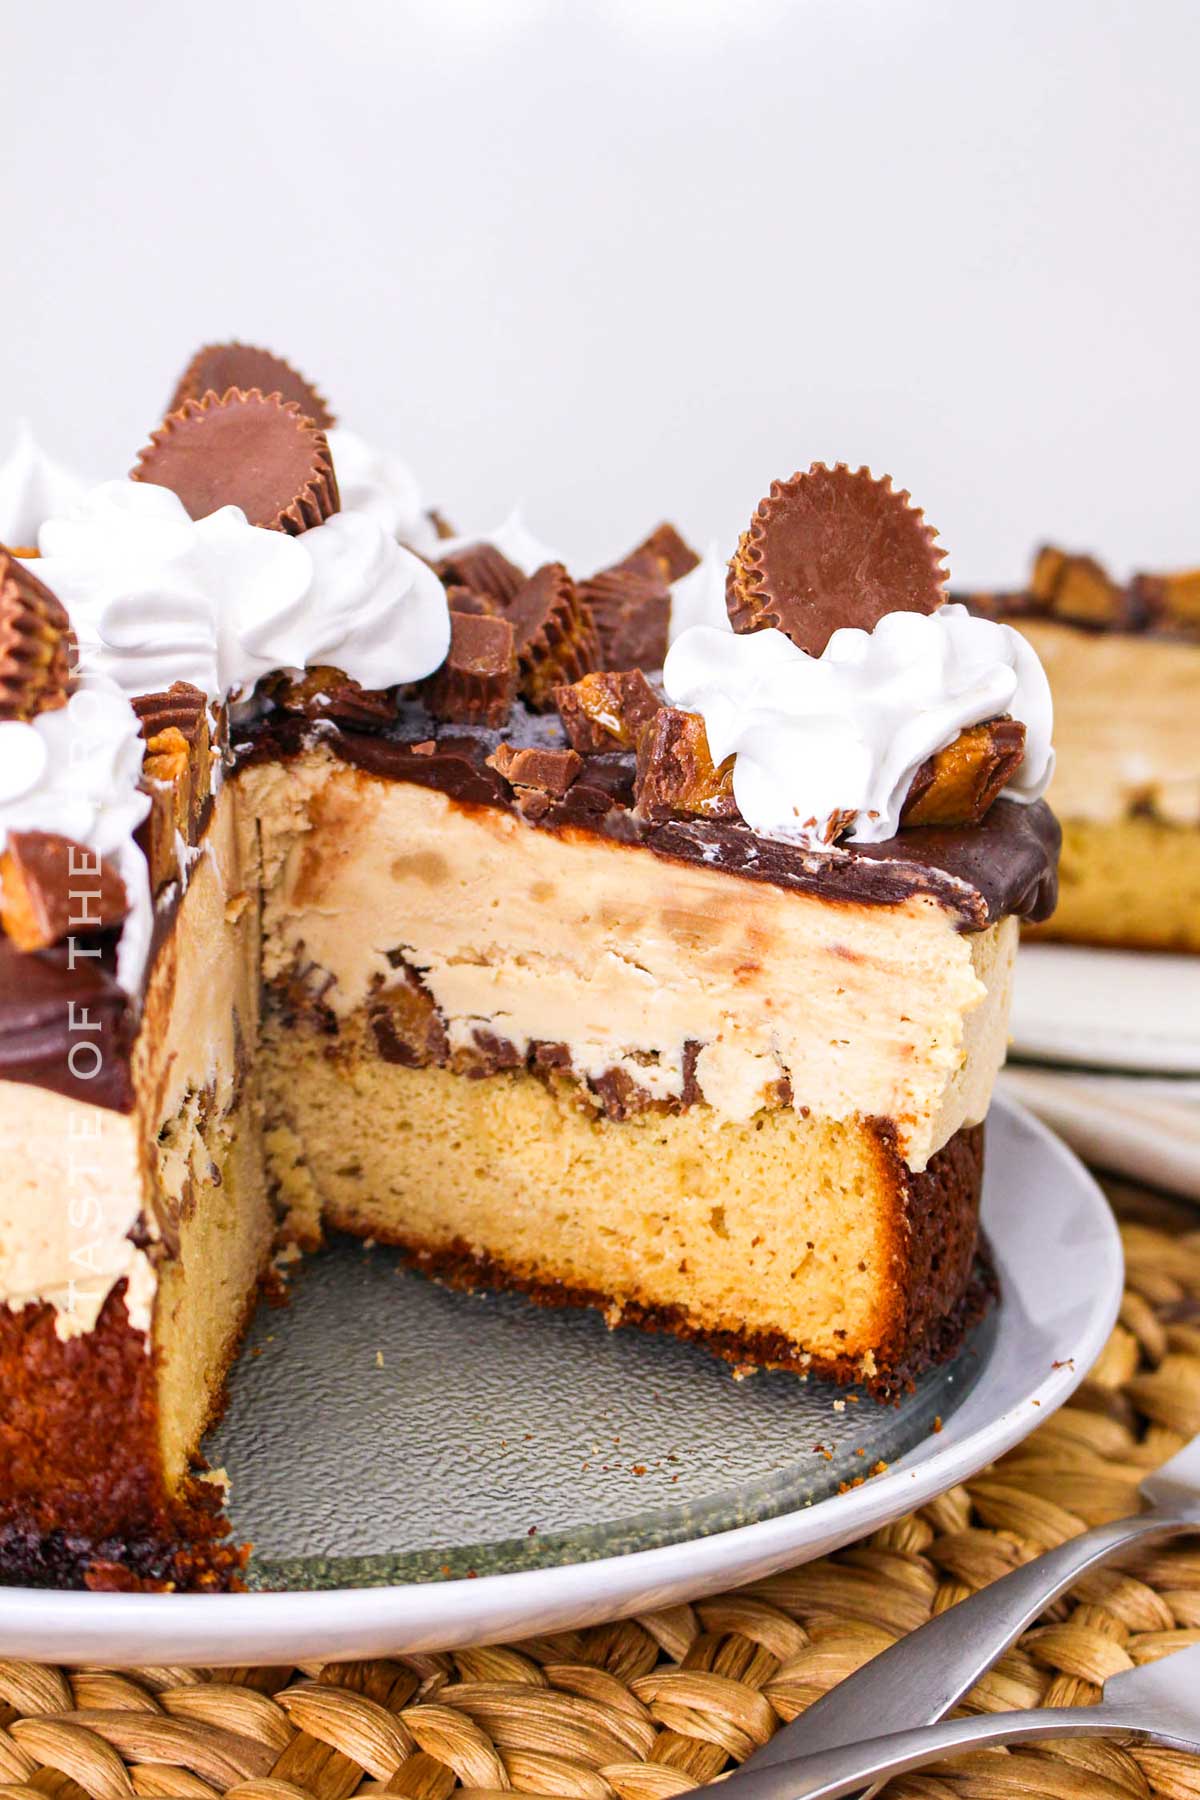
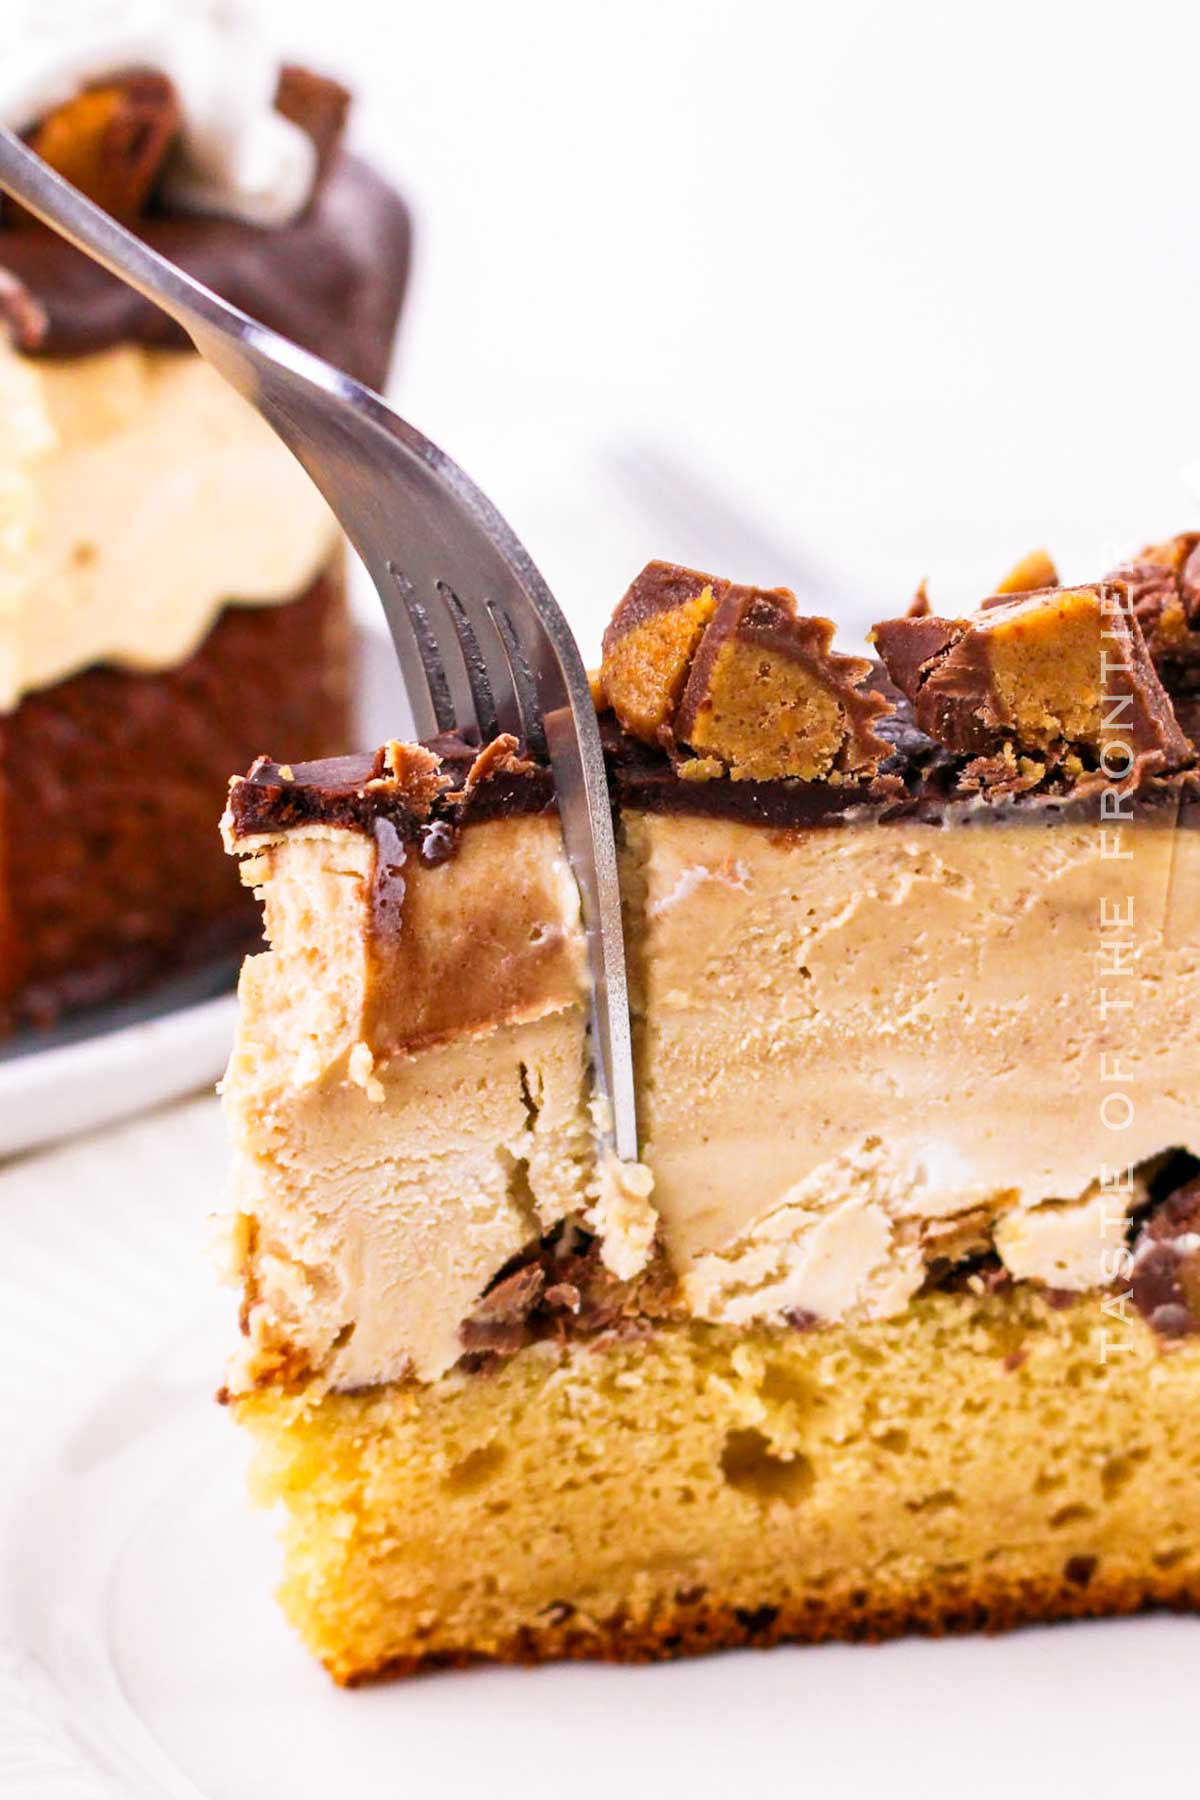
This Peanut Butter Ice Cream Cake features layers of goodness: a moist peanut butter cake layer topped with chopped peanut butter cups and a creamy peanut butter ice cream layer, all encased in a rich chocolate ganache.
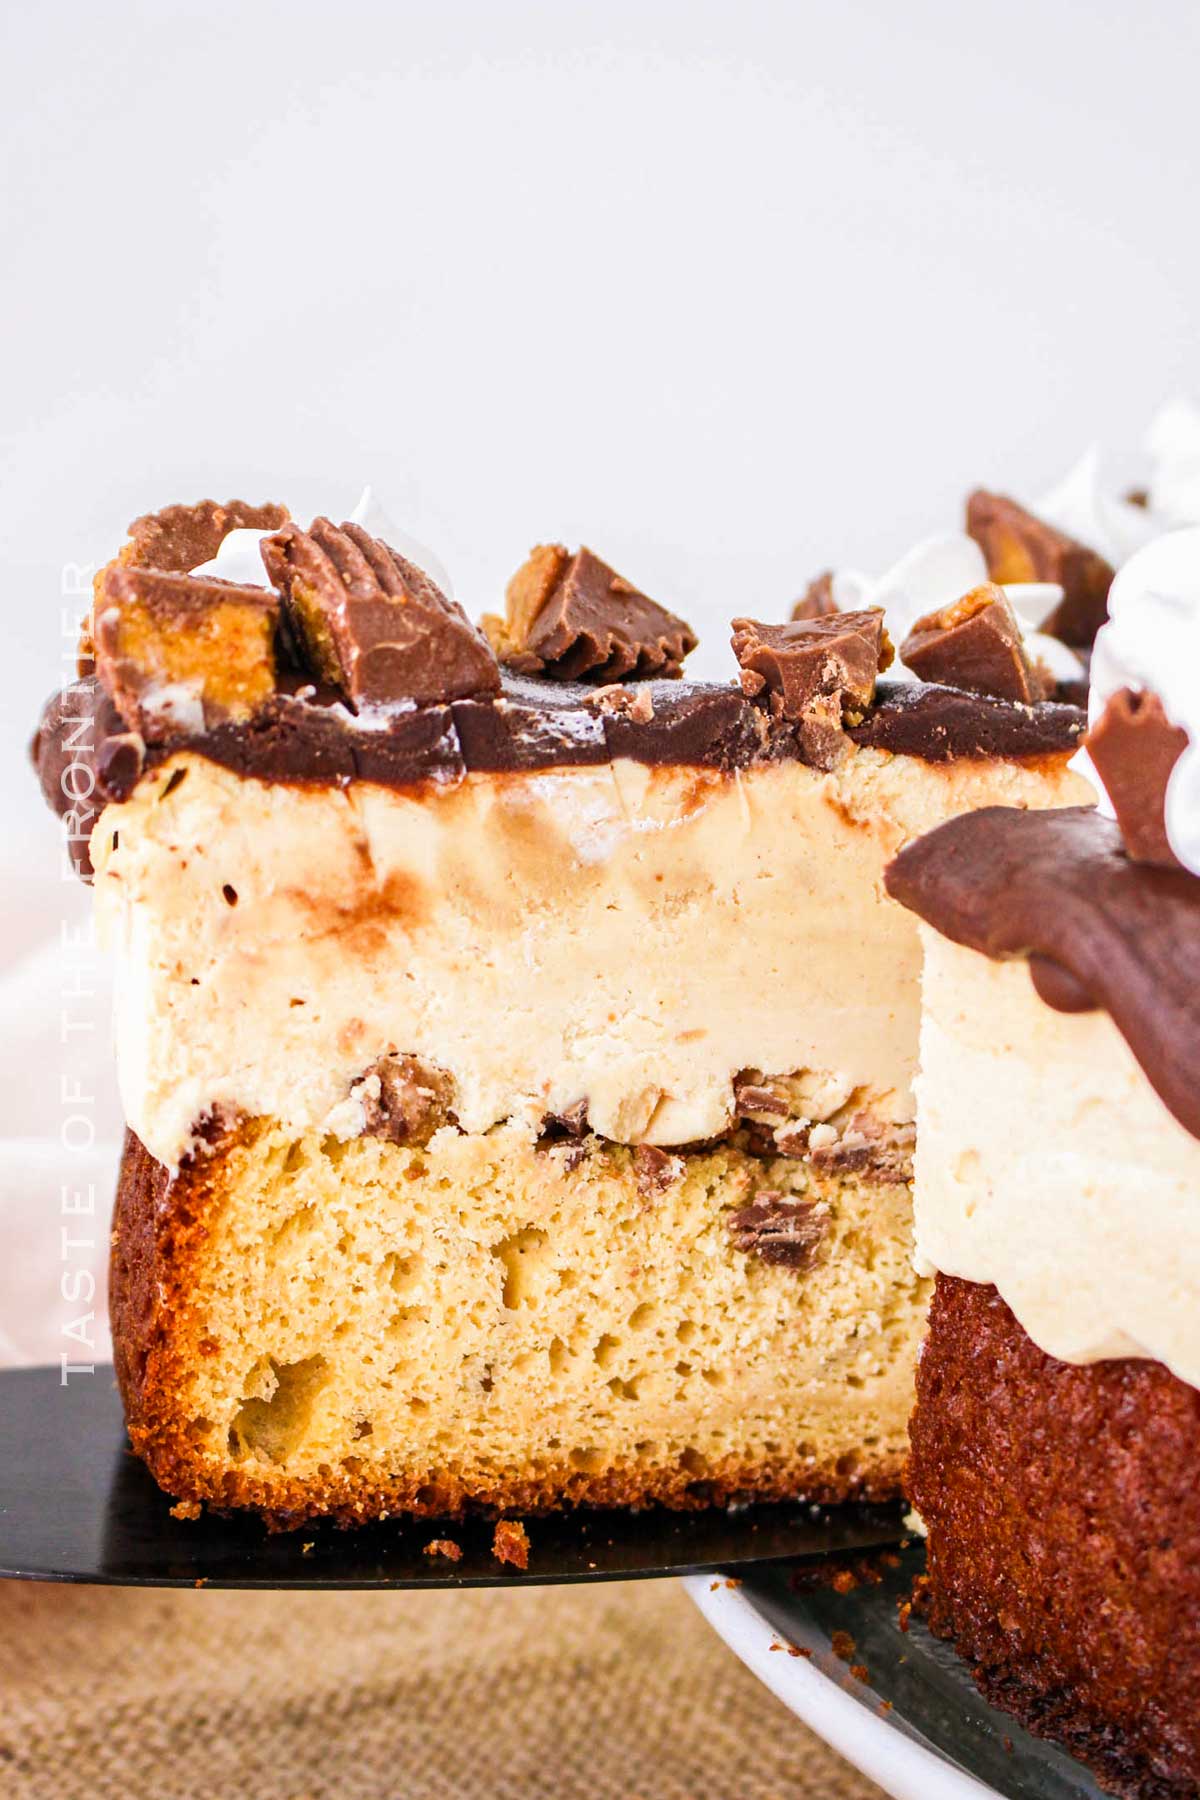
Finished with whipped topping and additional peanut butter cups, it’s a decadent treat perfect for any special occasion or just as a dessert on a hot summer day.
Why I Love This Recipe
- No churn recipe for the ice cream cake means no long mixing and no investing in an expensive ice cream maker. And I also don’t use a store-bought ice cream. I make it from scratch!
- The best things in the dessert world: peanut butter, cake, ice cream, and chocolate came together in one dish. Irresistible! Peanut butter and ice cream taste good together, it is a match made in heaven. And with all these flavors together, the cake is still well-balanced.
- Surprisingly easy. You may think..oh, no, I need to bake the cake, make the ice cream, and somehow assemble it together…But as intimidating as it sounds, the recipe is actually very easy and the prep time is only 30 minutes.
- Perfect to make ahead. Ice cream cake needs chilling so it is the best recipe to make 1-2 days ahead of your gathering of 8 to 10 people. I guarantee you they will leave raving reviews.
- Homemade ice cream cakes are so much cheaper than in the store! And it is one of the favorite items on kids’ birthday menus!
Ingredients Notes
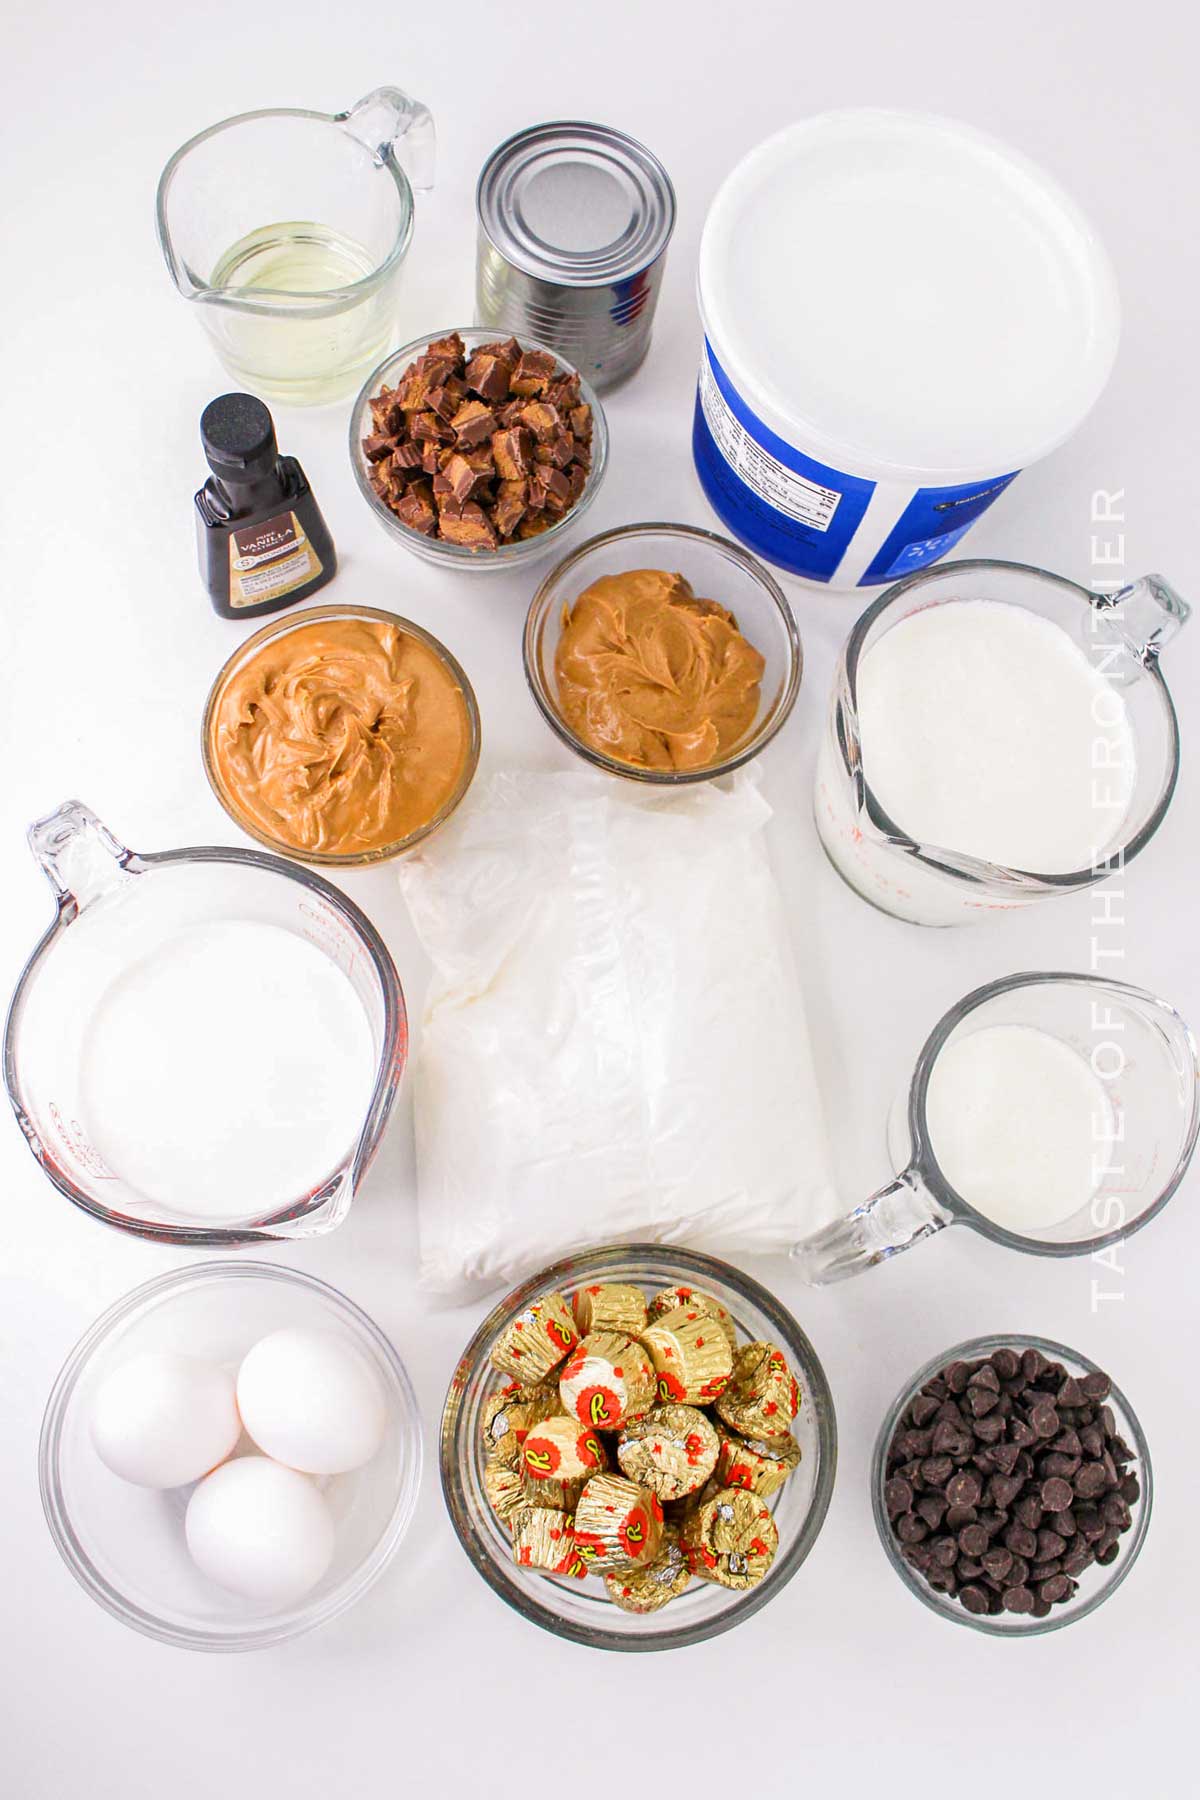
The shopping list for this recipe may be a bit long, but nothing extravagant. We make most of the things from scratch, but I do use a cake mix to speed up the things.
Peanut Butter Cake Layer
- Yellow cake mix. I use cake mix for this recipe as a shortcut to save time without sacrificing the flavors. Easy substitutions are vanilla and chocolate cake mixes. Instead of a cakey base layer, you can do a cookie crust.
- Cup milk, full fat, to add moisture to the boxed cake mix. Nonfat milk doesn’t do well in baking.
- Vegetable oil to keep the cake moist and fluffy.
- Creamy peanut butter or crunchy one for texture. Do not use natural kinds of butter as they tend to become grainy once baked.
- Large eggs enhance the flavors and add structure to the cake.
- 1 cup chopped peanut butter cups. Reese’s peanut butter cups are the best for the job so you may as well call this cake Reese’s ice cream cake.
Peanut Butter Ice Cream Layer
It is a very easy ice cream cake recipe, you just need 4 ingredients to make homemade vanilla ice cream!
- Heavy cream. I use heavy cream for the ice cream layers but cream cheese works for no-churn recipes too. Get more and use leftovers to make a whipped cream for topping.
- Sweetened condensed milk is the secret ingredient for the best homemade ice cream layer. Unsweetened variety works too.
- Creamy peanut butter. Just as for the cake, crunchy peanut butter is also an option.
- Vanilla extract to add light flavoring and aroma.
Chocolate Ganache Topping
- Semi-sweet or milk chocolate chips and Heavy cream will melt together to form a ganache.
- Chopped peanut butter cups to add for texture and taste in a cooled ganache. We do not melt the peanut butter cups.
Decorate
- Whipped topping, homemade or store-bought like Cool Whip. For homemade whipped cream prepare powdered sugar and heavy cream. If using frozen whipped cream, thaw it beforehand.
- Additional peanut butter cups, M&Ms, or Reese’s pieces to add as toppings.
Kitchen Equipment
- A 9-inch springform cake pan is ideal for making ice cream cakes because it stores well in the freezer and releases the cake easily.
- Hand or stand mixer
- Offset spatula to easier spread ice cream and layers.
How To Make Peanut Butter Cups Ice Cream Cake
These ice cream cake layers come together easily, like 1, 2, 3. However, always remember to freeze each individual layer before continuing.
First Layer: Cake Layer
- Preheat the oven to 350°F (175°C). Grease a 9-inch springform cake pan and line it with parchment paper.
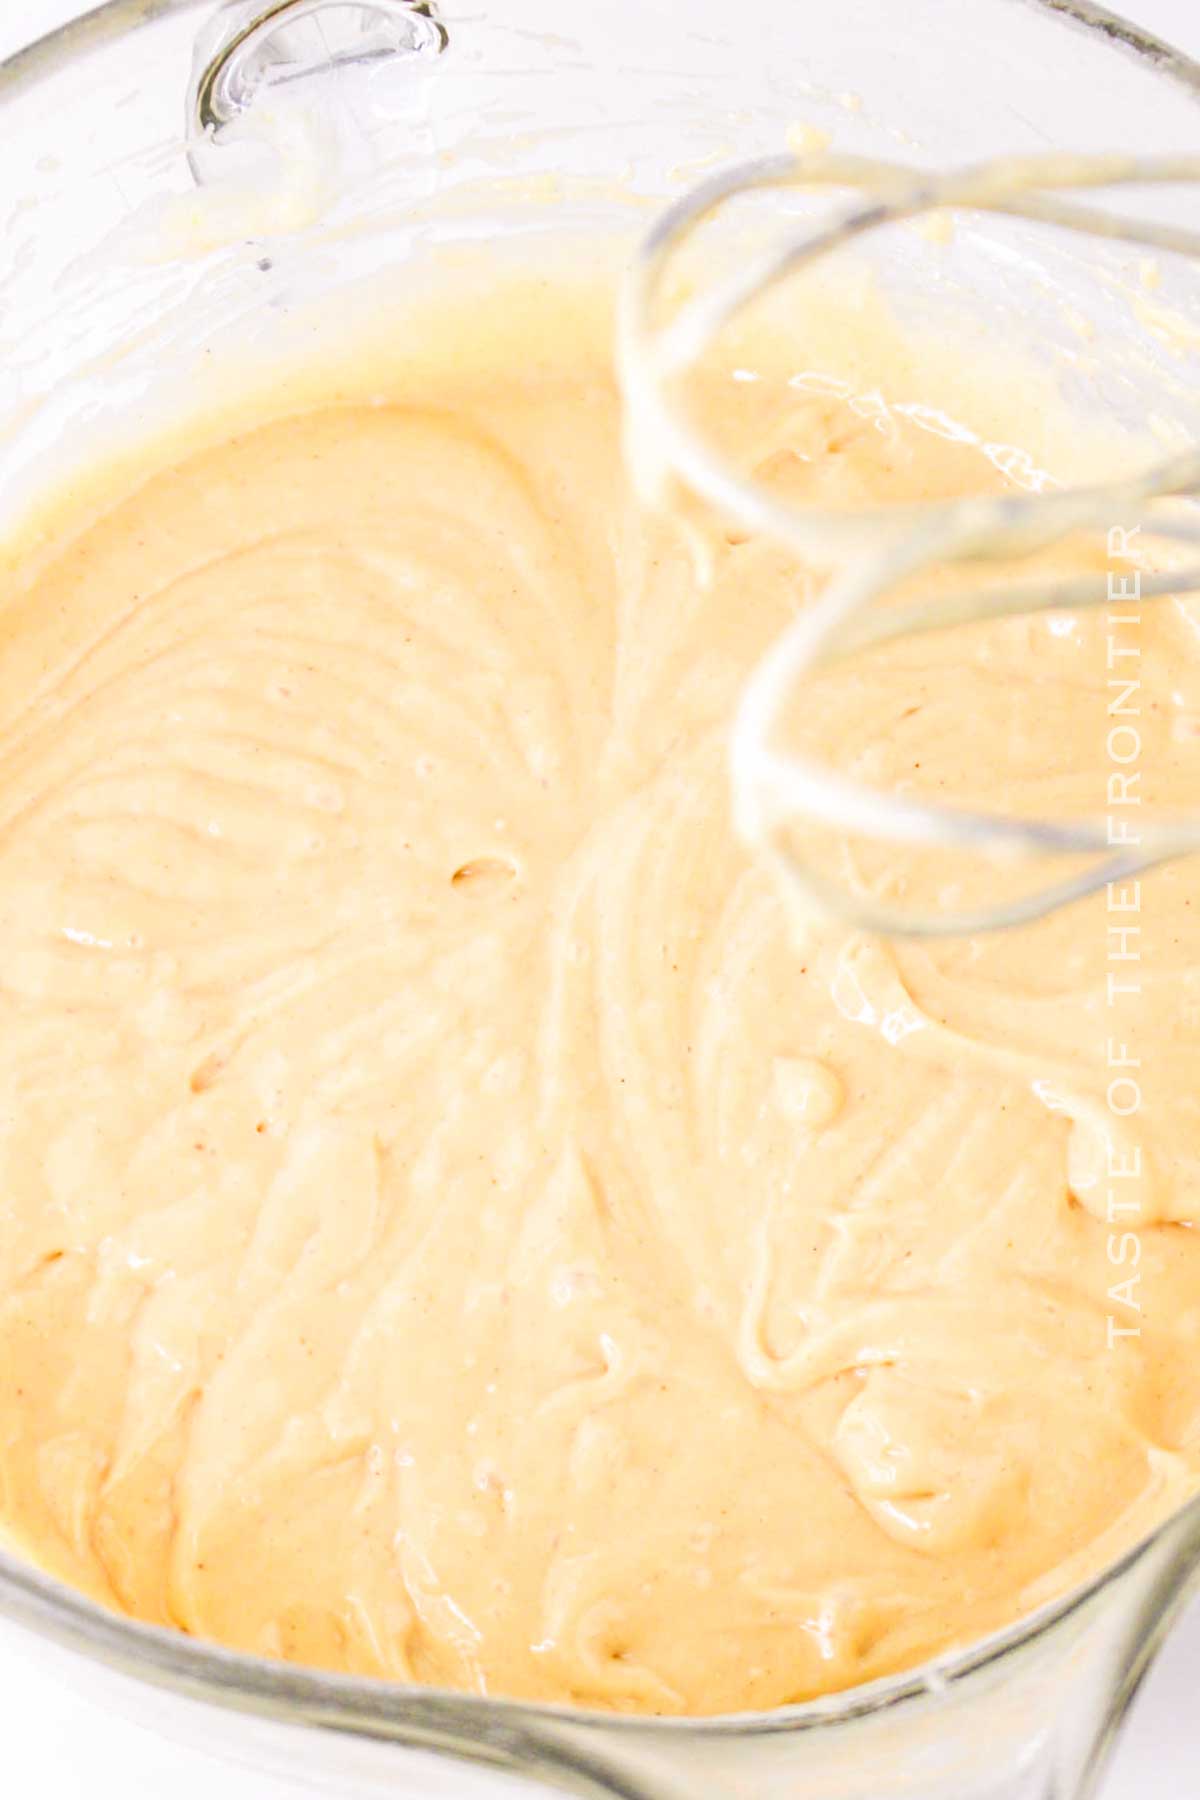
- Combine the cake mix with the milk, oil, peanut butter, and eggs in a large bowl.
- Beat on low for 30 seconds, then increase the speed to medium and beat for another 60-90 seconds to ensure the ingredients are well mixed, scraping down the sides of the bowl as needed.
- Transfer the batter to the prepared springform pan.
- Bake for 25-30 minutes. The cake is done when a toothpick inserted into the center comes out clean or with a few crumbs attached.
- Allow the cake to cool completely, usually 1-2 hours.
- Top the cake with the chopped peanut butter cups before placing the cake into the freezer.
Second Layer: Ice Cream Layer
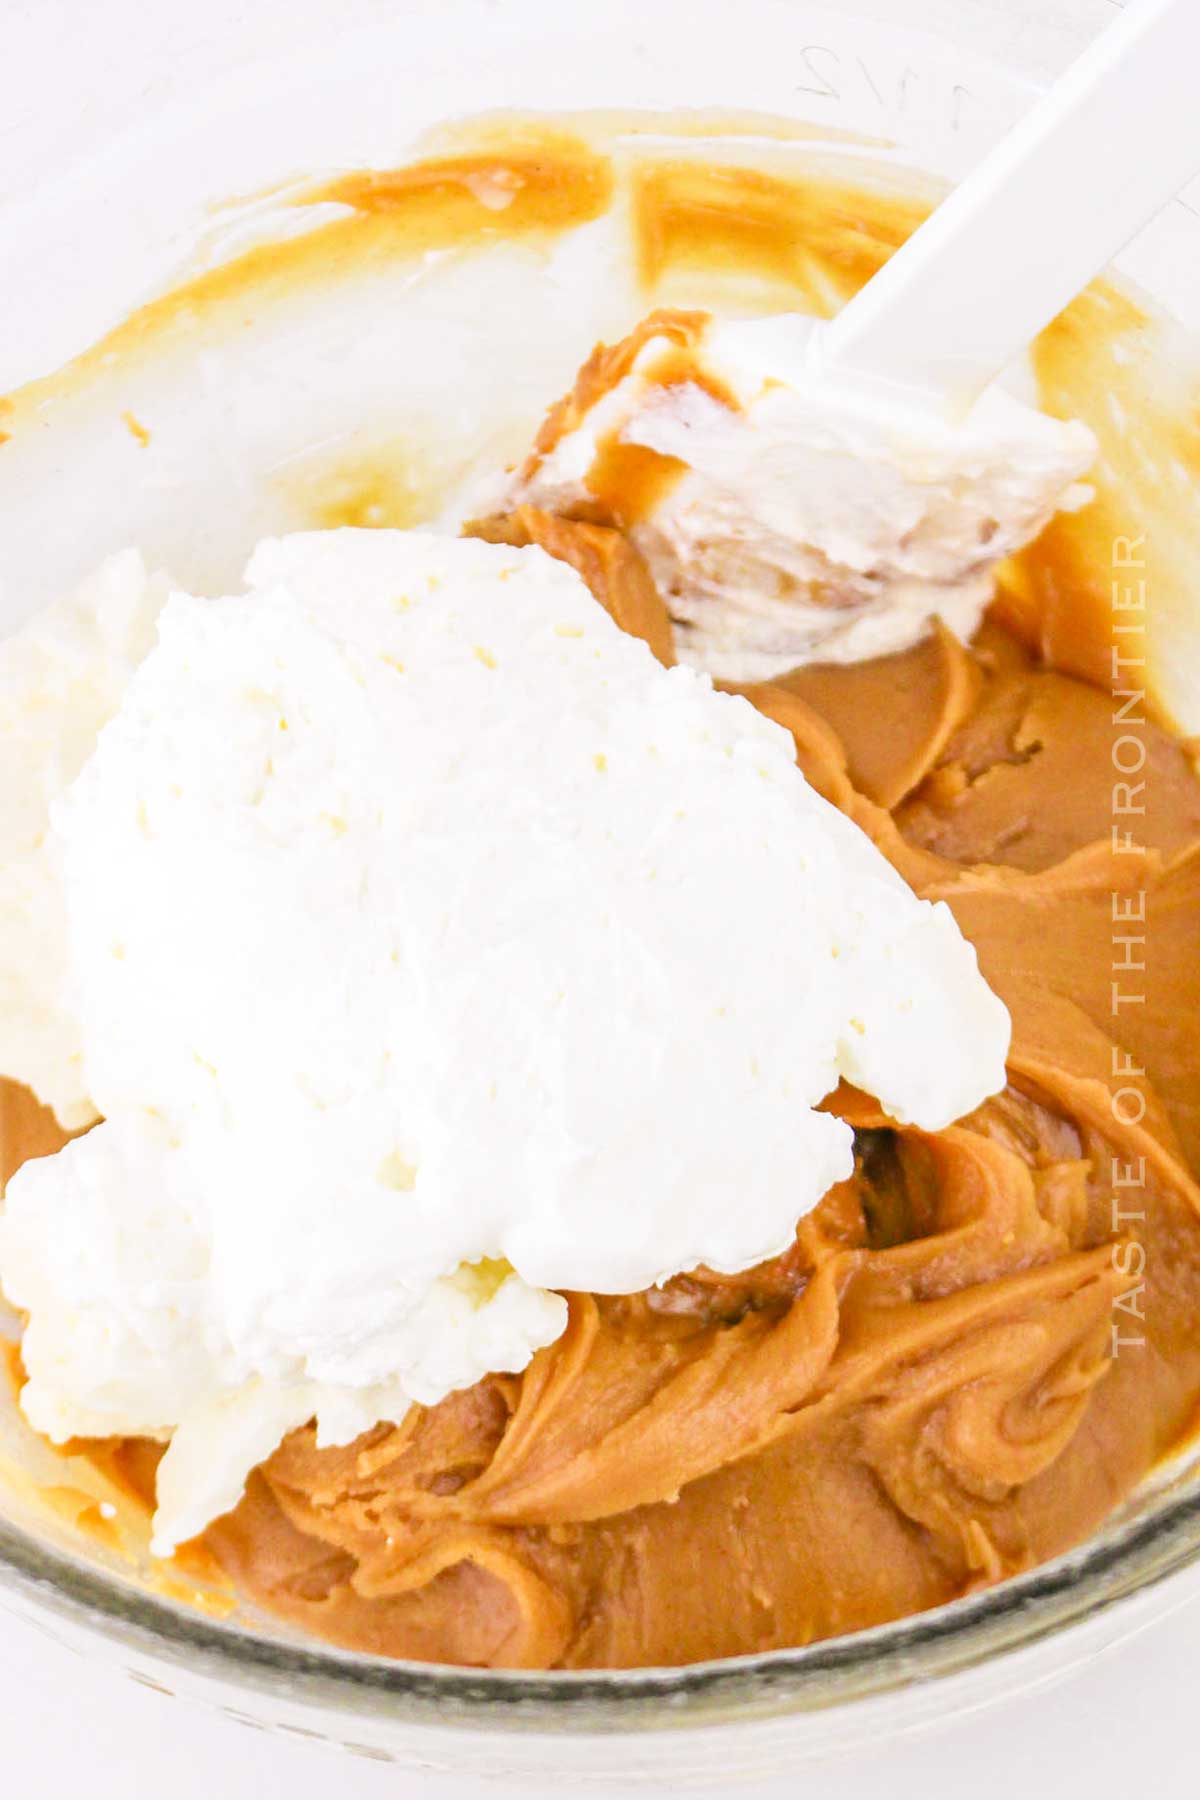
- Whip the heavy cream in a large mixing bowl until stiff peaks form.
- Mix the sweetened condensed milk, peanut butter, and vanilla extract in a separate mixing bowl, until smooth.
- Gently fold the whipped cream into the peanut butter mixture until well combined.
- Spread the peanut butter ice cream mixture over the prepared cake, smoothing the top with a spatula.
- Freeze for at least 4 hours, or until firm. Preferably overnight.
Third Layer: Chocolate Ganache
- Place the chocolate chips in a heatproof bowl.
- Heat the heavy cream in a small saucepan over medium heat until it just begins to simmer.
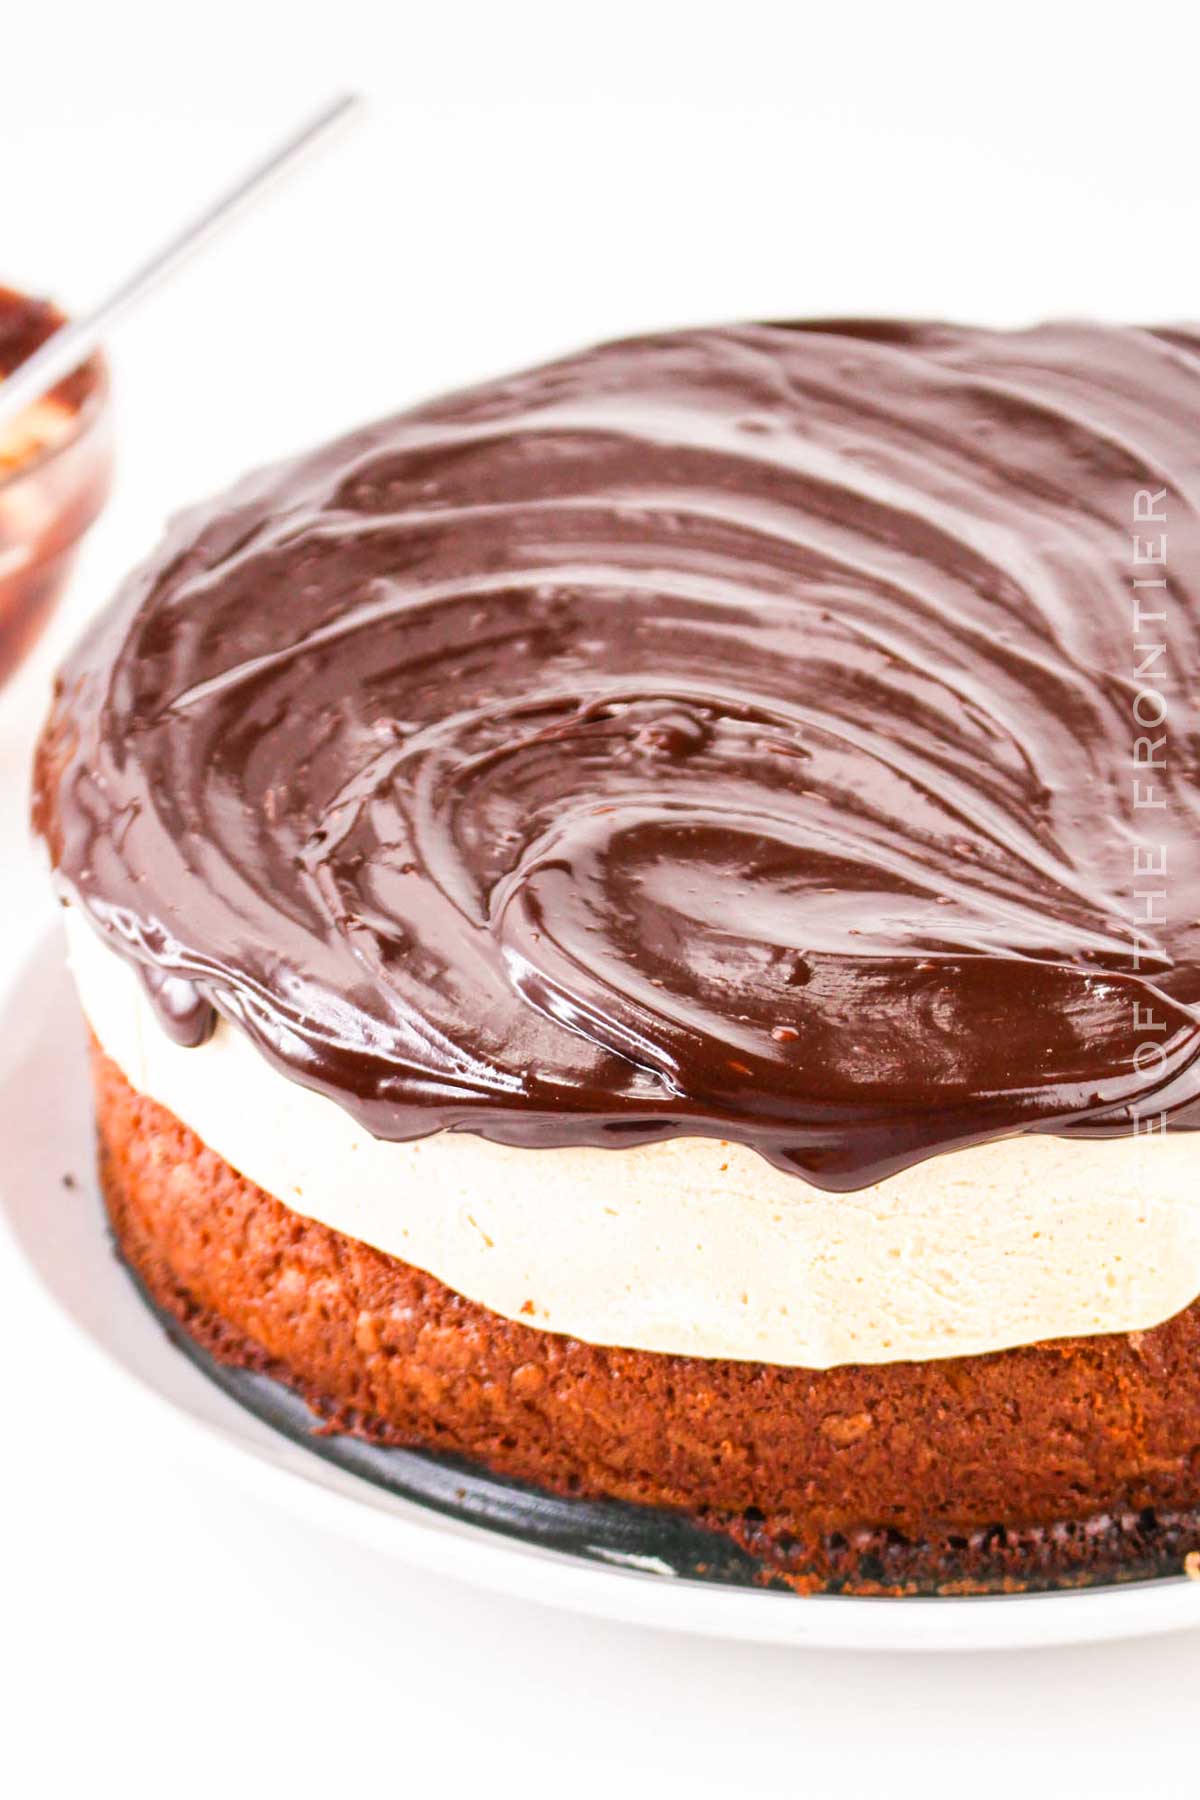
- Pour the hot cream over the chocolate chips and allow it to sit for 2 minutes – untouched, then stir until smooth.
- Allow the ganache to cool slightly.
- Remove the cake from the freezer and run a knife around the edge before releasing the side of the springform pan.
- Pour the ganache over the frozen peanut butter ice cream layer, spreading evenly.
- Top the ganache with the chopped peanut butter cups.
- Return the cake to the freezer for another hour, or until the ganache is set.
Decorate And Serve
- Optional: Decorate the top of the cake with whipped topping and additional peanut butter cups. Freeze until ready to serve.
- To serve, remove the cake from the freezer and let it sit at room temperature for a few minutes to soften slightly.
- Release the sides of the springform pan and slice with a hot knife.
- Once sliced, serve immediately.
How to Store Ice Cream Cake
Peanut butter cup ice cream cake stores well in the freezer for up to a week.
Tightly wrap it or use a container with a lid to prevent freezer bites.
If you’re not sure about the toppings, freeze the ice cream cake without them. When you serve it you can try different toppings on each individual slice!
As this is a homemade ice cream cake and it has no artificial stabilizers or additives to preserve freshness (like Xanthan gum) and shape, once it is sitting at room temperature, it will melt fast.
Substitutions & Variations
- Oreo crust. Combine crushed Oreos with melted butter to make an easy no-bake crust for the ice cream cake. To crush Oreo cookies until fine crumbs use a rolling pin, food processor, or blender.
- Pretzel crust. Salty crunchy crust made with blended mini pretzels. So simple and very original!
- Peanut butter crust. Seriously! What can be better than extra peanut butter? It is another no-bake crust that you can make with butter and Nutter Butter Cookies.
- To make a chocolate peanut butter cup ice cream cake, make chocolate ice cream for the second layer or chocolate cake for the base layer. If making the batter from scratch simply add cocoa powder.
- Coffee is a secret ingredient that traps moisture in the cake layer.
- Make Peanut Butter Topping with maple syrup and peanut butter, and drizzle over the cake.
- Chocolate shell topping. You can cover the whole ice cream cake with chocolate melted with coconut oil. Once frozen, the chocolate will get firm and form a crust. Once you bite in it will have a crunchy chocolate flavor.
- Instead of ganache, make a hot fudge topping. You can buy a jar or make one from scratch. Hot fudge works amazing as an extra layer in between cake and ice cream too!
- If you love peanut butter a lot, add chopped peanut butter cups to the ice cream layer before freezing.
- To create a sweet and salty flavor combo sprinkle some coarse salt or add salted peanuts or salted pretzels on top.
Tips To Make The Best Peanut Butter Ice Cream
- Chill the bowl you will use to prepare the ice cream in the freezer before starting. It will help to keep the ice cream cool while you fold the ingredients.
- Use neutral vegetable oil, like canola oil. Coconut oil is a great ingredient but it will give that oily taste to the ice cream cake.
- To remove the cake from the pan and cut it easily into slices use a hot knife.
- The slightly softened ice cream layer will spread better over the cake layer. Either take it out of the fridge a few minutes before layering or use a spatula dipped in hot water.
- Use a metal spatula to even the ice cream cakes. They work better than silicone.
- You can cut the cooking time significantly and make this fun cake last minute if you use no-bake crust with Oreos and store-bought ice cream sandwiches or pre-made ice cream. Such cake will only need to be assembled and topped!
- To spread a drizzle over the ice cream cake, pour the topping into a plastic bag and simply cut a corner.
- Working with ice cream, fold and gently mix, don’t rush.
- A shortcut to make an amazing chocolate ganache topping is to melt the cream in a microwave and simply mix in the chocolate. It will melt naturally.
- If you want a cake without the actual cake base, make the ice cream layer your first layer. In that case, instead of parchment paper layer the springform pan with plastic wrap.
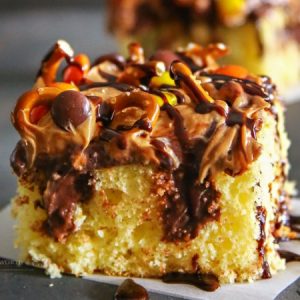
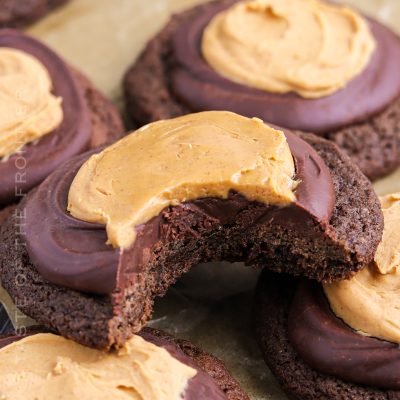
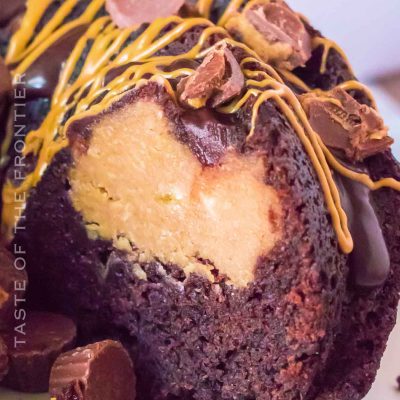
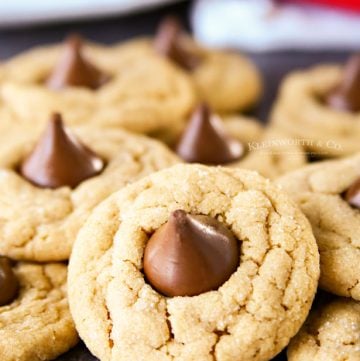
If you love this cake recipe, you’re going to love these other peanut butter treats too. Please click each link below to find the easy, printable recipe!
More Great Peanut Butter Cup Recipes
CONNECT WITH YUMMI HAUS!
Be sure to follow me on my social media, so you never miss a post!
Peanut Butter Cup Ice Cream Cake
Ingredients
Peanut Butter Cake Layer
- 15.25 oz yellow cake mix
- 1¼ cup milk
- ⅓ cup vegetable oil
- ½ cup peanut butter creamy
- 3 large eggs
- 1 cup peanut butter cups chopped
Peanut Butter Ice Cream Layer
- 2 cups heavy cream
- 14 oz sweetened condensed milk – 1 can
- 1 cup peanut butter creamy
- 1 teaspoon vanilla extract
Chocolate Ganache Topping
- 1 cup semi-sweet chocolate chips
- ½ cup heavy cream
- ½ cup peanut butter cups chopped
Decorate
Whipped topping
Additional peanut butter cups
Instructions
Cake Layer
- Preheat the oven to 350°F (175°C). Grease a 9-inch springform cake pan.
- Combine the cake mix with the milk, oil, peanut butter, and eggs in a large mixing bowl. Beat on low for 30 seconds, then increase the speed to medium and beat for another 60-90 seconds to ensure the ingredients are well mixed, scraping down the sides of the bowl as needed.
- Transfer the batter to the prepared springform pan.
- Bake for 25-30 minutes, or until a toothpick inserted into the center comes out clean or with a few crumbs attached.
- Allow the cake to cool completely.
- Top the cake with the chopped peanut butter cups before placing the cake into the freezer.
Ice Cream Layer
- Whip the heavy cream in a large mixing bowl until stiff peaks form.
- Mix the sweetened condensed milk, peanut butter, and vanilla extract in a separate mixing bowl, until smooth.
- Gently fold the whipped cream into the peanut butter mixture until well combined.
- Spread the peanut butter ice cream mixture over the prepared cake, smoothing the top with a spatula.
- Freeze for at least 4 hours, or until firm.
Chocolate Ganache
- Place the chocolate chips in a heatproof bowl.
- Heat the heavy cream in a small saucepan over medium heat until it just begins to simmer.
- Pour the hot cream over the chocolate chips and allow it to sit for 2 minutes – untouched, then stir until smooth.
- Allow the ganache to cool slightly.
- Remove the cake from the freezer and run a knife around the edge before releasing the side of the springform pan.
- Pour the ganache over the frozen peanut butter ice cream layer, spreading evenly.
- Top the ganache with the chopped peanut butter cups.
- Return the cake to the freezer for another hour, or until the ganache is set.
Optional: Decorate the top of the cake with whipped topping and additional peanut butter cups. Freeze until ready to serve.
To serve, remove the cake from the freezer and let it sit at room temperature for a few minutes to soften slightly.
Equipment
- 9″ springform pan
Nutrition
Nutritional information for the recipe is provided as a courtesy and is approximate. Please double-check with your own dietary calculator for the best accuracy. We at Yummi Haus cannot guarantee the accuracy of the nutritional information given for any recipe on this site.



Share Your Thoughts