Easy 5-ingredient chocolate chip cookie mousse cake with crunchy Oreo crust and a whipped cream layer that tastes heavenly.
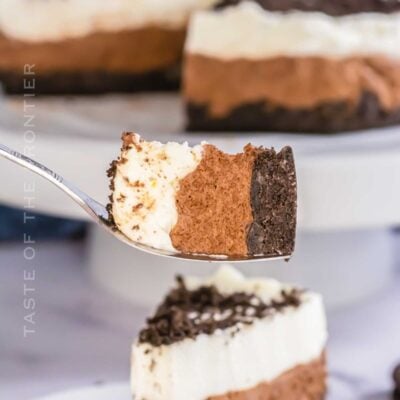
No-bake Oreo mousse cake is creamy, light, indulgent, and perfect for chocolate lovers. It is an easy win for a potluck, a birthday, St Valentine’s, or a holiday table that will certainly wow and impress your guests.
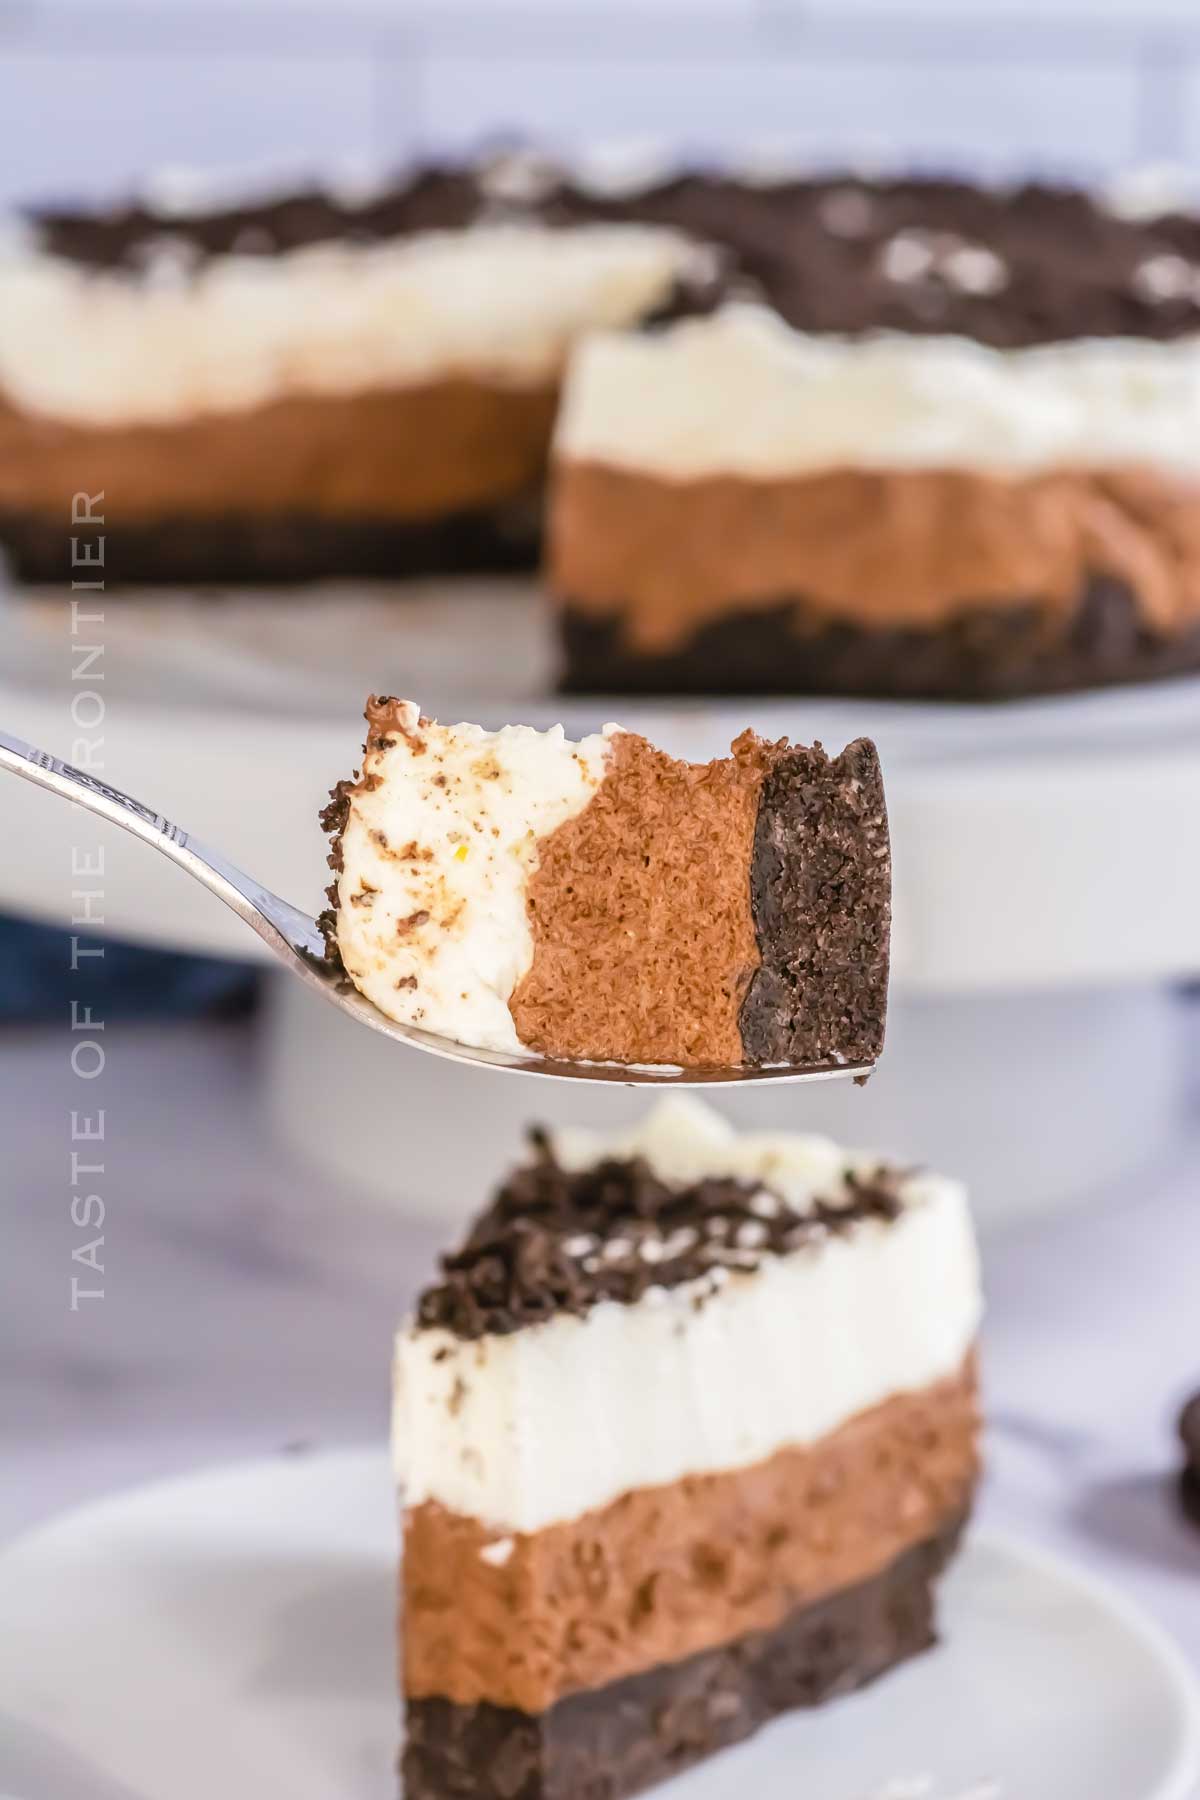
It is my twist on a traditional French chocolate mousse using staple American ingredients, but it is just as silky and fresh!
I know this recipe may also be called Cookies and Cream mousse cake, as we simply use the two ingredients as a base for the cake.
Why This Recipe Works
- No bake recipe so we don’t need to touch the oven at all! The mousse cake sets while chilling and it makes it so light and delicious.
- Super quick prep time – you can whip the cake in 15 minutes and let it chill overnight. A great make-ahead dessert option.
- No gelatin, no raw eggs, no cream cheese – only 5 basic ingredients that make a restaurant-worthy dessert.
- Elegant and delicious. There is simply no way you can resist making this mousse cake again. And the recipe has a few tweaks you can try next time!
What Is The Difference Between Mousse And Mousse Cake?
Chocolate mousse is a classic French dessert made of fresh eggs, sugar, whipping cream, and chocolate.
Mousse is a creamy chocolate mixture that is a dessert on its own, but when layered on top
of a tart, a pastry crust, or dough, it becomes a mousse cake.
Mousse cakes can be bake or no-bake and are some of the easiest dessert recipes for any occasion.
Oreo Mouse Cake Ingredients
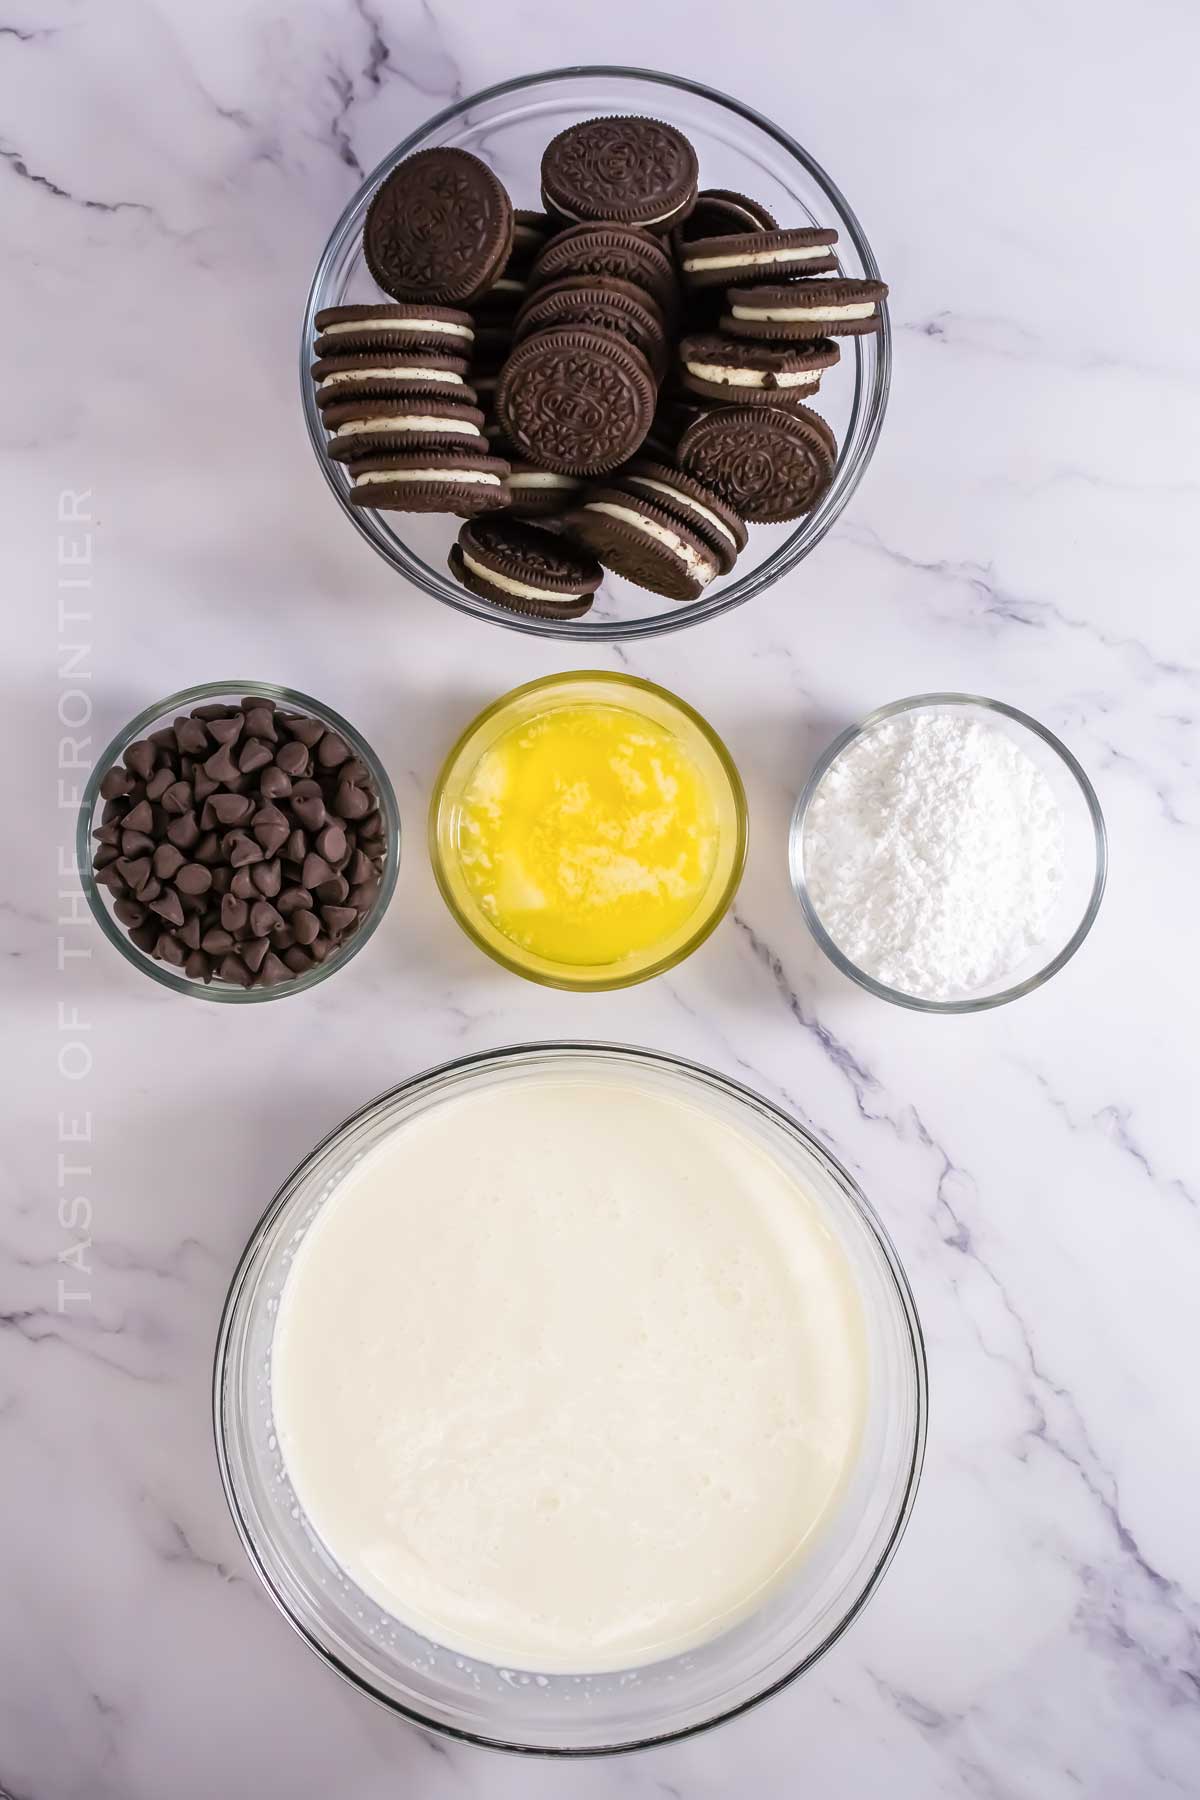
This no-bake dessert uses only simple ingredients to give us decadent Oreo chocolate flavors.
- Oreo Cookies, 1 package of crushed cookies, standard Oreos, not double stuffed. I do chocolate Oreos, but, of course, you can pick any flavor you want. Vanilla or mint Oreos will pair well with chocolate mousse too!
- Unsalted butter is melted to combine and bind the no-bake crust.
- Semi-sweet chocolate chips (50% chocolate minimum) melted. A regular chocolate bar works too, then prepare chopped chocolate to melt. I use semi-sweet chips but feel free to swap them with dark chocolate chips or milk chocolate.
- Heavy whipping cream mixed with Confectioner’s sugar is an easy whipped cream mousse base. Minimum 36% fat. It should be room temperature.
- Additional crushed Oreos, to decorate. You can also use whole Oreos for topping, nested in some whipped topping.
Kitchen Equipment
- 9-inch springform pan lined with parchment paper and sides of the pan greased or lined with a cake collar.
- Food processor, blender, or Ziploc bag, and a rolling pin to crush Oreos and make Oreo crumbs for the crust and decoration.
- Stand mixer with the whisk attachment to beat whipped cream for the cream mousse or use a hand-held electric mixer.
- Microwave-safe bowl to melt the chocolate chips.
- Optional, a cake plate to serve.
How To Make Oreo Mousse Cake
1: Prepare The Crust
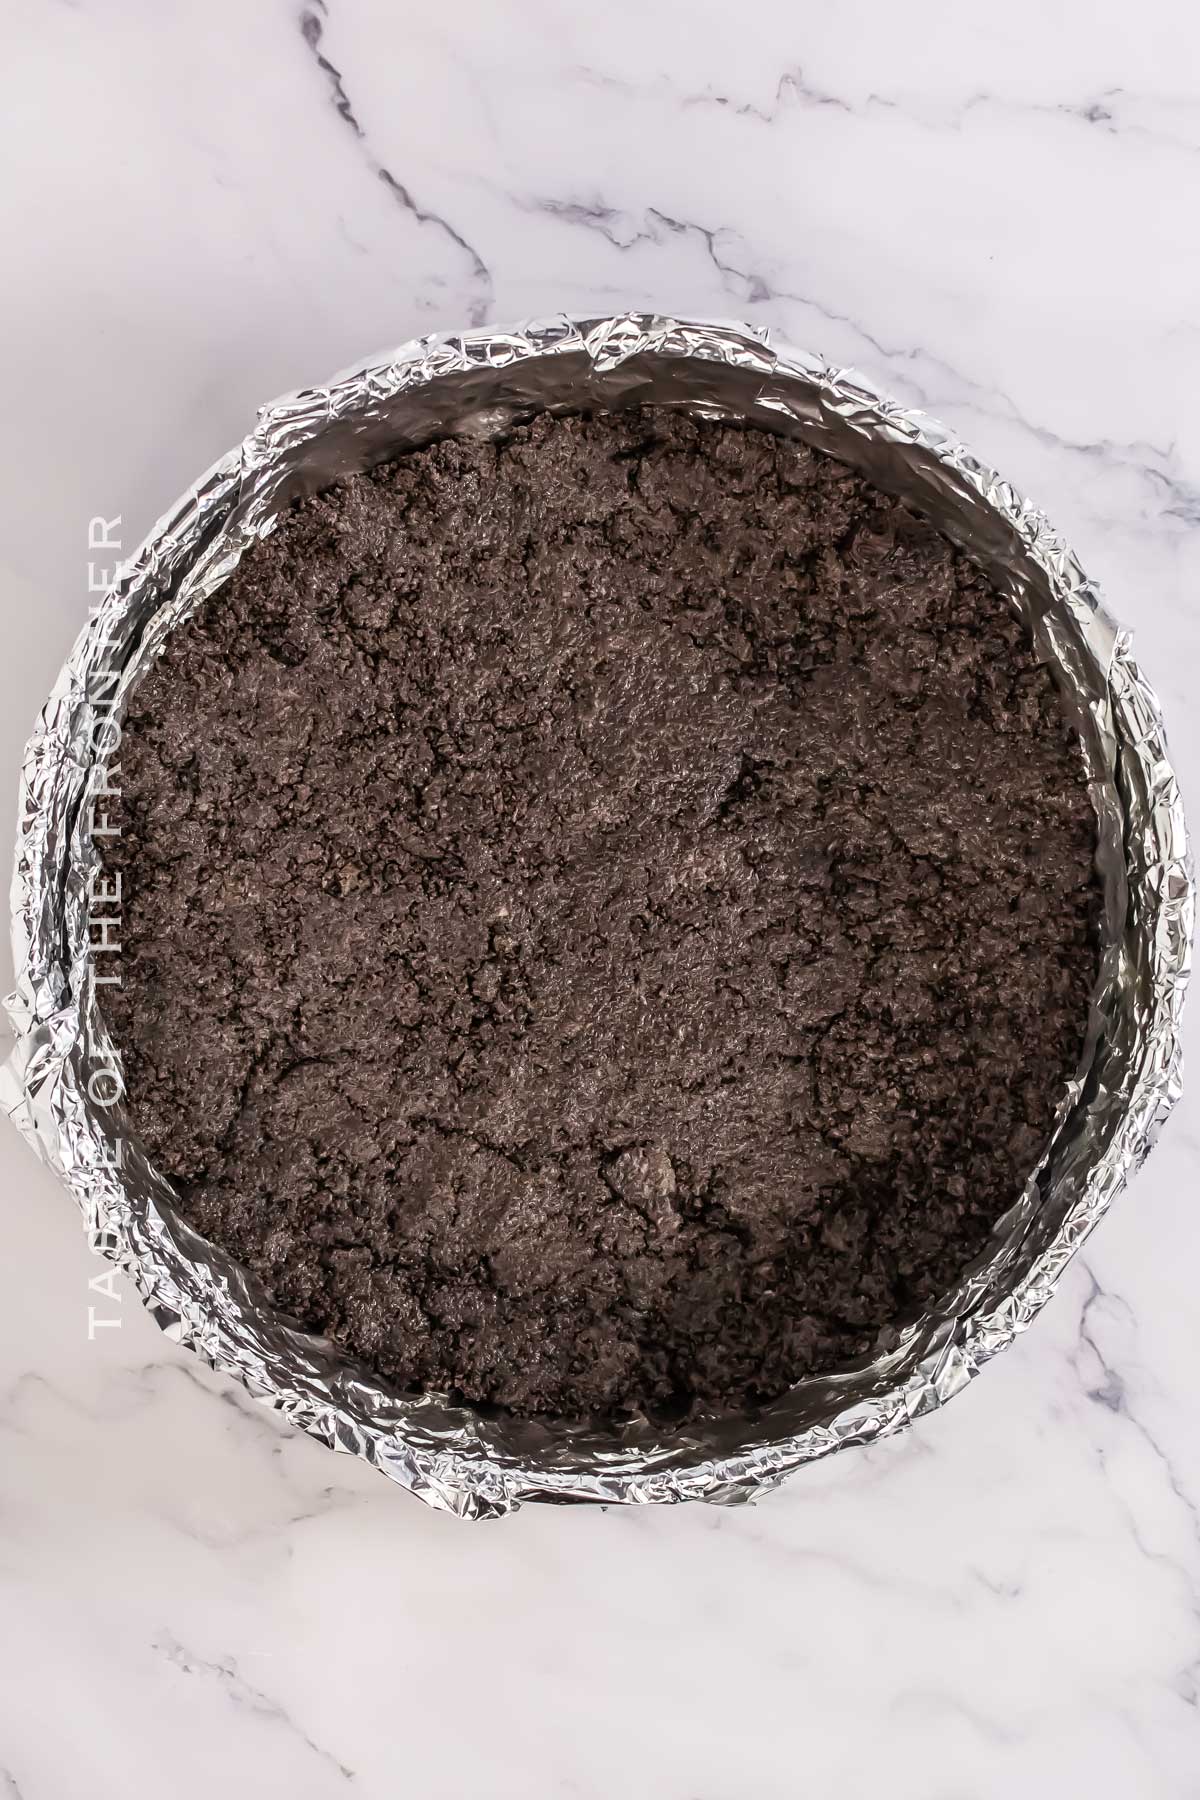
- Combine the crushed Oreos and melted butter in a medium bowl. Mix them together until the crumbs are moist.
- Press the mixture into the bottom of a lined 9-inch pan. Chill in the freezer until ready to fill.
2: Make The Chocolate Chip Cookie Mousse
- Melt the chocolate chips in a microwave-safe bowl in 30-second intervals (stirring in between each round) until melted and stir until smooth. Set aside to cool slightly.
- Whip the heavy cream and confectioner’s sugar in the bowl of a stand mixer with the whisk attachment on medium speed until stiff peaks form. (this works best if the bowl is chilled prior to whipping)
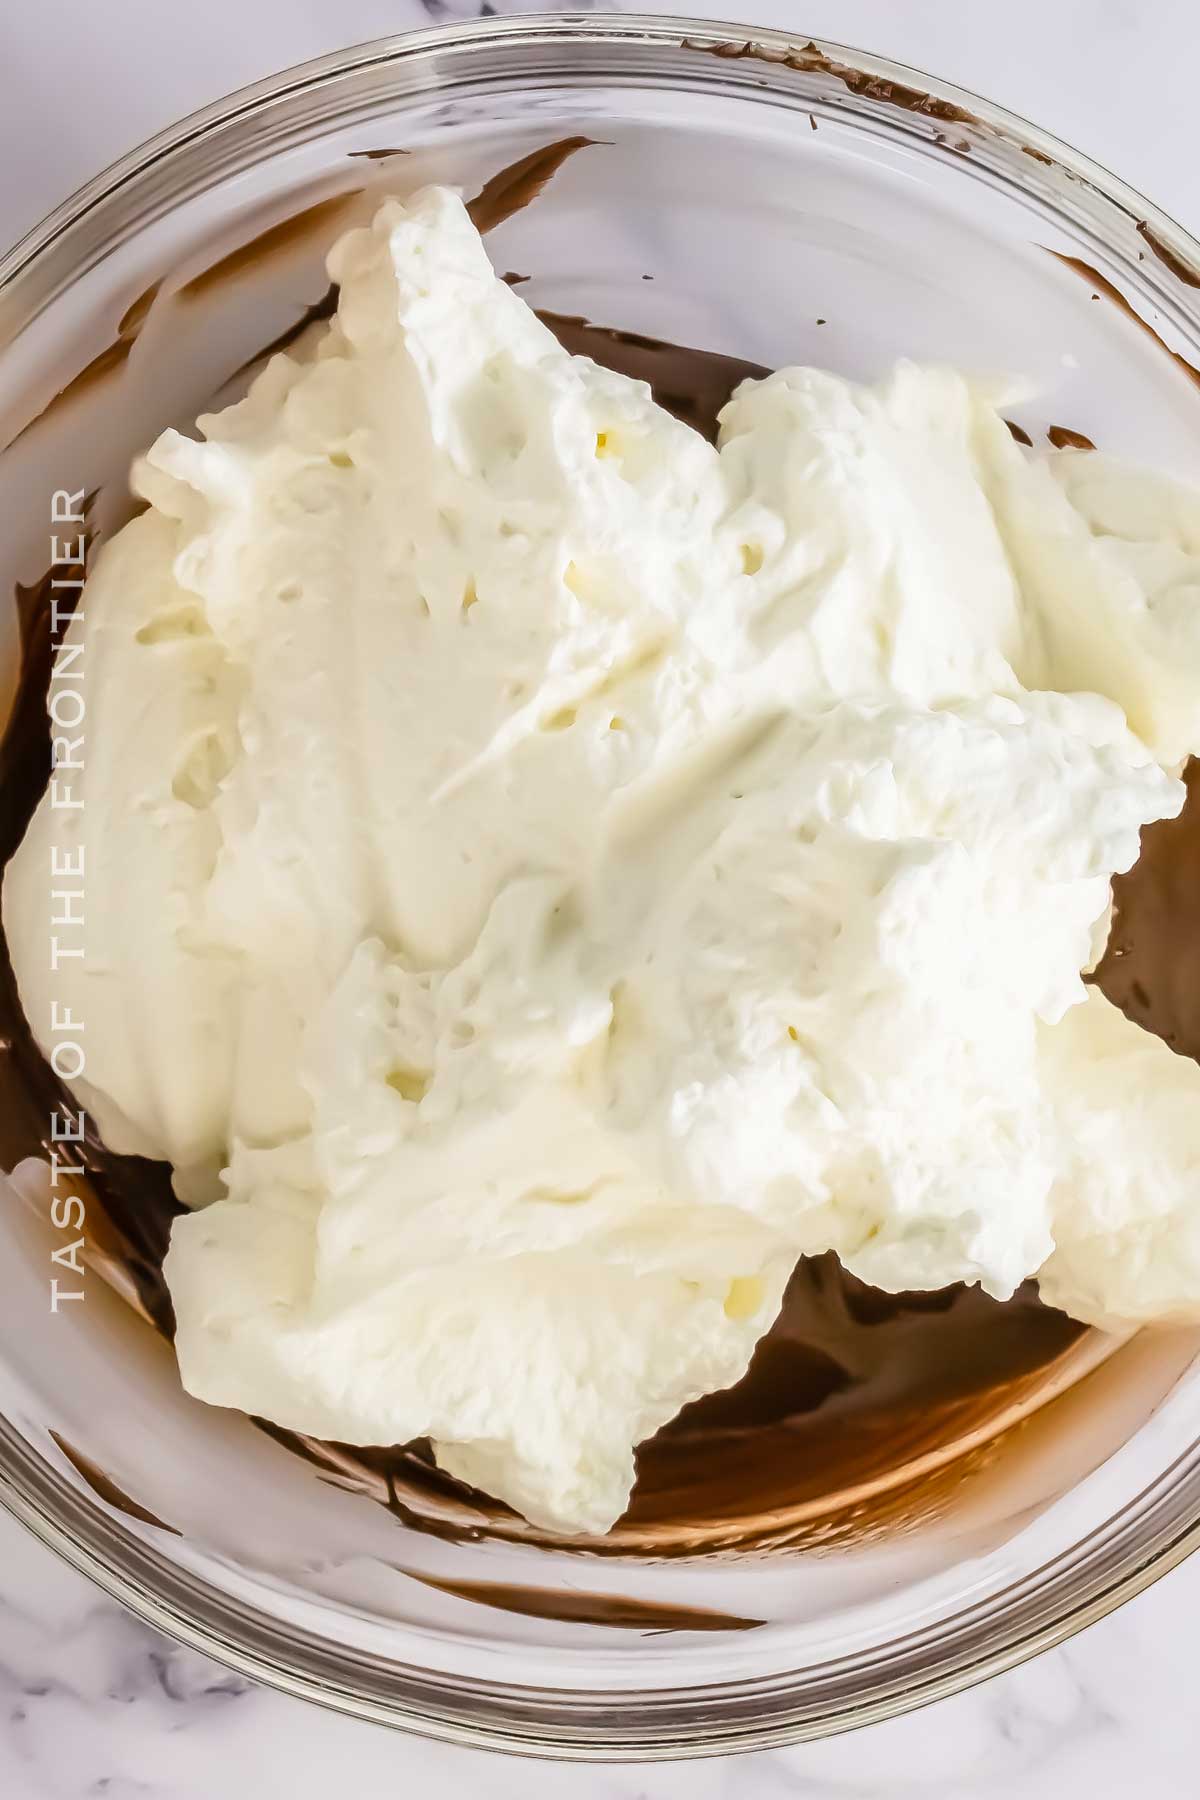
- Gently fold half of the whipped cream into the slightly cooled melted chocolate until combined.
3: Assemble & Chill
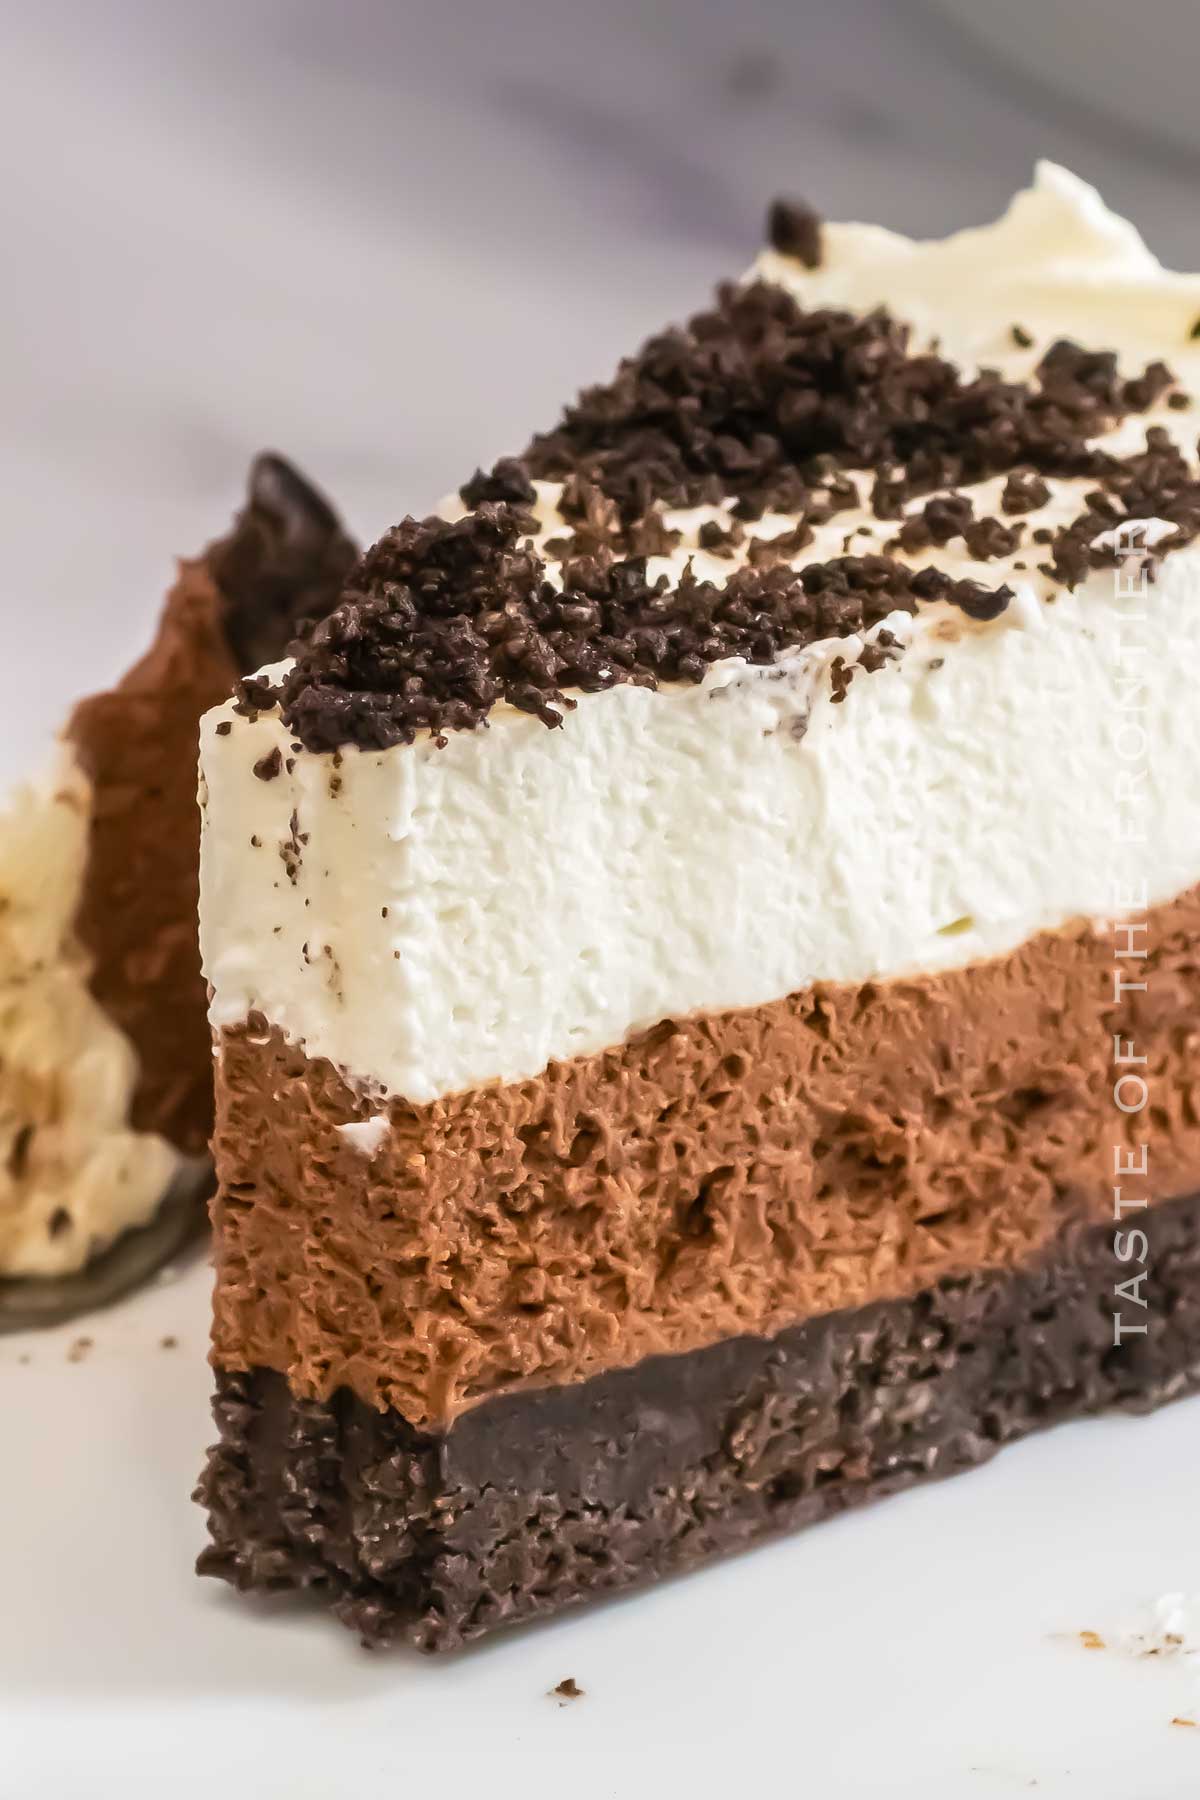
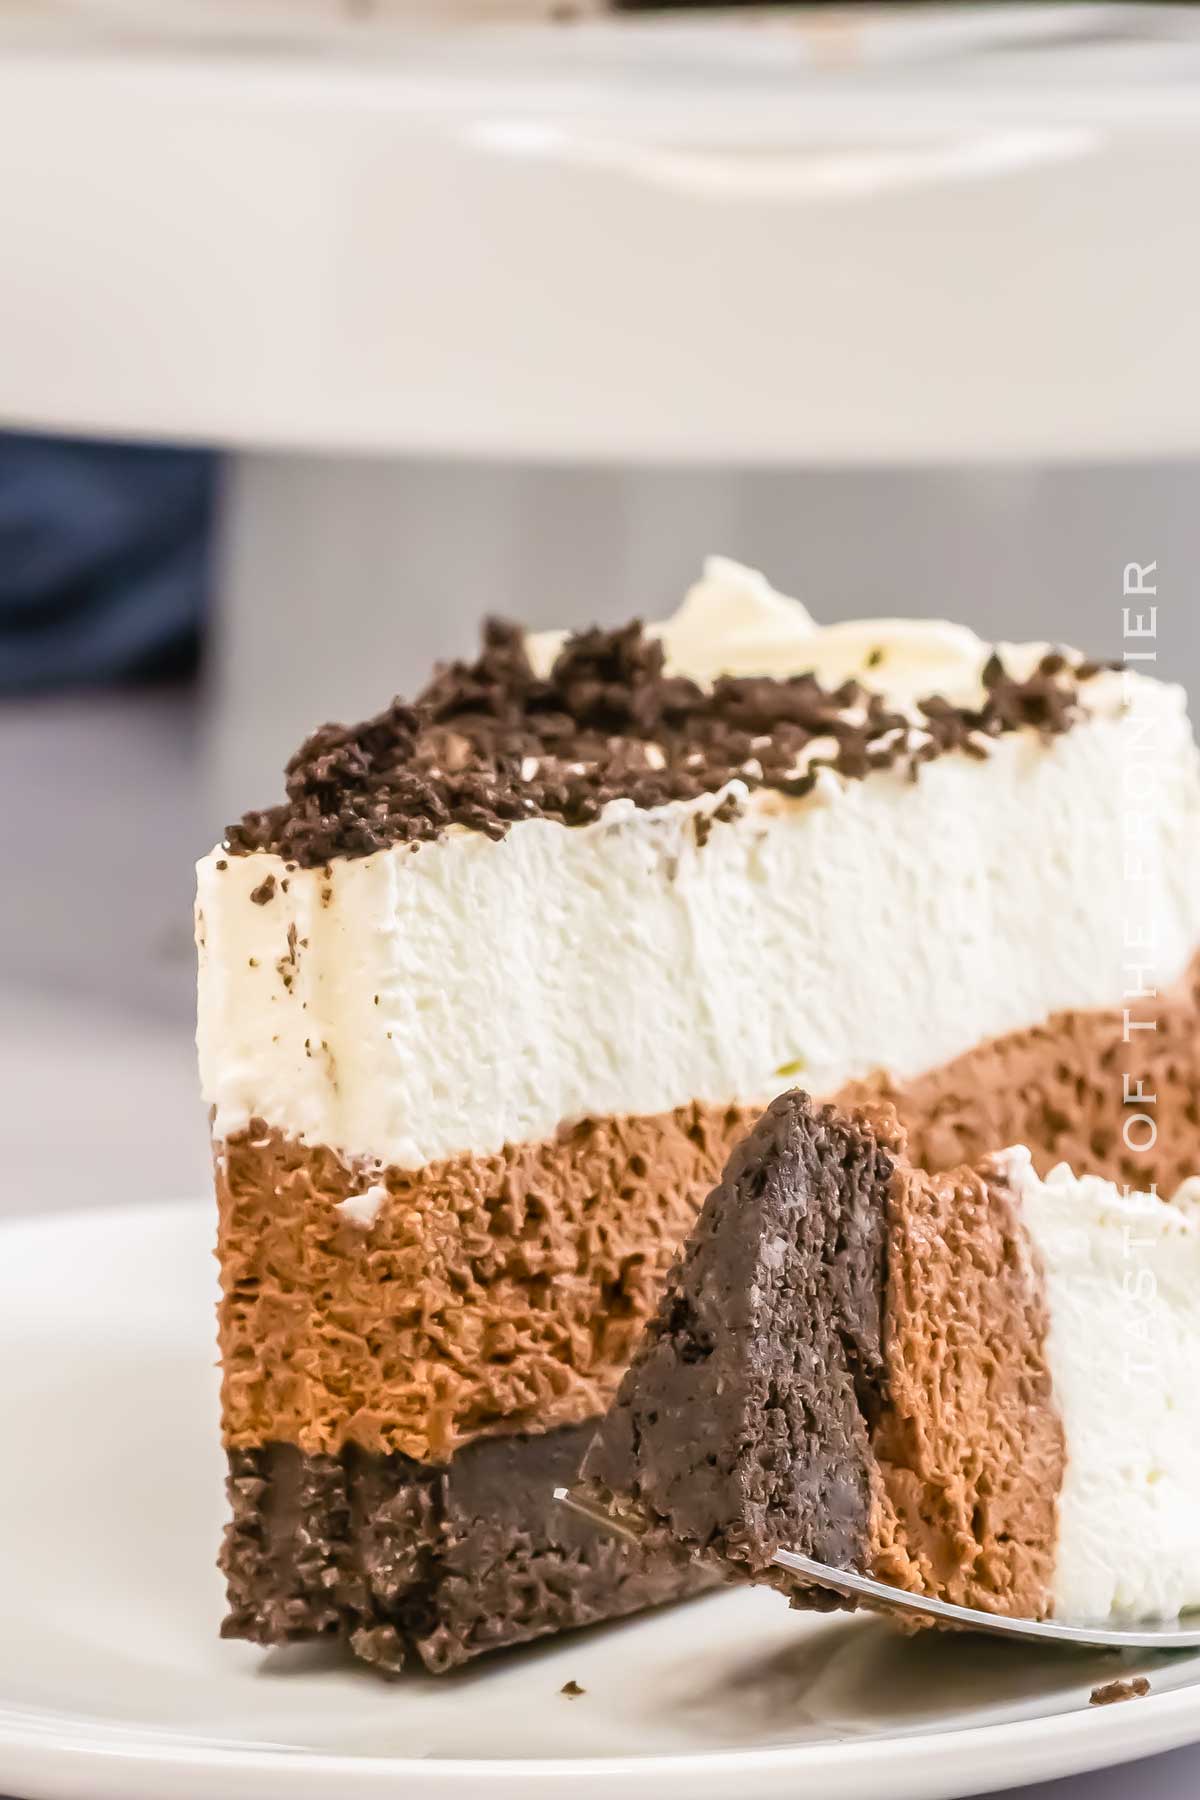
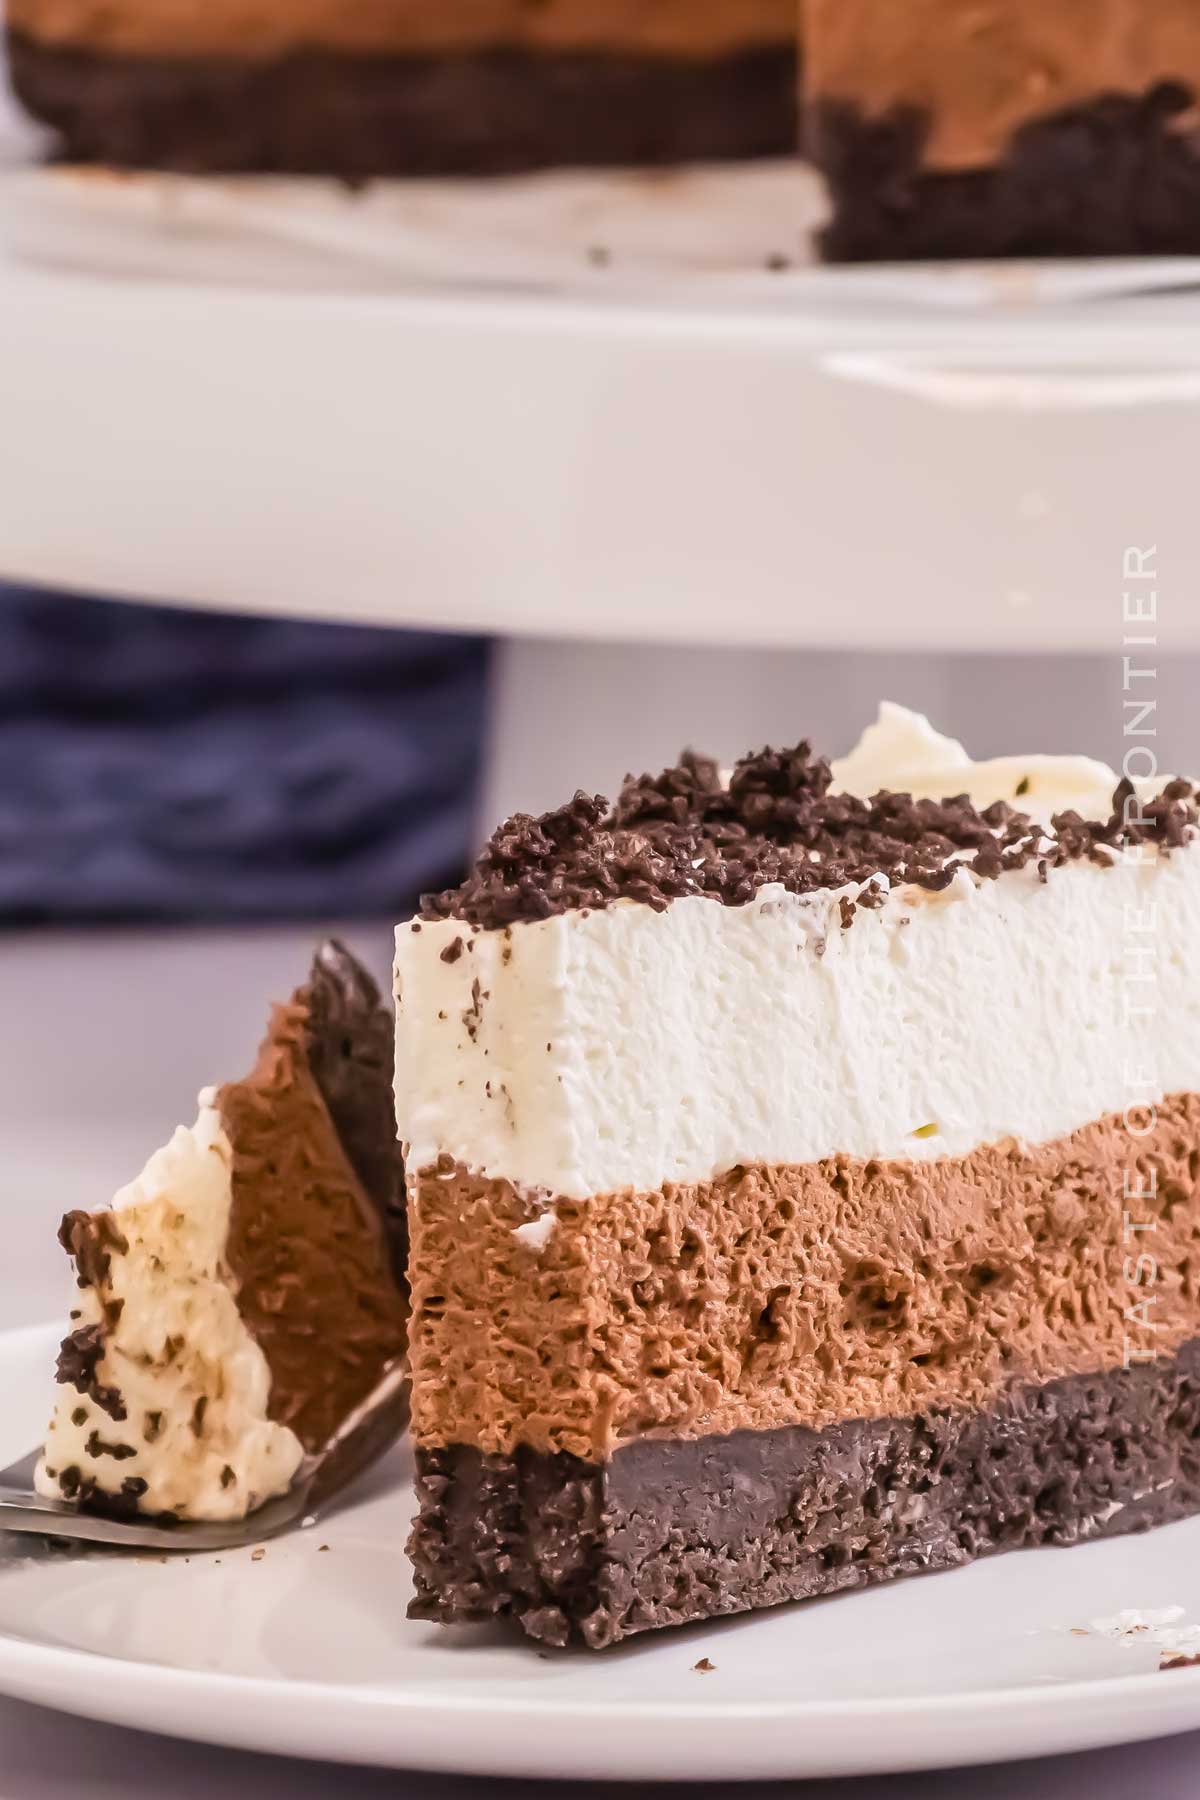
- Pour the chocolate mixture into the springform pan with the Oreo crust. Spread in an even layer to the edges.
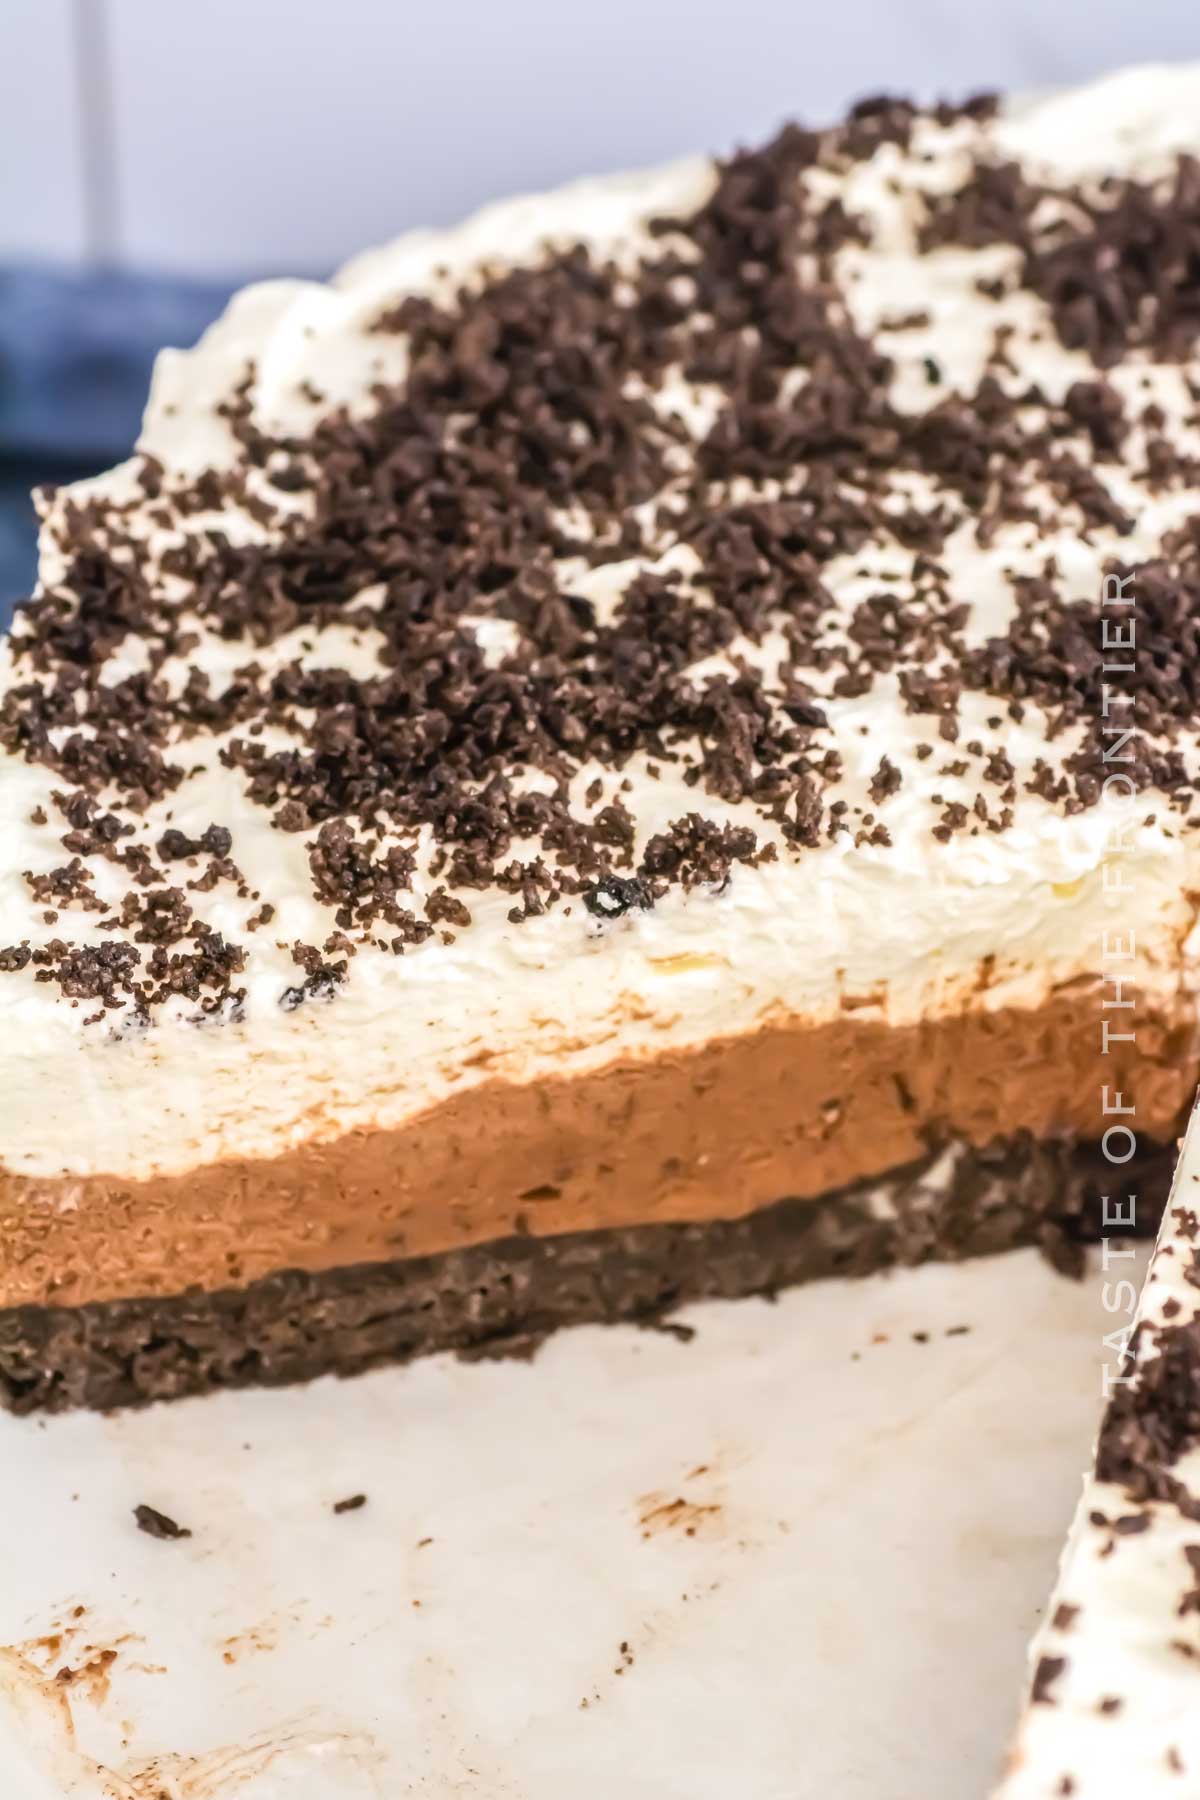
- Spread the remaining whipped cream evenly over the chocolate layer.
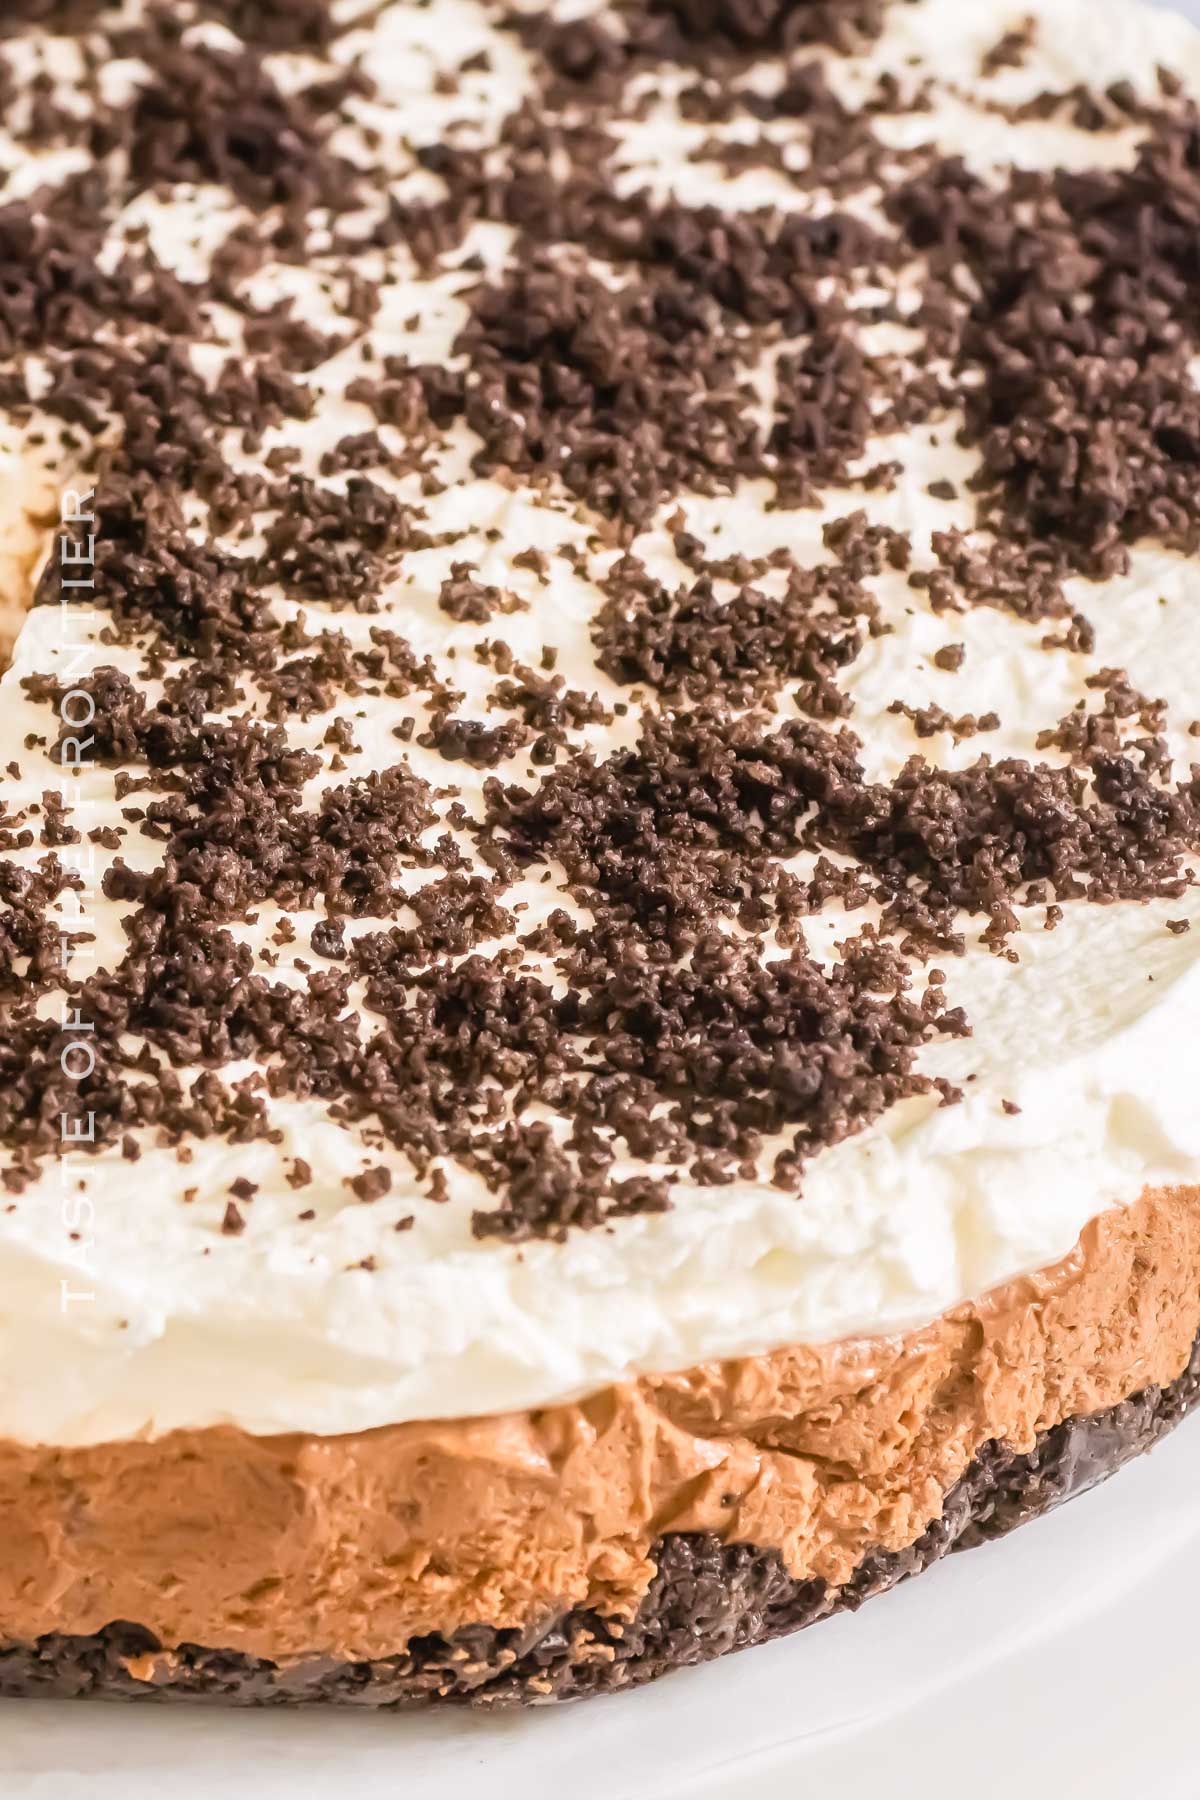
- Sprinkle with additional crushed Oreo pieces.
- Cover loosely and refrigerate for approximately 4 hours or until set.
- Serve the dessert with some whipped cream on top of the cake, some chocolate shavings, or dust with cocoa powder. I love a cup of hot chocolate to go with it!
Storage
The cake should be stored in an airtight container or covered with a plastic wrap in the refrigerator and consumed within 2 days.
If you want to make the cake 1 day ahead do not add any toppings until right before serving.
I would not recommend freezing this mousse cake, but it can be frozen in individual slices for up to 2 months. Can not be frozen again. Thaw in the fridge overnight before serving.
Oreo Mousse Cake Substitutions And Variations
- If you don’t like chocolate mousse cake, you can swap the mousse layer with chocolate, banana, or vanilla pudding. It will give you a similar texture of a cream filling but a different taste.
- Add instant coffee to boost the chocolate flavor. It is baking chemistry in action!
- You can use the whole Oreo sandwich cookies as layers of cookies in between mousse layers. Use them as they are or soaked in milk.
- To take this cake to the next level, you can use fudgy brownie as a base layer for this Oreo mousse cake instead of Oreo crust AND a chocolate ganache topping.
- You can make Oreo cheesecake with cream cheese or mascarpone instead of mousse layer. The cream cheese mixture will be richer and creamier then and last a few more days.
Tips To Make The Best Oreo Mousse Cake
- An offset spatula works best to spread the mousse layers. Sometimes it is better to briefly chill the mousse before spreading or to chill the bowl for 15 min in the freezer before making the cake.
- To flatten the crust at the bottom of the pan, use the bottom of a glass.
- To serve, use a dry hot knife to make nice clean slices.
- To bake cream mousse cake, make cake batter with black cocoa powder or cocoa + coffee. Bake at 350 degrees F for 35 minutes. Then assemble as a classic layered cake: a layer of cake followed by a layer of mousse. Top with whipped cream and serve!
- Melt the chocolate in a small saucepan instead of a microwave to better control the process.
Popular Questions
Why Does My Mousse Not Set?
If you fold the whipped cream into warm melted chocolate, use a mixer to combine them, or don’t beat the whipped cream until stiff peaks, the mousse can separate and not set properly.
How Do You Fix Runny Mousse?
To thicken the chocolate mousse add half of a tbsp of cornstarch mixed with milk or water to the mousse mixture.
What Is Oreo Mousse Made Of?
Oreo mousse has 3 main ingredients: crushed Oreo cookies, heavy cream, and sugar. Cream and sugar beaten together form whipped cream and we can mix it with ground Oreos.
If you love this dessert recipe, you’re going to love these other no-bake treats too. Please click each link below to find the easy, printable recipe!


More Great Mousse Recipes
Chocolate Chocolate Mousse Cake
CONNECT WITH YUMMI HAUS!
Be sure to follow me on my social media, so you never miss a post!
Oreo Mousse Cake
Ingredients
- 14.3 oz Oreo Cookies crushed (1 package – standard Oreos, not double stuffed)
- ⅓ cup butter melted – unsalted
- 8 oz semi-sweet chocolate chips melted
- 3 cups heavy whipping cream
- ½ cups confectioner’s sugar
Additional crushed Oreos, to decorate
Instructions
- Combine the crushed Oreos and melted butter in a mixing bowl. Mix them together until the crumbs are moist.
- Press the mixture into the bottom of a lined 9-inch springform pan. Chill in the freezer until ready to fill.
- Melt the chocolate chips in a medium microwave-safe bowl in 30-second increments (stirring in between each round) until melted and stir until smooth. Set aside to cool slightly.
- Whip the heavy cream and confectioner’s sugar in the bowl of a stand mixer with the whisk attachment on medium speed until stiff peaks. (this works best if the bowl is chilled prior to whipping)
- Gently fold half of the whipped cream into the slightly cooled melted chocolate until combined.
- Transfer the chocolate mixture into the spring form pan with the Oreo crust. Spread evenly to the edges.
- Spread the remaining whipped cream evenly over the chocolate layer.
- Sprinkle with additional crushed Oreo pieces.
- Cover loosely and refrigerate for approximately 4 hours or until set.
Notes
Nutrition
Nutritional information for the recipe is provided as a courtesy and is approximate. Please double-check with your own dietary calculator for the best accuracy. We at Yummi Haus cannot guarantee the accuracy of the nutritional information given for any recipe on this site.




Share Your Thoughts