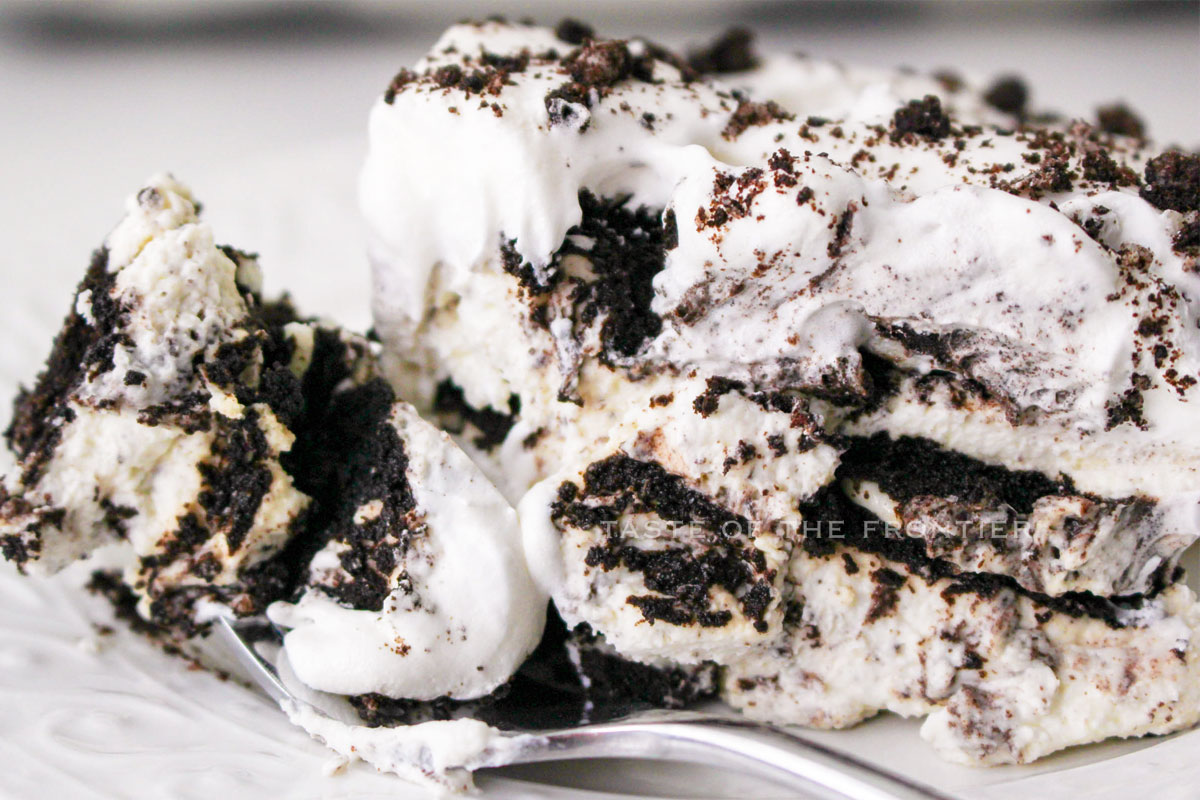
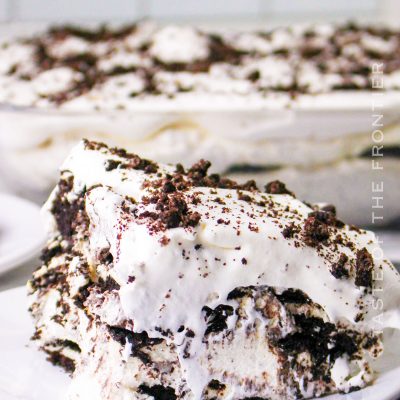
This Oreo Icebox Cake is the perfect no-bake summer treat for all your parties and get-togethers. So creamy and packed full of Oreo-flavor.
Welcome, all you dessert lovers! Today we’re taking a sweet and simple journey to a delightful, creamy haven – the Oreo Icebox Cake. If you’re a fan of Oreos, then this easy dessert recipe will surely become your new favorite.
A no-bake cake that’s a crowd-pleaser and a perfect dessert for any occasion. This cake is a creamy, crunchy paradise of Oreo goodness that is sure to satisfy anyone’s sweet tooth.
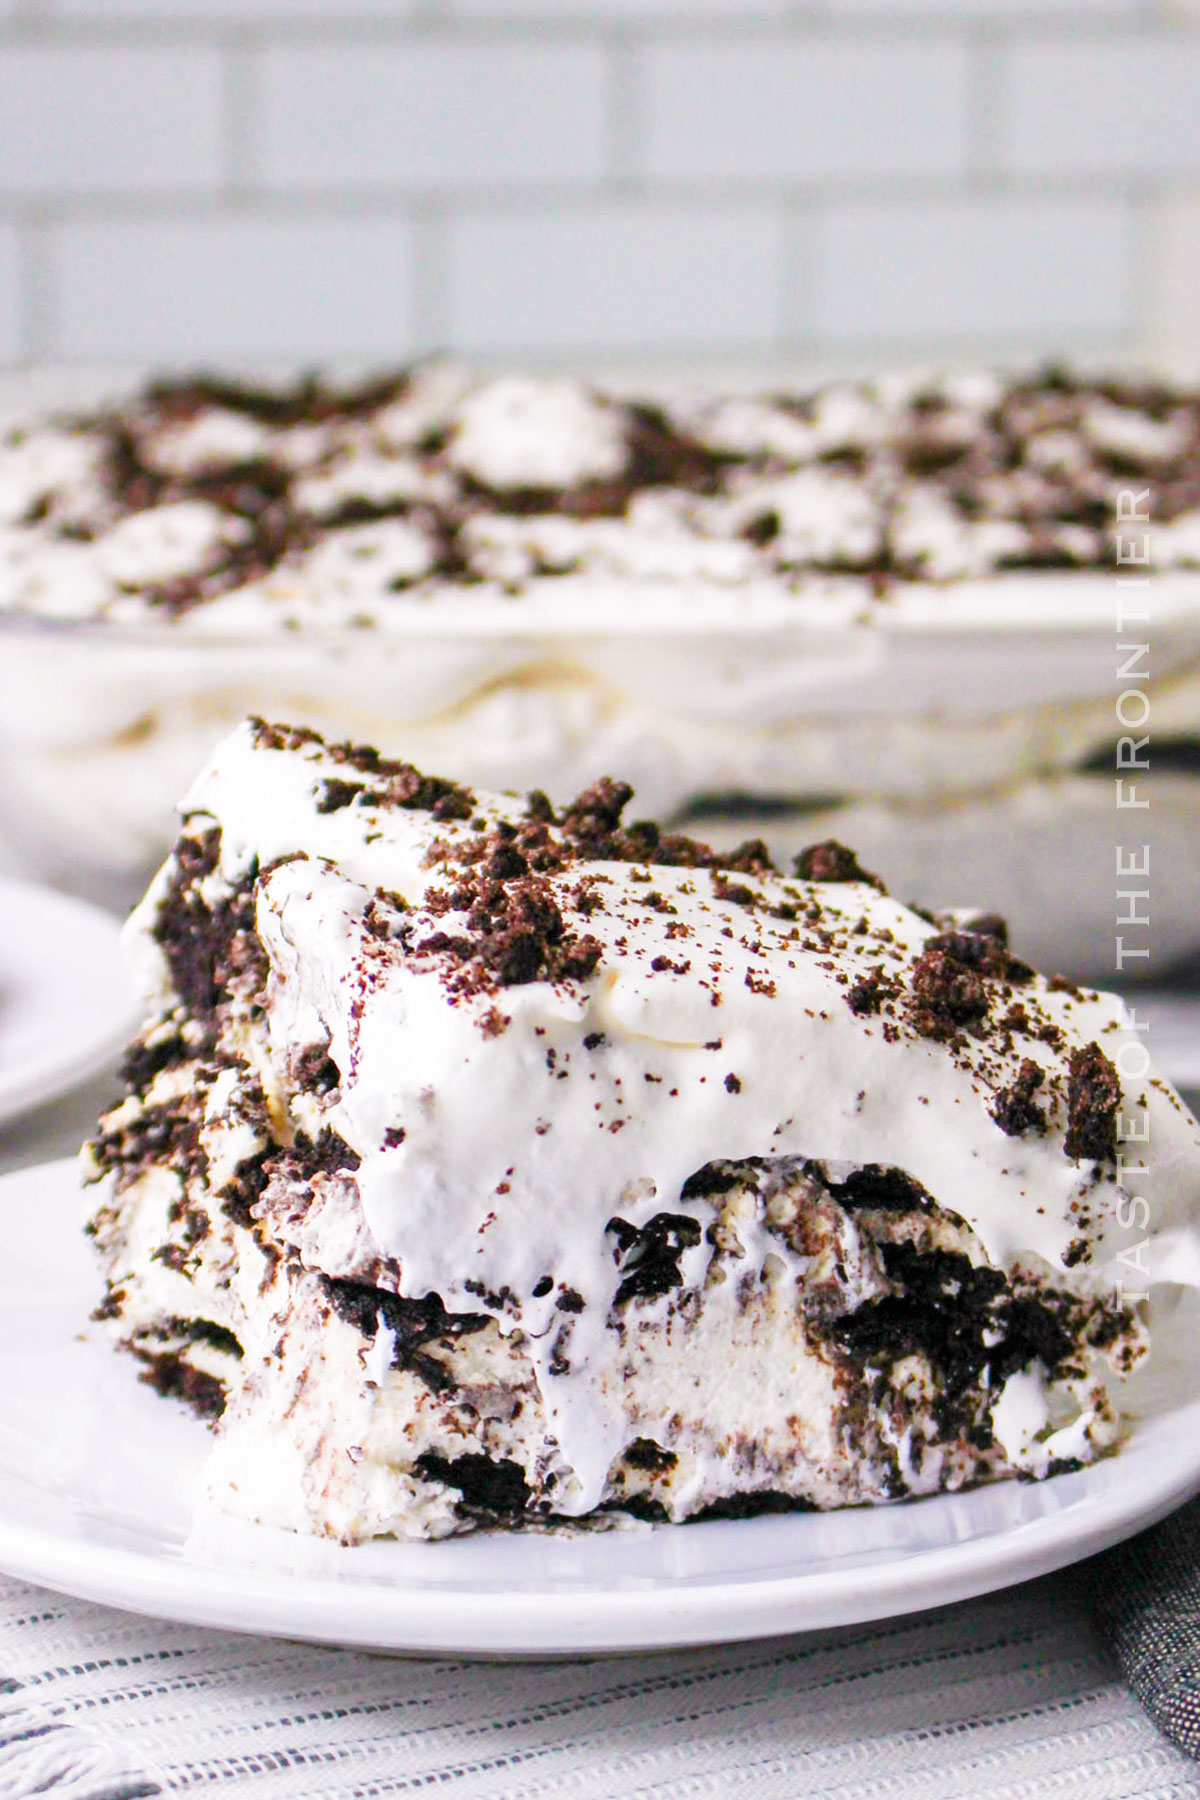
Oreo Icebox Cake is the perfect easy-to-make, no-bake dessert that will satisfy any sweet tooth. This crowd-pleaser requires very simple ingredients and will surely make your special occasion or regular day a little sweeter.
Give this recipe a try, and you’ll understand why it’s a favorite in many households. Don’t forget to save the recipe card for later dessert adventures. Happy no-baking!
Common Questions About Oreo Icebox Cake
Do I Need to Bake the Oreo Icebox Cake?
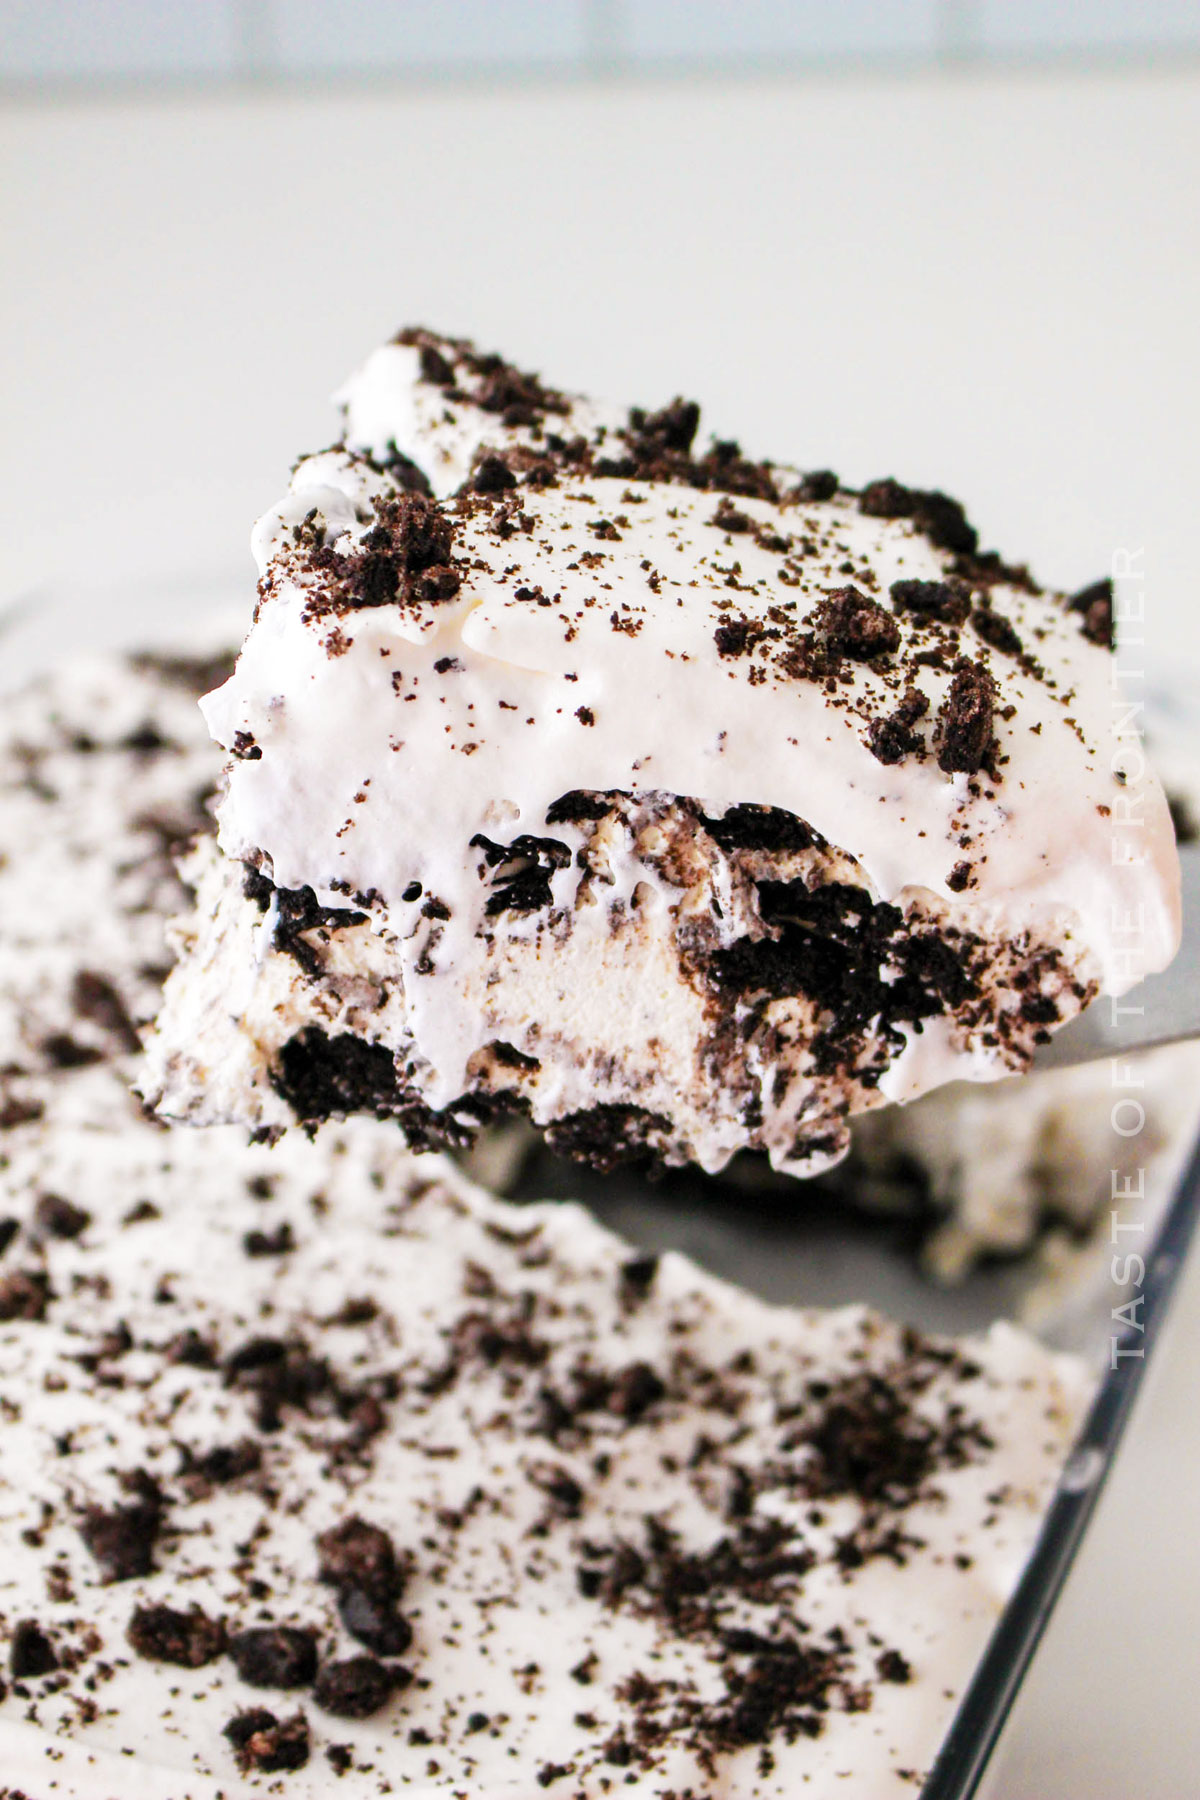
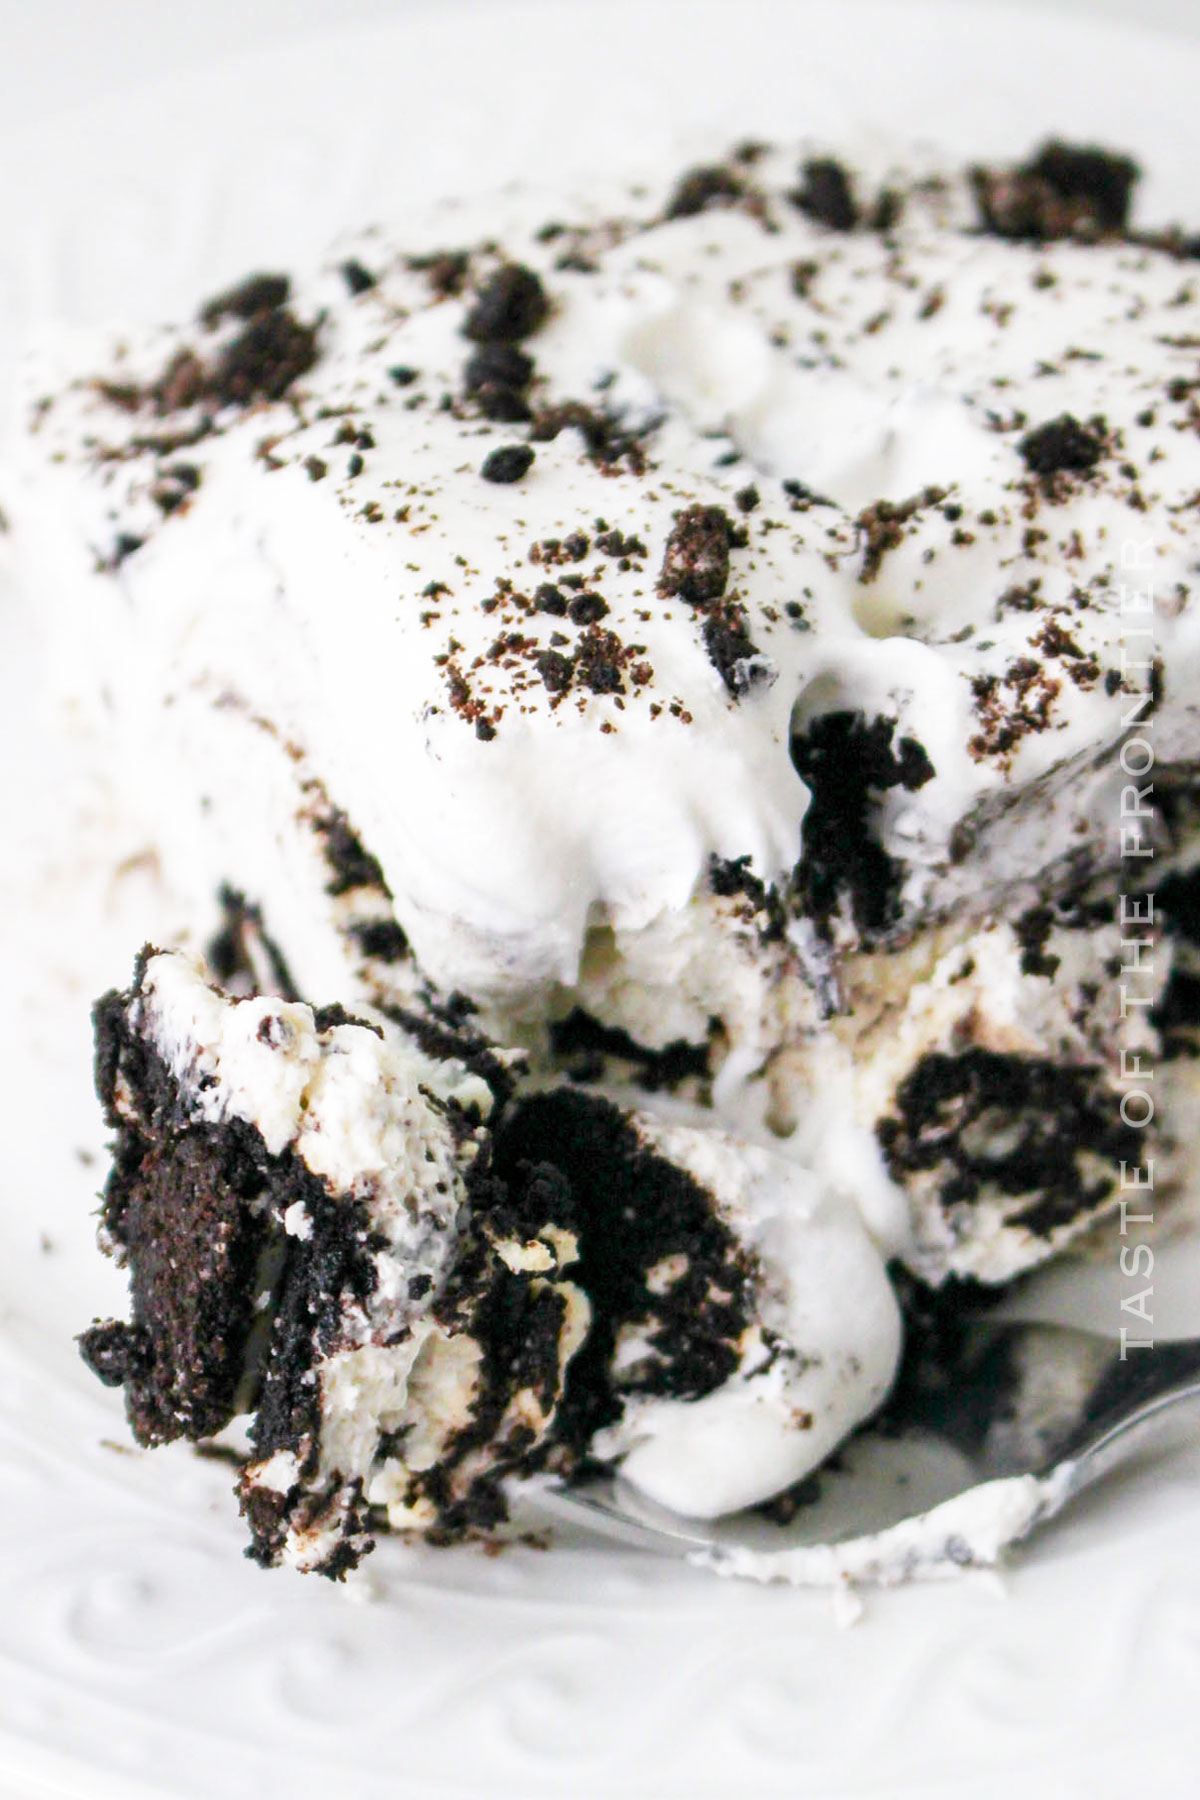
No, the beauty of an icebox cake, like this Oreo Icebox Cake, is that it’s a no-bake dessert recipe. The “cooking” happens as the cake rests in the fridge, and the Oreos soften from the moisture of the cream.
What If I Don’t Have Heavy Cream?
If you find yourself short of heavy whipping cream, a good substitute is a mixture of melted butter and milk. However, for the best results, I recommend sticking to the heavy cream if possible as it helps to create the fluffy, creamy texture that makes this cake so delightful.
Can I Use Cool Whip Instead of Whipped Cream?
You definitely can! Just keep in mind that this will alter the texture of the cake. If you like that better though, have at it!
Storage
If you haven’t had an icebox cake before, this oreo icebox cake recipe would be my favorite way to start!
Refrigerator
Store your Oreo Icebox Cake in the refrigerator in an airtight container for up to 5 days. The cake will continue to soften the longer it sits, enhancing the flavors.
Freezer
For a longer storage option, the Oreo Icebox Cake can be stored in the freezer. Wrap the cake well in plastic wrap and aluminum foil before freezing. To serve, defrost in the refrigerator overnight.
Tips
When making a cake with homemade whipped cream, there can be a learning curve. Here are some tips to get you started in the right direction!
- When beating the heavy cream, stop when you have soft peaks. Overbeating can turn your cream into butter!
- To easily crush Oreos, place them in a zip-top bag and roll with a rolling pin.
- Give your cake ample time to set in the fridge. This isn’t just to cool the cake, but to allow the Oreos to soften into a cake-like texture.
- For an extra burst of flavor, try drizzling chocolate sauce over each serving.
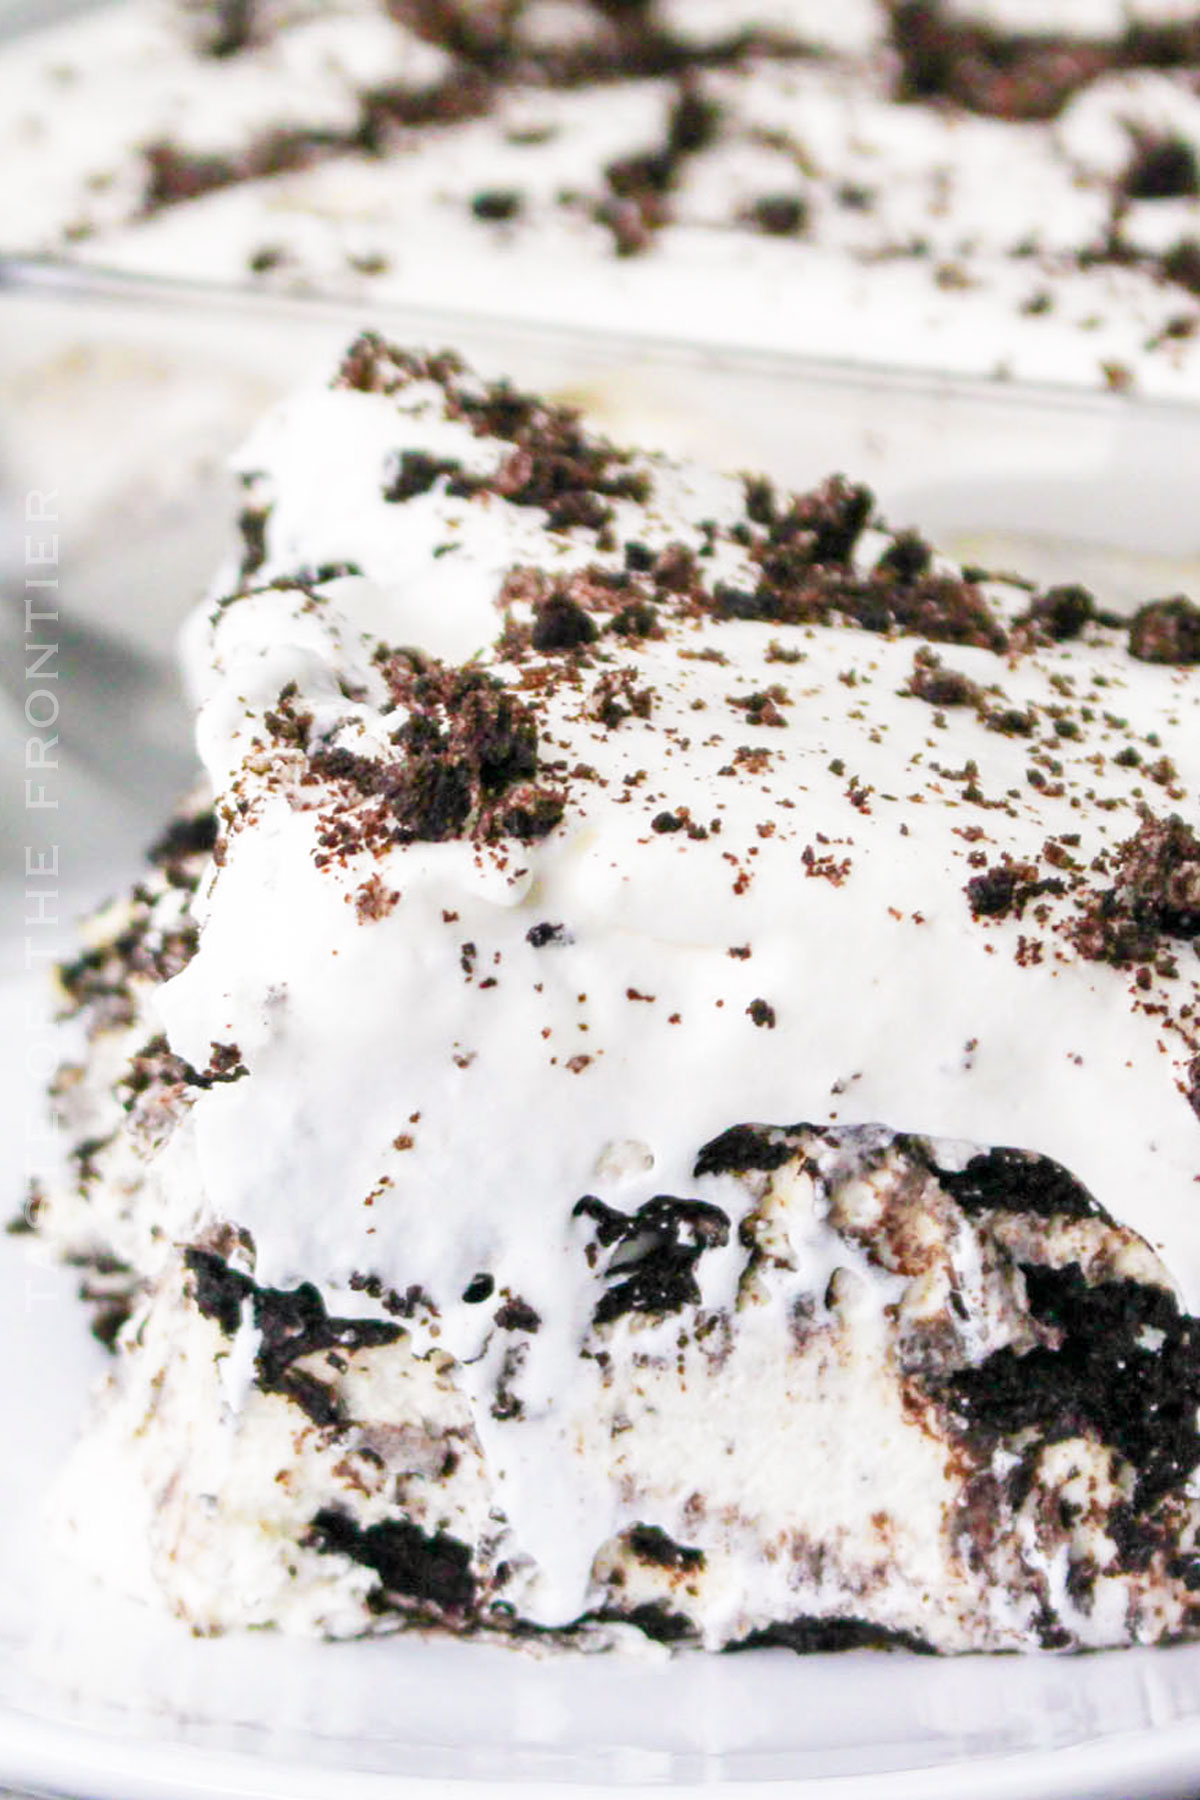
- Reserve some crushed Oreos for the top layer. It gives your cake an enticing, cookie-filled appearance.
Ingredients
This will probably remind you of a good ice cream cake once all is said and done. There is a special quality to a good Icebox cake, though, that will satisfy your sweet tooth in it’s own way!
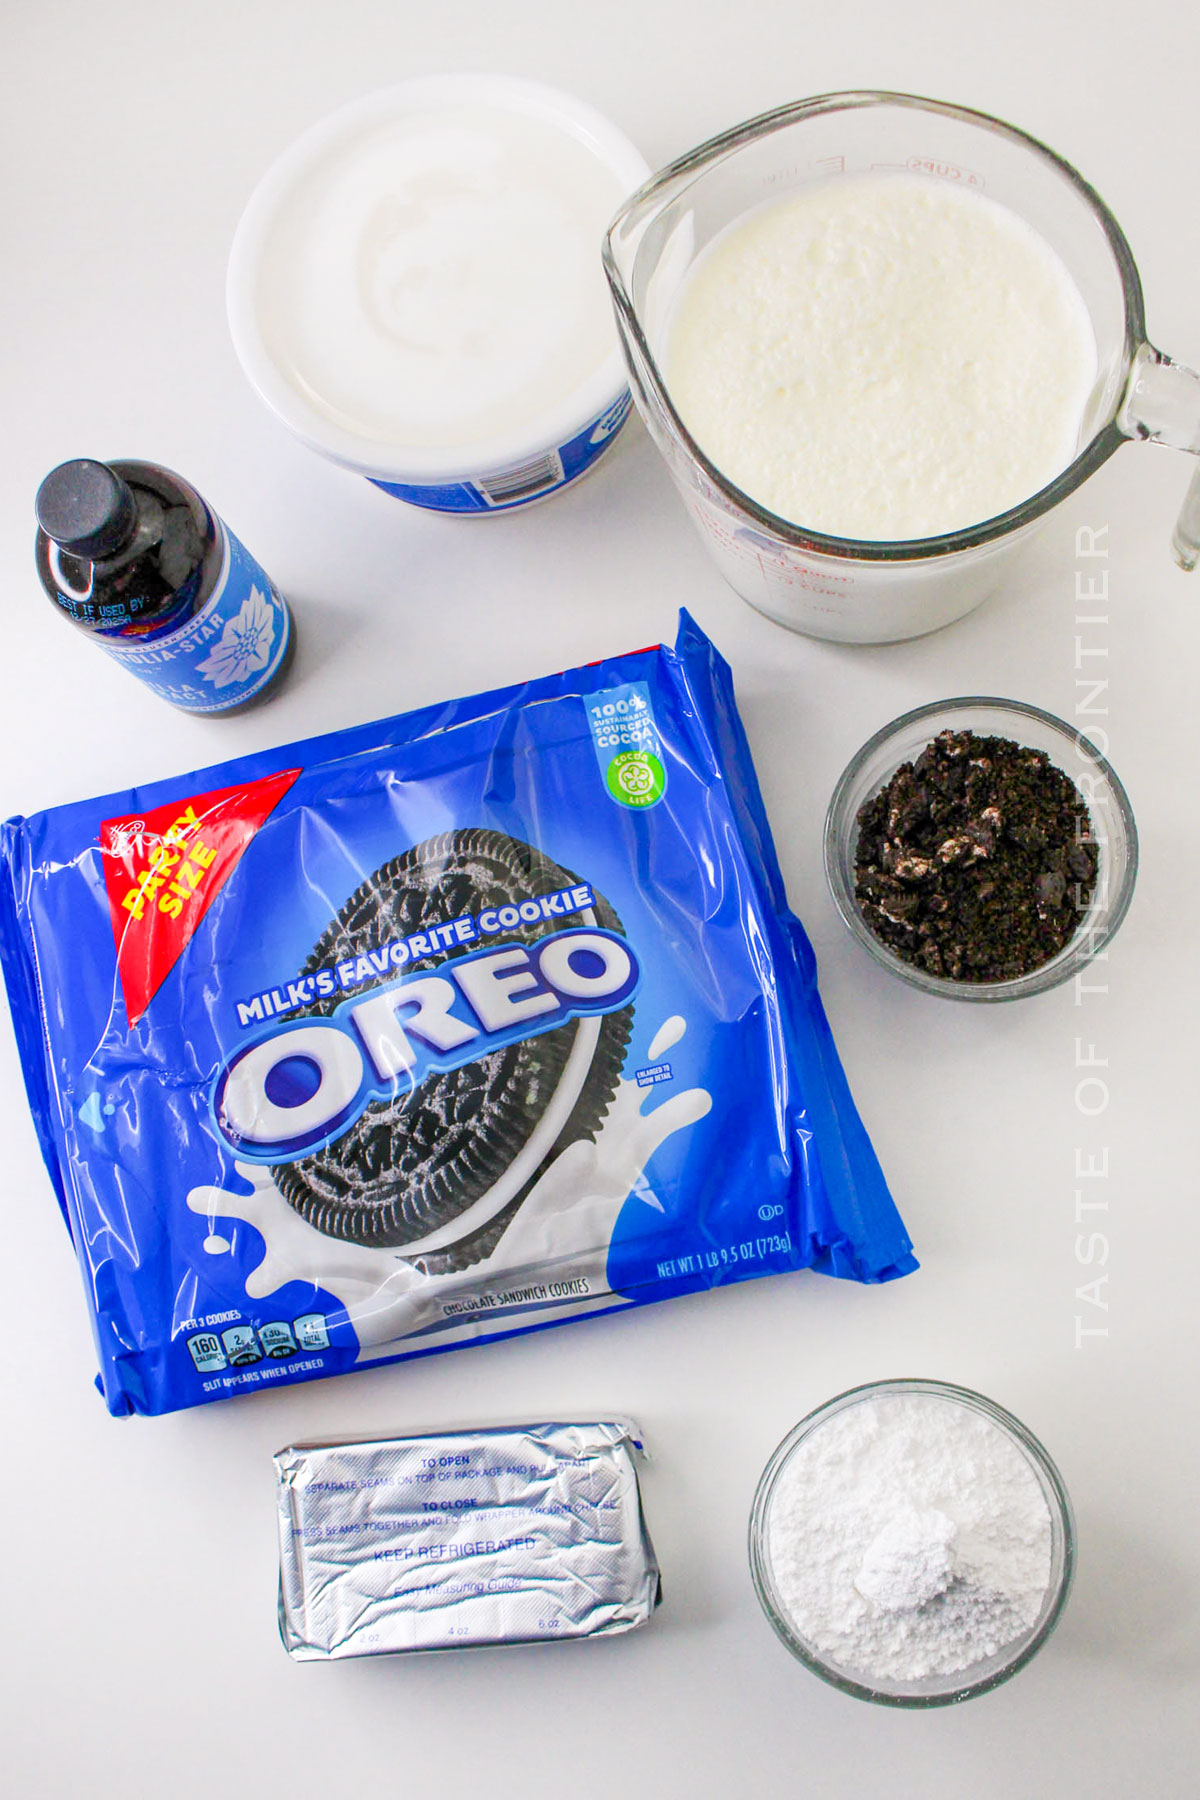
- Oreo cookies
- Cream cheese, room temperature
- Vanilla extract
- Heavy cream
- Confectioner’s sugar
- Crushed Oreo cookies
- Whipped topping
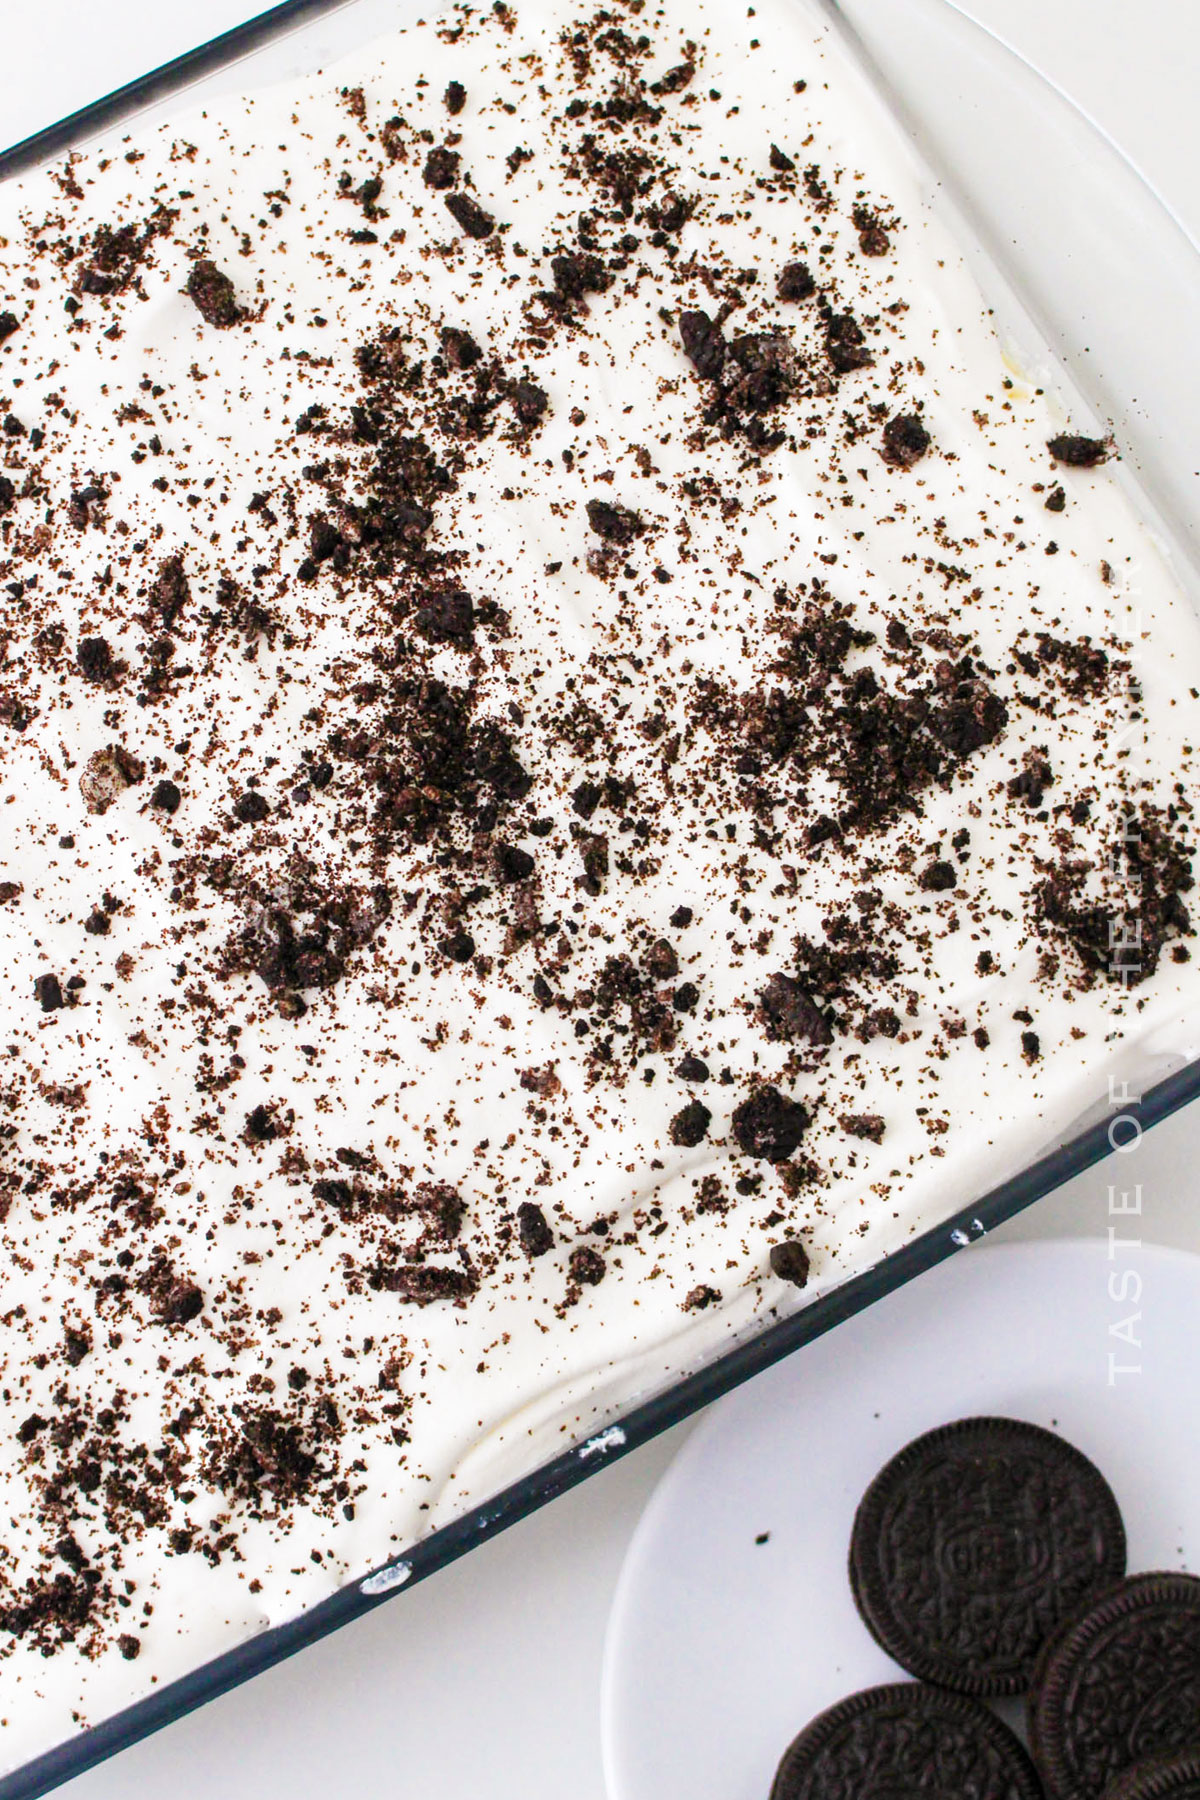
How to Make Oreo Icebox Cake
The easiest dessert is the best dessert in my opinion. This oreo ice box cake certainly fits that bill!
- In a 9×13 casserole dish, place a layer of Oreo cookies.
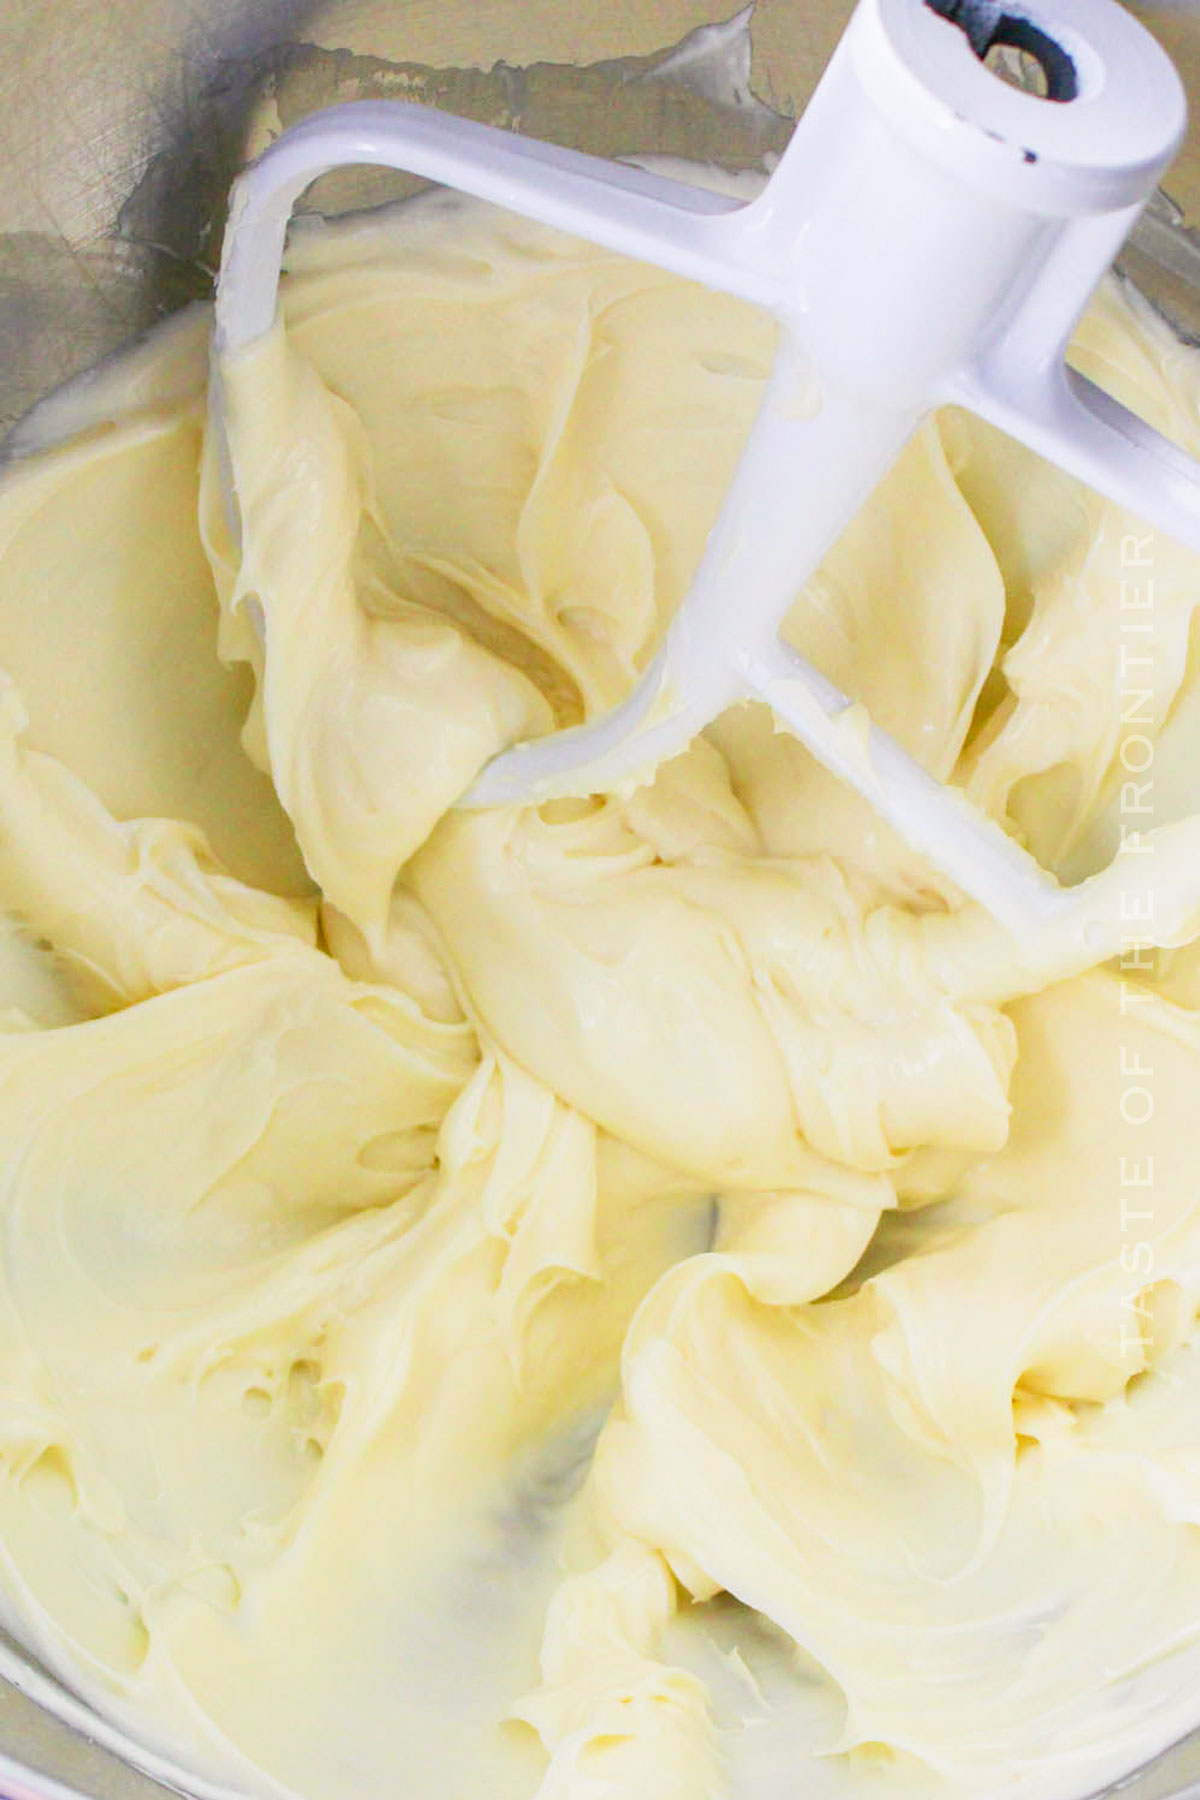
- In a large bowl, beat the cream cheese and vanilla until smooth.
- Add the confectioner’s sugar and heavy cream, beating until soft peaks form.
- Reserve 2 tablespoons of the Oreo crumbs. Fold the remaining crumbs into the creamy mixture.
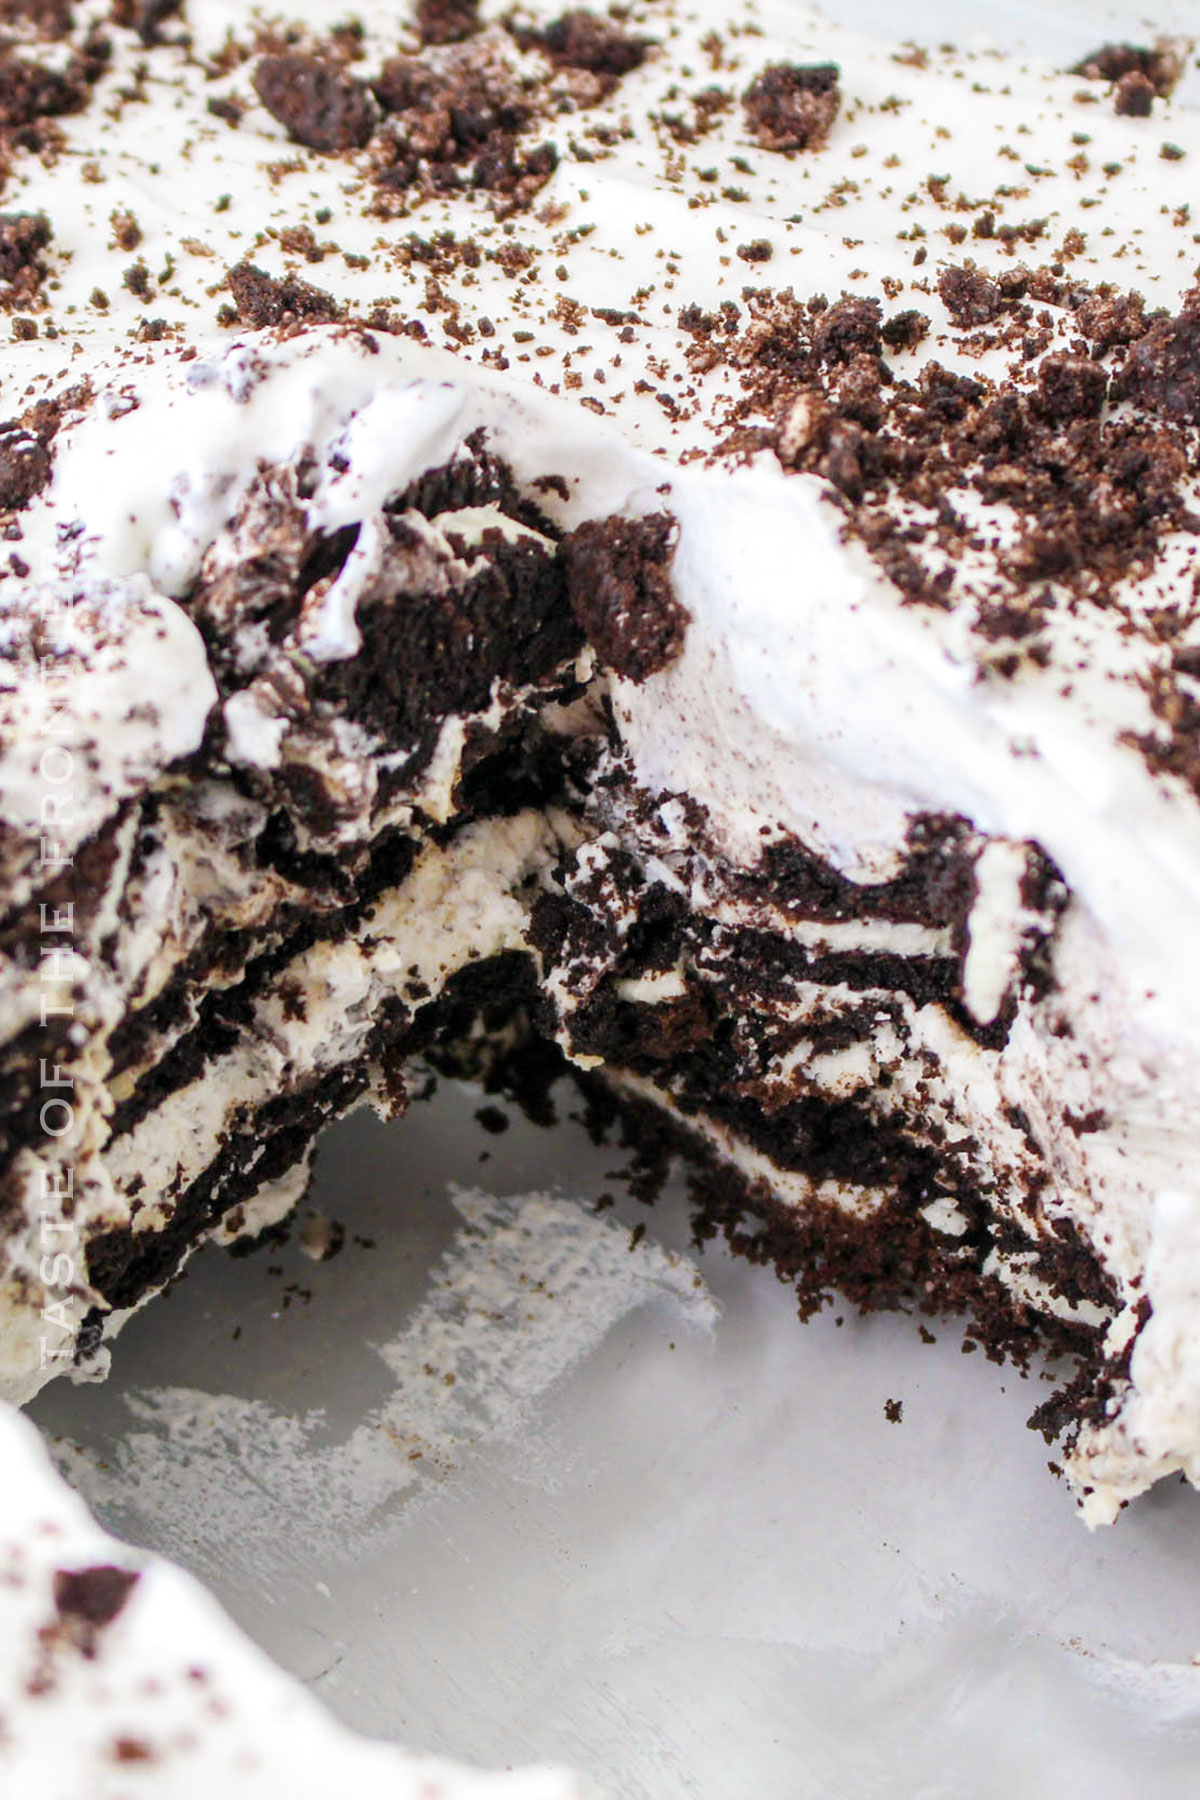
- Drop about ⅓ of the cream mixture over the cookie layer and spread it into an even layer.
- Repeat the layers twice.
- Spread the top with the whipped topping.
- Sprinkle the remaining crushed cookies over the top.
- Cover the dessert and refrigerate for at least 4 hours or overnight before serving.
Kitchen Supplies You’ll Need for Oreo Icebox Cake
Simple ingredients and simple supplies. This way you can focus more energy on the main course, or just kick back and relax after making this simple dessert!
- 9×13 casserole dish
- Large mixing bowl
- Electric mixer
- Spatula
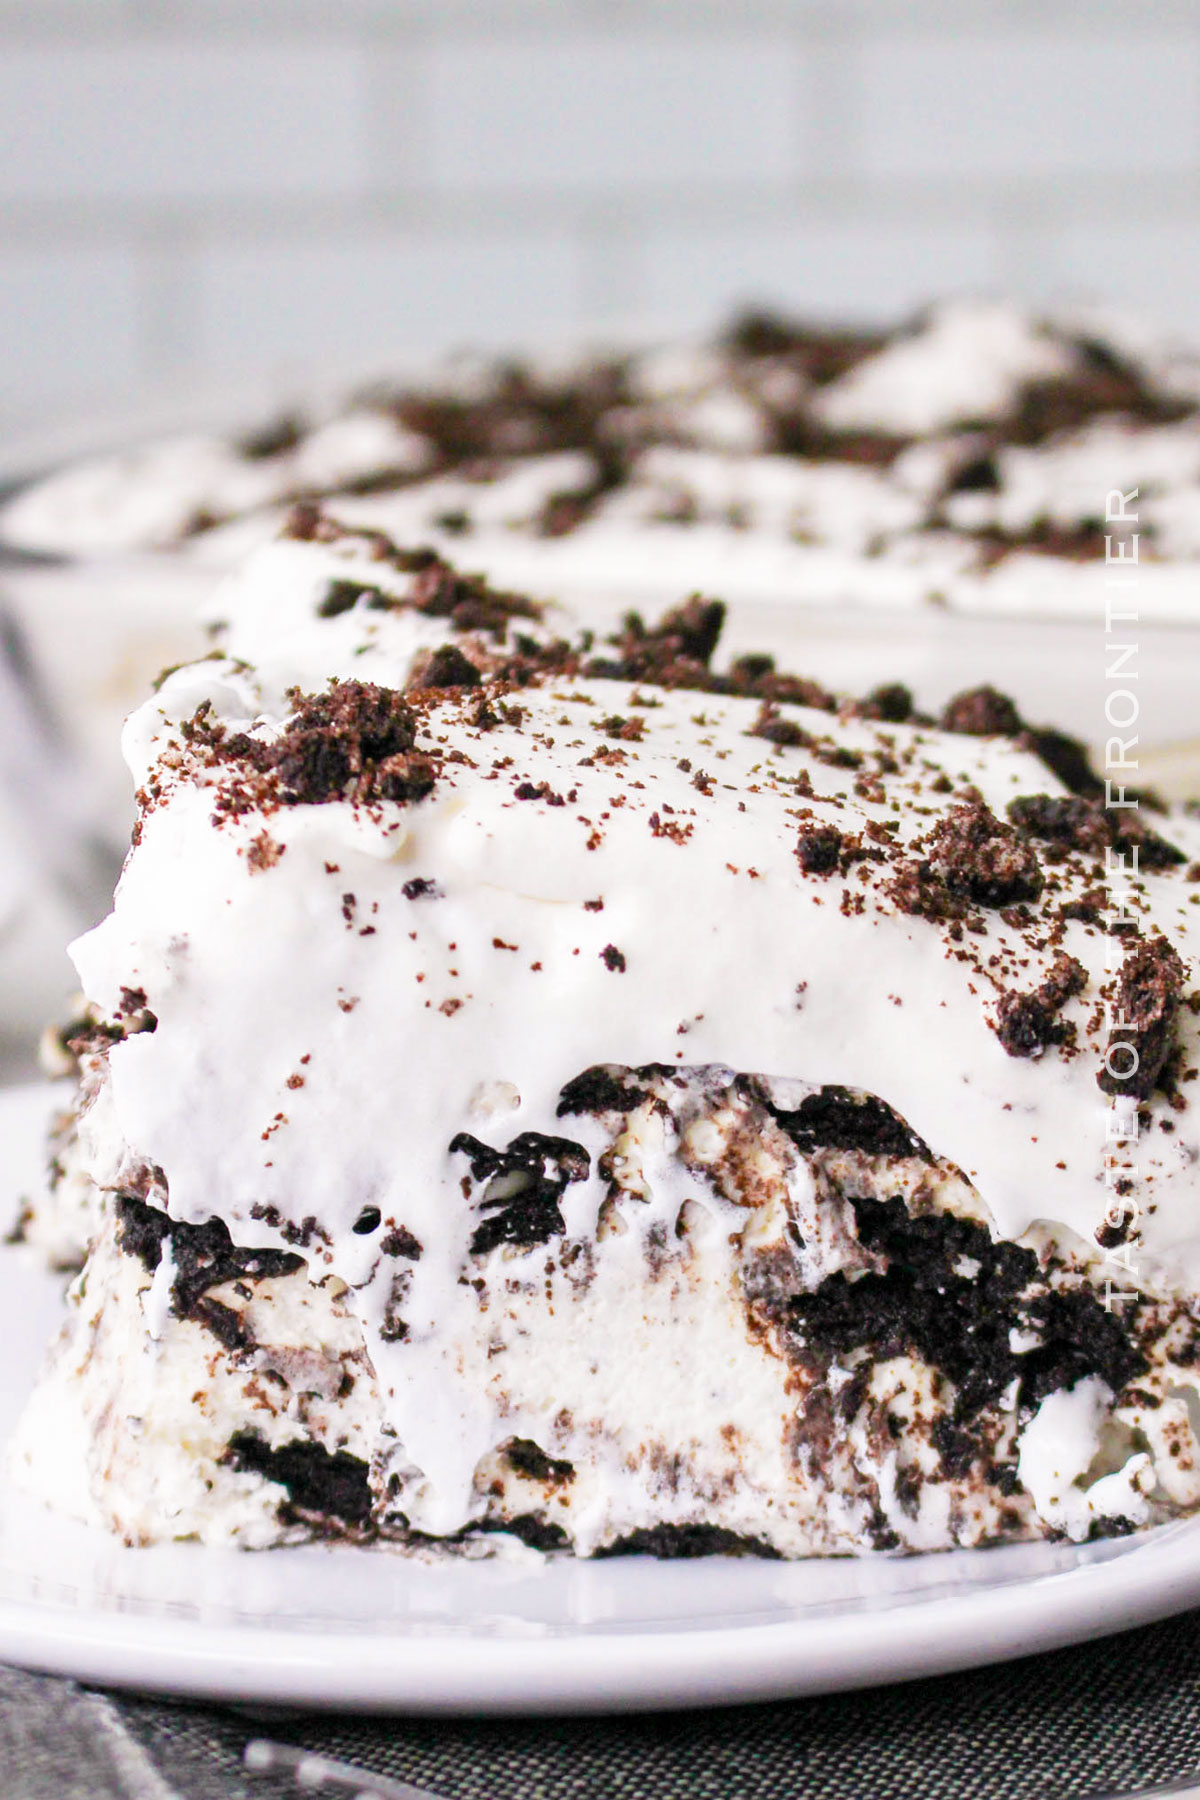
What to Serve With Oreo Icebox Cake
If you’re looking for something to pair this rich, creamy cake with, try serving it alongside a hot cup of cocoa for some extra chocolatey sweetness. For a fun contrast, you might consider serving your Oreo Icebox Cake alongside a tart, citrusy fruit salad.
This will offset the cake’s rich sweetness. Slices of fresh, tangy fruits like oranges, pineapples, and strawberries would complement this cream-filled dessert wonderfully.
Why You Should Make Oreo Icebox Cake
Oreo cookies, that’s why! Ha!
- It’s a no-bake cake, perfect for those warm summer days when you don’t want to heat up your kitchen.
- The combination of the crunchy Oreos and the creamy filling makes for a delicious dessert that the entire family will love.
- It’s an easy recipe with simple ingredients. Most, if not all, of these items are already in your kitchen or easily found in grocery stores.
- This cake is a definite crowd-pleaser. Whether it’s a birthday, holiday, or just a regular Tuesday, this cake will earn you rave reviews.
Variations and Add-Ins for Oreo Icebox Cake
Add a few of the following ideas to your shopping list to inject your own flavors. As always, find ways to make this recipe all your own!
- Swap the regular Oreos for a good Mint Oreo or some Golden Oreos for a flavor twist.
- Add a swirl of chocolate syrup or caramel sauce in between the layers for added richness.
- For a peanut butter twist, spread a thin layer of peanut butter onto the Oreos before adding the cream layer.
- Sprinkle some Reese’s Pieces or chocolate chips between layers for an added surprise!
If you love this easy icebox cake recipe, you’re going to love these other no-bake treats too. Please click each link below to find the easy, printable recipe!



More Icebox Cakes
If you love this recipe for Oreo Icebox Cake as much as I do, please write a five-star review, and be sure to help me share on Facebook and Pinterest!
CONNECT WITH YUMMI HAUS!
Be sure to follow me on my social media, so you never miss a post!
Oreo Icebox Cake
Ingredients
- 25.5 ounces Oreo cookies 1 package
- 8 ounces cream cheese room temperature
- 1 teaspoon vanilla extract
- 4 cups heavy cream
- ¾ cup confectioner’s sugar
- ½ cup Oreo cookies crushed – divided
- 8 ounces whipped topping thawed
Instructions
- In a 9×13 casserole dish, place a layer of Oreo cookies.
- In a large bowl, beat the cream cheese and vanilla until smooth.
- Add the confectioner’s sugar and heavy cream, beating until soft peaks form.
- Reserve 2 tablespoons of the Oreo crumbs. Fold the remaining crumbs into the creamy mixture.
- Drop about ⅓ of the cream mixture over the cookie layer and spread it into an even layer.
- Repeat the layers twice.
- Spread the top with the whipped topping.
- Sprinkle the remaining crushed cookies over the top.
- Cover the dessert and refrigerate for at least 4 hours or overnight before serving.
Notes
Nutrition
Nutritional information for the recipe is provided as a courtesy and is approximate. Please double-check with your own dietary calculator for the best accuracy. We at Yummi Haus cannot guarantee the accuracy of the nutritional information given for any recipe on this site.




This was really good, but I had to dig out and rearrange the oreos to go 3 layers. You need 60 to 72 cookies to cover each layer with oreos. Wish you would have shown how to layer the oreos. I ended up with each layer being 3 cookies in each row. It still turned out wonderful. I know to buy a large and small package to cover each layer.
You should get about 20 cookies in the first two layers with less in the final top layer. Or you can spread them out more and get about 16-17 per layer with more gaps in between.