This Oreo Cookie Crust recipe is the perfect base for all your favorite cheesecakes, no-bake pies, lush desserts, and so much more.
Do you know what makes a pie or a cheesecake even better? A crunchy, chocolatey base! Let me introduce you to a simple yet show-stopping homemade Oreo pie crust.
It will level up any pie you want to use it with. Make sure to save this recipe card for later! This crust has a rich, black layer, with a slightly buttery flavor, just waiting to cradle your favorite fillings.
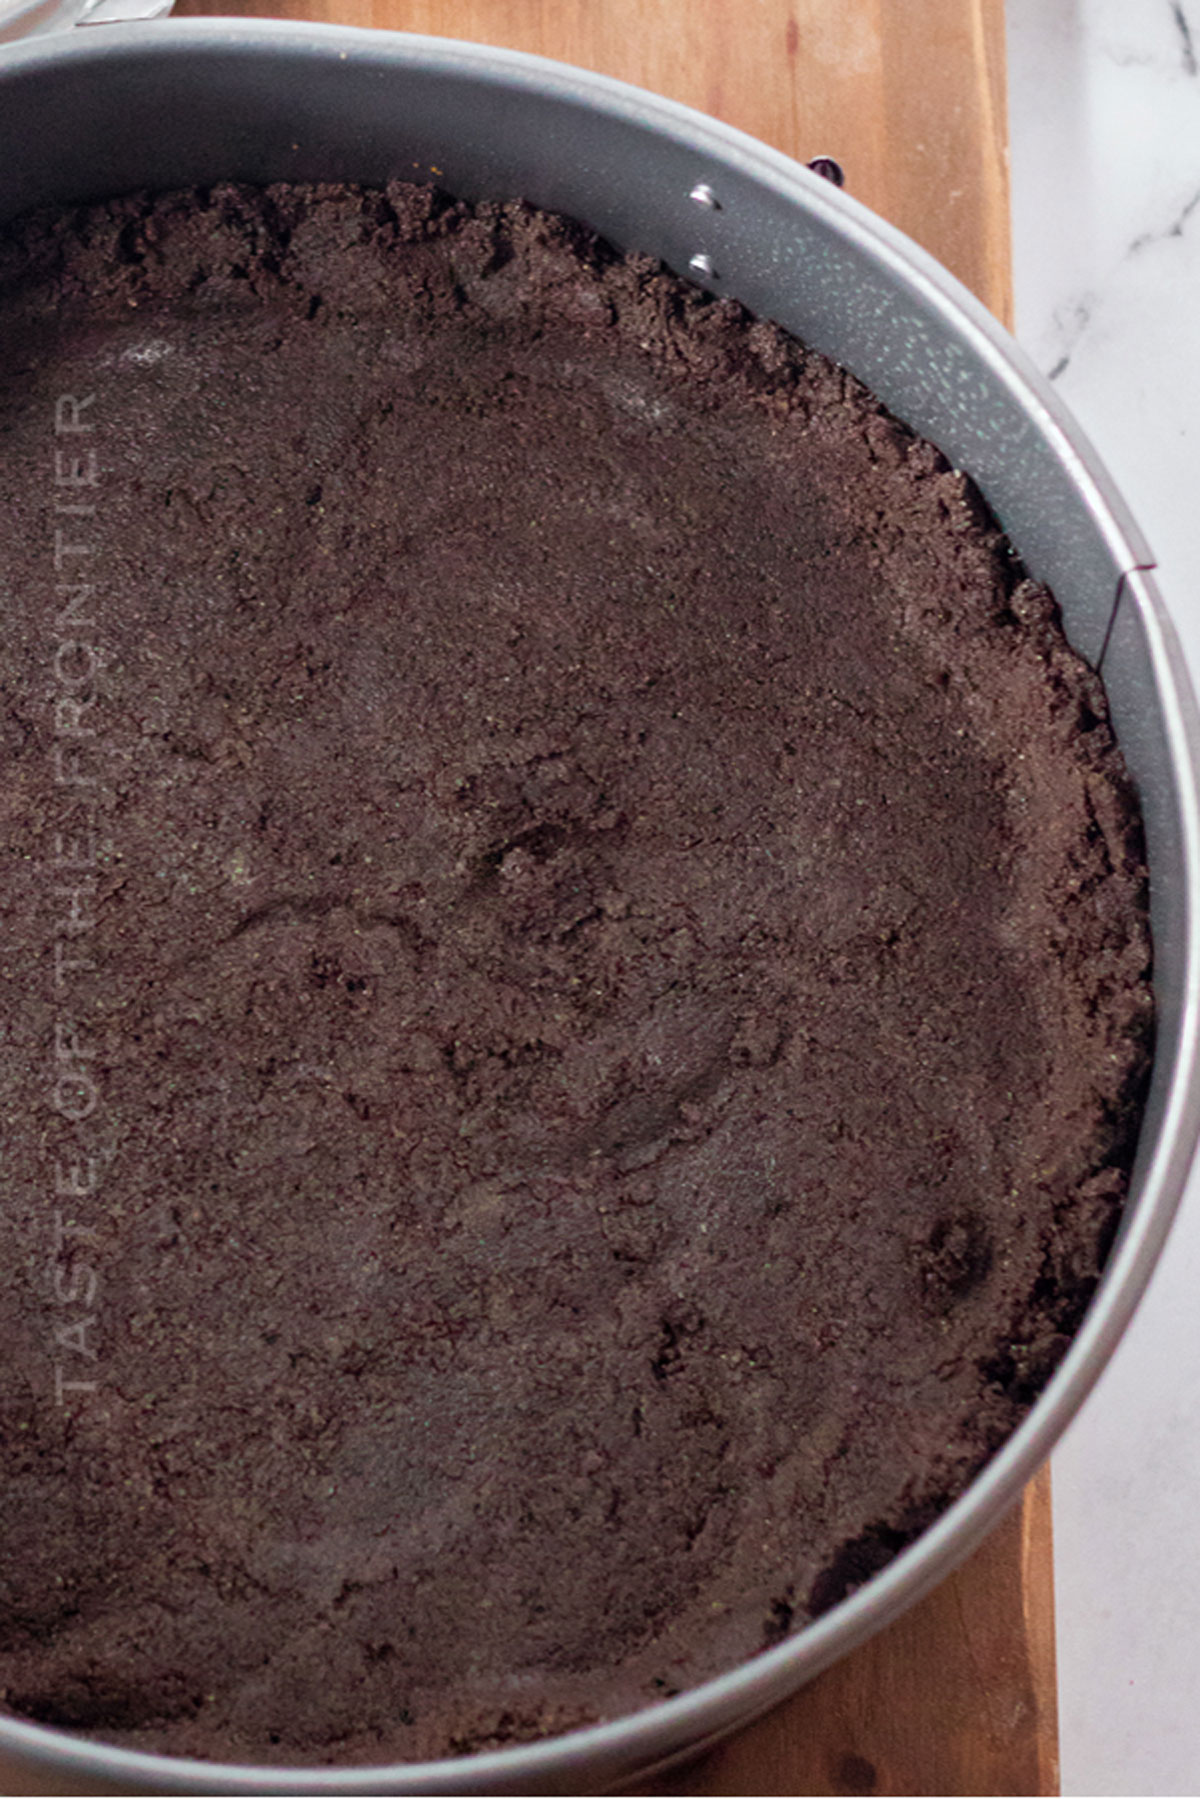
It’s the unsung hero behind some of your favorite pies, and today, we’re making it from scratch! Let’s get into this super easy recipe.
A homemade Oreo cookie crust that’s easy to whip up and elevates any dessert it’s paired with. Whether you’re making a no-bake cheesecake or a rich chocolate tart, this crust promises to be the unsung hero of your dessert spread.
So the next time you’re at the grocery store, grab a pack of Oreos and get baking (or no baking!). It’s about time your fillings met their perfect match!

Common Questions About Oreo Cookie Crust
Do I need a food processor for this recipe?
A food processor is super handy for getting fine crumbs quickly. But if you don’t have one, you can place the Oreos in a Ziploc bag and use a rolling pin to crush them.
Just requires a little bit more elbow grease! Actually, if you’ve got kids around, they’ll love this part. Be sure to get them involved. Recipes like this are great ones for making memories!
Is it a must to refrigerate before adding my filling?
Yes, refrigerating allows the crust to set more fully and ensures it won’t fall apart when you add your filling. Nobody wants a weak crust! Think of it as giving your crust a little “strength training”, haha!
Can I use this for both bake and no-bake pie recipes?
You sure can! This is a really versatile Oreo cookie pie crust and can be the perfect base for both baked and no-bake fillings.
Storage
I love making a few of these crusts ahead of the holidays. That way I’ve got a quick crust on hand from the freezer when I want to make a good no-bake. Tis the season, haha!
Refrigerator
Once you’ve pressed your crust into your pie pan, you can cover it with plastic wrap and keep it in the refrigerator for up to 3 days before adding your filling.
Freezer
For longer storage, wrap the crust in both plastic wrap and aluminum foil. It can be frozen for up to 3 months. Just be sure to thaw it in the refrigerator before use.
Tips
My biggest tip is to experiment a little. A good Oreo crust recipe is one that you know how to make by heart. The more you practice, the better these will turn out!
- For a crunchier crust, try baking it in a preheated oven for 8-10 minutes.
- No pie pan? A springform pan or tart pan works great too!
- If your mixture feels too dry, add an extra tablespoon of melted butter.
- For a thinner crust, simply reduce the number of Oreos and butter proportionately.
Ingredients
It doesn’t get much simpler than that, right? It’s an easy Oreo pie crust recipe that you’ll want to keep in your book from here on out!
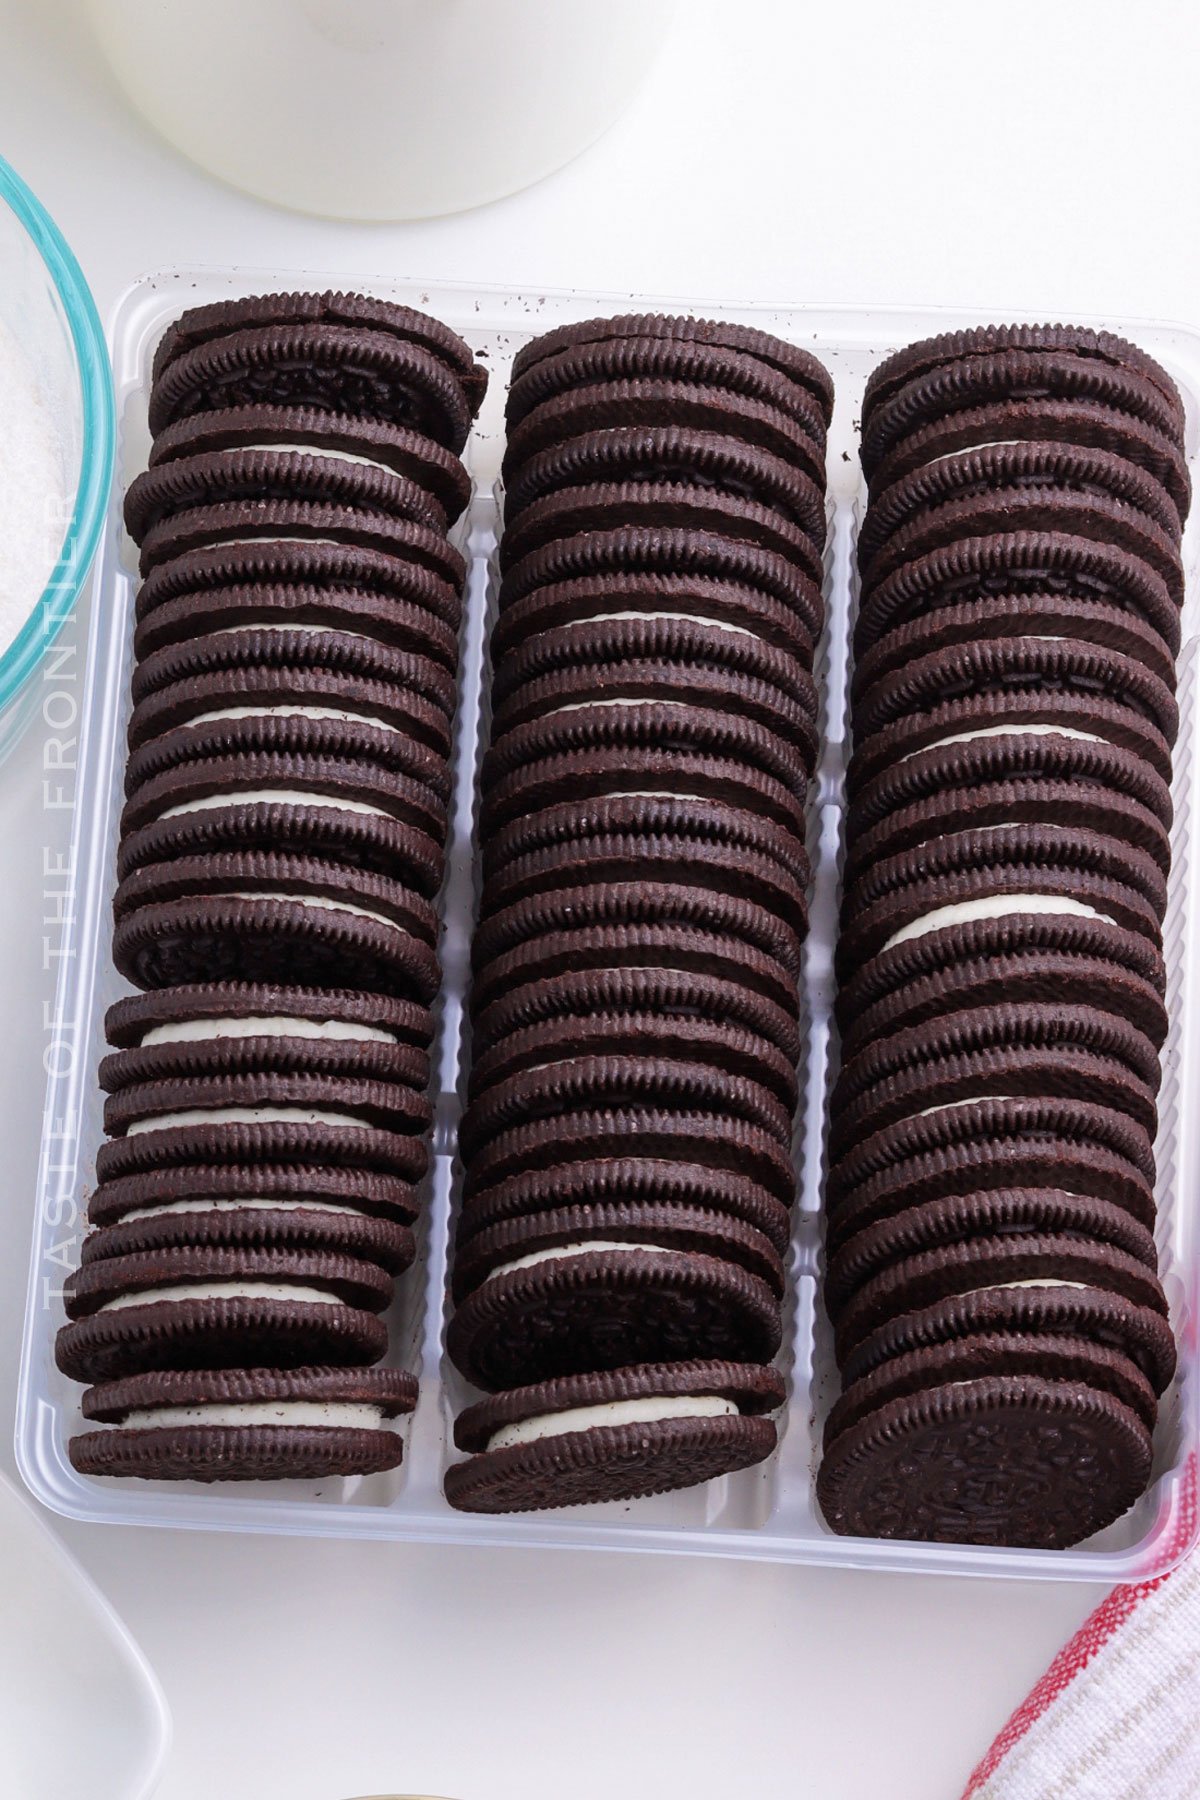
- Oreo cookies
- Butter, unsalted and melted
How to Make Oreo Cookie Crust
You should be able to knock this out pretty quickly. I know you’ve probably got plenty of other things to bake, so we don’t want this to take long. Here we go!
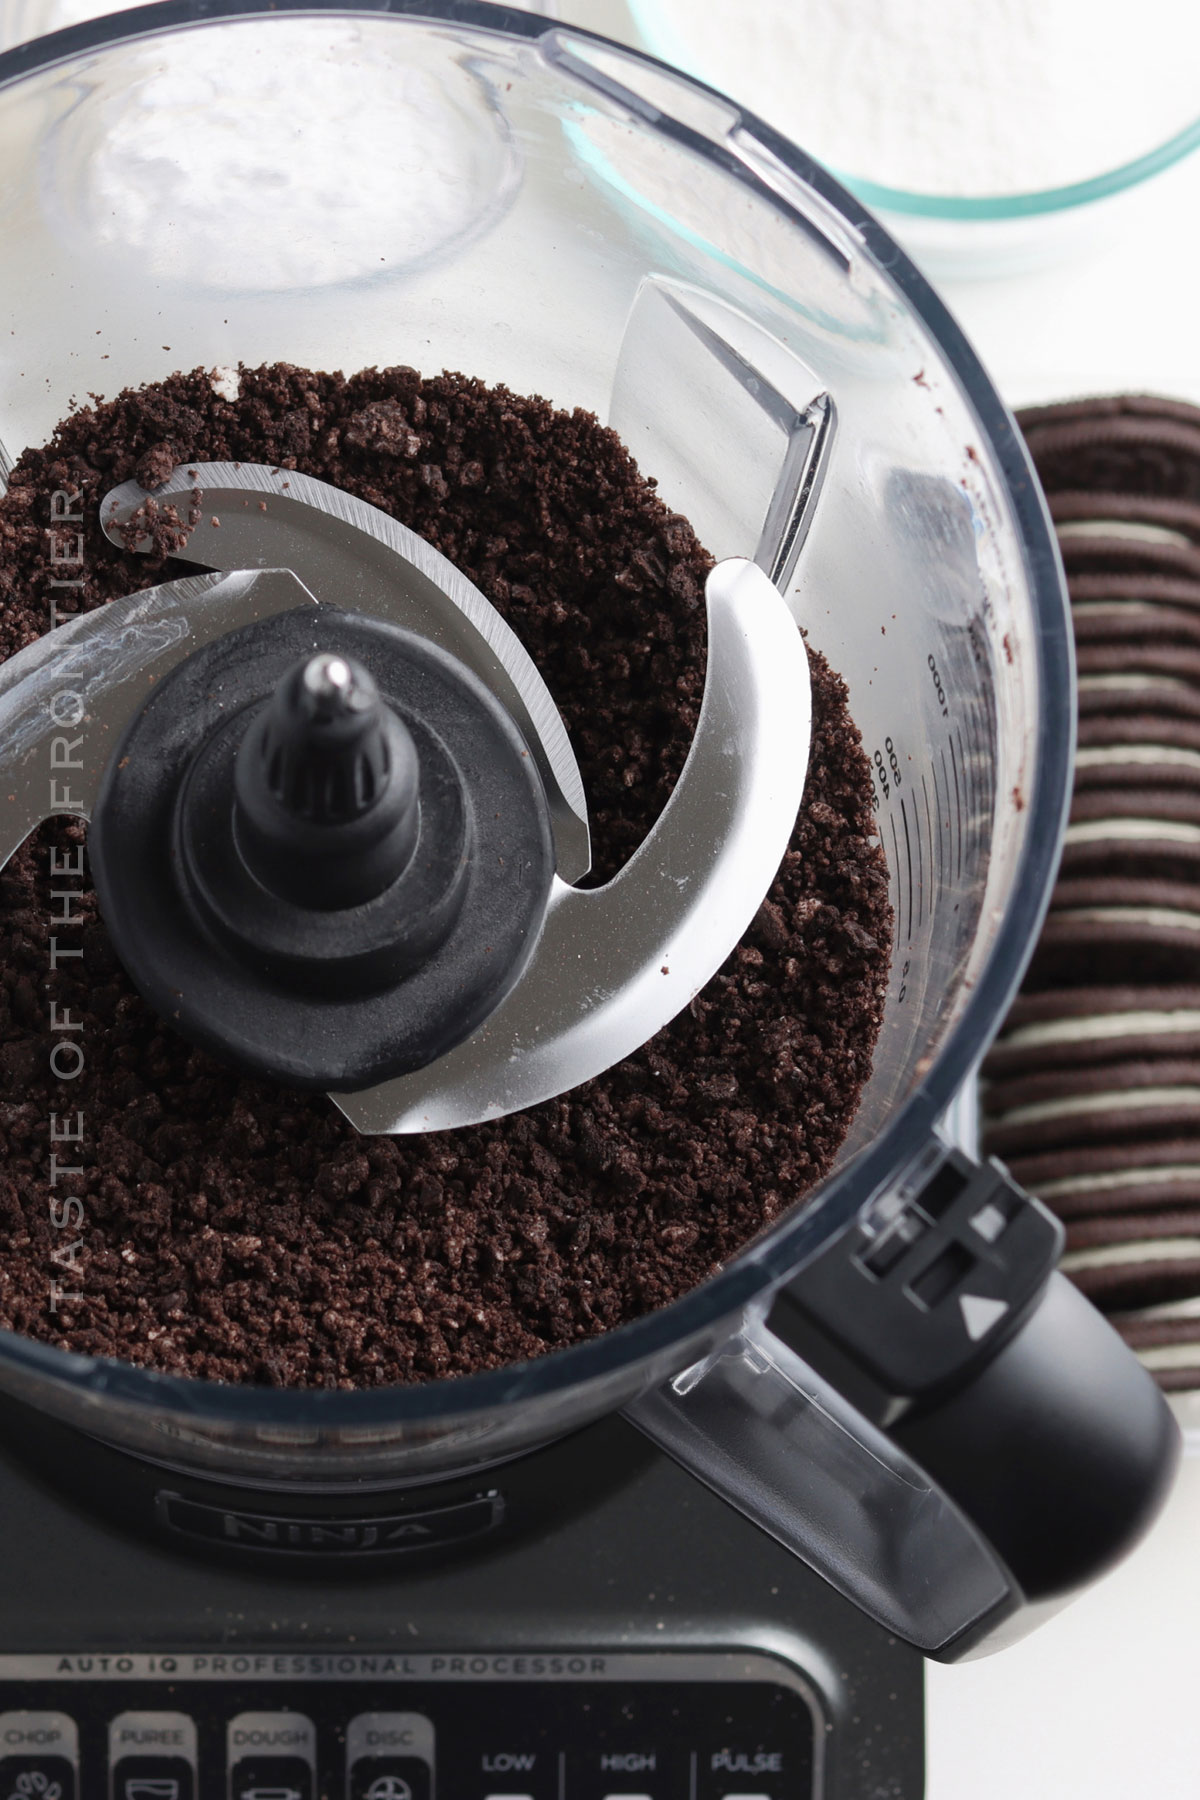
- Place the cookies in a food processor and process until they reach the consistency of fine crumbs.
- Transfer the cookie crumbs to a large mixing bowl.
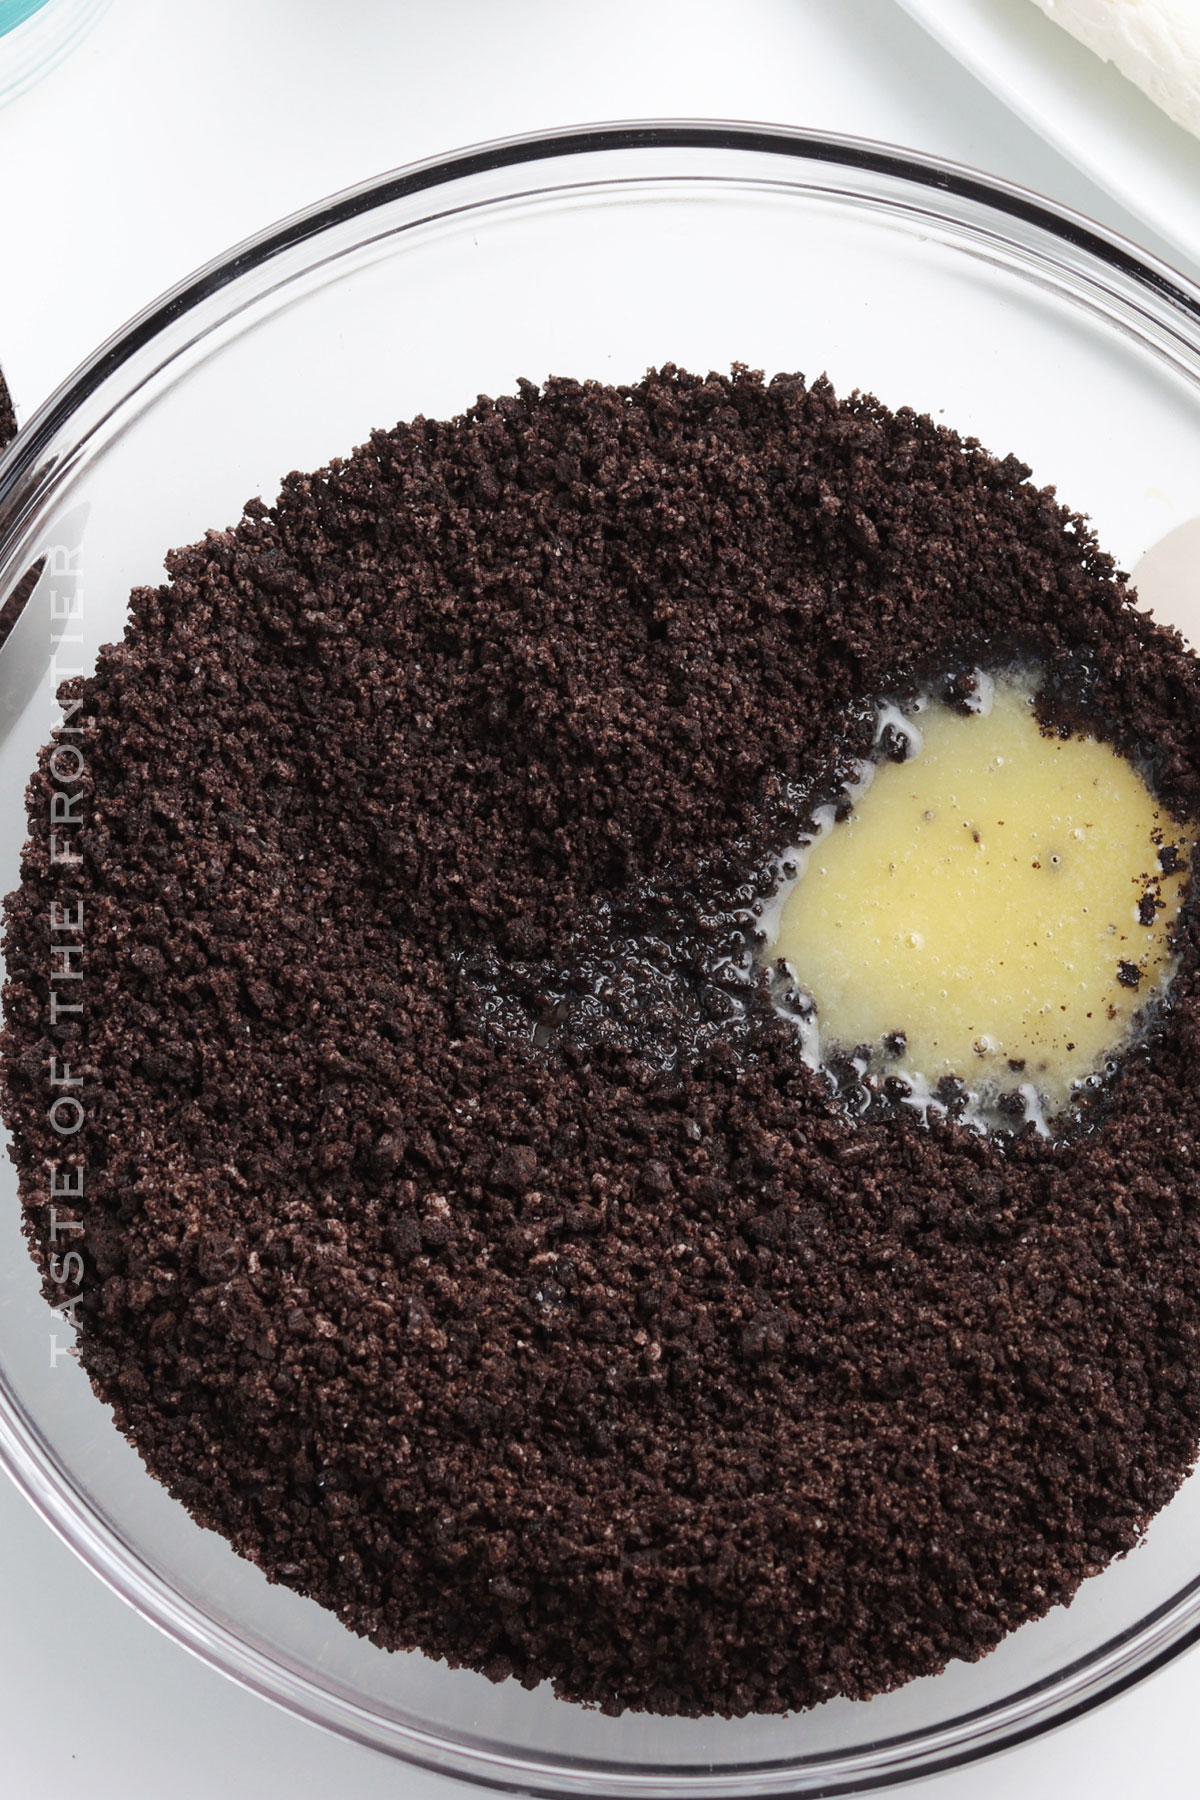
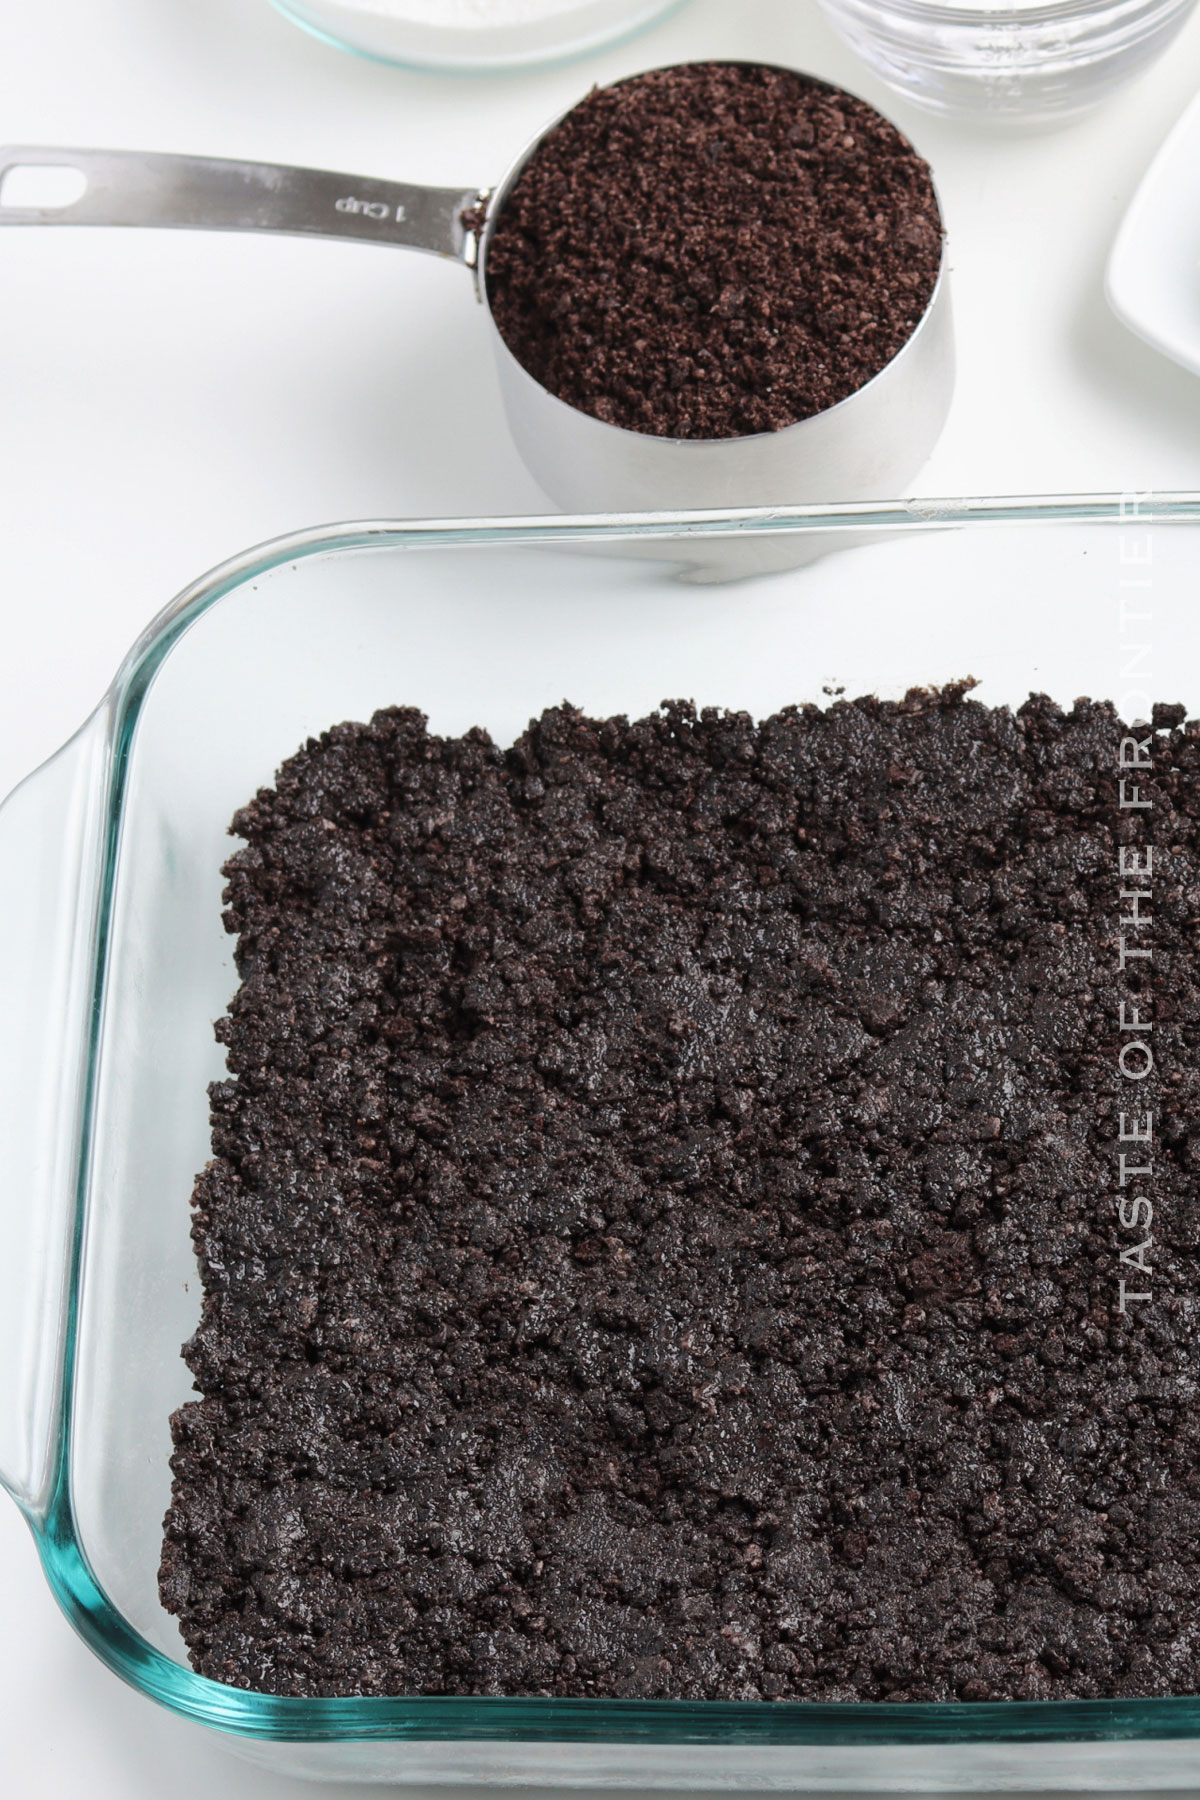
- Pour the melted butter into the crumbs and work it together until the crumbs are moist and the mixture is crumbly.
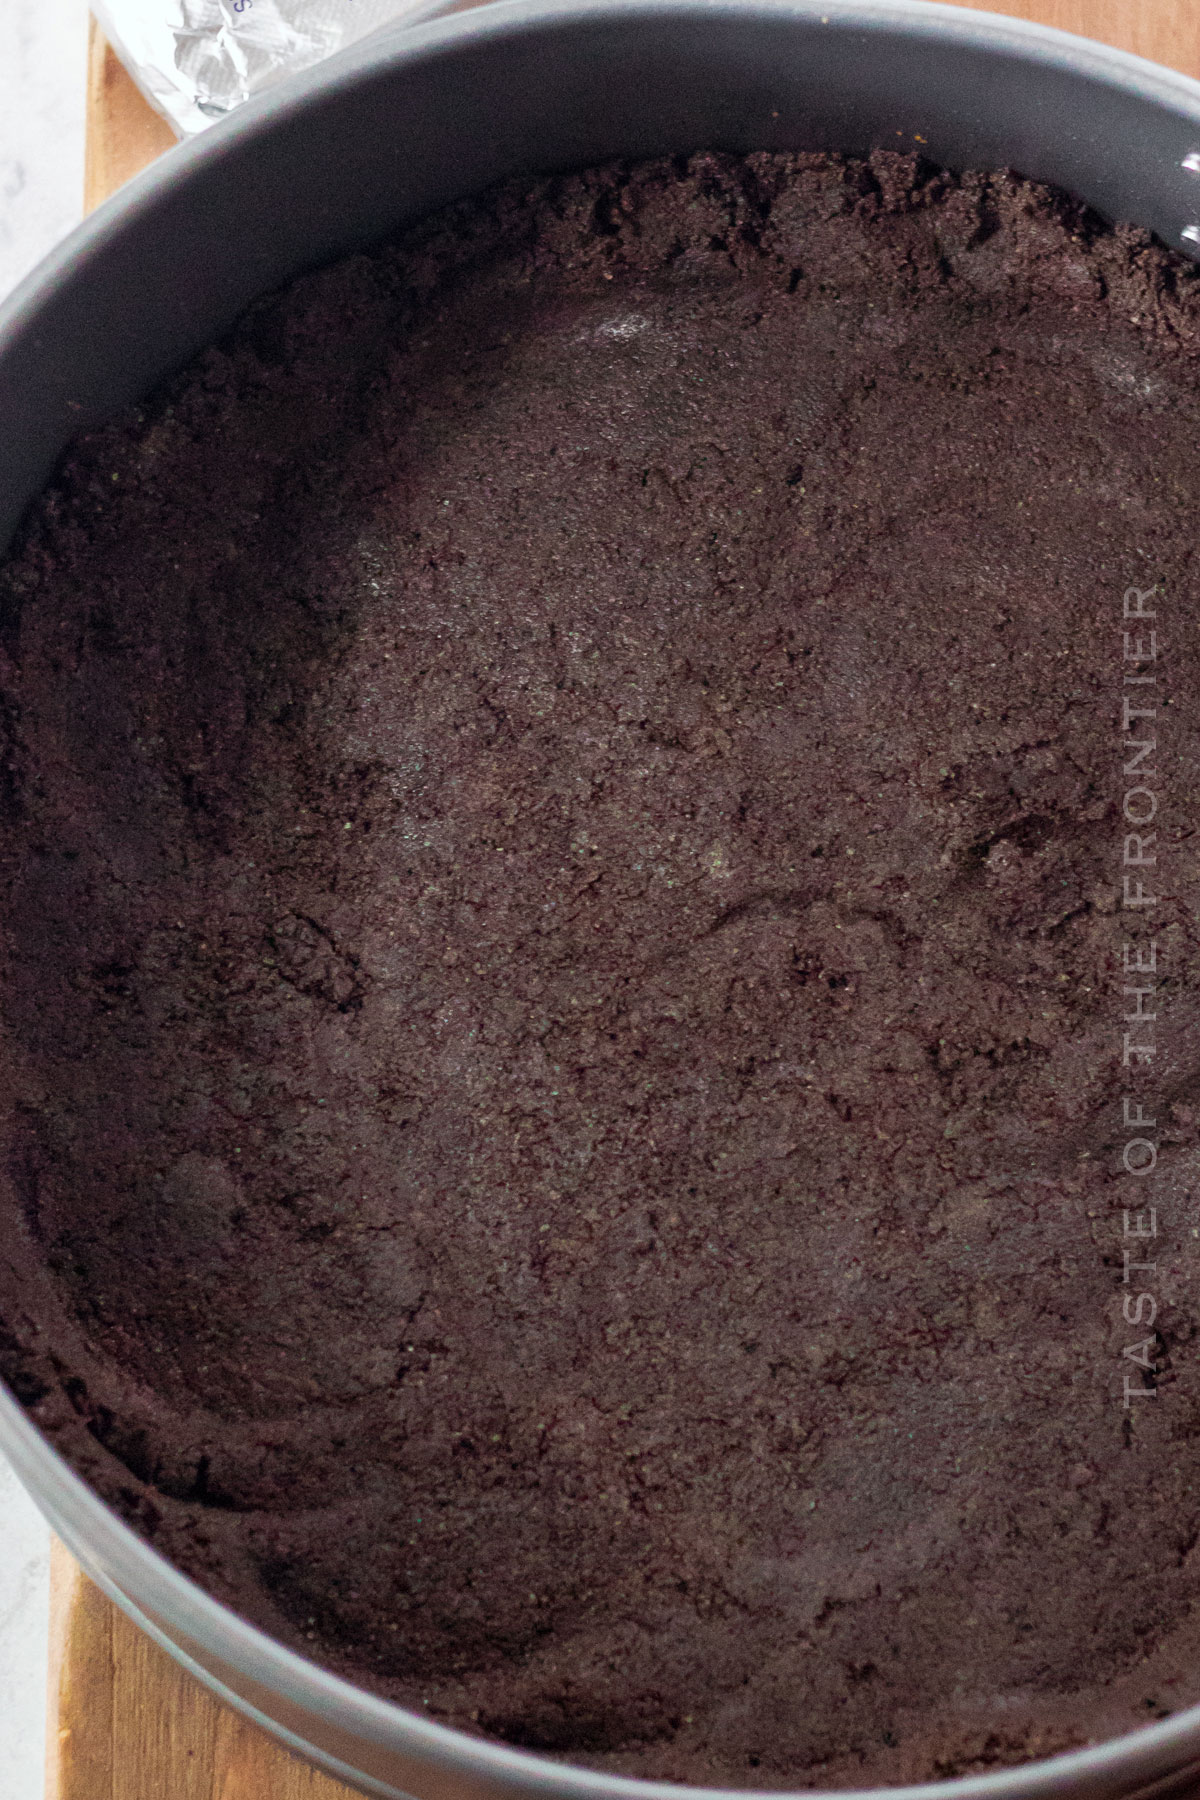
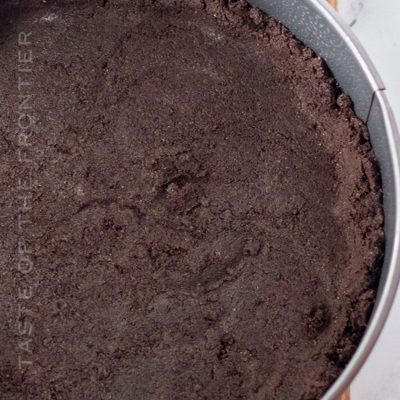
- Spread the mixture into a pie pan, press into a flat, even layer, and refrigerate for at least 30 minutes to set before adding your filling of choice.
Kitchen Supplies You’ll Need for Oreo Cookie Crust
It’s times like these when your food processor really shines. Yay for modern technology! What would our lives be like without little perks like these?
- Pie pan or tart pan
- Food processor or Ziploc bag and rolling pin
- Large or medium bowl
- Measuring spoons
What to Serve With Oreo Cookie Crust
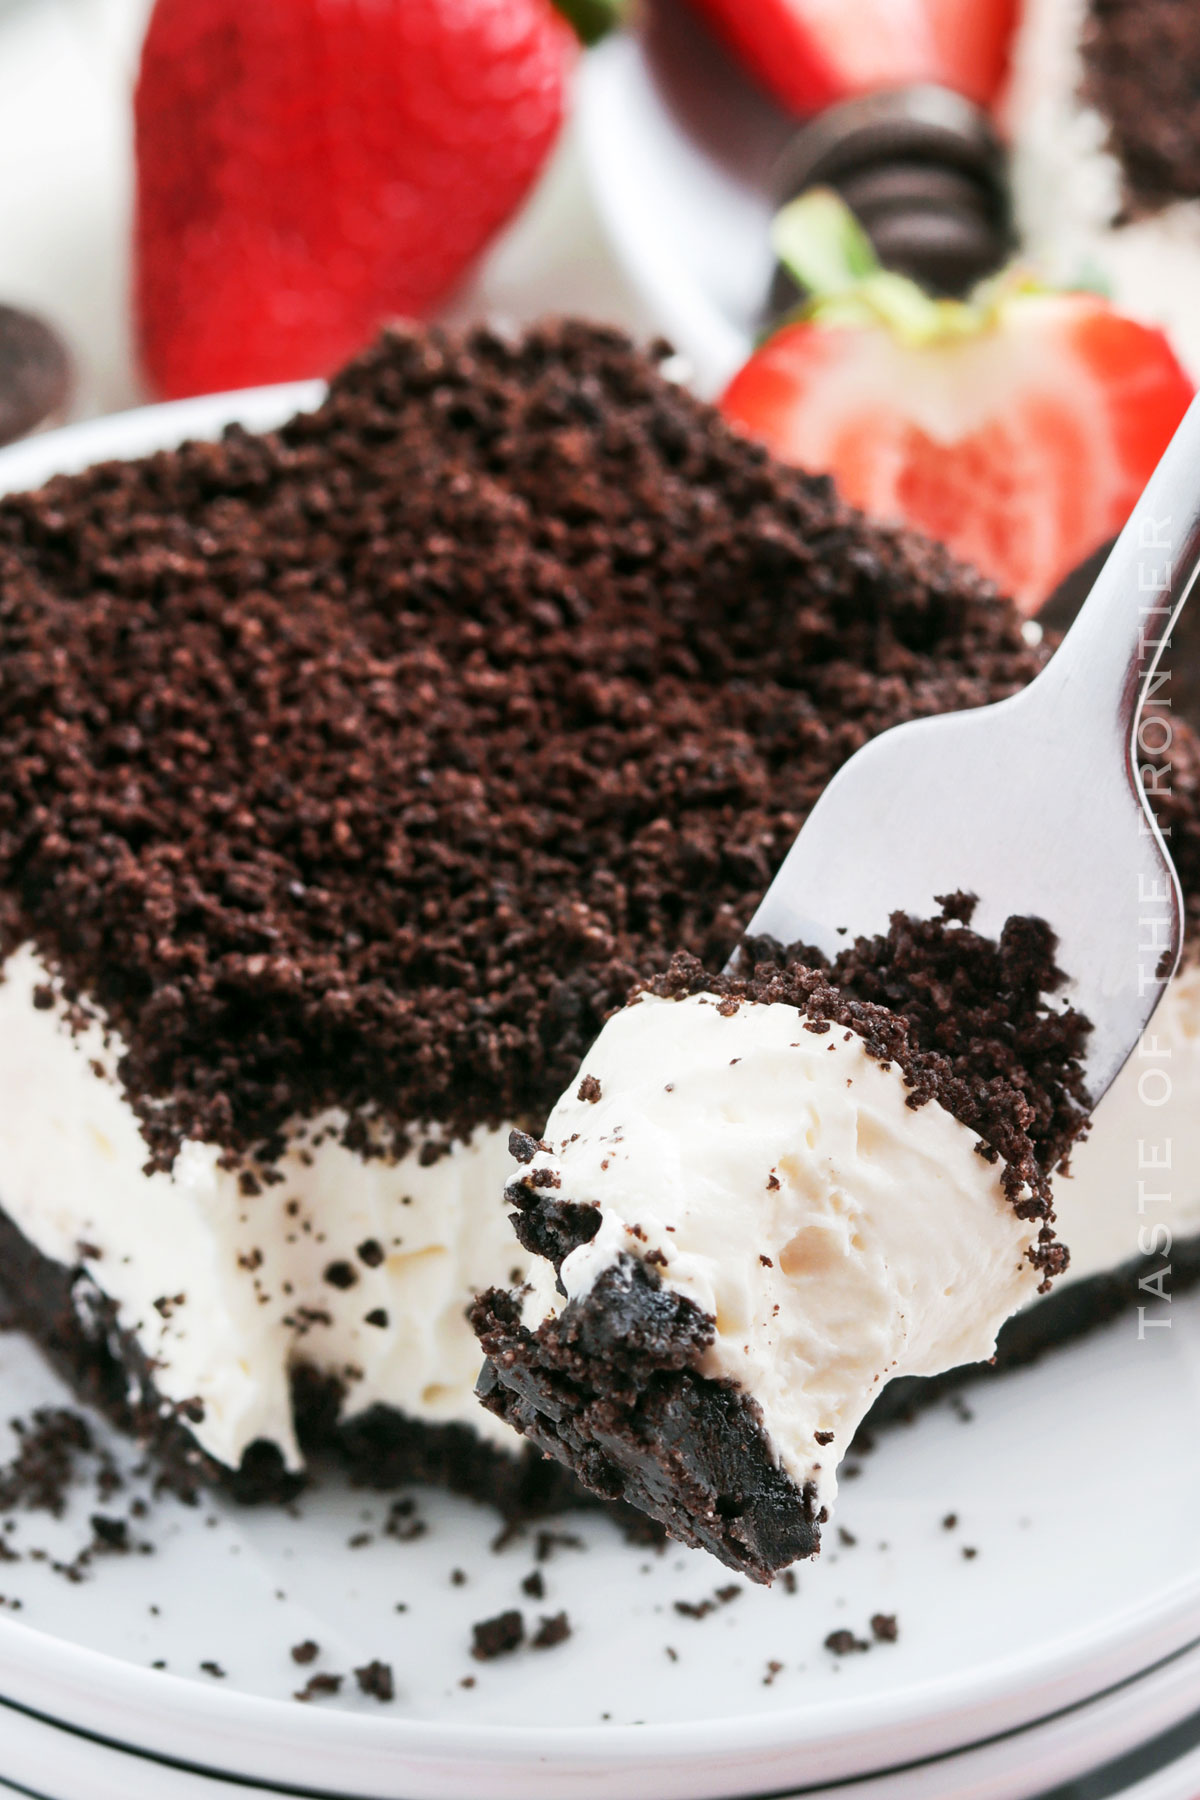
What’s your favorite way to use a good Oreo cookie crust? Be sure to let me know in the comments below. Especially if it might be considered a little different. I love hearing about it!
- Classic cheesecake
- Key lime pie
- Grasshopper pie (minty!)
- Chocolate peanut butter pie
- French silk pie
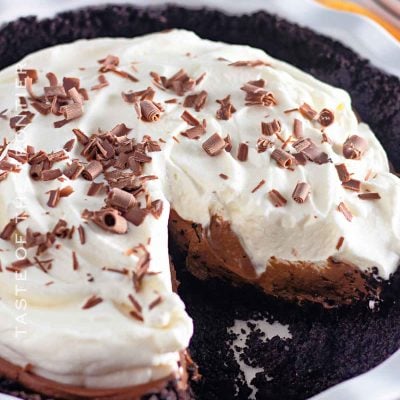
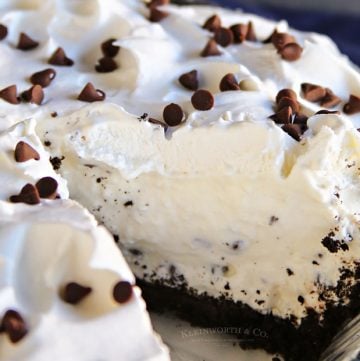
- Any no-bake pie filling you adore!
Why You Should Make Oreo Cookie Crust
Sometimes the crust is the more difficult part of a pie. Sometimes we just need something that’s a bit simpler. That’s where this recipe really shines!
- It’s Easy: With just two simple ingredients, it’s a breeze to prepare.
- Versatile: It works as the perfect base for a variety of your favorite desserts.
- Taste: This homemade Oreo crust offers a rich chocolatey depth that store-bought crusts just can’t match.
- Customizable: From golden to peanut butter to mint, you can get creative with Oreo flavors!
Variations and Add-Ins for Oreo Cookie Crust
As usual, I’ve got some great options here to change things up a bit. There are so many different pies that this crust will work with. What’s your favorite?
- Golden Delight: Swap out regular Oreos for Golden Oreos for a vanilla twist.
- Nutty Crunch: Mix in crushed peanuts or almonds for an added crunch.
- Chocolate Overload: Drizzle some melted chocolate over the crust before refrigerating.
- Salted Edge: Add a pinch of salt to the crumbs for a salted chocolate crust.
- Minty Fresh: Use mint Oreos and some peppermint extract to give your crust an extra pop!
Don’t Miss Our Classic Flaky Pie Crust
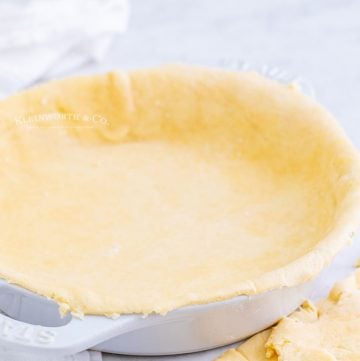
If you love this easy cookie crust recipe, you’re going to love these recipes to use it with too. Please click each link below to find the easy, printable recipe!

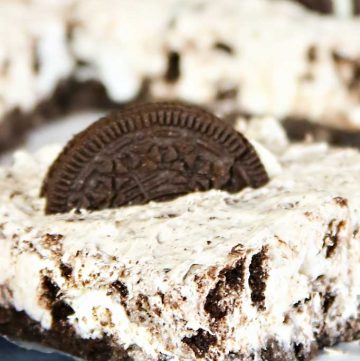
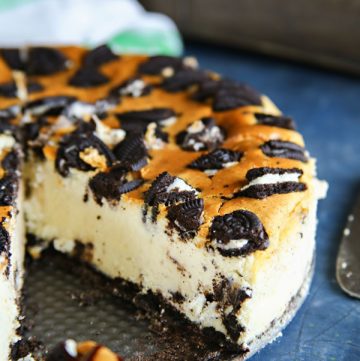
More Great Oreo Desserts
CONNECT WITH YUMMI HAUS!
Be sure to follow me on my social media, so you never miss a post!
Oreo Cookie Crust
Ingredients
- 24 Oreo cookies
- 4 tbsp butter unsalted – melted
Instructions
- Place the cookies in a food processor and process until they reach the consistency of fine crumbs.
- Transfer the cookie crumbs to a large mixing bowl.
- Pour the melted butter into the crumbs and work it together until the crumbs are moist and the mixture is crumbly.
- Spread the mixture into a pie pan, press into a flat, even layer, and refrigerate for at least 30 minutes to set before adding your filling of choice.
Nutrition
Nutritional information for the recipe is provided as a courtesy and is approximate. Please double-check with your own dietary calculator for the best accuracy. We at Yummi Haus cannot guarantee the accuracy of the nutritional information given for any recipe on this site.



Share Your Thoughts