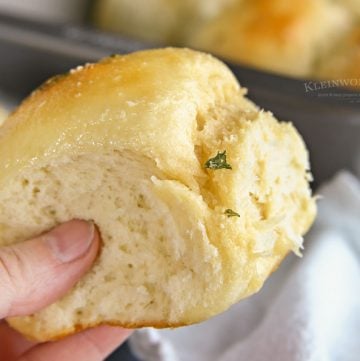
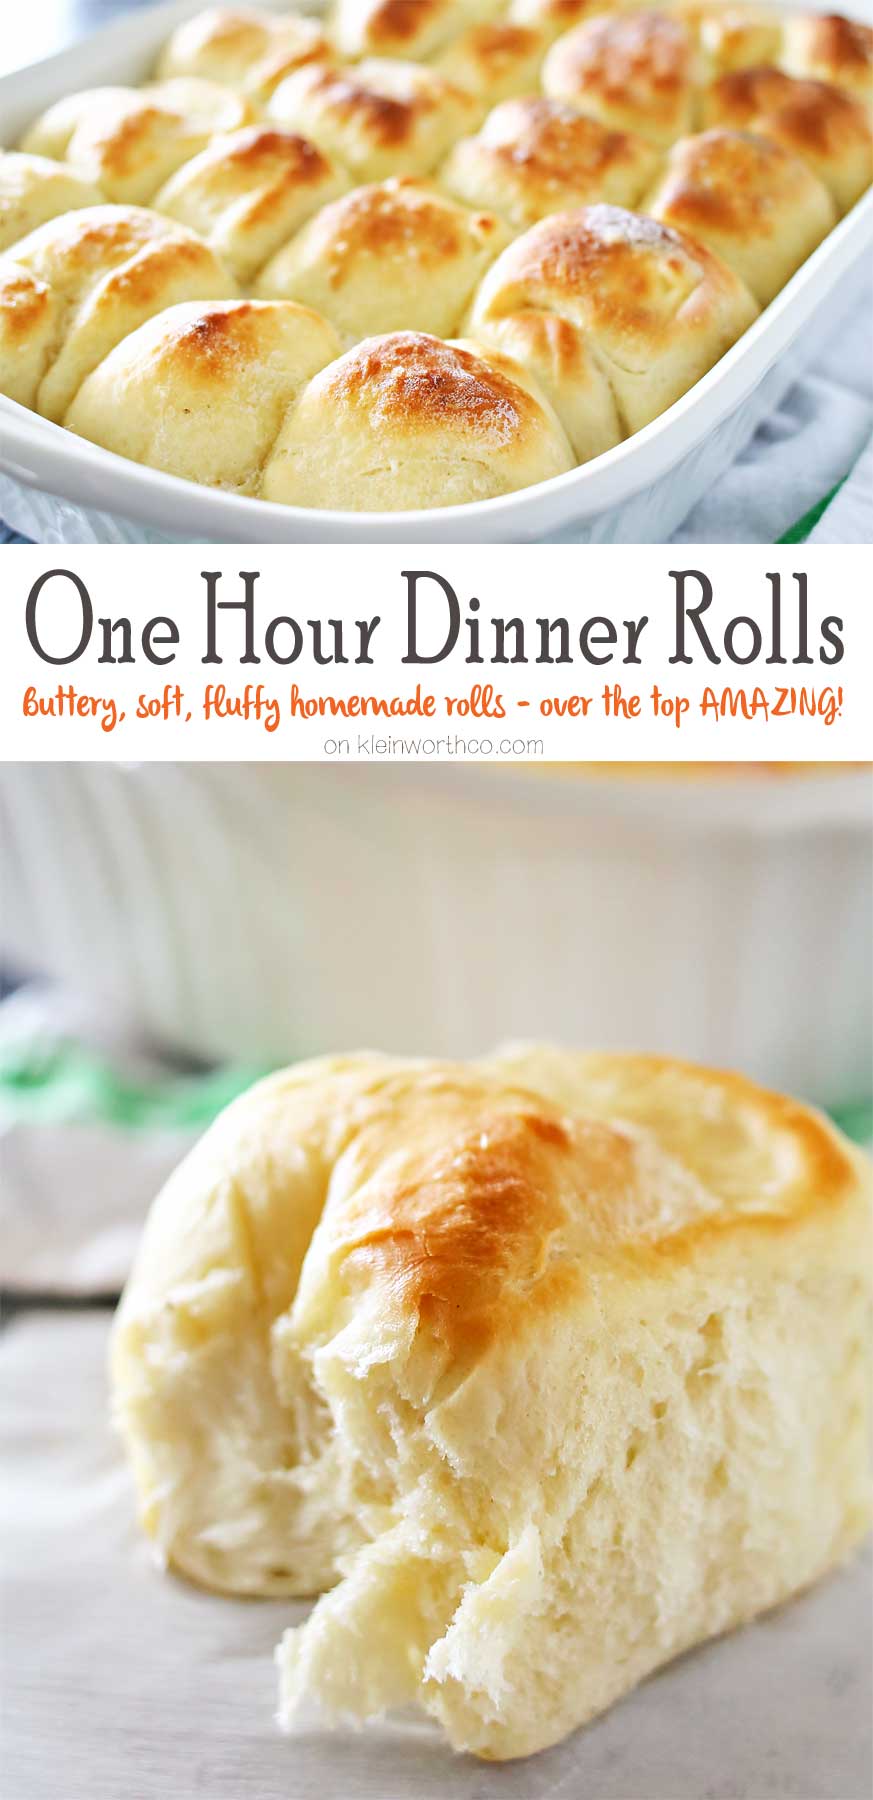
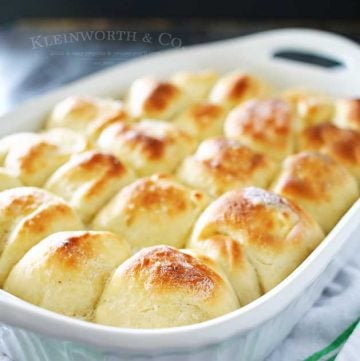
One Hour Dinner Rolls are made with this easy yeast rolls recipe. Buttery, soft, fluffy dinner rolls are undeniably delicious & literally, take just 60 minutes to make! My favorite roll recipe ever! The perfect recipe for holidays & gatherings.
I love bread. Actually, what I should say is that I’m completely obsessed with bread. I LOVE it so much. It’s definitely a weakness for me.
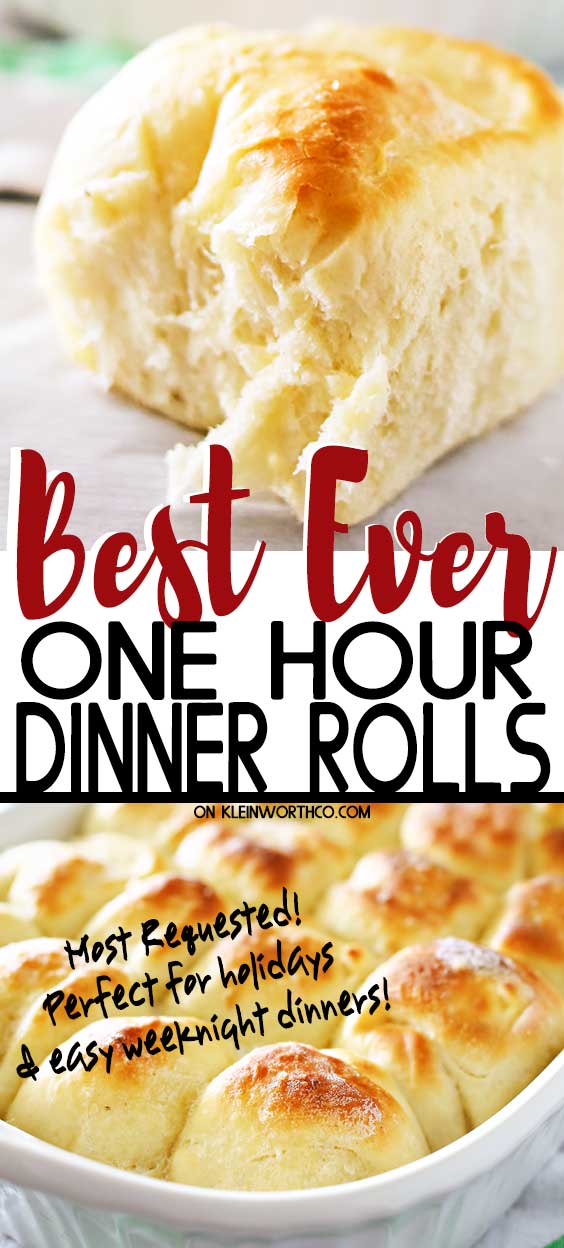
So when I was looking through all the amazing recipes by all the bloggers in our recipe swap group I was super excited for the chance to make these soft & fluffy one-hour rolls from The Baker Upstairs.
I mean beautiful, perfect dinner rolls in an hour- I’m all for that. Even though this is a yeast roll recipe, it still only took an hour. I have to tell you- these were OVER THE TOP AMAZING! I’m completely swooning over these.
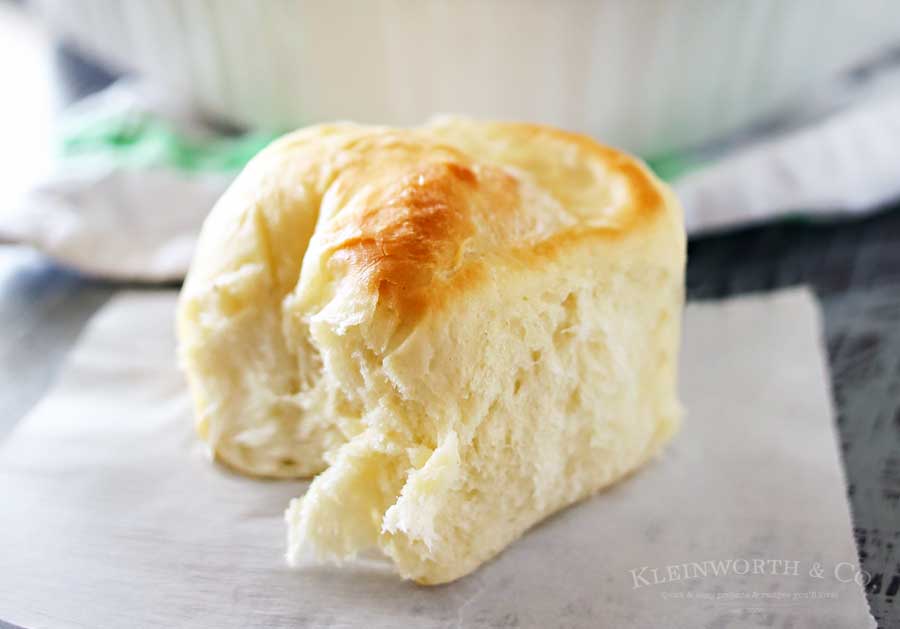
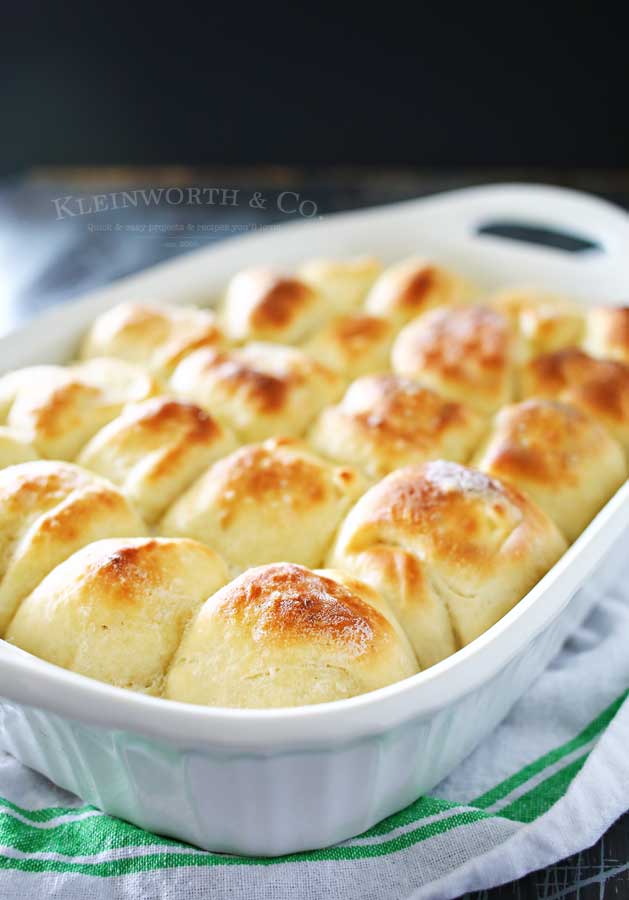
I was so drawn to this recipe because it gave me a chance to use my beautiful, new casserole dish that I’m seriously crushing on.
Normally I would have made these in my standard casserole dish– but once I picked up this new one, there’s no looking back. Somehow pulling these out of a pretty dish made them even better. 🙂
One Hour Dinner Rolls recipe
This post contains some affiliate links. Click here to read my full disclosure policy.
I must say, I shared these first ones with my son because he was helping me with the photos. Then we each had a couple with our soup at dinner & there must have been a few more enjoyed at some point between then & dinner the next day.
So that meant that the next day there were 7 left.
My son looked at me & asked how I wanted him to split them up between the 4 of us. I looked at him like he should know better than to ask- he already knew the answer.
If I were a good mom I would have told them to each have 2 & I would take the last one. Did I? Nope! Because I’m obsessed with bread, they each got ONE & I had the remaining 4.
Yes- I did- I ate 4 in one sitting & didn’t regret it one bit. I enjoyed every single buttery, salty, fluffy bite.
We make these all the time- because these are INSANELY DELICIOUS!
I encourage you to go visit Alicia & see all her drool-worthy recipes. You won’t be disappointed!
My favorite recipe of hers- these carmelitas! AMAZING- I’m telling you.
Here are some commonly asked questions
Please see the following frequently asked questions we get for these rolls. This will help assure that they turn out perfect each & every time you make these.
That’s a lot of sugar- can I reduce the amount?
No. While it may seem like a lot, it does not make these rolls sweet in any way. The sugar helps the yeast to ferment & rise, so you have nice fluffy rolls.
That’s a lot of salt- can I reduce it?
Also no to this question. This really helps add to the flavor & helps while the dough is rising. If you would like less salt, use unsalted butter.
What is the best way to store leftover dinner rolls?
We never have leftovers of these rolls. However, if you happen to have a few extra laying around, place the leftover rolls in a zip-top bag or airtight container. This recipe should keep at room temperature for up to 3 days.
Why are the rolls dry, not soft & fluffy when I pull them out of the oven?
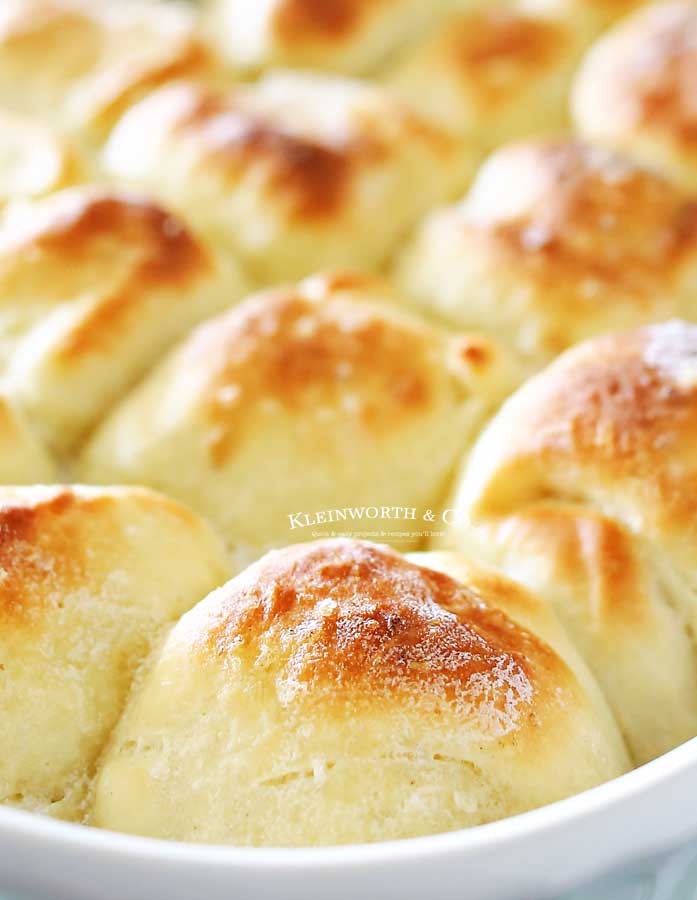
Because ovens are hot & dry & suck the moisture out of everything. This is where the second coat of butter comes in.
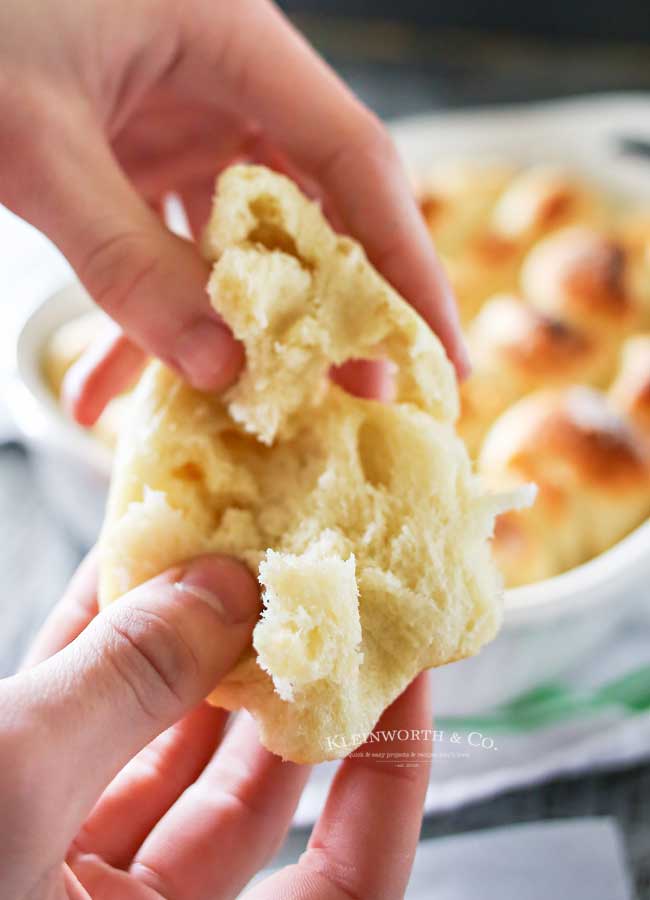
Just brush a little bit of melted butter over the tops & let them cool a bit. This makes the rolls soft & squishy & everything you look for in a roll.
How many can this serve?
I make about 20 rolls with this dough. So for my family of 5 – it’s good for about 1 dinner. But if each guest had 2, you could feed 10 people.
How do you make soft bread rolls
Can this recipe be doubled?
Yes, absolutely if you are working it by hand. This dough fills my mixer. So I usually don’t double the recipe. I typically do them back to back.
What if I don’t have a mixer or can I use a hand mixer?
A mixmaster or hand mixer won’t be the right way to go. You want something with a dough hook, not beaters.
In this case, the mixture can be worked by hand with a large rubber spatula or wooden spoon & then, later on in the recipe, you would need to knead the dough by hand.
My son did it this way since he didn’t have a stand mixer when he moved out & he was able to get them to turn out the same on his first try.
HOW TO MAKE ONE HOUR DINNER ROLLS?
- Using your mixer bowl, dissolve the yeast and sugar in the warm water and let stand for five minutes, or until foamy. (if your bowl is chilled or your room is cool this could take longer)
- Add butter, salt & 3 cups of the flour, and mix until combined.
- Add additional flour, 1/4 cup at a time, until the dough pulls away from the sides of the bowl and is slightly sticky to the touch. (do not add too much flour!)
- Let the mixer knead 3-5 minutes, until smooth.
- Cover with plastic, place in a warm spot and let rise 20 minutes.
- Preheat oven to 400 degrees & spray a 9 x 13 casserole dish with cooking spray.
- Punch down the dough & divide into 20 equal sized pieces.
- Roll each piece into a ball and space evenly in the prepared pan.
- Brush with melted butter, sprinkle with sea salt, and let rise for an additional 15-20 minutes Bake 13-15 minutes, or until golden brown. ( you can turn on the broiler for about 1-2 minutes at the end to get a more golden top)
- Remove and brush with butter.
- Let cool slightly before serving.
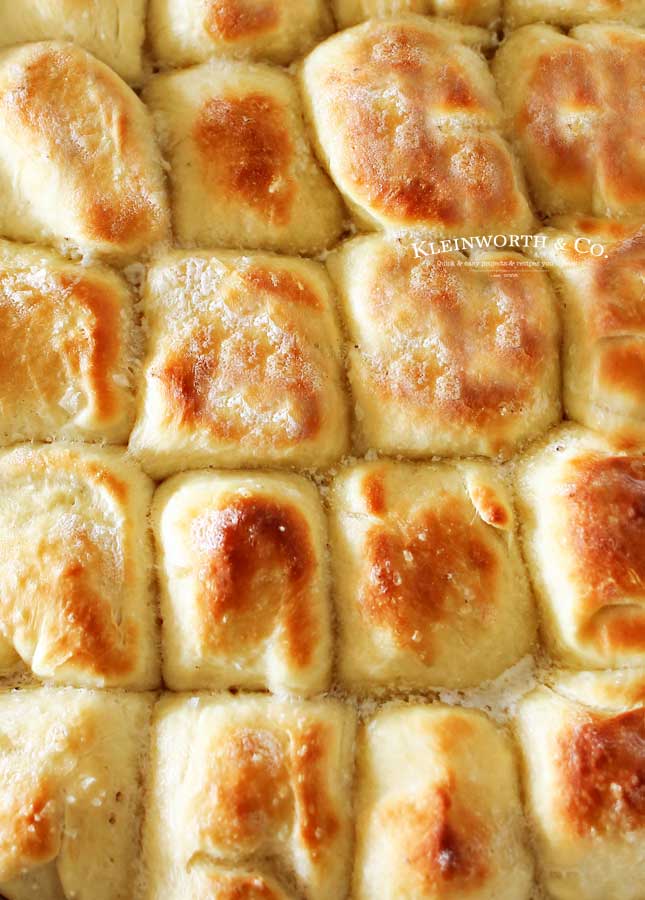
How do I get 20 rolls out of this dough?
I have found that the best way is to quarter the original ball of dough. Then I roll each into a log & cut it into 5 even pieces.
My dough didn’t rise, what happened?
Most of the time this means your water was either too hot or too cold. If it is too hot it will kill the yeast, too cold & it just won’t rise. I find that using a thermometer helps & bringing the water to 95-105 degrees is best.
What is the best yeast?
You can use rapid rise, premium or whatever you have on hand. I buy my yeast in the bulk section of my store, so it’s not brand-name or anything fancy & it works just great.
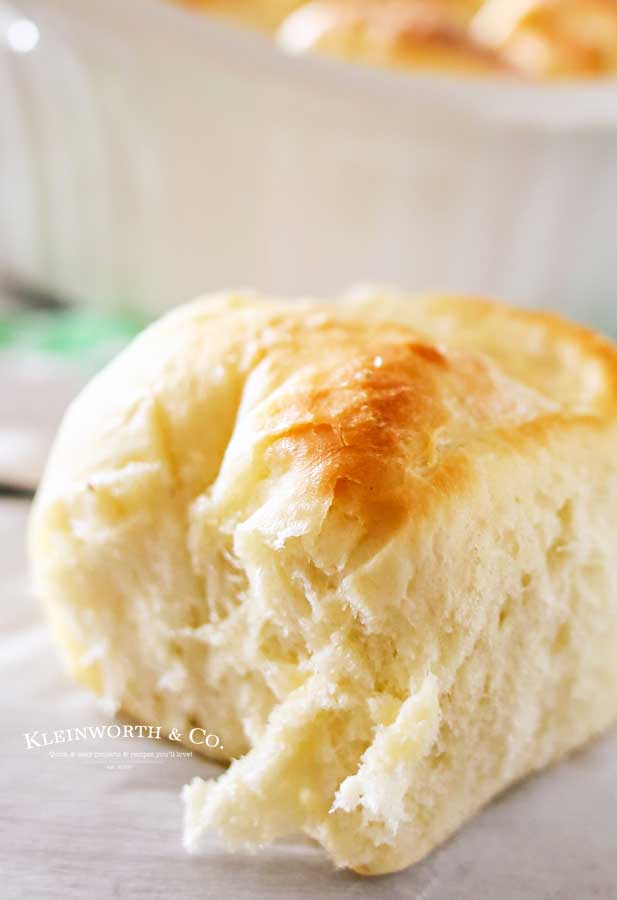
More Must-Try Dinner Rolls
- 30-Minute Garlic Parmesan Dinner Rolls
- One-Hour Brown Bread Dinner Rolls
- Copycat Olive Garden Breadsticks
These need more flavor.
I have actually received this comment & was shocked. Only later did I learn that the person didn’t brush them with butter before or after baking & didn’t add the salt at the end either.
So please don’t omit these ingredients or steps. They are there for a reason & they are what make these rolls over-the-top delicious!
DINNER ROLLS
Ingredients for One Hour Dinner Rolls
- warm water
- yeast- I used rapid yeast
- granulated sugar
- butter-softened
- salt
- all-purpose flour
- melted butter
- sea salt flakes
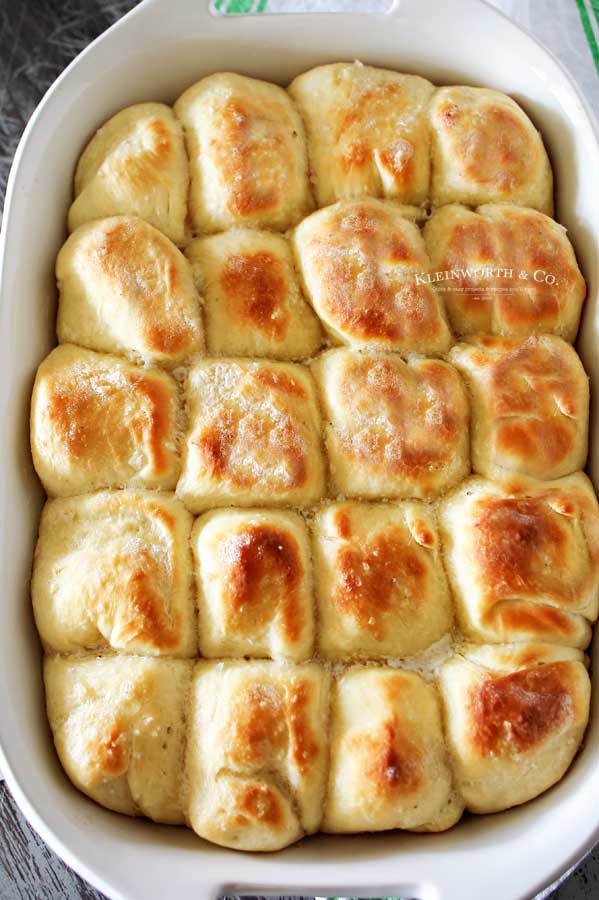
Products I love when making these incredible dinner rolls…
This dinner roll recipe is SUPER EASY and delicious – and if you’re like me, then you maybe already have some of these items on hand
OR maybe you have never made homemade rolls before, & you might be a bit nervous – but you’re going to love these turn out. I have made a list below of the things I absolutely can’t live without when it comes to making this roll recipe.
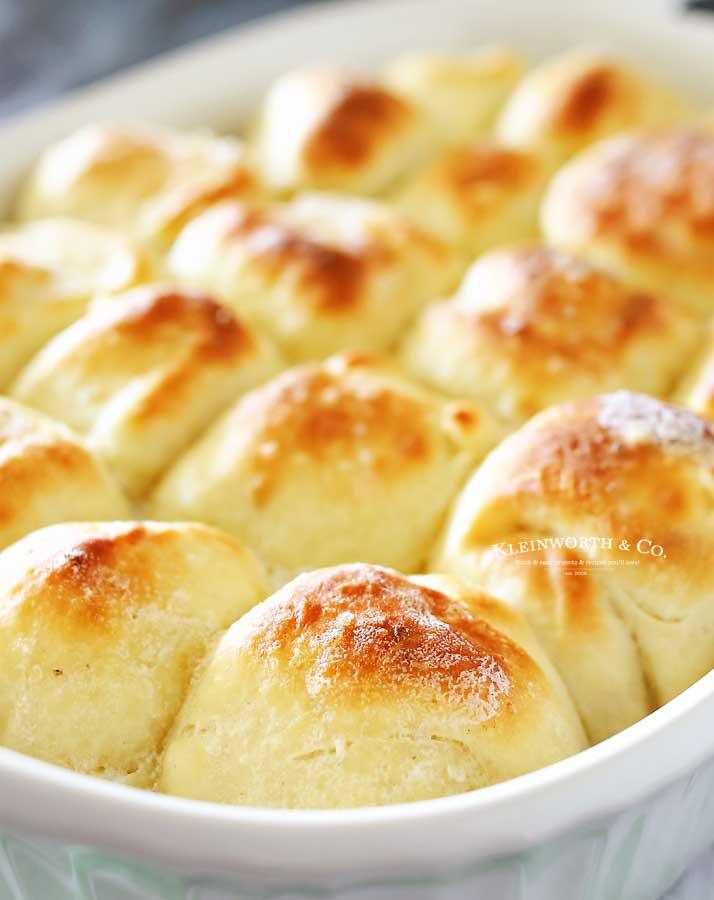
fluffy dinner rolls
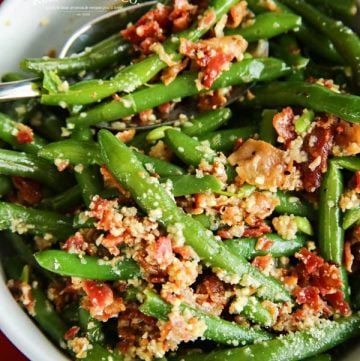
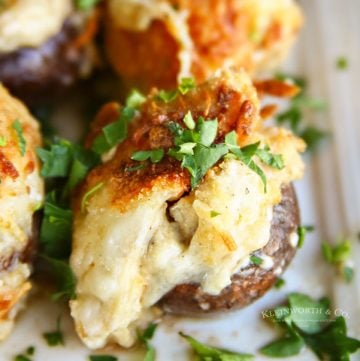
If you love this easy dinner rolls recipe, you’re going to love these other delicious recipes too. Please click each link below to find the easy, printable recipe!


best ever light and fluffy dinner rolls

If you love this One Hour Dinner Roll recipe as much as I do, please write a five star review, and be sure to help me share on facebook and pinterest!
CONNECT WITH KLEINWORTH & CO!
FB, Pinterest, IG, Email Subscription
PIN NOW TO SAVE FOR LATER
One Hour Dinner Rolls
Ingredients
- 1½ cups warm water 95-105 degrees
- 1 tablespoon yeast I used rapid yeast
- 2 tablespoons granulated sugar
- 2 tablespoons butter softened
- 1 teaspoon salt
- 4 cups all-purpose flour more or less as needed (I used 3-3/4)
- 3 tablespoons butter melted
- sea salt flakes for sprinkling on top
Instructions
- Using your mixer bowl, dissolve the yeast and sugar in the warm water and let stand for five minutes, or until foamy. (if your bowl is chilled or your room is cool this could take longer)
- Add butter, salt & 3 cups of the flour, and mix until combined.
- Add additional flour, ¼ cup at a time, until the dough pulls away from the sides of the bowl and is slightly sticky to the touch. (do not add too much flour!)
- Let the mixer knead 3-5 minutes, until smooth.
- Cover with plastic, place in a warm spot and let rise 20 minutes.
- Preheat oven to 400 degrees & spray a 9 x 13 casserole dish with cooking spray.
- Punch down the dough & divide it into 20 equal-sized pieces.
- Roll each piece into a ball and space evenly in the prepared pan.
- Brush with melted butter, sprinkle with sea salt and let rise for an additional 15-20 minutes.
- Bake 13-15 minutes, or until golden brown. ( you can turn on the broiler for about 1-2 minutes at the end to get a more golden top)
- Remove and brush with butter.
- Let cool slightly before serving.
Notes
Nutrition
Nutritional information for the recipe is provided as a courtesy and is approximate. Please double-check with your own dietary calculator for the best accuracy. We at Yummi Haus cannot guarantee the accuracy of the nutritional information given for any recipe on this site.




So…I only made a half a recipe because there are only 2 of us and I was unsure how they would work without a stand mixer. BIG MISTAKE! There were only 3 left for dinner. Super easy and super good. I used my Danish dough whisk to mix the dough and then kneaded it on a floured cloth. Now my husband is asking if I will make them again tomorrow..
We make this recipe all of the time. I often pour a little bit of olive oil on the bottom of the pan so that the bottom of the rolls are also be yummy. I’ve made them a little bit more flavorful but adding some things like parsley, garlic powder, and some salt free seasoning just to give it a good taste when we want something different.
I made these today and they were pretty good. We felt they were very biscuit tasting. Would be great with some egg and sausage or with sausage gravy. Will make again just use in a different way and not for a dinner roll.
I’m curious – did you alter the recipe in any way? Omit the butter, salt? How did you measure the flour? These should be light, fluffy, and full of flavor.
These were so awesome!!! I did the dough in my bread machine while I was making dinner. During the step where you baste them with butter I added garlic salt since dinner was Italian. They came out so moist. They are a “keeper”.
We love these so much that I was printing the recipe to have on hand. When I click the print button it opens a new page with this whole post. Is there a way to just get the recipe for printing without the whole post? These are a crowd favorite at out house!
It could be a glitch in your browser settings or were you right-clicking and choosing print instead of the print button within the recipe card? I was unable to recreate what you are describing on my end when clicking the print in recipe card.
What speed did you use to knead these?
I usually set it at low-med.
I never leave reviews but this recipe is AMAZING! I’ve never been successful with homemade rolls. They’ve always been too dry, too yeasty tasting, or just plain gross. These turned out perfect! I made a double batch and my in laws devoured them all! This is the only roll recipe you need.
That is GREAT to hear! Thank you for sharing this – you made my day!
Very few recipes get the honor of getting copied down into my recipe card box for repeated use. This one is getting copied tonight. I have made this 3 times now and they have been perfect every time. AND the time estimate is actually accurate. Usually recipes tell you it takes X time and you have to multiply it by at least 3 to get an idea of how long it will take. This recipe really only takes an hour.
That just made my day, Mandy! Thank you so much for sharing that. I’m so happy to hear it!
Mine came out doughy/cake texture, followed the recipe exactly. I wanted lite and fluffy very dense.
Sorry to hear that. It sounds like possibly the flour measurement wasn’t quite right and maybe they didn’t rise as they should have. This could be from using old yeast, not having the temperature of the liquid just right when growing the yeast, or even possibly using old leavening ingredients.
We just made these for a dinner and they were so fantastic. Plus so simple! I am curious, will this recipe work as a loaf of bread if you followed all the steps but didn’t cut the dough?
I had a reader email me to say that she did try it with success. I have not personally tested it.
I was just about to ask the same!! I am an avid bread baker and am constantly searching for the perfect flavor and texture. I stumbled upon your recipe yesterday and just made it as a loaf. Thank you for sharing!! My house is happy 🙂
Oh my gosh! These turned out so great. Such a nice rise and perfect texture. The taste was just what I expected. My only change was I used vegan butter. Next time I would skip the salt on top, personally I do t think they needed it. So easy and quick and so delicious.
I have never been able to make rolls, but I followed the recipe exactly, including browning the tops in broiler for two minutes. My husband is still talking about them, and honestly they had the best flavor and texture I’ve ever had. He’s begging me to make them for Thanksgiving next week.
That is WONDERFUL!!!!!!!!!!!!!! I’m so glad to hear it!
These are amazing! Thank you for sharing! I took them to a dinner and everyone loved them! Would you have tips for freezing the dough and baking them later?
You can freeze them after they are baked. Just wrap them tightly in plastic wrap and mark them with the date. Use within 3 months. I have not tried freezing the dough for baking later, so I can’t give an accurate answer on that one.
I fell in love with this recipe during covid and made them so frequently that we would have to take them to neighbors to get them out of the house! Everyone absolutely loves them. I’m wanting to make these ahead of time for thanksgiving! I see that you said that freezing them after baking was best. How would you prepare them to serve after removing them from the freezer?
I’m so happy you like them. Just thaw them in the fridge as you would a loaf of bread. You can sit them on the counter to bring them to room temperature the day of serving and then place them on a tray in a warm oven (like 175-200 degrees) for a few minutes to warm them up or pop them in the microwave. But I would only do the microwave for a few seconds as they can get tough when doing it that way. Definitely brush the tops of them with some freshly melted butter when serving.
Can you refrigerate them raw overnight in pan and then bake the next day?
I have not personally done it – but I have heard that some readers have. I would bring them to room temperature before popping them in the oven.
Could you make these ahead of time?
You can freeze them after they are baked. Just wrap them tightly in plastic wrap and mark them with the date. Use within 3 months. I have not tried freezing the dough for baking later.
These rolls are amazing! My husband loved them so much that he asked if I could make our sandwich bread more soft and fluffy like “those rolls” 🙂 So I simply use your recipe (I just increase it by 1/2) and it makes two loaves of the most delicious sandwich bread you can imagine! And it’s so much faster than my other recipes. It freezes well- I always freeze a loaf so we are ready to go since the bread goes quickly. Thanks for sharing this easy recipe!
The reviews look amazing. I was wondering if you think it could work with a sourdough starter? Thanks so much!
Wow- that would sure be amazing. I have never tried it – but if you decide to give it a go, I would absolutely LOVE to know how they turned out.
I didn’t think these rolls would come out so good with an egg.
They were delicious and I only have 5 left..
I let my rise longer because it was a little cold in my house.
I’m making some for my Christmas dinner. Thank you
Can these be made ahead of time & frozen before baking? Then thawed out for baking when needed?
I have heard from readers that this can be done. I have never personally tried it. I would definitely thaw, and let them come to room temperature too before baking.
I have tried countless recipes to find the perfect fluffy roll to pair with homemade butter and this is definitely the winner! So fluffy and delicious!
These are THE BEST! I cook quite a bit but don’t usually make bread. During Covid craziness, I tried some new recipes and THIS is our family favorite, even two years later. My teens devour them! Truly delicious and easy to make. Thank you!
I made these rolls the other night. I was worried about how sticky the dough was after adding 4c of flour and letting it rise for the first time. I had to put some flour on my hands to make the dough into balls (I tried to use the least amount possible) I made 15 rolls so they would be bigger. I brushed them with butter and 1/2 sprinkled with course sea salt the rest Everything bagel seasoning. My daughter ate 3 with dinner (skipping eating pasta) we all enjoyed the texture, so fluffy and they puff back up after taking a bite.
I’ve made 30 minute rolls many times and they are more dense, use them for hamburger buns. The extra rising time and less yeast in this recipe makes amazing rolls. My daughter asked me to make them again tonight, they are her favorite. The next day they were a bit more dense, not as fluffy but still pretty good.
I’m off to make another batch!
I am obsessed with this recipe. I won’t make anything else now that I’ve found these. They are so easy, and it really does only take an hour from start to finish!! They are perfect for any event and will continue to be a family favorite.
I’m so thrilled to hear that you love them as much as we do! Thank you!
I made these for the first time tonight. Delicious!!!
Love these! My husband couldn’t stop eating them. Will definitely be making them again.