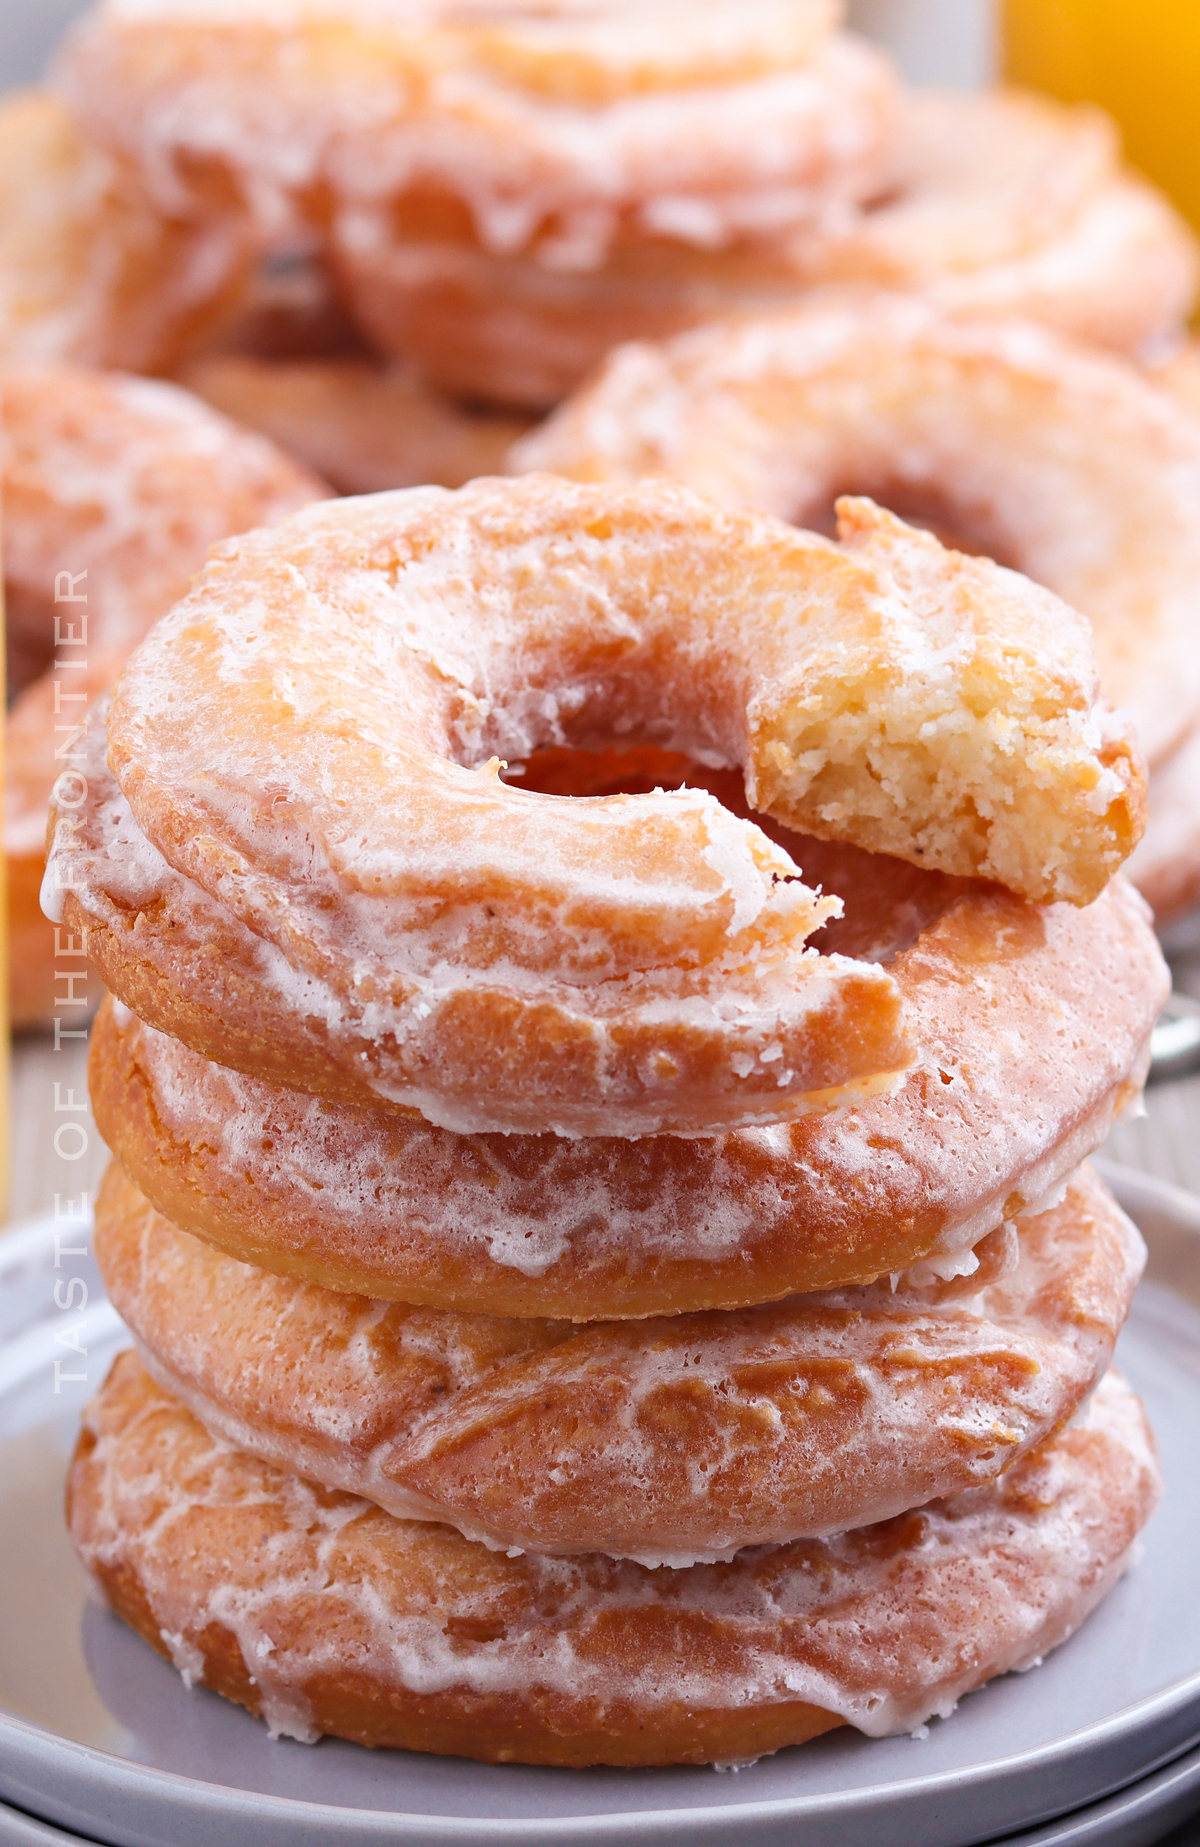
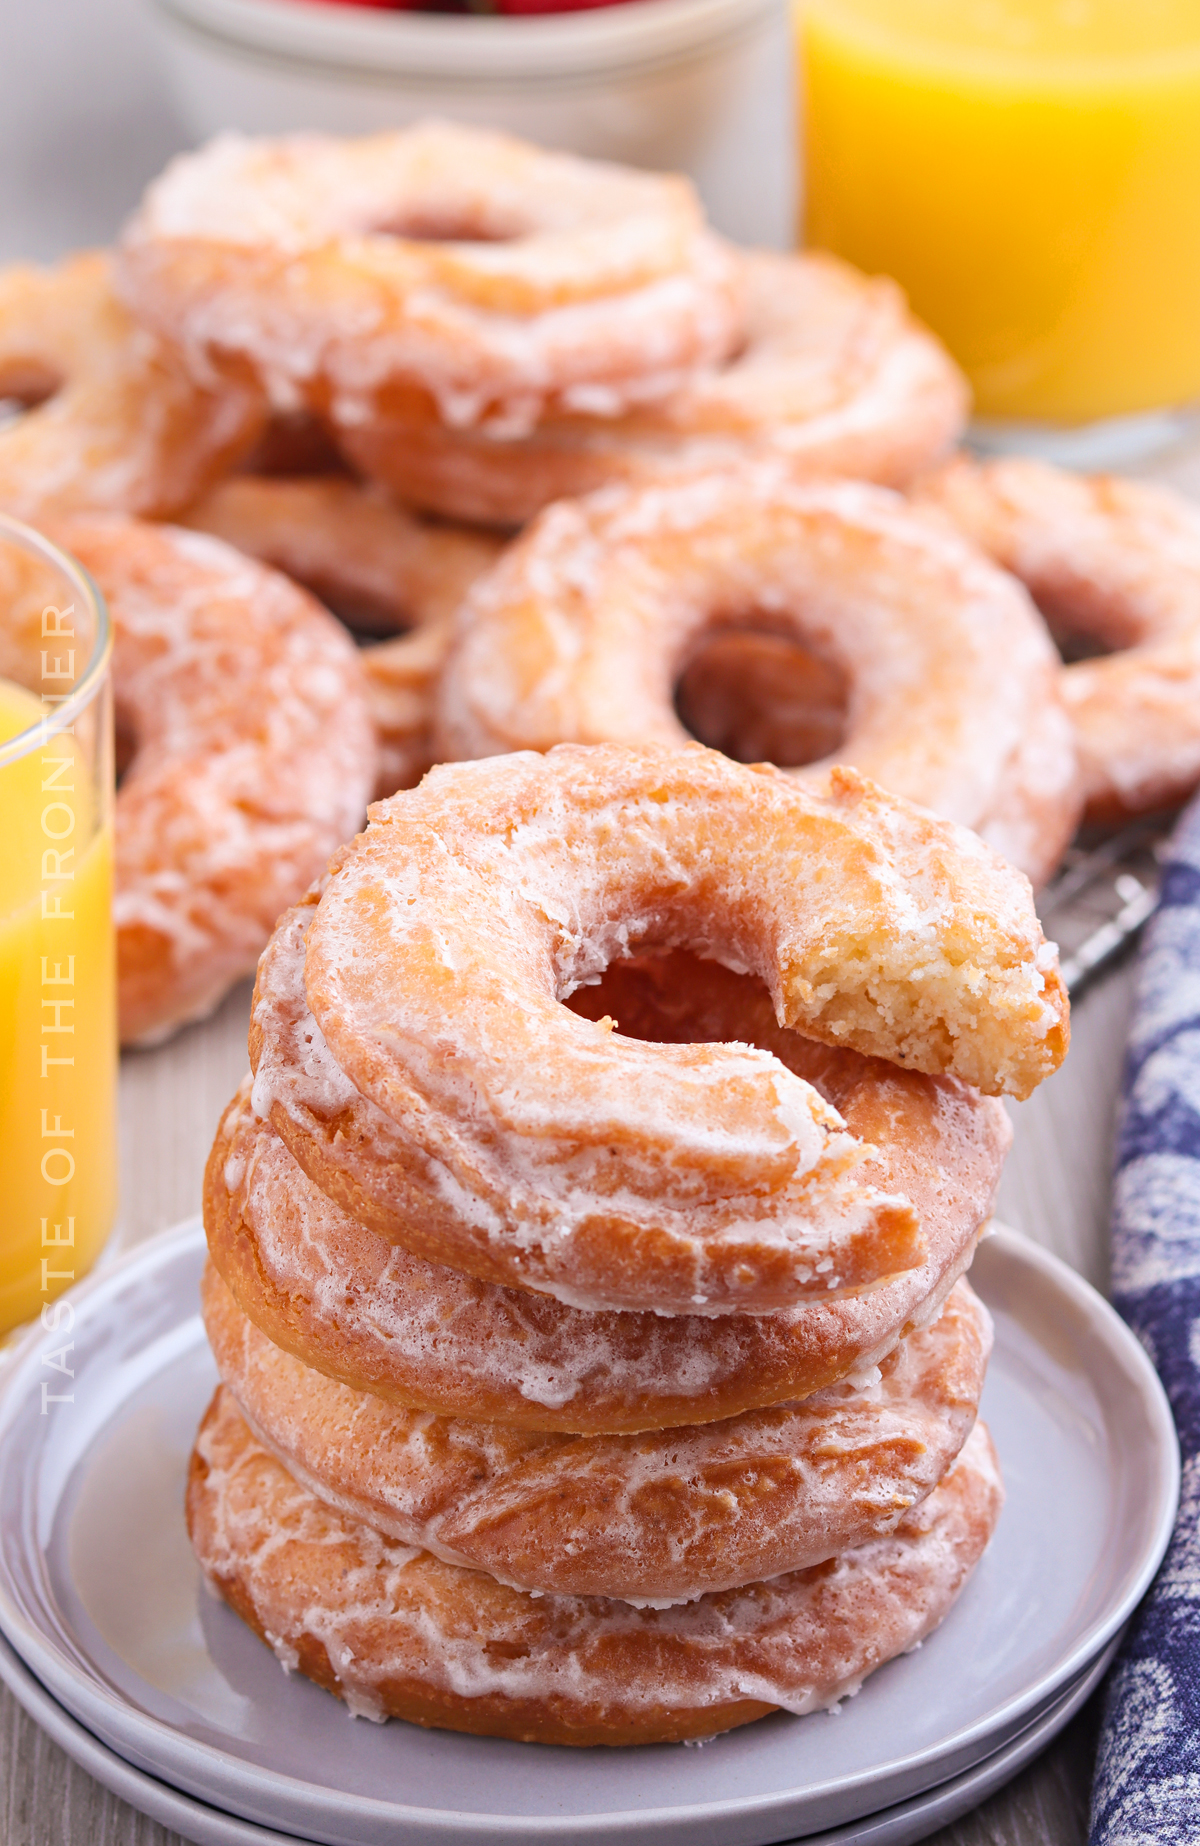
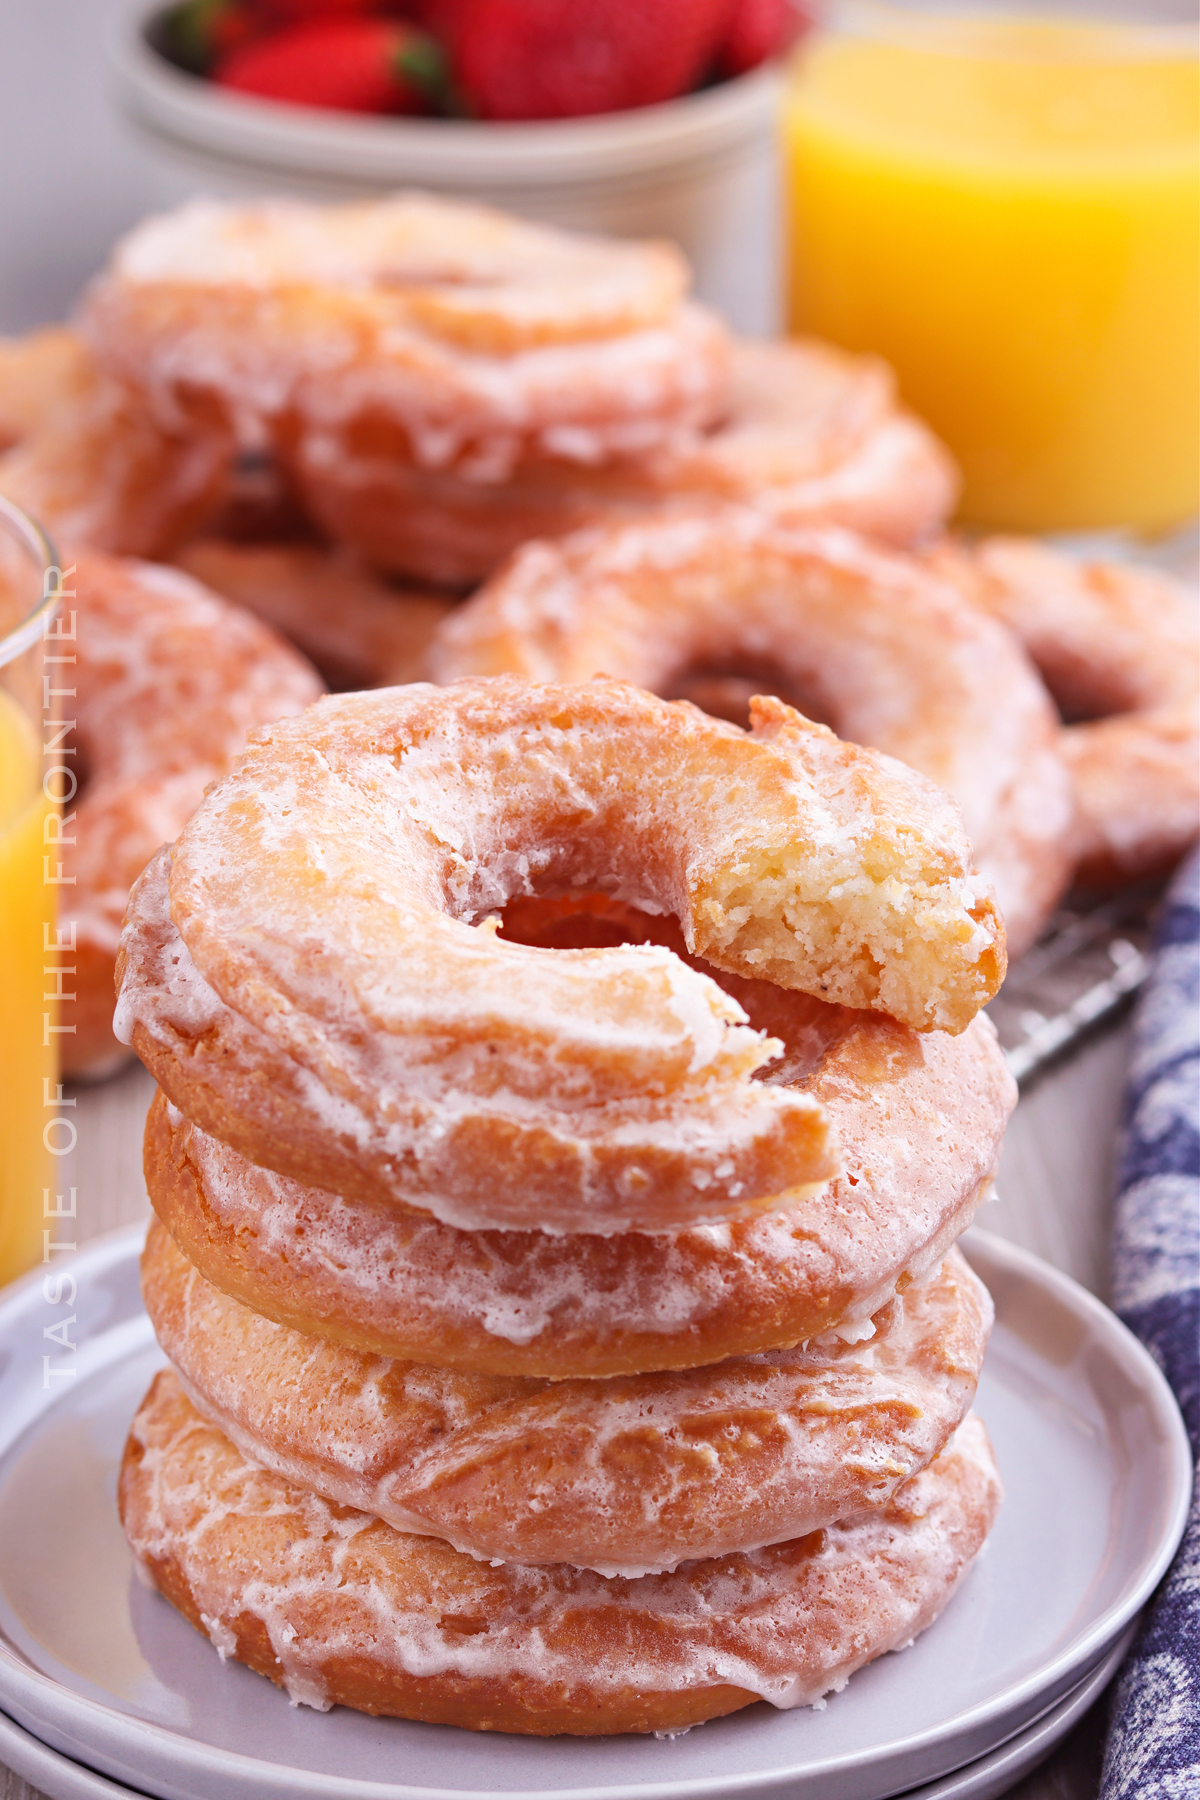
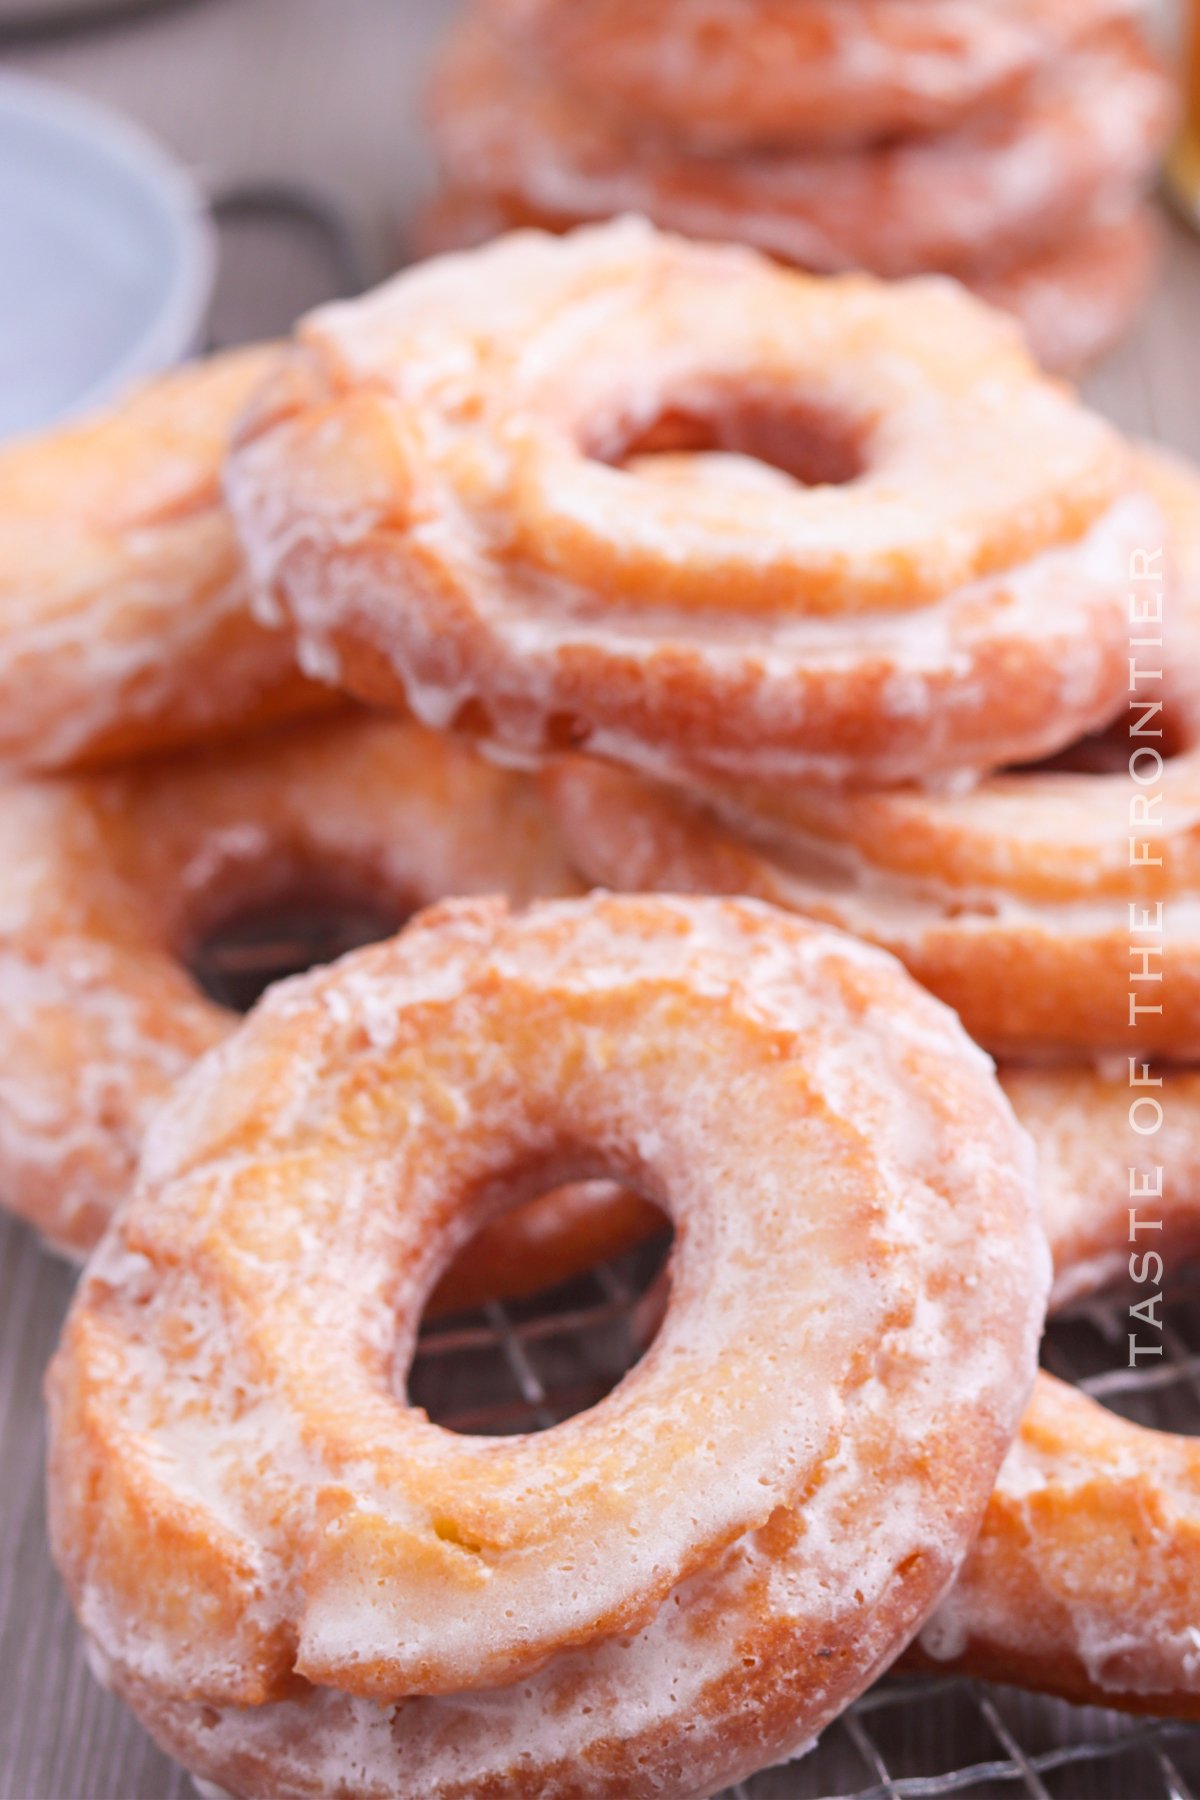
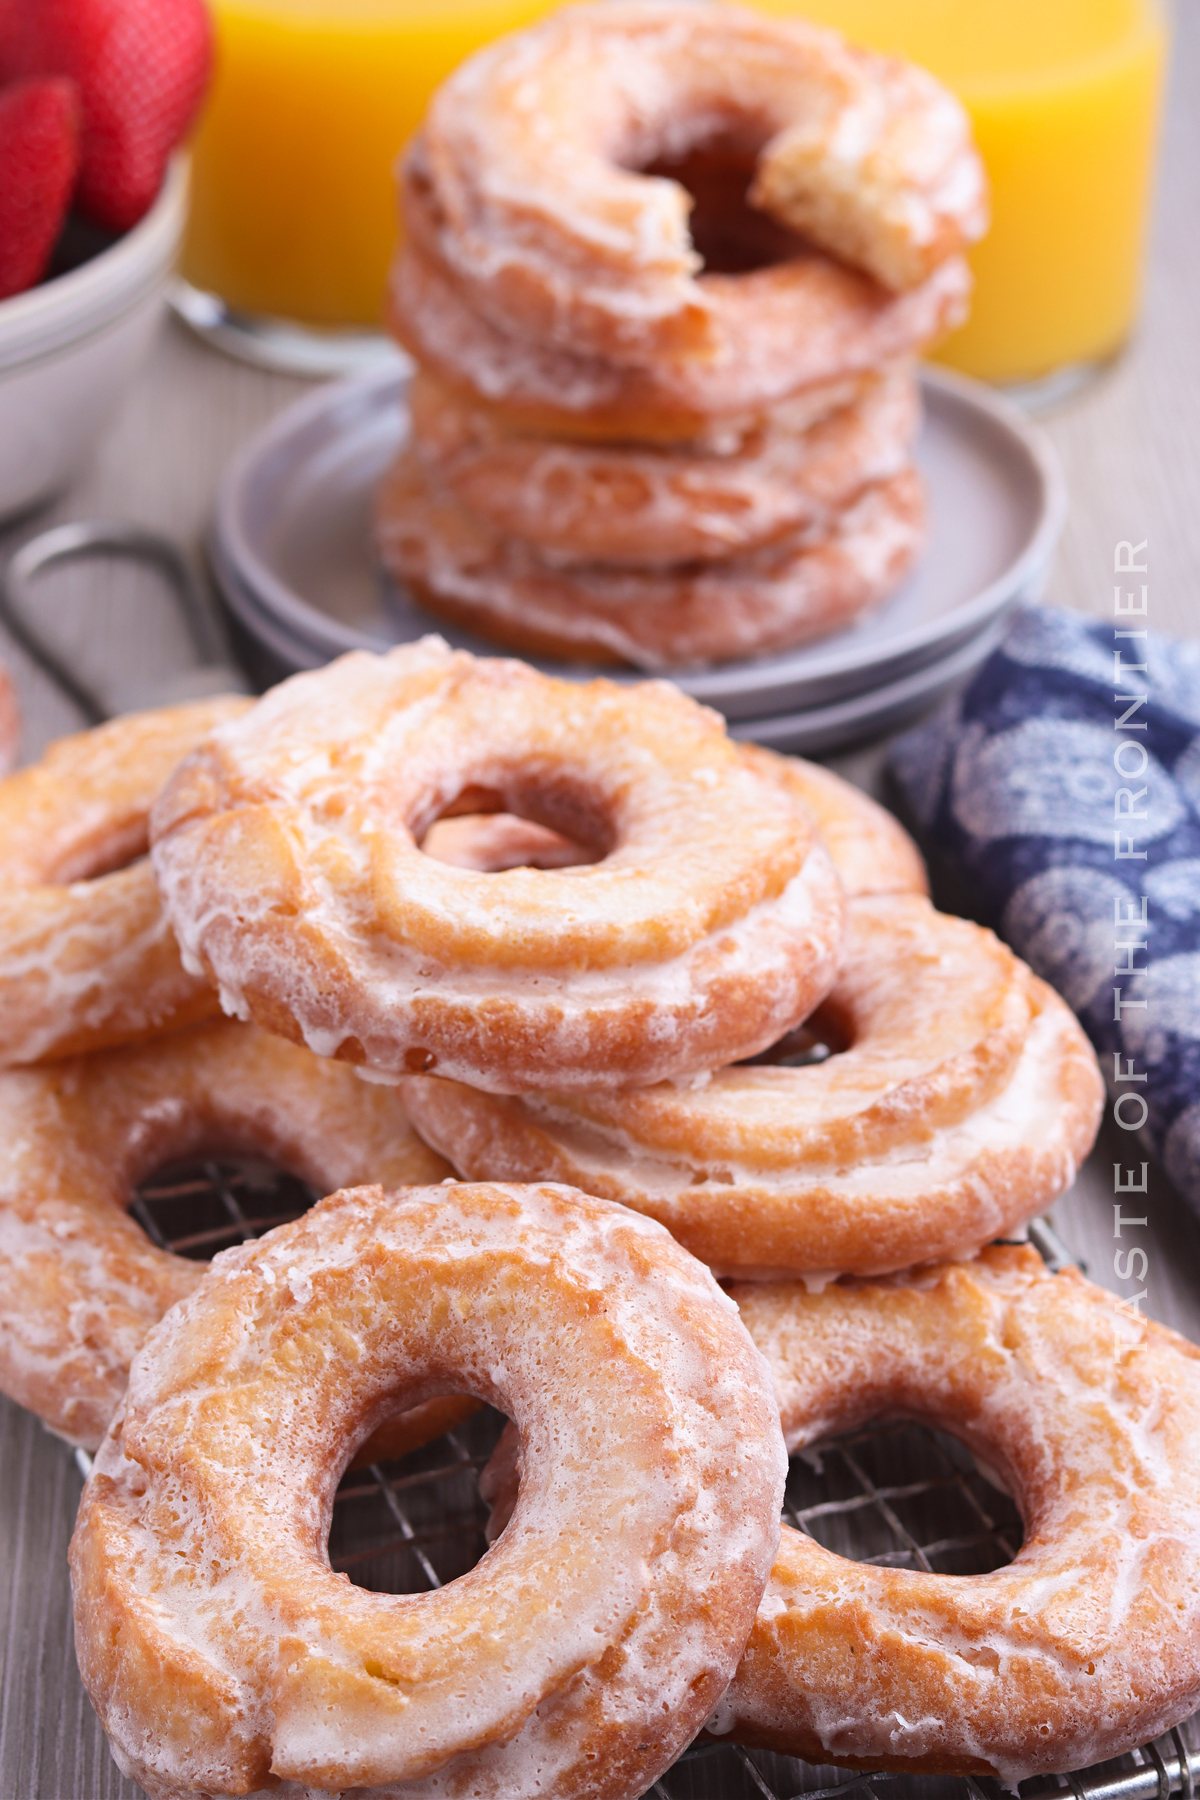
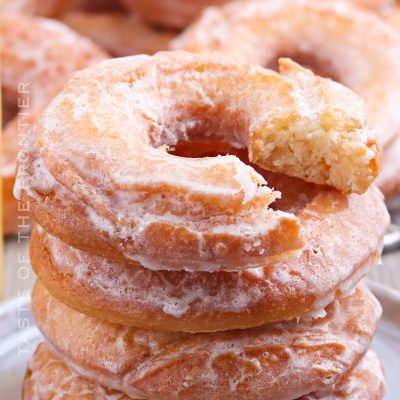
There’s nothing like the taste of Old Fashioned Sour Cream Donuts. These donuts are light and fluffy on the inside with a deep golden brown, crispy edge. With these old-fashioned sour cream donuts, you simply can’t go wrong.
This is the best and easiest recipe for donuts made with sour cream. They’re light and tender with a beautiful sweet sugar glaze on top.
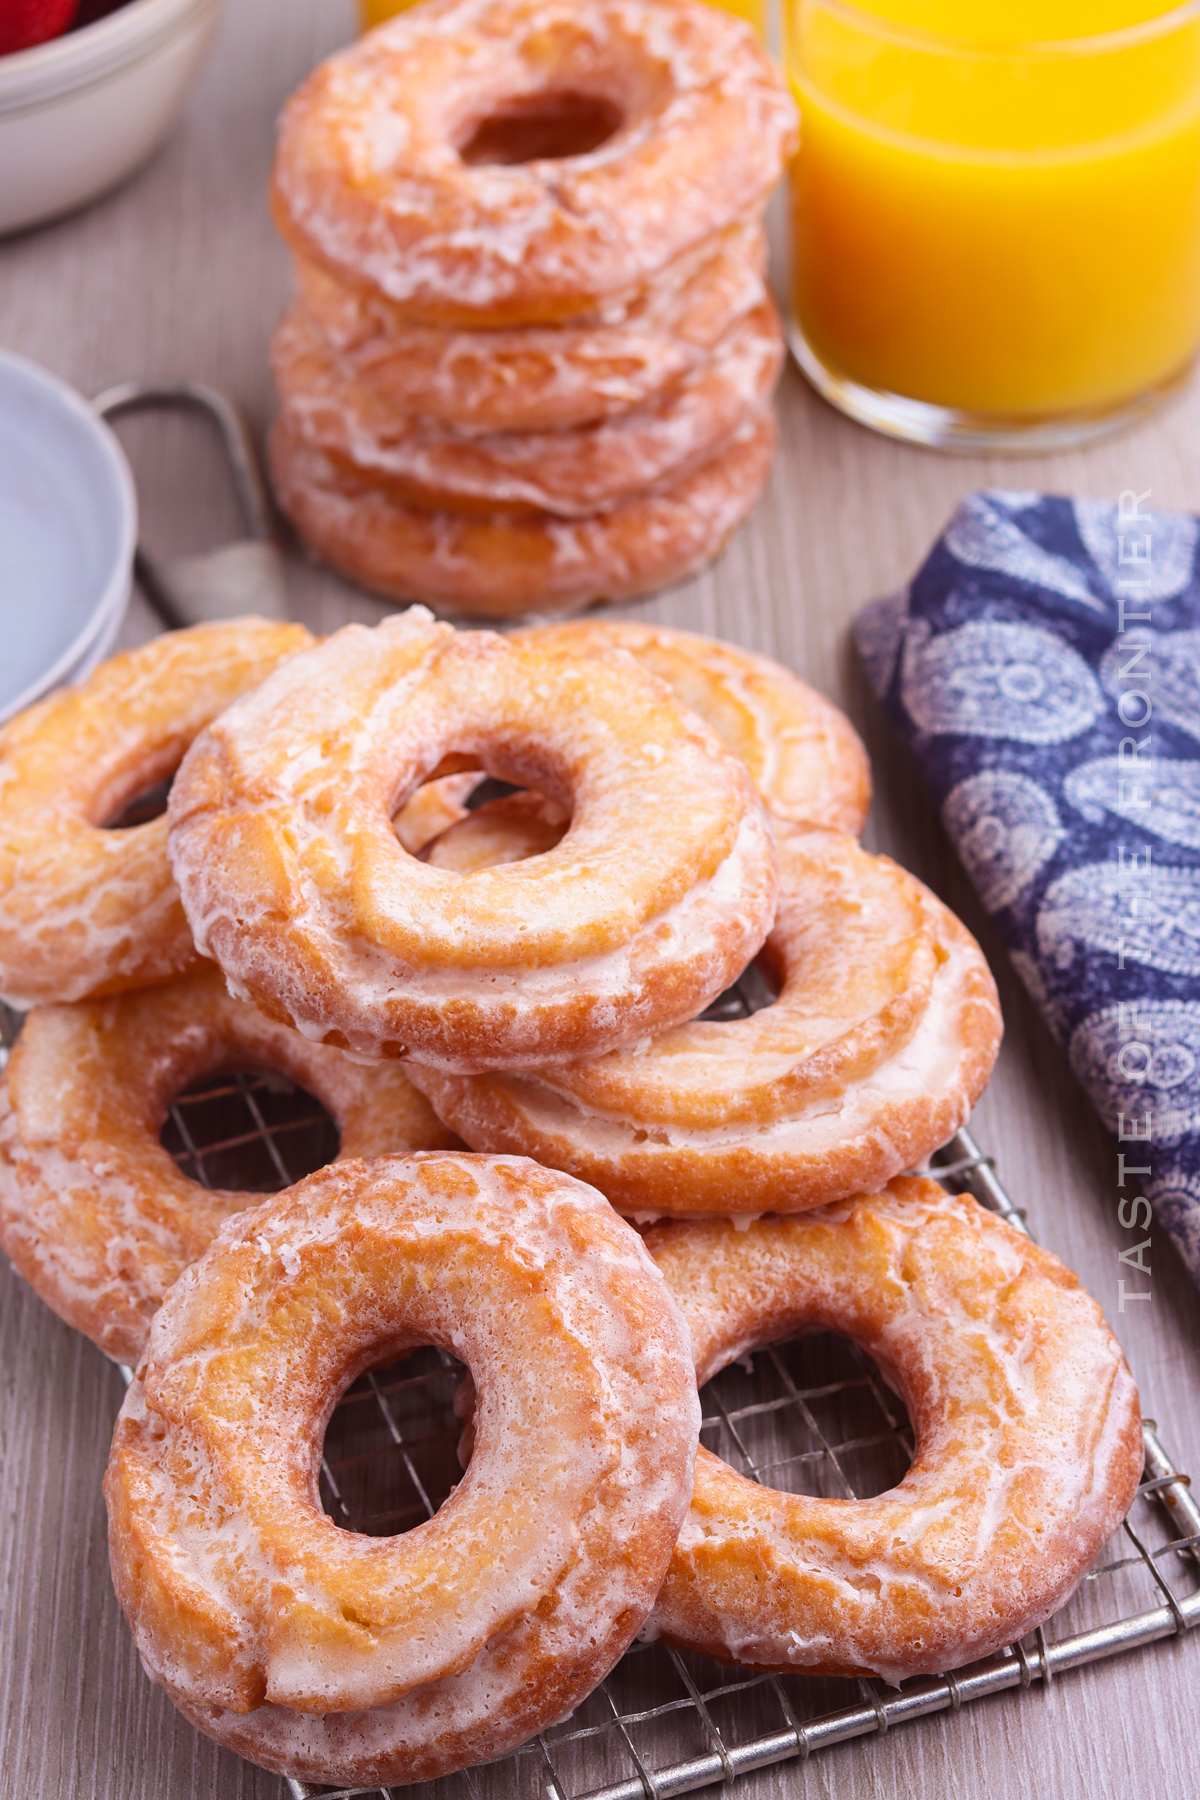
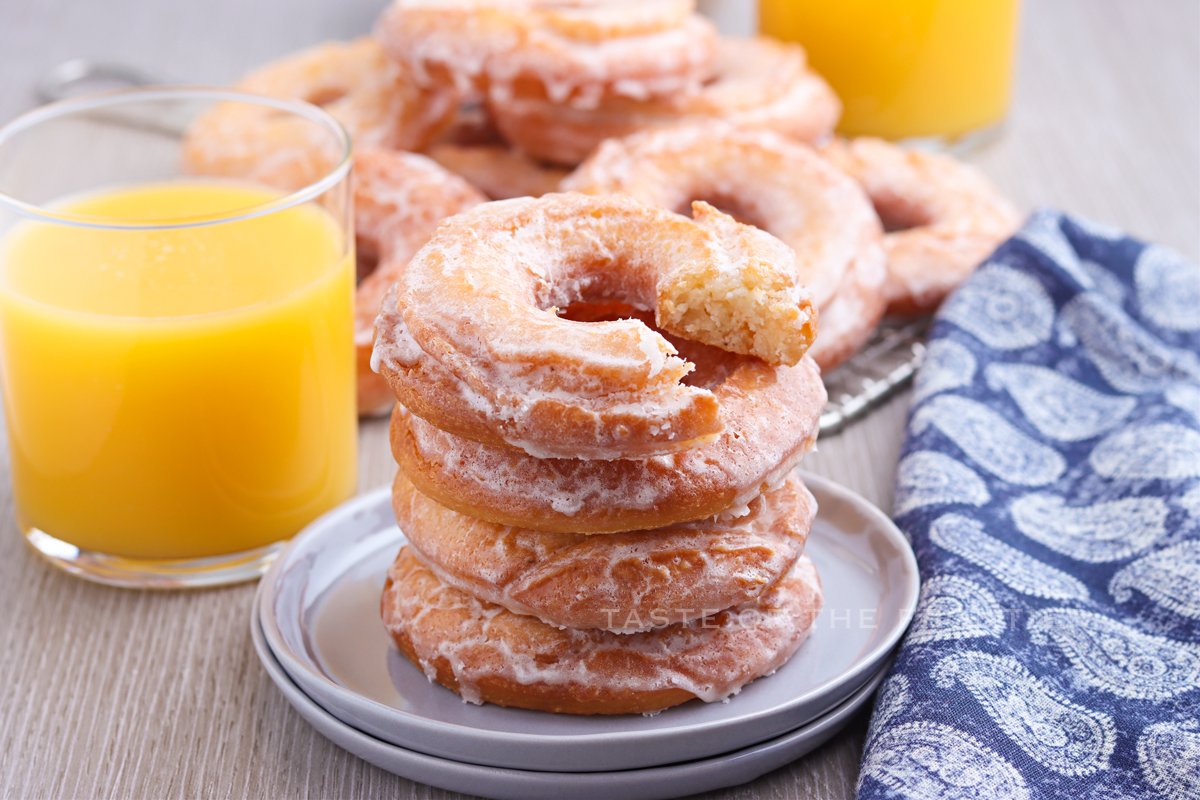
Perfect when paired with coffee or orange juice on a weekend morning. If you love old-fashioned donuts, you will absolutely love this recipe.
PIN THIS TO SAVE FOR LATER
When we lived in the city we would pick up donuts almost every Saturday morning. Then when Uber eats became a thing – there was never a weekend when we didn’t have donuts on hand for breakfast.
Now that we are out of the city, we don’t have a donut shop within 100 miles – so we are making our own. My daughter loves the old-fashioned variety, while I prefer cake and the hubs loves fritters.
Since we already make our favorites pretty regularly, we decided to whip up some old-fashioned donuts, which made her so happy.
Here are some commonly asked questions
How to store leftover donuts
Our cream donuts are best eaten the same day they’re made. However, if you have leftovers, store them in an airtight container at room temperature for up to 2 days.
What is the difference between sour cream donuts and regular donuts?
Sour cream donuts are made with sour cream in the batter, which gives them a delicious tang. Regular donuts are usually made with milk or buttermilk.
Can sour cream donuts be frozen?
Yes, sour cream donuts can be frozen. Just place them in a freezer-safe container or bag and they’ll keep for up to 3 months.
What’s the best way to reheat sour cream donuts?
You can microwave them for 15-20 seconds. I don’t recommend any more than that. Keep in mind that the glaze will melt when reheating, which could make the donuts a bit soggy as it soaks into them.
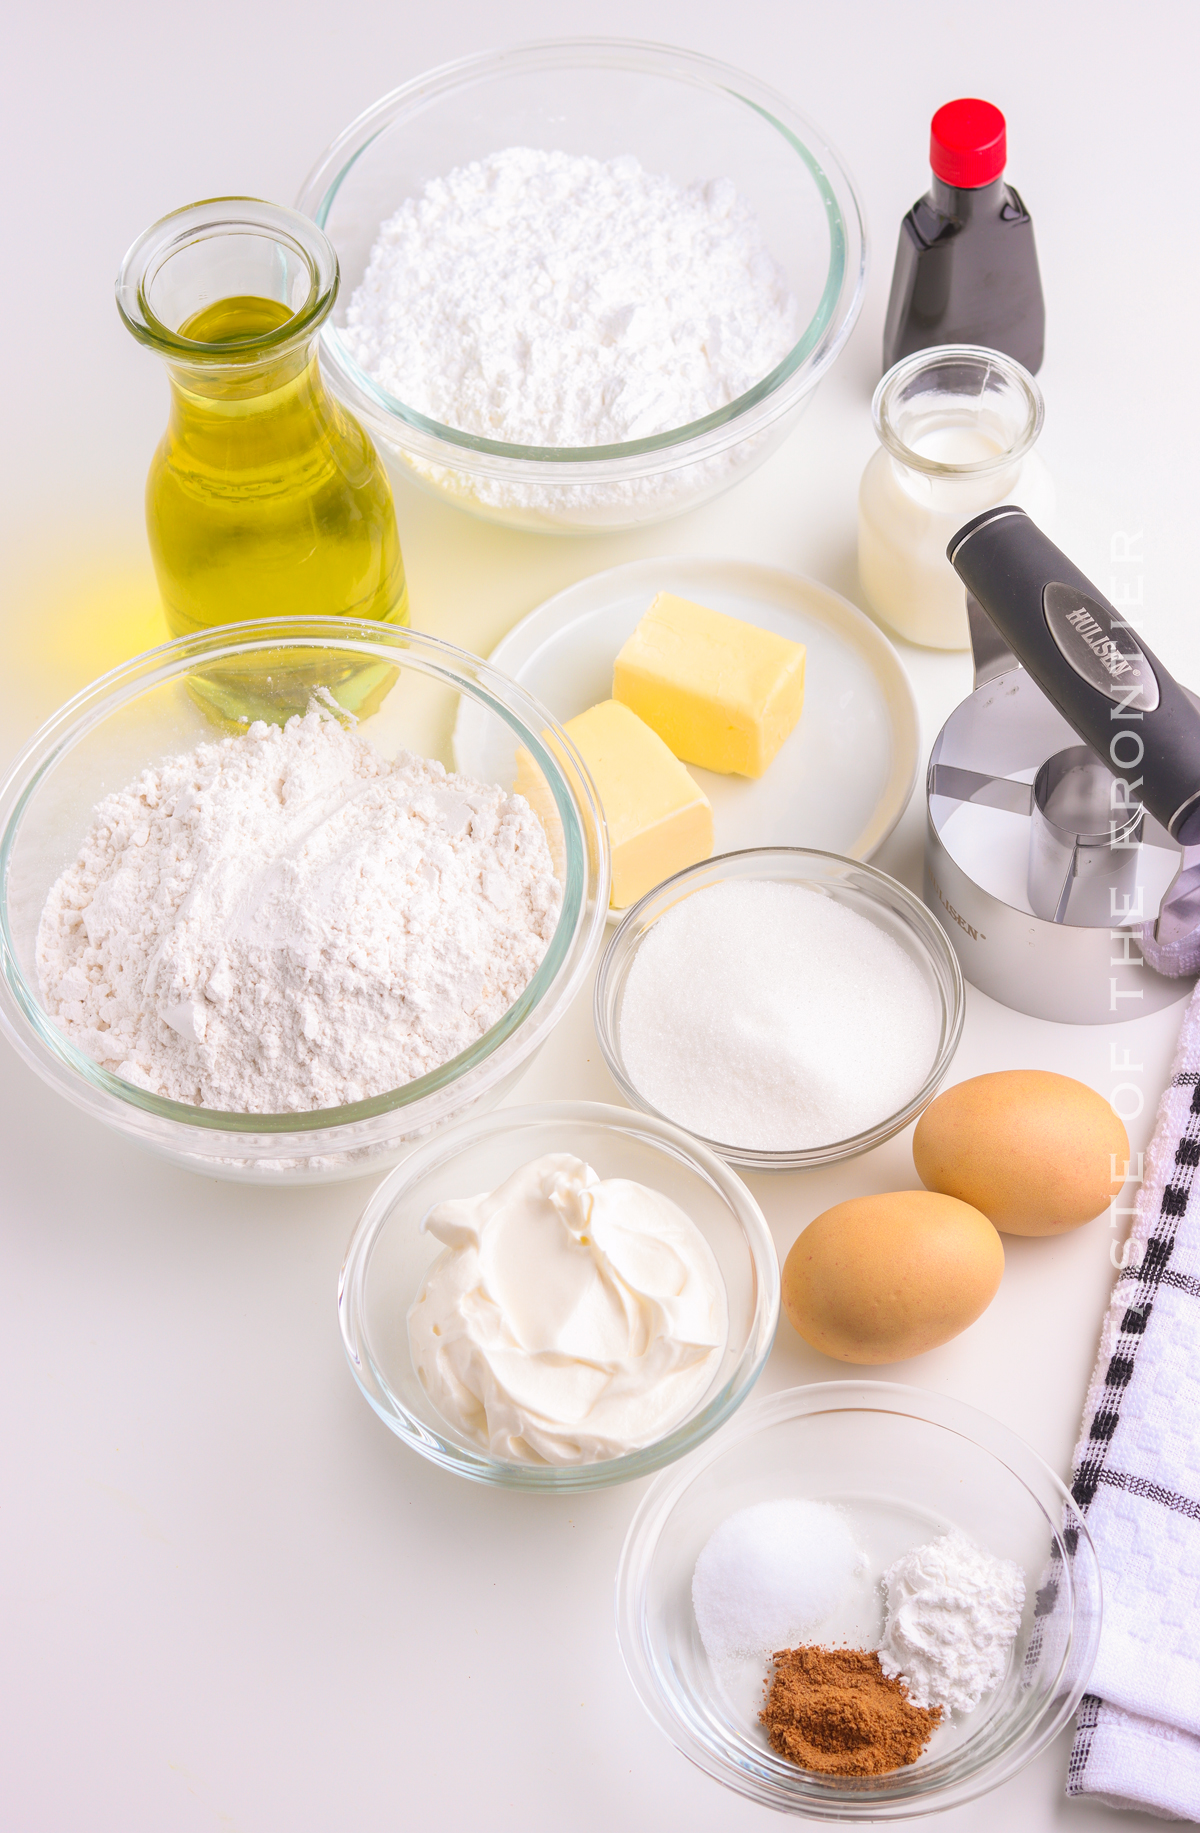
Ingredients for Old Fashioned Sour Cream Donuts
- cake flour
- baking powder
- salt
- nutmeg
- unsalted butter – room temperature
- granulated sugar
- egg yolks – room temperature
- sour cream
- Oil for frying
Glaze
- confectioner’s sugar
- unsalted butter – melted and slightly cooled
- vanilla extract
- hot water milk or half-and-half
Why is it called an old-fashioned donut?
Old fashioned sour cream donuts are called old fashioned because they’re made with sour cream instead of milk or buttermilk. This gives them a delicious tang that sets them apart from other types of donuts.
Plus, they’re the perfect size for a quick breakfast or snack.
Why do the ingredients need to be at room temperature?
Room temperature ingredients help to ensure that everything blends together perfectly. You don’t want any pockets of unblended butter. You want everything evenly disbursed for the perfect texture.
When your dairy products are at room temperature, they can create an emulsion. It’s essential to have an emulsion because air gets trapped, so the baked goods expand and get fluffy as it bakes.
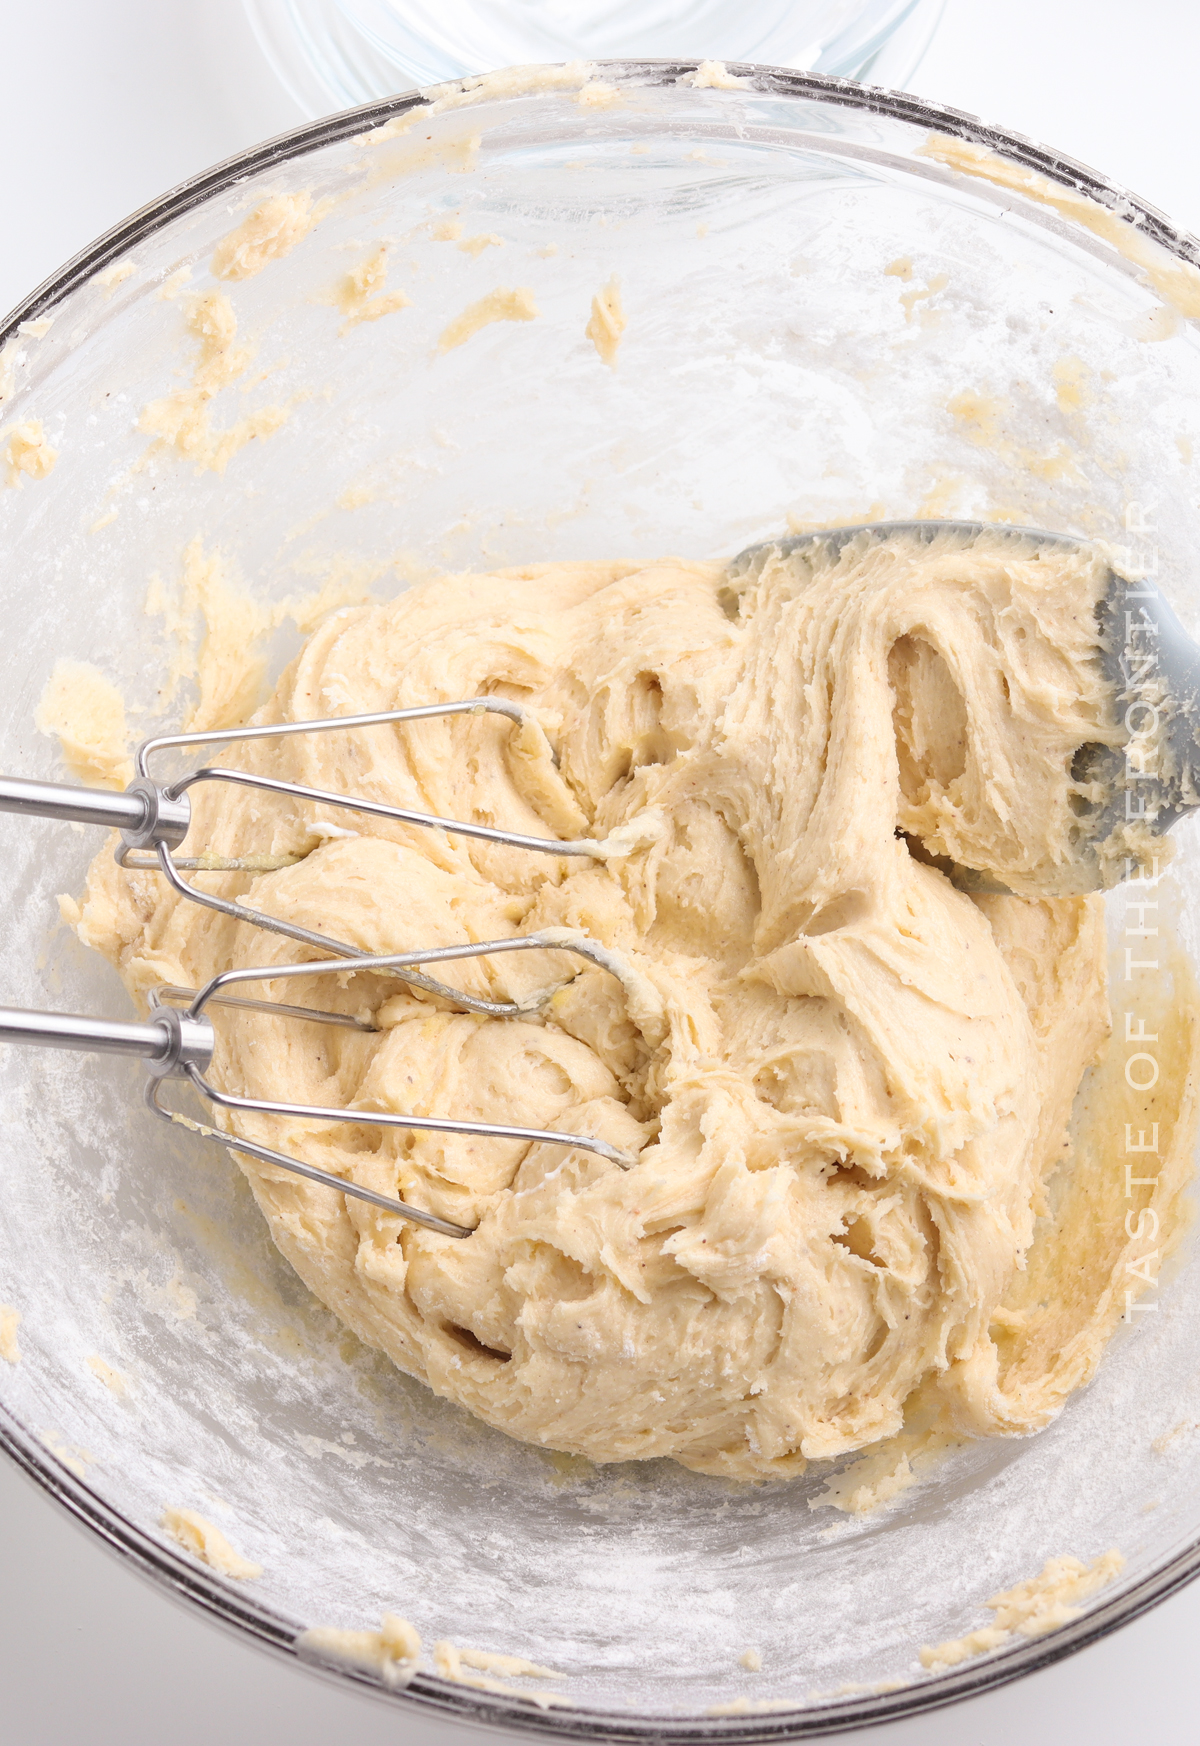
How to Make Old Fashioned Sour Cream Donuts
- In a medium bowl, whisk together the cake flour, baking powder, salt and nutmeg.
- In a large mixing bowl or bowl of a stand mixer, cream together the butter and sugar until it becomes a sand-like consistency, about 1 minute.
- Add the egg yolks and beat until well combined, scrape down the sides of the bowl.
- Add the dry ingredients in 3 additions, mixing on low, just until combined, alternate with sour cream and scraping down the sides of the bowl in between additions.
- The dough should be smooth and slightly sticky. If it’s too sticky, mix in 1 more tablespoon of cake flour.
- Cover bowl with plastic wrap and chill in the refrigerator for at least 1 hour or until firm. This could vary depending on the temperature of your room while mixing the dough.
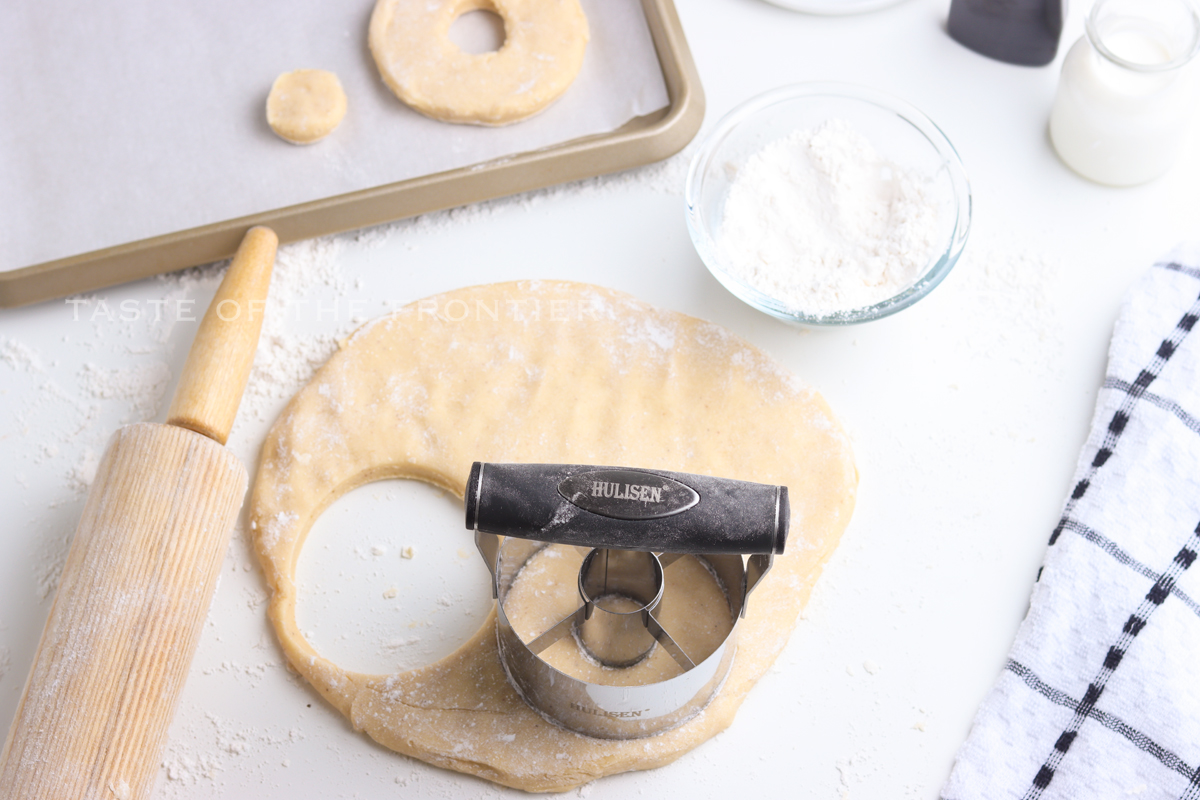
- On a floured surface, roll the dough out to ½ inch thick.
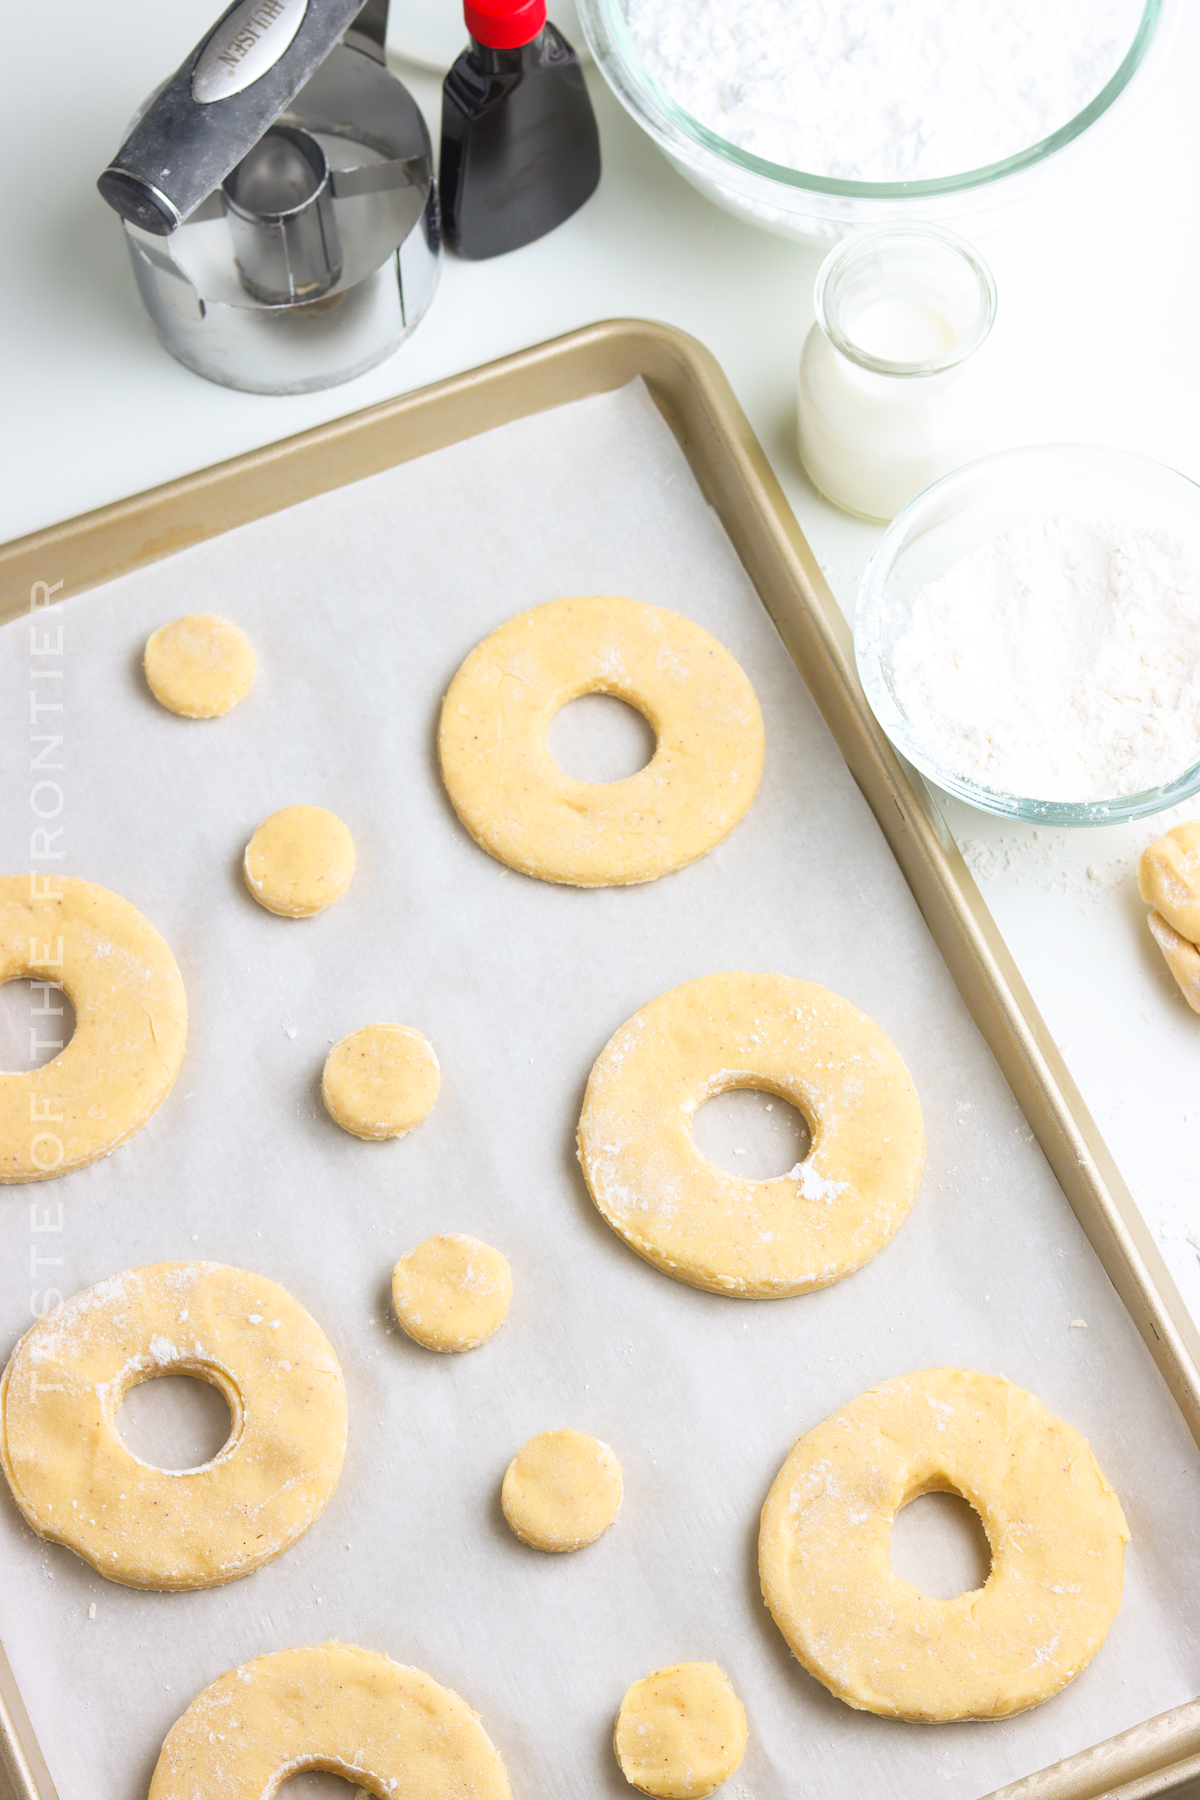
- Use a donut cutter with a hole in the center, dip it in flour before each cut to prevent sticking and cut out the donuts.
- Place the cut dough on a parchment-lined baking sheet and place it in the refrigerator while the oil is heating. The dough should be slightly cold before frying.
- To fry the donuts, add 2-3 inches of oil into a heavy-bottomed pan or large Dutch oven heated to 325 degrees F. (this is easiest when using a thermometer attached to the side of the pot)
- Fry the donuts a few at a time for 2-3 minutes on each side, depending on the size of your pan.
- Be sure to keep an eye on the thermometer and adjust the stove temperature if needed.
- Remove the donuts from the pan when they are golden brown and place them on a wire rack to drain.
Glaze
- Whisk together the confectioner’s sugar, melted butter, vanilla, and milk in a small bowl until smooth.
- While donuts are still warm, submerge the top side of the donuts into the glaze and place them back on the cooling rack, glaze side up.
- Donuts are best served on the same day.
Do I have to use cake flour?
In short- yes. Light and delicate donuts similar to those from the bakery can be made with purchased cake flour.
Homemade cake flour replacements don’t really work, and all-purpose flour will not produce donuts with the same delicate texture as what you get with commercially-made cake flour.
When you use unbleached flour, the donuts won’t absorb as much moisture, resulting in crumbling cakes when fried.
Do I have to fry this recipe?
Yes – this dough must be fried. This recipe will not yield the proper results when baked. Some have tried it in an air fryer with success. I can’t attest to the texture of the air fried donuts nor can I tell you how much time you would need to cook them for. I have not tried it yet.
Also – be sure to use fresh oil. Don’t try to reuse oil from chicken or french fries or tortillas. That oil will have remnants of flavor from those other things you cooked in there. Plus – oil from cooking things like chicken should always be discarded after one use anyway.
Don’t forget to fry up those donut holes too!
Do I really have to chill the dough?
Yes – please don’t skip this part. Chilling the dough is essential to the dough being at the right temperature when it hits the oil – making the perfect texture when done cooking.
How to soften the butter to room temperature?
First
There are a couple of ways to do this. The first being that you can take the butter (& any other ingredients that need to be at room temperature) out, leave it on the counter for about 30 minutes while you prep for baking.
I usually start with all my chilled ingredients and pull everything I need out onto the counter before getting started – so I know for sure I have everything before I’m mid-way through I realize I’m out of something.
But sometimes it’s winter and that isn’t enough time to get the ingredients warmed up – OR – I’m just not that organized to plan ahead. It happens. So I have another couple of tricks.
Second
I place the butter in the microwave – wrapped in the paper. (don’t do this if it is wrapped in foil) Then I microwave for 2 seconds – flip – go another 2 seconds – flip again – and continue for 2 seconds on each side.
This is usually enough to get it perfect – sometimes stopping before if it feels soft enough. Take care when doing this method – overly softened butter from the microwave WILL ALTER the end result of the recipe. Don’t over-do it.
Third
My third method is to place the wrapped butter sticks in a zip-top bag and place it in a bowl of warm water. I do this with the eggs too. If the water isn’t too hot it can be THE PERFECT way to get “room-temperature” ingredients.
Products I love when making homemade donuts…
This donut recipe is SUPER EASY and delicious – and if you’re like me, then you maybe already have some of these items on hand OR maybe you have never made homemade donuts before, & you might be a bit nervous – but you’re going to love them. I have made a list below of the things I absolutely can’t live without when it comes to making this donut recipe. (you can also SHOP MY FAVORITES in my store)
If you love this old-fashioned donut recipe, you’re going to love these other donut recipes too. Please click each link below to find the easy, printable recipe!




If you love this recipe for Old Fashioned Sour Cream Donuts as much as I do, please write a five-star review, and be sure to help me share on Facebook and Pinterest!
CONNECT WITH YUMMI HAUS!
Be sure to follow me on my social media, so you never miss a post!
Old Fashioned Sour Cream Donuts
Ingredients
- 2 ½ cups cake flour
- 1 ½ teaspoons baking powder
- 1 teaspoon salt
- ½ teaspoon nutmeg
- 2 tablespoons unsalted butter room temperature
- ½ cup granulated sugar
- 2 large egg yolks room temperature
- ⅔ cup sour cream
- Oil for frying
Glaze
- 2 cups confectioner’s sugar
- 4 tablespoons unsalted butter melted and slightly cooled
- 1 teaspoon vanilla extract
- 2-3 tablespoons hot water milk or half-and-half
Instructions
- In a medium bowl, whisk together the cake flour, baking powder, salt and nutmeg.
- In a large mixing bowl or bowl of a stand mixer, cream together the butter and sugar until it becomes a sand-like consistency, about 1 minute.
- Add the egg yolks and beat until well combined, scrape down the sides of the bowl.
- Add the dry ingredients in 3 additions, mixing on low, just until combined, alternate with sour cream and scraping down the sides of the bowl in between additions.
- The dough should be smooth and slightly sticky. If it’s too sticky, mix in 1 more tablespoon of cake flour.
- Cover bowl with plastic wrap and chill in the refrigerator for at least 1 hour or until firm. This could vary depending on the temperature of your room while mixing the dough.
- On a floured surface, roll the dough out to ½ inch thick.
- Use a donut cutter with a hole in the center, dip it in flour before each cut to prevent sticking and cut out the donuts.
- Place the cut dough on a parchment-lined baking sheet and place it in the refrigerator while the oil is heating. The dough should be slightly cold before frying.
- To fry the donuts, add 2-3 inches of oil into a heavy-bottomed pan or large Dutch oven heated to 325 degrees F. (this is easiest when using a thermometer attached to the side of the pot)
- Fry the donuts a few at time for 2-3 minutes on each side, depending on the size of your pan.
- Be sure to keep an eye on the thermometer and adjust the stove temperature if needed.
- Remove the donuts from the pan when they are golden brown and place them on wire rack to drain.
Glaze
- Whisk together the confectioner’s sugar, melted butter, vanilla and milk in a small bowl until smooth.
- While donuts are still warm, submerge the top side of the donuts into the glaze and place them back on the cooling rack, glaze side up.
- Donuts are best served on the same day.
Equipment
- 1 heavy-bottomed pan or Dutch oven
- 1 donut cutter
Nutrition
Nutritional information for the recipe is provided as a courtesy and is approximate. Please double-check with your own dietary calculator for the best accuracy. We at Yummi Haus cannot guarantee the accuracy of the nutritional information given for any recipe on this site.




Share Your Thoughts