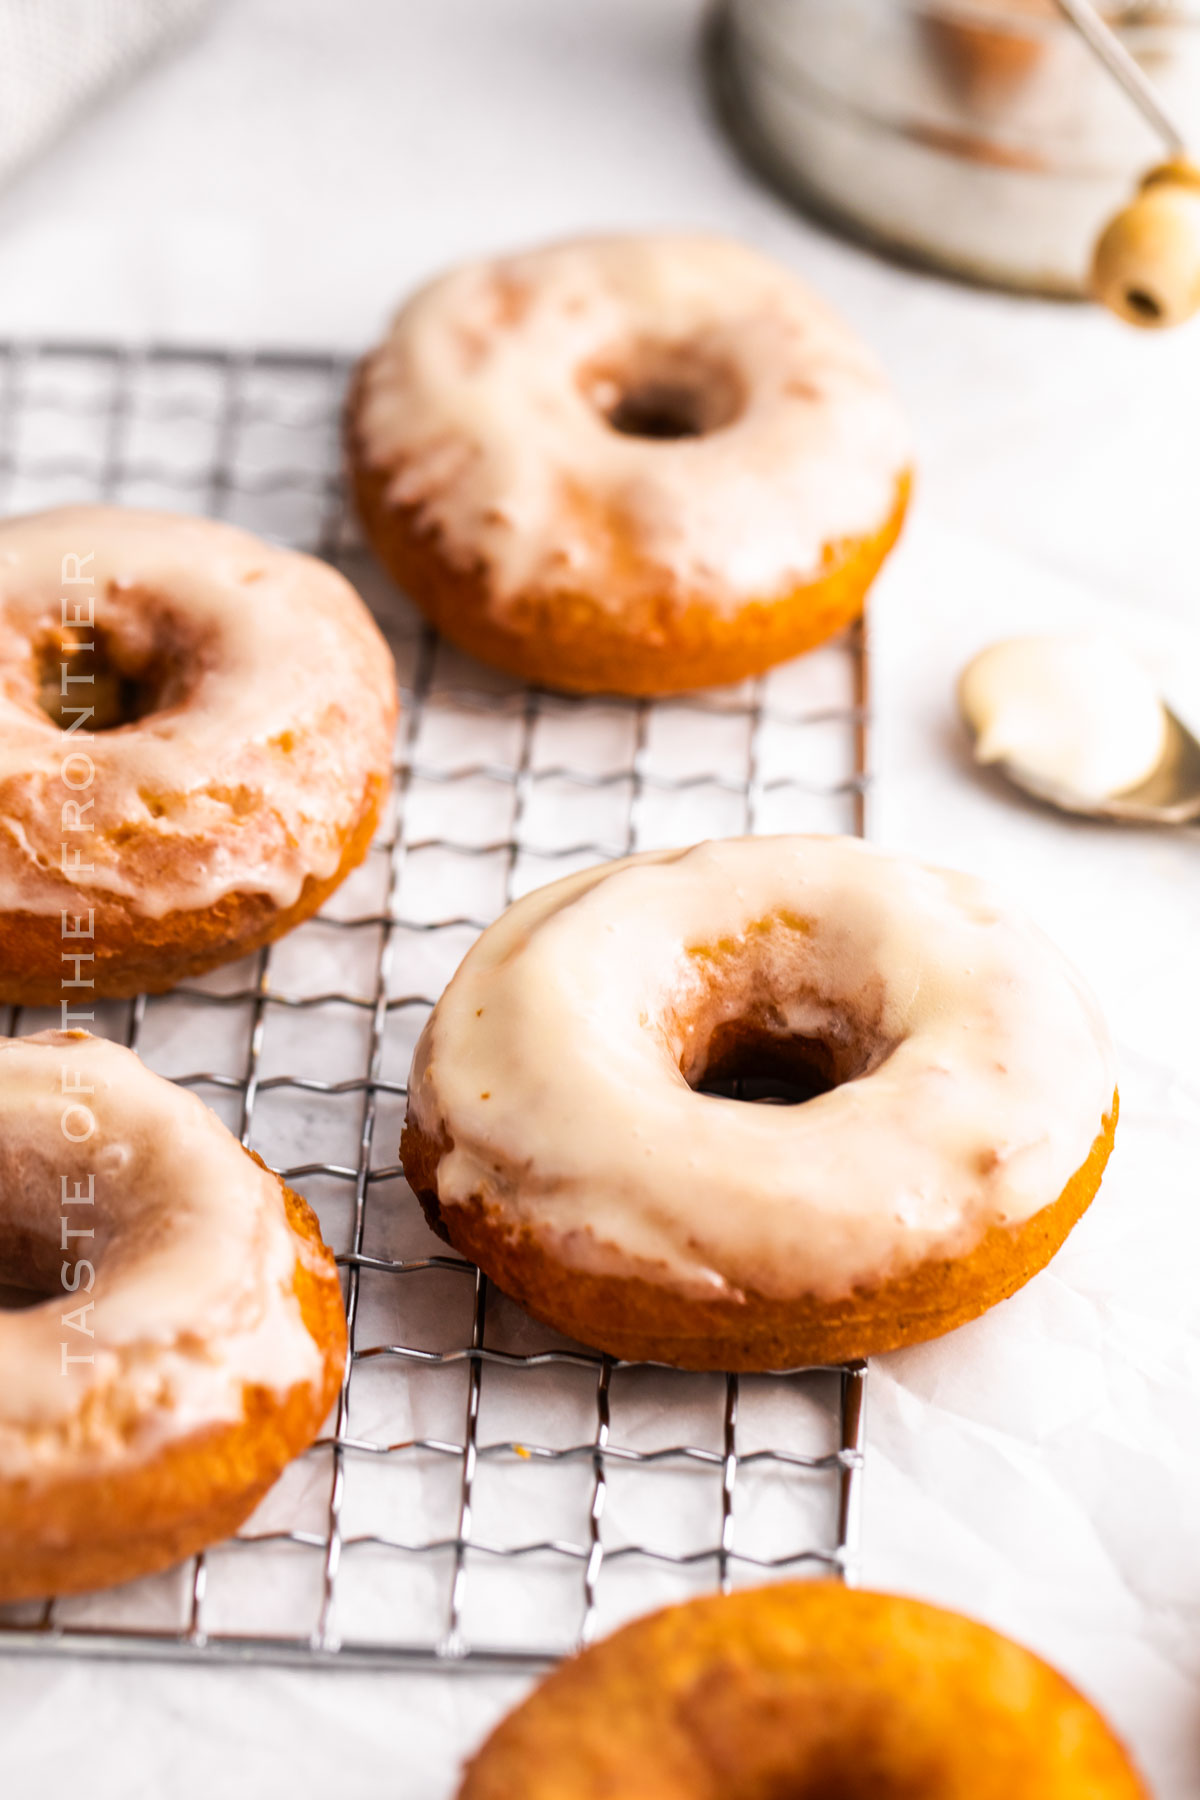
This Old Fashioned Glazed Donut recipe makes it easy to enjoy your favorite weekend morning treat without having to run to the donut house.
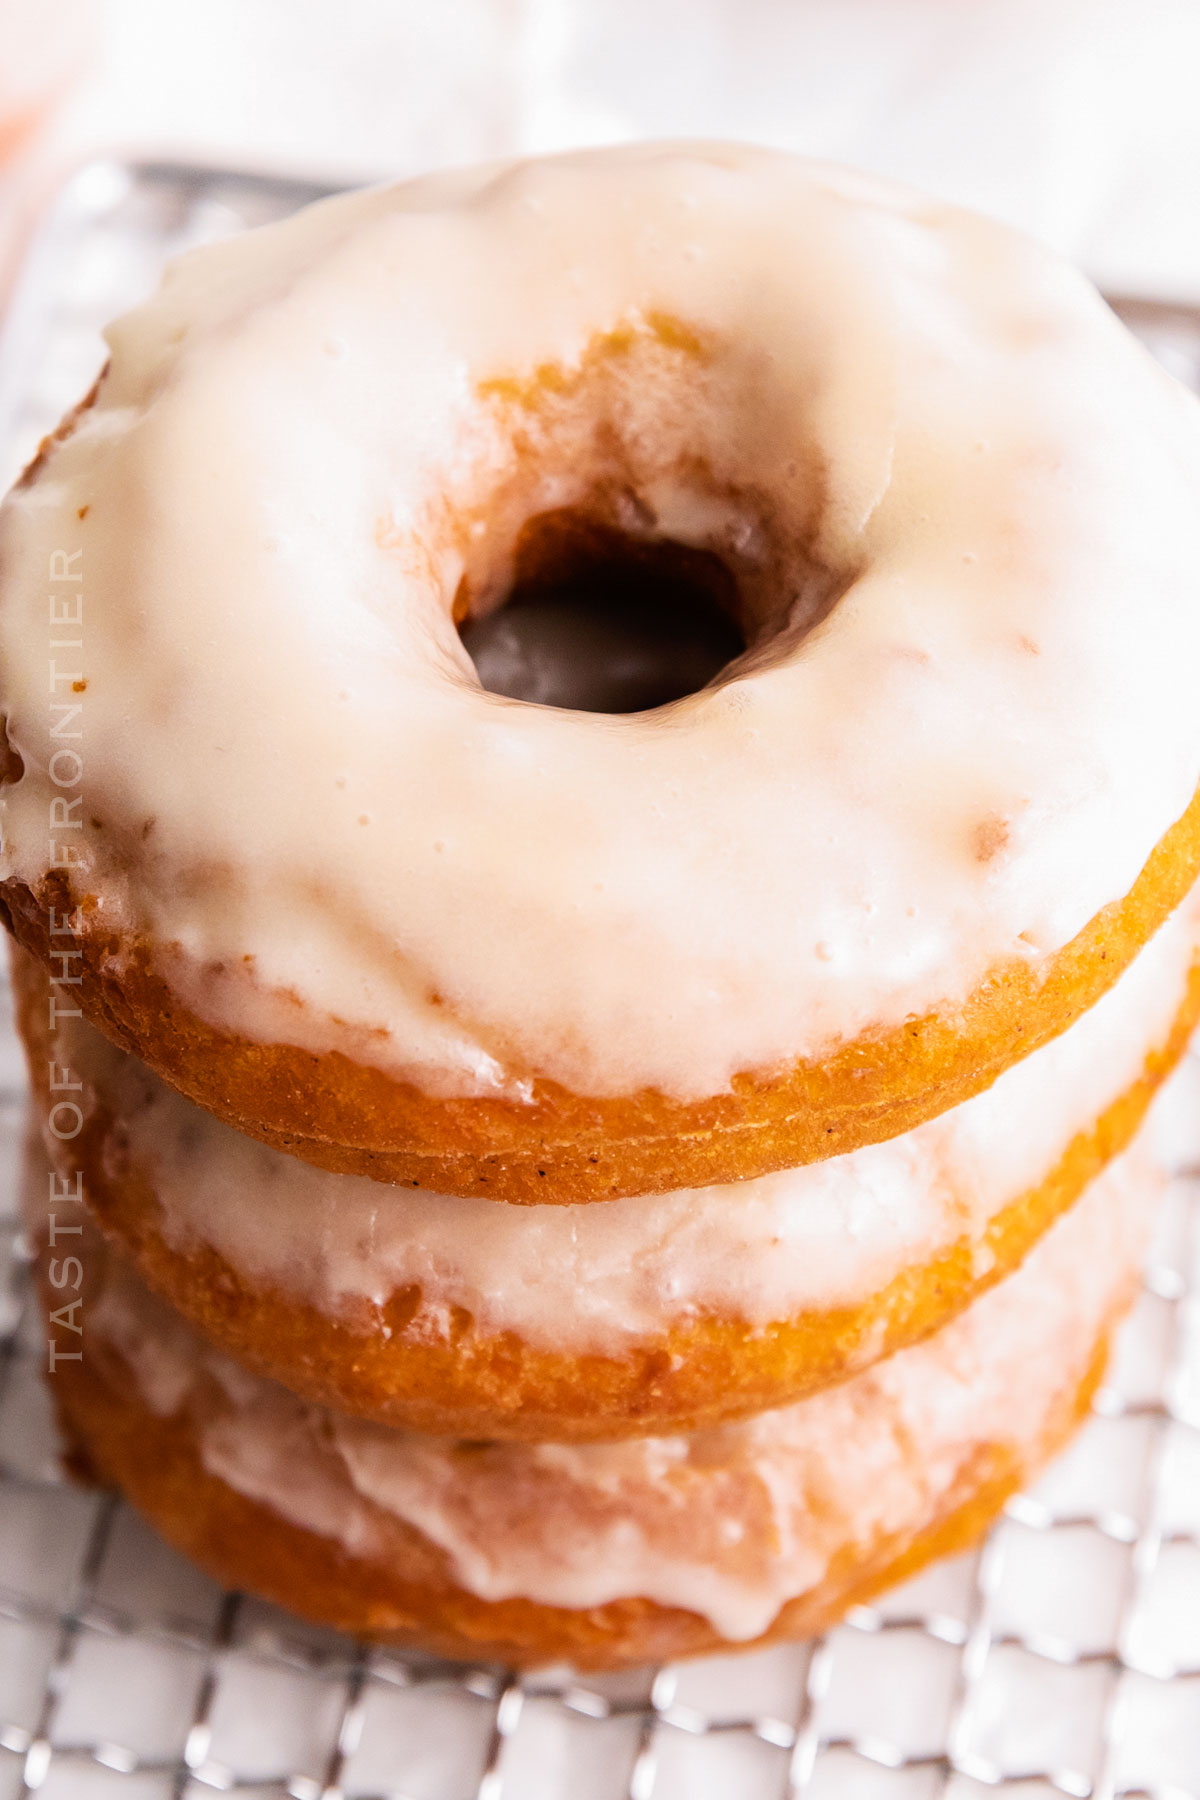
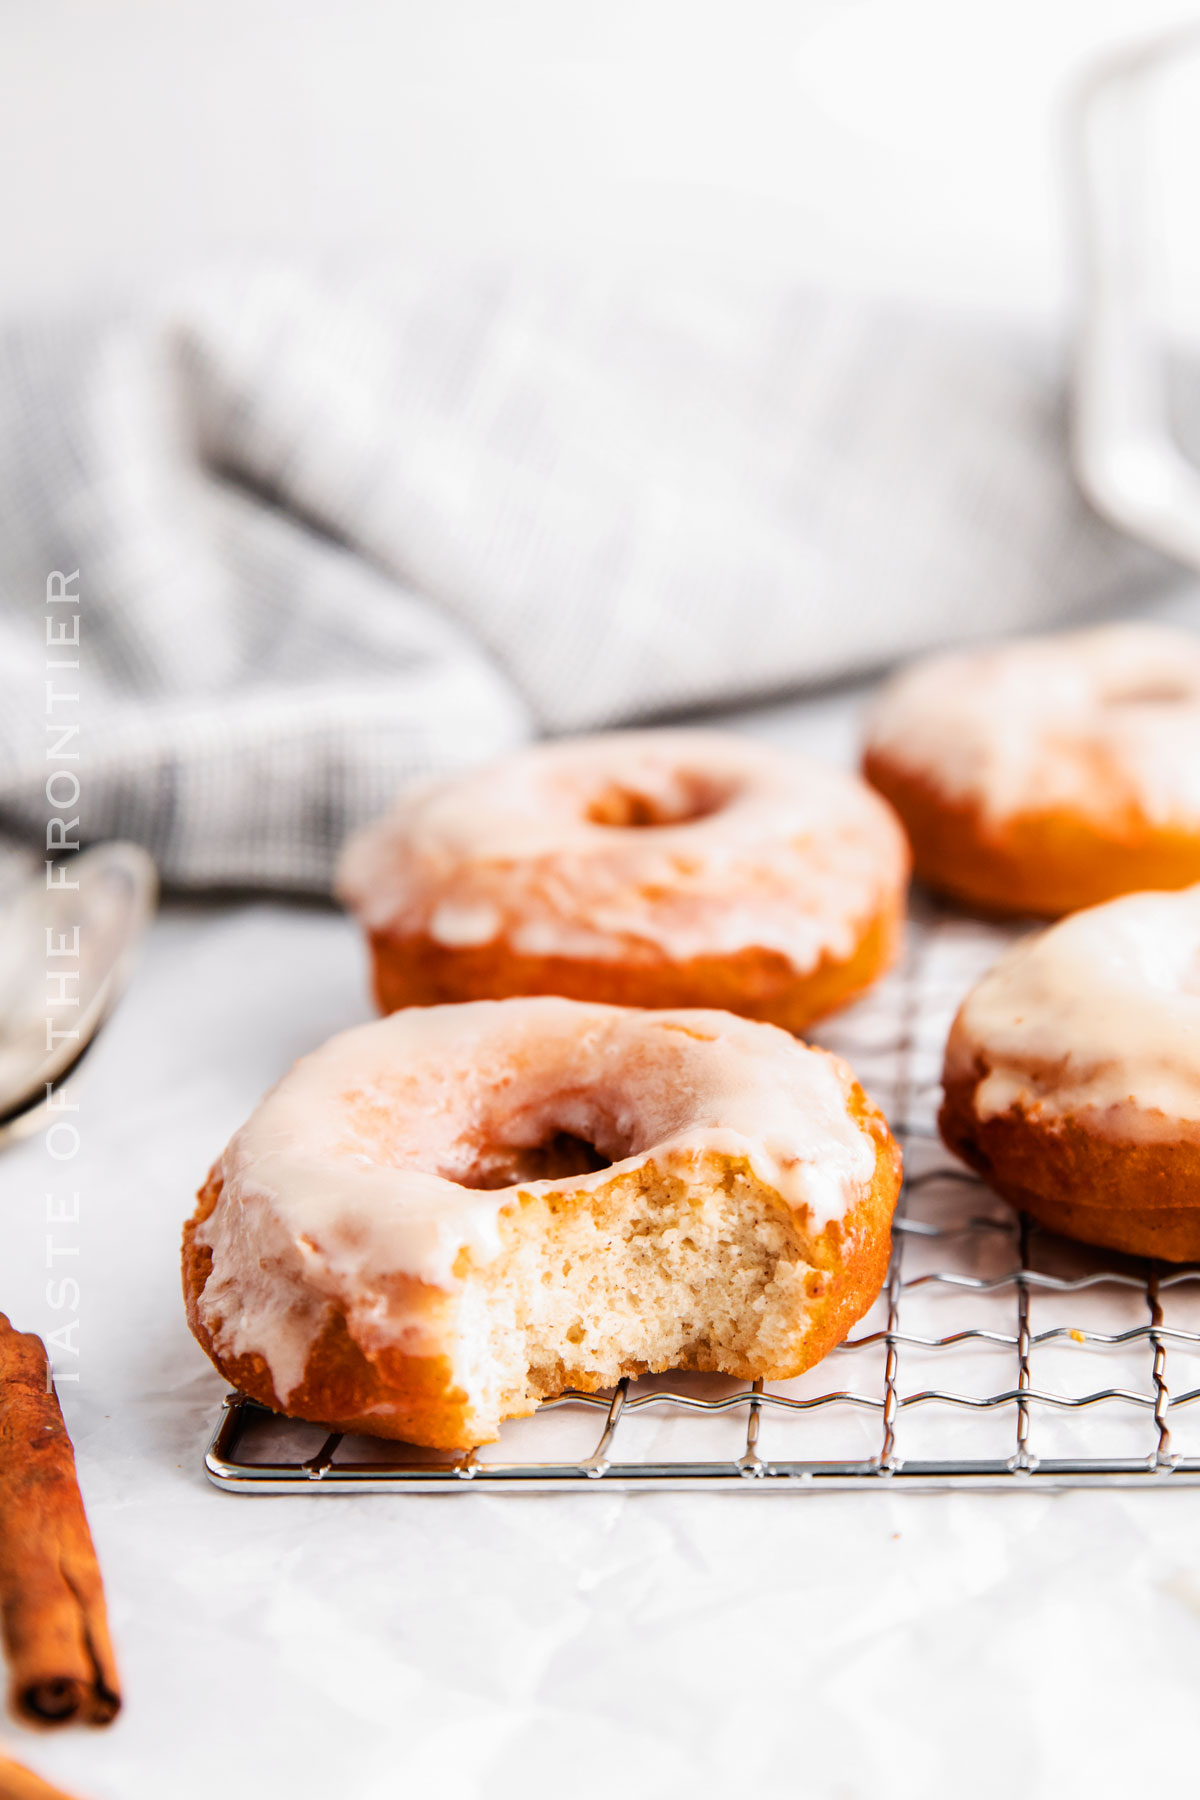
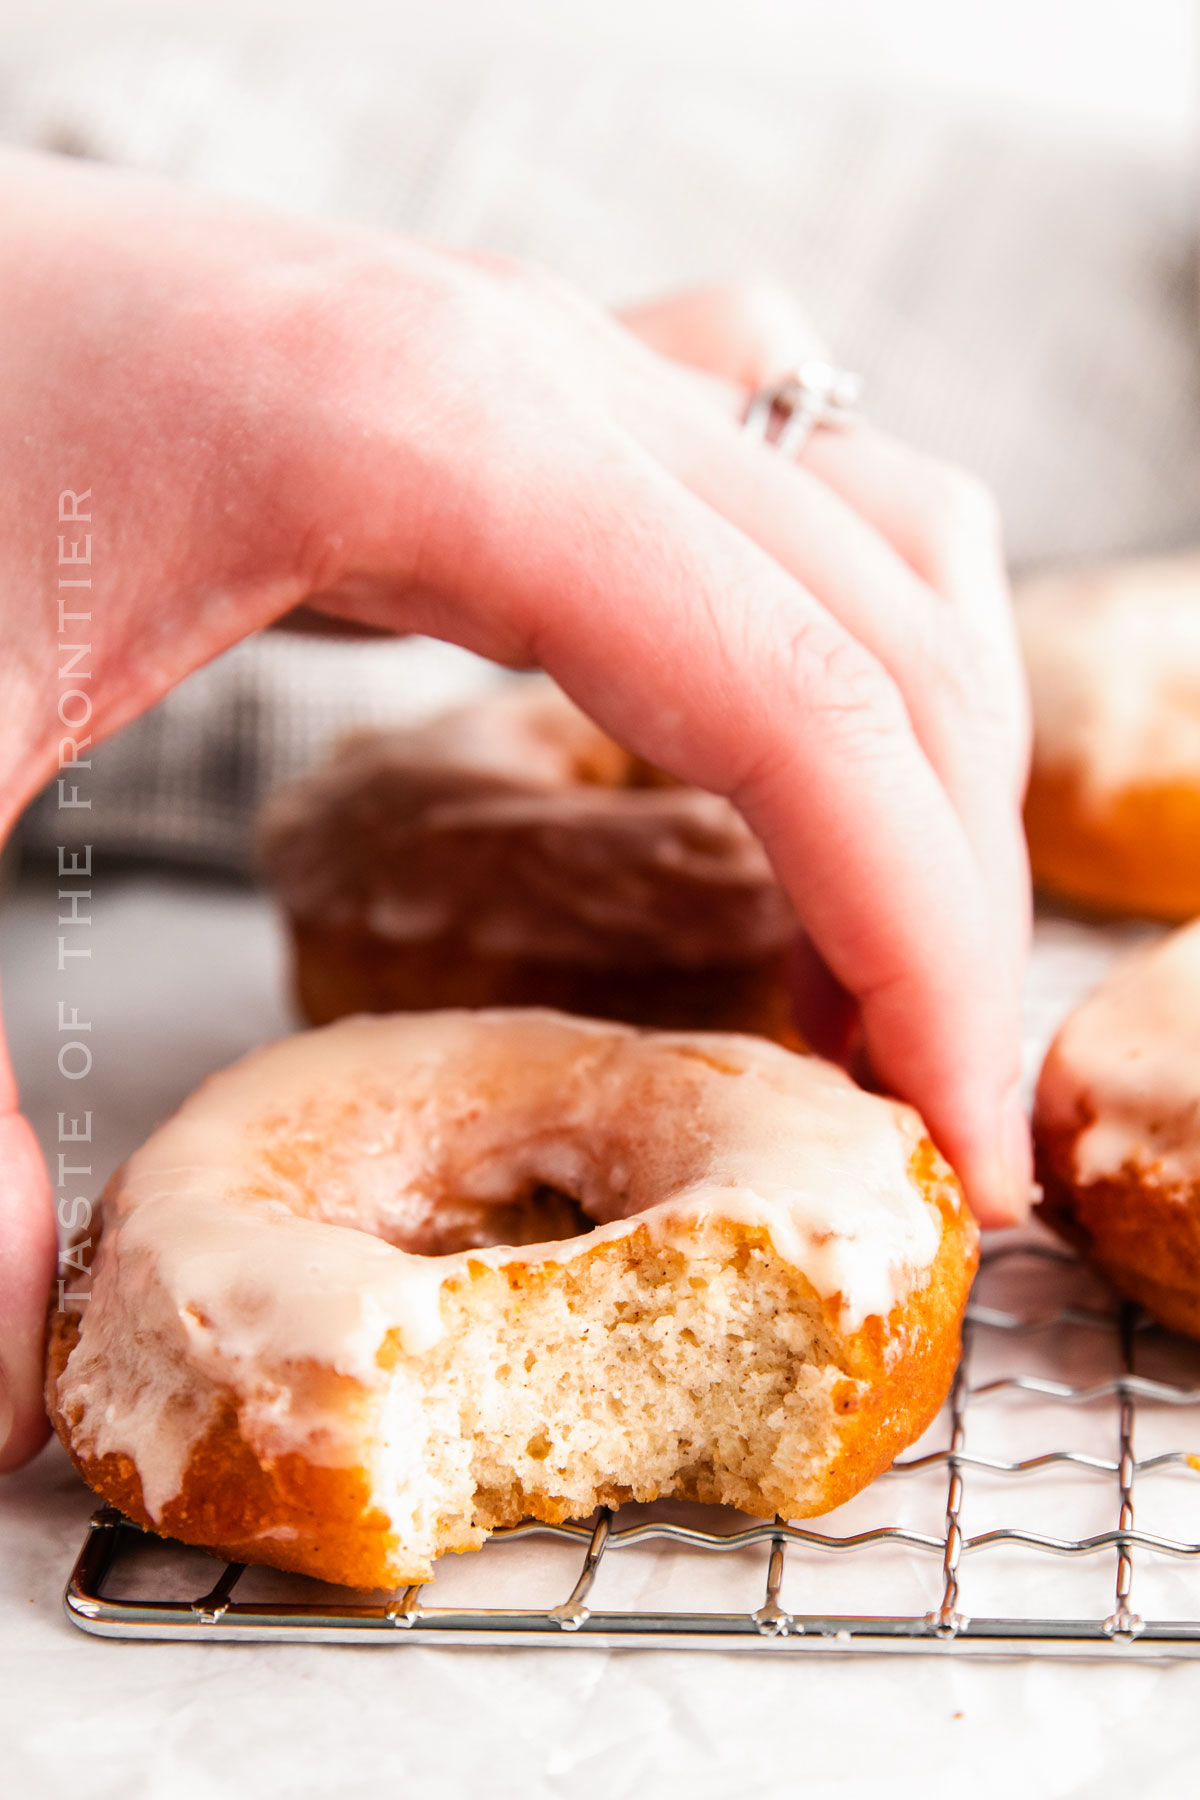
When you bite into a perfect old-fashioned glazed donut, it’s like a trip back in time. A moment when everything was simpler. The outside is golden brown, leading to a soft, tender crumb inside.
Drizzled with a sweet glaze that sticks to your fingers, it’s pure bliss in every bite. These donuts are perfect with a morning coffee or an afternoon treat, proving that some classics never go out of style!
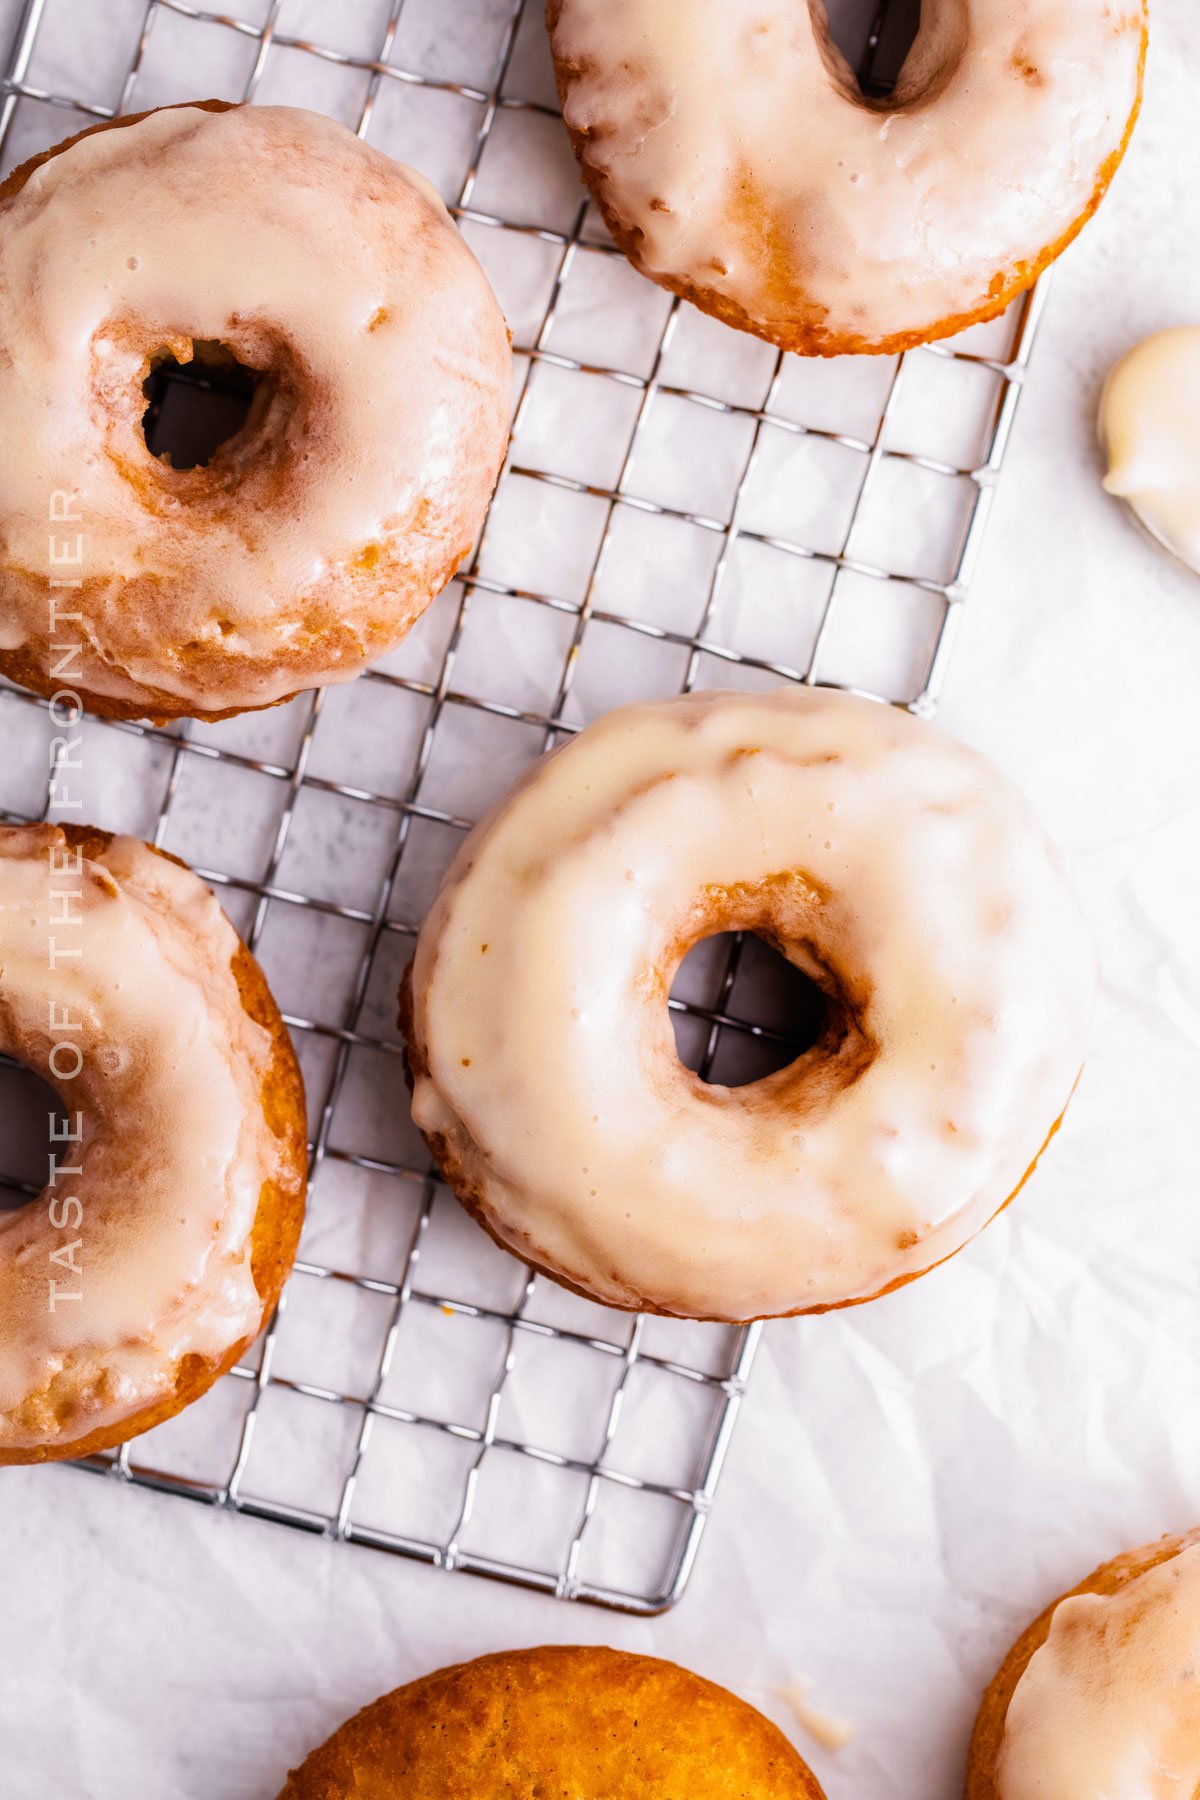
Old-fashioned glazed donuts are a testament to the fact that some recipes are timeless for a reason. Each bite is a mix of nostalgia, comfort, and pure delight.
Whether you’re making these for the first time or the hundredth, the joy they bring remains the same. Happy baking and even happier eating!
Common Questions About Old Fashioned Glazed Donuts
What’s the difference between old-fashioned donuts and regular donuts?
Old-fashioned donuts are known for their distinct ridges and crumbly texture. They don’t have yeast, which makes them denser than the fluffy, yeasted donuts. That dense texture is more filling and really satisfying!
Do I need a donut cutter?
While a donut cutter makes the job easier, if you don’t have one, you can use a biscuit cutter or even a wide-mouthed glass to shape your donuts.
Basically, anything that will give you that ring shape will do. Don’t forget the hole in the middle!
How hot should the oil be for frying?
Maintaining the right oil temperature is key. A good donut is one that’s cooked just right! Aim for 375F.
Using a candy thermometer can help you keep an eye on the oil temperature.
Storage
Chances are high that these old-fashioned cake donuts won’t last till they need to be stored. I never plan on leftover donuts when I make these, haha! Just in case, though, here are some tips for the fridge and freezer.
Refrigerator
Though these donuts are best at room temperature, you can refrigerate them in an airtight container for longer freshness. Just warm them up a bit before serving!
Freezer
For an even longer shelf life, freeze the donuts. Wrap them individually in plastic wrap before placing them in an airtight container. When you’re ready to indulge, thaw them at room temperature.
Tips
I’ve got a few pointers to help you get the most delicious donuts possible. In the end, my biggest tip is just to try it out. Repetition is the mother of all skill!
- Golden Perfection: Fry the donuts until they’re a beautiful golden brown for that classic look and taste.
- Fresh Oil: Use vegetable oil for frying. It’s neutral and won’t overshadow the donut’s flavor.
- Check the Heat: Use a candy thermometer to maintain the right oil temperature.
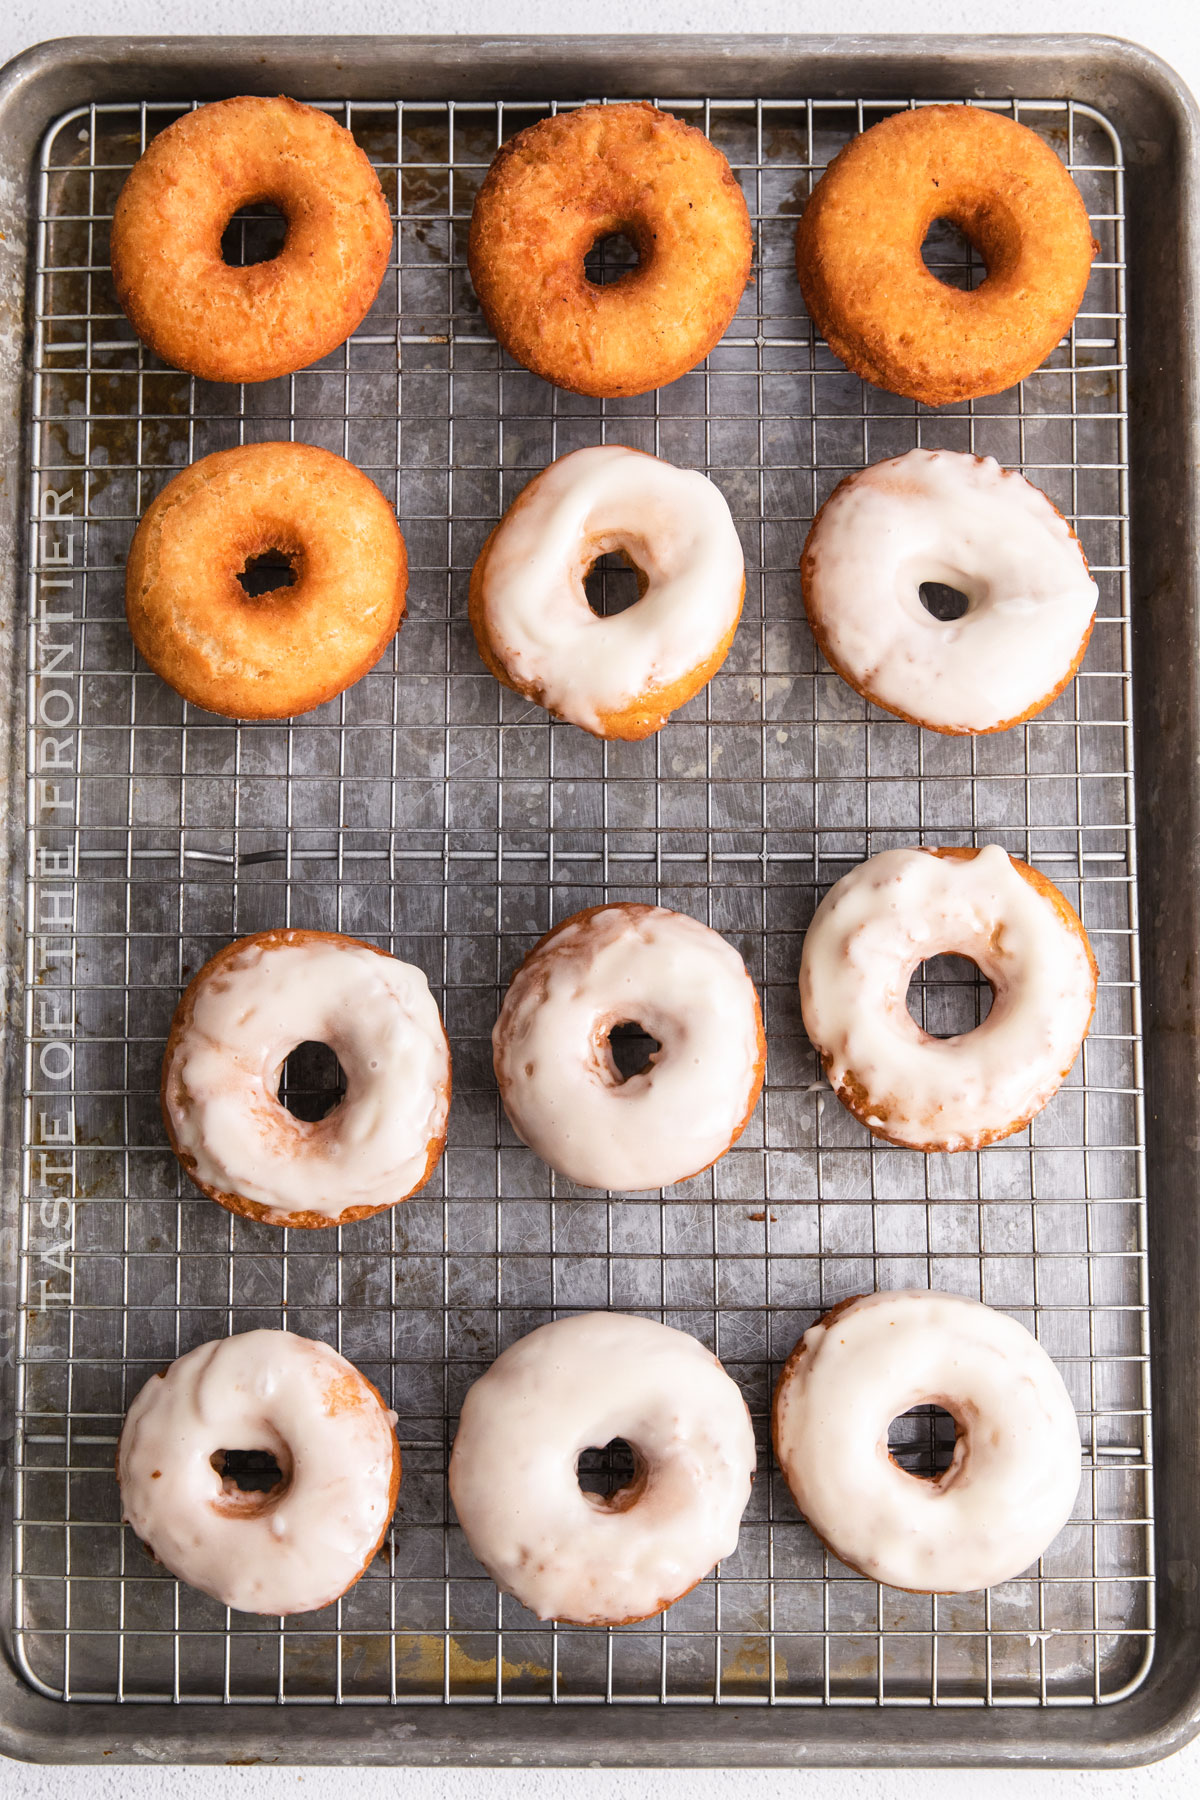
- Glaze While Warm: The warm donuts will melt the glaze, allowing it to cover the donuts evenly for the sweetest finish.
- Less is More: Don’t overcrowd the pot. Fry only a few donuts at a time to maintain the oil’s temperature.
Ingredients
My kids love pretending that we’re running a doughnut shop when we make these. It’s just another way we make memories!
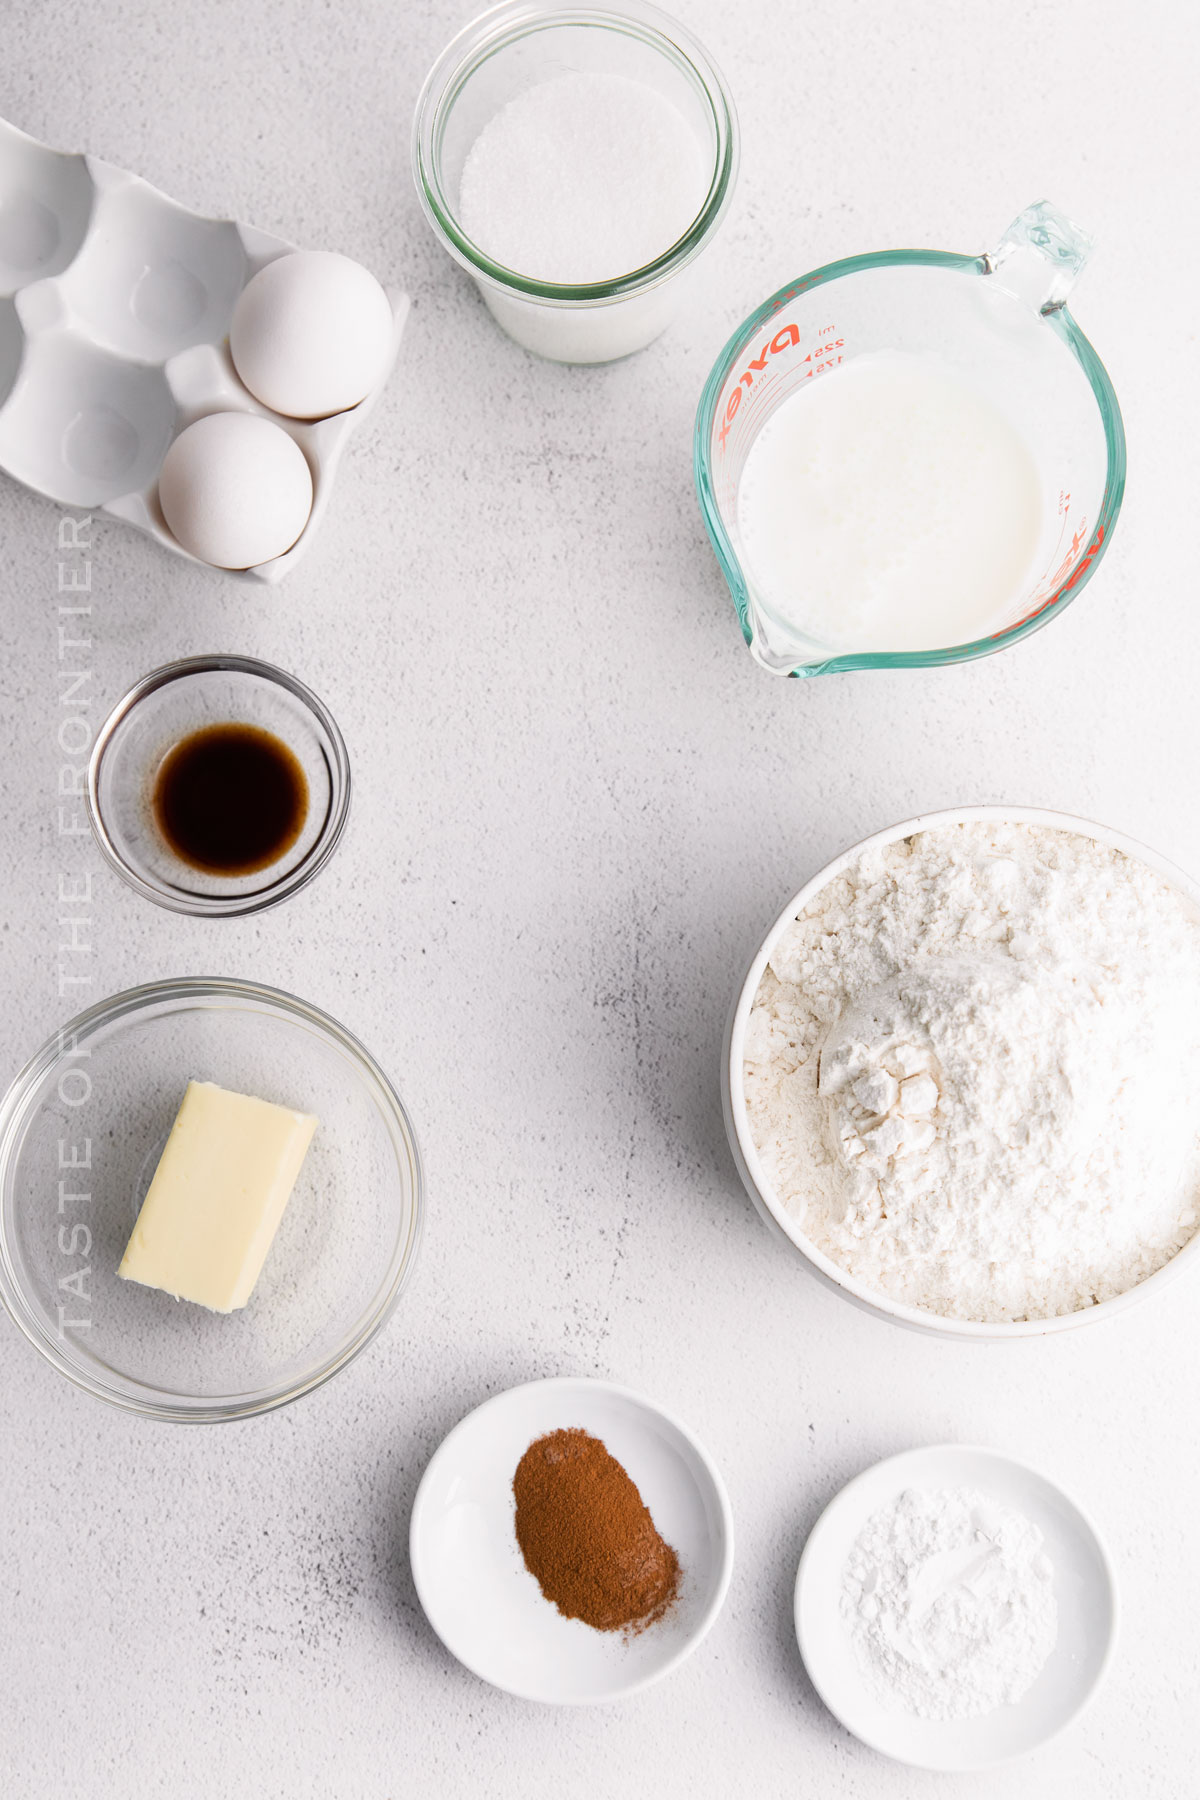
- All-purpose flour
- Baking powder
- Ground cinnamon
- Optional ground nutmeg
- Granulated sugar
- Large eggs
- Butter (melted)
- Buttermilk
- Confectioner’s sugar (for the glaze)
- Heavy cream (for the glaze)
- Pure vanilla extract (for the glaze)
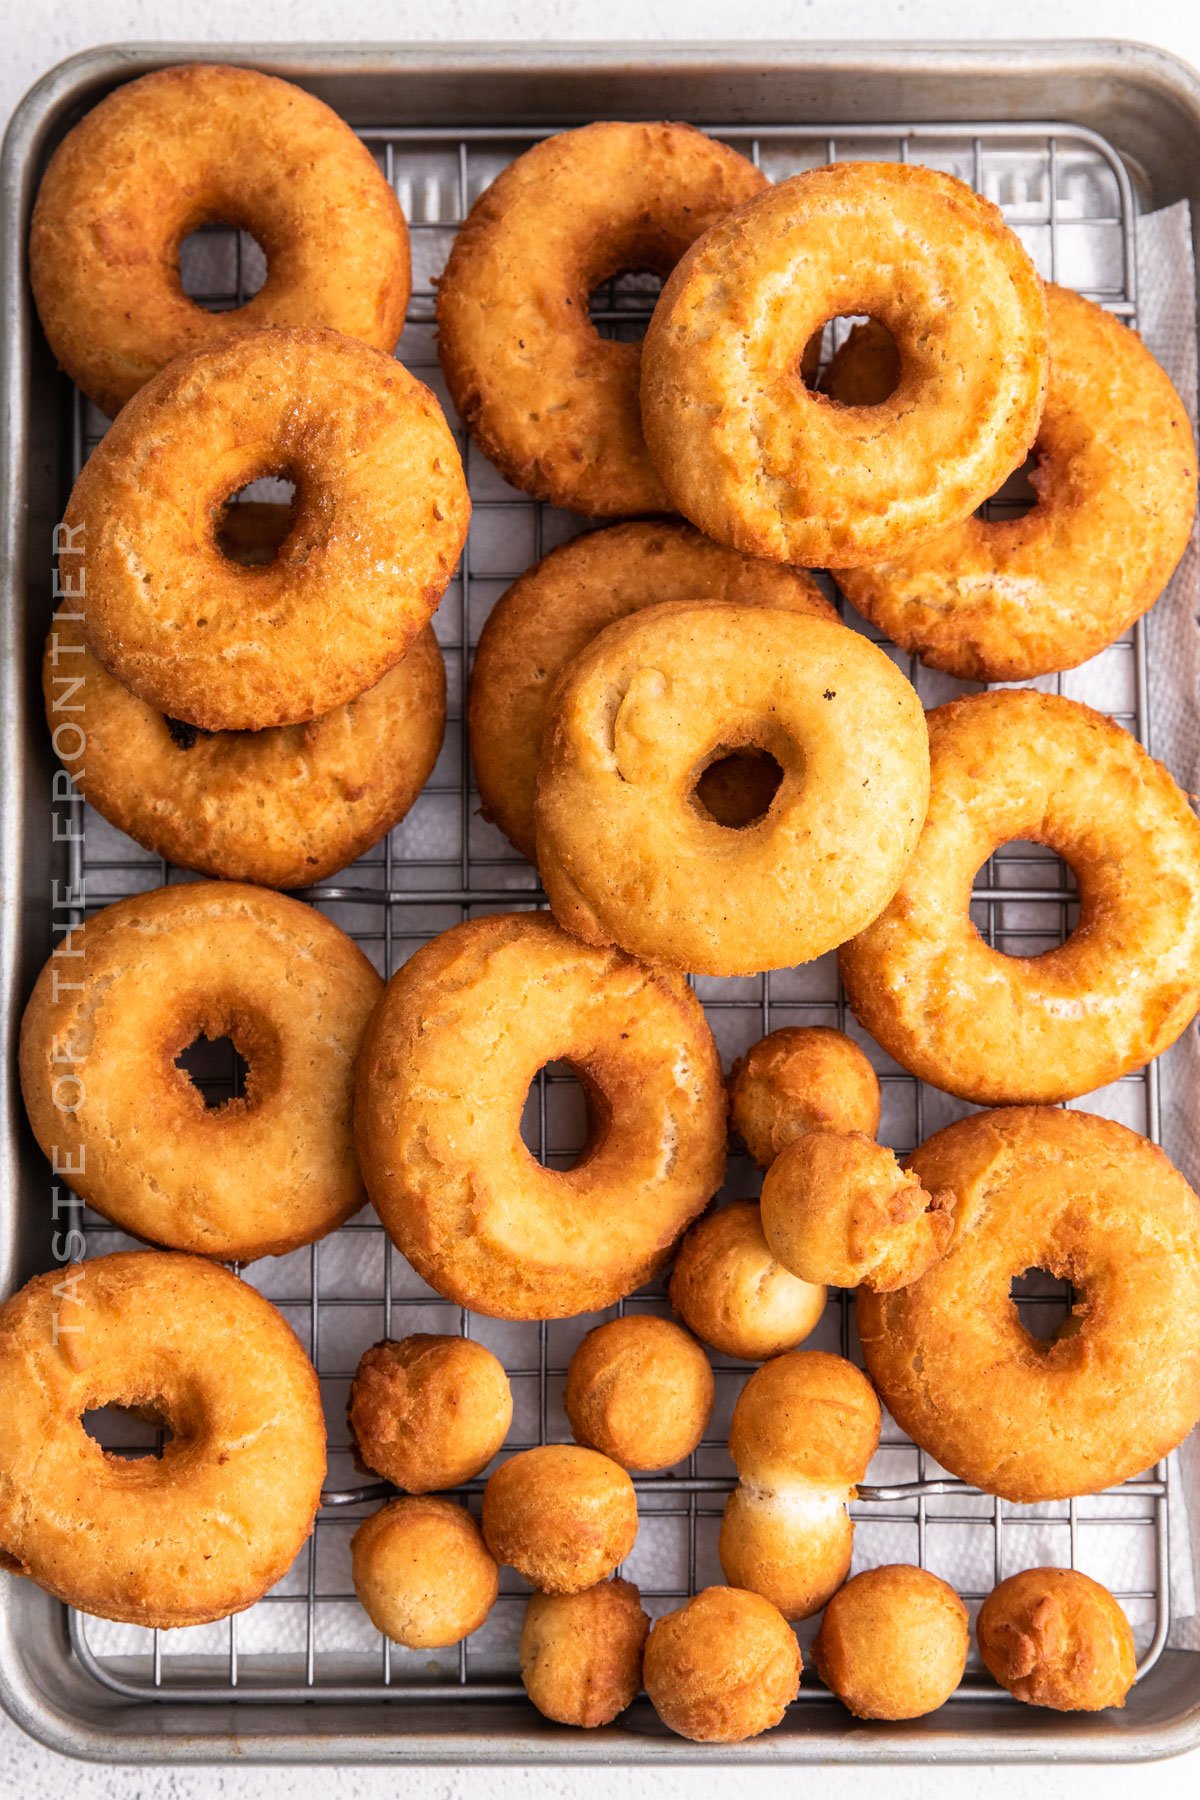
How to Make Old Fashioned Glazed Donuts
When all is said and done, let me know in the comments if these are your absolute favorite donuts! I’m pretty sure you’re going to love them.
Donuts
- In a small mixing bowl, mix the flour, baking powder, cinnamon, and nutmeg, if using.
- Add the sugar and eggs to the bowl of a stand mixer fitted with the paddle attachment. Beat on medium-high speed until the mixture is smooth and pale yellow.
- Next, add the melted butter and buttermilk and mix just until combined.
- Switch to the dough hook attachment and add the dry ingredients to the bowl. Mix on low speed until a smooth dough forms– about 2-3 minutes.
- Place the dough in a lightly greased bowl and place it in the fridge to chill for at least one hour.
- After the dough has chilled, heat 3-4 inches of neutral oil into a large dutch oven and bring its temperature up to 375F.
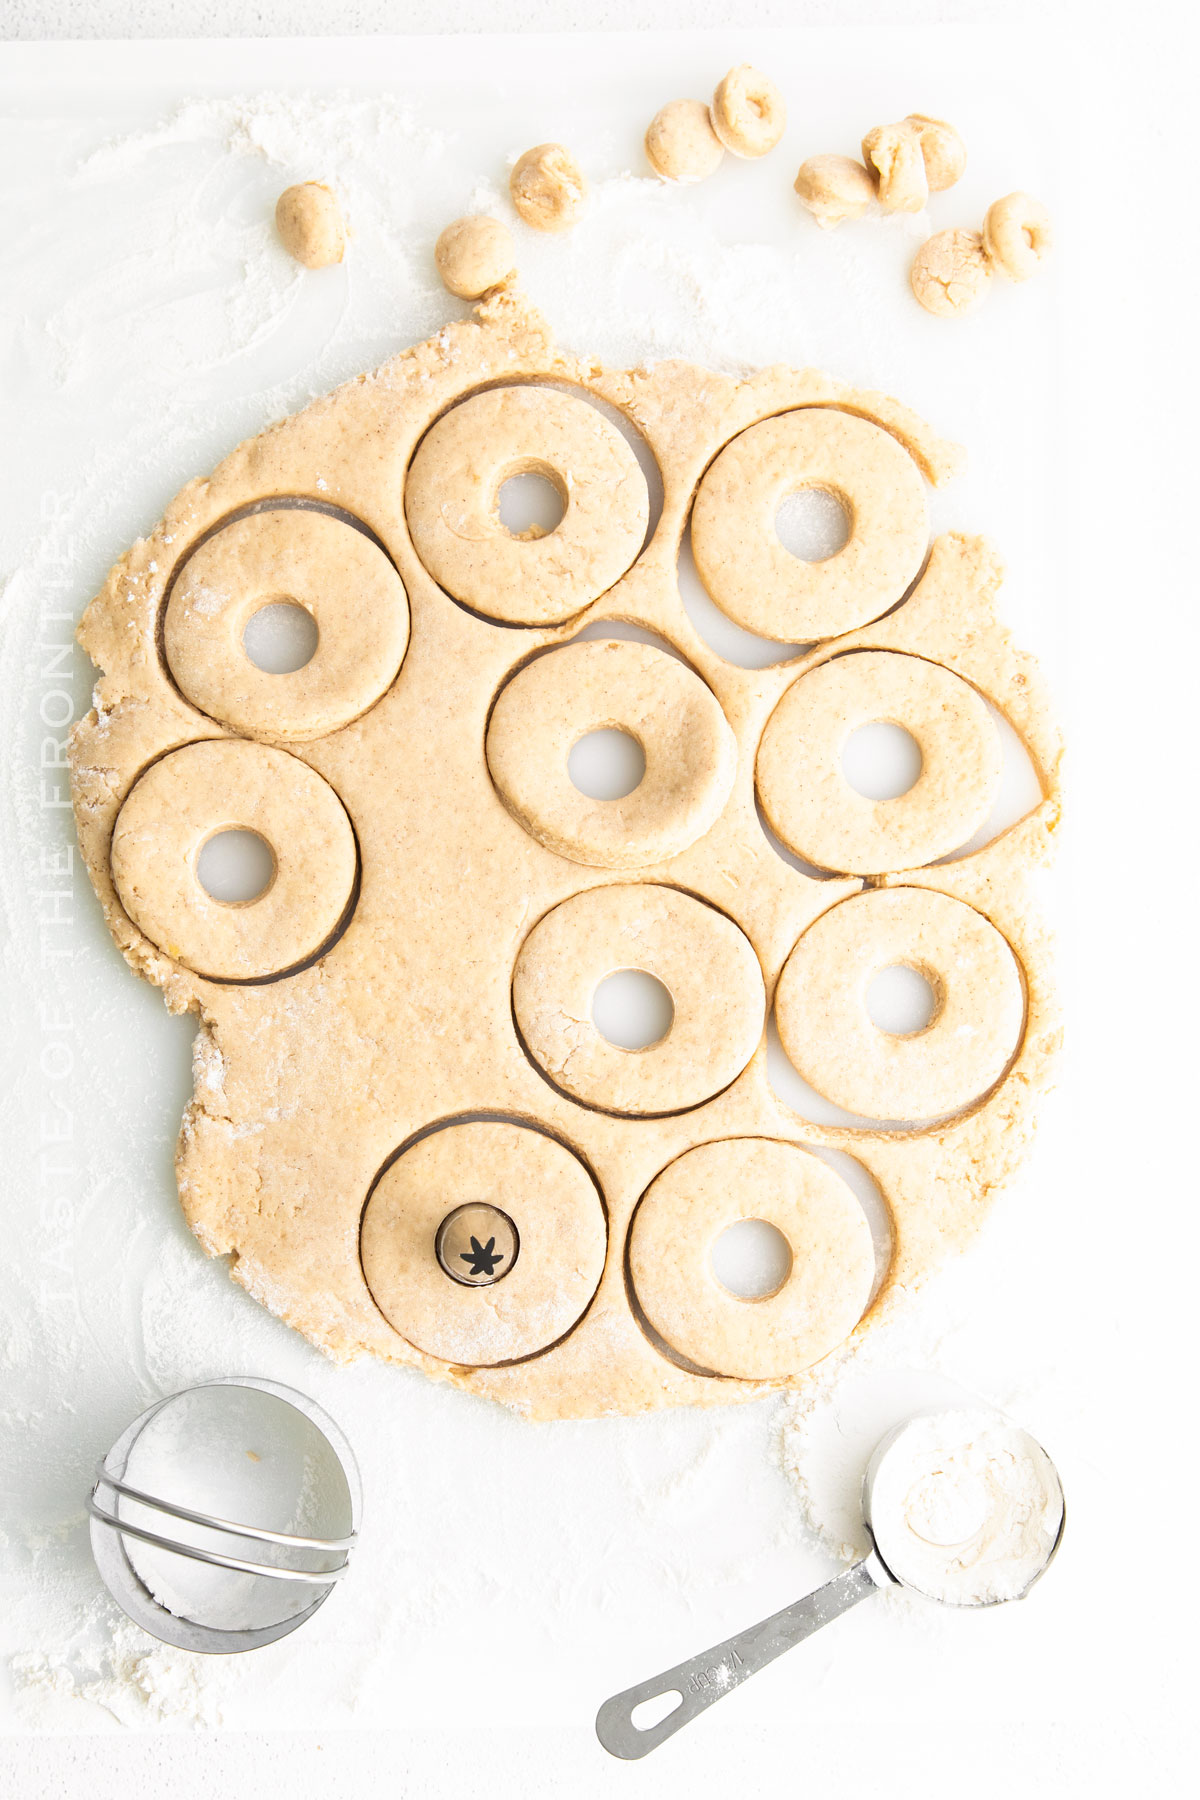
- While bringing up the oil temperature, roll out the dough to 1/2” thickness on a well-floured surface.
- Using a 2 1/2” floured round cutter, cut out the doughnuts. Score the top of the doughnuts with a sharp knife.
- Carefully place a few doughnuts at a time into the oil and fry until golden brown– about 2 minutes per side. Make sure not to crowd the pan too much.
- Carefully remove the doughnuts from the oil and place them on a paper towel to remove excess oil, then transfer them to a wire rack to cool slightly.
Glaze
- Whisk together all of the ingredients together in a medium-sized bowl.
- Dip the doughnuts fully into the glaze one by one and enjoy. Allow the glaze to set fully before storing– about 30 minutes.
- Store in an airtight container at room temperature for up to 1 week, but they are best enjoyed the day they are prepared.
Kitchen Supplies You’ll Need for Old Fashioned Glazed Donuts
If you’ve got a deep fryer that will keep a constant temperature, then go ahead and use it! I find that a Dutch oven is my favorite way to make these. Old fashioned all the way!
- A large mixing bowl
- A bowl of a stand mixer with paddle attachment
- A deep-fry thermometer or candy thermometer
- A Dutch oven or large pot for frying
- Slotted spoon
- Wire rack
- Baking sheet
What to Serve With Old Fashioned Glazed Donuts
I’ve had these a time or two all by themselves. They’re a great way to start the day. Not like other glazed donuts that are half filled with air, haha!
- A cup of fresh-brewed coffee
- A cold glass of milk
- A side of fruit salad for a refreshing contrast
- A scoop of your favorite ice cream for a dessert treat
- Pan-fried breakfast sausage if you’re starting out the day
Why You Should Make Old Fashioned Glazed Donuts
For me, this is all about taking my food into my own hands. I love to know exactly what I’m eating. I also love having the skills to create my own foods from scratch. What do you love about home cooking?
- Nostalgic Bliss: It brings back those sweet childhood memories.
- Perfect for All Occasions: Whether it’s a family gathering or a lazy Sunday morning.
- Incredibly Delicious: They’re the right mix of sweet, soft, and crunchy.
- Versatile: You can adjust the glaze ingredients or add toppings as per your preference.
- Impress Guests: They will be amazed by your baking skills with this classic treat.
Variations and Add-Ins for Old Fashioned Glazed Donuts
Chocolate would probably be my next favorite flavor for these. There are all kinds of ways you can change them up, though! Here are just a few ideas to get you started.
- Chocolate Glaze: Switch the vanilla glaze with a rich chocolate one.
- Sprinkles: For added color and fun.
- Cinnamon Sugar: Ditch the glaze and roll the warm donuts in a cinnamon-sugar mix.
- Fillings: Try filling them with jam, custard, or even chocolate.
- Nuts: Add some crushed almonds or walnuts on top for a crunch.
If you love this easy donut recipe, you’re going to love these other morning treats too. Please click each link below to find the easy, printable recipe!
More Great Donut Recipes
Easy Strawberry Jalapeño Donuts
Cinnamon Toast Crunch Doughnuts
CONNECT WITH YUMMI HAUS!
Be sure to follow me on my social media, so you never miss a post!
Old Fashioned Glazed Donut
Ingredients
Donuts
- 3¼ cups all-purpose flour
- 2 teaspoons baking powder
- 1 teaspoon cinnamon ground
- ½ teaspoon nutmeg ground – optional
- ⅔ cup granulated sugar
- 2 large eggs
- 4 tablespoons butter melted
- ⅔ cup buttermilk
Glaze
- 1 cup confectioner’s sugar
- 2 tablespoons heavy cream
- 1 teaspoon vanilla extract
Instructions
Donuts
- In a small mixing bowl, mix the flour, baking powder, cinnamon, and nutmeg, if using.
- Add the sugar and eggs to the bowl of a stand mixer fitted with the paddle attachment. Beat on medium-high speed until the mixture is smooth and pale yellow.
- Next, add the melted butter and buttermilk and mix just until combined.
- Switch to the dough hook attachment and add the dry ingredients to the bowl. Mix on low speed until a smooth dough forms– about 2-3 minutes.
- Place the dough in a lightly greased bowl and place it in the fridge to chill for at least one hour.
- After the dough has chilled, heat 3-4 inches of neutral oil into a large dutch oven and bring its temperature up to 375F.
- While bringing up the oil temperature, roll out the dough to 1/2” thickness on a well-floured surface.
- Using a 2 1/2” floured round cutter, cut out the doughnuts. Score the top of the doughnuts with a sharp knife.
- Carefully place a few doughnuts at a time into the oil and fry until golden brown– about 2 minutes per side. Make sure not to crowd the pan too much.
- Carefully remove the doughnuts from the oil and place them on a paper towel to remove excess oil, then transfer them to a wire rack to cool slightly.
Glaze
- Whisk together all of the ingredients together in a medium-sized bowl.
- Dip the doughnuts fully into the glaze one by one and enjoy. Allow the glaze to set fully before storing– about 30 minutes.
- Store in an airtight container at room temperature for up to 1 week, but they are best enjoyed the day they are prepared.
Notes
Nutrition
Nutritional information for the recipe is provided as a courtesy and is approximate. Please double-check with your own dietary calculator for the best accuracy. We at Yummi Haus cannot guarantee the accuracy of the nutritional information given for any recipe on this site.




Share Your Thoughts