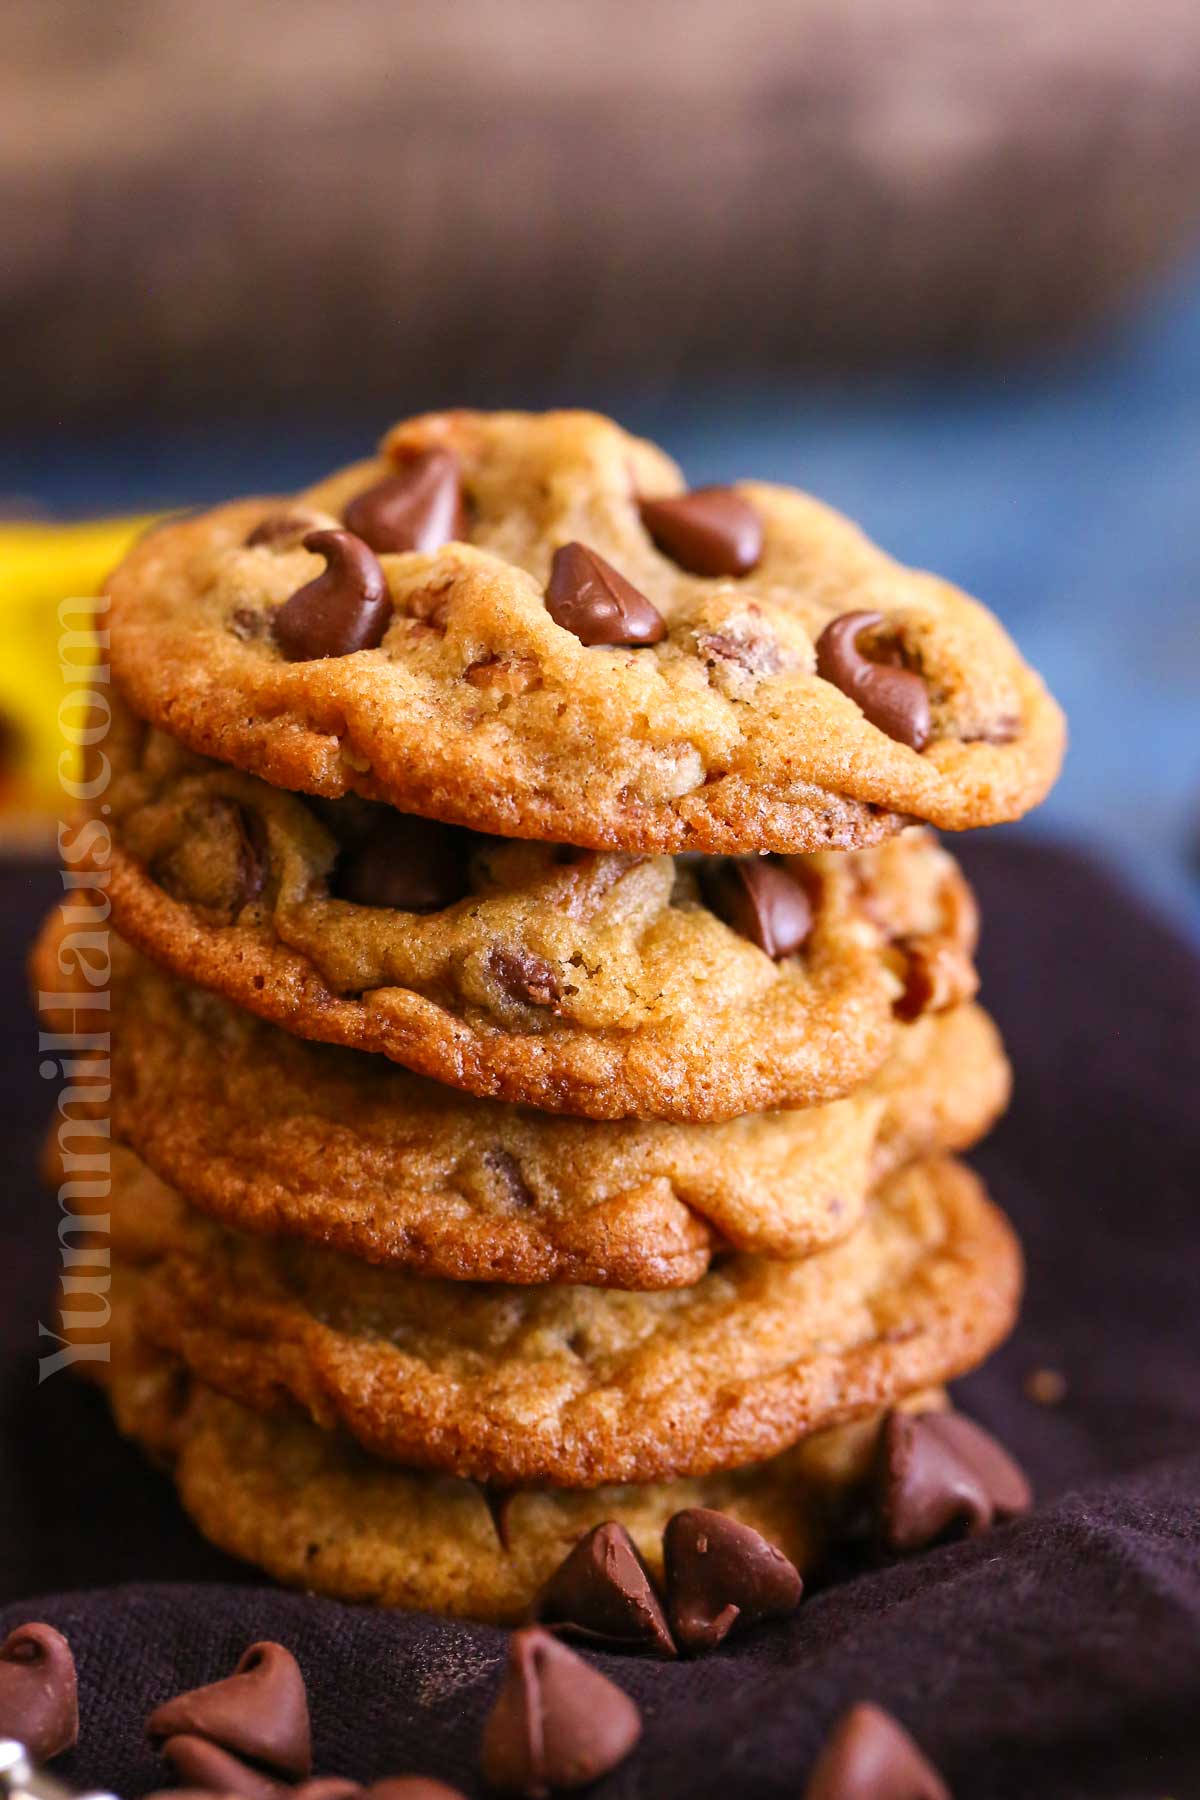
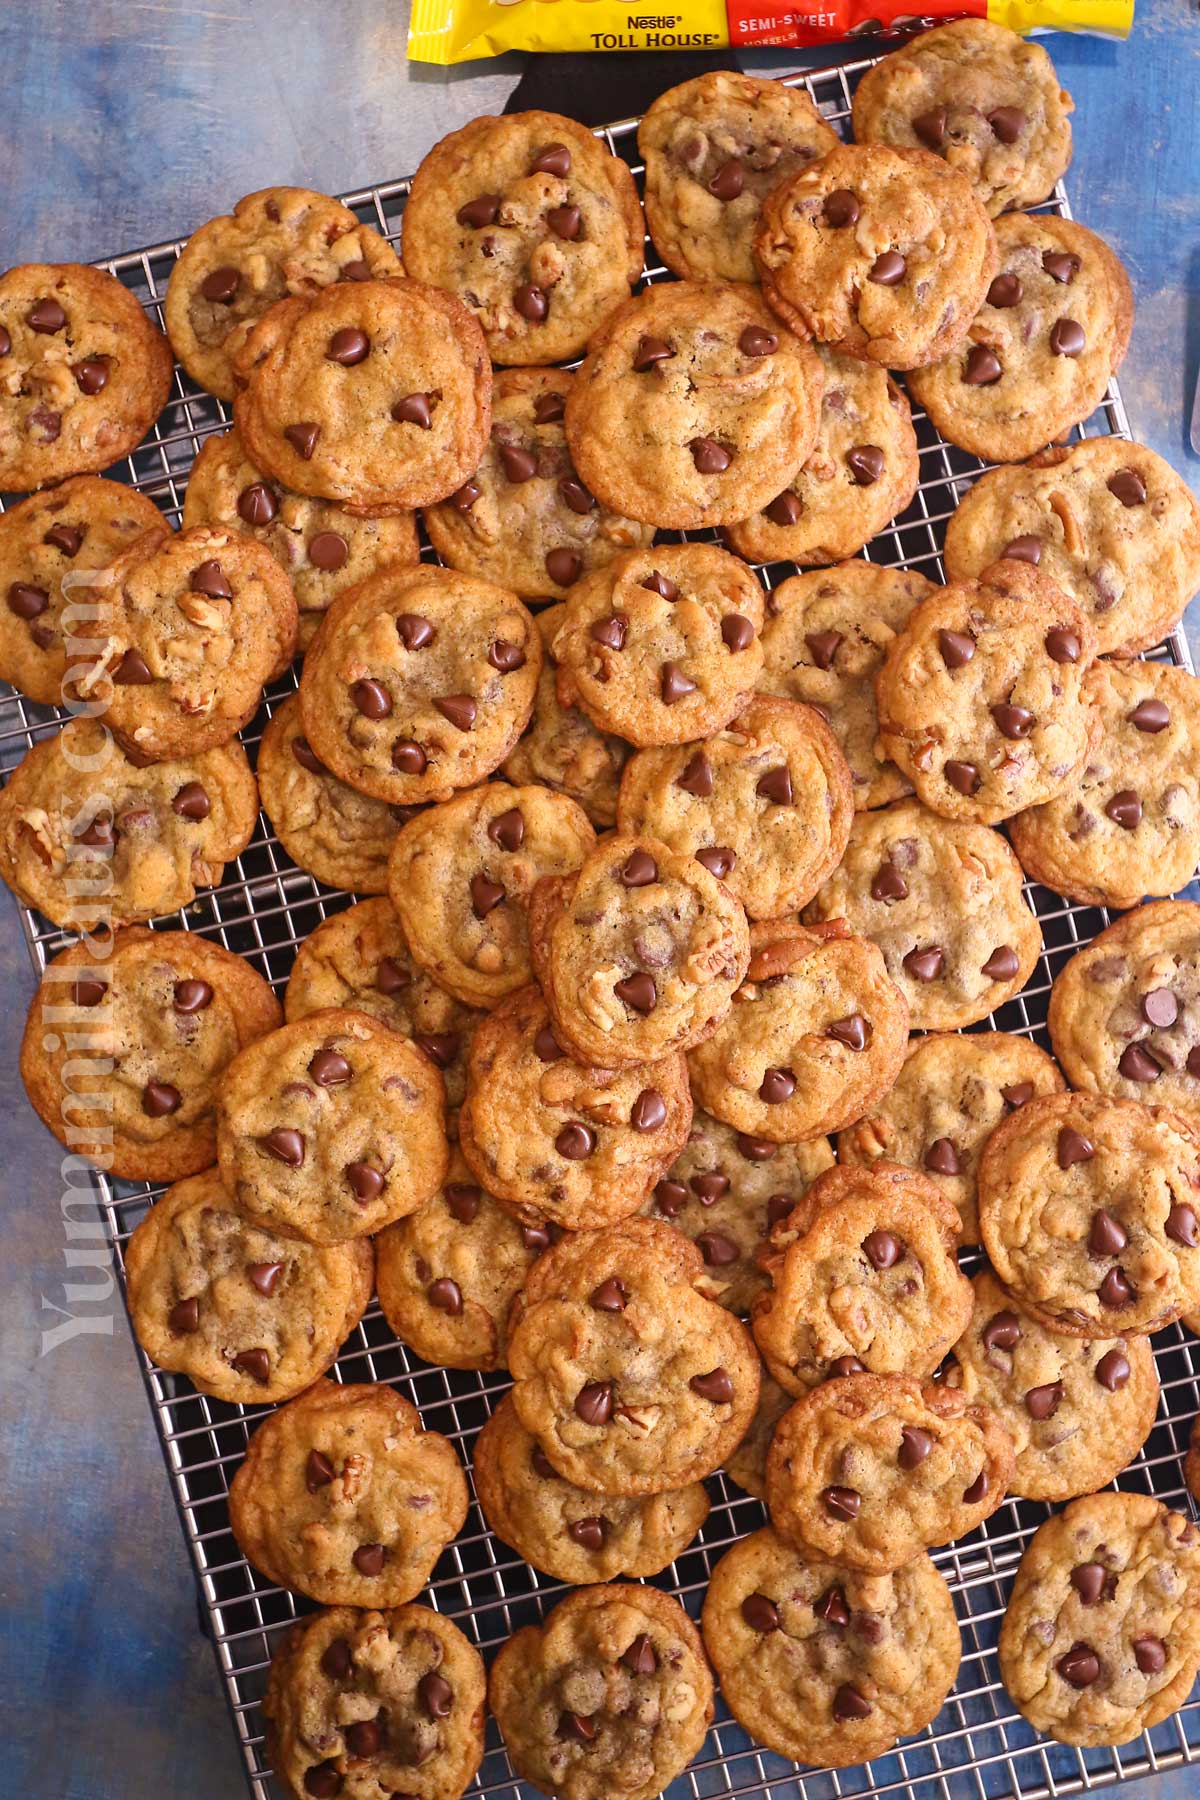
Nestle Toll House cookies are homemade chocolate chip cookies taken to the next level of indulgence with Nestle semi-sweet chocolate chips and crunchy chopped nuts.
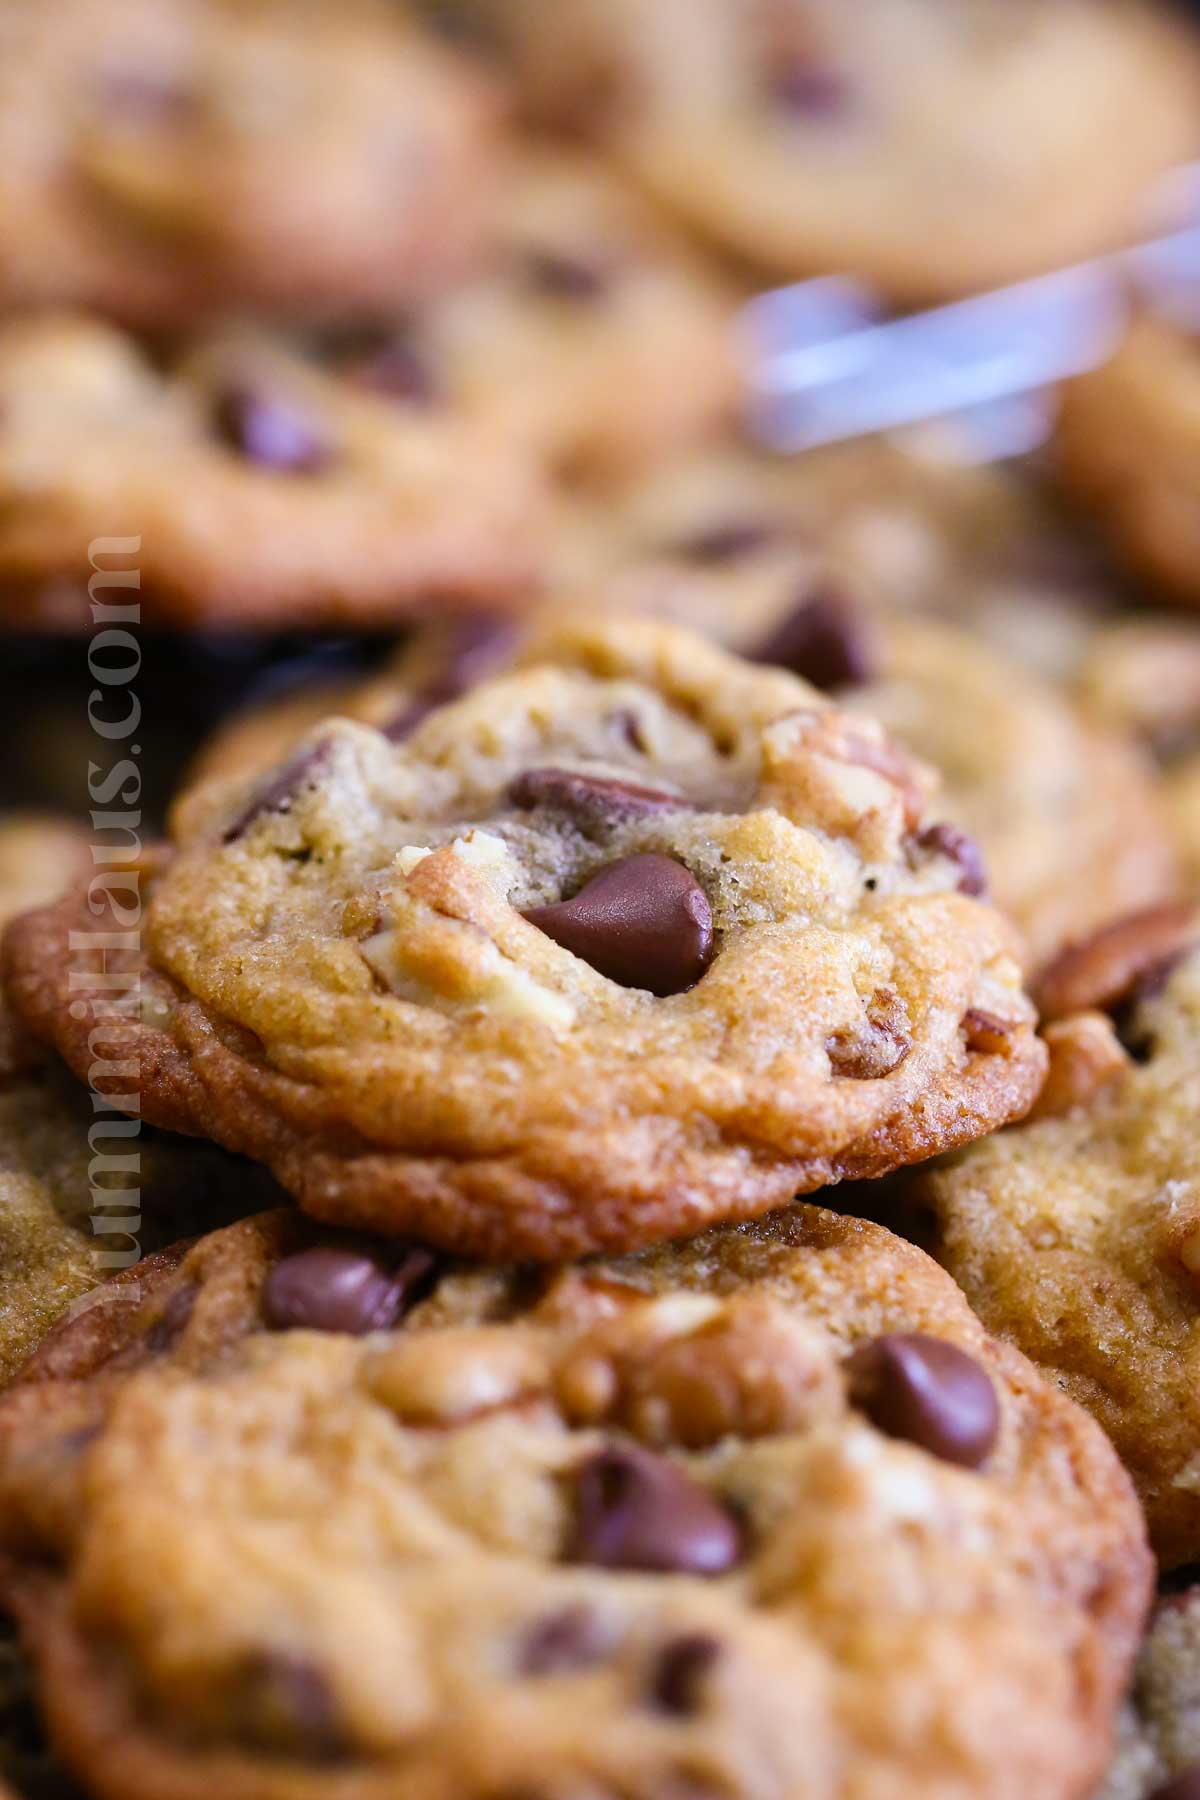
The OG chocolate chip cookies as we know them – aka the best cookies EVER! Soft on the inside and crispy on the outside, with gooey chocolate chips, these classic cookies make an amazing easy sweet snack for an afternoon with a cup of tea, for a picnic, a gift box, or a potluck. Nobody can say “No” to a homemade cookie!
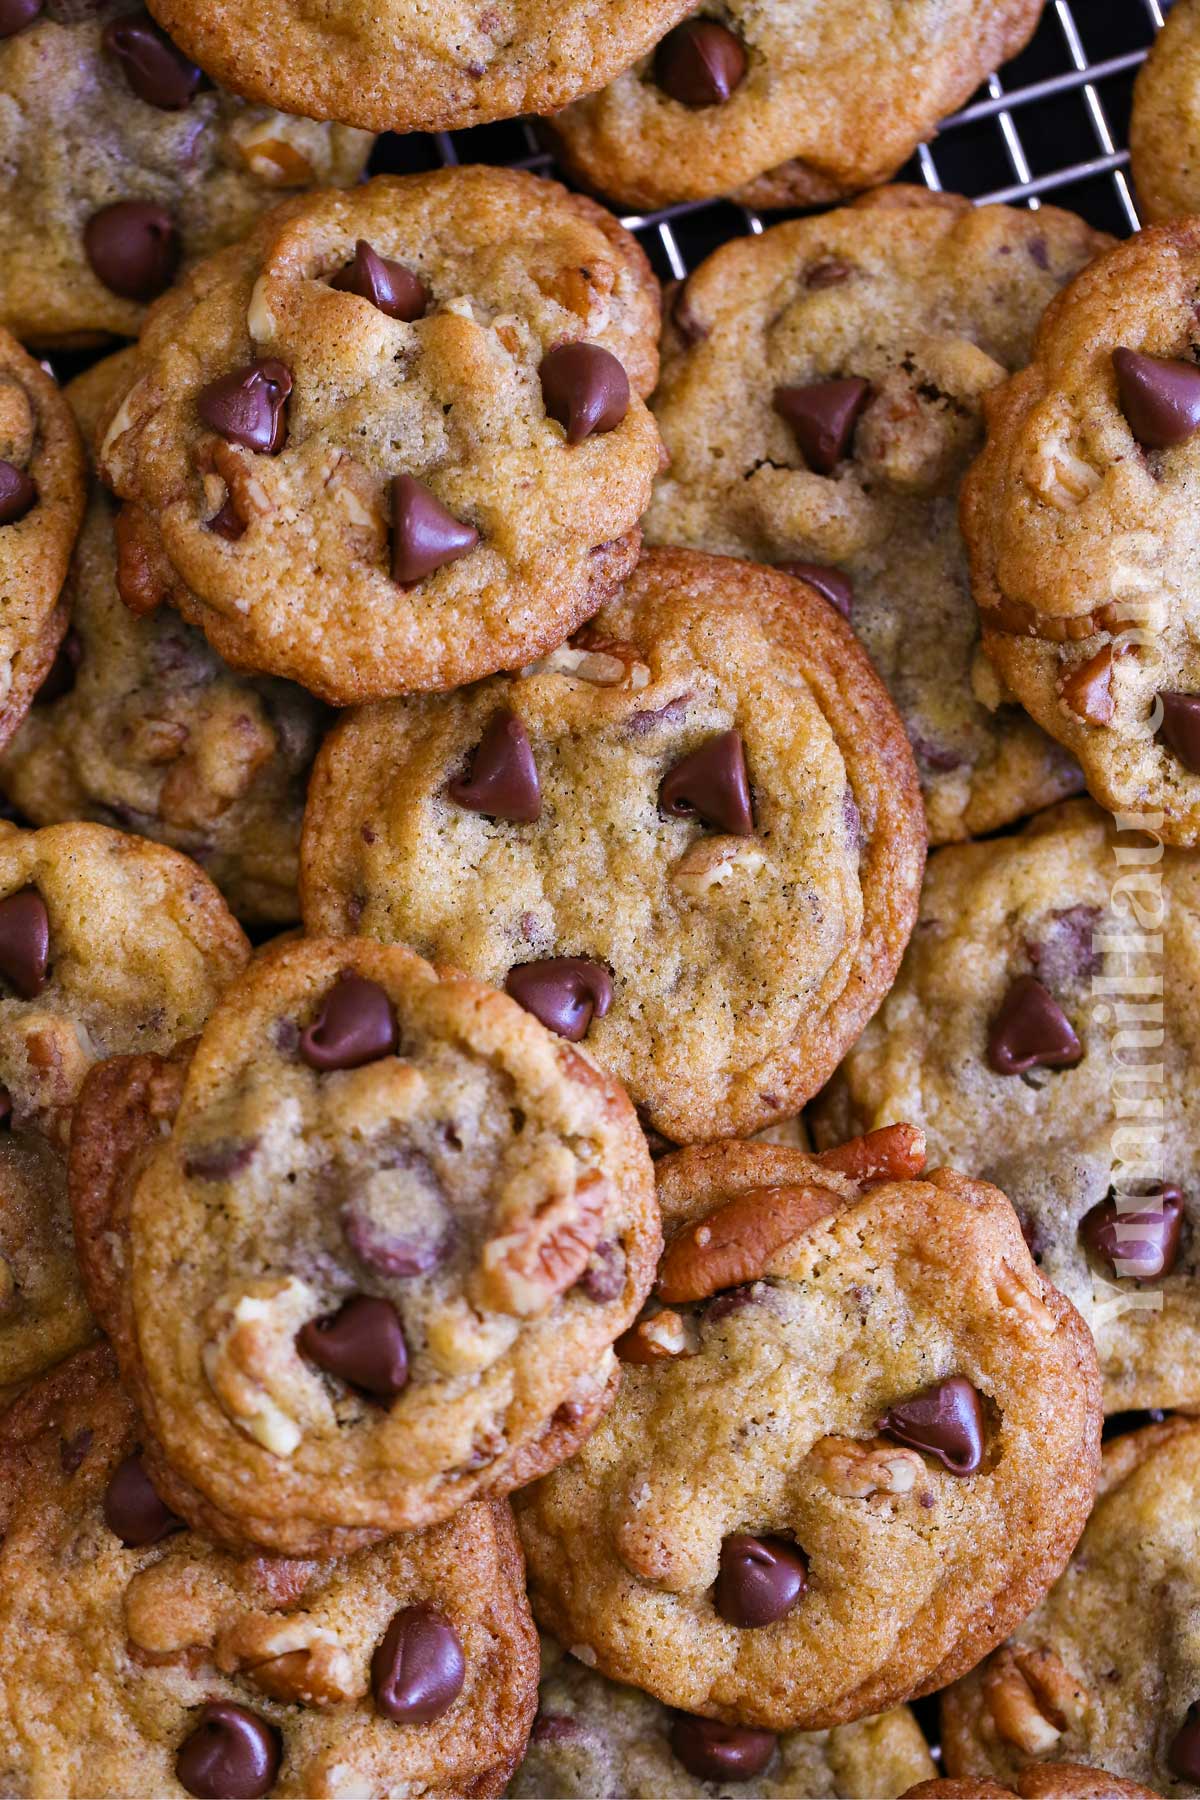
The ingredients are the original recipe on the back of the nestle chocolate chips bag, just like they have been for almost 100 years, but with my own methods for how I have made it a bit easier to make these the best they can be.
Why Are They Called Toll House Cookies?
The original Toll House chocolate chip cookies recipe was a bit randomly introduced. In 1938 or 1939 (people still argue), a restaurateur Ruth Wakefield was making cookies in her restaurant called… “Toll House”.
She had some Nestle semi-sweet chocolate bar left and she said why not add morsels in the dough? She thought it would turn regular cookies into chocolate, but instead, the chocolate bits just stuck in the dough.
She invented the chocolate chip cookies, and the Nestle cookie recipe was born that day because they tasted amazing! But it only became Nestle-branded when Nestle actually bought the recipe from the restaurant..for 1 dollar! Can you imagine?
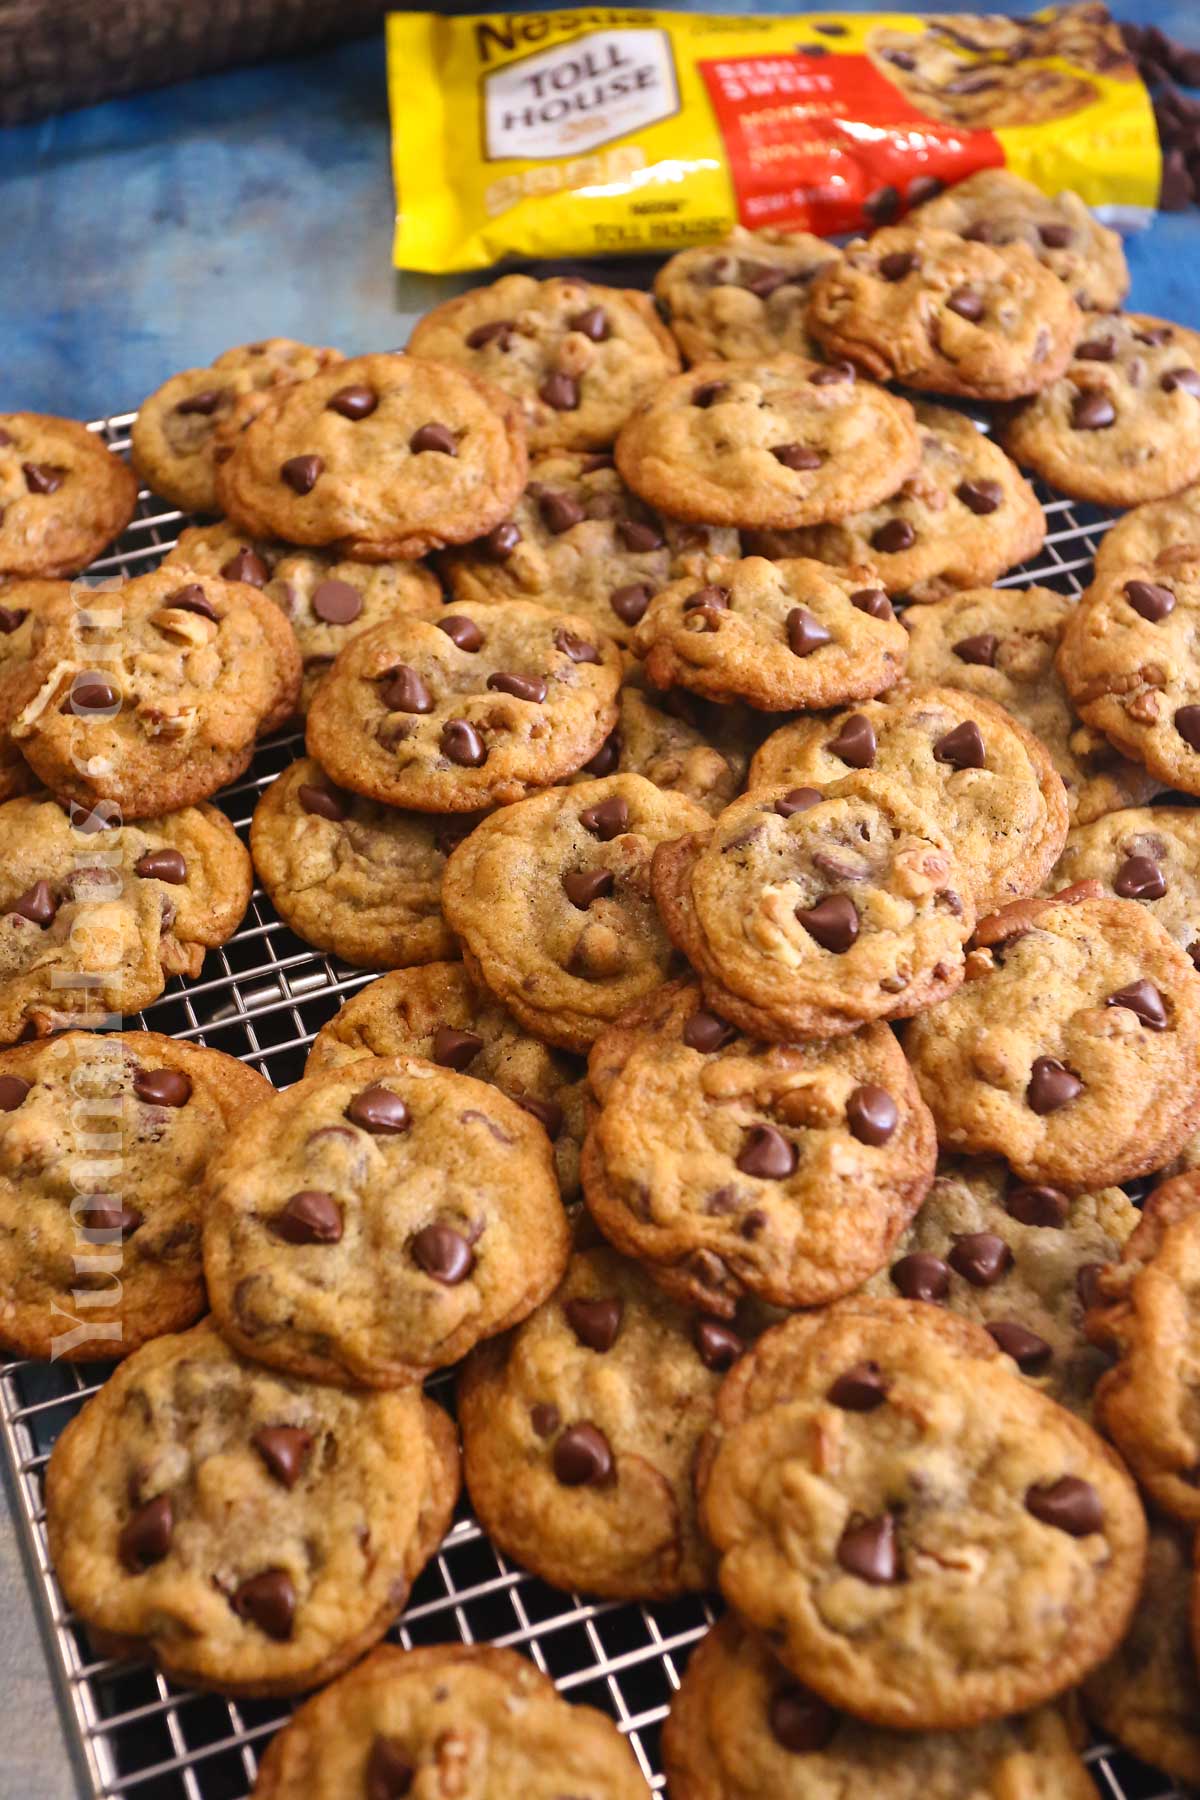
Why You’ll Love This Recipe
- These chewy chocolate chip cookies are done in just 25 minutes from start to finish!
- You’ll only need basic pantry ingredients.
- Original recipe with a few tricks to make it easier (and, well, maybe a bit better?).
- Addictive and delicious: chewy centers, crispy edges, and thicker cookies with nutrient-rich nuts.
- A little taste of childhood. It brings sweet memories!
Ingredients Notes
- Butter, softened – salted or unsalted butter is fine. Old-fashioned recipes also used half shortening and half butter. Butter and eggs are what make cookies rich and full of flavor.
- Granulated sugar + brown sugar. White sugar adds crispiness, while brown sugar adds caramel sweetness and chewiness. You can adjust the ratio to your liking, but I highly recommend using the mix of two and not substituting one for another completely.
- Vanilla extract
- Eggs
- Flour mixture (dry ingredients): All-purpose flour + baking soda + salt. Baking soda is a must – it makes chewy centers and thick cookies, while salt enhances the chewy texture as well and balances the flavors.
- Nestle SemiSweet Chocolate Chips (the whole 12-ounce bag) + more for the tops. You can use semi-sweet chocolate morsels, they are the same thing as chocolate chips.
- Chopped nuts – I like to use pecans or walnuts + more for the tops. Add 2 tbsp all-purpose flour to the dough if you are not adding nuts to the cookies.
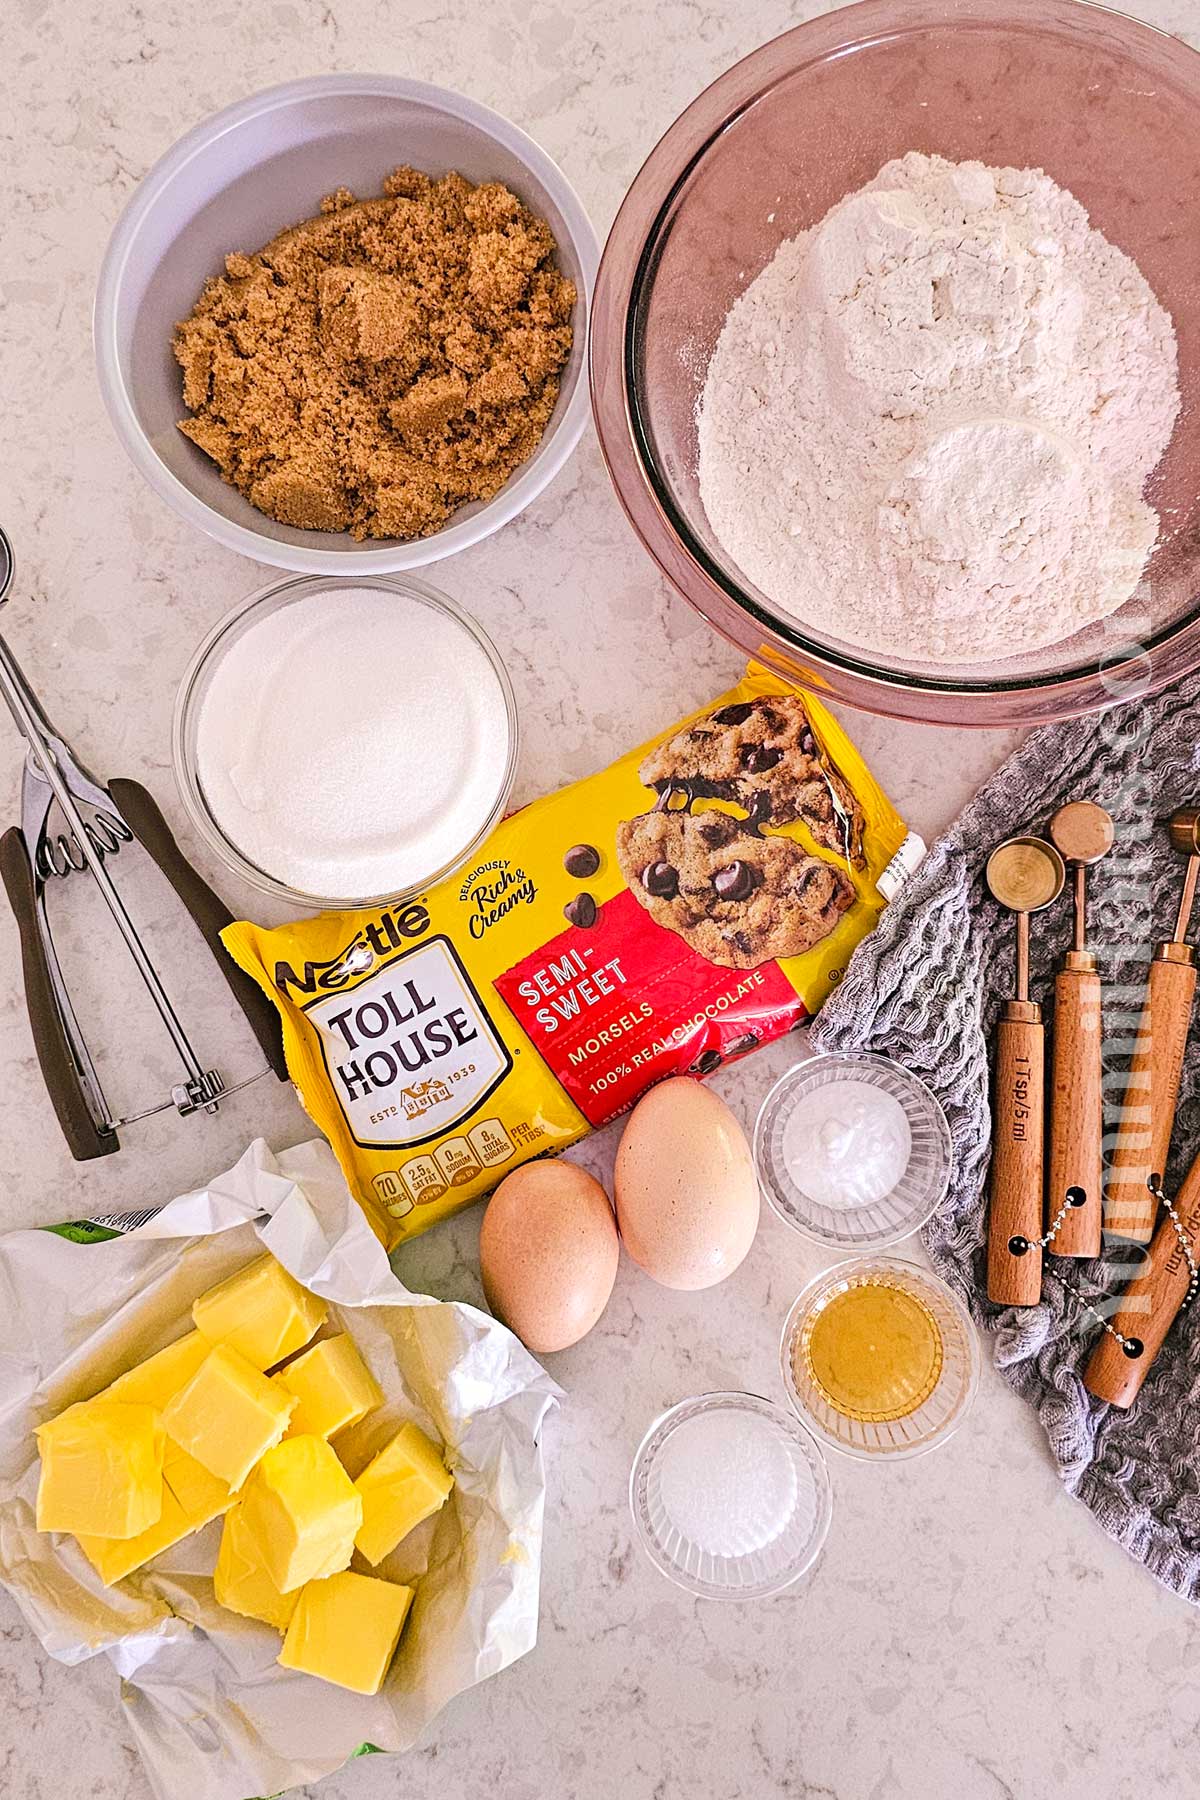
Kitchen Equipment
- Ungreased baking sheets lined with parchment paper (or waxed paper).
- Cookie scoop (or use rounded tablespoon to measure drop cookies)
- Stand mixer fitted with a paddle attachment.
- Measuring cup
- Spatula
How To Make Nestle Toll House Chocolate Chip Cookies
1: Beat The Butter
- Combine the butter, granulated sugar, and brown sugar in the bowl of a stand mixer. (you can also use a large mixing bowl with a hand mixer)
- Beat with the paddle attachment until creamy and the butter is emulsified into the butter.
2: Add Wet Ingredients
Scrape down the sides of the bowl and then add eggs and vanilla. Stir the wet mixture in until just incorporated.
3: Add Flour Mixture
Combine flour, baking soda, and salt. Pulse the mixer slowly so that the flour doesn’t fly out everywhere. Once moistened, increase the speed to medium and mix until smooth and creamy.
4: Add Chocolate Chips & Nuts
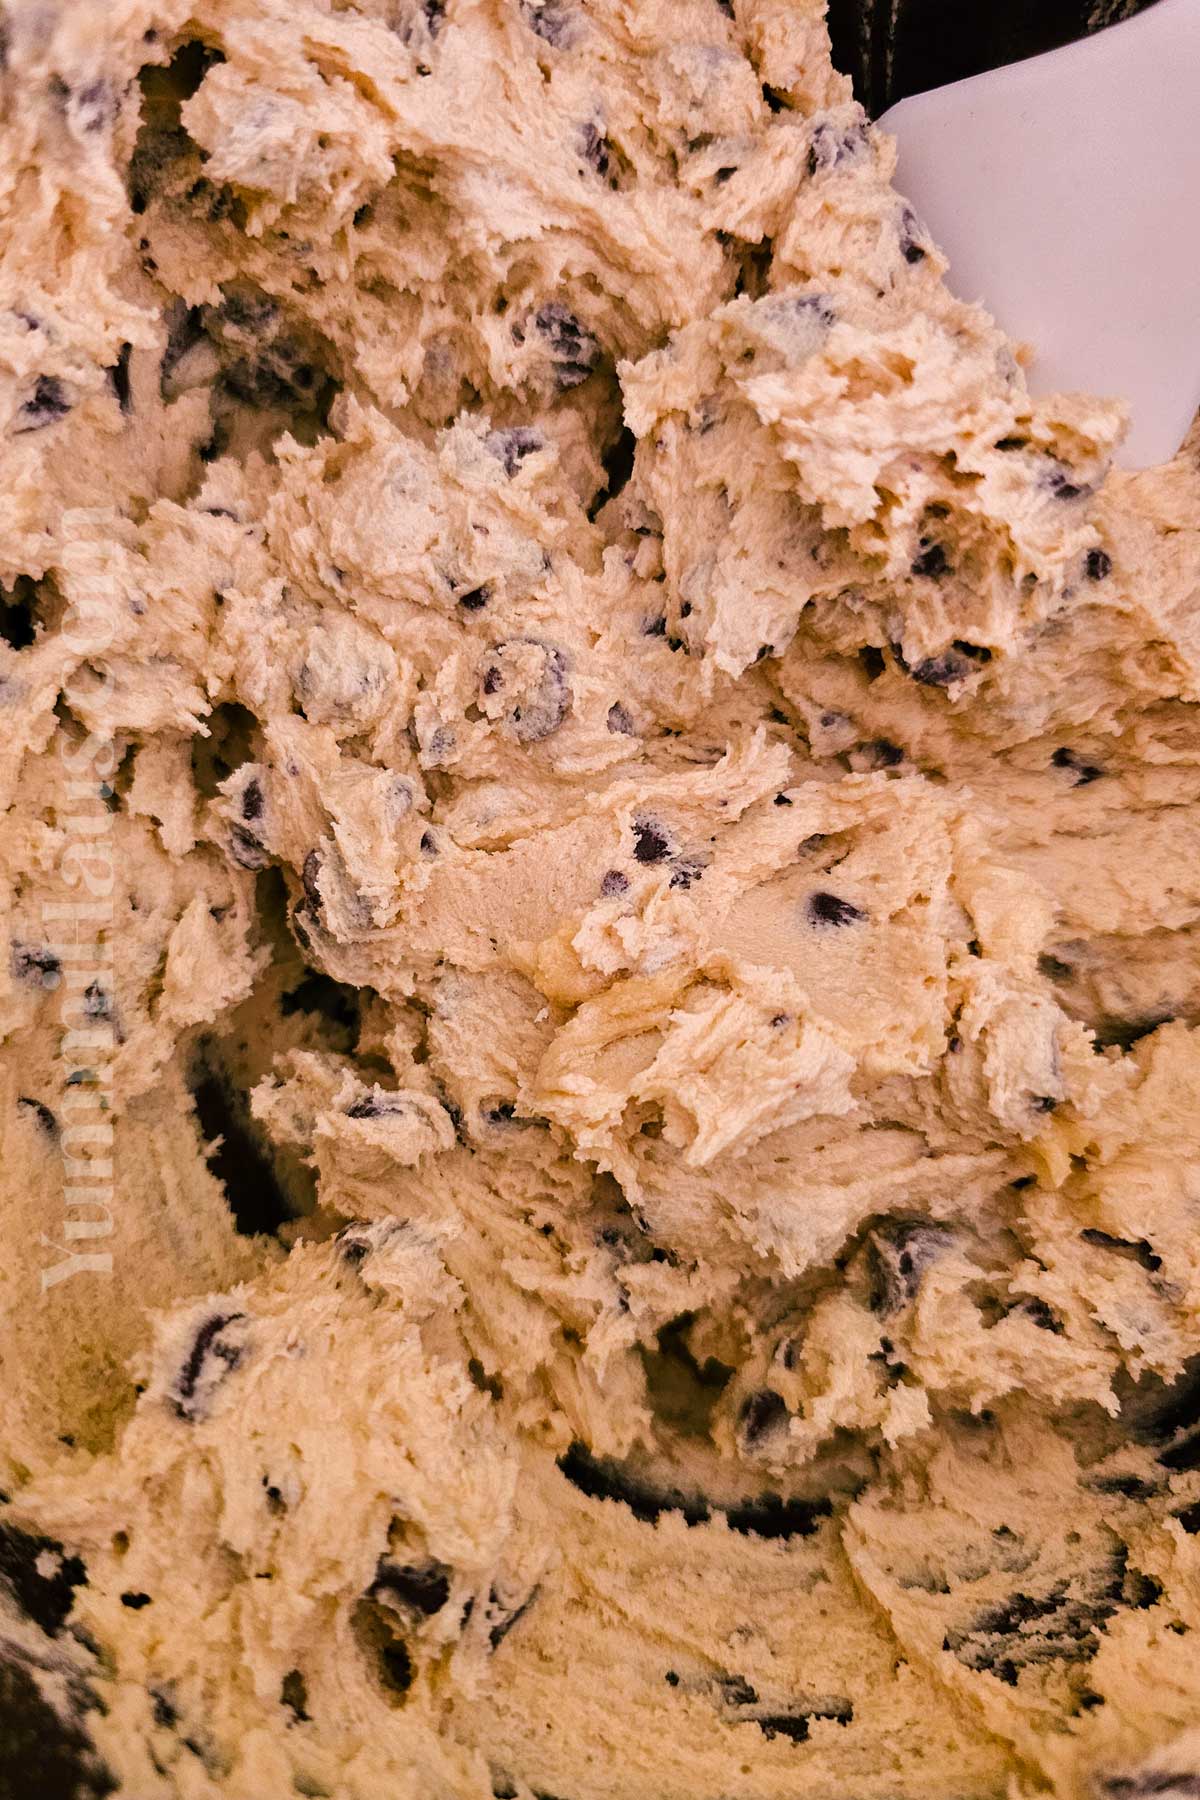
- Add chocolate chips and nuts (if using) and fold in gently.
- If you don’t want to use nuts, you can now add the additional flour you have left (2 tbsp) to the mixing bowl. Make sure the flour is fresh and sifted before measuring it for cookie recipes.
5: Chill The Chocolate Chip Cookie Dough
Cover and refrigerate for 30 min – 1 hour. (this isn’t originally called for in the original recipe, but I find that it helps keep the cookies from spreading too much). If you skip this step, baking will make the drop cookies spread flat.
6: Bake Drop Cookies
- Preheat oven to 375 degrees F.
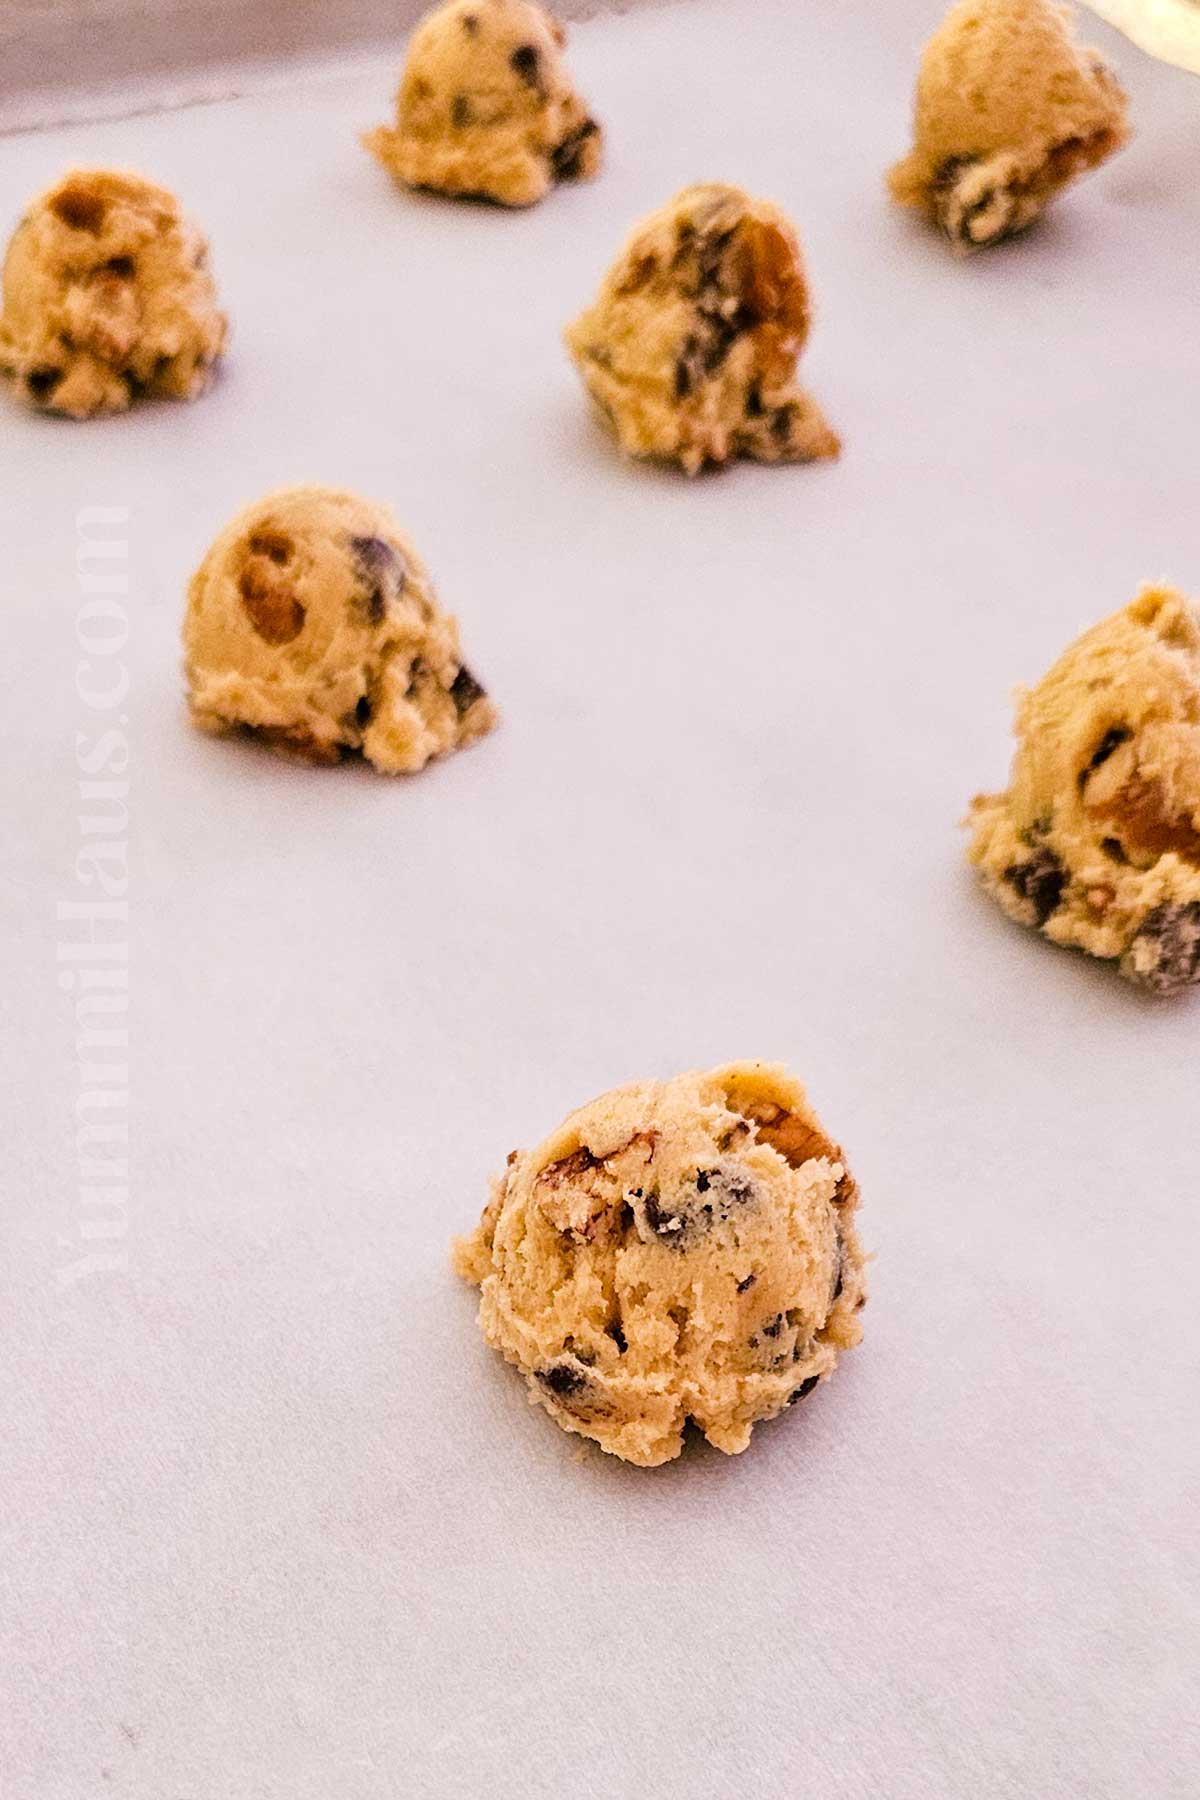
- Line several baking sheets with parchment and use a medium cookie scoop to portion out the cookie dough balls with 1-2” between each cookie. Make sure to always place your dough on a cool cookie sheet.
- Bake cookies for 9-11 minutes or until golden brown.
7: Add Garnish
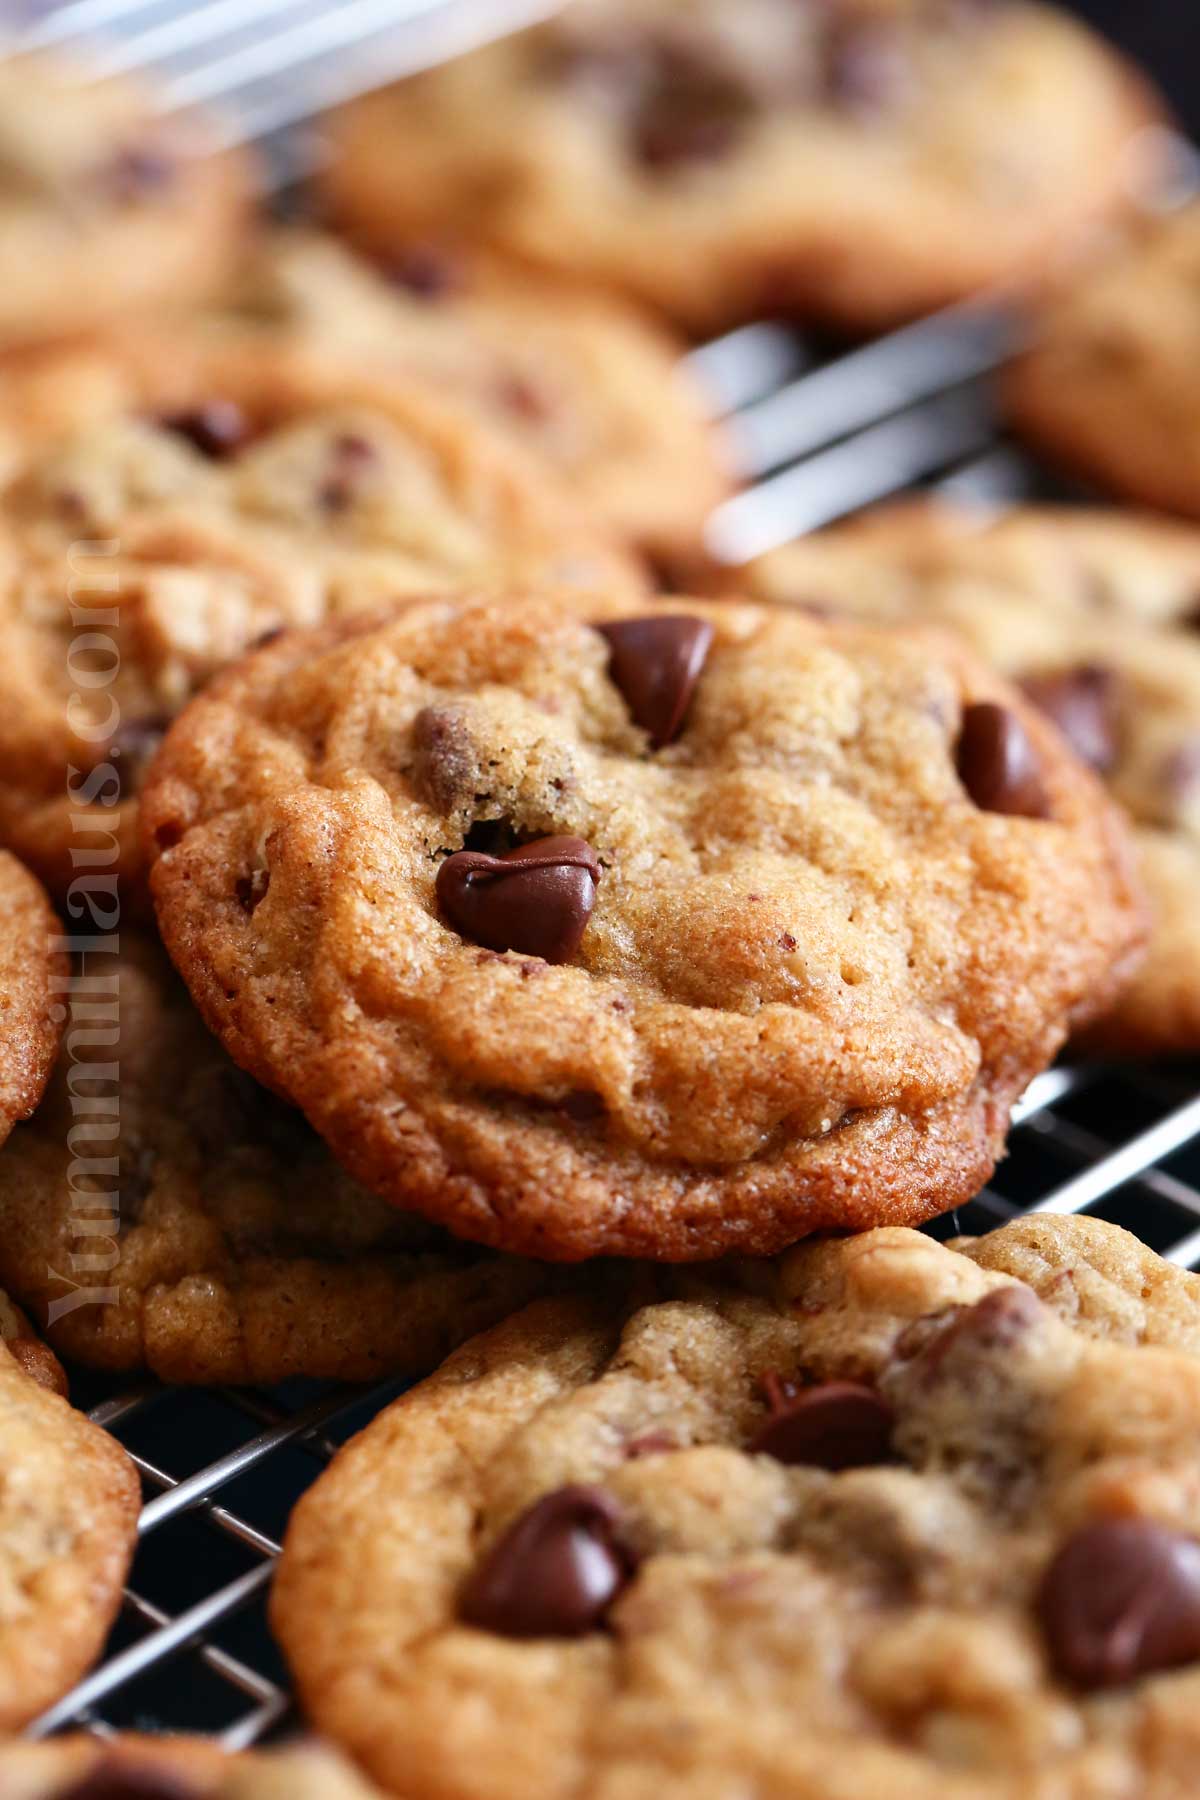
- Remove the baked cookies and immediately add more chocolate chips and chopped nuts to the tops of the cookies to make them prettier. (the extra chocolate chips are optional)
- Transfer to wire racks and let them cool completely to room temperature for the chocolate to set before storing them in an airtight container.
- Serve with a glass of milk.
Storage
Store in an airtight container at room temperature for a few days or in the fridge for up to a week. If storing in the fridge, add a bread slice to the container, it will keep cookies from drying out.
You can freeze Nestle Toll House cookies. First, let them cool completely, then freeze for 1 hour on the baking sheet. Once set, transfer to a freezer-safe bag and freeze for 2 months, wrapped individually in foil.
When ready to eat, thaw at room temperature. If you like warm cookies, quickly pop it into the microwave.
Making Ahead
You can prepare the dough ahead and freeze it for 2-3 months. Thaw overnight and bake as the recipe suggests.
If you need to make Toll House chocolate chip cookies just a few days ahead, make the dough and refrigerate for 3-4 days. When ready, shape and bake.
Substitutions & Variations
- You can use bread flour too, it makes thicker cookies with denser centers.
- Swap semi-sweet chocolate morsels with dark, milk, or even white chocolate chips.
- If you skipped nuts this try or added just one variety, try adding more. Dates, crispy ready-to-eat cereal, oatmeal, orange zest, butterscotch chips, or raisins can also be a nice addition. Browned butter adds a ton of flavor too, if you have time to make it.
- You can also use a jelly roll pan to make pan cookies. One-pan cookies will take around 20 minutes to bake.
Expert Tips
- If you are used to cutting the dough for cookies instead of shaping it, you can do it with this recipe too. Follow the steps until chilling the dough. Divide in half and wrap each in plastic wrap or waxed paper to form a log. Then refrigerate as instructed. Slice into 1/2-inch thick round cookies and bake.
- Using fan mode in the oven may help with achieving the perfect chewiness.
Popular Questions & Troubleshooting
How To Make Toll House Cookie Dough Taste Better?
To upgrade the Toll House cookie recipe, add more chocolate chips as cookie topping, fold in some vanilla extract and your favorite chopped nuts.
Why Do My Nestle Toll House Cookies Go Flat?
If your cookies turned out flat, it means your cookie dough wasn’t chilled and couldn’t hold its shape. Chill the dough for 10 to 30 minutes before shaping and baking.
You can also add a small amount of flour to the dough to help it hold together better for the next batch of cookies.
Should You Refrigerate Toll House Cookie Dough Before Baking?
Chilling the cookie dough before baking makes a huge difference and is my personal preference for this recipe: refrigerated Toll House chocolate chip cookies will hold the shape and spread just a bit in nice thick chewy cookies.
If you love this cookie recipe, you’re going to love these other cookies too. Please click each link below to find the easy, printable recipe!



More Recipes with Chocolate Chips
Bakery-Style Chocolate Chip Muffins
CONNECT WITH YUMMI HAUS!
Be sure to follow me on my social media, so you never miss a post!
Nestle Toll House Recipe Chocolate Chip Cookies
Ingredients
- 1 cup butter softened – salted or unsalted is fine
- ¾ cup granulated sugar
- ¾ cup brown sugar – packed
- 1 tsp vanilla extract
- 2 large eggs
- 2 ¼ cups all-purpose flour
- 1 tsp baking soda
- 1 tsp salt
- 2 cups Nestle Semi Sweet Chocolate Chips the whole 12-ounce bag + more for the tops
- 1 cup chopped nuts – I like to use pecans or walnuts + more for the tops
Instructions
- Combine the butter, granulated sugar, and brown sugar in the bowl of a stand mixer. (you can also use a large mixing bowl with a hand mixer) Beat with the paddle attachment until creamy and the butter is emulsified into the butter.
- Scrape down the sides of the bowl and then add the eggs and vanilla. Stir in until just incorporated.
- Add the flour, baking soda, and salt. Pulse the mixer slowly so that the flour doesn’t fly out everywhere. Once moistened, increase the speed to medium and mix until smooth and creamy.
- Fold in the chocolate chips and nuts (if using).
- Cover and refrigerate for 30 min – 1 hour. (this isn’t originally called for in the original recipe, but I find that it helps keep the cookies from spreading too much)
- Preheat the oven to 375 degrees.
- Line several baking sheets with parchment and use a medium cookie scoop to portion out the dough with 1-2” between each cookie. Make sure to always place your dough on a cool cookie sheet.
- Bake for 9-11 minutes or until golden brown.
- Remove and immediately add more chocolate chips and chopped nuts to the tops of the cookies to make them prettier. (the extra chocolate chips are optional)
- Transfer to a wire cooling rack and let them cool to room temperature for the chocolate to set before storing them in an airtight container.
Notes
Nutrition
Nutritional information for the recipe is provided as a courtesy and is approximate. Please double-check with your own dietary calculator for the best accuracy. We at Yummi Haus cannot guarantee the accuracy of the nutritional information given for any recipe on this site.


Share Your Thoughts