*Disclosure: Sponsored Post- I have been compensated for this post either monetarily or with product. All opinions are truthful & my own.
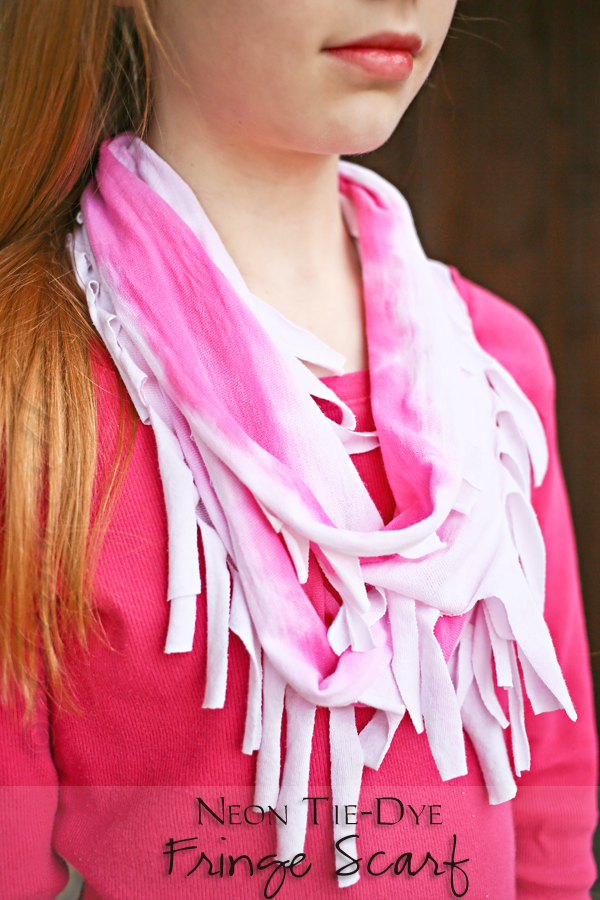
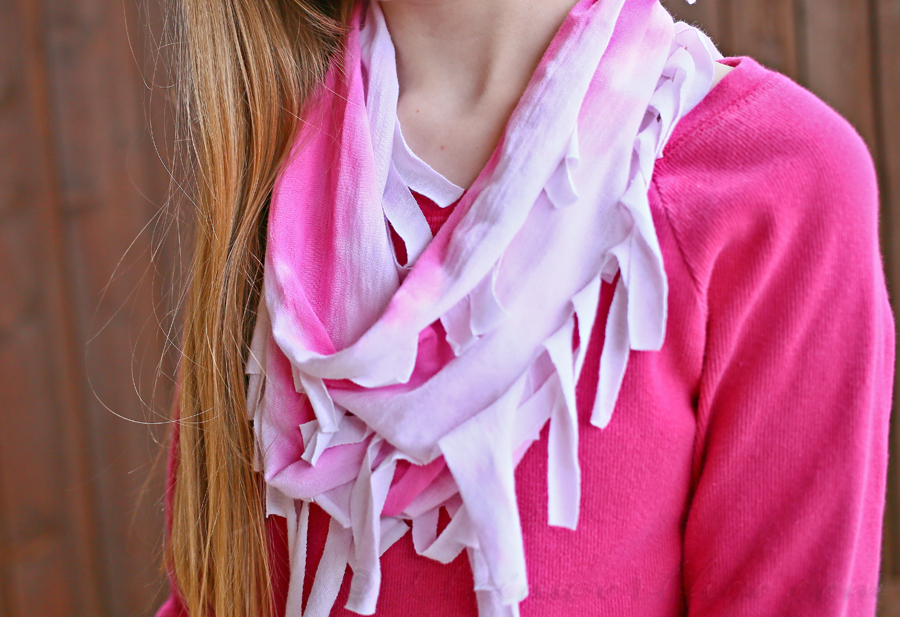
You all know I Love to Create fun project with my kids. If I’m making anything crafty my kids are usually right there with me – learning & helping as we go. I received some fun products from Tulip to try & the girls were quick to come up with some fabulous ideas for some accessories they wanted to make for themselves. We decided to start with a Neon Tie-Dye Fringe Scarf to add to their growing closet of accessories. Seems like Neon is so popular these days. We spent the better part of the weekend picking up new clothes & accessories for the gym – almost all of them included neon. I love it! It brightens the mood – especially on these dark winter days.
I love how simple it was to make this scarf & re-purpose some old out-grown shirts in the process.
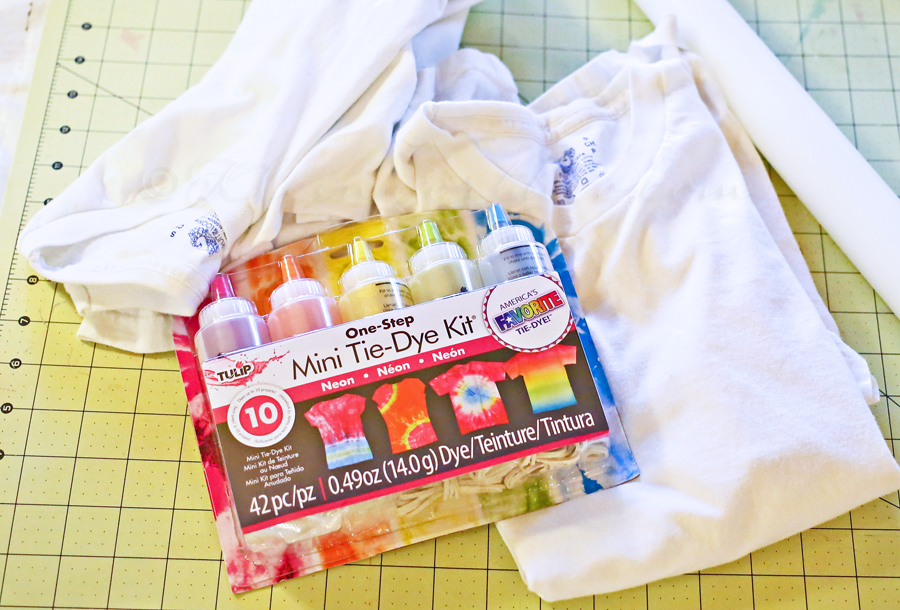
For this project I used 1 white t-shirt & Tulip One-Step Mini Tie-Dye Kit
I first made sure to lay out an old shower curtain to protect my table. Then I added my cutting mat for added protection.
Step 1 – Lay out your t-shirt flat & fold the hem to the bottom of the sleeves.
This should give you a horizontal crease in the middle of your shirt.
Step 2-Fill your Tulip One-Step Mini Tie-Dye bottle to the fill line with water & give it a good shake to activate the dye.
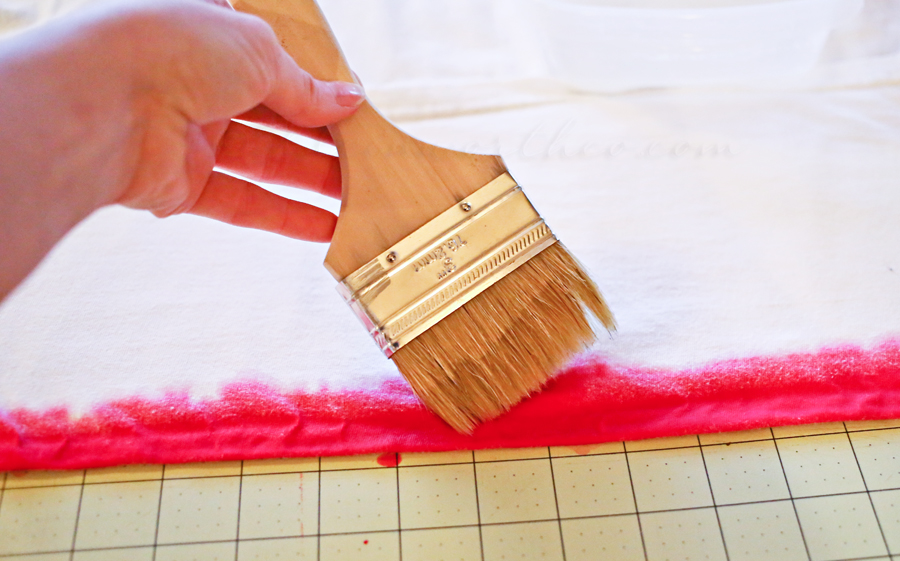
Step 3 – Start carefully applying your dye on the crease you just created with your fold – allowing to soak in
Step 4 – Take a paint brush & dip it in water. Brush the water from the dyed area in an upward motion to distribute the dye from the saturated part up to the white area. This gives an ombre effect of the color bleeding from the center out to the ends. Continue wetting your brush & distributing the dye until you achieve the desired bleed you are after.
Step 5 – Wrap in plastic wrap & let sit a minimum of 2 hours. The packaging calls for 6-8 hours but I wanted a lighter effect for this particular project.
Step 6 – Remove from plastic wrap & rinse under hot water until water runs almost clear.
Step 7 – Soak in a large bucket of very hot water & a small amount of laundry soap for about 1 hour.
Step 8 – Remove from soapy water & rinse & wring out well. Place in dryer on high heat for at least 30 minutes.
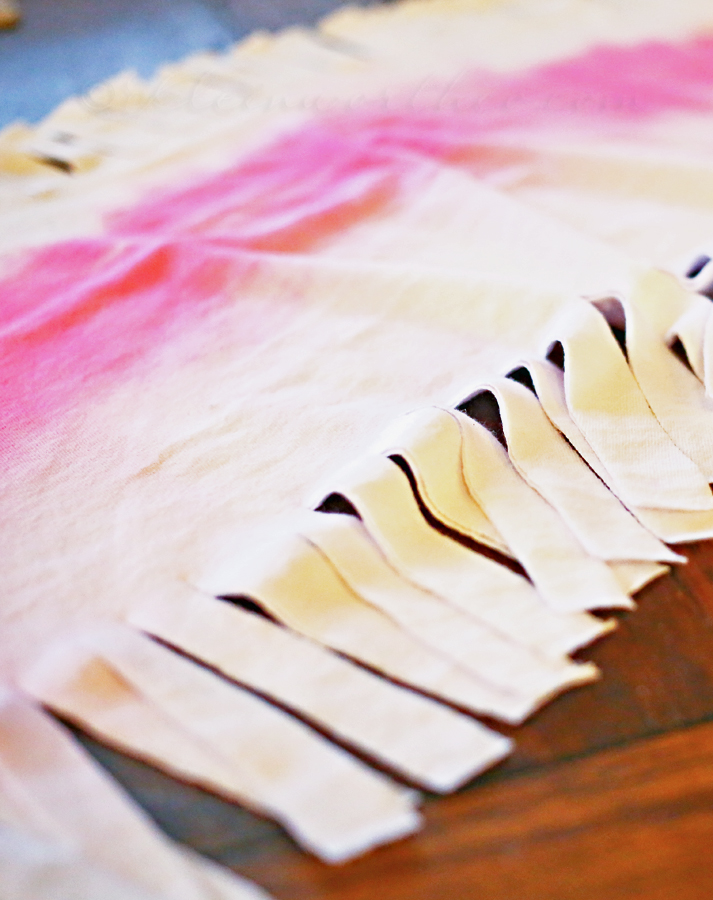
Step 9 – Cut across t-shirt just below the sleeves & then at the hem. You should then have raw edges on both sides of your “tube” of fabric.
Step 10 – Next – cut fringe on both sides of your raw edges
Step 11 – Stretch out your scarf by pulling & stretching as much as you can to achieve a longer scarf that can be looped. I placed my foot in it & then pulled up to about chest high to really stretch it out.
At this point you are done. You can double it up as an infinity scarf or loop through in several different ways to achieve the look you are after.
My girls LOVE this & can’t wait to make more in all the colors that came in our kit.
*Thank you Tulip for sending us these Neon kits to test & try. All opinions are truthful & my own.
I also received Tulip Dimensional Mini 3 Packs & Tulip Fabric Markers in my package.
I’m really looking forward to using them on some future projects.
Pick up these exclusive products at your local Michaels Arts & Crafts store. For those folks without a Michaels store in their area, you can order the products at iLoveToCreate.com. iLoveToCreate.com is currently offering free shipping on any neon Tulip product for the month of February when you use coupon code NeonFEB (ends February 28th).
Connect with Tulip
Facebook: facebook.com/lovetocreate Twitter: twitter.com/ilovetocreate
Pinterest: pinterest.com/ilovetocreate Blog: https://ilovetocreateblog.blogspot.com
Check out all the other Tulip Neon projects other bloggers are making!
Looking for more of our fun projects for the home?
To see where I am linking today- visit HERE



Such a cute project AND your new header and layout is great! Everything looks wonderful!!
Thank you so much Kim- it was time for a change. I’m loving the clean feel.
I really like this project – it’s something my girls and I would enjoy doing together. I think they’d like to make these for their teachers and friends, too!
I am a serious scarf junkie and this is too cute! Perfect for summer! Thanks for sharing this tutorial!
I remember neon accessories the first time round, so thought I was too old for them this time ( that’s generally the rule isn’t it!) I have relented now and been dabbling in making a few things with a little touch of neon and I’m not planning to give them all to my daughter and her friends! This is a lovely easy fun idea for all ages. Love it!
How fun! Thanks for sharing it! Pinned! 🙂
Marti