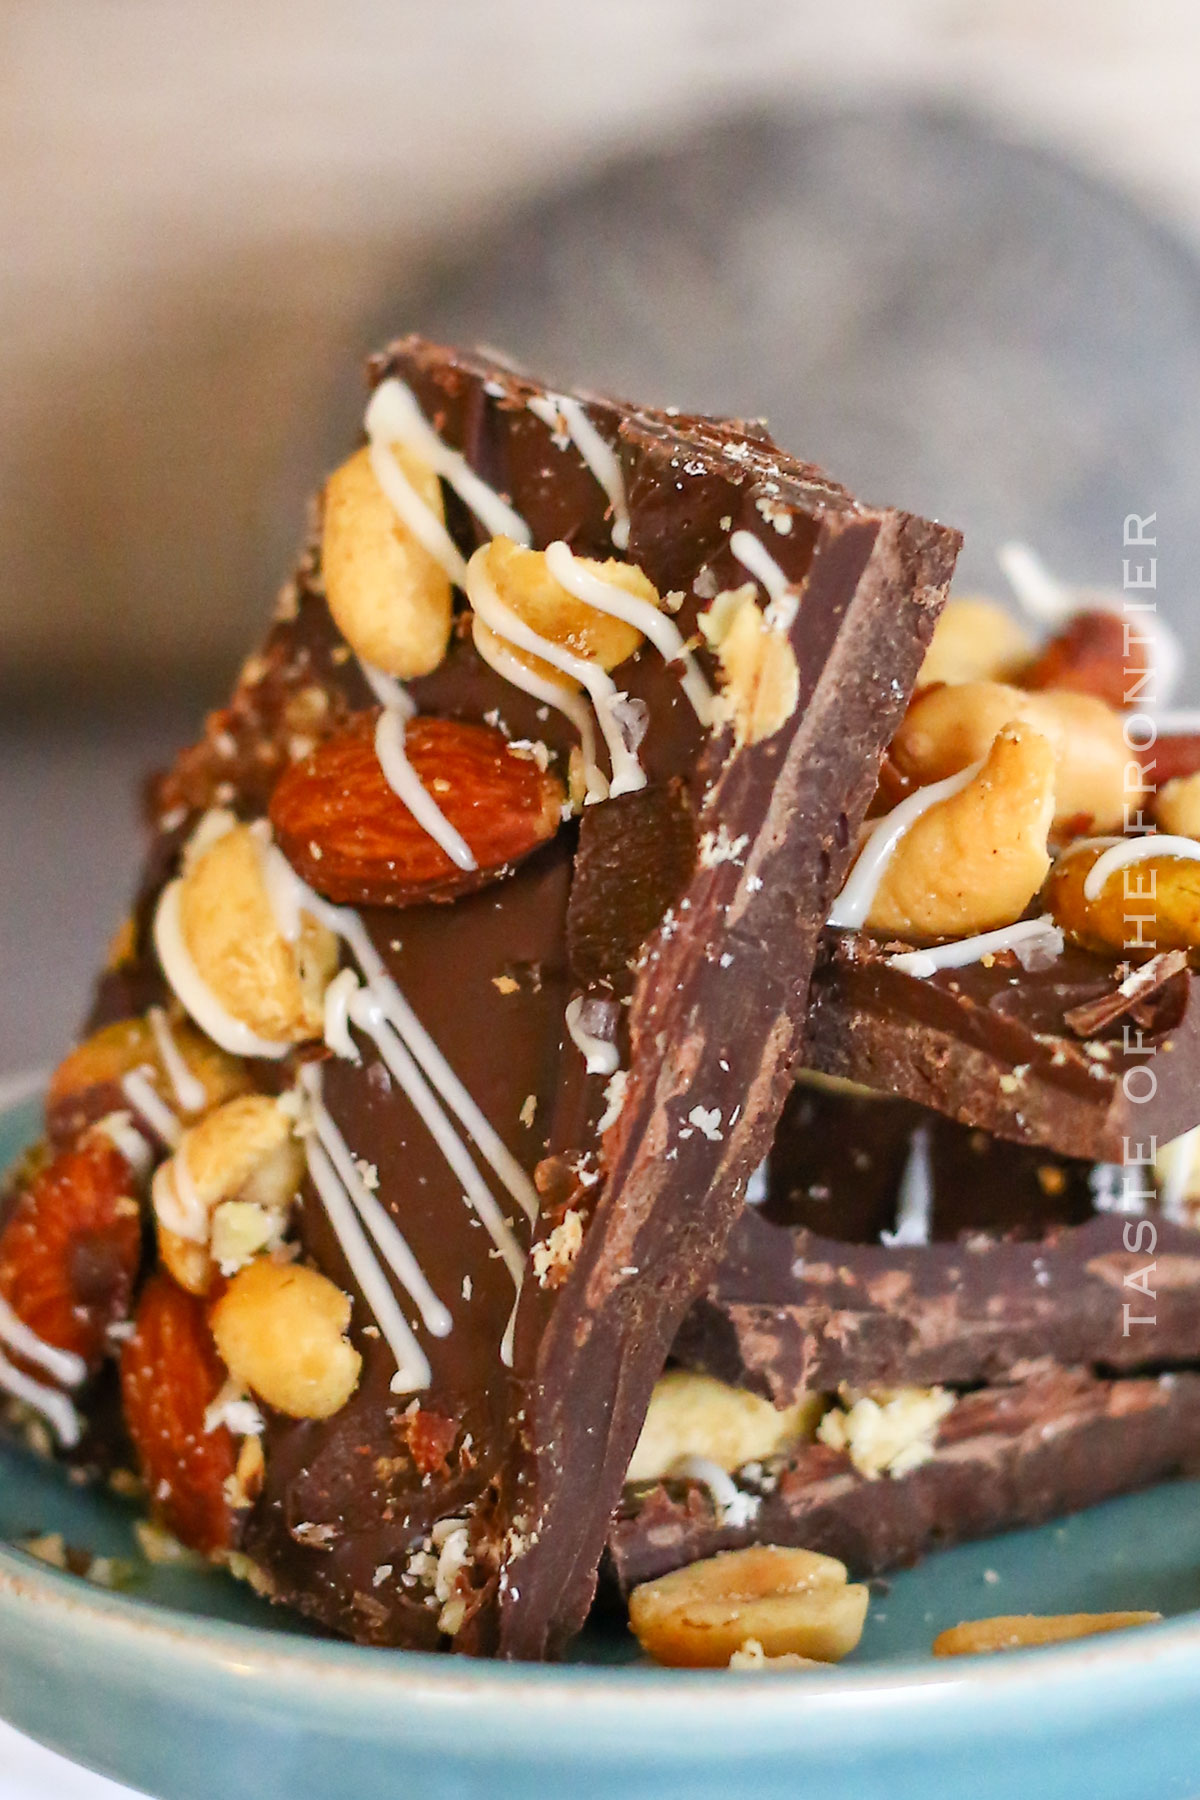
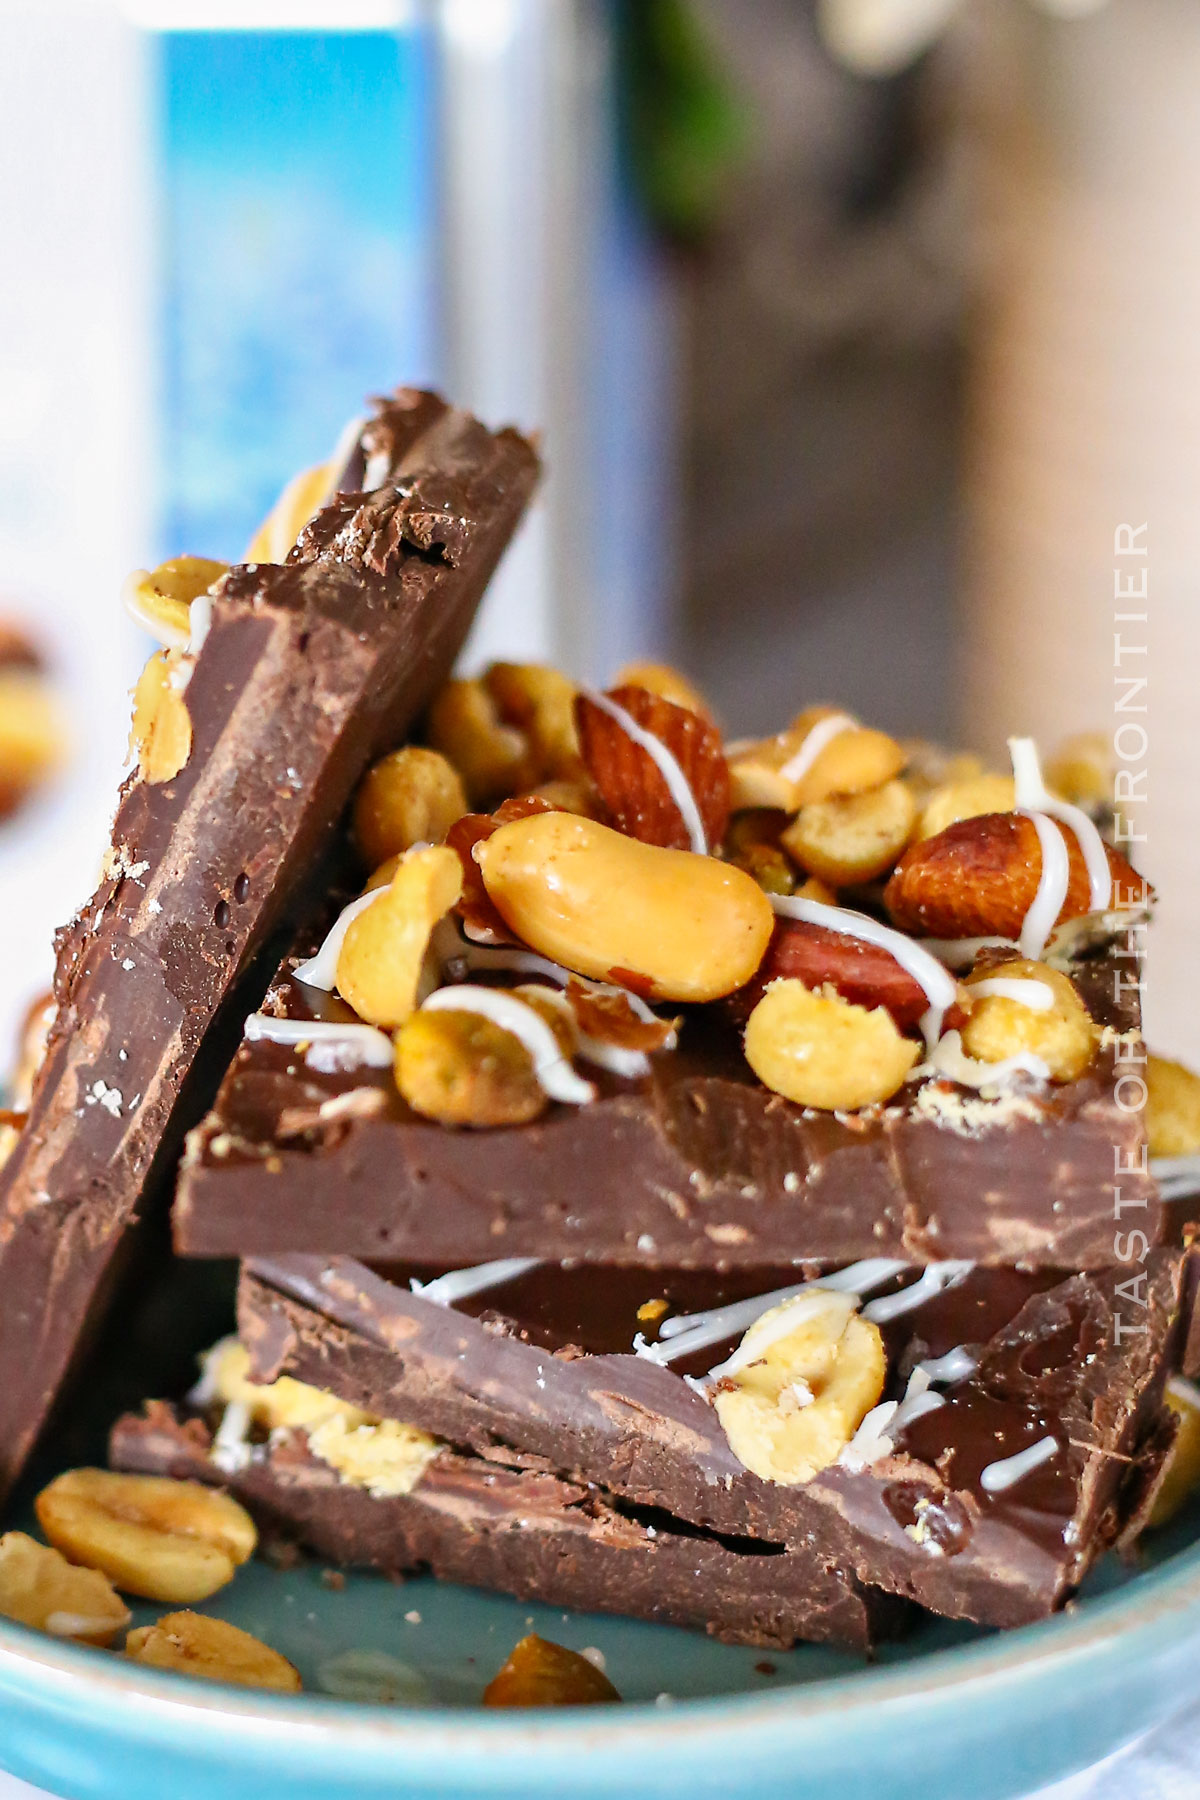
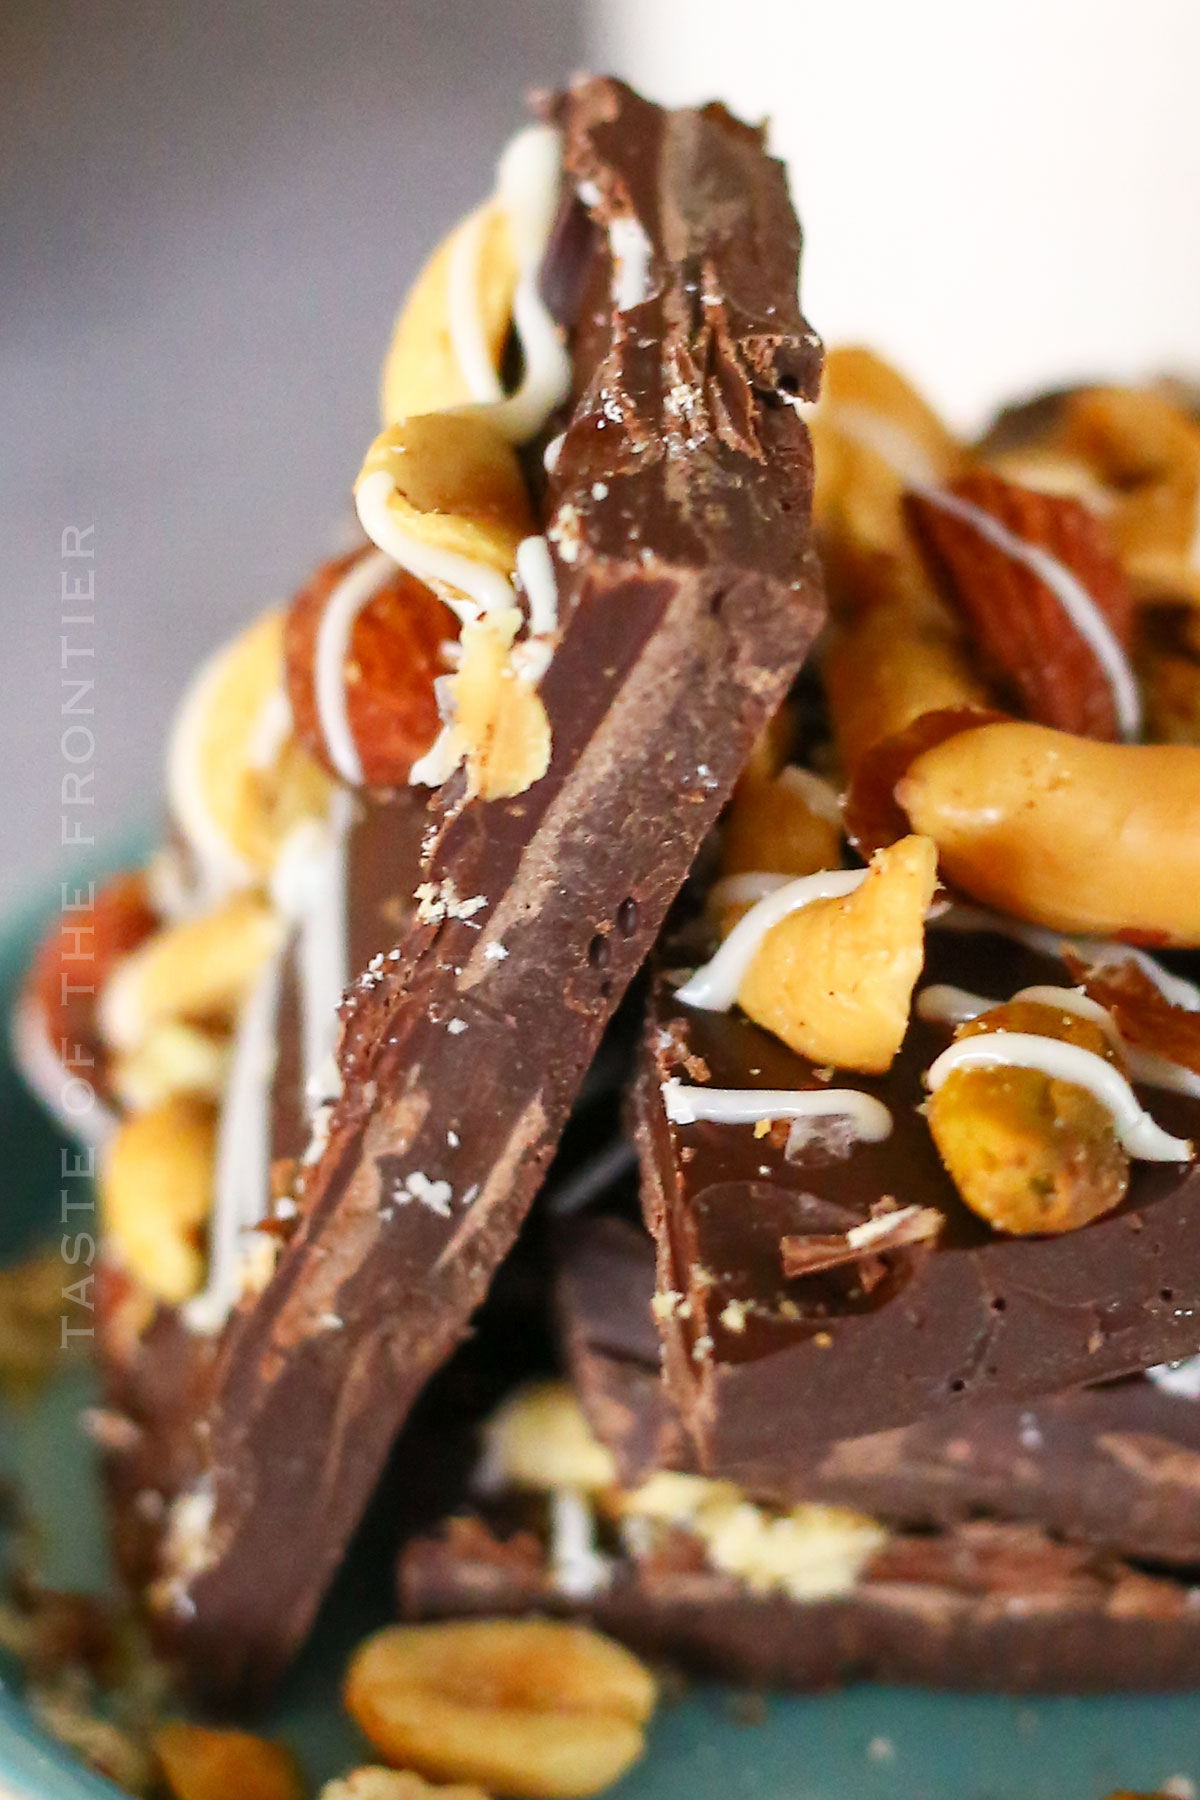
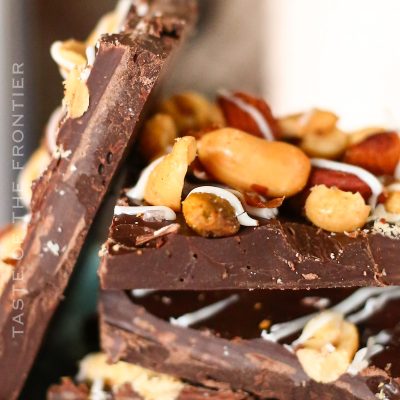
This Chocolate Bark with Nuts is rich, velvety chocolate topped with premium nuts, creating a symphony of flavors and textures in every bite.
Chocolate bark is one of those amazing treats that’s as fun to make as it is to eat! Imagine a thin layer of smooth, melted chocolate spread on a baking sheet, then sprinkled with all sorts of yummy toppings like crunchy nuts, flaky sea salt, or even candy canes.
I’ve got so many memories of making chocolate bark with my family growing up. So this type of chocolate has a special place in my heart. It’s a versatile sweet treat that’s perfect for the holiday season or any time of year when you need a quick and easy dessert.
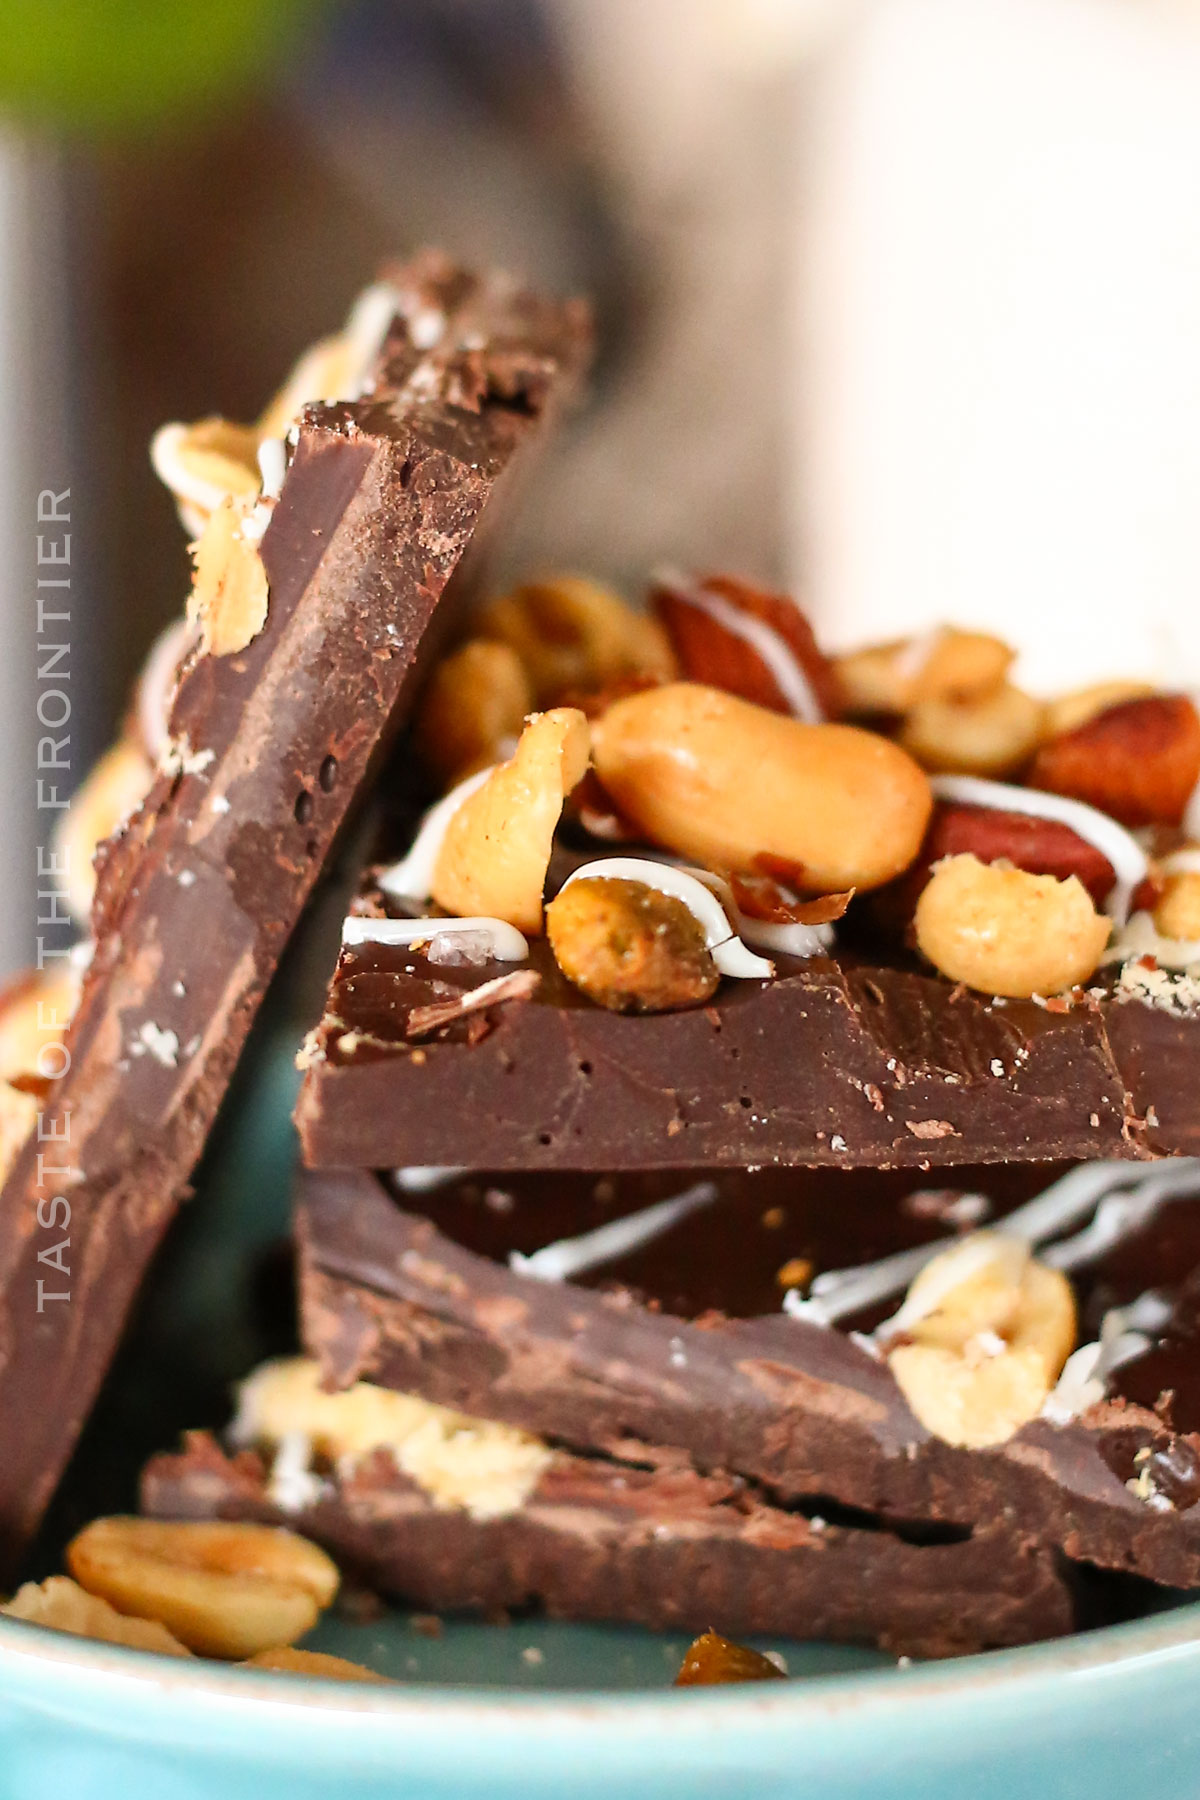
Whether you’re a fan of semi-sweet, dark, or white chocolate, chocolate bark lets you get creative and enjoy the best of chocolate in every bite!
Making your own homemade chocolate bark is not only easy but also a fun way to experiment with different flavor combinations.
Whether you’re whipping it up for a holiday party, as a special treat for Christmas morning, or just as a simple dessert for a family movie night, chocolate bark is a versatile and delightful choice.
Grab your favorite chocolate, a handful of toppings, and let your creativity shine. Happy baking, and enjoy your delicious creation!
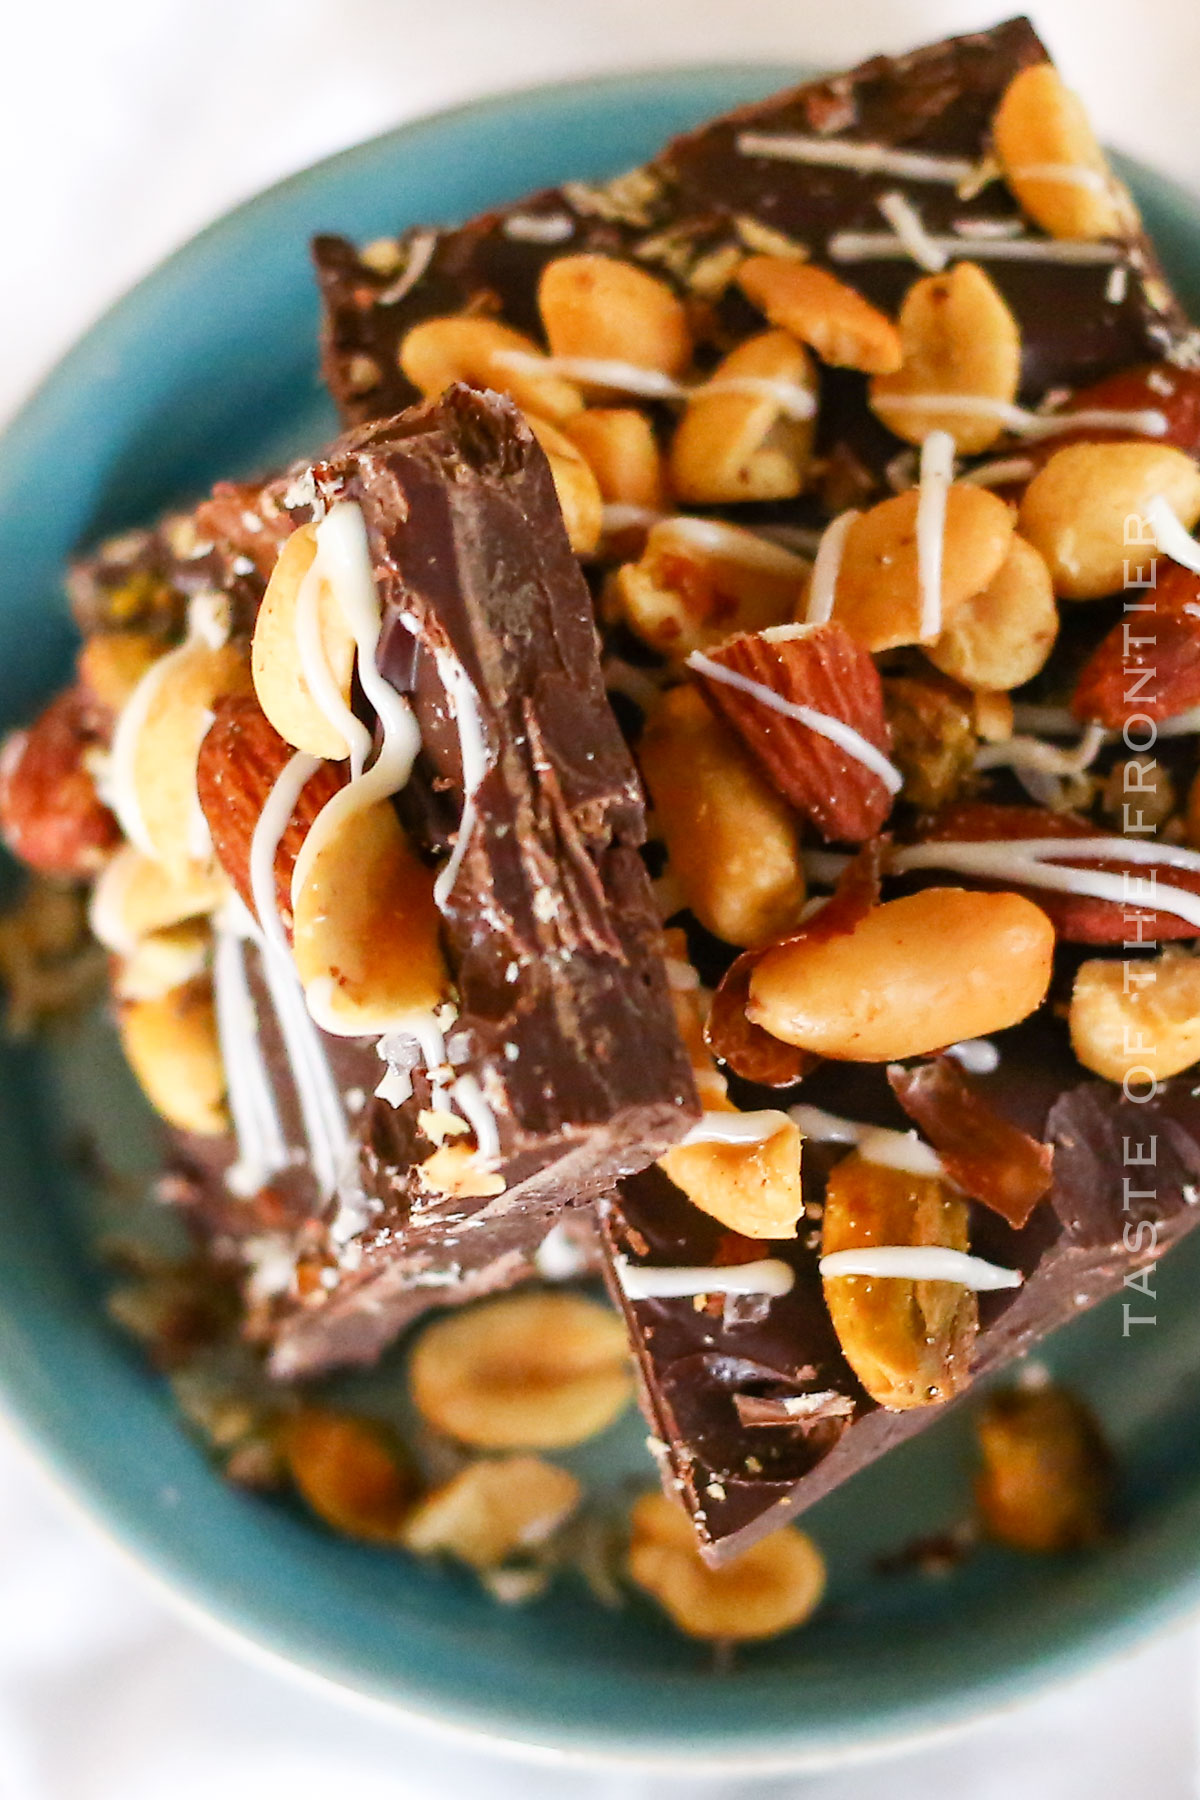
Common Questions About Chocolate Bark
Can I Use Different Types of Chocolate?
Absolutely! Feel free to use semi-sweet, bittersweet, milk, or white chocolate, depending on your preference. I really love a good white chocolate bark with peppermint. So tasty!
Do I Need a Double Boiler to Melt the Chocolate?
A double boiler is great, but if you don’t have one, you can use a heat-proof bowl set over a pot of simmering water or even melt the chocolate in a microwave-safe bowl in short intervals.
How Thin Should I Spread the Chocolate?
Aim for a thin layer, about 1/4-inch thick, for the perfect bark texture. Feel free to experiment a bit with this. You might find a slightly different thickness is more to your liking!
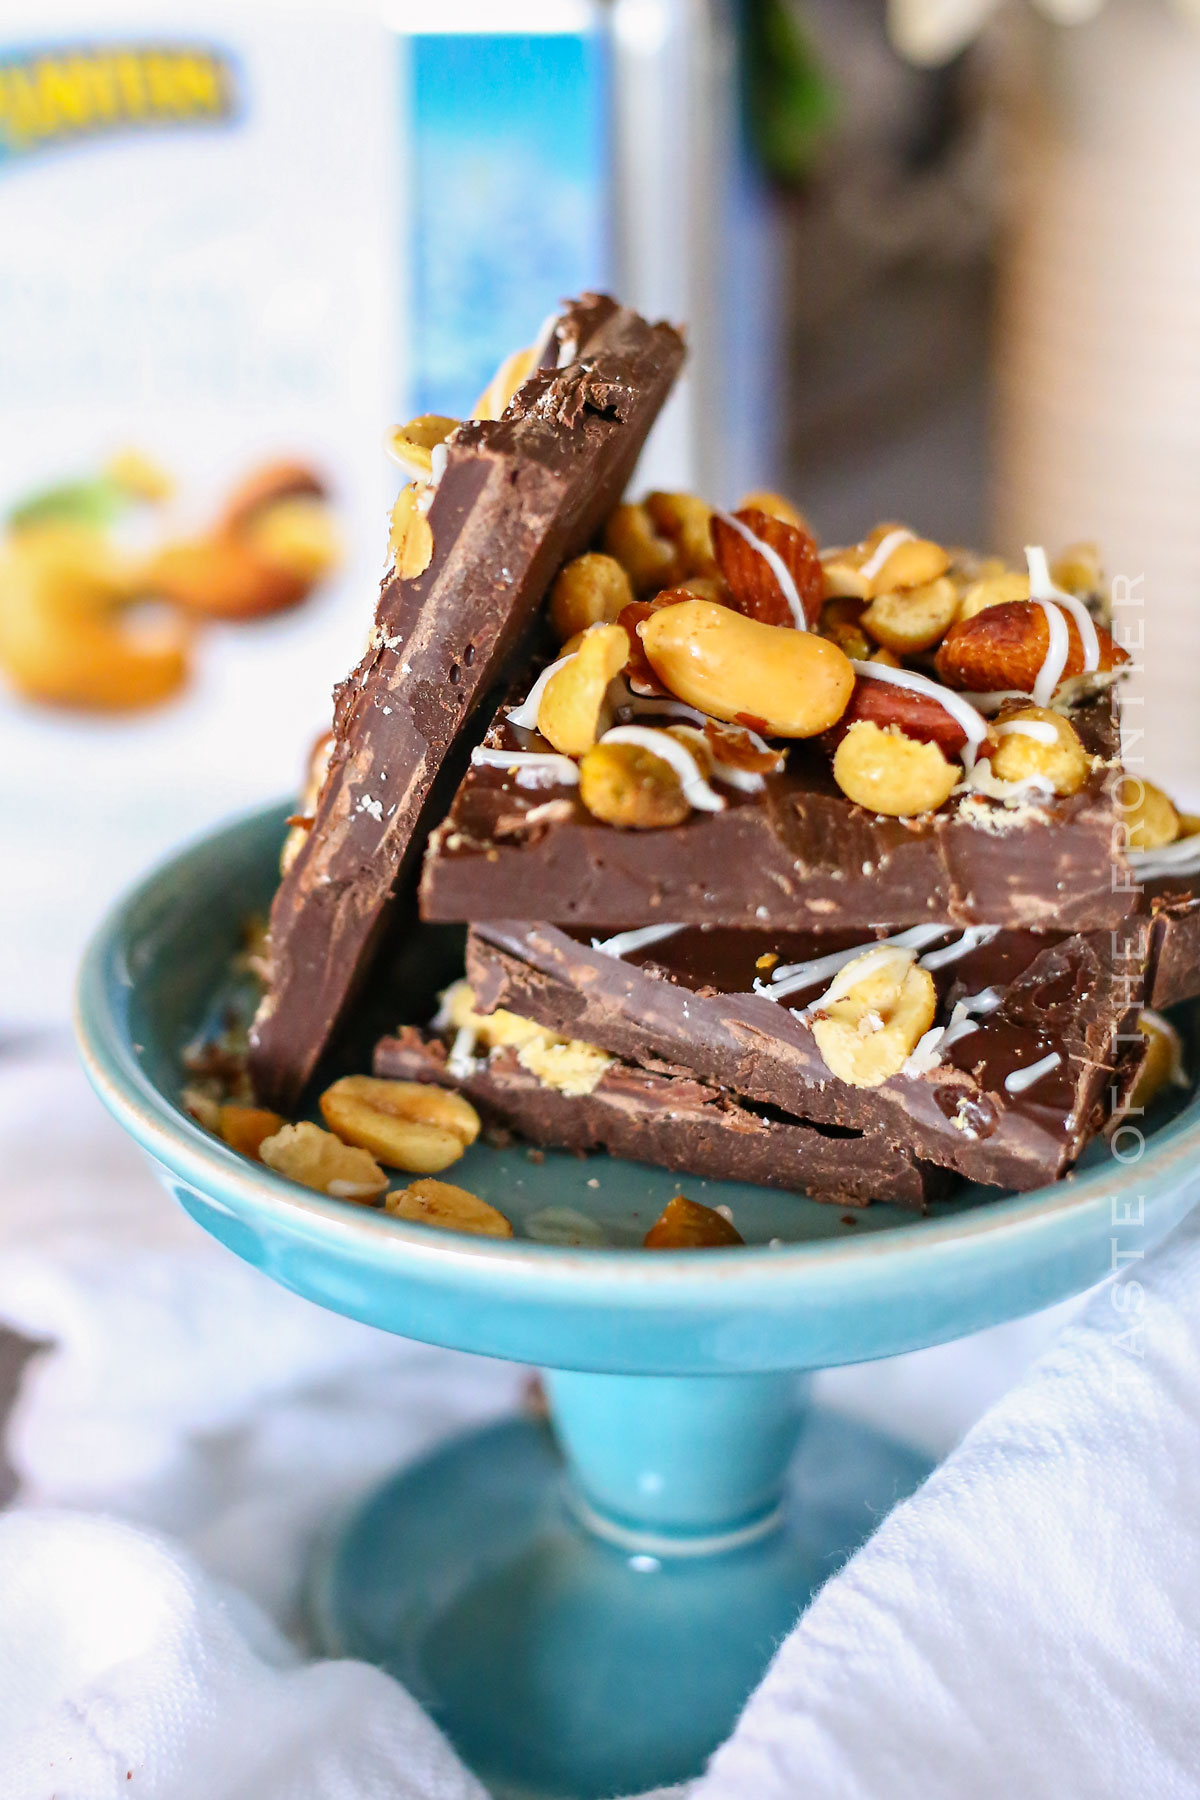
Storage
I always think sweet treats are better homemade than anything you can find at the grocery stores. This one is certainly no exception!
Refrigerator
Store the chocolate bark in an airtight container in the fridge for up to two weeks.
Freezer
Freeze in a sealed container for up to three months. Let it come to room temperature before enjoying.
Tips
This type of chocolate is a perfect gift idea! For me, giving out sweet, homemade goodies is a fun part of the holidays. This is a great recipe for it!
- Choose Quality Chocolate: High-quality chocolate bars melt better and taste great.
- Chop the Chocolate Evenly: This ensures even melting.
- Keep Water Out: Any moisture can cause chocolate to seize, so keep your tools and bowls dry.
- Add Toppings Quickly: Sprinkle your toppings while the chocolate is still melted.
- Let it Cool Completely: Allow the chocolate bark to cool and set at room temperature or in the refrigerator.
Ingredients
I love how simple this list of ingredients is. I’m all about making things as easy as possible and this simple chocolate bark does that for me!
- Semi-sweet chocolate chips or your choice of chocolate
- Shortening
- Mixed nuts (optional)
- Coarse sea salt (optional)
- White chocolate (optional)
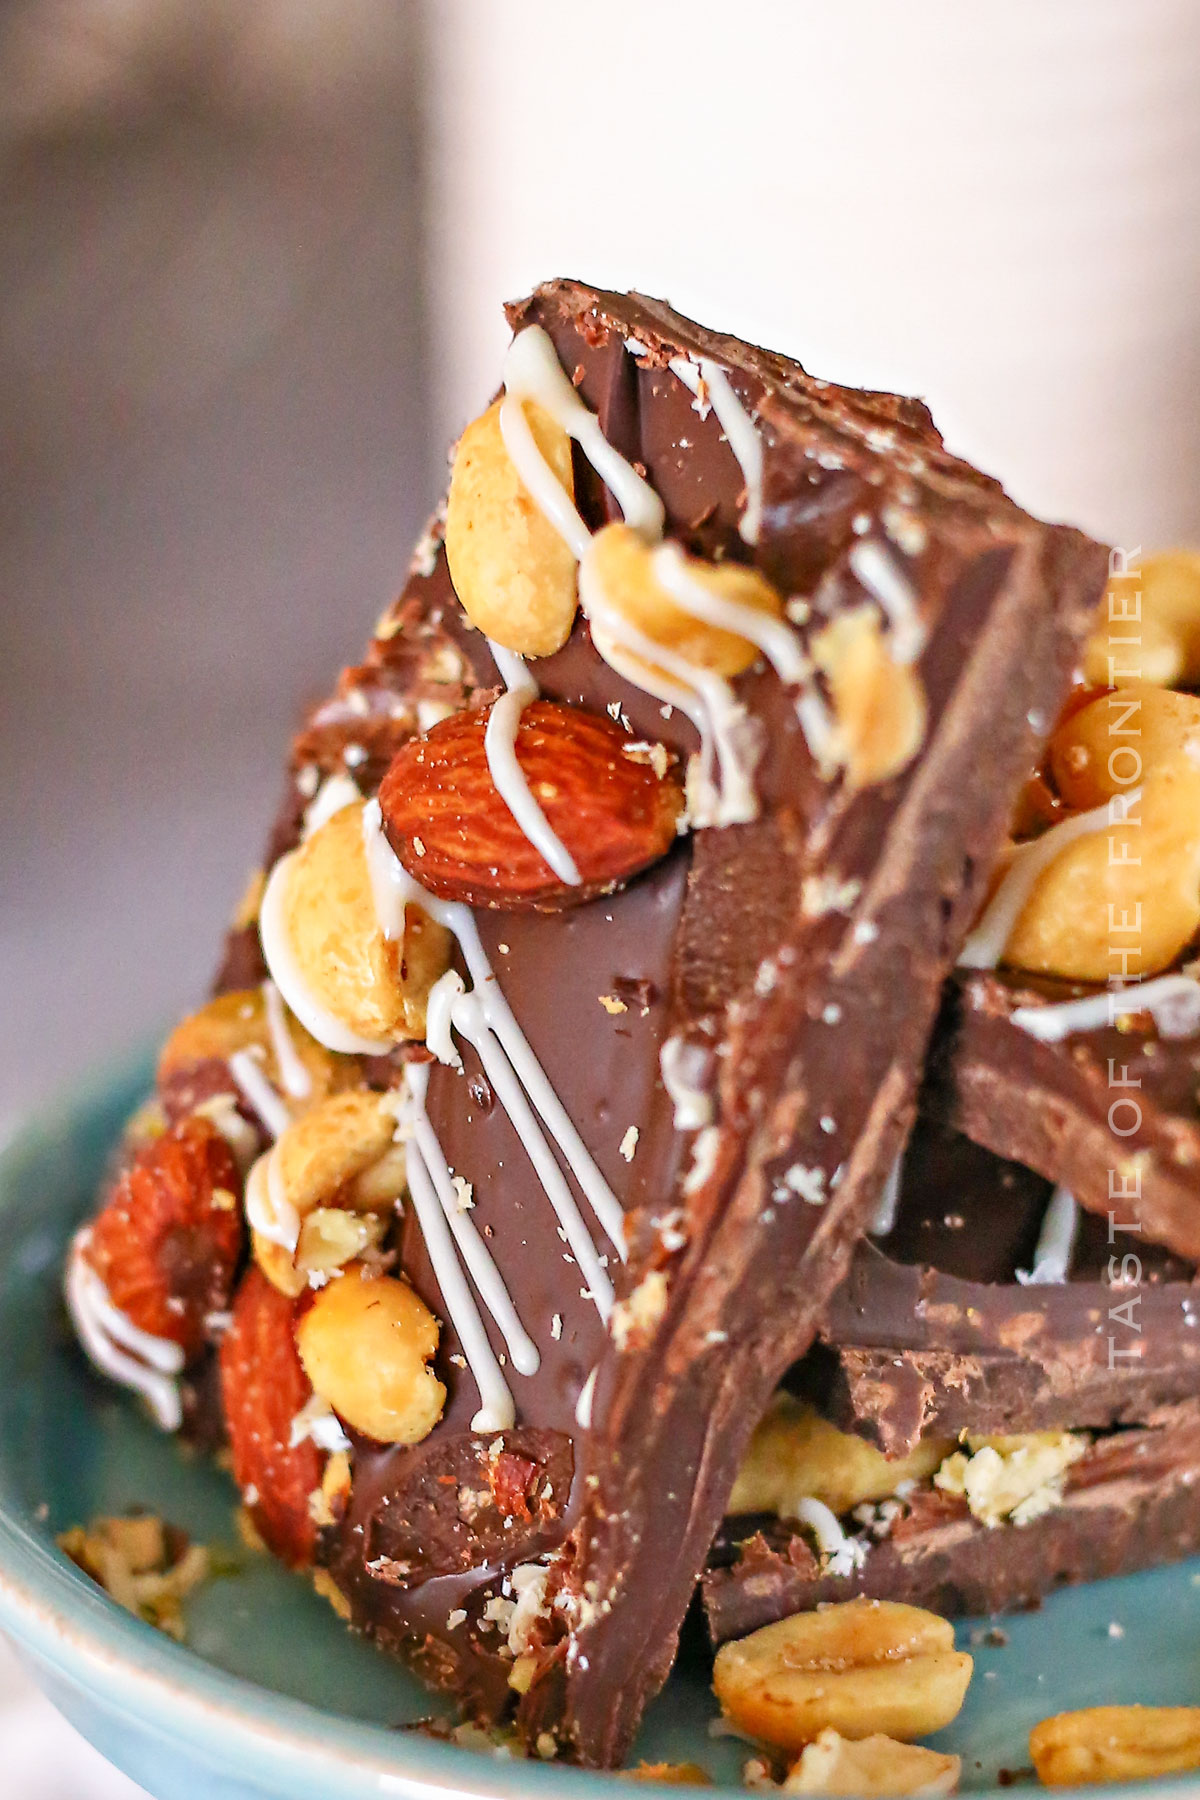
How to Make Chocolate Bark
And now for my favorite chocolate bark recipe. It’s oh-so-yummy, and just as importantly, it’s really simple to make!
- Line a 9×13 baking sheet with parchment – set aside.
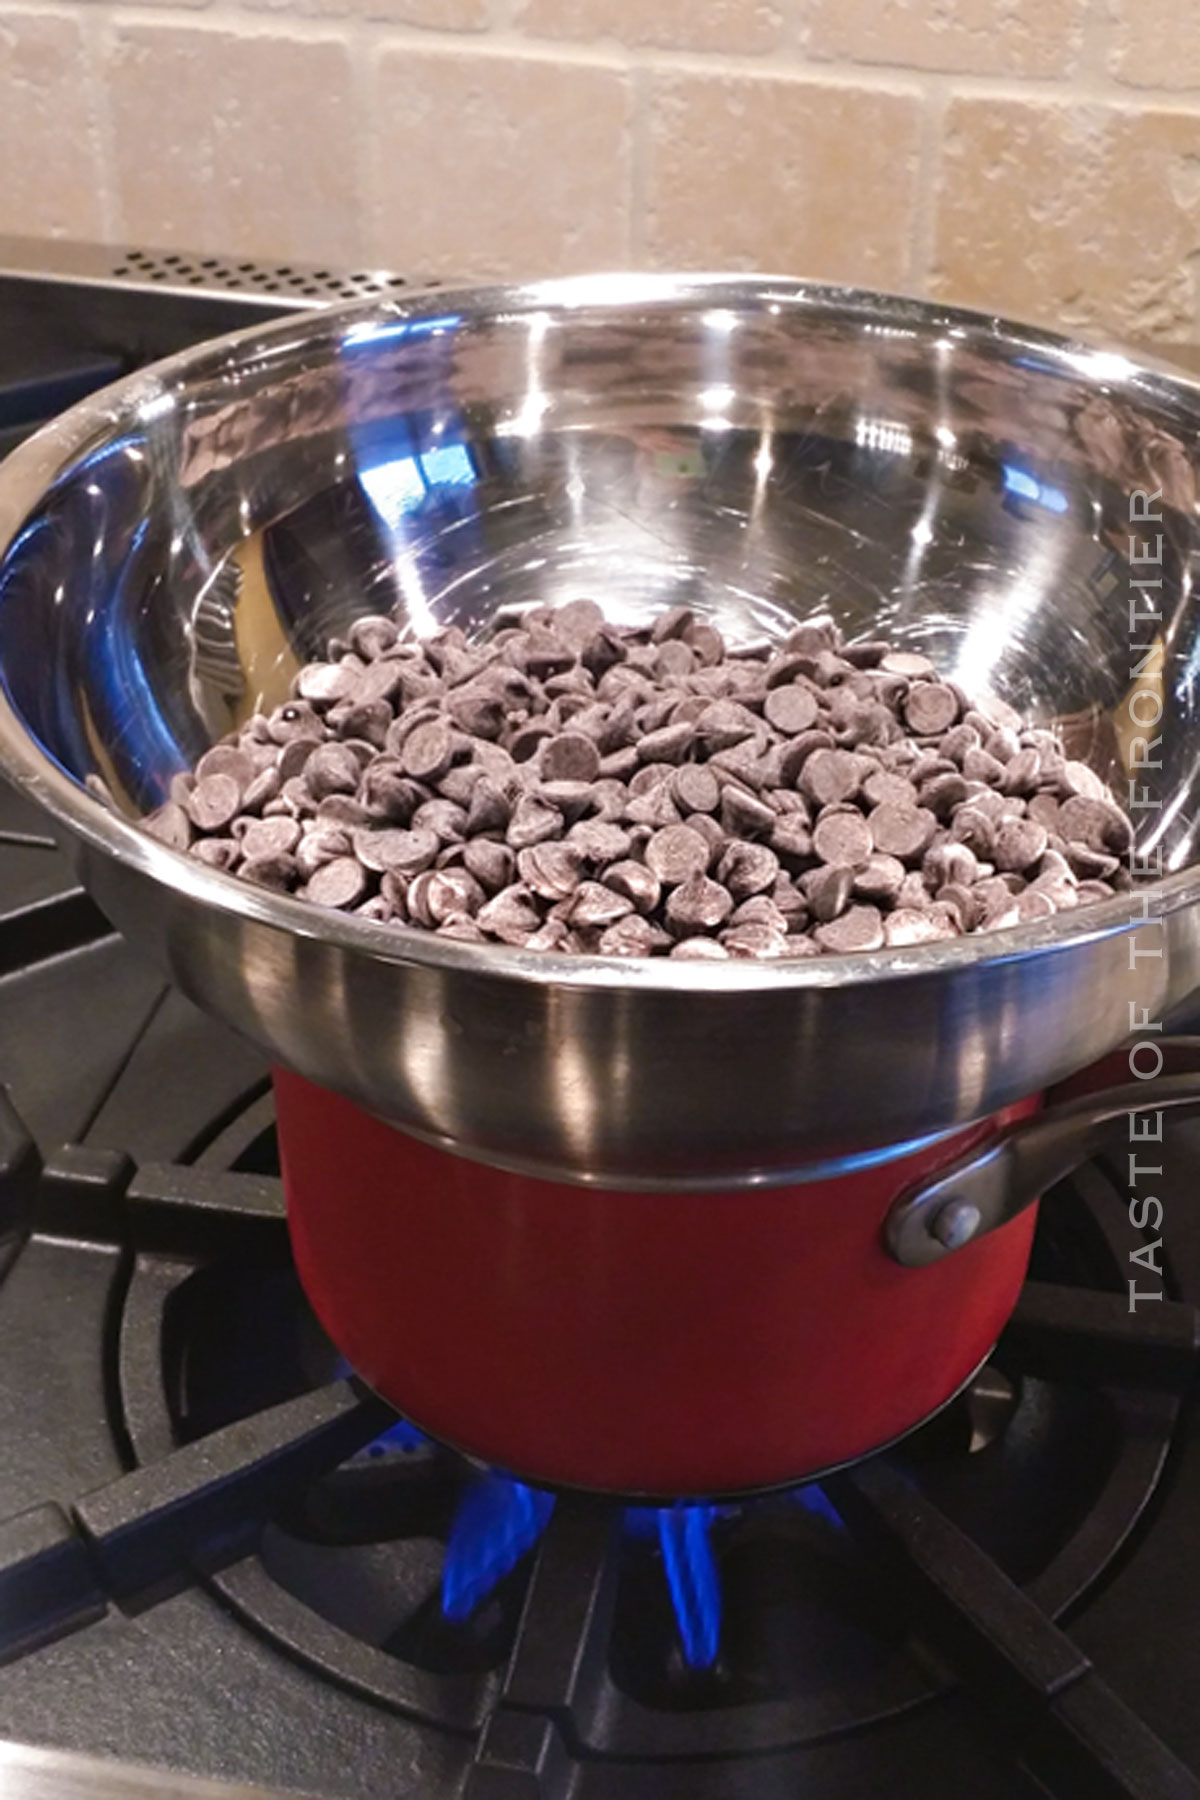
- In a medium bowl combine the semi-sweet chocolate and the shortening.
- Place the bowl over a small pot filled halfway with water (this works as your double boiler) – or you can use a double boiler.
- Heat over medium – stirring the chocolate until melted and smooth.
- Once melted – immediately pour the chocolate onto the prepared parchment-lined baking sheet and smooth it out into a flat, even layer using a small silicone spatula or offset spatula.
- Sprinkle on any toppings – mixed nuts, sea salt, or candy.
- If using – melt the white chocolate (this works best in a small squeeze bottle (just place the chocolate in a candy-making squeeze bottle or food-grade bottle and set it in a cup of hot water to melt it)
- Once the white chocolate is melted, drizzle it over the top of the bark.
- Place the bark in the refrigerator for several hours to set.
- Once firm – use a butter knife and press it into the bark to break it apart into pieces.
- Store the chocolate bark in an airtight container either at room-temperature or in the refrigerator.
Kitchen Supplies You’ll Need for Chocolate Bark
Don’t skimp on the parchment paper! The last thing you want is to have your homemade bark get stuck to the pan!
- Baking sheet
- Parchment paper
- Medium heat-proof bowl or double boiler
- Rubber spatula or offset spatula
- Sharp knife or cookie cutter (for shaping)
- Microwave (if not using a double boiler)
What to Serve With Chocolate Bark
Personally, I have to have a tall, cold glass of milk when I enjoy my chocolate bark. It just wouldn’t be the same without it!
- A glass of milk or cup of hot coffee
- As part of a dessert platter with other holiday sweets
- Alongside fresh fruits like strawberries or bananas
- Crushed and sprinkled over ice cream
Why You Should Make Chocolate Bark
I think you’ll agree that this chocolate bark is the perfect holiday treat for you and your family and friends. It’s just plain tasty!
- Super Easy: It’s a no-fuss, simple recipe that requires minimal effort.
- Customizable: You can create your own homemade chocolate bark with a variety of toppings.
- Perfect for Gifting: Wrapped in a pretty package, it makes the perfect holiday gift.
- Great for Parties: A hit at holiday parties, it’s a fun way to offer a variety of flavors.
- Kid-Friendly: A fun way for kids to get involved in the kitchen.
Variations and Add-Ins for Chocolate Bark
If you’ve got any other ideas for variations on this chocolate bark, let me know in the comments. I love hearing about all your amazing creations!
- Nutty Delight: Mix in different nuts like almonds, peanuts, or pumpkin seeds.
- Sweet and Salty: Add crushed potato chips or pretzels for a unique twist.
- Fruity Fun: Sprinkle with dried fruits like cranberries or raisins.
- Extra Indulgence: Drizzle with peanut butter or caramel sauce.
- Holiday Twist: Use peppermint extract and crushed candy canes for a festive flavor.
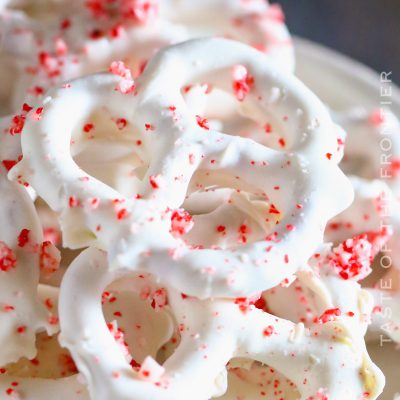
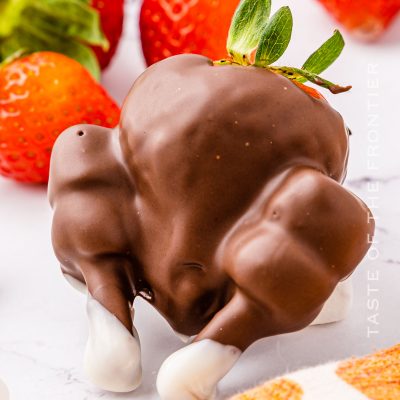
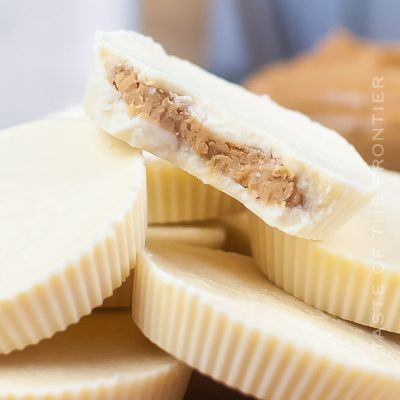
If you love this easy bark recipe, you’re going to love these other no-bake treats too. Please click each link below to find the easy, printable recipe!
More Favorite Chocolate Recipes
Chocolate Nut Clusters (or Reindeer Poo)
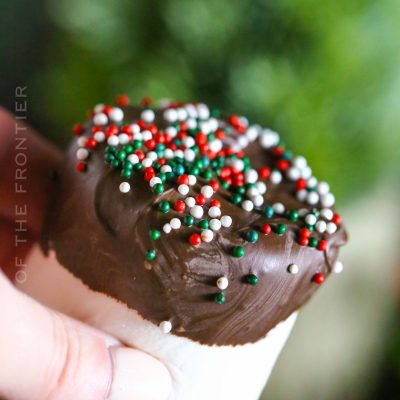
Chocolate-Covered Graham Crackers
CONNECT WITH YUMMI HAUS!
Be sure to follow me on my social media, so you never miss a post!
Chocolate Bark
Ingredients
- 2½ cups semi-sweet chocolate chips
- 1 tbsp shortening
- 1½ cups mixed nuts optional
- 2 ounces white chocolate optional
- 1-2 tsp coarse sea salt optional
Instructions
- Line a 9×13 baking sheet with parchment – set aside.
- In a medium bowl combine the semi-sweet chocolate and shortening.
- Place the bowl over a small pot filled half way with water. (this works as your double boiler)
- Heat over medium – stirring your chocolate until it is melted completely.
- Once melted and smooth – immediately pour the chocolate onto the prepared parchment-lined baking sheet and smooth it out into a flat, even layer
- Sprinkle on the mixed nuts and sea salt – if using.
- Melt the white chocolate (this works best in a small squeeze bottle (just place the chocolate in & set in a cup of hot water to melt it).
- Once the white chocolate is melted – drizzle it over the top of the bark.
- Place the bark in the refrigerator for at least an hour to harden.
- Once firm- use a butter knife and press it into the bark to break it apart.
- Store the bark in an airtight container.
Nutrition
Nutritional information for the recipe is provided as a courtesy and is approximate. Please double-check with your own dietary calculator for the best accuracy. We at Yummi Haus cannot guarantee the accuracy of the nutritional information given for any recipe on this site.



That looks super good!
All of your recipes look amazing, especially the Pistachio Truffles- it’s not the holidays without great nuts! #client
This looks absolutely delicious!
Thanks for the recipe! I love everything chocolate and nut related, and this looks super easy. Shout out! from the SITS linkup
That looks so yummy! Thanks for sharing! Also, wanted to let you know I have a link party on Wednesday, hope to see you there! Can’t wait to party with you at https://homeschoolapalooza.wordpress.com 🙂
Pinned this and the Pistachio Truffles! Everything looks so delicious! Stopping by from Moonlight & Mason Jars! 😉
I am craving some chocolate now! These look great. Thanks for linking up to Show Me Saturday. Pinning!