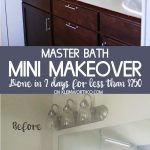
Master Bath Mini Budget Makeover – I’m sharing some simple tricks to update the look of your bathroom in a weekend. Plus check out the awesome plank walls!
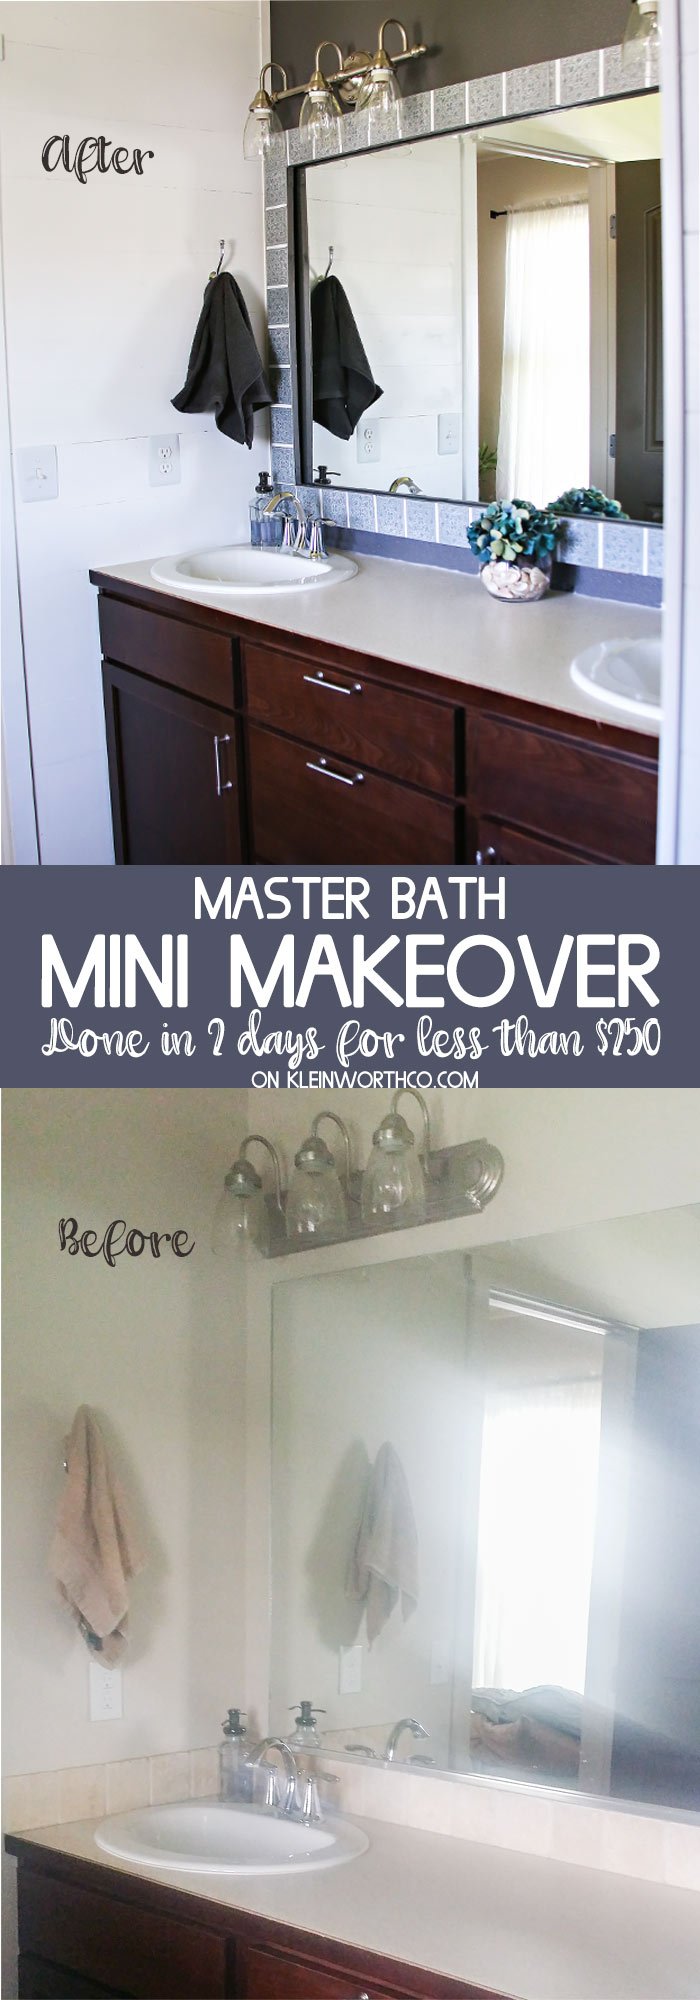
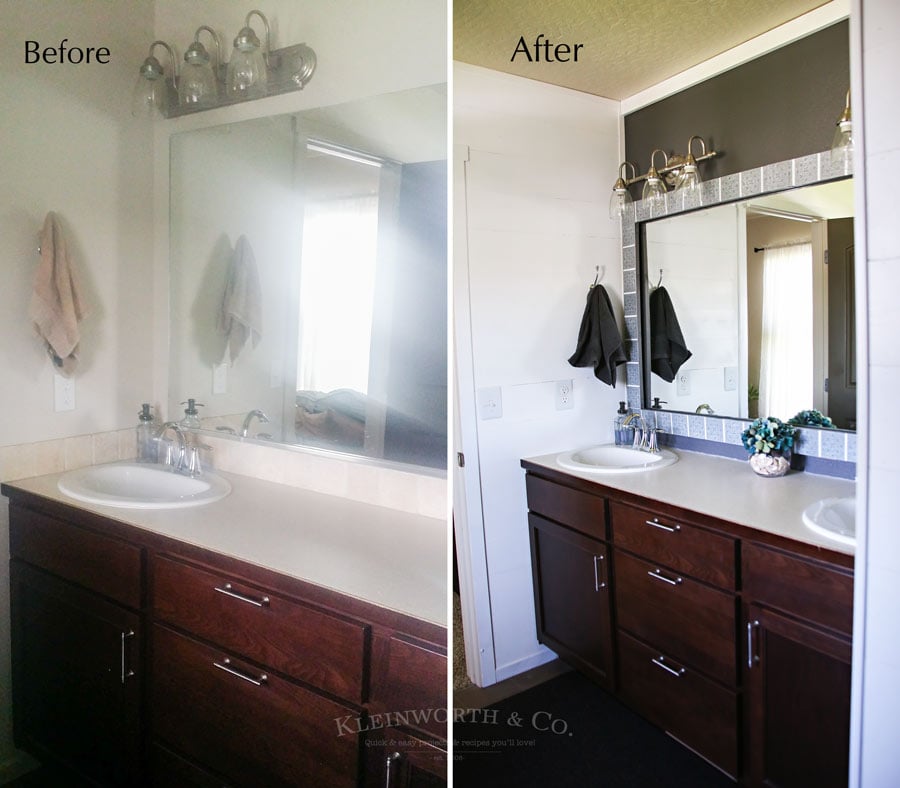
If you subscribe to my newsletter, you may remember me mentioning something about spending a whole weekend working on our master bathroom. We gave it a little mini-makeover in just 2 short days. When I say 2 days, I really mean it & you know what? We did this Master Bath Mini Budget Makeover for just $250. Check out the transformation!
Master Bath Mini Budget Makeover
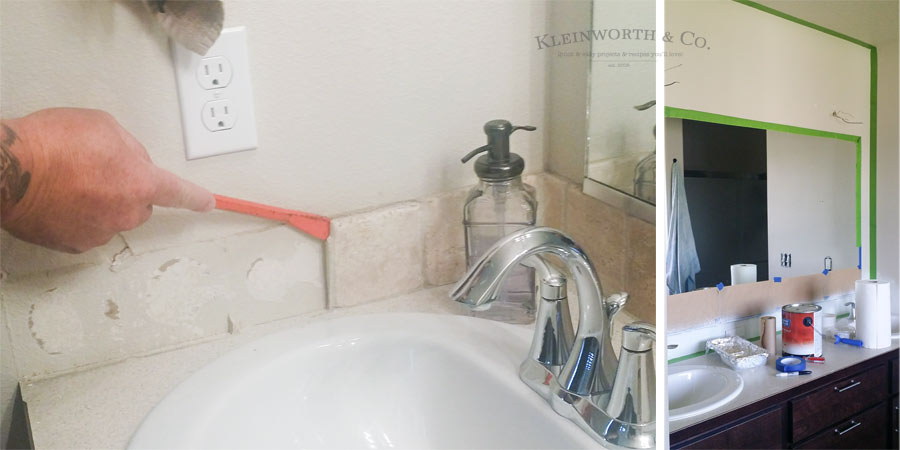
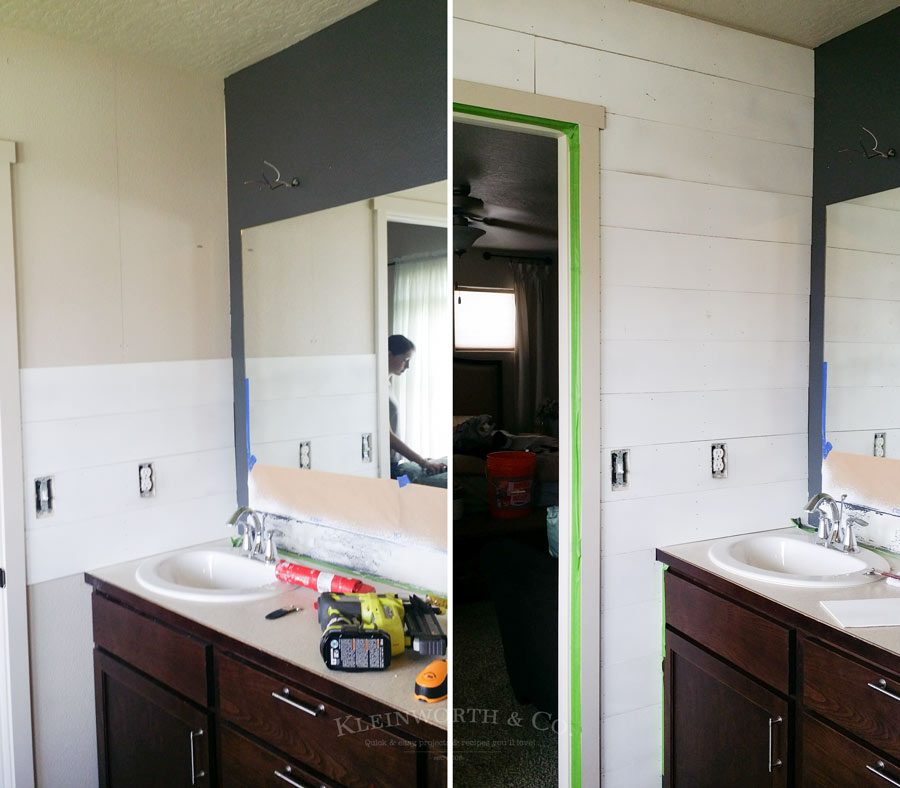
Uhhhh, this space. It was tired the day we moved in just 3 short years ago. It was 100% builder-grade BORING. I can’t believe we lived with it as long as we did. But with so many things happening in life, this particular project always seemed to take a backseat to the other more pressing ones. But thanks to Lowe’s for giving us the kick start we needed to get it done. The first thing to do is bust of those tiles, remove the old fixtures & tape off the walls.
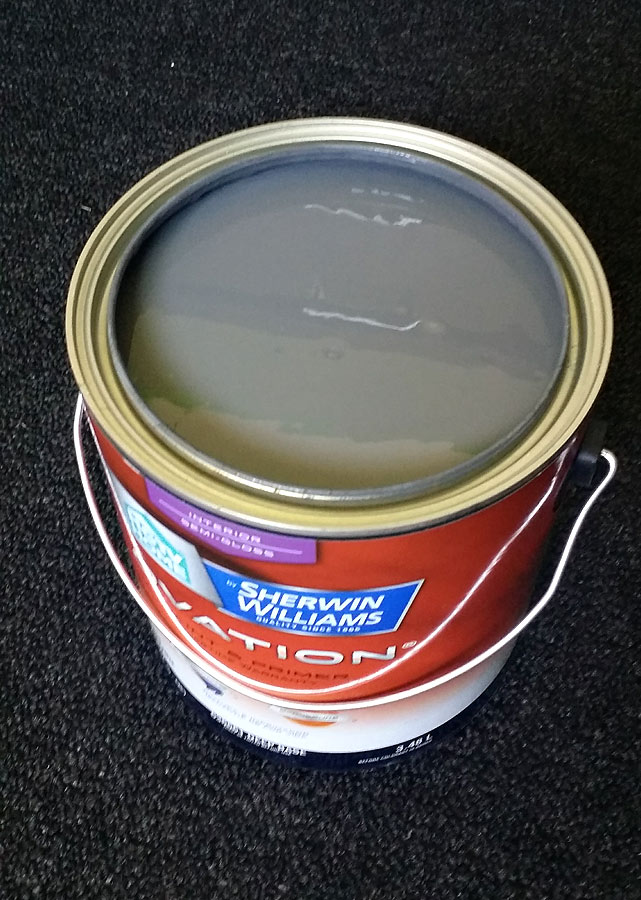
We chose this paint from HGTV Home by Sherwin Williams – Ovation. The color is Peppercorn & I picked a semi-gloss since it’s in the bathroom. I chose it because it’s a paint & primer in one & it’s supposed to be super durable & I’m all for durability.
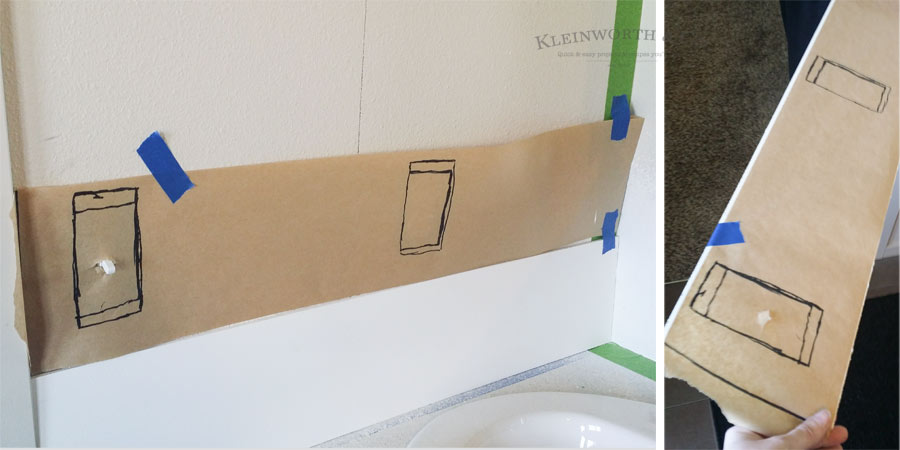
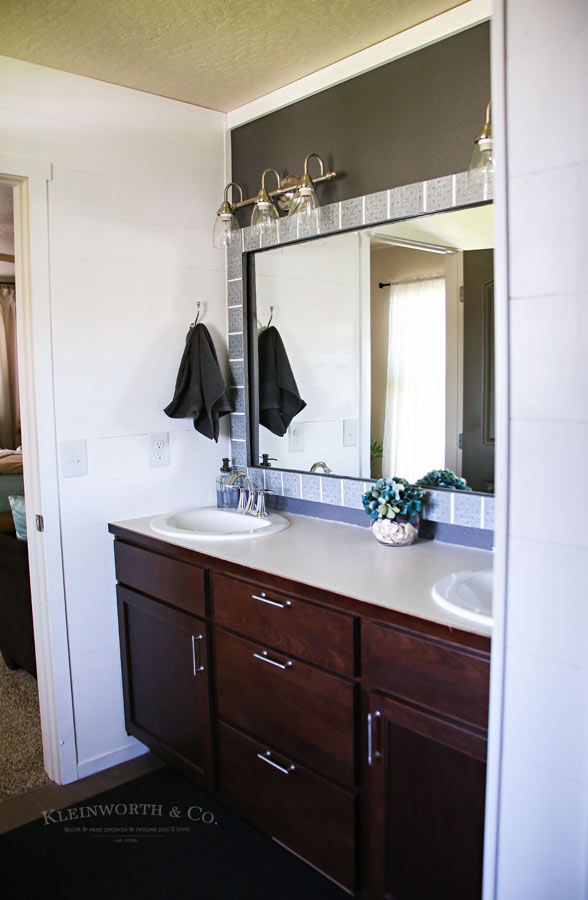
Once we painted the wall behind the mirror it was time to work on the other walls. Now the original plan was to plank the walls & tile the gray one. Then I realized that the mirror is GLUED ON the wall. I wasn’t in the mood for breaking mirrors- call me superstitious. I felt it was best to leave it be & we came up with another plan. You see here, when it came to cutting the holes in the planks for the outlets, we just make a template out of paper & then used it as our guide when cutting the holes out with the jigsaw.
Master Bath Mini Budget Makeover
Then we continued on with the planks on that entire wall & the one on the other side of the vanity & around the corner surrounding the water closet door. We had the plywood cut at the store before we left. 6″ wide & then we used our paint sprayer to give it the first coat of white paint before installing. I gave it another coat with the roller once it was all installed since I had to paint the cream trim anyway.
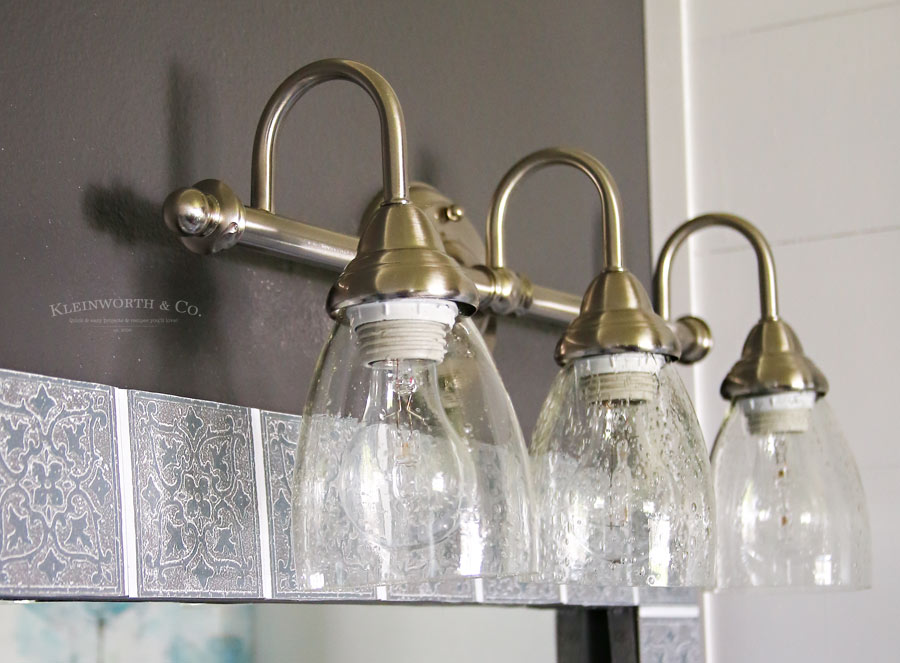
We installed new light fixtures & used the same globes we had. When we first moved into the house, one of the first things we did was head to Lowe’s & update those globes in all the bathrooms. It was an inexpensive way to update the fixtures without changing them out right away. I still love them so I made sure to pick fixtures that I could use them with. I love these. Simple, clean & give the beachy vibe we have going through the house. We ended up buying these same fixtures for the other 2 bathrooms. That’s what we are working on this weekend.
Master Bath Mini Budget Makeover
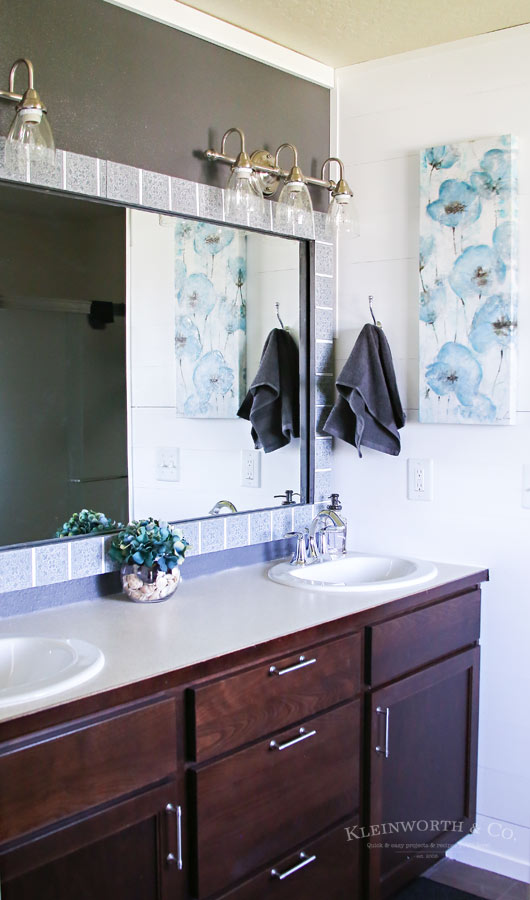
We bought some 4″ pine planks & built a simple frame around the mirror. Then I used some peel & stick tiles I had leftover from another project to give it some style & texture.
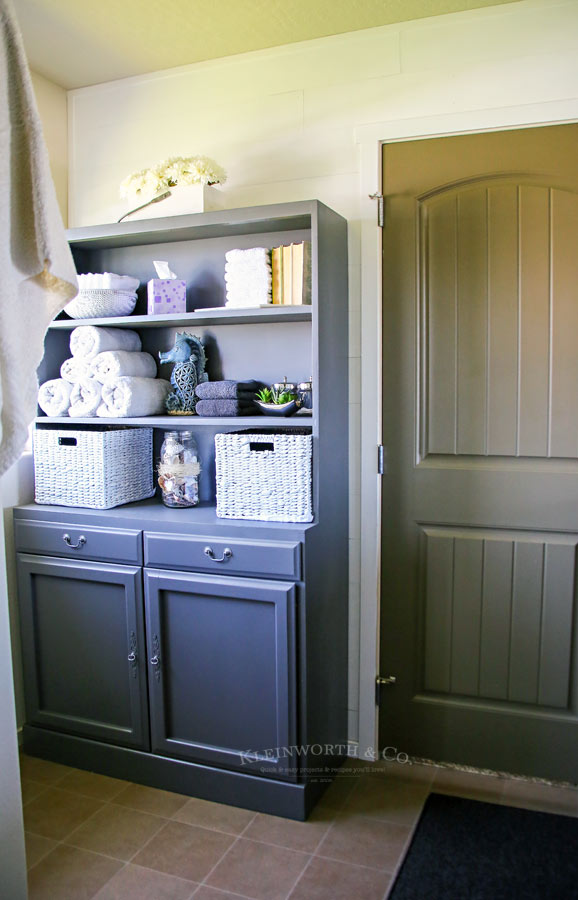
Since the wall behind the door is planked too, we decided to paint my mom’s old hutch & turn it into storage for towels. I love that peppercorn paint. It’s going to be on many walls in this house. That’s for sure.
Can you believe what a difference paint, wall treatment & some fixtures can make when it comes to a small space like this? I’m so happy with it. We will be working on some other areas of the bathroom here soon. I’m anxious to get the whole master bath complete. It’s been a long time coming.
Master Bath Mini Budget Makeover
What would you change first in your master bath?
Looking for more fun home projects?
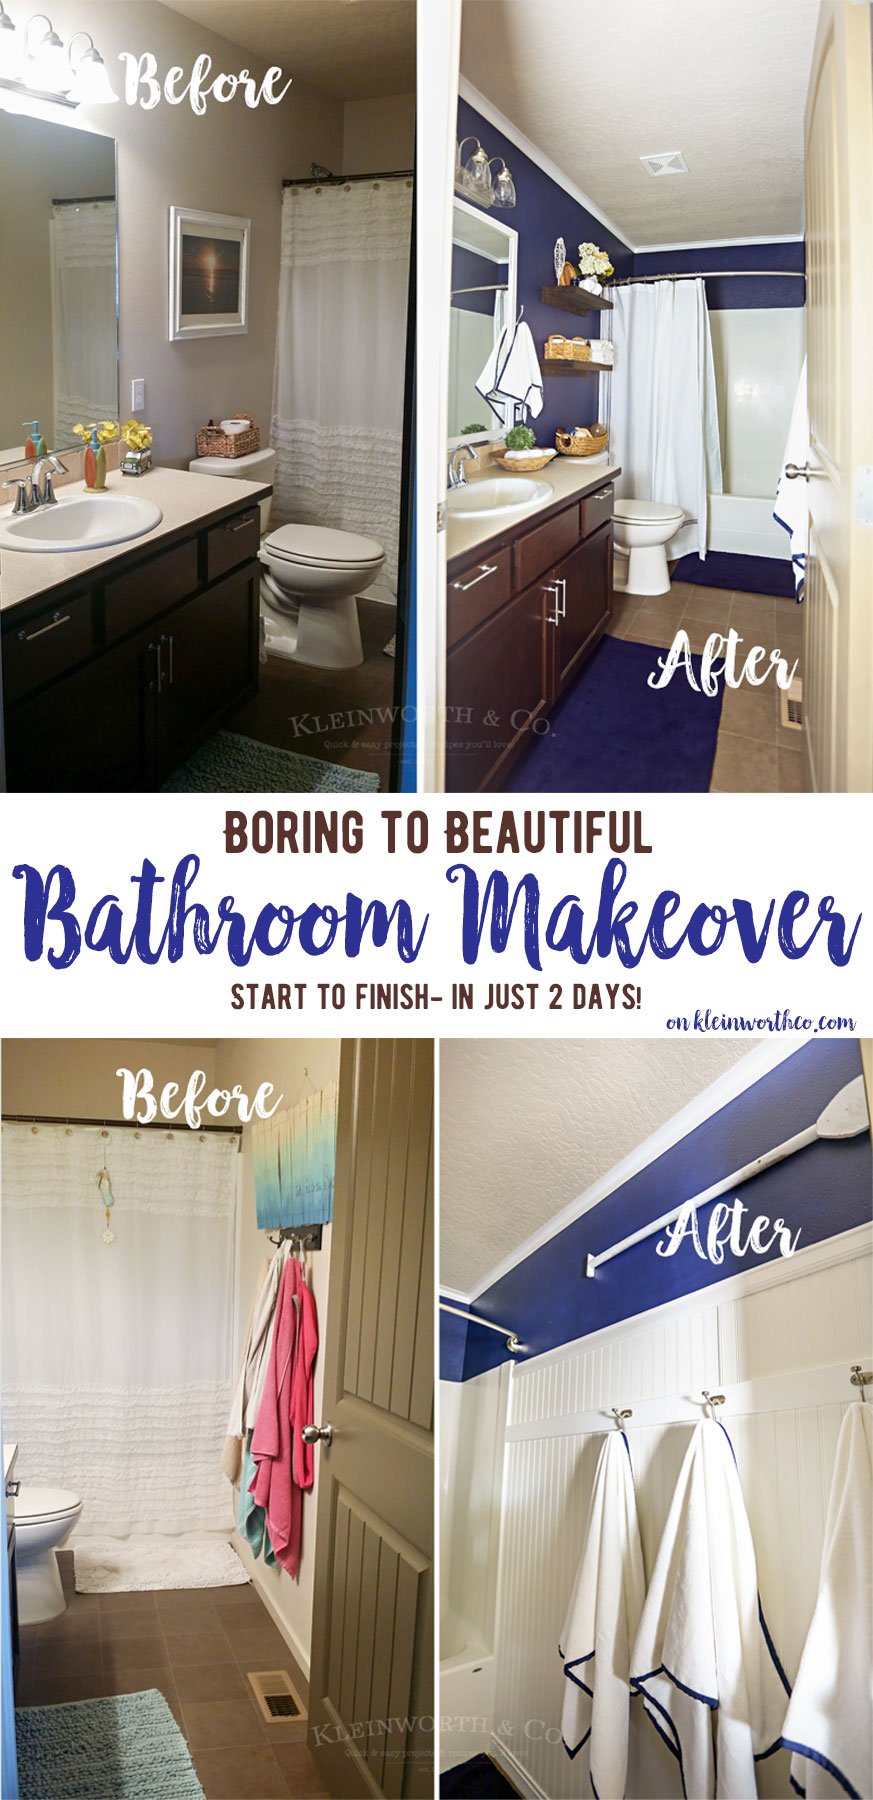
Nautical Navy & White Bathroom Makeover
Don’t miss these great ideas from these bloggers….
Laundry Room Makeover from Twelve on Main
Farmhouse Dining Room Makeover Reveal from Worthing Court



Share Your Thoughts