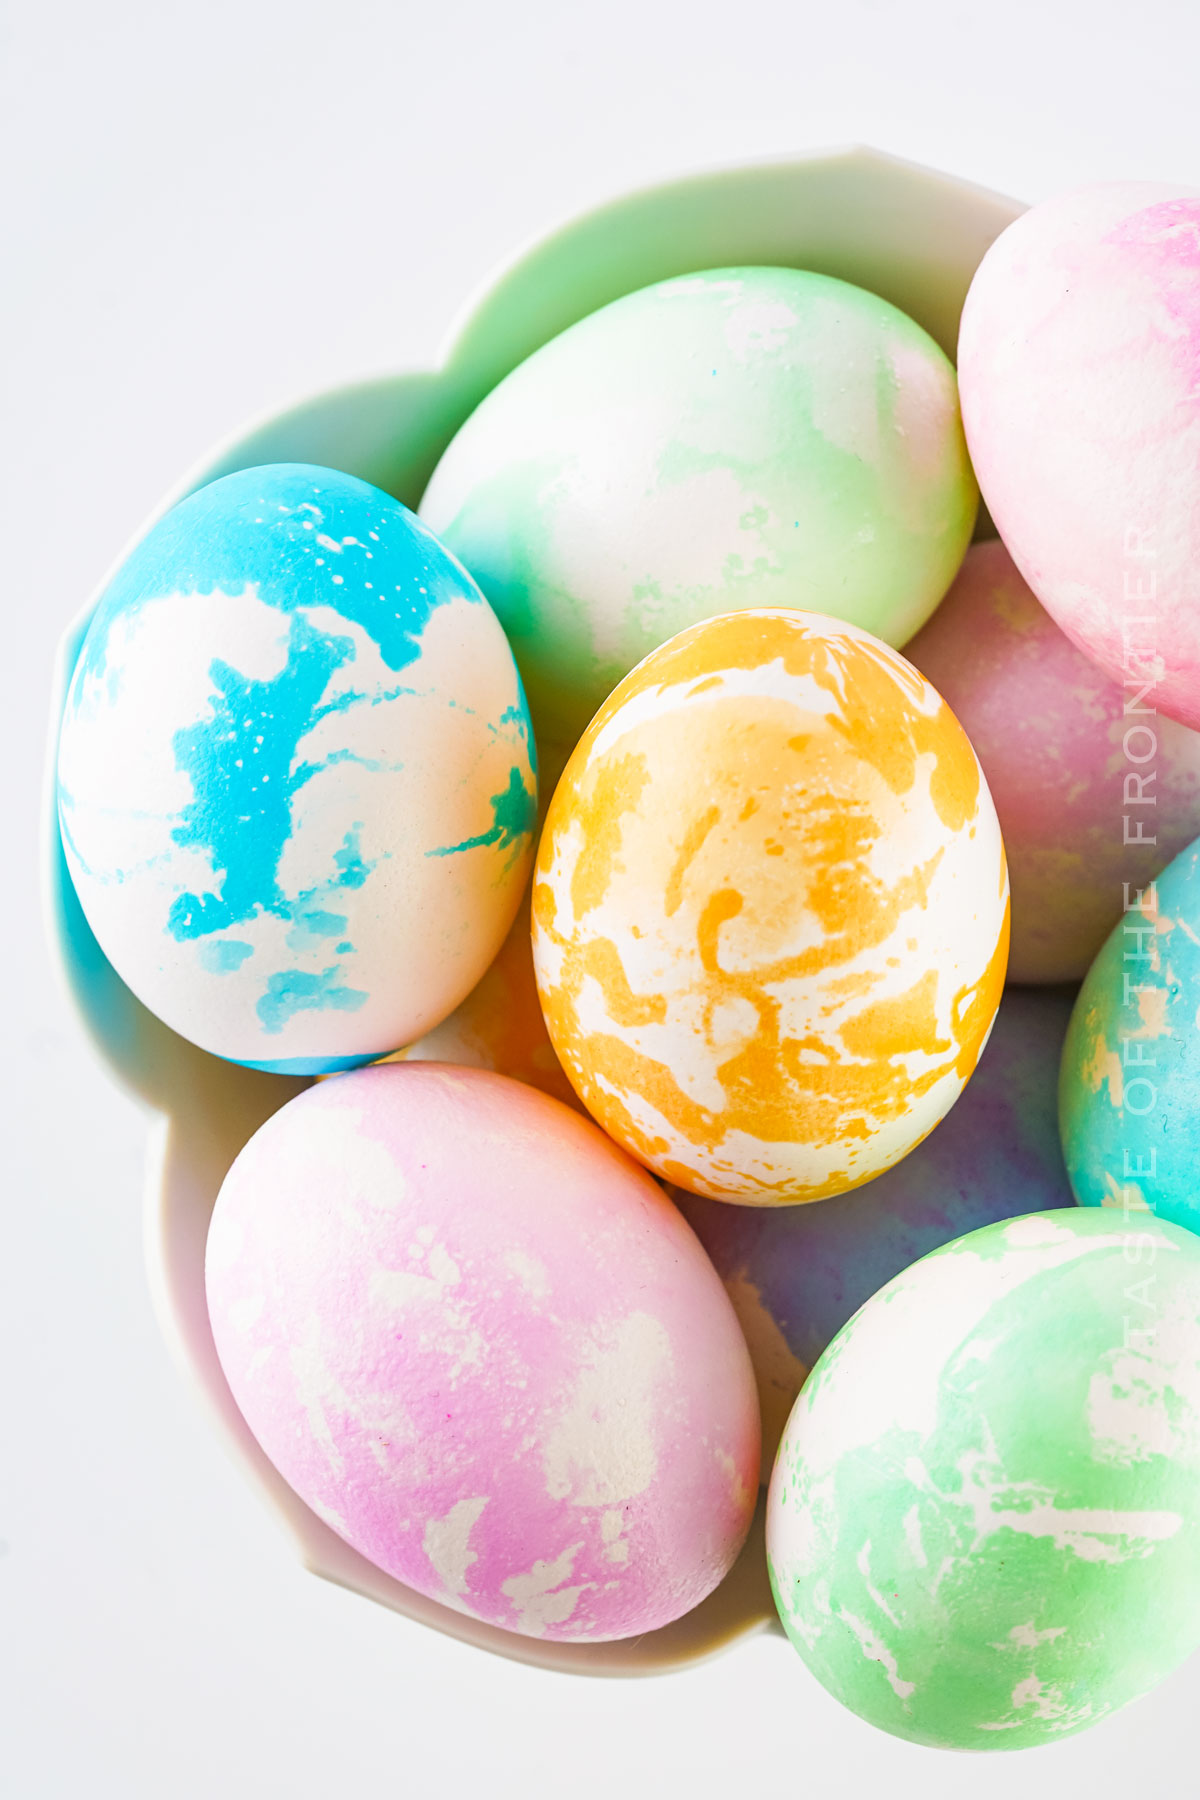
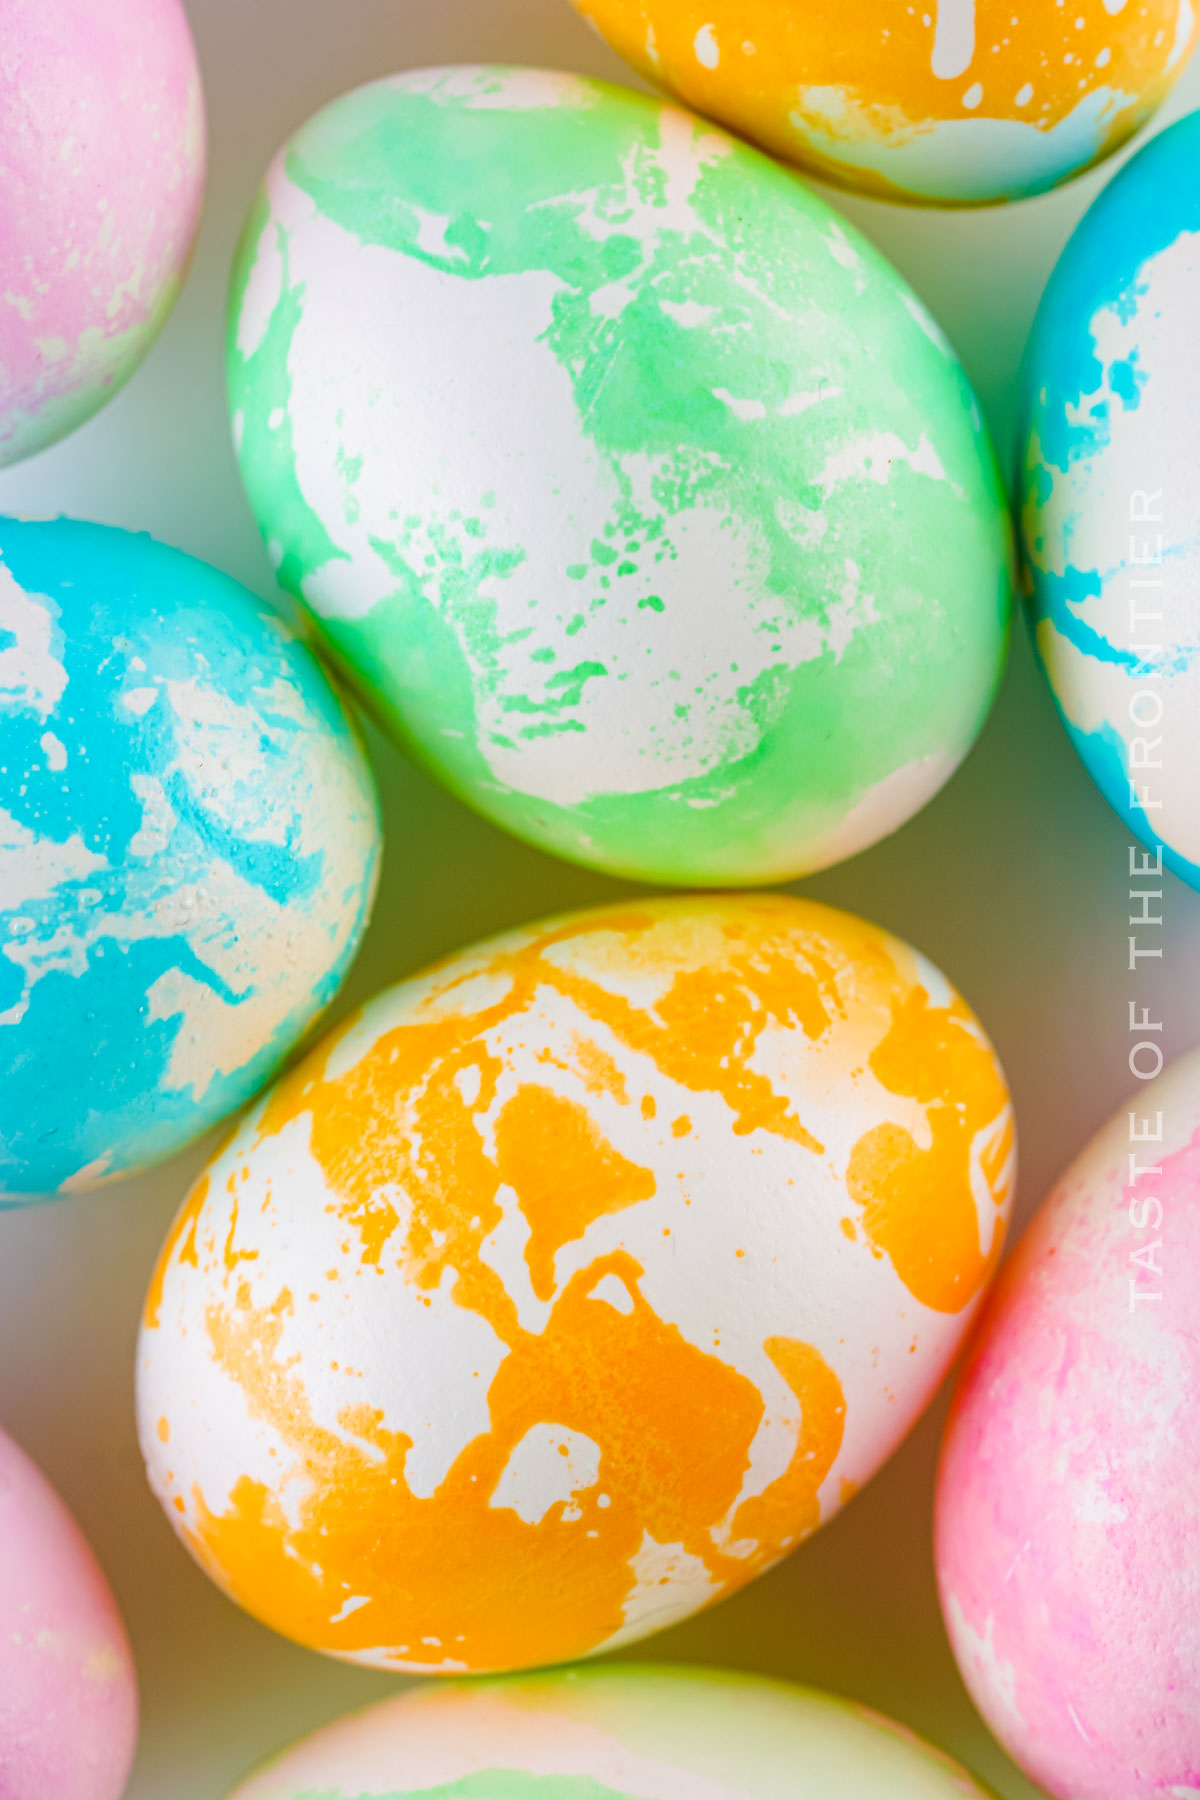
Elevate your Easter egg game with our stunning Marble Eggs for an eye-catching centerpiece or a delightful addition to any Easter egg hunt!
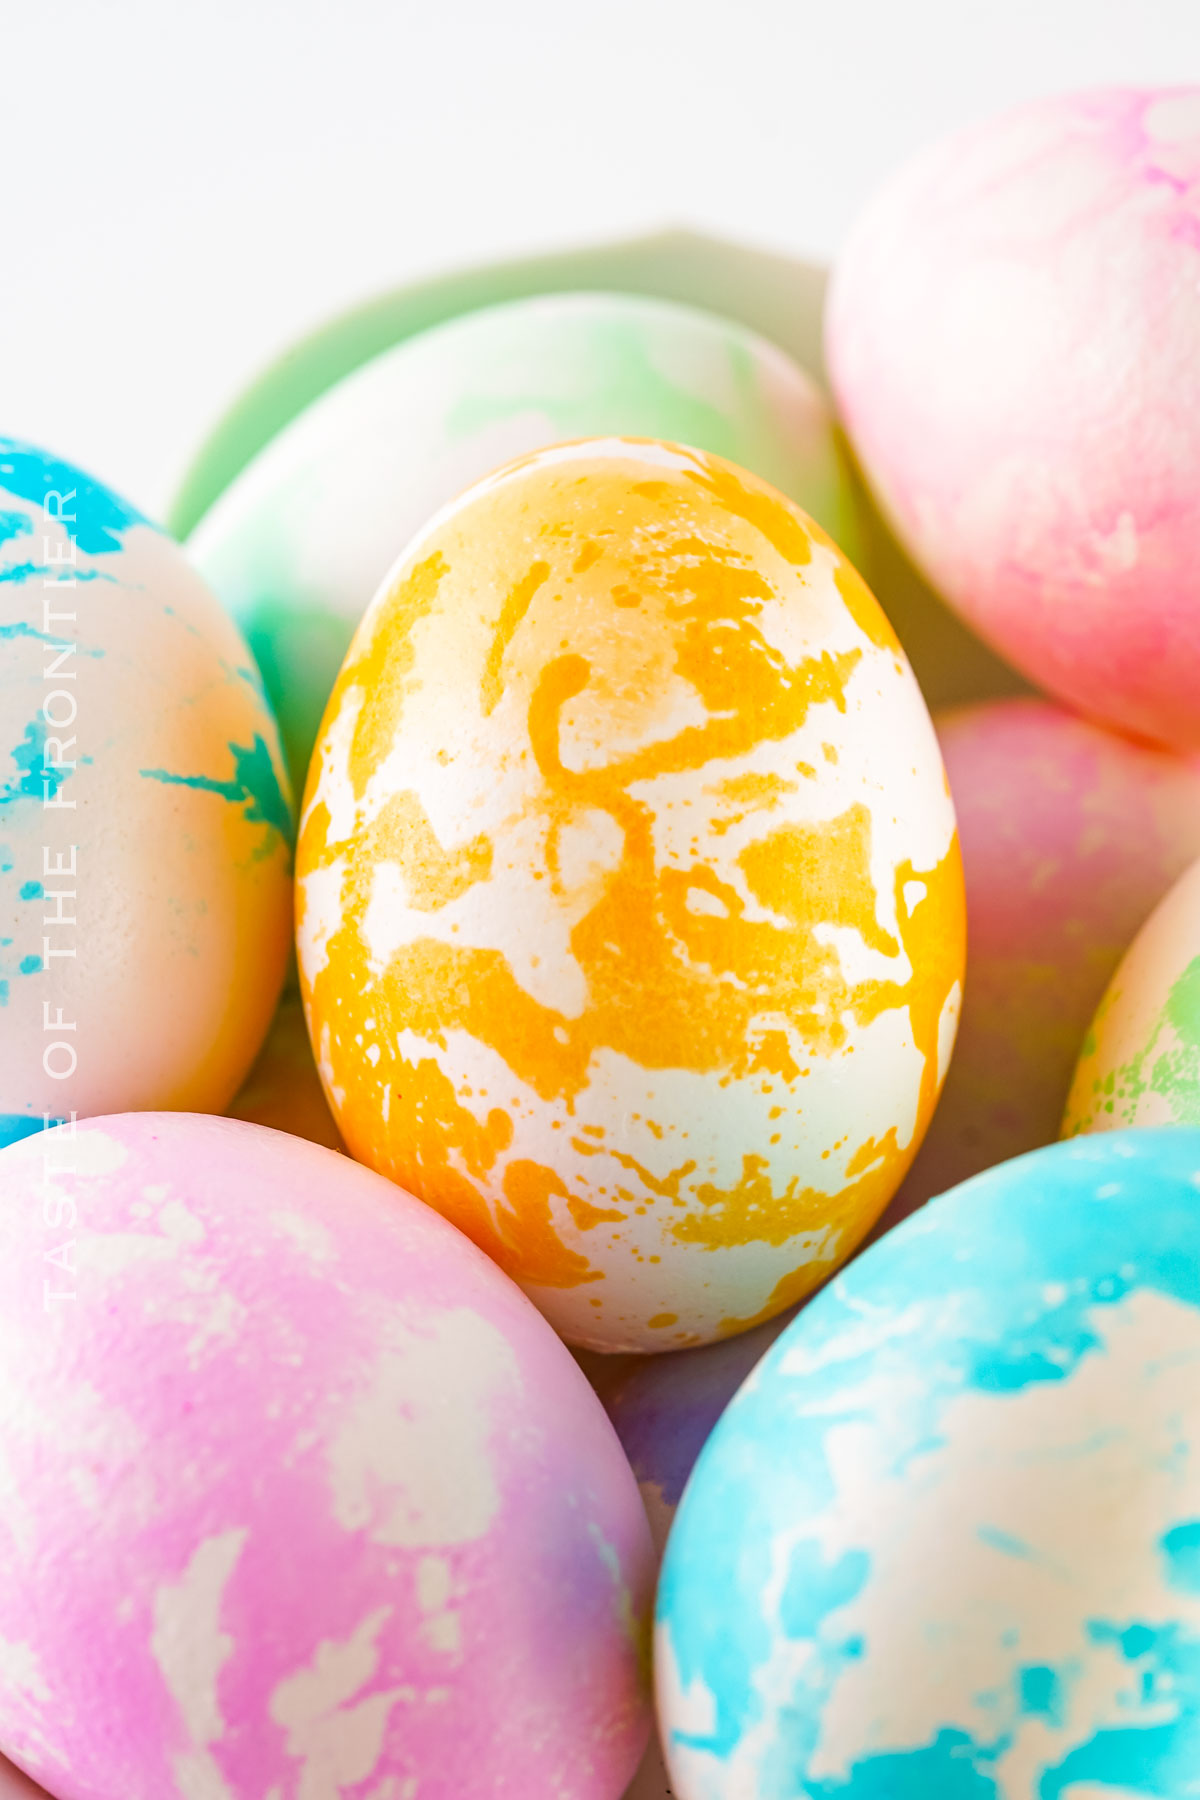
Easter is not just about the egg hunts and the chocolate bunnies; it’s also a perfect time to unleash your inner artist with some Marble Eggs! Imagine turning simple hard-boiled eggs into stunning pieces of art, each egg a unique blend of swirling colors resembling precious marble.
This Easter craft is not just a fun way to celebrate; it’s an activity that makes memories and brings smiles and a touch of creativity to your party. Using household items like cooking oil, food dye, and a dash of vinegar, you can transform ordinary eggs into vibrant, marbled wonders that will be the talk of your Easter dinner.
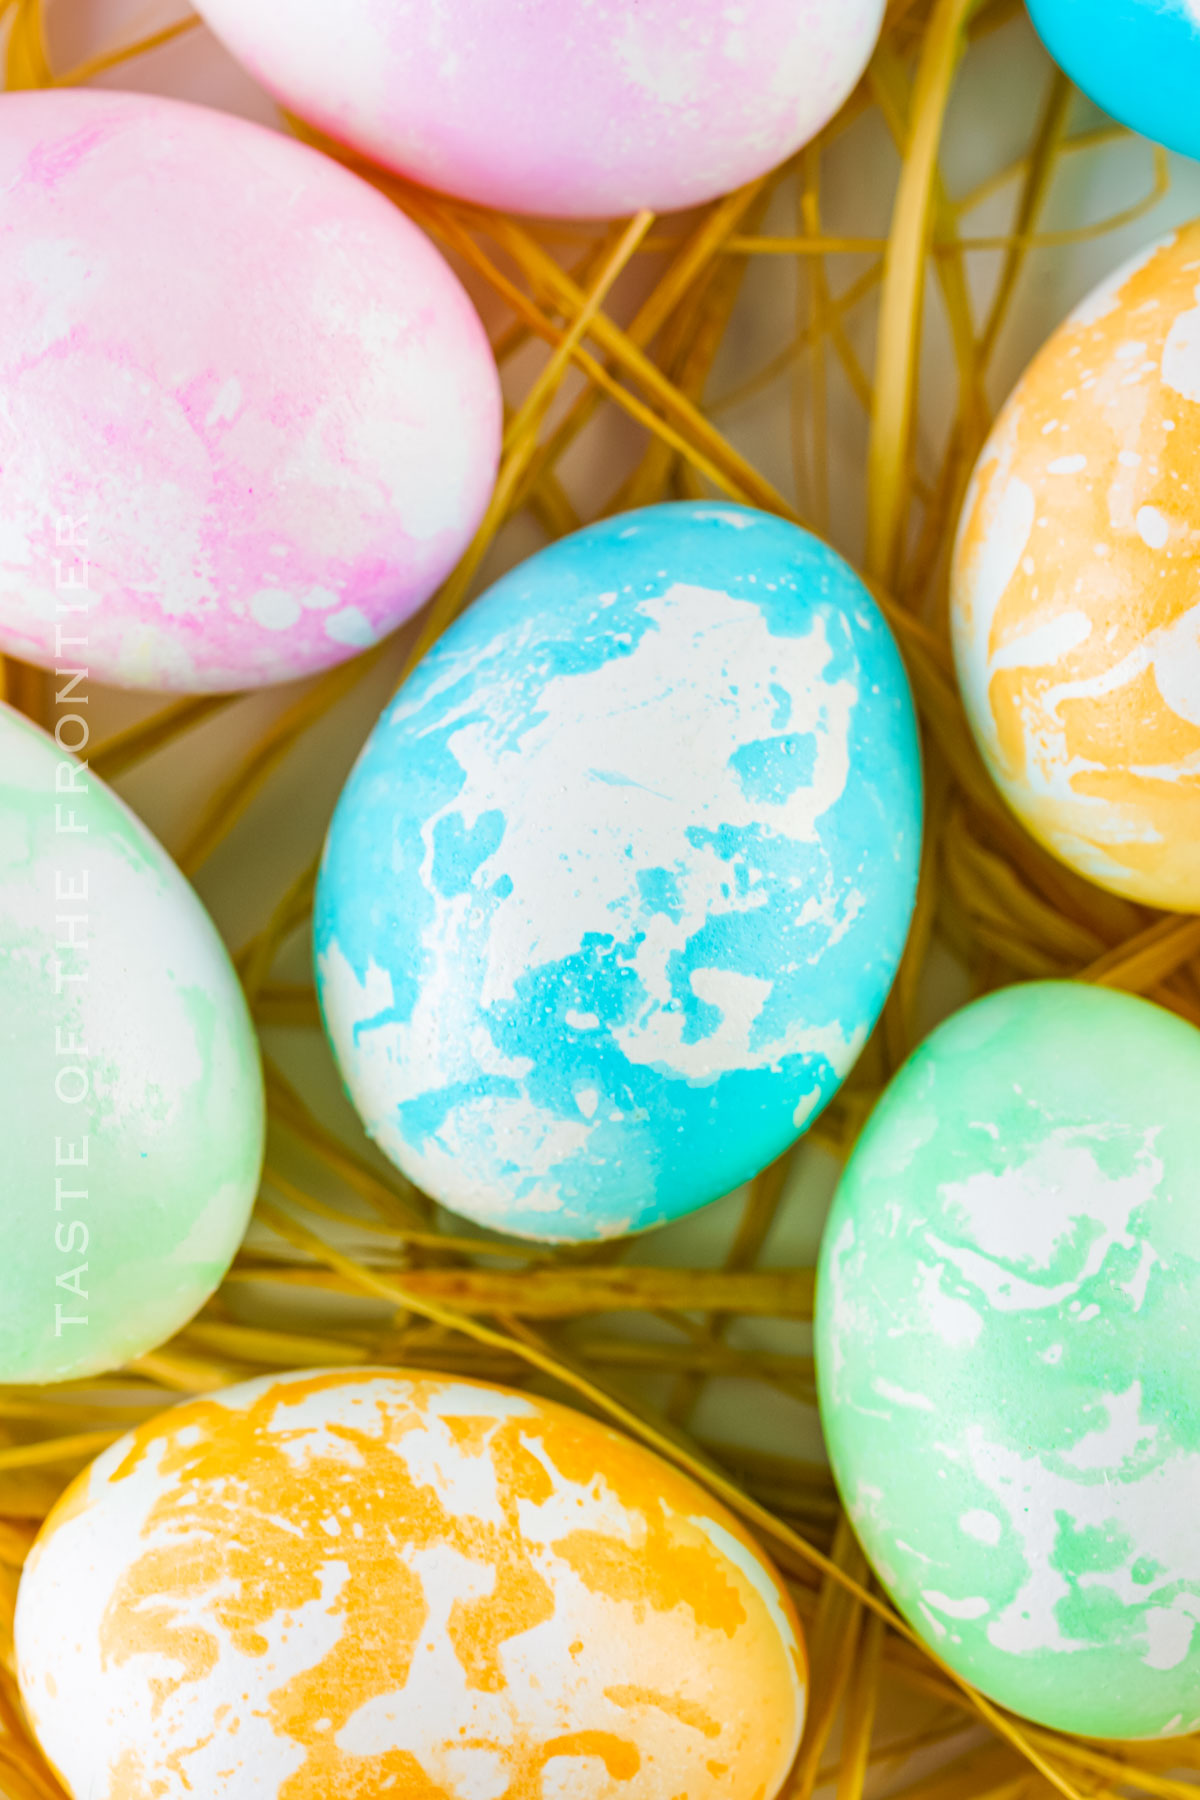
Marble Eggs offer an exciting, hands-on way to celebrate Easter with a splash of color and creativity. Whether you’re looking to jazz up your Easter egg hunt, add a special touch to your Easter dinner, or simply enjoy a fun craft, these marbled beauties are sure to impress.
With just a few simple steps and some basic kitchen supplies, you can create your own batch of gorgeous, marbled eggs that reflect the joy and beauty of the season.
So why not give it a try? Create your own Marble Easter Eggs and make this Easter one to remember!
Common Questions About Marble Eggs
Can Marble Eggs be made with white and brown eggs?
Yes, brown eggs and even farm-fresh eggs can be used for marbling. The darker shells result in a more subtle, yet equally beautiful, marble effect.
What’s the best way to dry the eggs without ruining the marble pattern?
Gently patting the eggs dry with paper towels and then letting them rest on a wire rack or in an egg carton ensures the dye sets without smudging.
How long does the dyeing process take?
The magic happens fast! Each egg needs just a few seconds in the dye, but make sure to allow some drying time to get you the perfect condition for your vintage marble eggs.
Storage
Everyone loves a good-coloured egg on Easter. The question is, how shall we color them? I’ve got you covered with this one!
Refrigerator
Keep your marvelously marbled eggs in the fridge, where they’ll stay fresh for up to a week.
Freezer
It’s best not to freeze your Marble Eggs, as freezing can affect the texture and flavor of hard-boiled eggs.
Tips
No harmful chemicals here. Just ole food coloring. I know you guys always take great care to make sure everything is on the up and up!
- Use a fork or spoon to gently stir the oil and dye mixture in your plastic cereal bowls to create mesmerizing oil swirls on the surface of the water.
- A few drops of vinegar in the dye baths not only help the colors adhere better but also add that special attention needed for the dye to set.
- To achieve different shades and intensities, vary the amount of food dye on the top of the water from 10 to 20 drops depending on whether you want light colors or bold patterns.
- Ensure the boiling water in your bowls or the egg cup is only deep enough to cover a third of the egg for that unique, marbled look without submerging the whole egg.
- Before coloring, be sure you don’t overcook the eggs. Nobody likes chalky egg yolks!
- Keep in mind that cracked eggs will bleed color to the inside. They’re still edible, though.
Ingredients
It’s surprisingly easy to get that beautiful marble look. Through extensive testing, I’ve found a process that I think you’ll love!
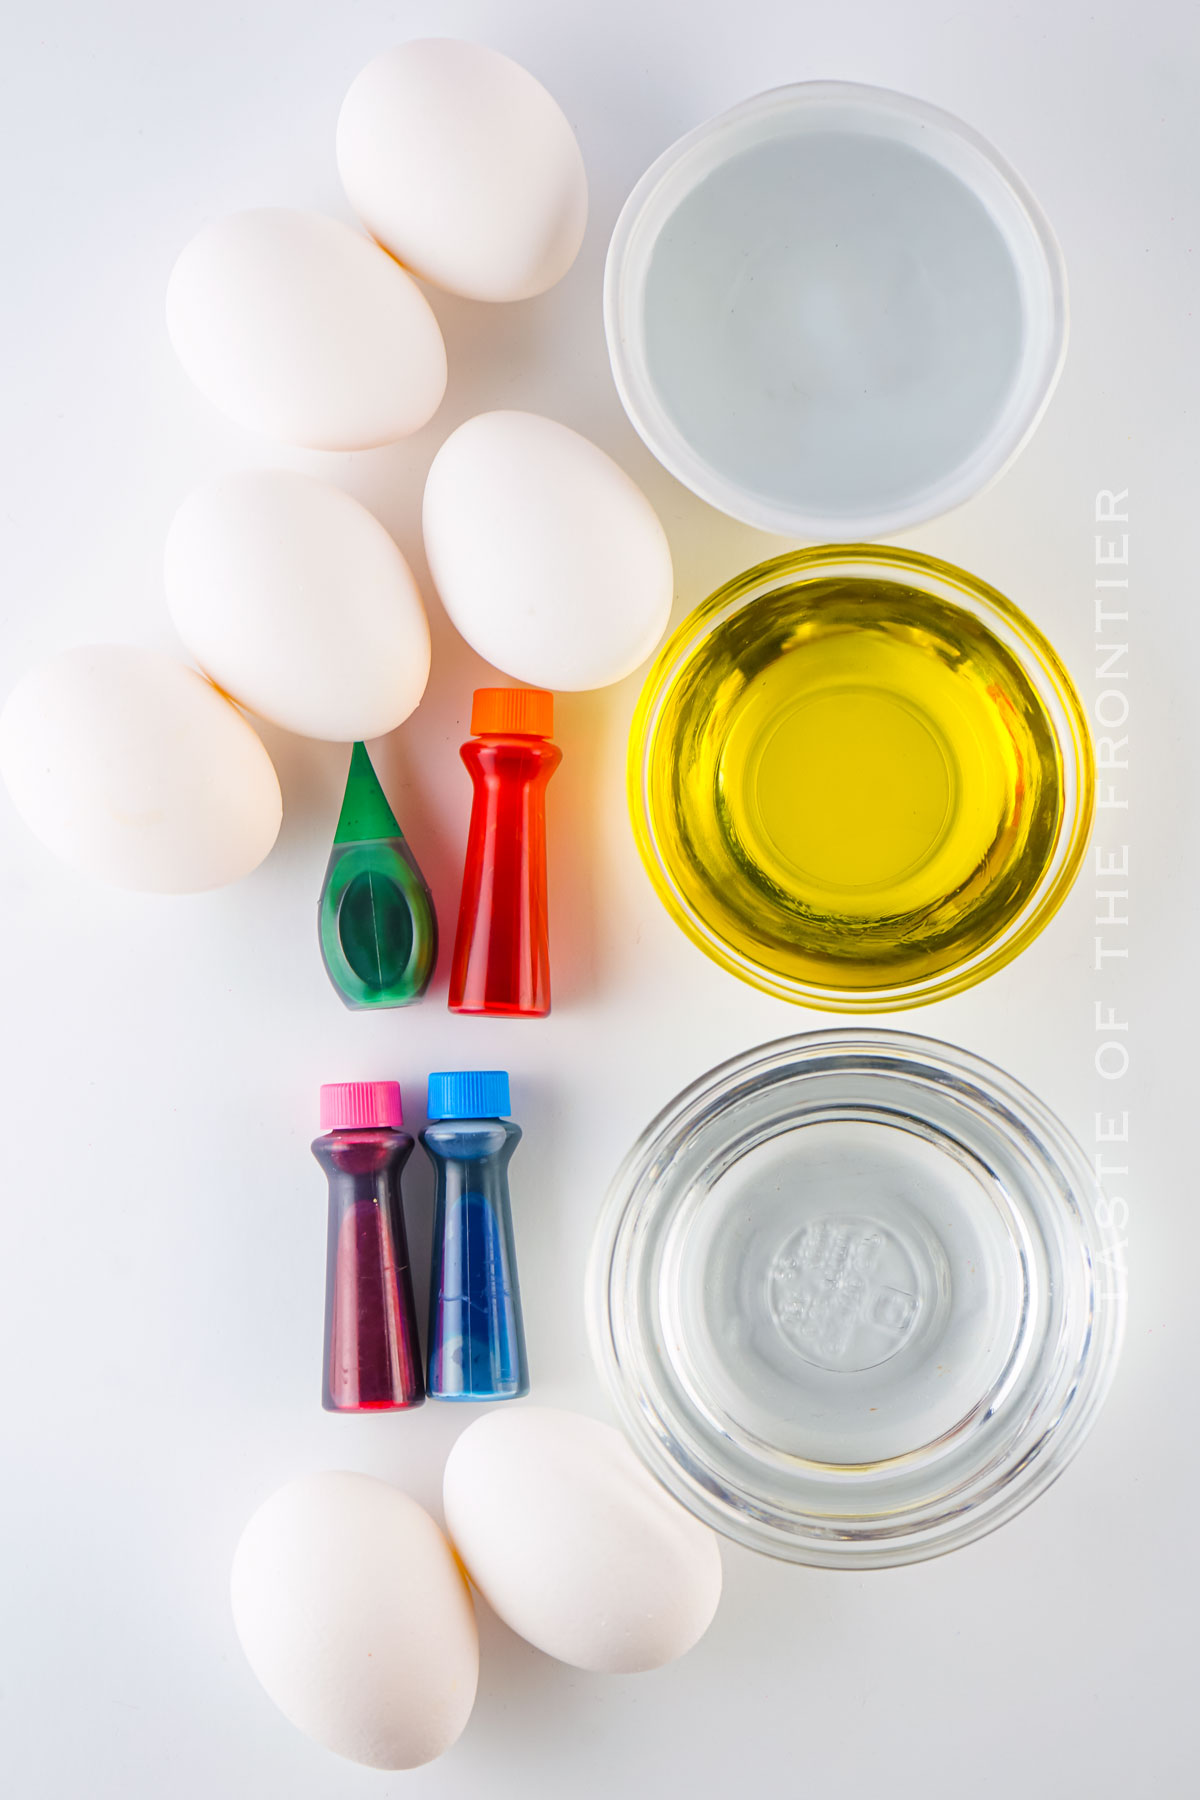
- Hard-boiled eggs
- Boiling water
- Cooking oil
- Vinegar
- Food dye
- Paper towels
- Rubber gloves
- Plastic cereal bowls
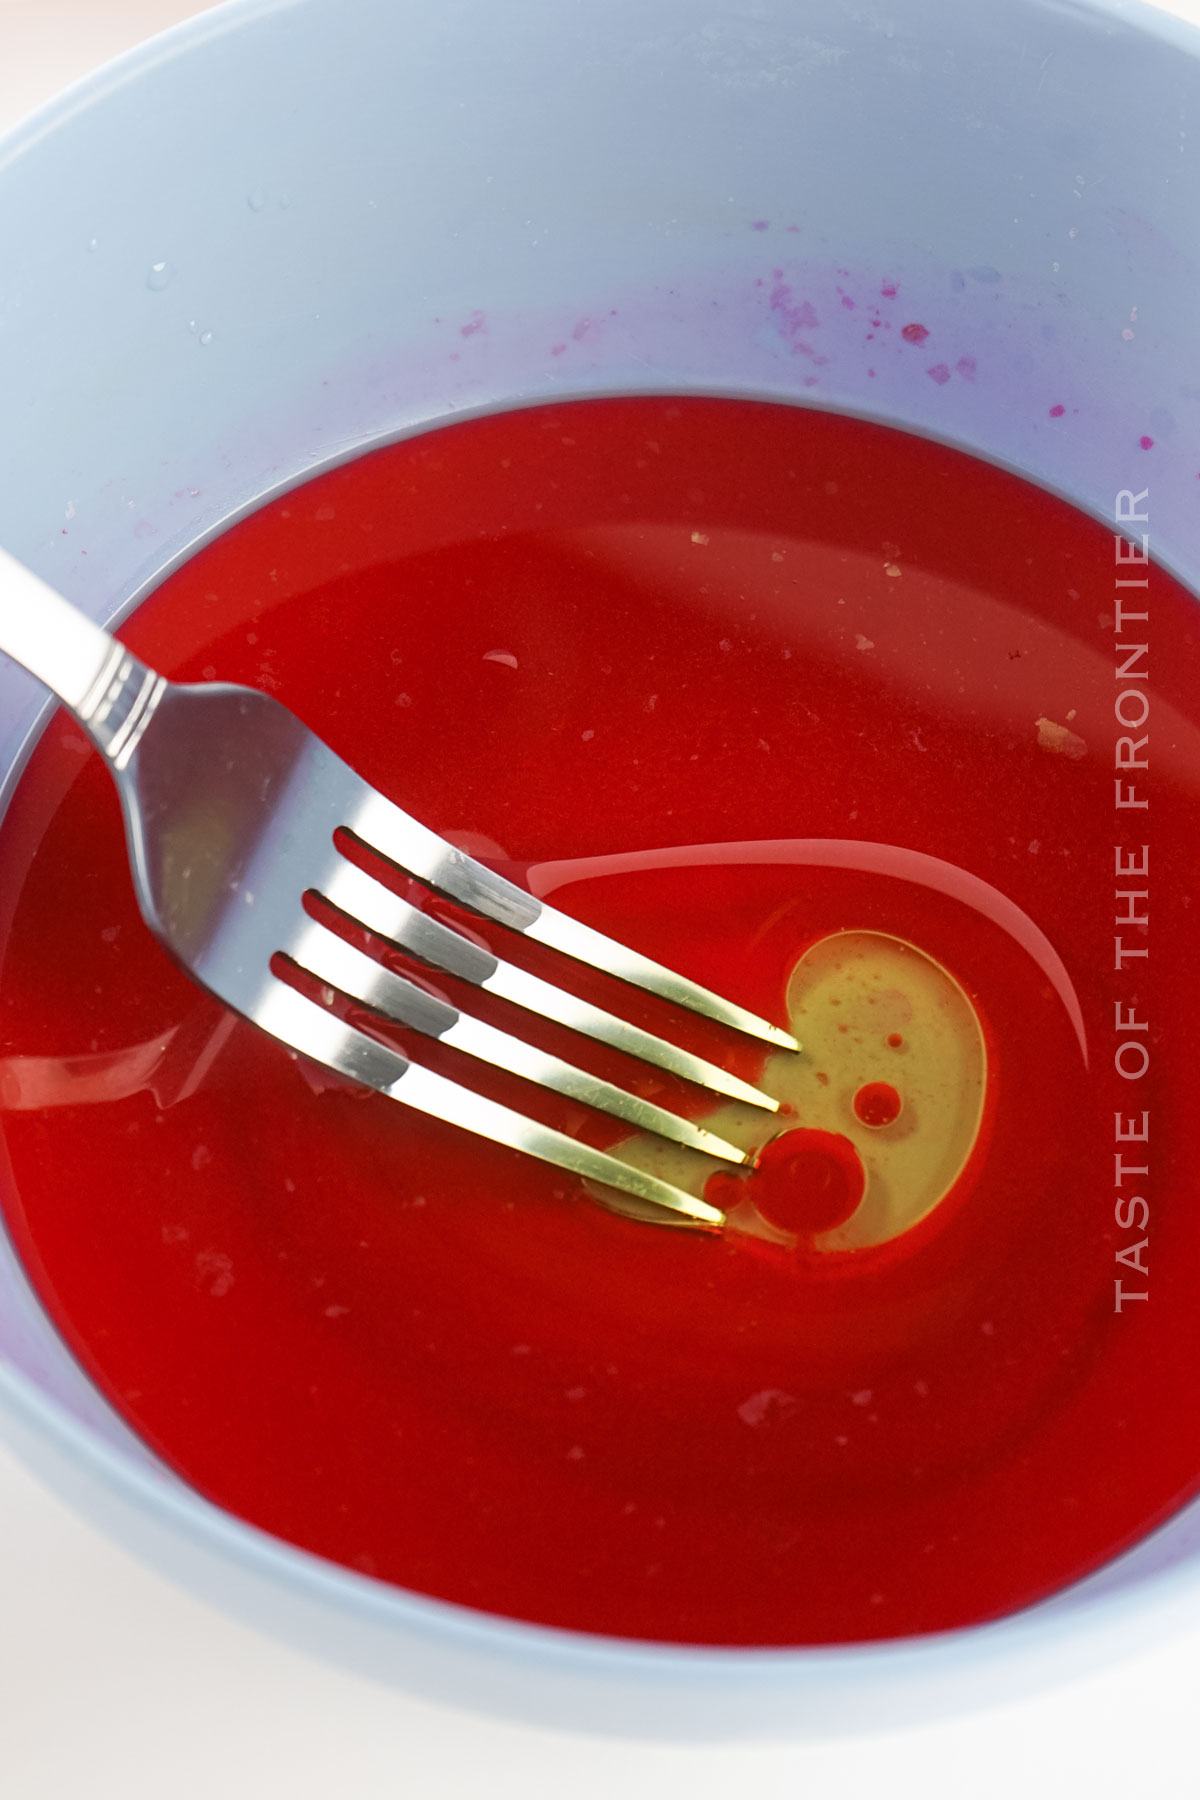
How to Make Marble Eggs
Making a marbled egg is a snap. Just follow these step-by-step instructions and you’ll be done in no time!
- You’ll need one bowl of cold water per color you would like to use. I used the cheap cereal bowls from Walmart because they’re cheap and the perfect size. You don’t want the water to be over half an inch deep because you don’t want the egg to get fully submerged when dropped in.
- Start by adding ½ cup boiling water to each bowl along with ½ tablespoon vinegar.
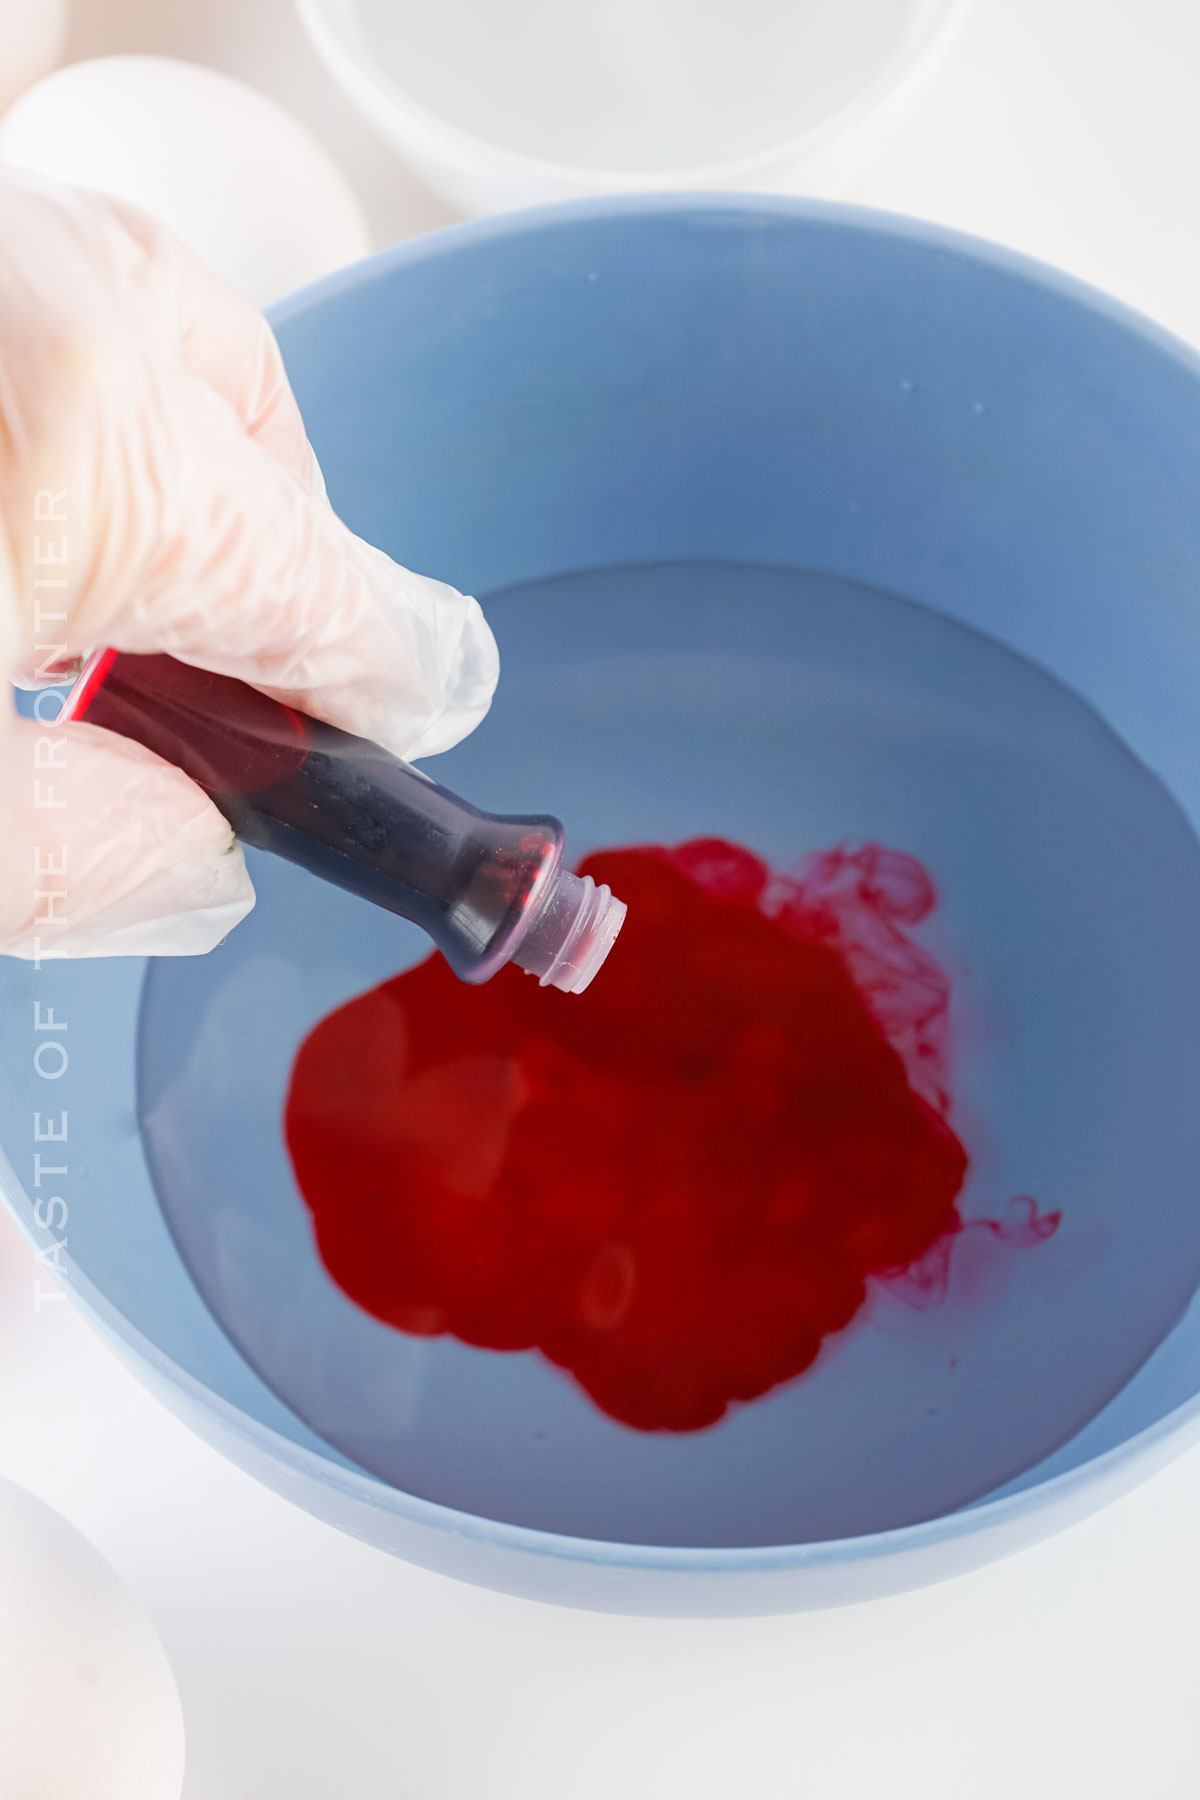
- Add 10-20 drops of dye to each bowl (one color per bowl). The darker colors don’t need as much dye, so start with 10 drops for those (purple, blue, etc.)
- Stir well before adding 1 tablespoon cooking oil to each bowl. Leave just a bit of oil in a small dish to the side for later use.
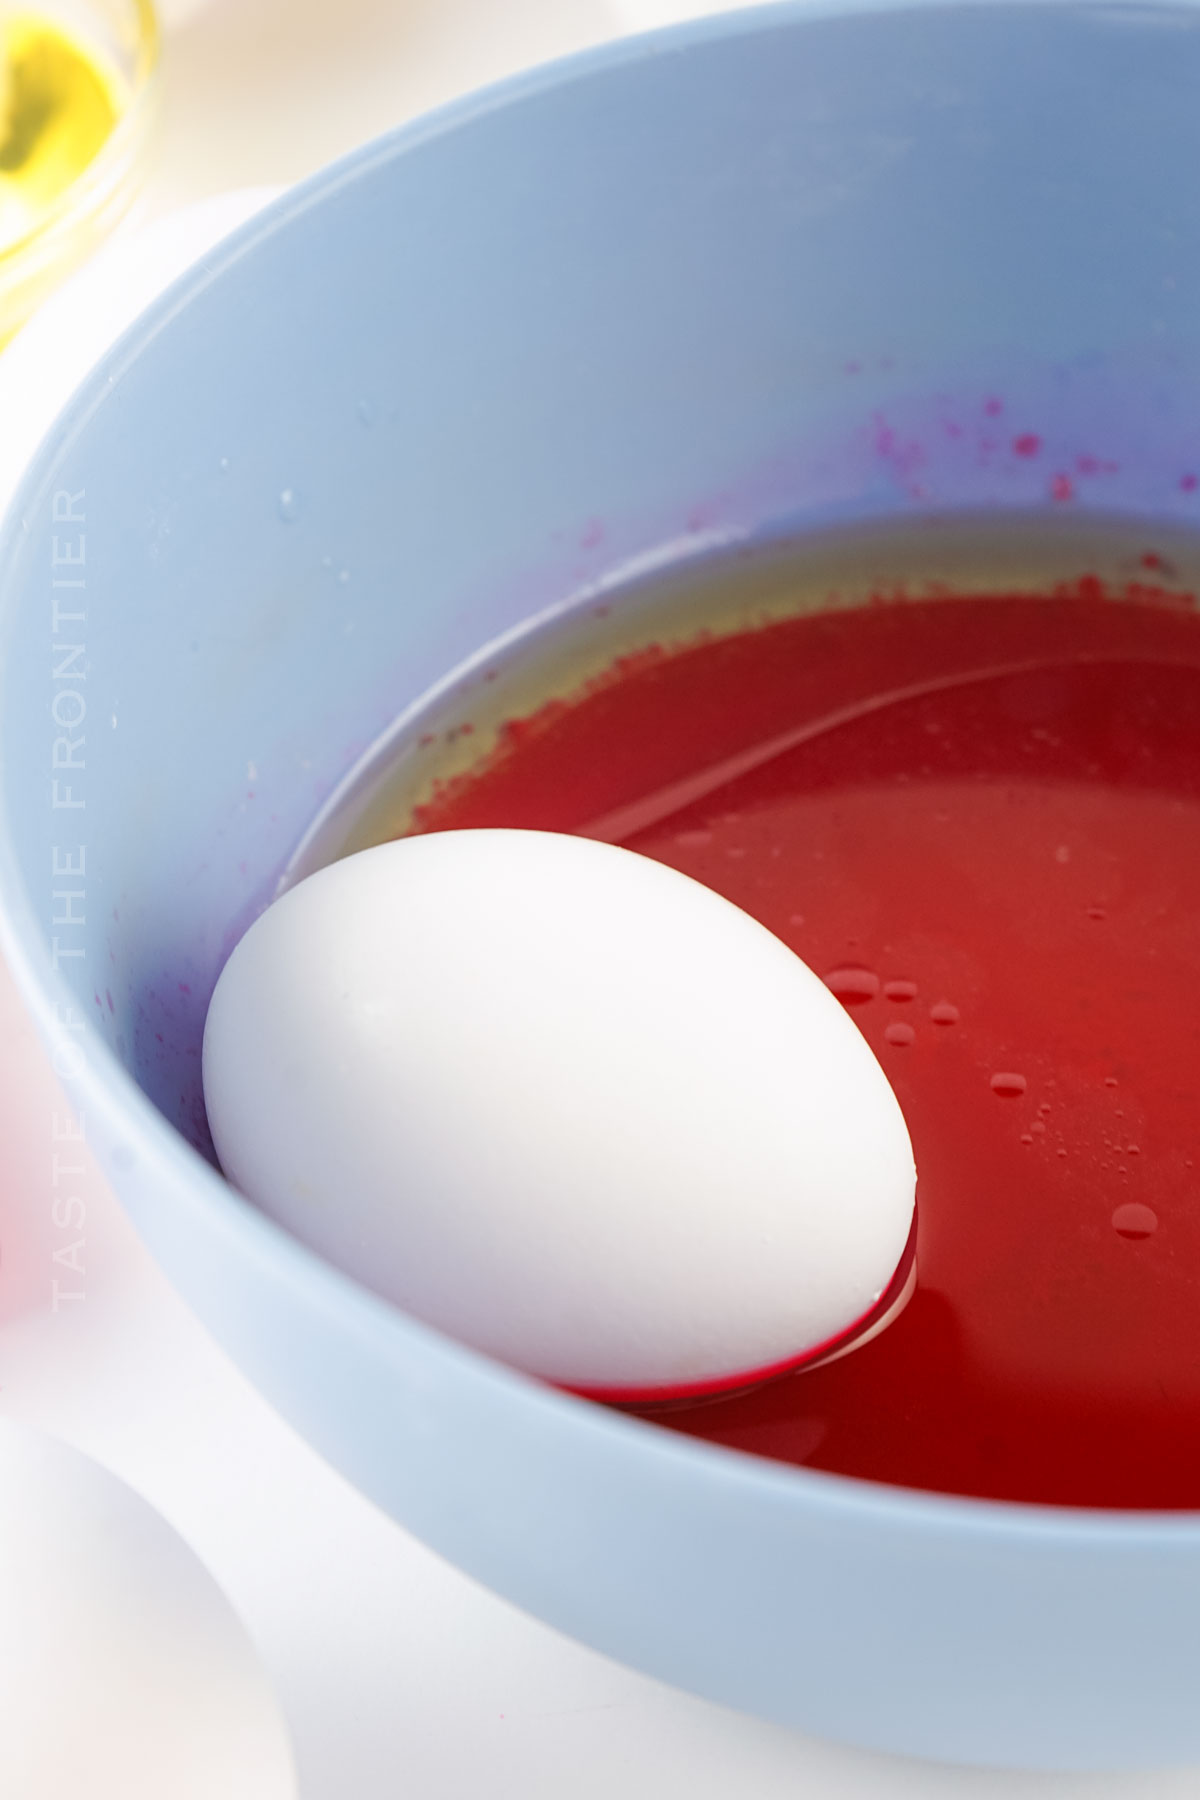
- Make sure your eggs are at room temperature and dry. Wear gloves at this point, if desired.
- Using your finger or an old small paint brush, make little streaks of oil all over the egg but do not cover the entire egg in the oil. Random spots and streaks are what you want.
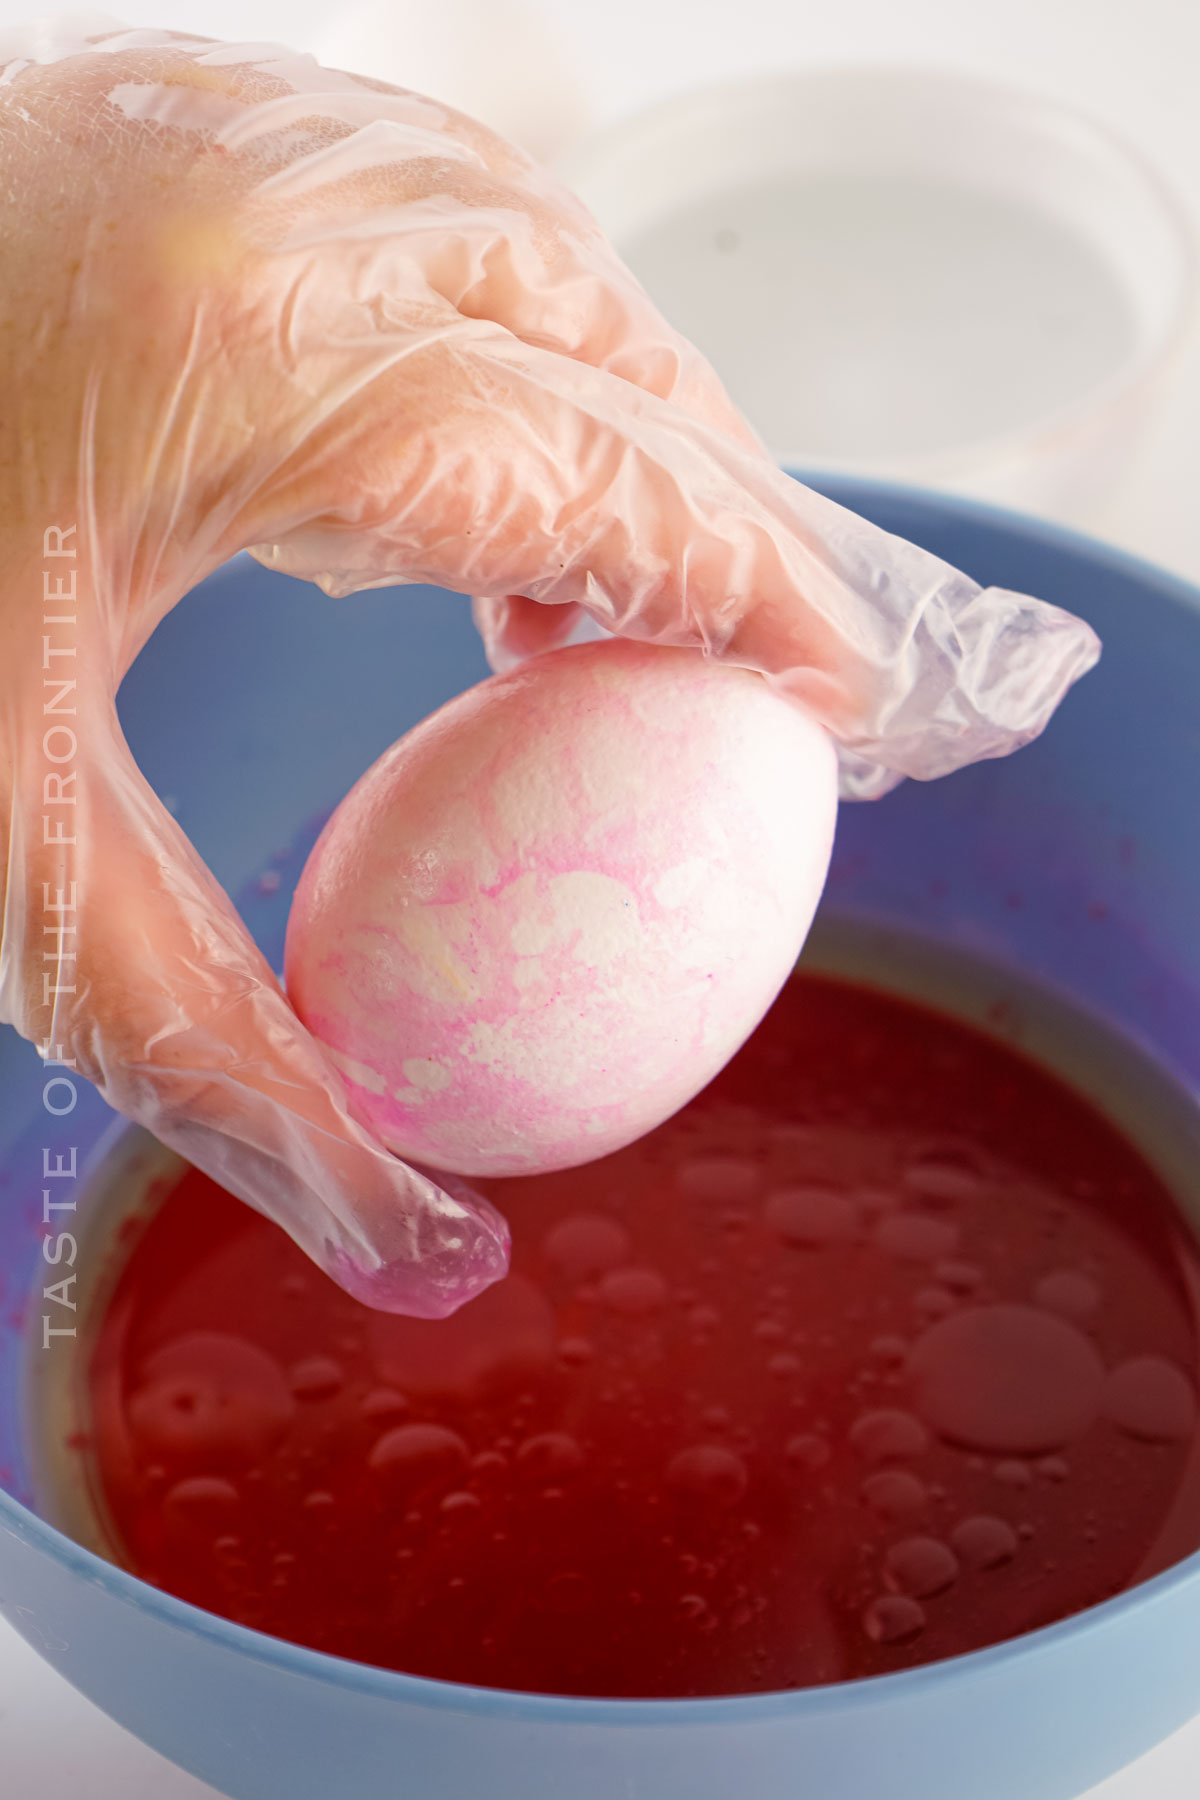
- Agitate the dye and oil mixture using a spoon or fork and immediately roll the egg in it so that the entire egg has touched the dye mixture at least once. Do this super fast and immediately pull it out and wipe dry with a paper towel.
- After wiping the egg clean, let it sit for about 5 minutes back in the egg carton, to dry.
- Repeat for all the eggs you would like to do.
Kitchen Supplies You’ll Need for Marble Eggs
I’ve got so many memories of Easters gone by. Candy in the Easter baskets and eggshells everywhere, haha!
- A collection of plastic cereal bowls for mixing dyes
- Measuring spoons for the precise addition of ingredients
- A slotted spoon or wooden skewer for stirring the dye and oil mixture
- Paper towels laid out on a baking sheet or cookie sheet for drying the dyed eggs
What to Serve With Marble Eggs
You know the kids will be eating chocolate eggs right alongside their Easter eggs. Am I right?
- Add these exquisite eggs to your Easter basket alongside traditional treats for a delightful surprise.
- Serve as part of your Easter brunch spread, adding a pop of color and elegance to the table.
Why You Should Make Marble Eggs
I think it’s fun to have a unique set of ways to make Easter eggs. Why not try this one out?
- They’re a creative and engaging way to celebrate Easter, bringing a modern twist to traditional egg dyeing.
- Marble Eggs are a fantastic activity for all ages, making your Easter craft session a hit.
- These eggs transform your Easter table setting or basket into a visually stunning display.
Variations and Add-Ins for Marble Eggs
Have you got any additional questions? Need further assistance? Maybe you just want to show off your marble egg specimens, haha! Send it all my way in the comments below!
- Experiment with natural food dyes or different black teas for an organic take on this colorful project.
- Mix in a little vegetable oil with the dye for an extra glossy finish on your marbled eggs.
- Try wrapping the eggs in silk fabric before dyeing for an alternative marbling technique with intricate designs.
If you love this easy egg recipe, you’re going to love these other egg ideas too. Please click each link below to find the easy, printable recipe!
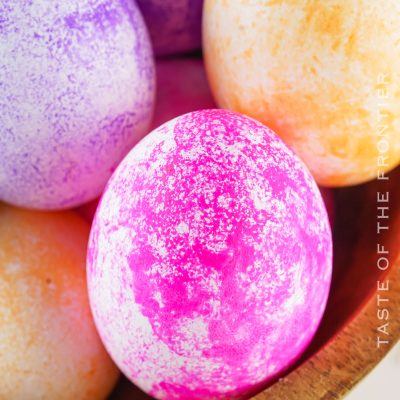
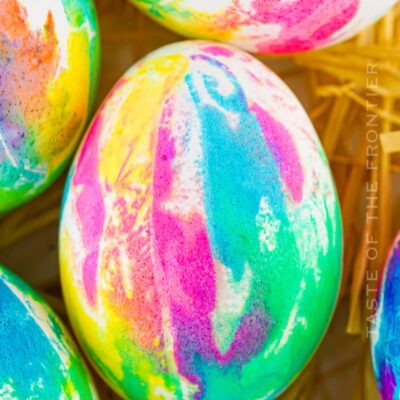
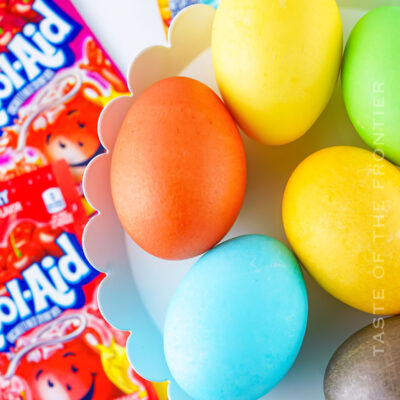
More Great Easter Recipes
CONNECT WITH YUMMI HAUS!
Be sure to follow me on my social media, so you never miss a post!
Marble Eggs
Ingredients
- boiled eggs
- ½ cup boiling water
- 1 tablespoon cooking oil plus just a dab extra
- ½ tablespoon vinegar
- 10-20 drops of food dye I used this green
Instructions
- You’ll need one bowl per color you would like to use. I used the cheap cereal bowls from Walmart because they’re cheap and the perfect size. You don’t want the water to be over half an inch deep because you don’t want the egg to get fully submerged when dropped in.
- Start by adding ½ cup boiling water to each bowl along with ½ tablespoon vinegar.
- Add 10-20 drops of dye to each bowl (one color per bowl). The darker colors don’t need as much dye, so start with 10 drops for those (purple, blue, etc.)
- Stir well before adding 1 tablespoon cooking oil to each bowl. Leave just a bit of oil in a small dish to the side for later use.
- Make sure your eggs are at room temperature and dry. Wear gloves at this point, if desired.
- Using your finger or an old small paint brush, make little streaks of oil all over the egg but do not cover the entire egg in the oil. Random spots and streaks are what you want.
- Agitate the dye and oil mixture using a spoon or fork and immediately roll the egg in it so that the entire egg has touched the dye mixture at least once. Do this super fast and immediately pull it out and wipe dry with a paper towel.
- After wiping the egg clean, let it sit for about 5 minutes back in the egg carton, to dry.
- Repeat for all the eggs you would like to do.
Notes
Equipment
- plastic cereal bowls
- Paper Towels
- rubber gloves
- forks or spoons
Nutrition
Nutritional information for the recipe is provided as a courtesy and is approximate. Please double-check with your own dietary calculator for the best accuracy. We at Yummi Haus cannot guarantee the accuracy of the nutritional information given for any recipe on this site.




Share Your Thoughts