If you love Christmas Sugar Cookies, then you will delight in the enchanting flavors and elegant design of these Marble Cookies.
Imagine biting into a cookie that’s not just delicious but also looks like a piece of art. That’s exactly what Marble Cookies are – a delightful blend of traditional sugar cookies with a twist of artistic flair.
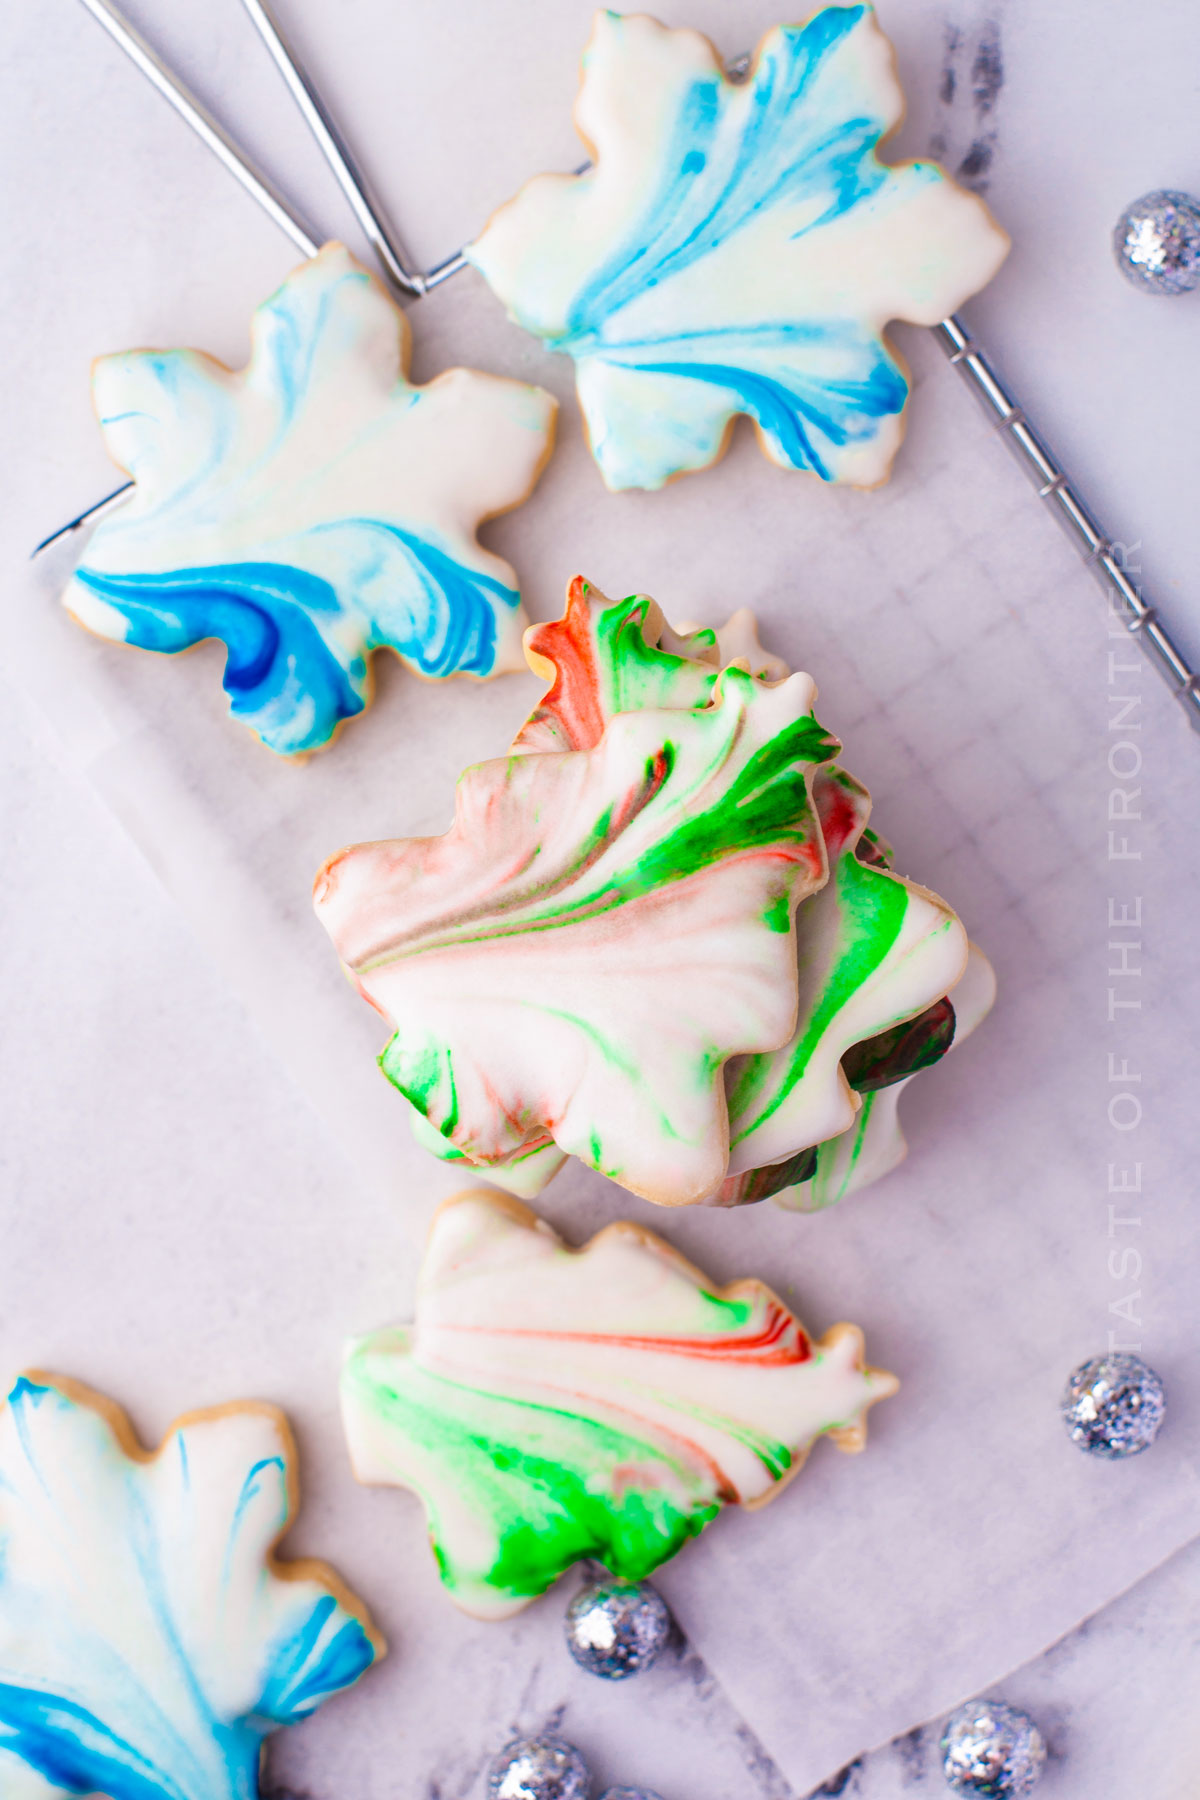
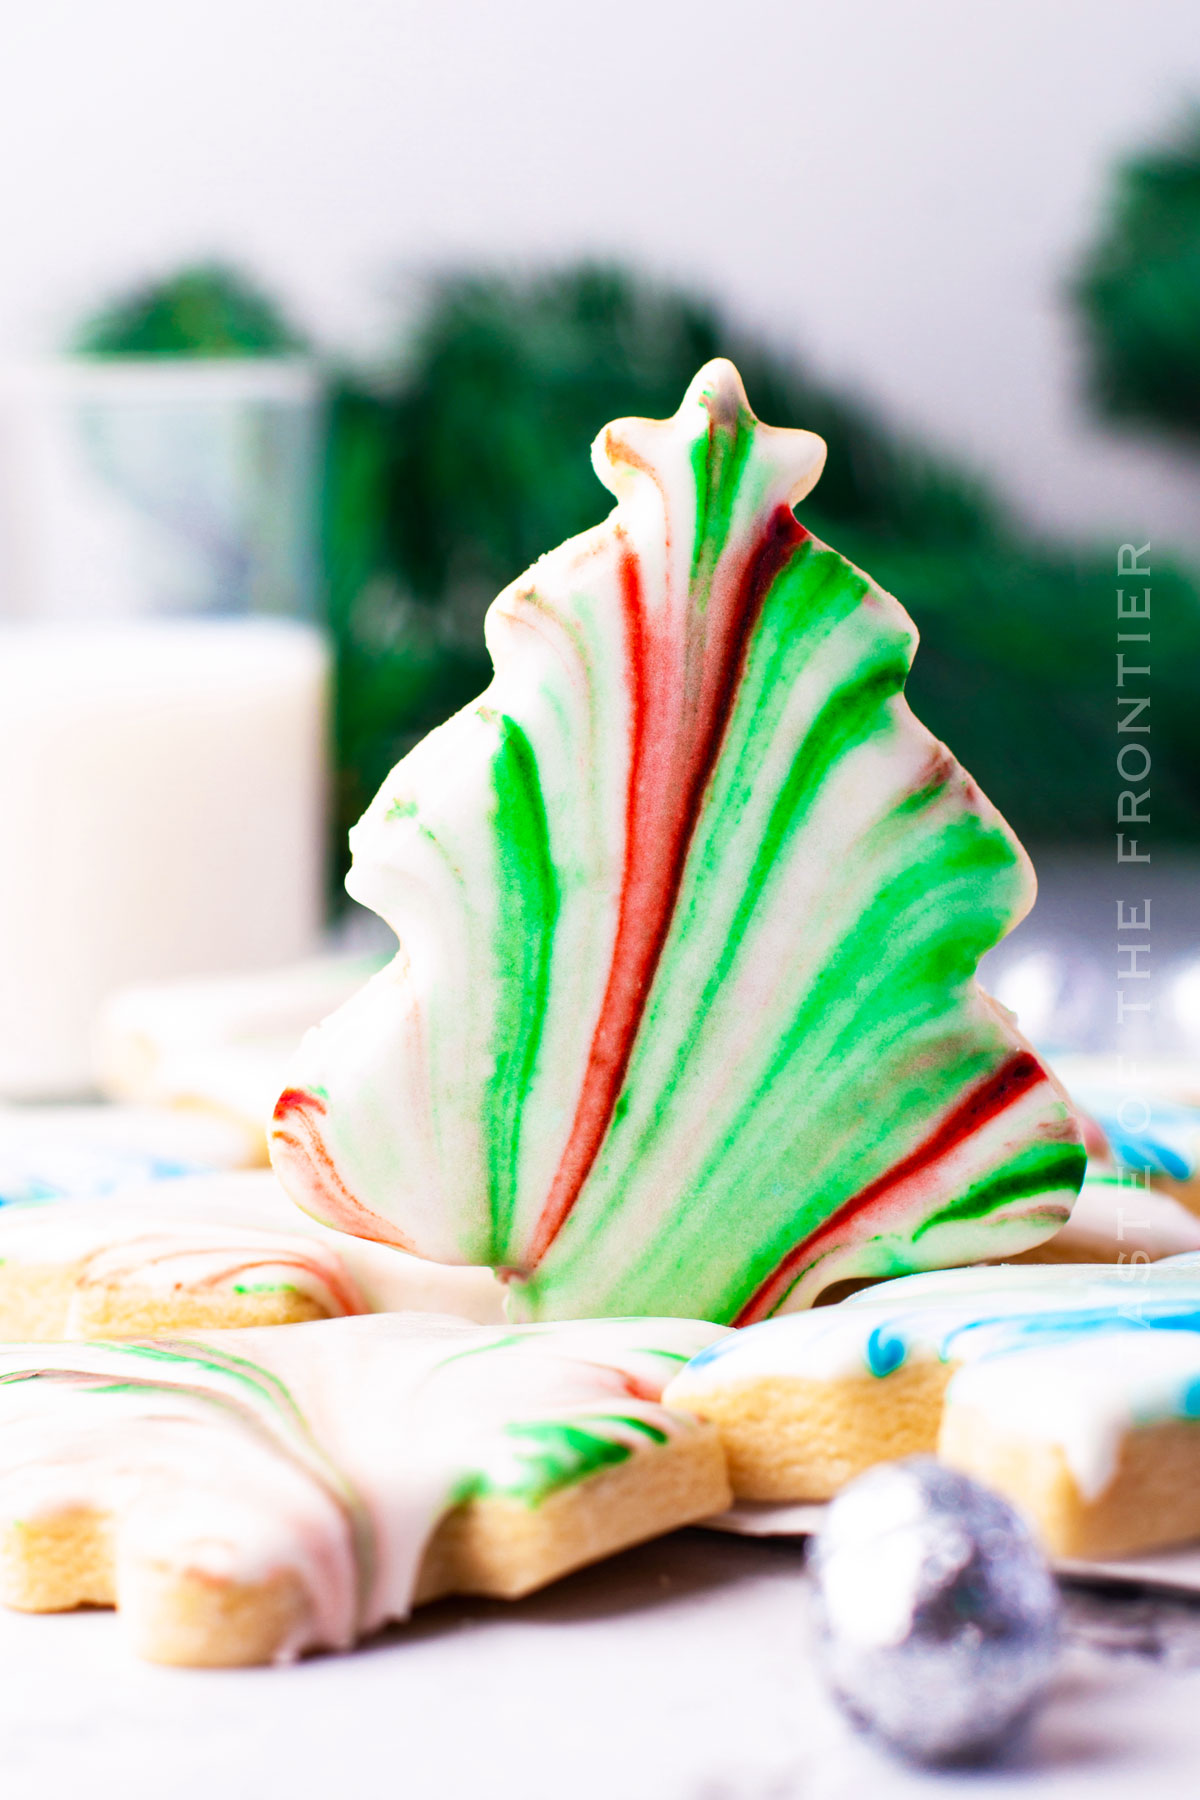
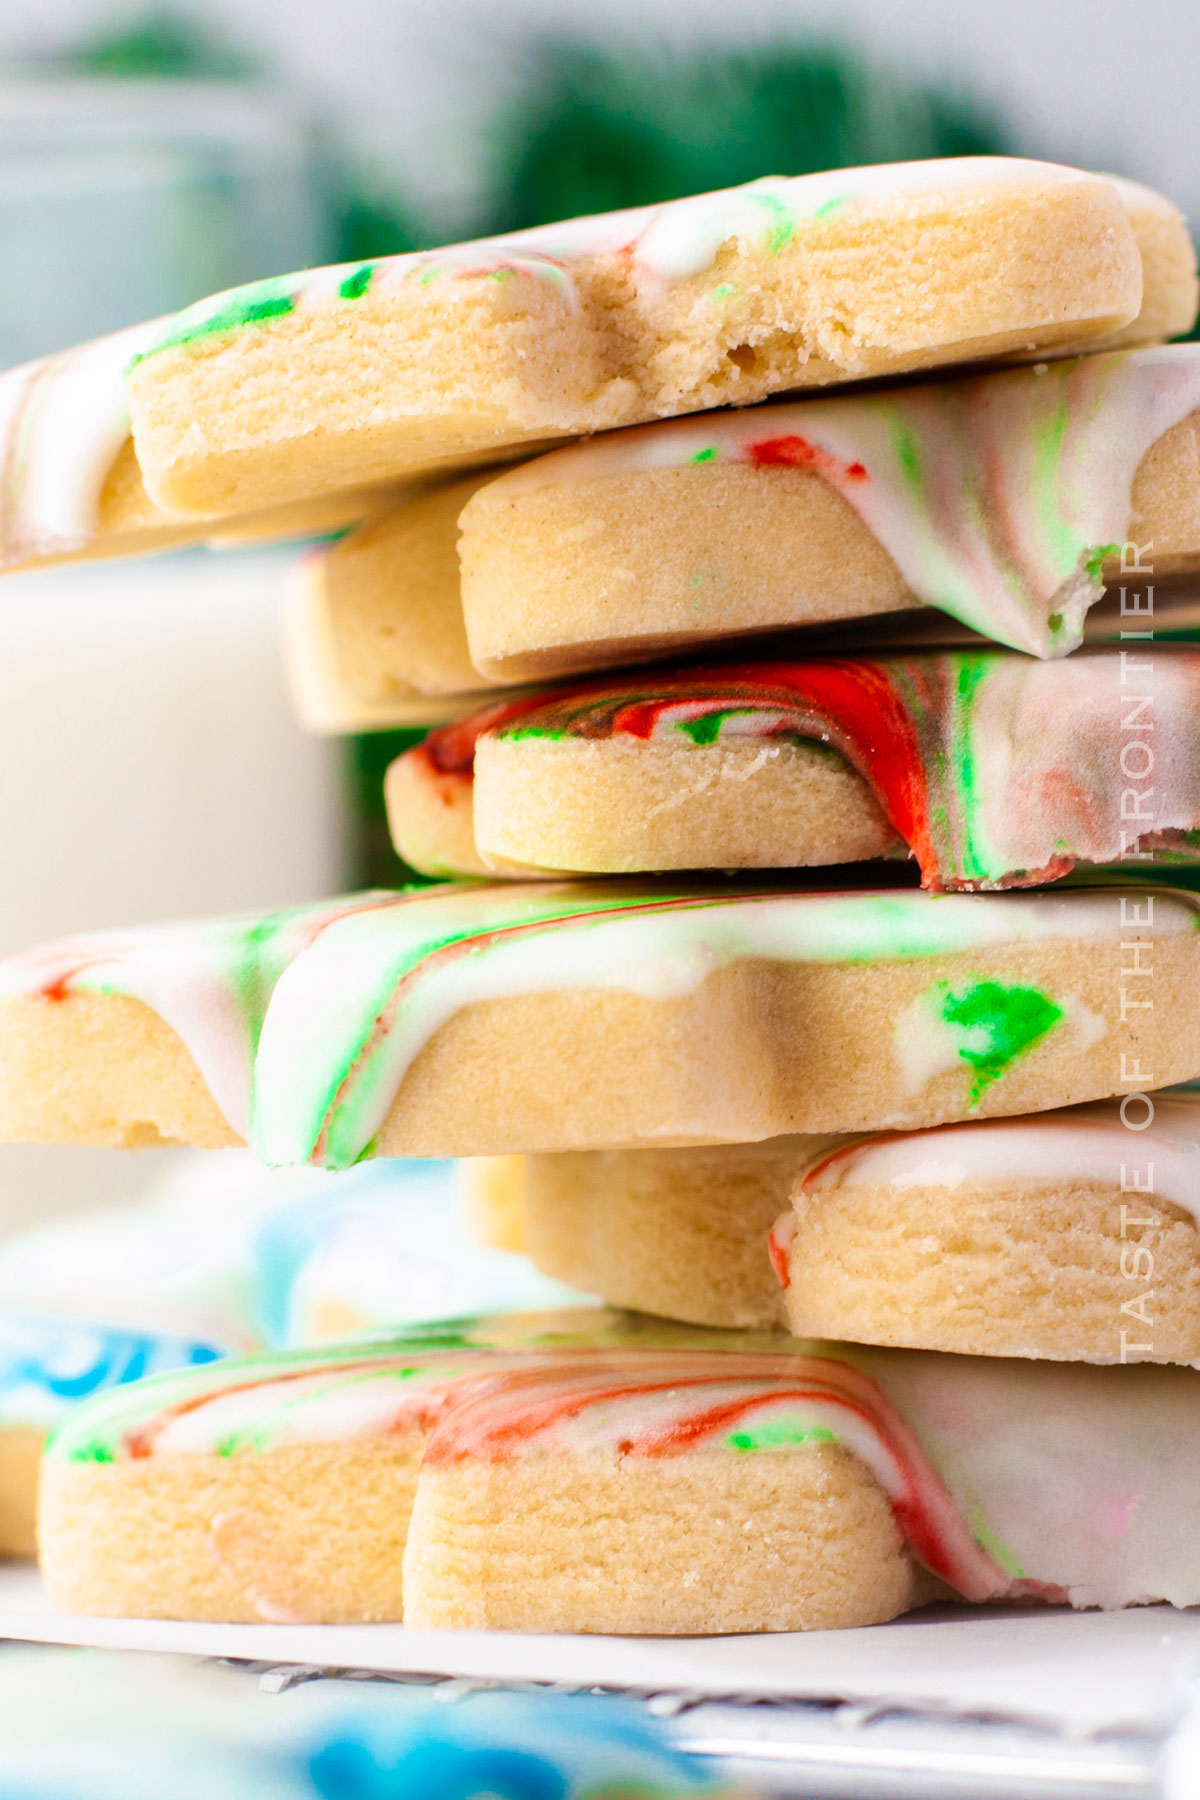
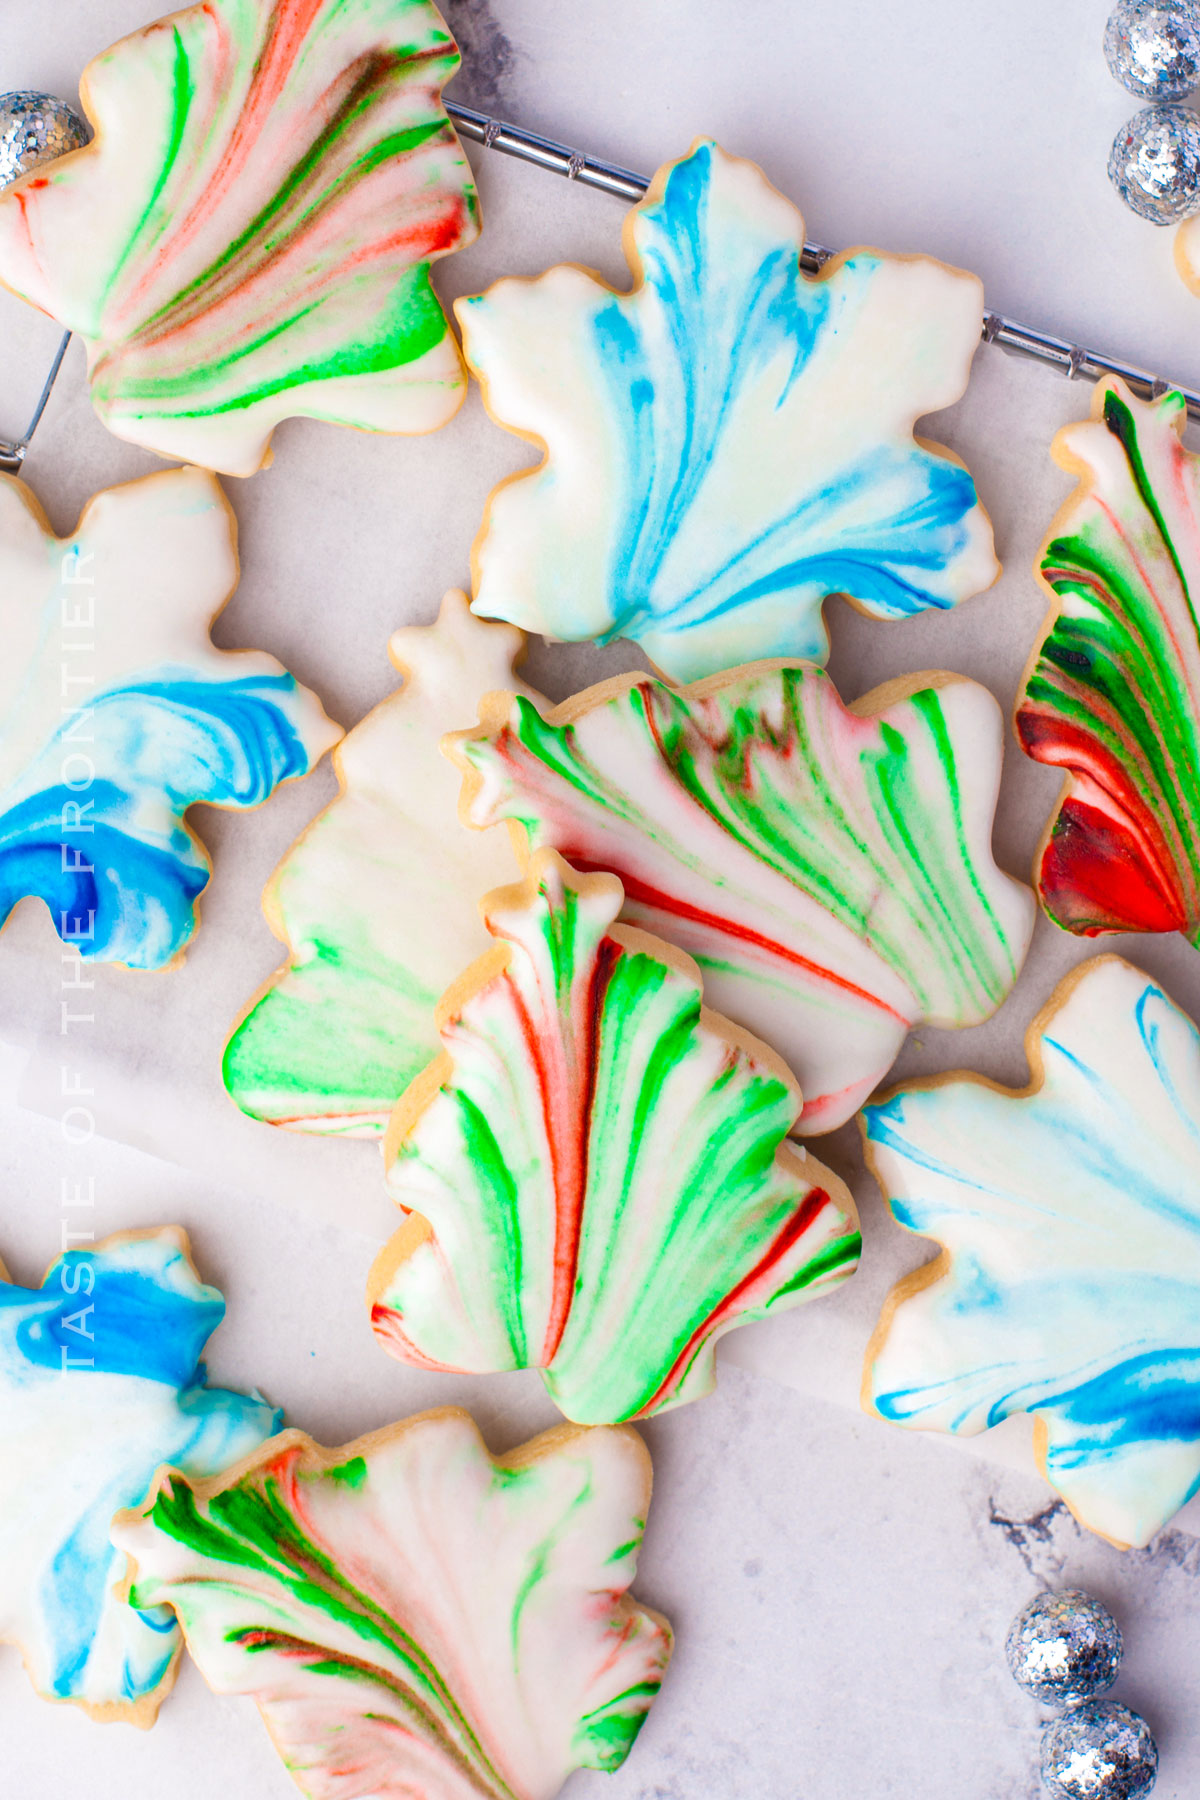
These delicious cookies are decorated with marbled royal icing, creating a unique and eye-catching look perfect for your holiday cookie tray. They’re just gorgeous!
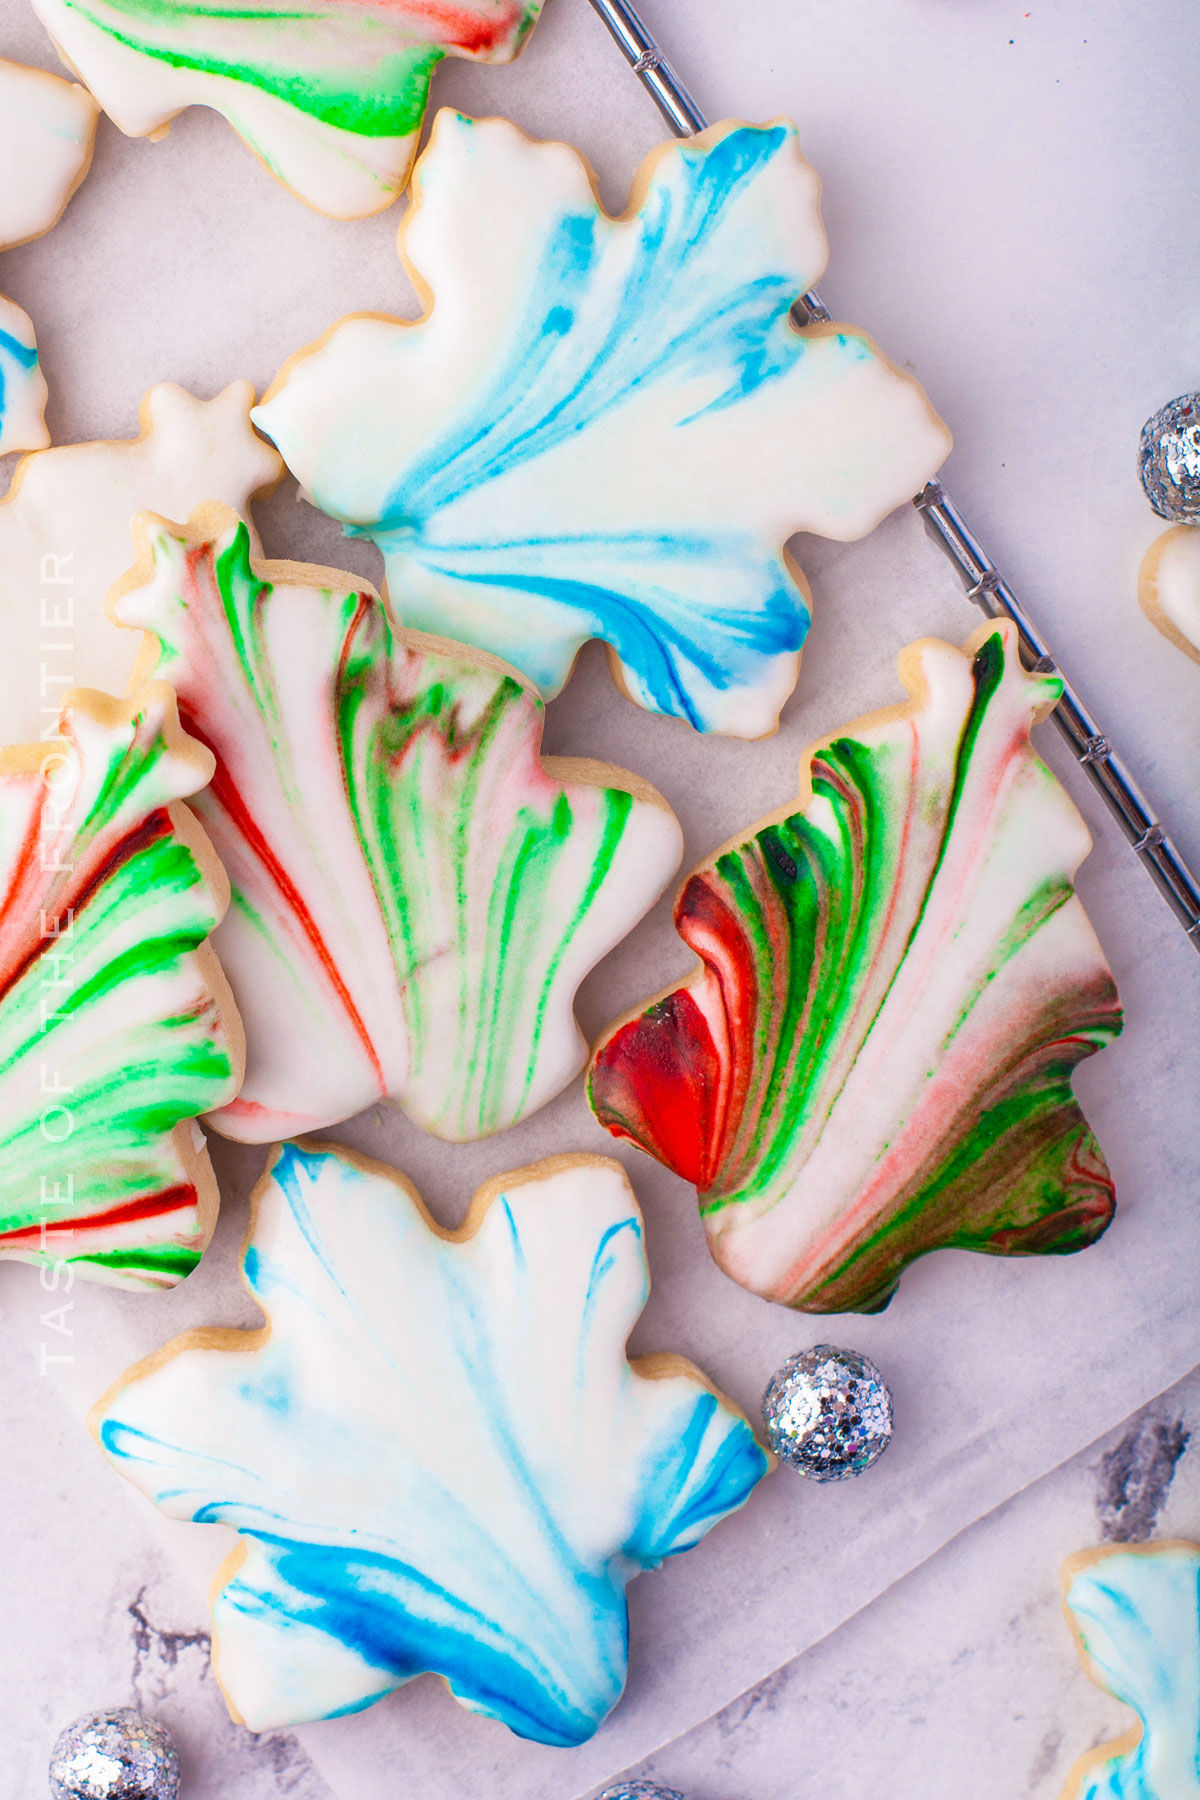
Whether it’s for a festive Christmas gathering or just a fun baking project they are always a huge hit when I bring them out. These tasty treats will impress your party guests too with their beautiful marbling and delicious taste.
Marble Cookies are a fun, creative, and delicious way to add a little extra flair to your baking. Whether you’re a seasoned baker or trying something new, these cookies are sure to bring a smile to anyone’s face.
They’re the perfect combination of sweet flavor and artistic presentation, making them a hit for any occasion.
So, grab your apron, preheat your oven, and get ready to create some beautiful and tasty treats that are as fun to make as they are to eat. Happy baking!

Common Questions About Marble Cookies
How Do I Get the Perfect Marbled Effect?
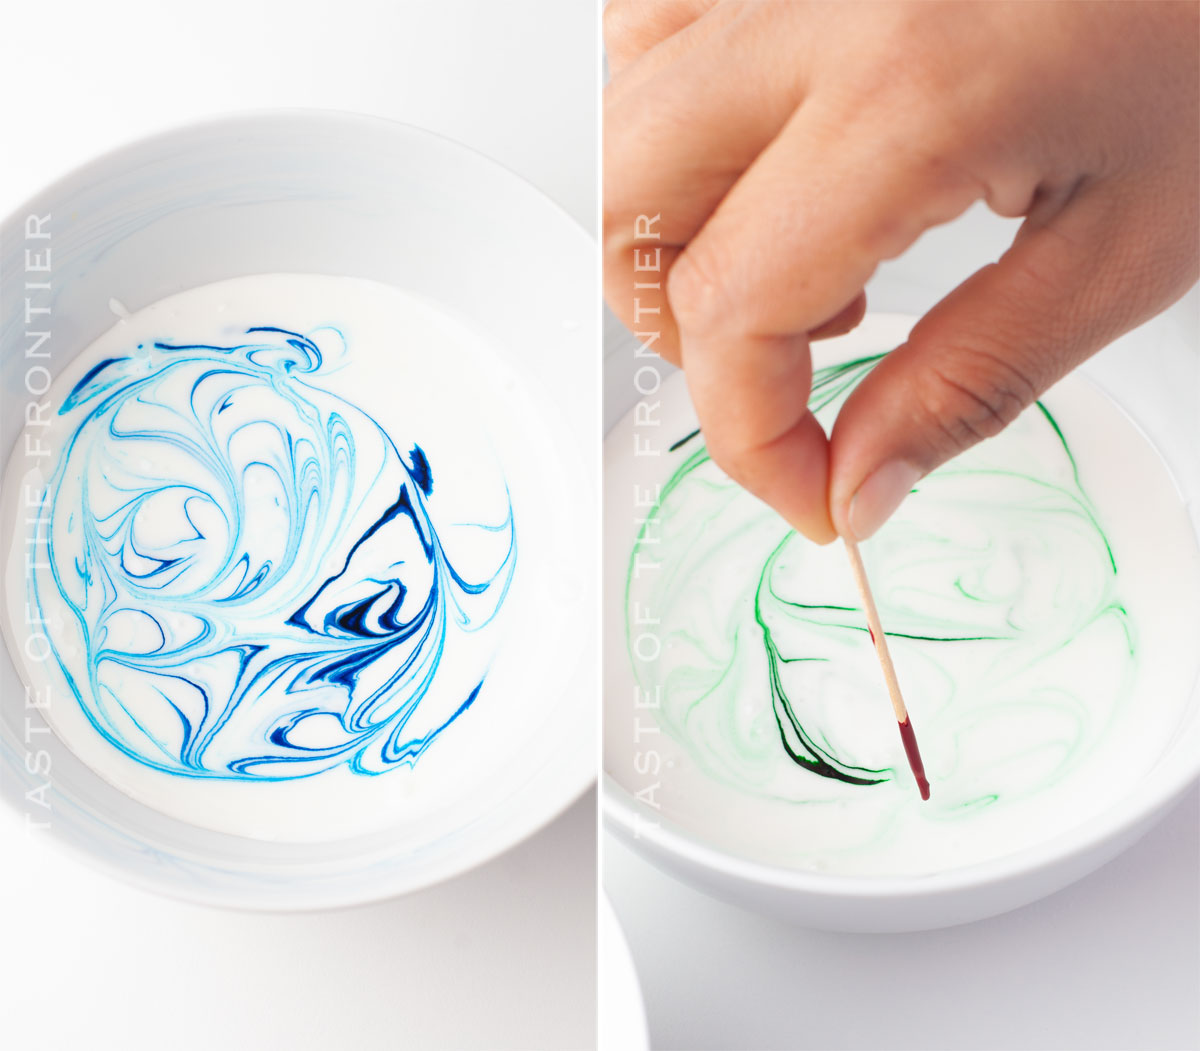
Gently swirl the colors in your icing using a toothpick. Don’t over-mix, that’s the trick here! Sometimes it’s tempting to keep going, but just a few swirls will do the trick to create that beautiful marbled look.
Can I Make These Cookies in Advance?
Definitely! You can prepare the dough ahead of time and store it in the refrigerator, wrapped in plastic wrap. Just be sure to let it come to room temperature before rolling and cutting.
Can I Make These Cookies Gluten-Free?
Yes, you can make them gluten-free by substituting the all-purpose flour with your favorite gluten-free flour mix. Keep in mind that this will likely change the flavor and texture of this chewy cookie.
Storage
Keeping some extra cookie dough on hand is always a good idea. That way, you can simply bust out a cookie sheet and start baking whenever the urge arises!
Refrigerator
Store any leftover cookies in an airtight container in the refrigerator for up to a week.
Freezer
Freeze the baked cookies for up to 3 months. Thaw at room temperature before serving.
Tips
These marble sugar cookies are such a great dessert. You’ll see it with the very first batch you bake!
- Room Temperature Ingredients: For the best cookie dough, make sure your butter and eggs are at room temperature.
- Chill the Dough: Chilling the dough makes it easier to roll and cut.
- Uniform Thickness: Use a rolling pin for evenly rolled dough to ensure uniform baking.
- Don’t Overbake: Keep an eye on your oven and take the cookies out when they’re just golden brown.
- Cool Before Icing: Let the cookies cool completely on a wire rack before applying the icing for a smooth finish.
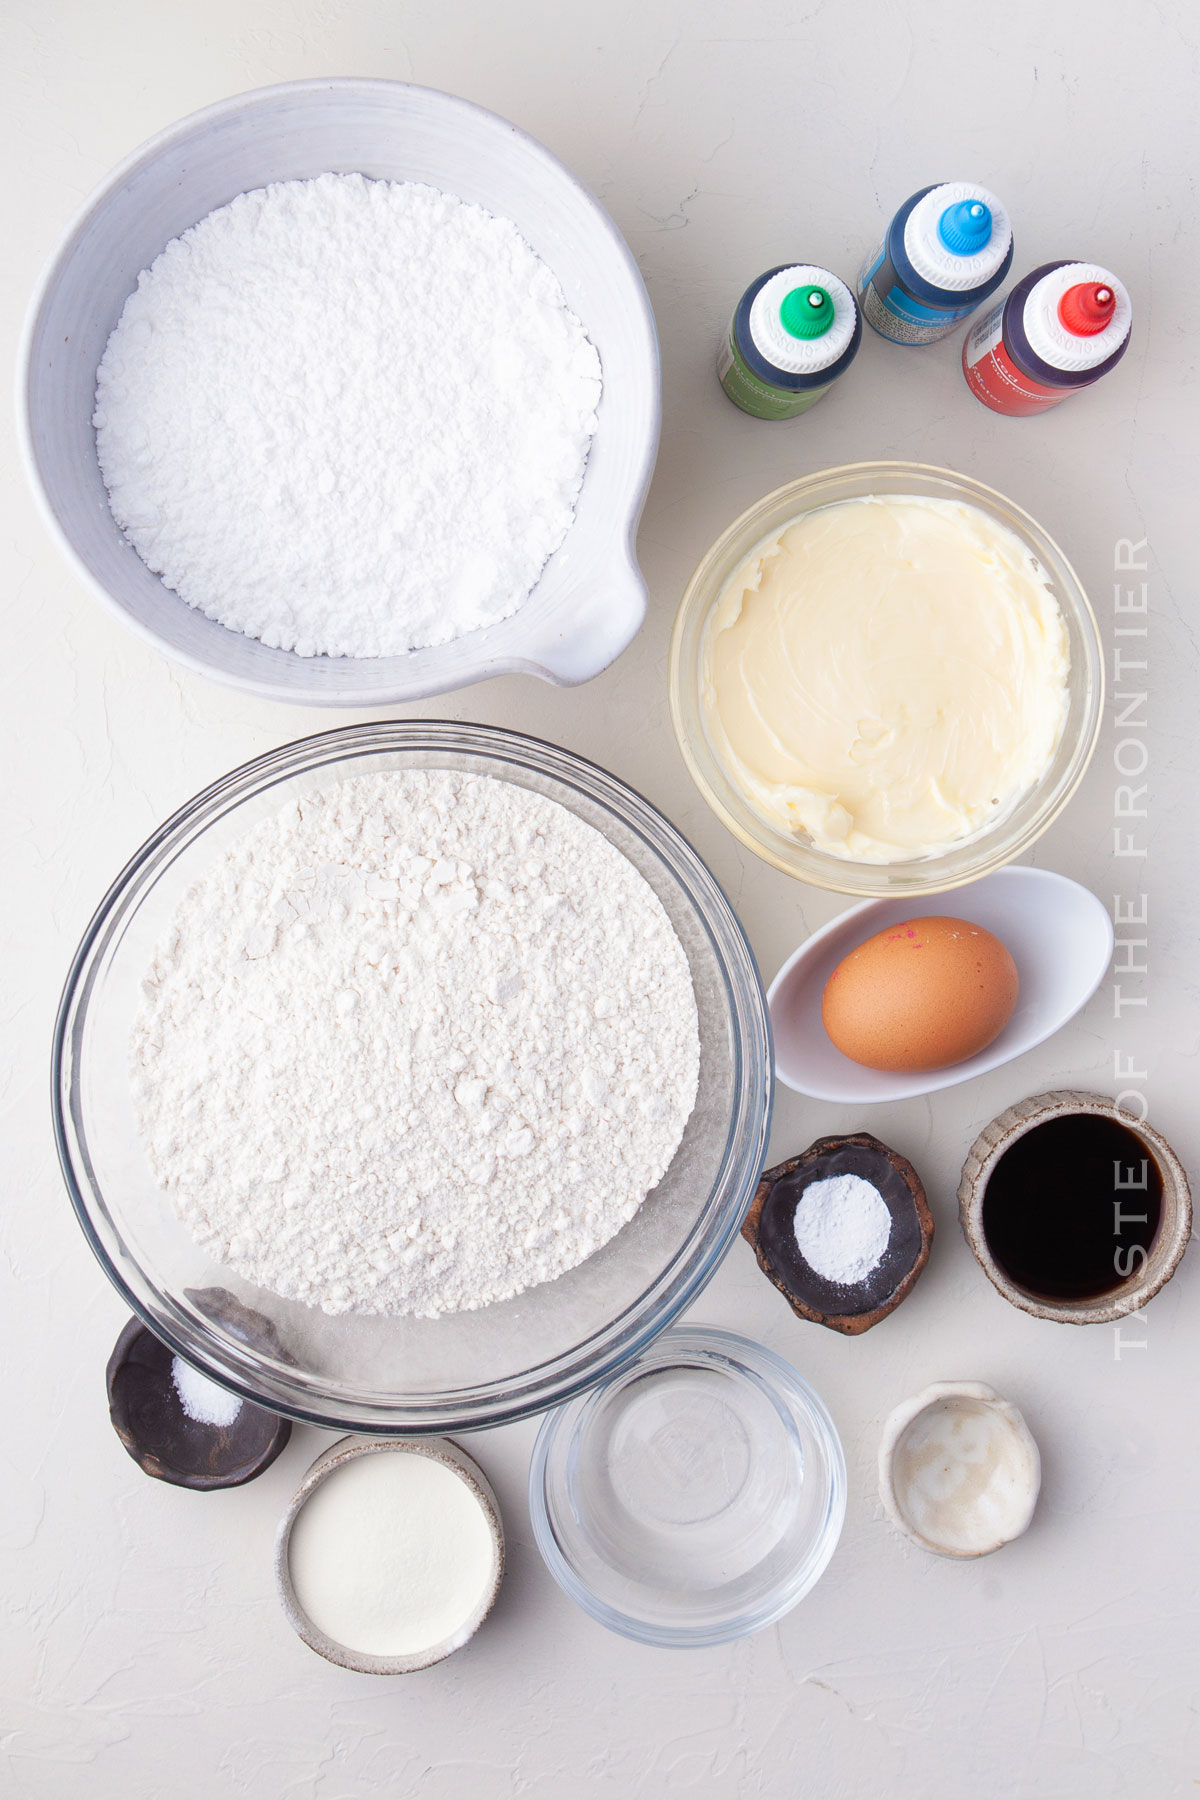
Ingredients
These might just be the perfect cookie for all you home bakers out there. Beautiful and tasty all at once!
- Butter
- Confectioner’s sugar
- Eggs
- Vanilla extract
- All-purpose flour
- Baking powder
- Salt
- Gel food coloring
- Meringue powder
- Lukewarm water
How to Make Marble Cookies
Get out your mixing bowl and get ready for awesomeness with these Christmas Sugar Cookies. With just a handful of simple ingredients, you’re going to whip up a batch of pure bliss.
Cookies
- Mix the butter and sugar in a stand mixer fitted with a paddle attachment at medium speed until they are well combined and creamy.
- Add the egg and vanilla and combine.
- Whisk the flour, salt, and baking powder together in a separate bowl.
- Add the flour mixture to the wet ingredients little by little. Mix at low speed until well combined. Make sure you scrape the sides of the bowl so it is all mixed in.
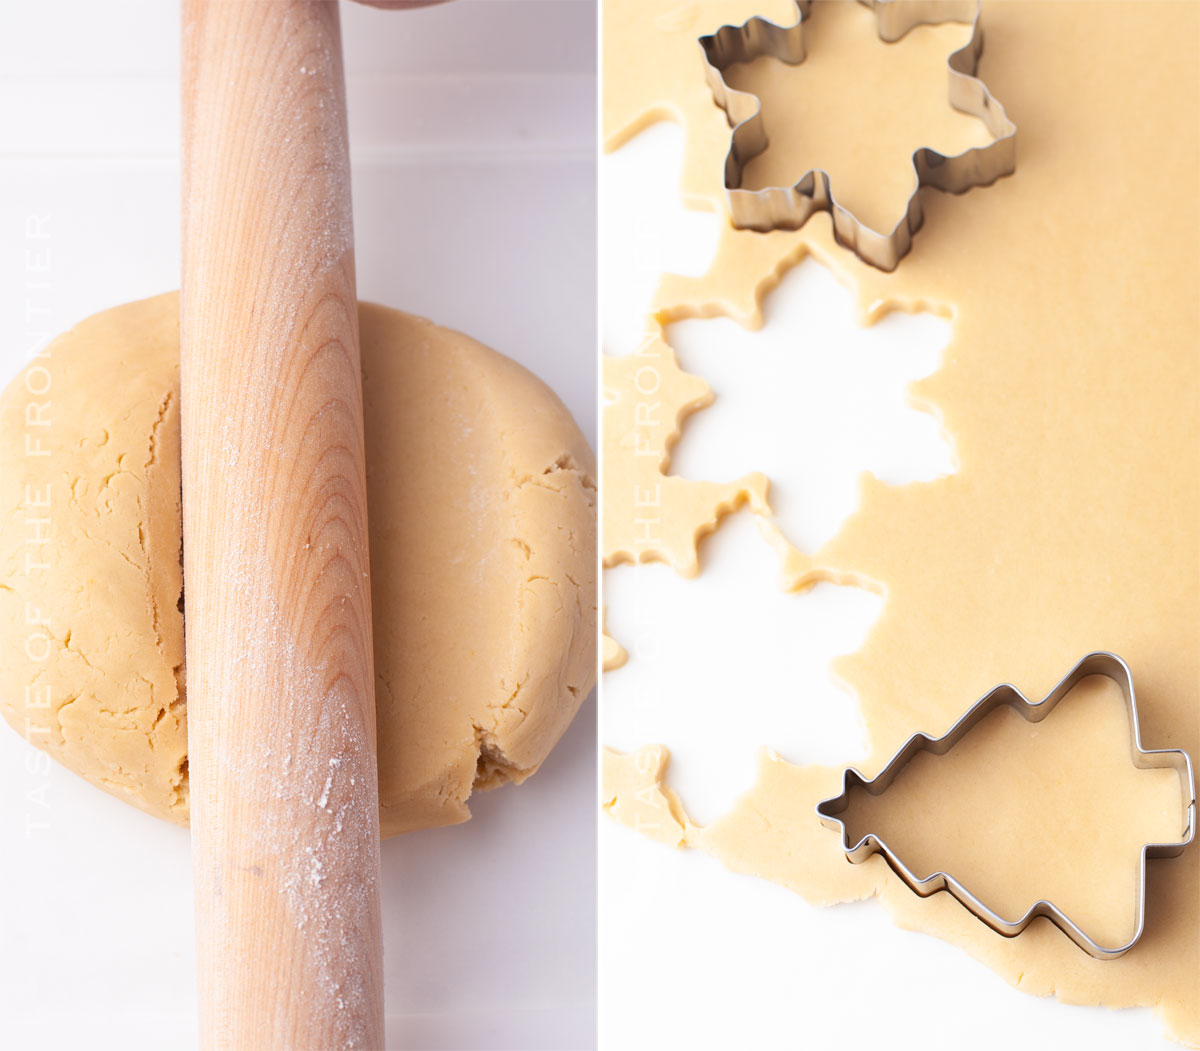
- Roll the dough into a sheet that is 1/4” inch thick. Place it on a sheet of parchment paper or an acrylic sheet.
- Place the dough in the refrigerator for 30 minutes.
- Preheat the oven to 350 degrees. Add some parchment paper onto your baking sheet and set aside.
- Cut the cookie shapes and place them on a baking sheet.
- Bake for 15 to 20 minutes, or until the edges are golden.
- Let them cool for at least an hour.
Marble Icing
- Mix your confectioners’ sugar, meringue powder, 3 tablespoons of water, and desired flavor of extract with a standing mixer using a whisk attachment. Beat the icing ingredients together on high speed for about 2 minutes.
- Place a spoon or knife into the icing, and lift it up. It should drizzle down and smooth out in about 5 – 8 seconds. If it looks too thick, add a bit more water little by little because it could easily get too thin. If it’s too thin, add a bit more confectioner’s sugar. The icing should be about a flooding consistency.
- Separate the frosting into three bowls and using a toothpick, add a drop of coloring onto each and swirl it on the white icing. If you use two colors, repeat the same with another color in that bowl. You will notice the first color in this case, I used green, and as you swirl you will notice different shades across the icing. Continue by adding your second color onto the toothpick, in this case red, and do the same. Swirl it around the icing.
- Keep in mind that the icing will harden quickly, so make sure to cover anything not being used right away.
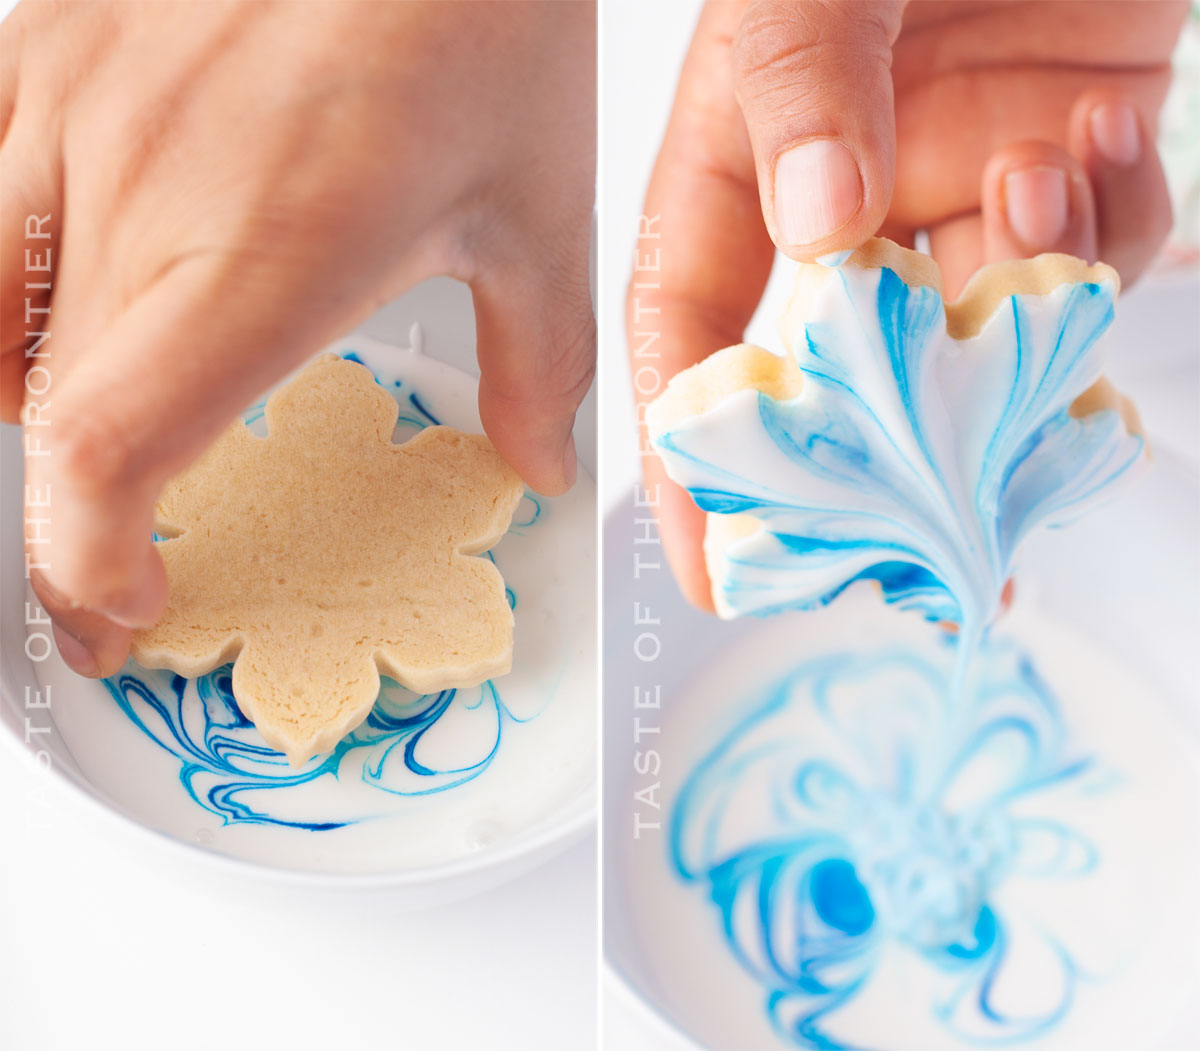
- Dip the whole top of the cookie in the royal icing mixture. Make sure all of the edges are covered. Lift the cookie carefully and let the extra icing drip off the cookie by holding it over the bowl. Place it on a cooling rack to set, but keep in mind some of the icing might drip a bit.
- Repeat the process for all of the cookies in all of the icing colors you have chosen to use until you have finished them all.
- Let the cookies sit until the frosting has set for about 2 hours.
Kitchen Supplies You’ll Need for Marble Cookies
For best results, get the kids involved! This is one of those baking experiences that will be remembered forever.
- Stand mixer or hand mixer
- Mixing bowls
- Measuring cups and spoons
- Rolling pin
- Cookie cutters
- Parchment-lined baking sheets
- Wire rack for cooling
- Piping bags or zip-lock bags
What to Serve With Marble Cookies
Be sure to save the recipe card for these Christmas Sugar Cookies for later. I’m sure you’ll want to make these marbled cookie masterpieces again!
- A glass of milk or cup of hot chocolate
- Alongside a platter of various holiday treats
- With a scoop of vanilla ice cream for a dessert twist
- As part of a festive tea party spread
Why You Should Make Marble Cookies
There are some cookie recipes that stand out among the rest. This one for Christmas Sugar Cookies is one of them. The taste, texture, and look of them are just plain wonderful.
- Visually Stunning: They are as beautiful as they are tasty.
- Fun to Make: A great baking project, especially for kids.
- Customizable: Experiment with different colors for various occasions.
- Delicious Flavor: A classic sugar cookie taste that everyone loves.
- Perfect for Gifting: Wrapped in a cookie tin, they make a delightful homemade gift.
Variations and Add-Ins for Marble Cookies
Next time you make these Christmas Sugar Cookies, consider some of these variations. It’s ok to get a little bit crazy with them!
- Flavor Variations: Mix in almond extract or lemon zest for a flavor twist.
- Colorful Fun: Use different gel food coloring for various themes like Valentine’s Day or baby showers.
- Chocolate Marble: Swirl in some melted chocolate for chocolatey marble cookies.
- Nutty Addition: Add finely chopped nuts for a bit of crunch.
If you love this easy cookie recipe, you’re going to love these other holiday cookies too. Please click each link below to find the easy, printable recipe!




More Great Sugar Cookies
Soft Chocolate Sugar Cookies – Rudolph Cookies
Lofthouse Sugar Cookies – Copycat Recipe
CONNECT WITH YUMMI HAUS!
Be sure to follow me on my social media, so you never miss a post!
Marble Cookies
Ingredients
Cookies
- ¾ cup butter – unsalted softened (12 ½ tablespoons/180 g)
- 1½ cups confectioner’s sugar 180 g
- 1 egg
- 2 tsp vanilla extract
- 2 cups all-purpose flour 450 g
- ¼ teaspoon baking powder
- ¼ teaspoon salt
Icing
- 2½ cups confectioners sugar
- 1¼ tbsp meringue powder
- 3 tbsp lukewarm water up to 4 tbsp
- Gel food coloring red, green, blue and you have the option to add another if you would like any other color
- ¼ teaspoon clear flavor extract up to to ½ tsp – to taste
Instructions
Cookies
- Mix the butter and sugar in a stand mixer fitted with a paddle attachment at medium speed until they are well combined and creamy.
- Add the egg and vanilla and combine.
- Whisk the flour, salt, and baking powder together in a separate bowl.
- Add the flour mixture to the wet ingredients little by little. Mix at low speed until well combined. Make sure you scrape the sides of the bowl so it is all mixed in.
- Roll the dough into a sheet that is 1/4” inch thick. Place it on a sheet of parchment paper or an acrylic sheet.
- Place the dough in the refrigerator for 30 minutes.
- Preheat the oven to 350 degrees. Add some parchment paper onto your baking sheet and set aside.
- Cut the cookie shapes and place them on a baking sheet.
- Bake for 15 to 20 minutes, or until the edges are golden.
- Let them cool for at least an hour.
Marble Icing
- Mix your confectioners’ sugar, meringue powder, 3 tablespoons of water, and desired flavor of extract with a standing mixer using a whisk attachment. Beat the icing ingredients together on high speed for about 2 minutes.
- Place a spoon or knife into the icing, and lift it up. It should drizzle down and smooth out in about 5 – 8 seconds. If it looks too thick, add a bit more water little by little because it could easily get too thin. If it’s too thin, add a bit more confectioner’s sugar. The icing should be about a flooding consistency.
- Separate the frosting into three bowls and using a toothpick, add a drop of coloring onto each and swirl it on the white icing. If you use two colors, repeat the same with another color in that bowl. You will notice the first color in this case, I used green, and as you swirl you will notice different shades across the icing. Continue by adding your second color onto the toothpick, in this case red, and do the same. Swirl it around the icing.
- Keep in mind that the icing will harden quickly, so make sure to cover anything not being used right away.
- Dip the whole top of the cookie in the royal icing mixture. Make sure all of the edges are covered. Lift the cookie carefully and let the extra icing drip off the cookie by holding it over the bowl. Place it on a cooling rack to set, but keep in mind some of the icing might drip a bit.
- Repeat the process for all of the cookies in all of the icing colors you have chosen to use until you have finished them all.
- Let the cookies sit until the frosting has set for about 2 hours.
Notes
Nutrition
Nutritional information for the recipe is provided as a courtesy and is approximate. Please double-check with your own dietary calculator for the best accuracy. We at Yummi Haus cannot guarantee the accuracy of the nutritional information given for any recipe on this site.




Share Your Thoughts