Add a splash of fun to your Easter egg decorating with our Kool-Aid Dyed Eggs! Vibrantly colored, easy to make, and fun for the kids.
This Easter, transform your egg-dyeing tradition with a splash of Kool-Aid! Forget those old dye tablets and welcome a world where your eggs become vibrant masterpieces, thanks to a packet of Kool-Aid mix.
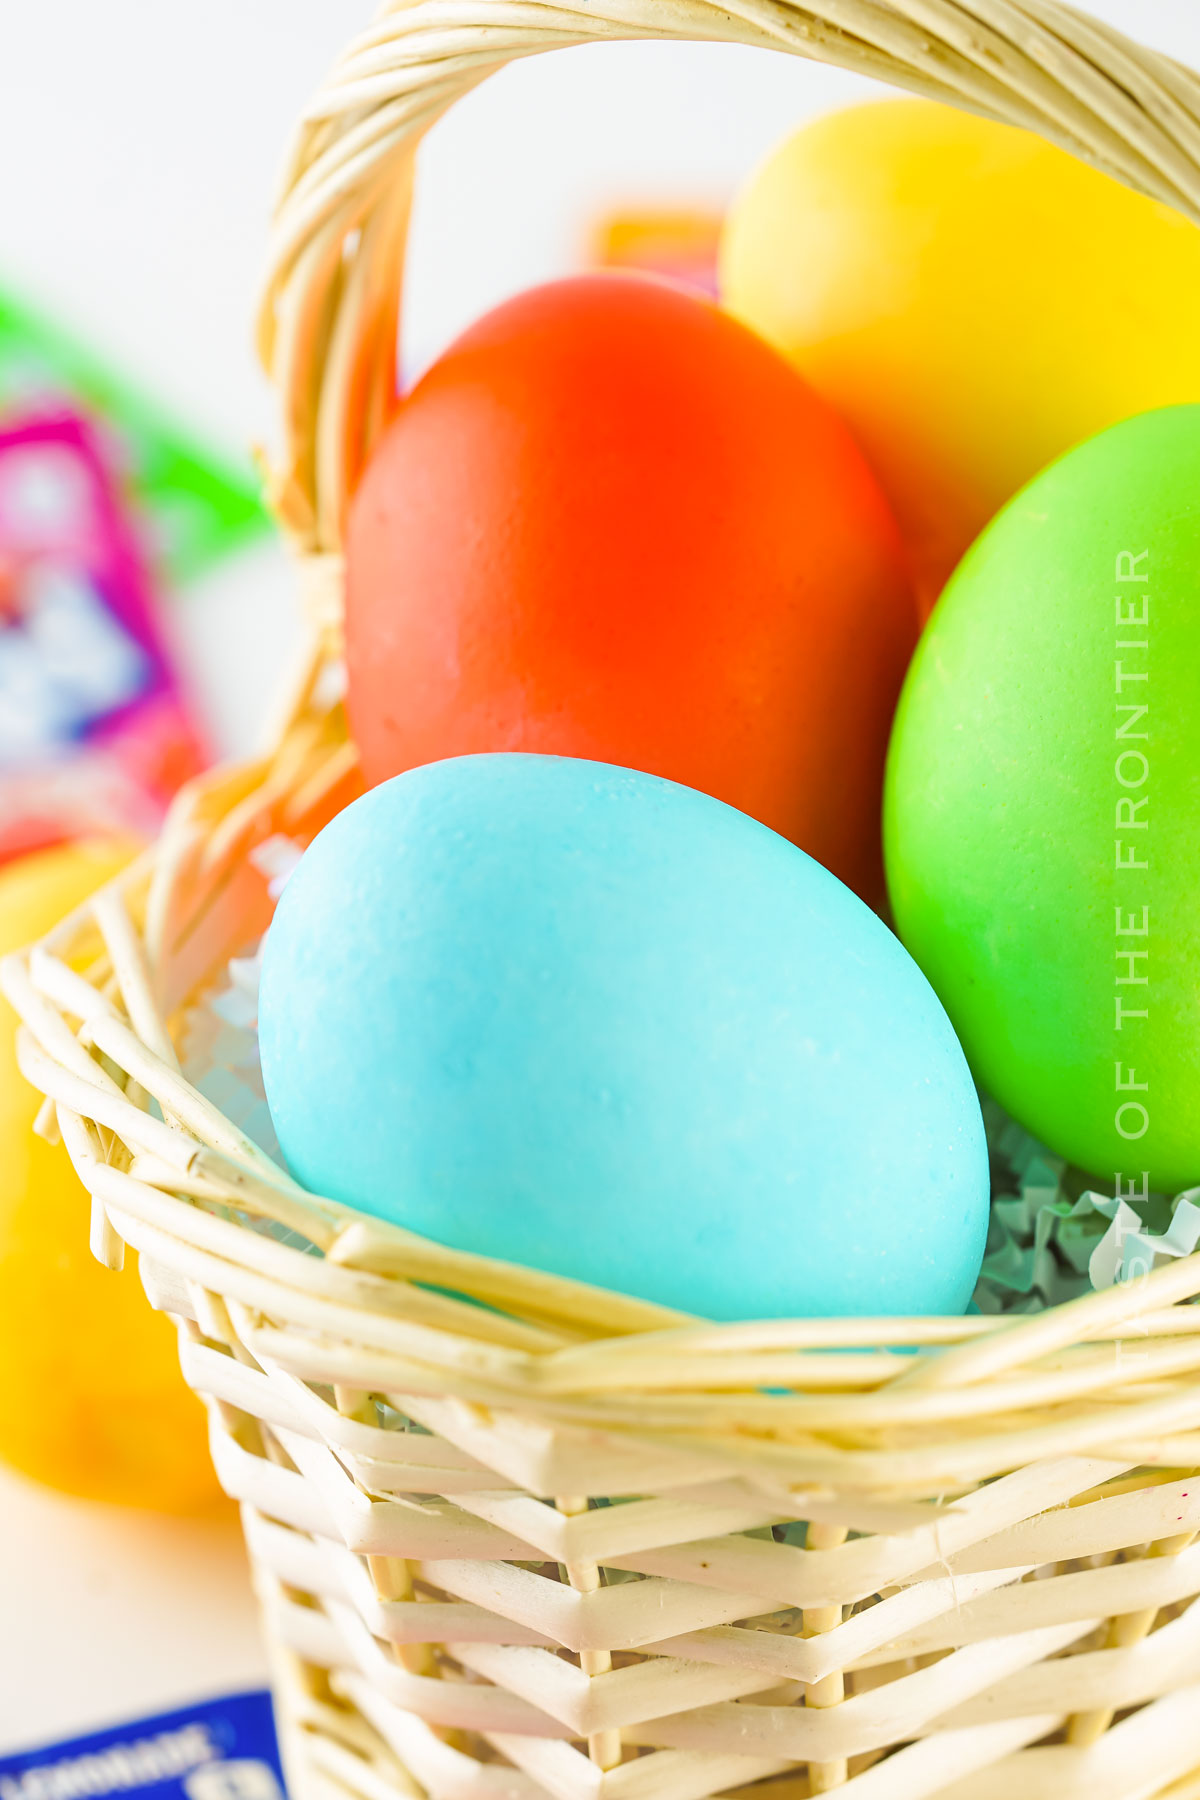
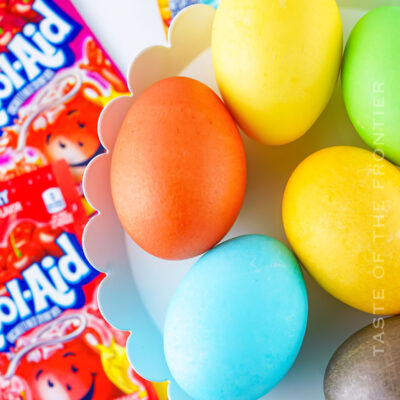
It’s not just an egg-dyeing activity; it’s a chance to make your Easter egg hunt a kaleidoscope of colors. From the sunny yellows of Lemon Lime to the deep, rich purples of Black Cherry, Kool-Aid brings an easy way to dazzle everyone with eggs in every shade of the rainbow.
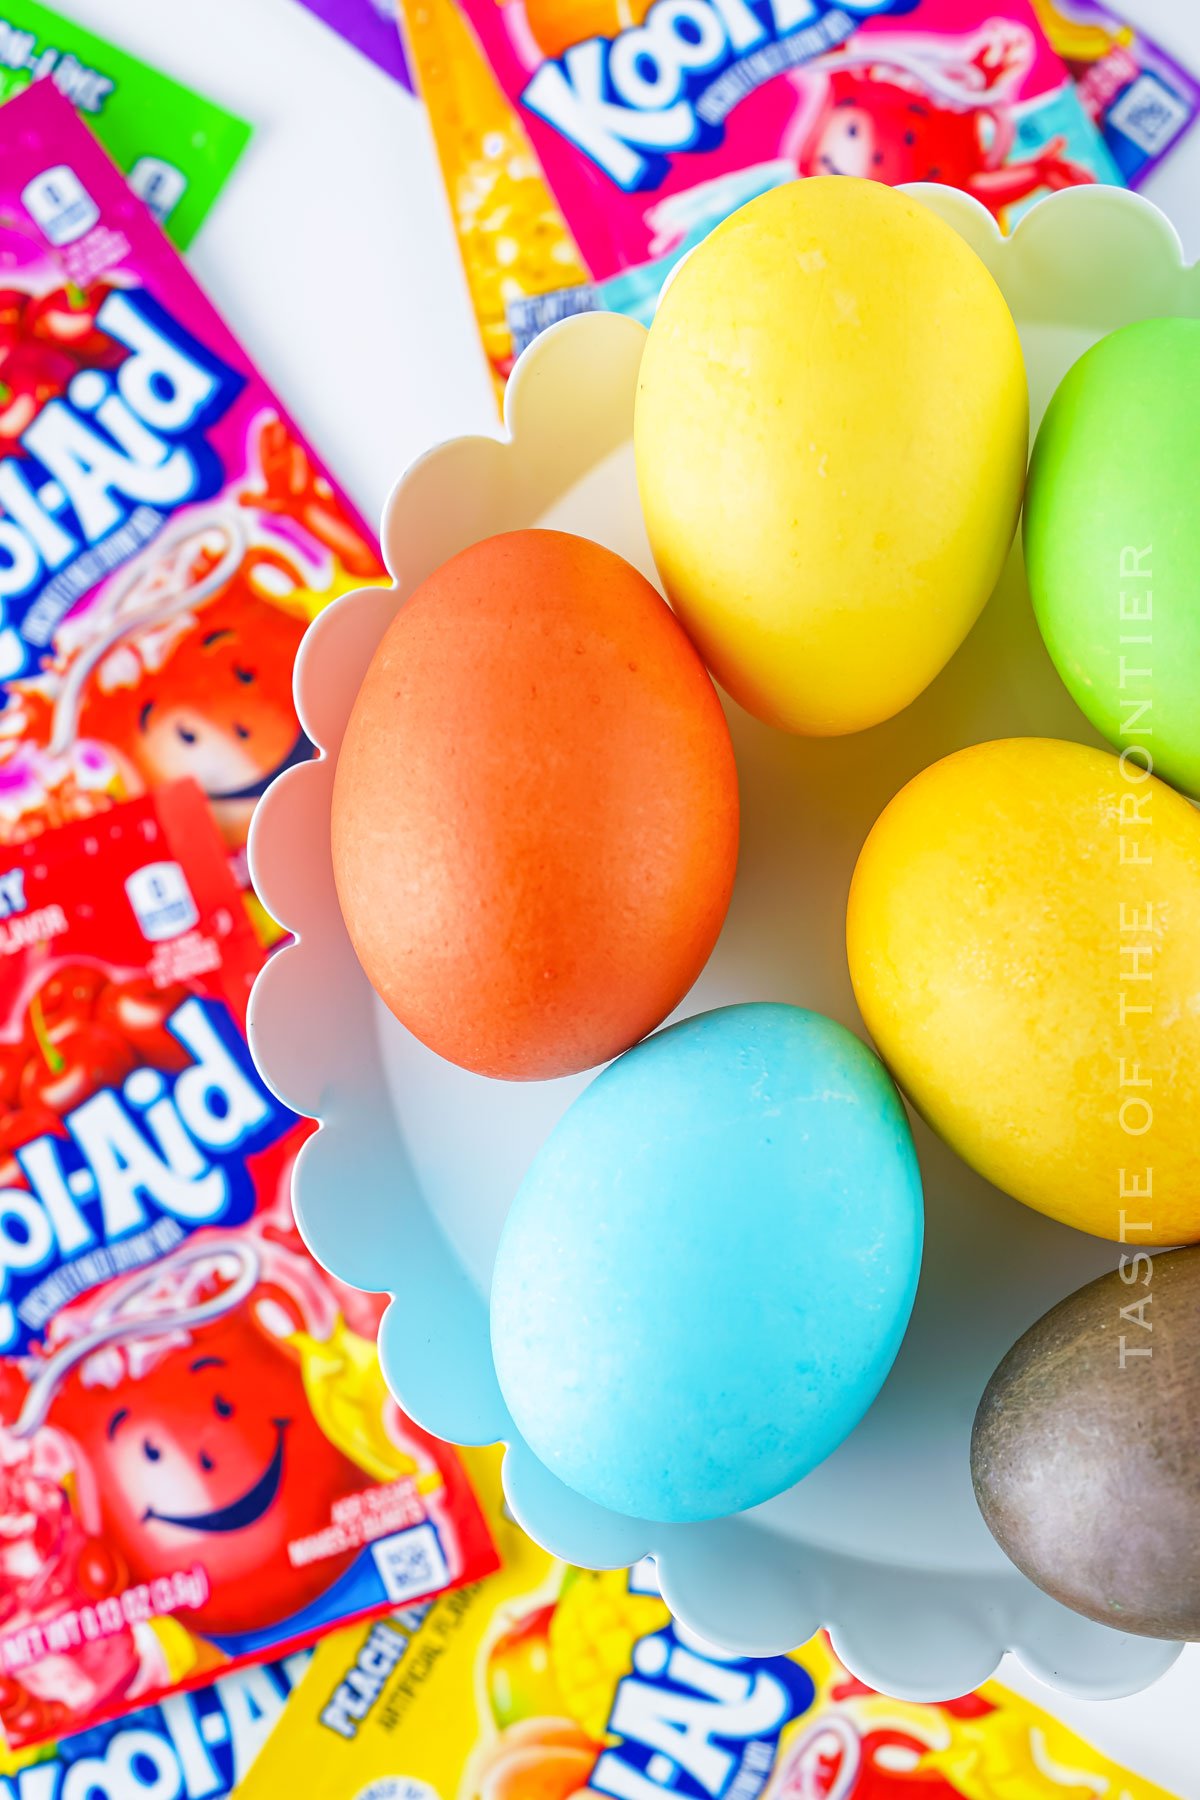
Kool-Aid Dyed Eggs are a chance to bring creativity, color, and fun to your holiday. With just a few simple ingredients and some boiling water, you can transform plain hard-boiled eggs into a vibrant display that will be the talk of the Easter egg hunt.
Whether you’re looking for an easy recipe for dazzling eggs or searching for a new way to celebrate, Kool-Aid offers an affordable, enjoyable solution.
Let’s jump into how you can make these deliciously colorful eggs that promise so much fun and are sure to be a great activity for young kids and adults alike.
So, gather your favorite Kool-Aid packets, round up the family, and get ready to make this Easter the most colorful one yet!
Common Questions About Kool-Aid Dyed Eggs
Do Kool-Aid dyed eggs taste like the drink mix?
No worries here! The Kool-Aid dye doesn’t penetrate the shell, so your hard-boiled eggs will taste just as they should, without a hint of Black Cherry or Tropical Punch.
What’s the best way to achieve vibrant colors on my eggs?
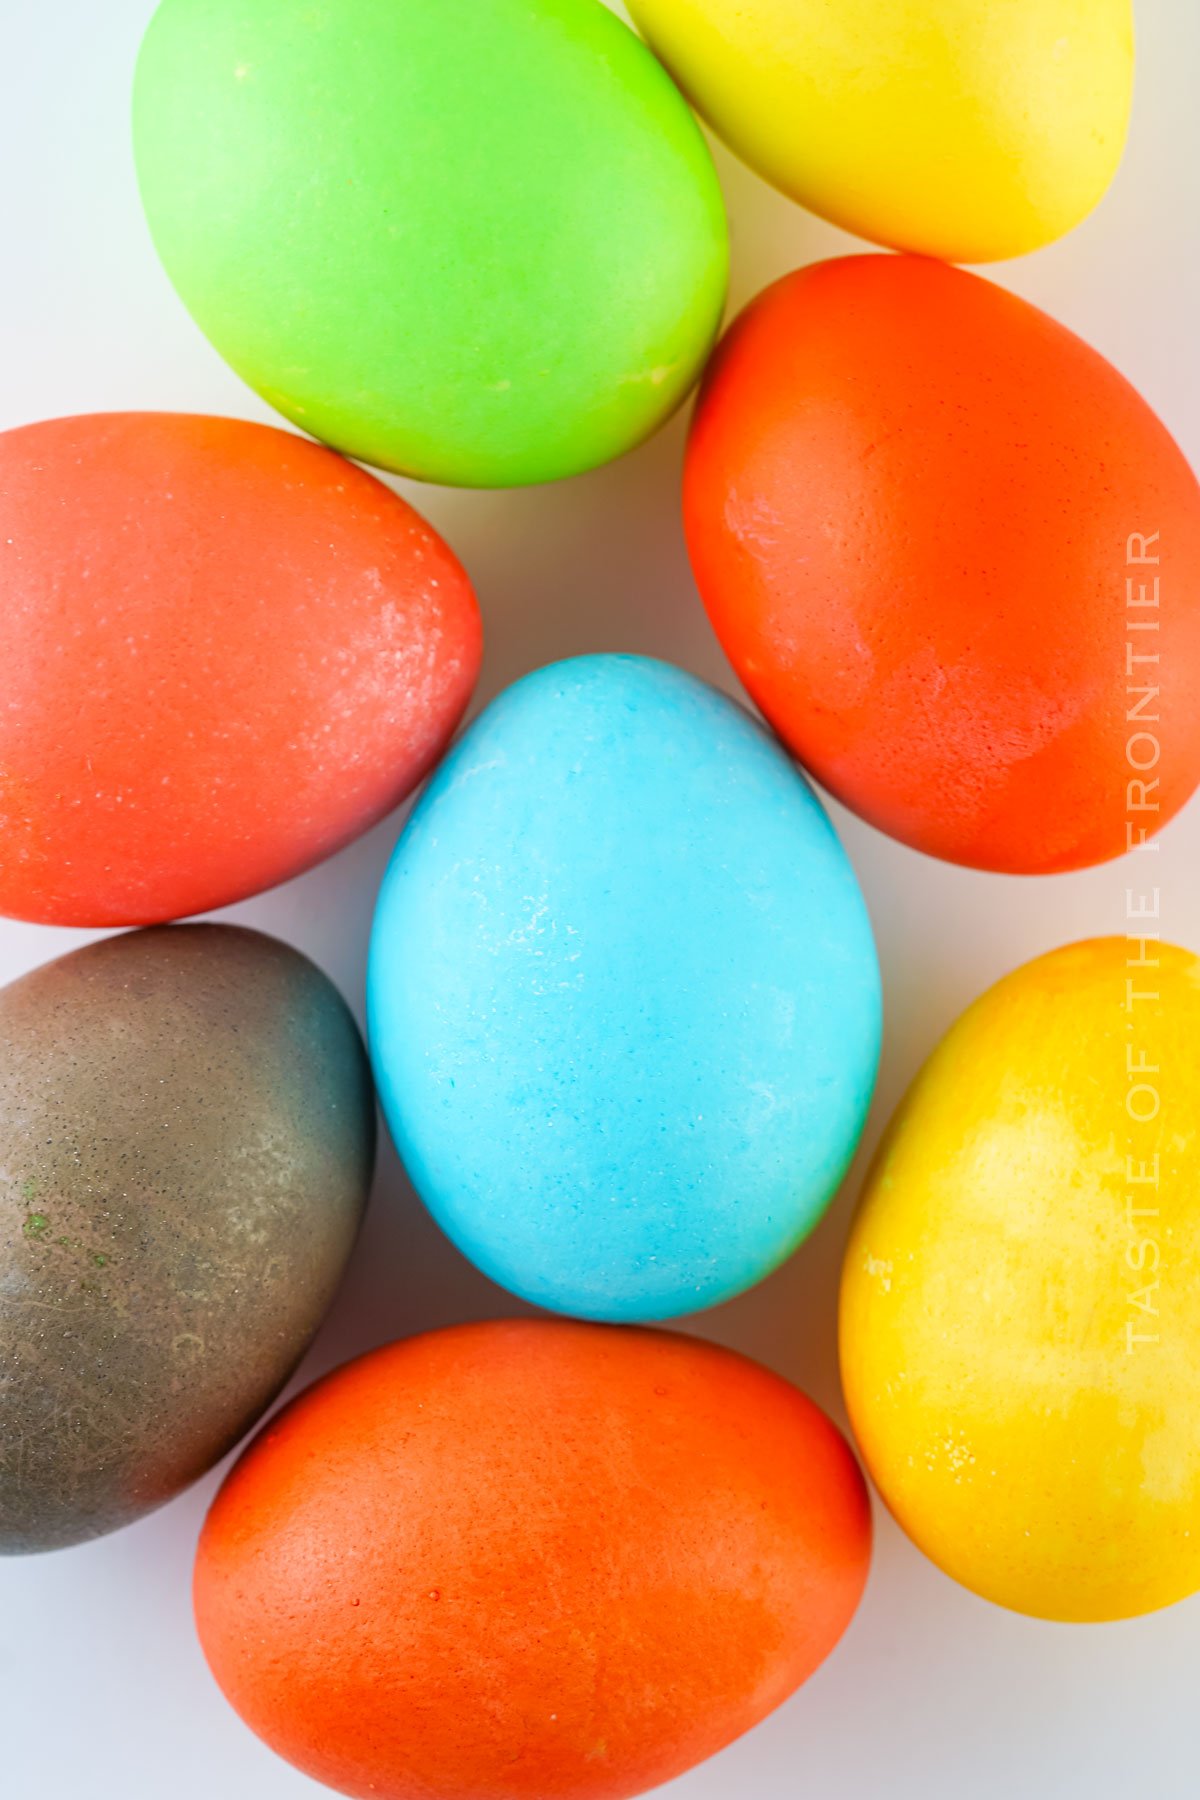
For the most vivid colors, let your eggs soak in the Kool-Aid dye baths for 1-2 minutes, or a little longer for lighter colors. Remember, the magic is in the Kool-Aid mixture and the soaking time.
Can brown eggs be dyed with Kool-Aid too?
Yes, you can dye brown eggs, and they’ll come out in darker shades, which adds a beautiful, rich variety to your Easter egg collection. Sometimes it’s fun to try out different things.
Storage
My kids love hard-boiled eggs. They look forward to Easter for the fun and the food. I always think maybe they’ll get sick of eating eggs but they never seem to!
Refrigerator
Keep your vibrant Easter eggs chilled in an airtight container to maintain their beautiful colors.
Freezer
It’s not recommended to freeze dyed eggs, as freezing and thawing can affect the texture of hard-boiled eggs.
Tips
These eggs will be the envy of the Easter egg hunt! The bright colors really pop. Kool-Aid egg dye is unique and super effective!
- To ensure even coloring, gently pat the wet eggs with a paper towel after dyeing.
- Use different shades of Kool-Aid, like Peach Mango for light orange hues or Berry Blue for a splash of indigo color, to expand your color palette.
- For a flawless finish, handle the eggs with care right out of the dye to avoid smudging the vibrant Easter eggs.
- Experimenting with the dye mixture’s water and vinegar ratio can lead to discovering new shades and making each egg a unique piece of art.
Ingredients
I think it’s fun to find things besides the traditional egg dyes. I’ve heard of lots of them, some more effective than others. You’ll love this one!
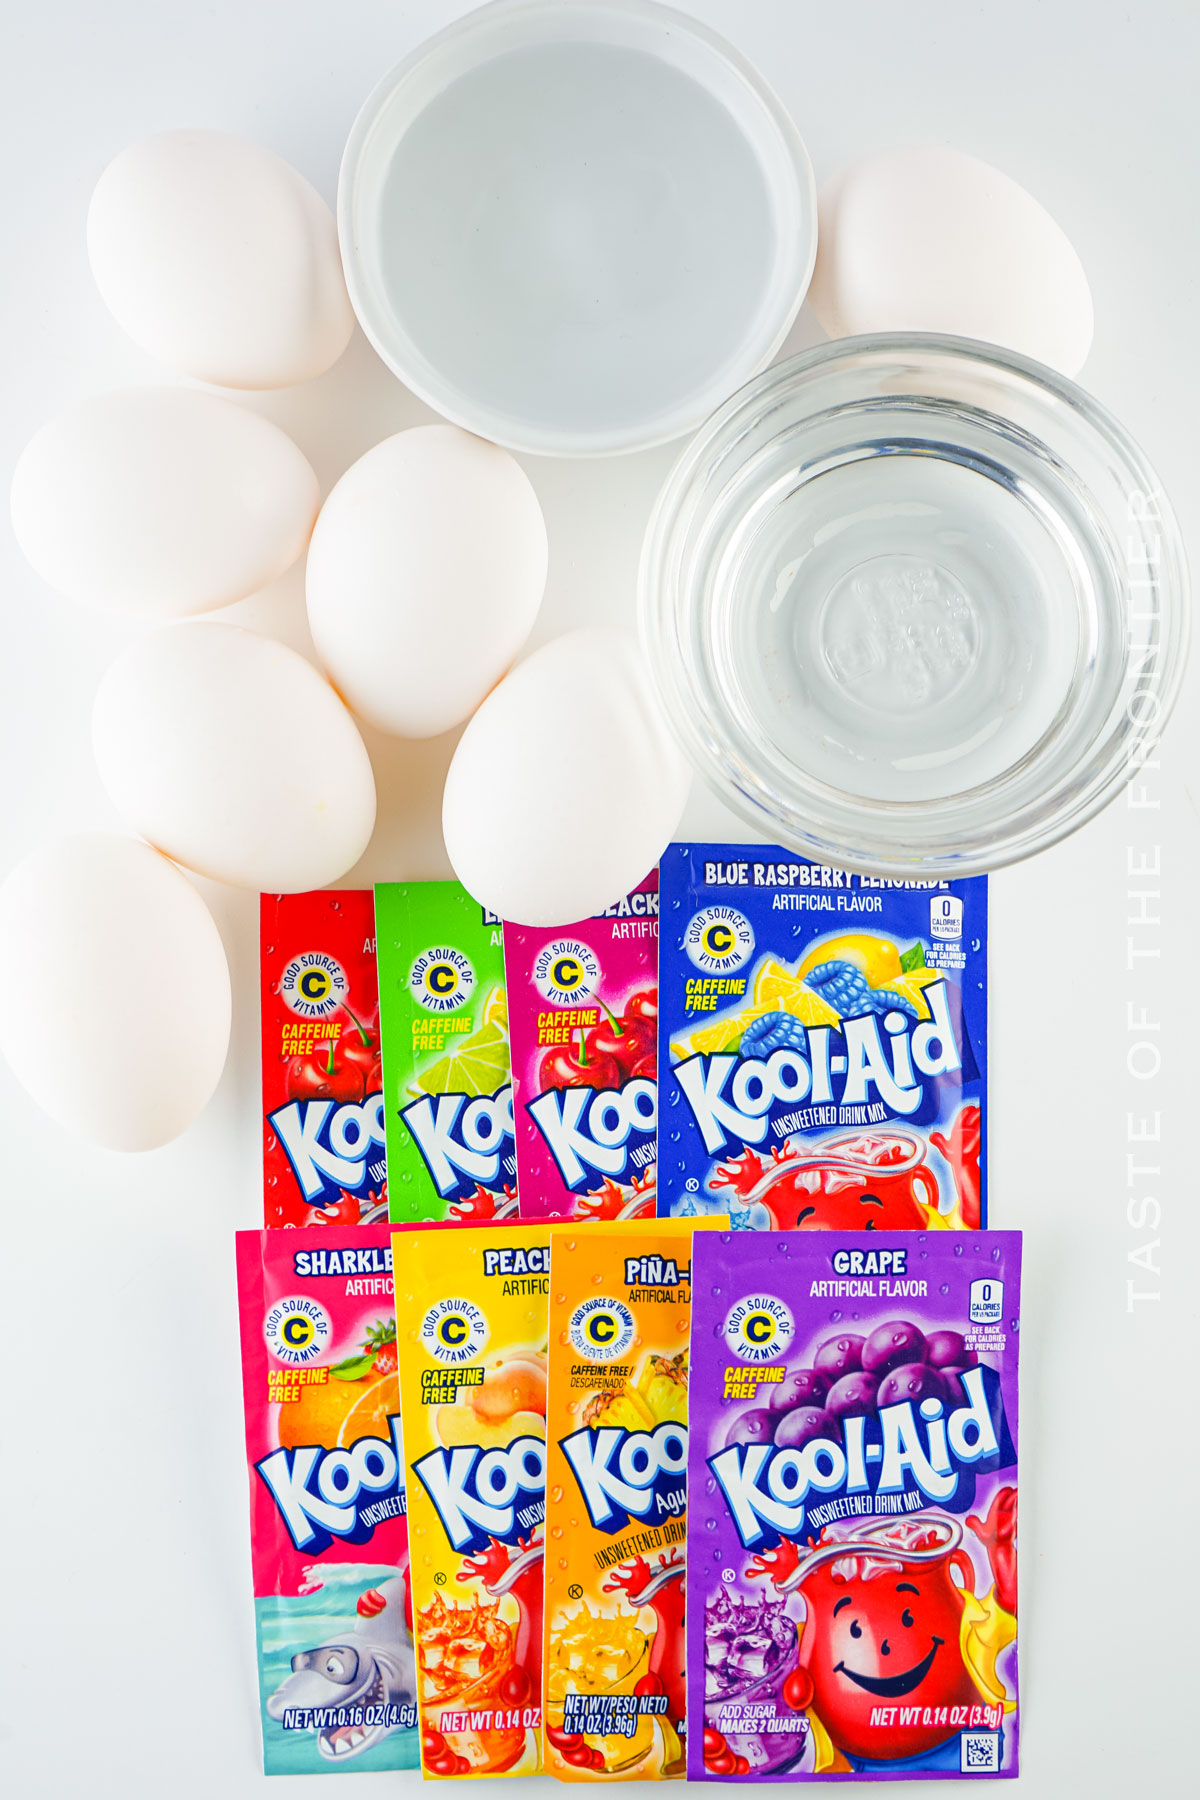
- Hard-boiled eggs, cooled to room temperature
- Kool-Aid packets in various colors
- Boiling water
- Vinegar
- Paper towels
- Spoons
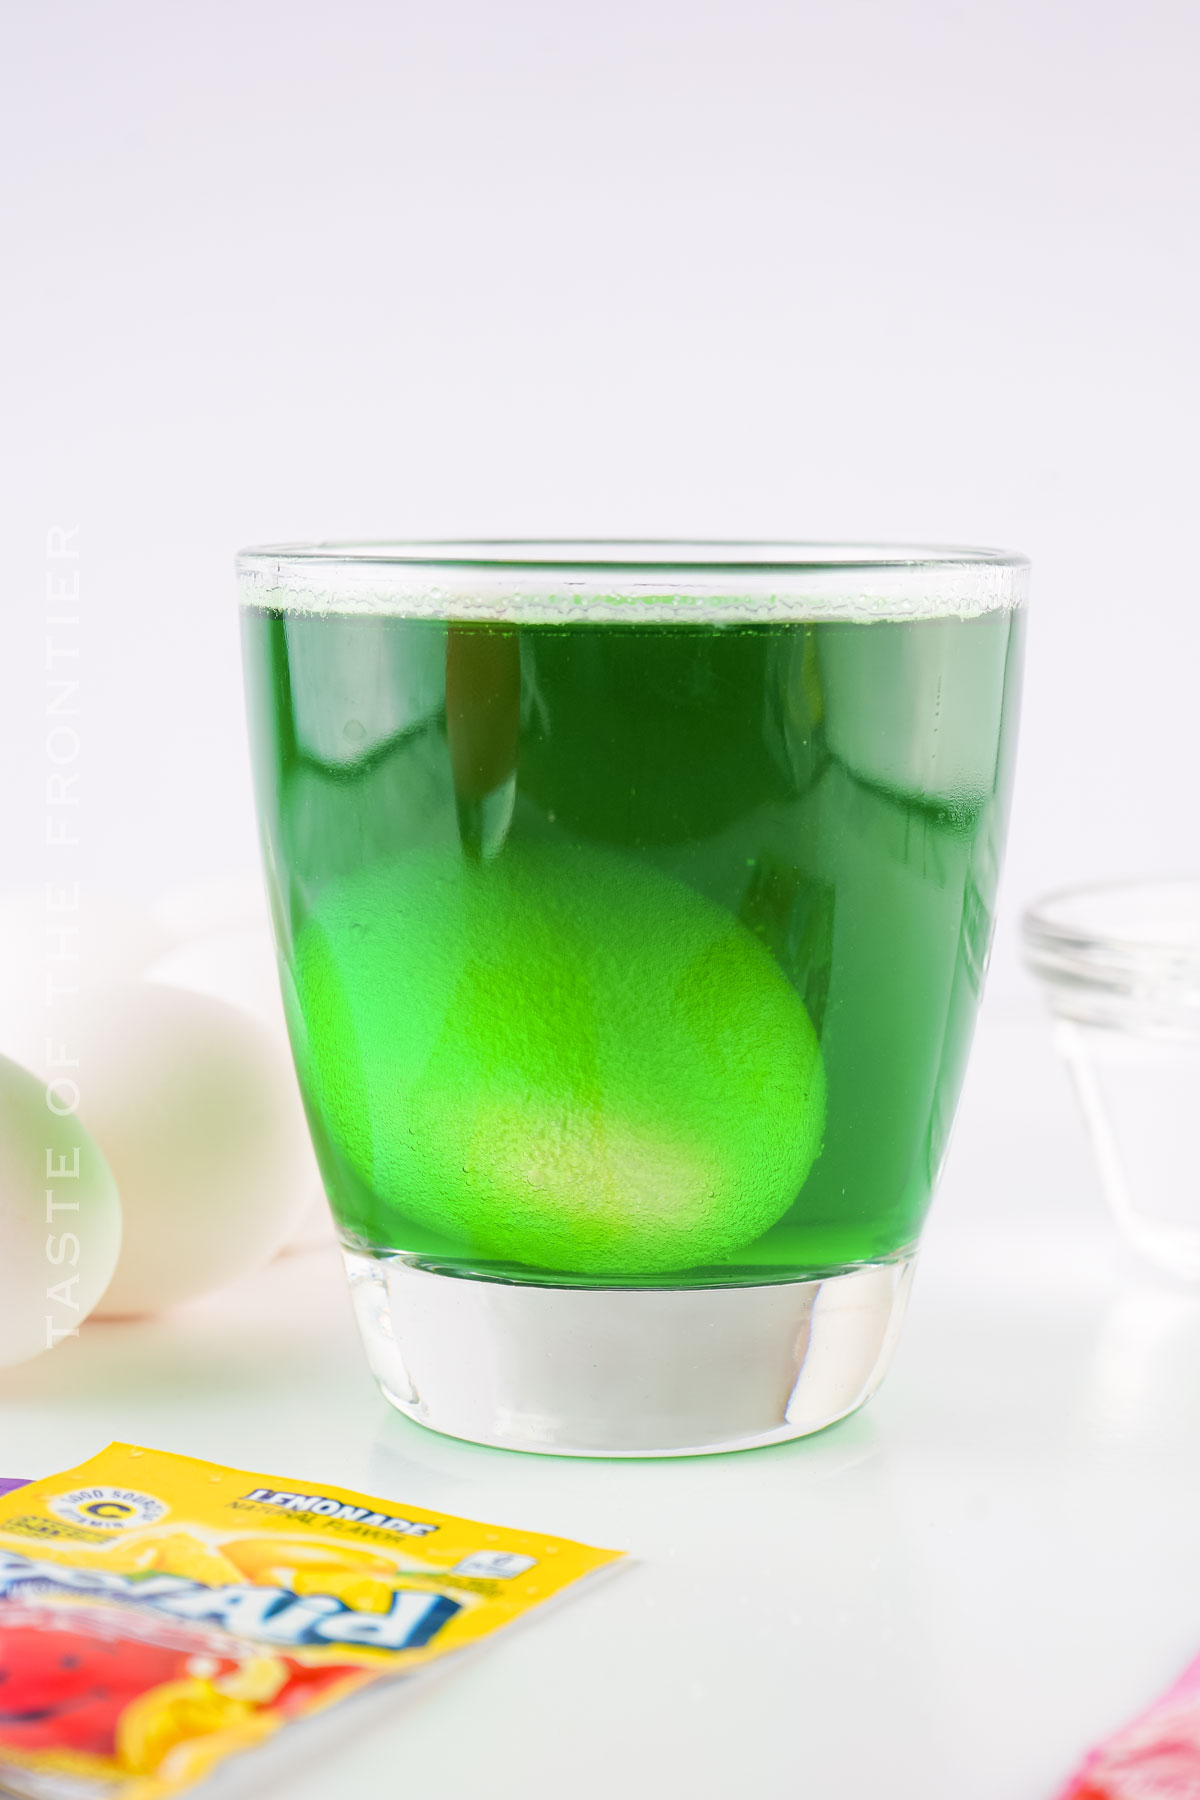
How to Make Kool-Aid Dyed Eggs
For the best results, give them a good amount of time after coloring before you pick the eggs up again. You don’t want to smudge all that lovely color you just put on them!
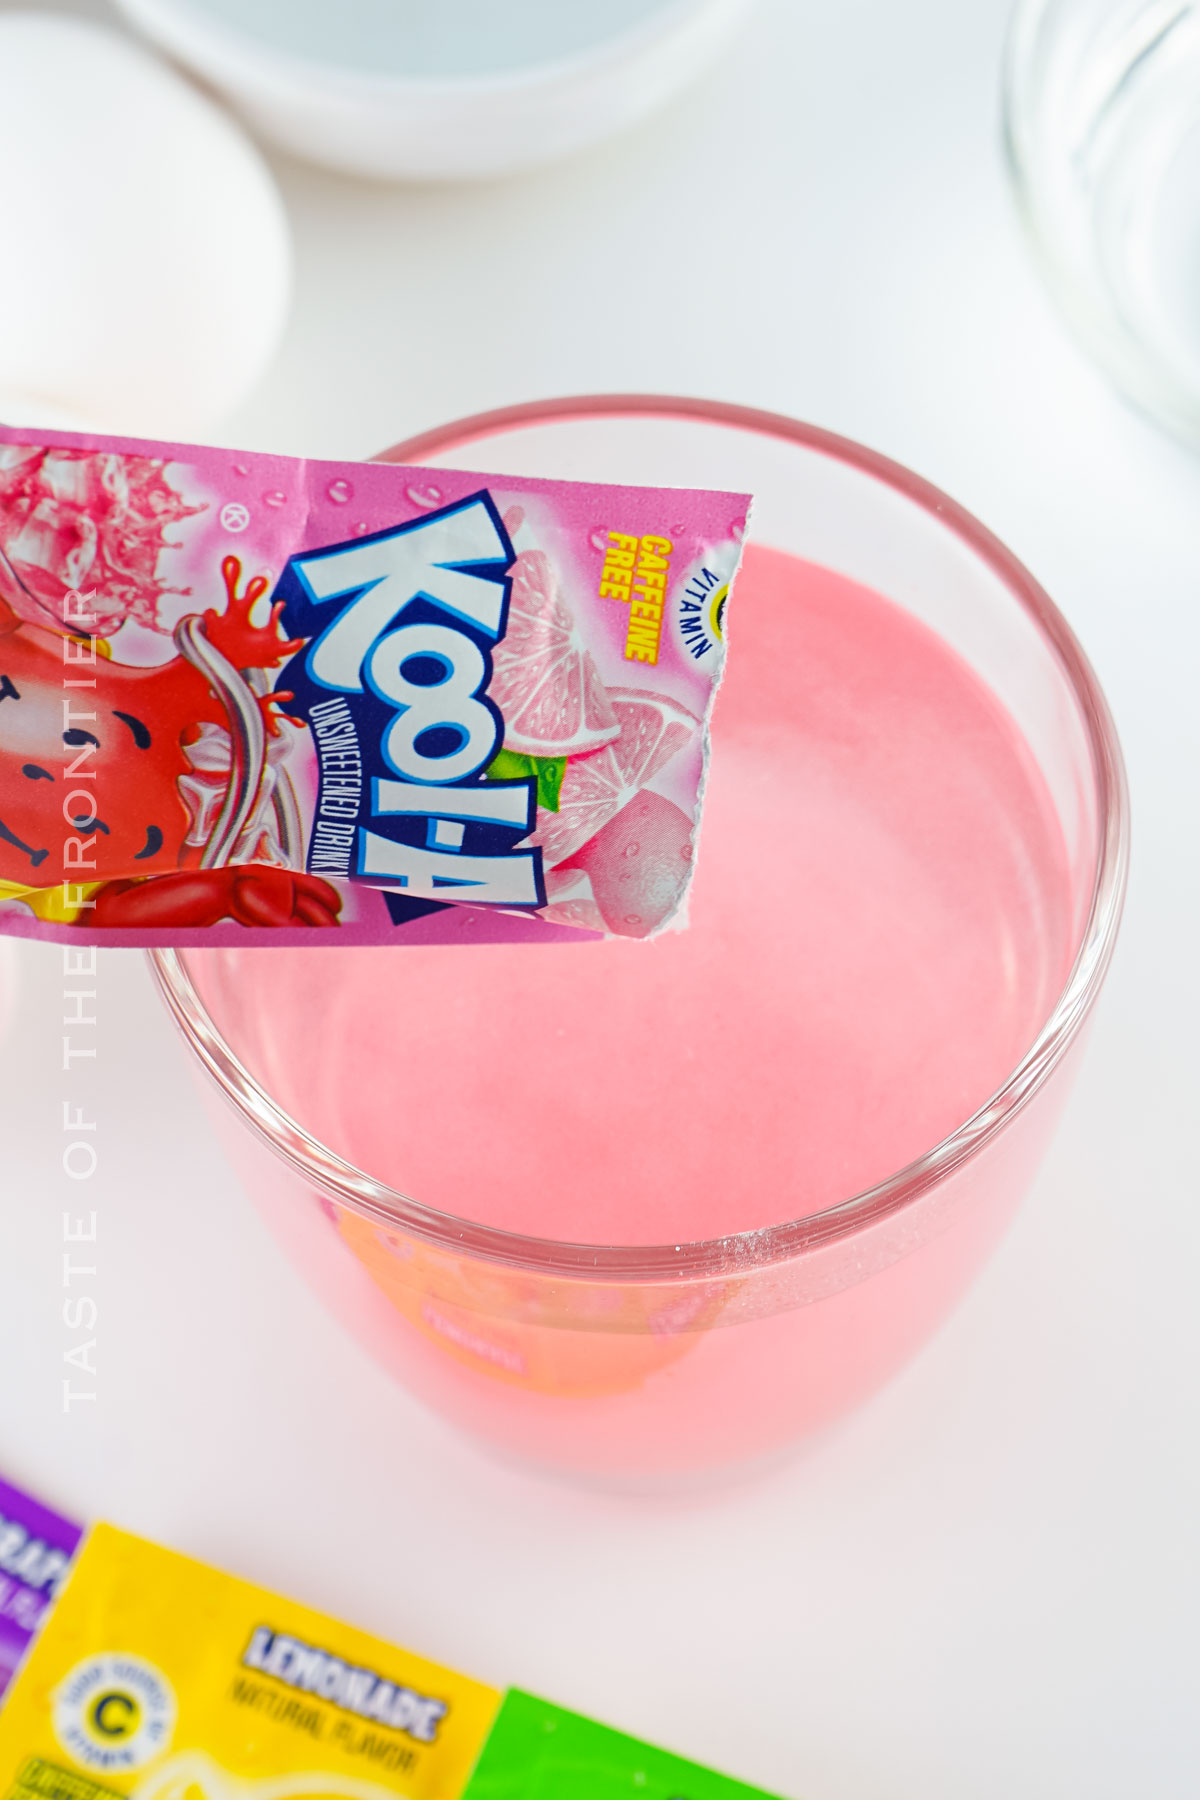
- For each color or packet of Kool-Aid, add ½ cup boiling water, 1 teaspoon vinegar, and one packet of Kool-Aid to a cup and stir until the Kool-Aid is dissolved.
- Gently add the eggs to the dye of choice (one egg to a cup is ideal) and let sit for 1-2 minutes or until the desired color is reached.
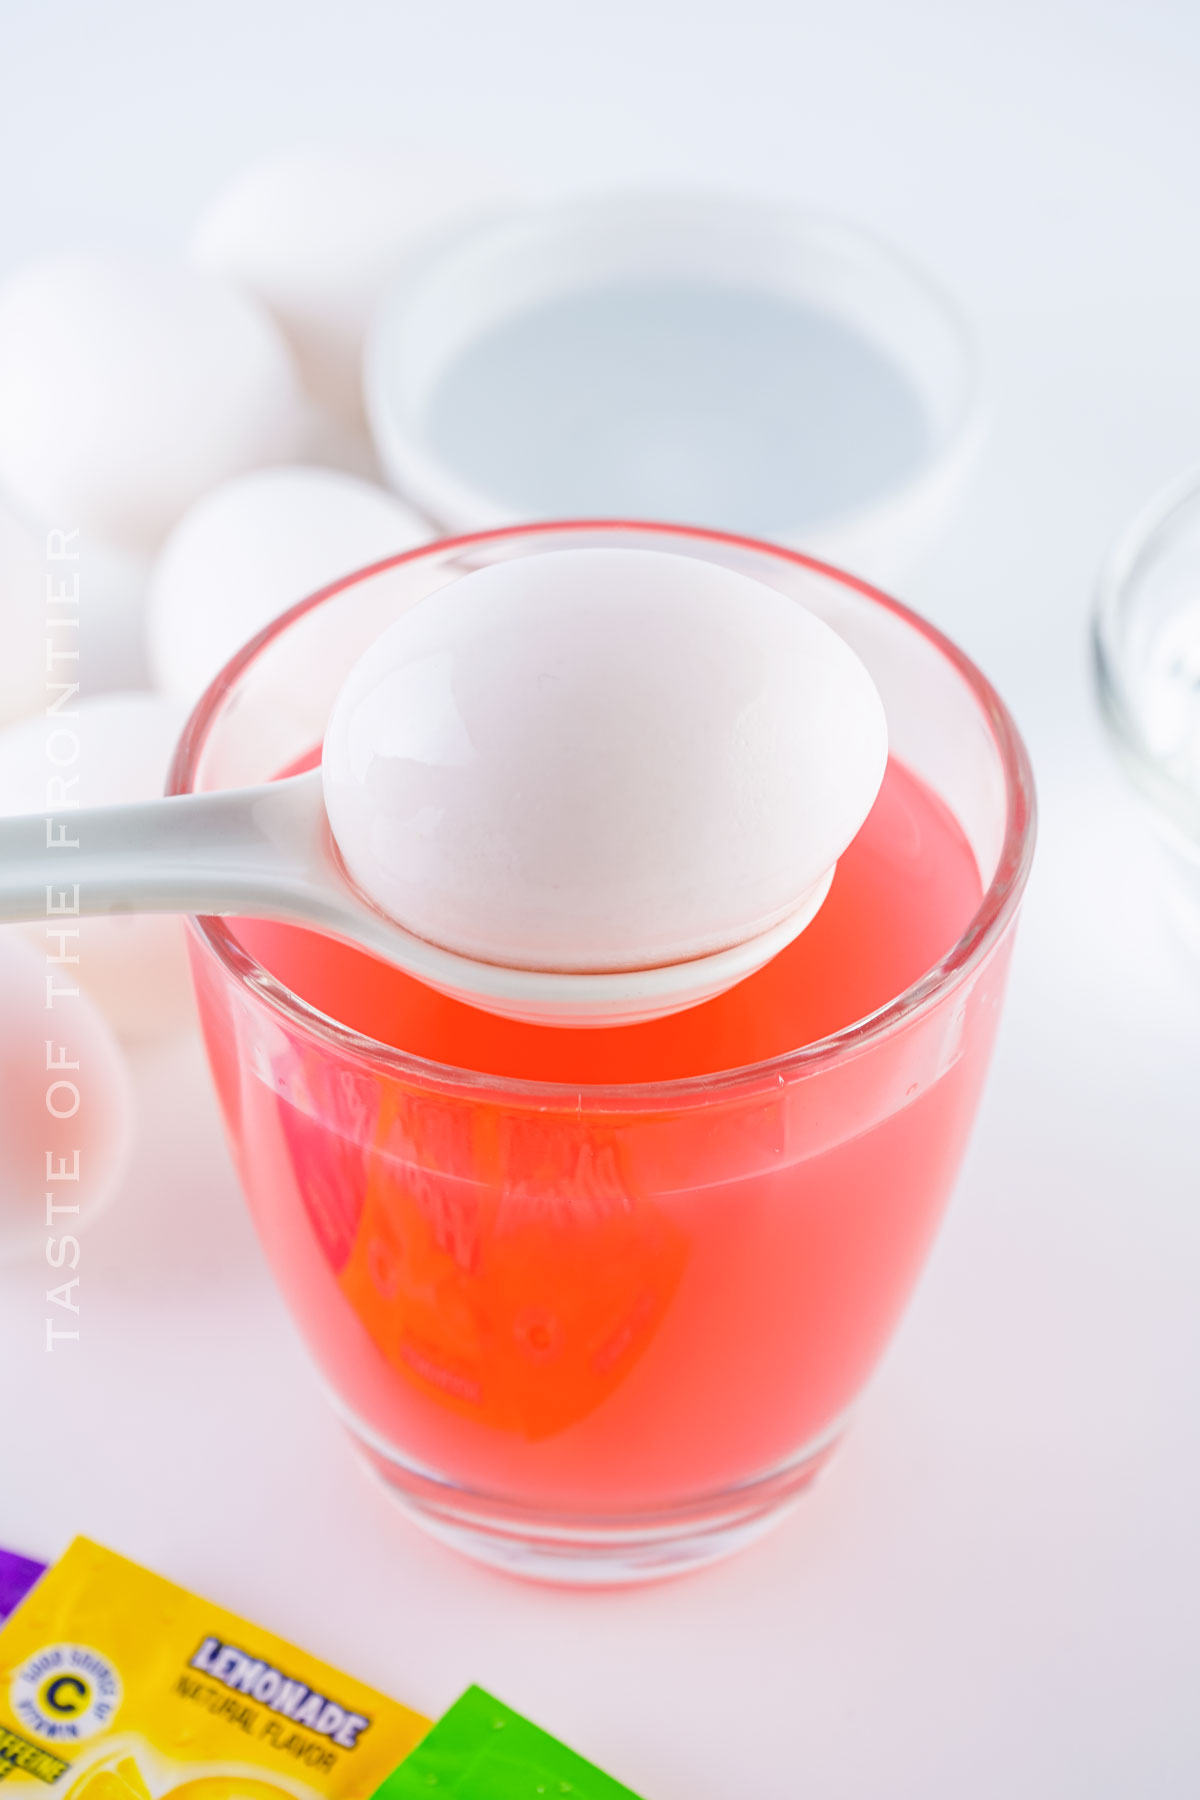
- Remove the egg with a spoon and gently lay it on a paper towel without touching it as much as possible.
- Allow the eggs to sit undisturbed for about 5 minutes or until no longer wet before placing them back in the egg carton.
Kitchen Supplies You’ll Need for Kool-Aid Dyed Eggs
This is all really simple and standard. I would say the drying rack is the most important part. You want to give those eggs plenty of time to set!
- A variety of cups or small containers for each Kool-Aid dye bath
- A large bowl for mixing
- A whisk or spoon for stirring the Kool-Aid mixture
- A drying rack or additional paper towels for setting the dyed eggs
What to Serve With Kool-Aid Dyed Eggs
In our house, we eat these all by themselves for days after Easter. A little salt and maybe some pepper is all you really need to enjoy them!
- Pair these colorful creations with Easter brunch favorites for a festive spread.
- Surround them with other fun ways to dye eggs, like using natural dyes or shaving cream, for an egg-dyeing party.
Why You Should Make Kool-Aid Dyed Eggs
I’ve tried a lot of different ways of coloring Easter eggs over the years. This is one of my favorites. It’s always great to have options, right?
- It’s a simple side dish that adds a pop of color and joy to your Easter table.
- Kool-Aid-dyed eggs are a great way to involve kids in the Easter preparations, offering a fun and safe activity.
- The bright colors and delicious scents make for an unforgettable Easter tradition.
Variations and Add-Ins for Kool-Aid Dyed Eggs
Let me know in the comments what your favorite way to dye eggs is! And let me know how this recipe goes for you. I love hearing your feedback!
- Try wrapping eggs with rubber bands before dyeing for interesting patterns.
- Use lemonade Kool-Aid for a subtle, pastel color, perfect for a soft addition to your Easter palette.
- Mix and match Kool-Aid flavors to create custom colors and make your eggs stand out.
- Try coloring designs on the eggs before dyeing them with crayons. The wax will keep the color off those areas for a cool contrast.
If you love this easy-dyed egg recipe, you’re going to love these other ways to dye eggs too. Please click each link below to find the easy, printable recipe!
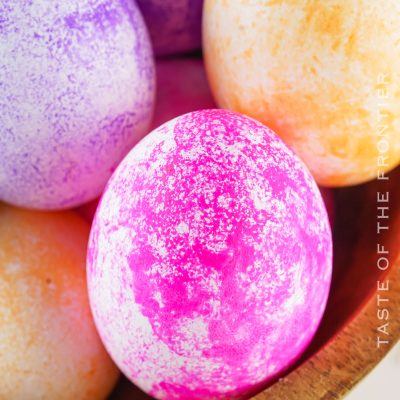
More Great Egg Recipes
Hard Boiled Eggs – Perfect Every Time
CONNECT WITH YUMMI HAUS!
Be sure to follow me on my social media, so you never miss a post!
Kool-Aid Dyed Eggs
Ingredients
- boiled eggs
- 1 packet kool-aid
- ½ cup boiling water
- 1 teaspoon vinegar
Instructions
- For each color or packet of Kool-Aid, add ½ cup boiling water, 1 teaspoon vinegar, and one packet of Kool-Aid to a cup and stir until the Kool-Aid is dissolved.
- Gently add the eggs to the dye of choice (one egg to a cup is ideal) and let sit for 1-2 minutes or until the desired color is reached.
- Remove the egg with a spoon and gently lay it on a paper towel without touching it as much as possible.
- Allow the eggs to sit undisturbed for about 5 minutes or until no longer wet before placing them back in the egg carton.
Notes
- Some of the lighter colors of Kool-Aid like lemonade come out very light and will take a little longer soaking in the dye. We tested a ton of flavors of Kool-Aid and only lemonade came out poorly. It’s the only color I wouldn’t suggest. For some colors like the pink lemonade, they come out pretty, but you’ll want to leave them in there for 3-4 minutes, rather than the 1-2.
- This method of dying works for farm fresh eggs or brown eggs. The colors come out a little darker, but it’s still gorgeous.
- Do not add any more vinegar than suggested. It will eat the color off of the egg and make it look bad.
- Don’t add more water unless you add more Kool-Aid or it will water down the dying aspect of the Kool-Aid and cause the dye to not do as well.
- If you handle the eggs too much coming right out of the dye, it will make marks in your coloring. For a more flawless egg, allow the egg to dry before handling it. The dye will settle onto the shell and it won’t budge after that.
- The color of the egg will brighten a bit as it dries.
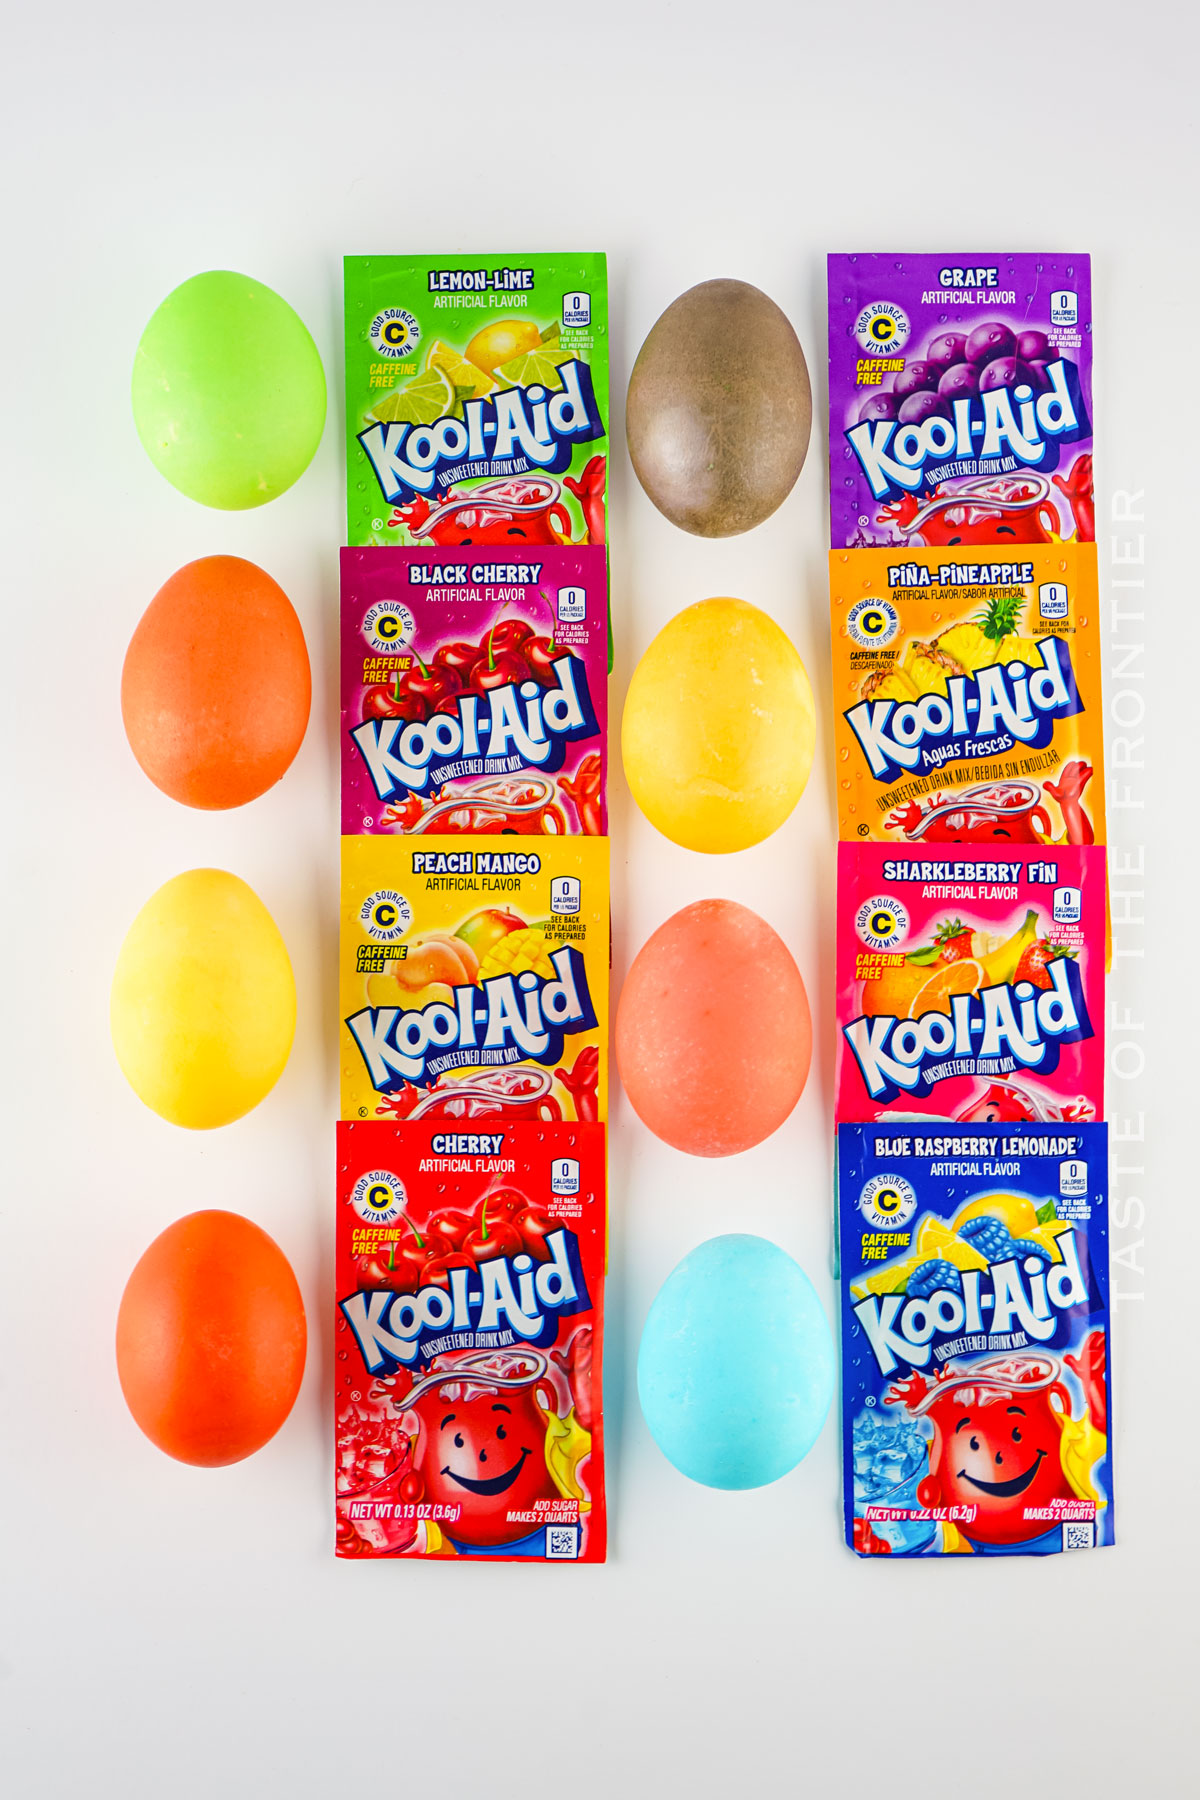
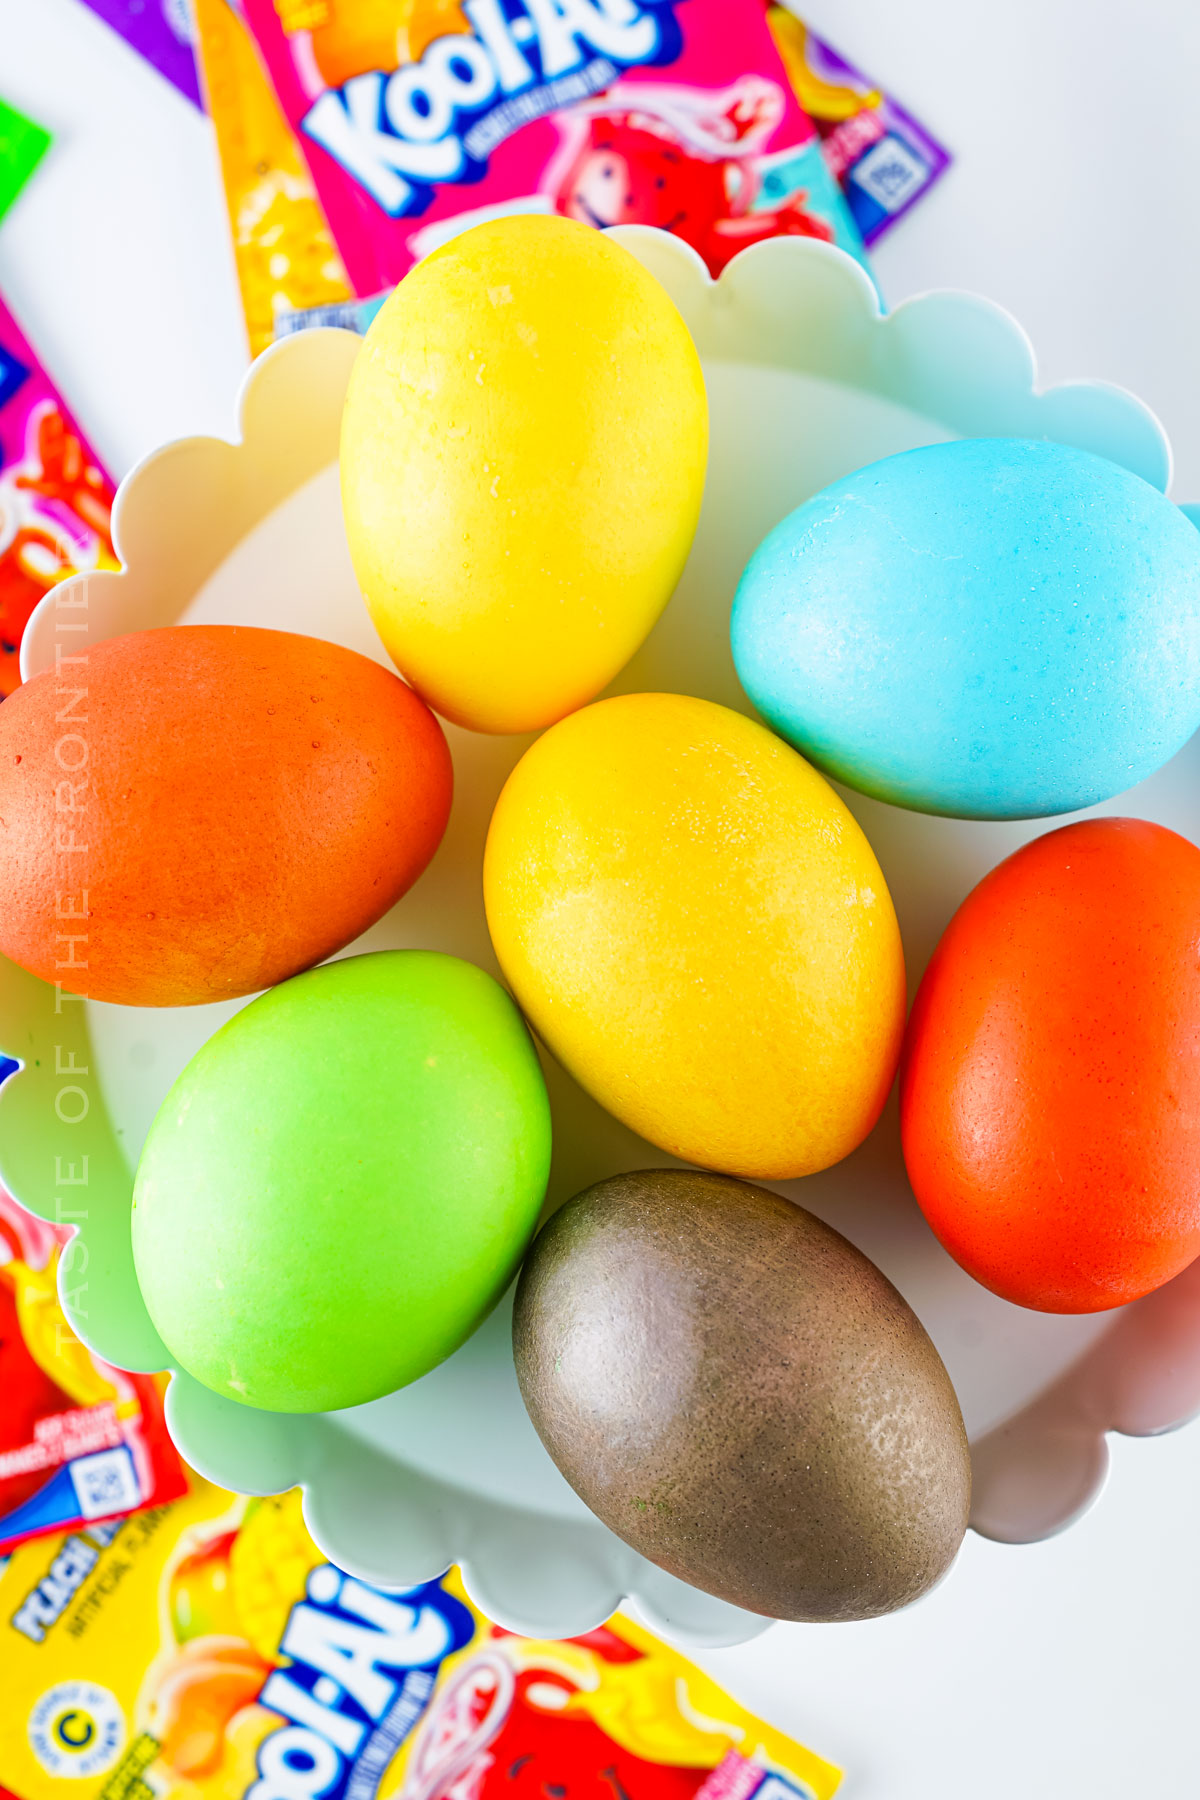
- Lemon lime and green apple come out the same color of green.
- Black cherry, sharkleberry, and cherry come out very similar shades of red, but they ARE different shades.
- Peach mango comes out light orange and pina-pineapple comes out a gorgeous spring yellow.
Equipment
- Paper Towels
- spoons
Nutritional information for the recipe is provided as a courtesy and is approximate. Please double-check with your own dietary calculator for the best accuracy. We at Yummi Haus cannot guarantee the accuracy of the nutritional information given for any recipe on this site.



Share Your Thoughts