Do you ever have those projects that you say you will do “someday” & then sort of get put off? That is until you find new inspiration to jump right in with both feet. That’s what happened to me with this project. You see – when we were in the beginning stages of building this house, I found this piece of header laying in the scrap pile. I squealed & then asked the hubs to save it for me. So we took it back to our rental & it sat in our garage while we waited for our home. He kept asking me, “what are you going to do with this thing?” I kept telling him that I was going to make it into a butcher block. Well – we just hit our 2 month mark here in our home & the project is complete. I will be sharing how I actually built the butcher block in another post here soon. You see, the thing that sparked my desire to finally get it done was the addition of the Dremel Micro 8050 to my arsenal of tools. So today I am going to share How to Monogram a Butcher Block. It was so FUN & easy – even for this beginner diy-er.
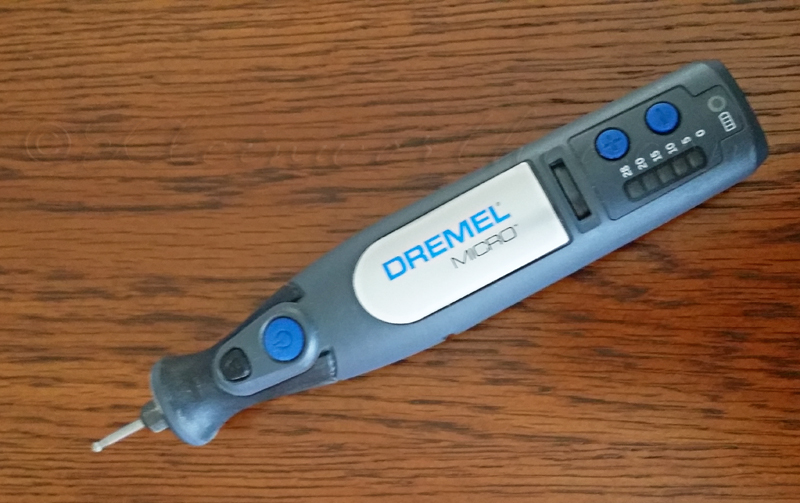
Here it is! Check it out!! It comes with a great little kit of starting bits & tools.
I love the variety that came in the starter accessory kit.
Light and easy to handle in tight spaces, the Dremel® Micro™8050 is packed with features that have crafters, hobbyists and DIYers in mind: soft grip, LED front-end lighting to illuminate projects, a docking station that continually charges, and an 8V Max Lithium-ion battery.
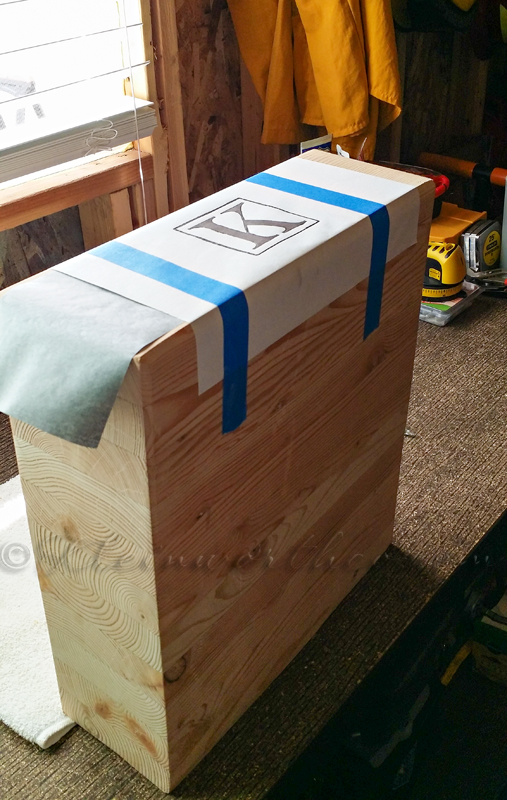
Once my block was ready, I created my monogram design in photoshop & printed on just regular paper. Then I used image transfer carbon paper between my image & the block. Then I traced the image.
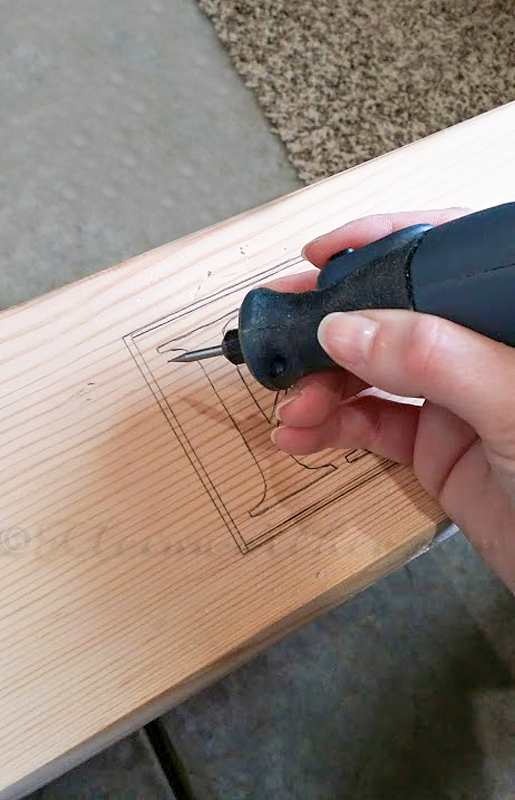
I traced over my image transfer with pencil so it was easier to see.
Then I started with my cutter accessory & started cutting away at my design.
**I should tell you that I used a small scrap piece of wood to practice on first. I wanted to be sure I knew the feel of the Dremel & was comfortable with it before starting on my actual project. I was so happy I did because it took a little getting used to so I knew exactly what the tool would do & the pressure that was needed to work the project like I needed to. Things like the lines in the wood from the tree rings – it’s harder than the rest of the wood & that took some practice to work with.
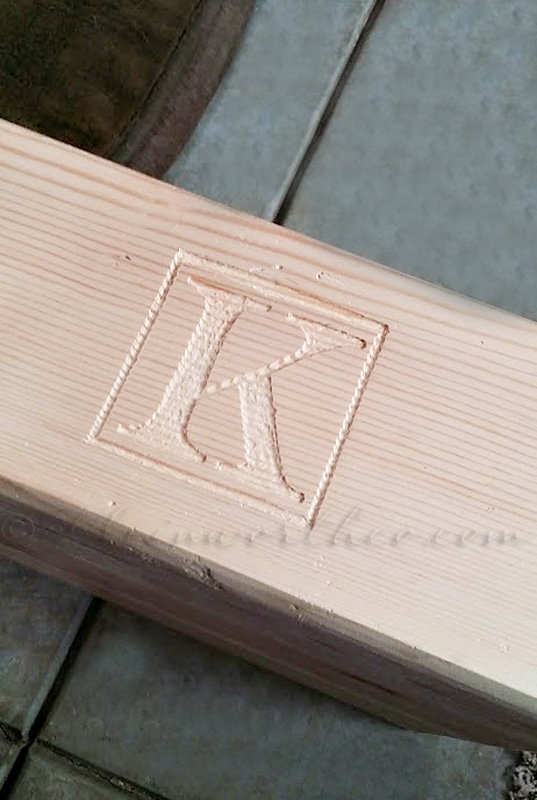
Here is what it looked like after cutting. This did take some time because I wanted it pretty deep. Because it’s cordless – I ran it out of battery several times. Which gave me time to stretch my legs & work on some other projects I had in the works that weekend too. I did get over 1-2 hours of non-stop cutting with each round.
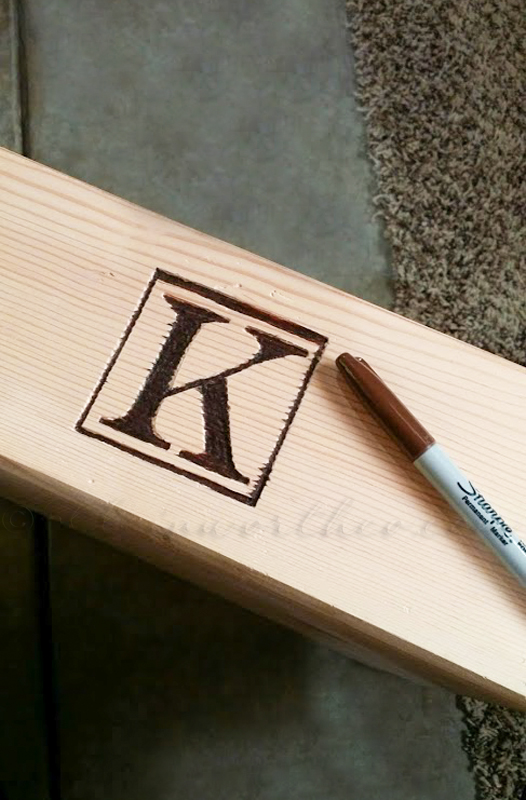
So in my trial piece I used wood stain & a cotton swab to darken the area. That didn’t work so well & the cotton swab was too big. There was a bunch of bleed over & the color wasn’t quite right. So my son suggested that I use those furniture scuff fix markers. While I thought that was a great idea – I decided that a regular fine tip Sharpie in brown was the right tool. It did bleed out a little bit in some areas – but I like that it gives it a burned & rugged look.
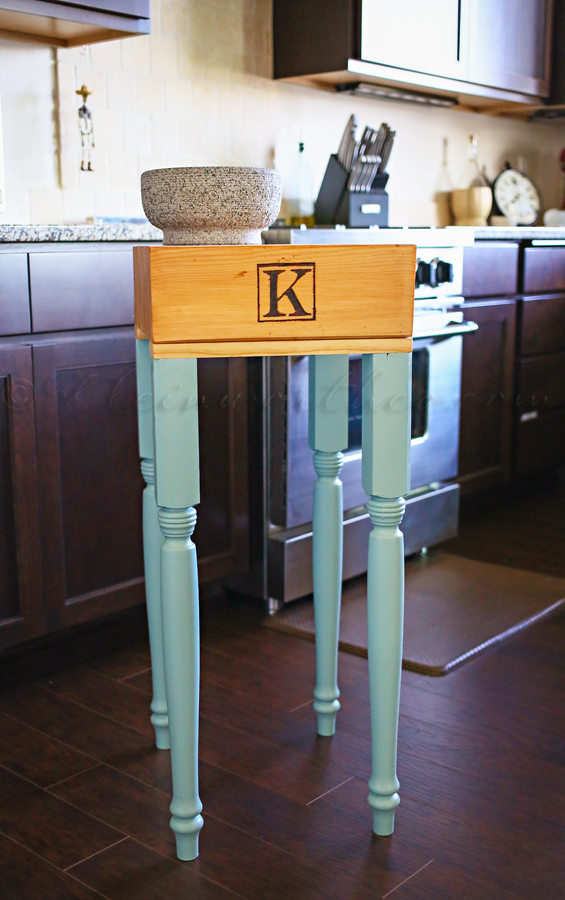
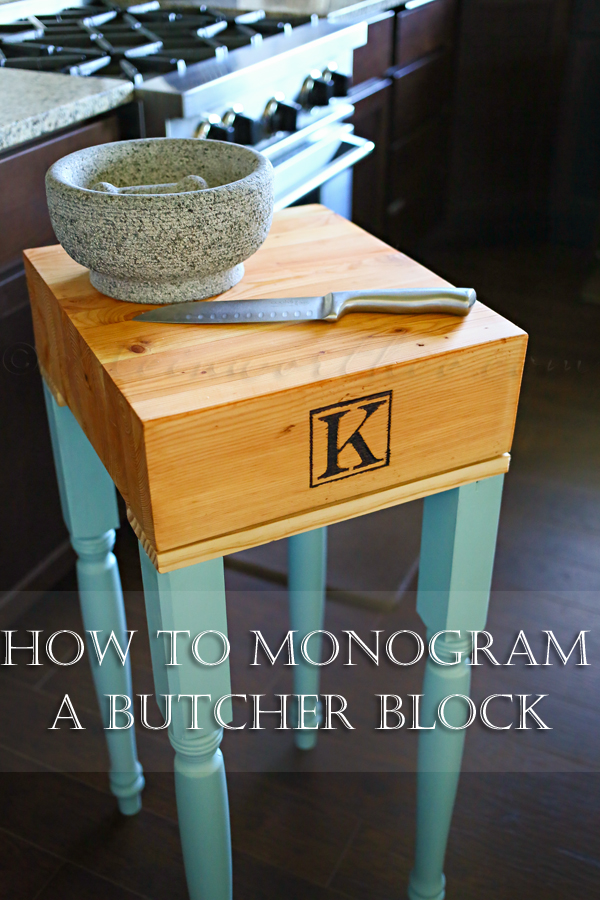
That’s it for the monogram. I told you it was easy for a beginner diy-er. Here is the finished block.
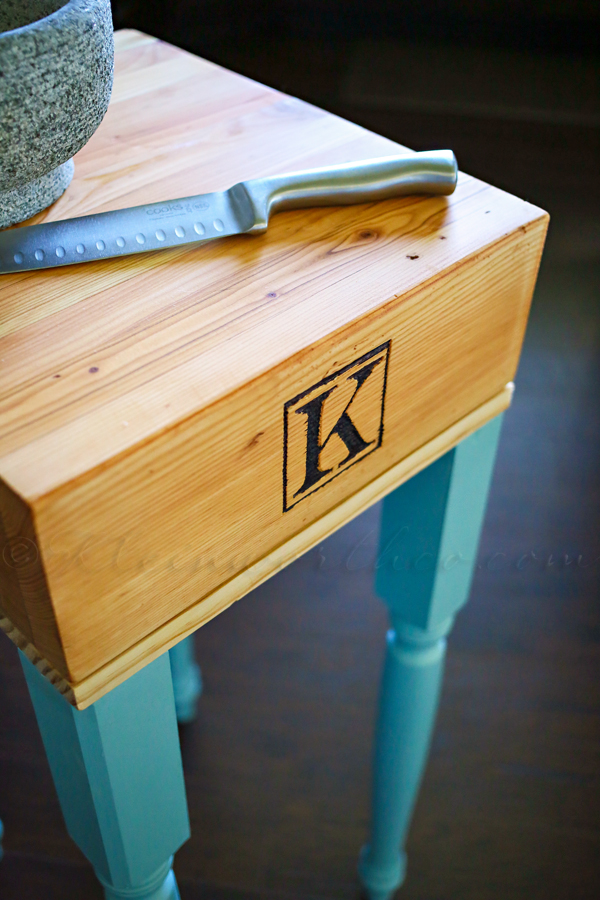
I really can’t wait to start working on my next project with the Dremel Micro.
The Micro 8050 can cut, carve, engrave, sand, grind, sharpen, clean and polish—helping you bring just about any brilliant project to life.
You can purchase the Micro 8050 nationwide at Home Depot and Lowe’s and online at Amazon.com for $89 USD.
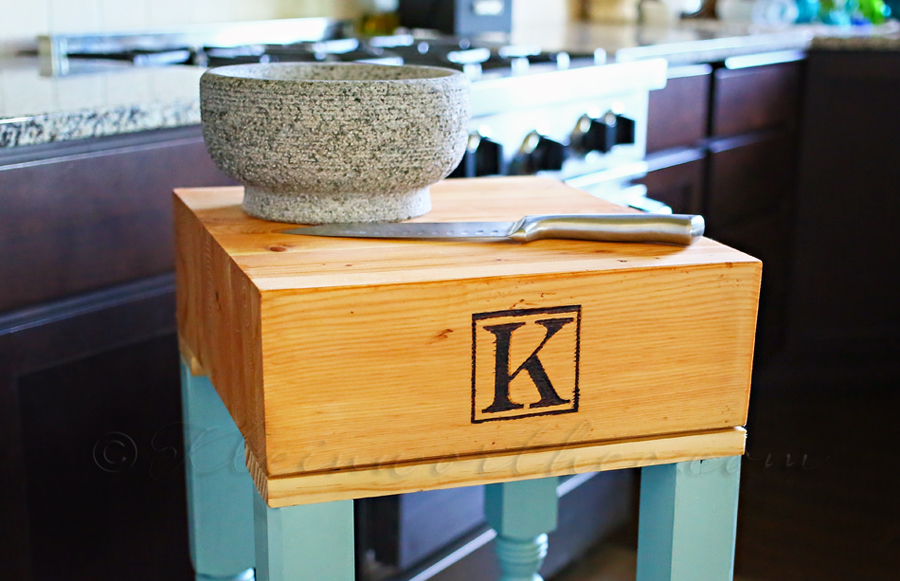
I love how it turned out & that it’s a sentimental piece from our house – that is now being used in our house.
I actually sent the hubs back to the hardware store to pick me up the mega pack of accessories for future projects.
My head is swirling with ideas now. The possibilities are endless.
Dremel wants to celebrate its fans’ brilliant projects, work and ideas! Now through October 3, share, tweet or post photos on Facebook, Twitter and Instagram that depict your brilliant ideas using the hashtag #MyBrilliantIdeaSweeps for the chance to win weekly prizes, including free tools, gift cards and handmade gifts, or the grand prize: a custom-engraved Honda scooter and a Micro 8050. Visit www.facebook.com/dremel for rules and to learn more.
For more information on Dremel products, project ideas and problem-solving tips, visit www.dremel.com.
Connect with Dremel on Twitter & Pinterest
Want more projects for the home?
I was selected for this opportunity as a member of Clever Girls Collective and the content and opinions expressed here are all my own.
To see where I am linking today- visit HERE


I long for a nice big butcher block cutting board!! Looks like your new kitchen is gorgeous!!
Fasinating! I had no idea how this was done. MY DIY teen girl would love this! Thanks for the how to also. Have a good day! (visiting from Little byLittle at Kim’s)
Fabulous project! I noticed the pie post in the sidebar too! I’m so glad I discovered your lovely corner of blogland. I’d love for you to share this post at my weekly link party. http://www.thelifeofjenniferdawn.com/2014/09/a-little-bird-told-me-link-party-106.html Hope to see you there!
Thanks so much Jennifer – nice to “meet” you!!
This is gorgeous! That dremel tool looks amazing, I seriously might need to get one. Oh, the possibilities! Great job! 🙂 Visiting from The Creative Exchange!
I am absolutely in LOVE with your blog! I keep seeing you link up at so many parties and always end up clicking on your projects! I love this idea! I am currently building a kitchen island (out of scrap wood and laminate flooring- it is interesting!) and think this will be PERFECT to add some detail to the island! Thanks a billion for sharing, had to pin this, too! 🙂
Thank you SO MUCH!!! Nice to meet you!! You should give it a try. I am so in love with this tool. I can’t wait to use it on other projects!
Gina! That is gorgeous! I absolutely love it!
I really like this! Thank you for sharing.
This is so clever! I thought it was branded. I would love for you to come share it at our link party! http://www.pneumaticaddict.com/2014/09/outside-box-link-party-1.html
I can’t wait to see the “how to” that goes with this great butcher block! Thanks for linking to the In and Out of the Kitchen Link Party! See you next week.