How to Create Printables with Photoshop Elements breaks down the steps & shows you how to create beautiful, printable graphics quickly & easily.
I share a lot of printables here. To create those printables I use Photoshop Elements. I like it because it gives me all the photo editing capabilities I need when I’m processing portraits or product photography. But it also has so many features that also let me create awesome graphics with it too. When you are first starting out it can seem overwhelming & intimidating to even know where to start. But once you learn it’s really quite simple. I am self-taught & it took me years to learn all the different things I now use the program for. But my friend Kelly is here today to show you how quickly & easily you can make your own printables in Photoshop Elements. Please give her a nice warm welcome. She is sharing a fabulous totorial on How to Create Printables with Photoshop Elements with you today!
How to Create Printables with Photoshop Elements
This post contains some affiliate links. Click here to read my full disclosure policy.
Hey everyone! It’s Kelly from Here Comes the Sun. Gina has so graciously let me guest post today on one of my favorite topics: graphic design. To say that I love graphic design is an understatement. I love it so much that I’ve turned it into a business. But it wasn’t always easy for me. It took a lot of trial and error but I finally found a program that works for me and I today I’m going to teach YOU how to create printables with Photoshop Elements.
Since I create so many different types of printables for my shop, I’m going to focus on one of the more easier ones today. We’re going to learn how to make circle tags in Photoshop Elements. I use version 11 but there are newer versions as well.
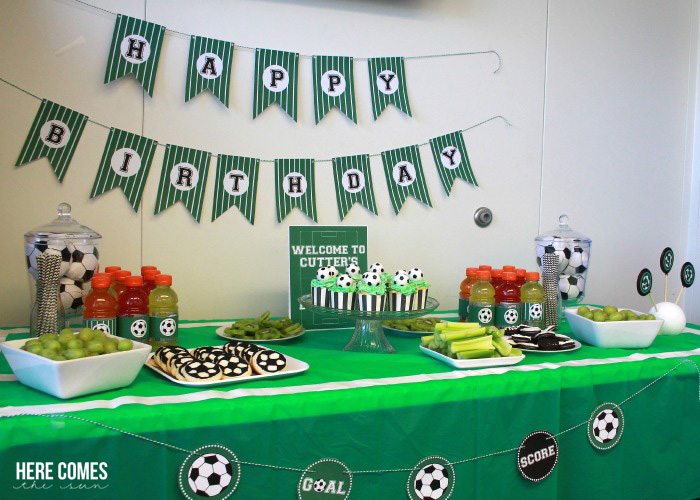
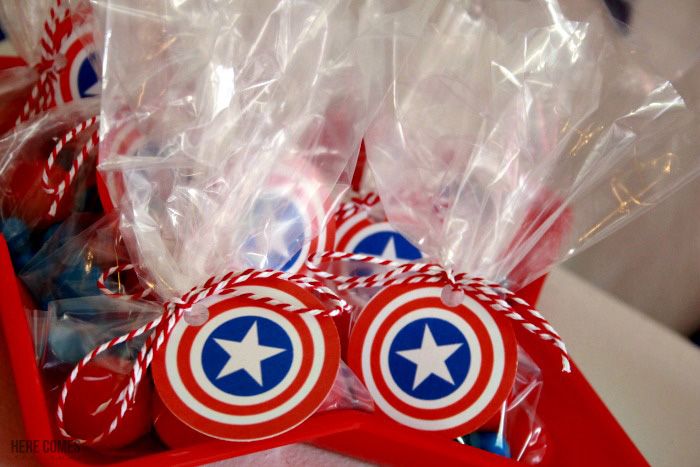
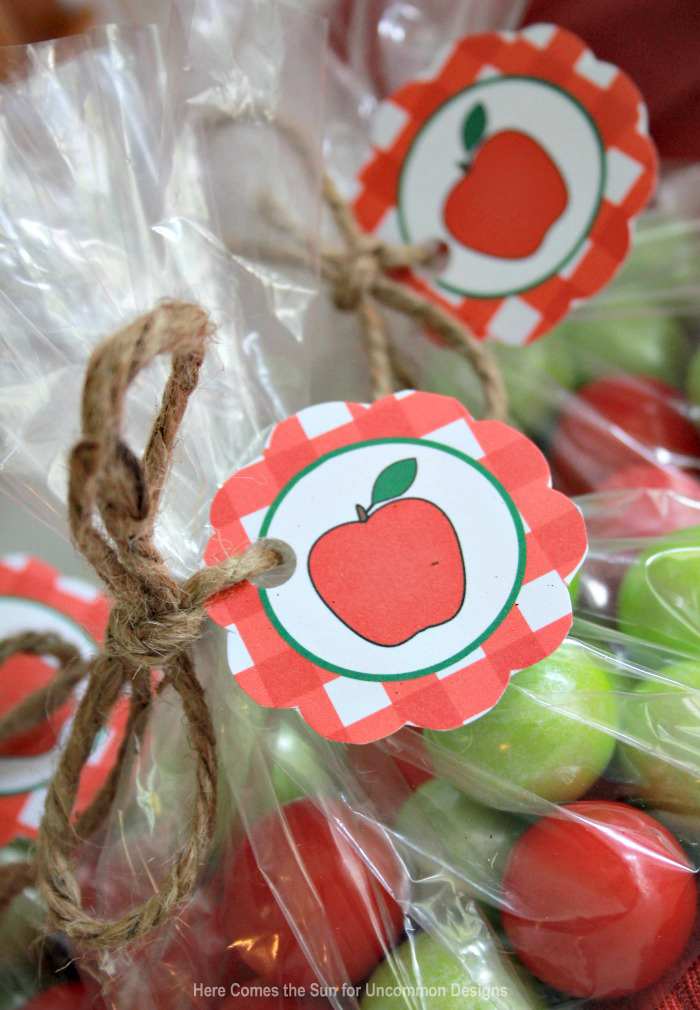
You can use circle tags for cupcake toppers, stickers or you can even string them together to make a banner. Here are some examples of different circle tags that I have created.

HOW TO CREATE PRINTABLES WITH PHOTOSHOP ELEMENTS
Step 1.
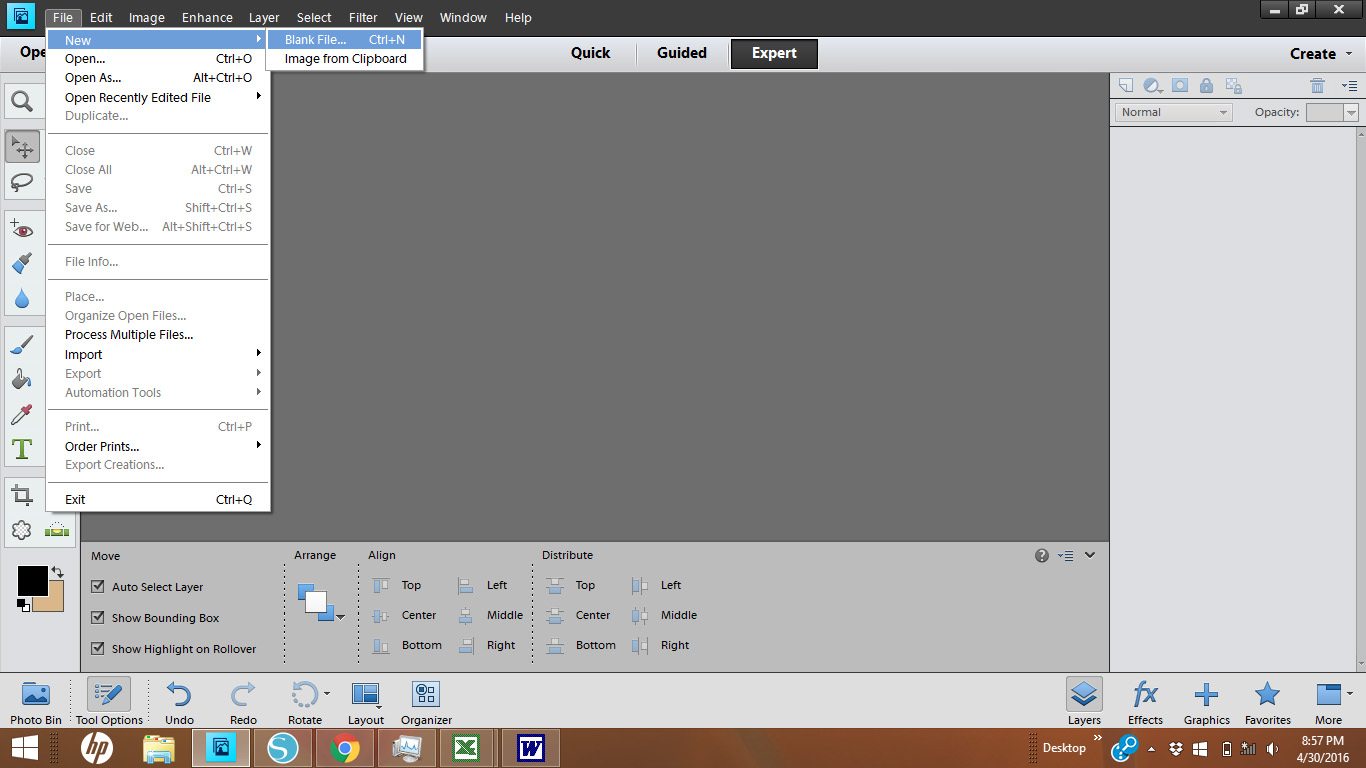
Open Photoshop Elements and click File > New > Blank File
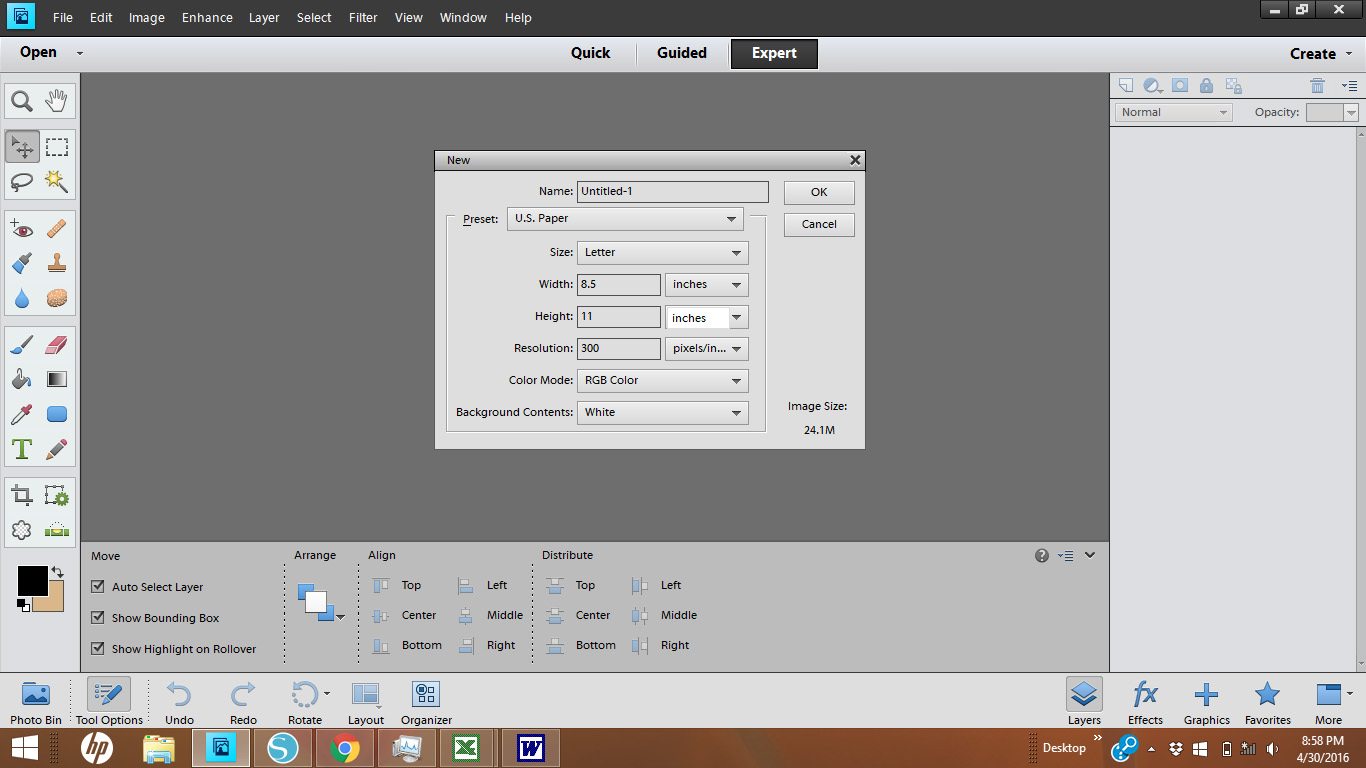
From the dropdown menus, choose U.S Paper, 8.5″x11″, white background and 300 dpi.
This is what your screen will look like when you are done with Step 1 (minus the 2 layers in the layer palette):

Step 2.
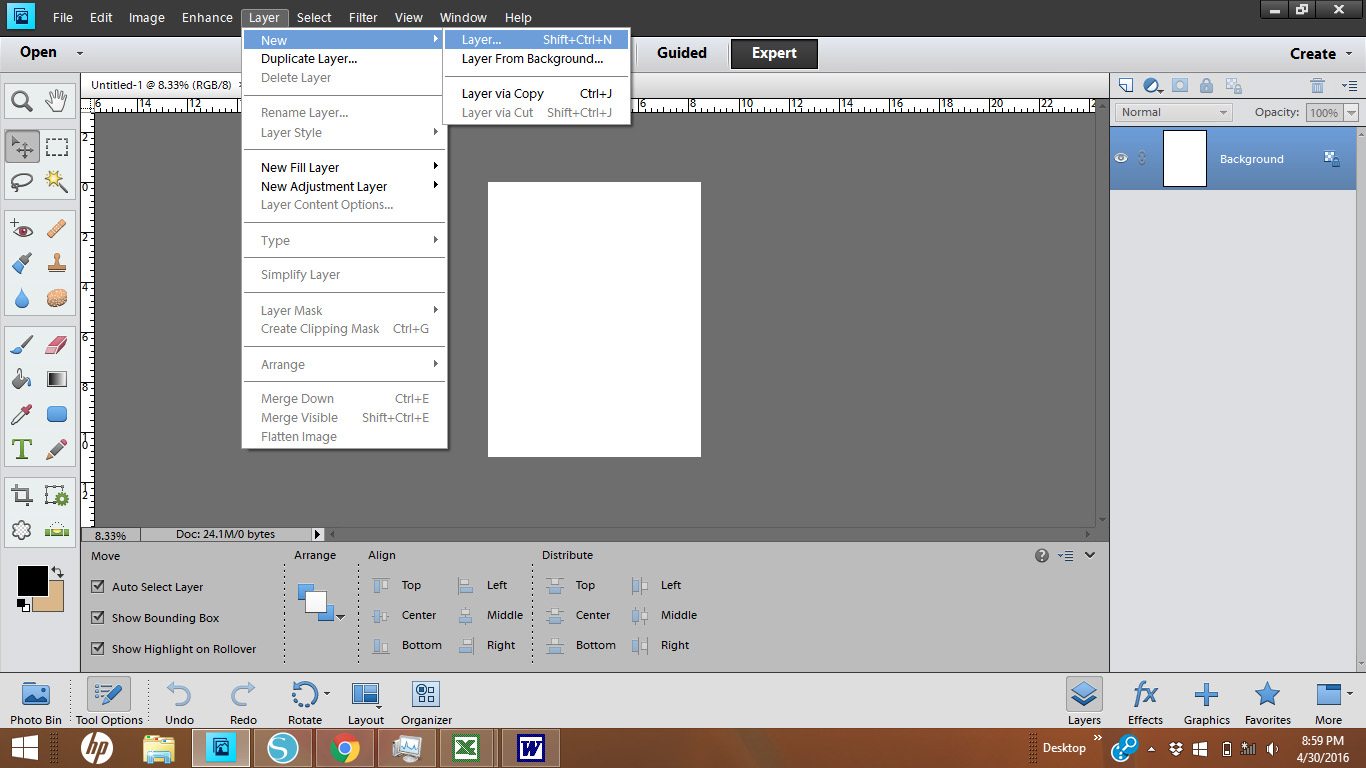
Create a new layer . Layer > New > Layer
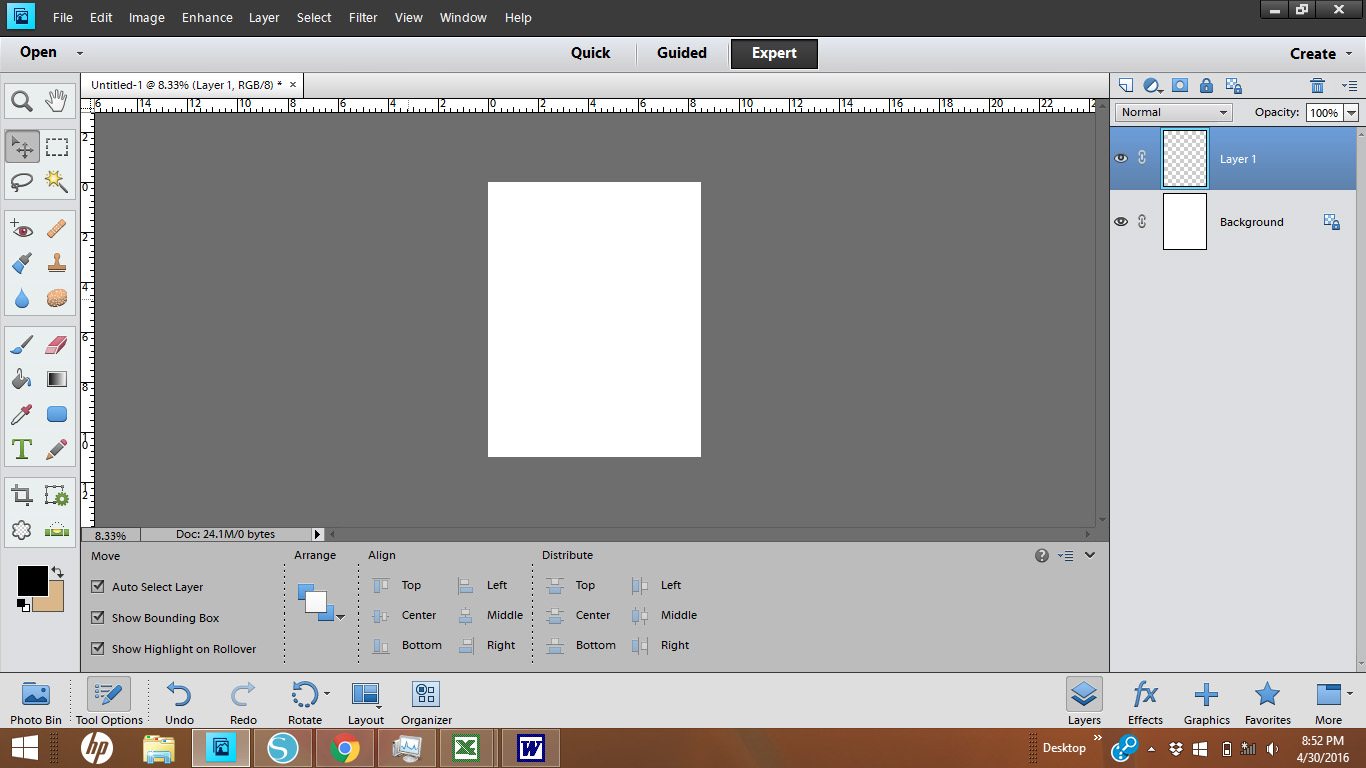
Now you can see the transparent layer in the layer palette on the right hand side of the screen. This is where we will place the shapes and text.
Step 3.
On the tools menu on the left hand side, choose the shape tool. It’s the ninth tool down in the right column. Choose Ellipse. In the dropdown, click on the circle > fixed size. Enter 2.5 inches.
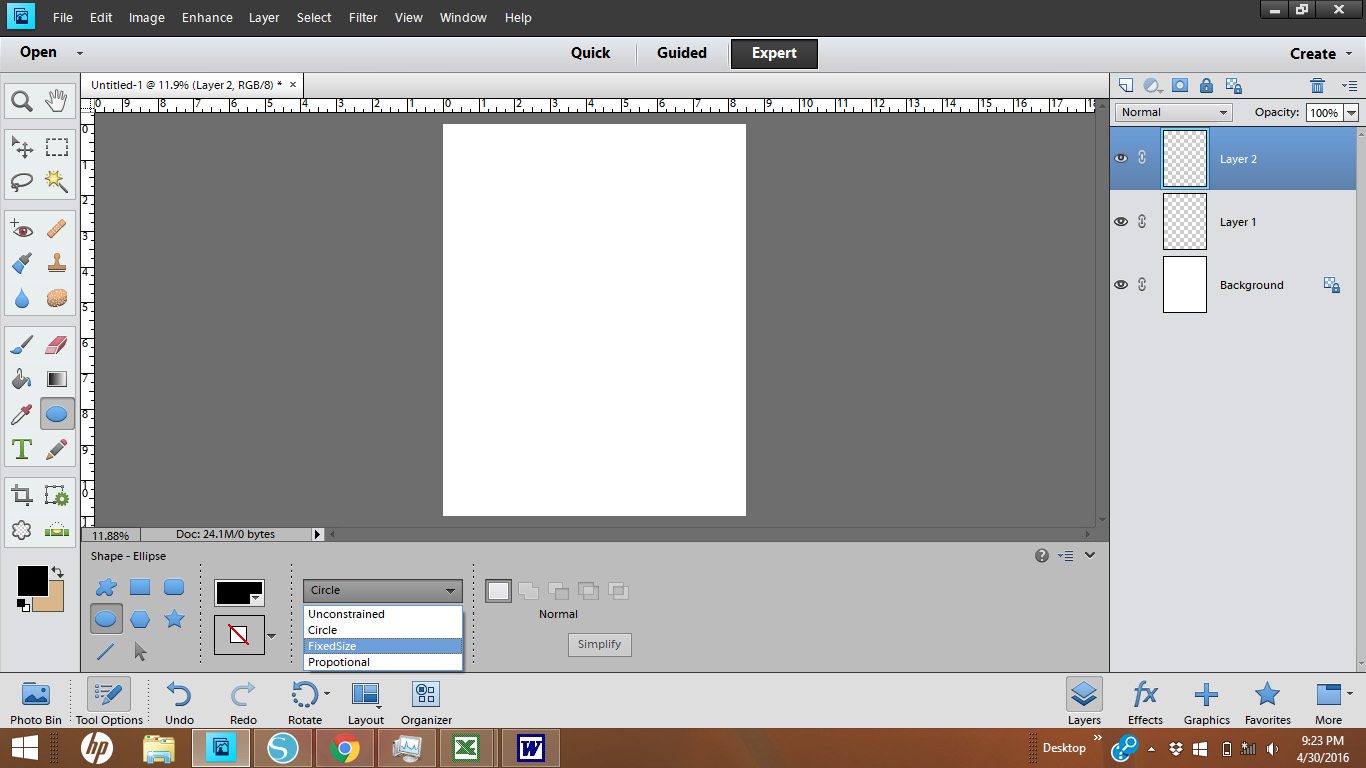
Now, click anywhere on your canvas and a circle will appear with the dimensions that you chose.
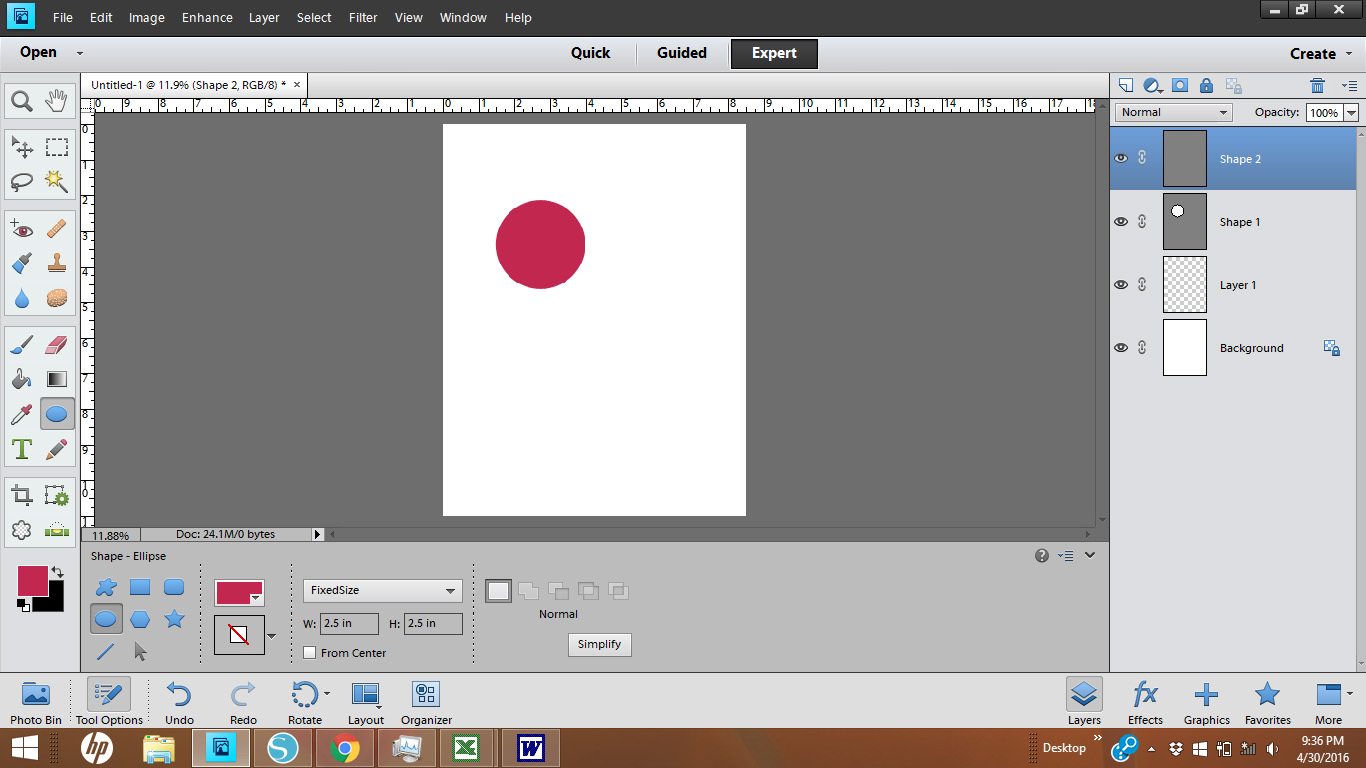
To change the color of your circle, click on the color dropdown menu and then click on the multicolored circle in the lower right.
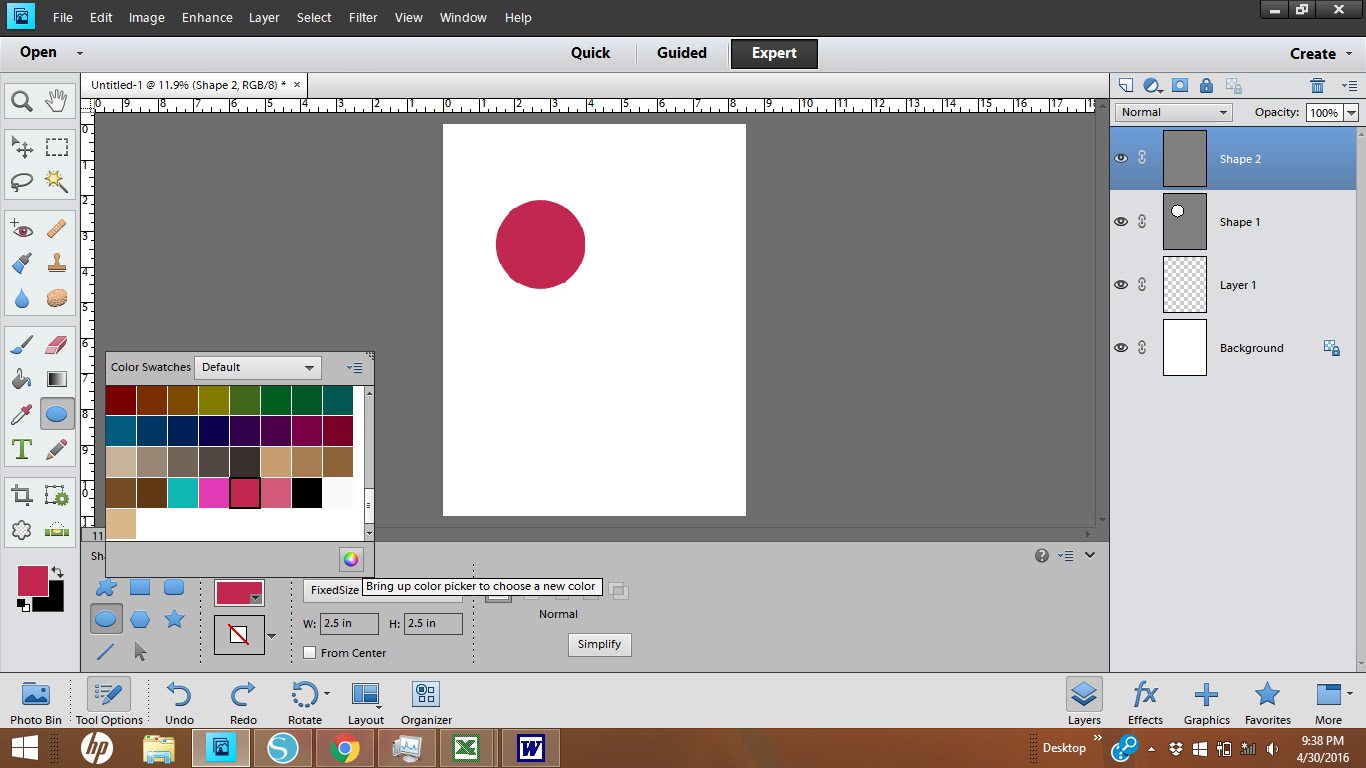
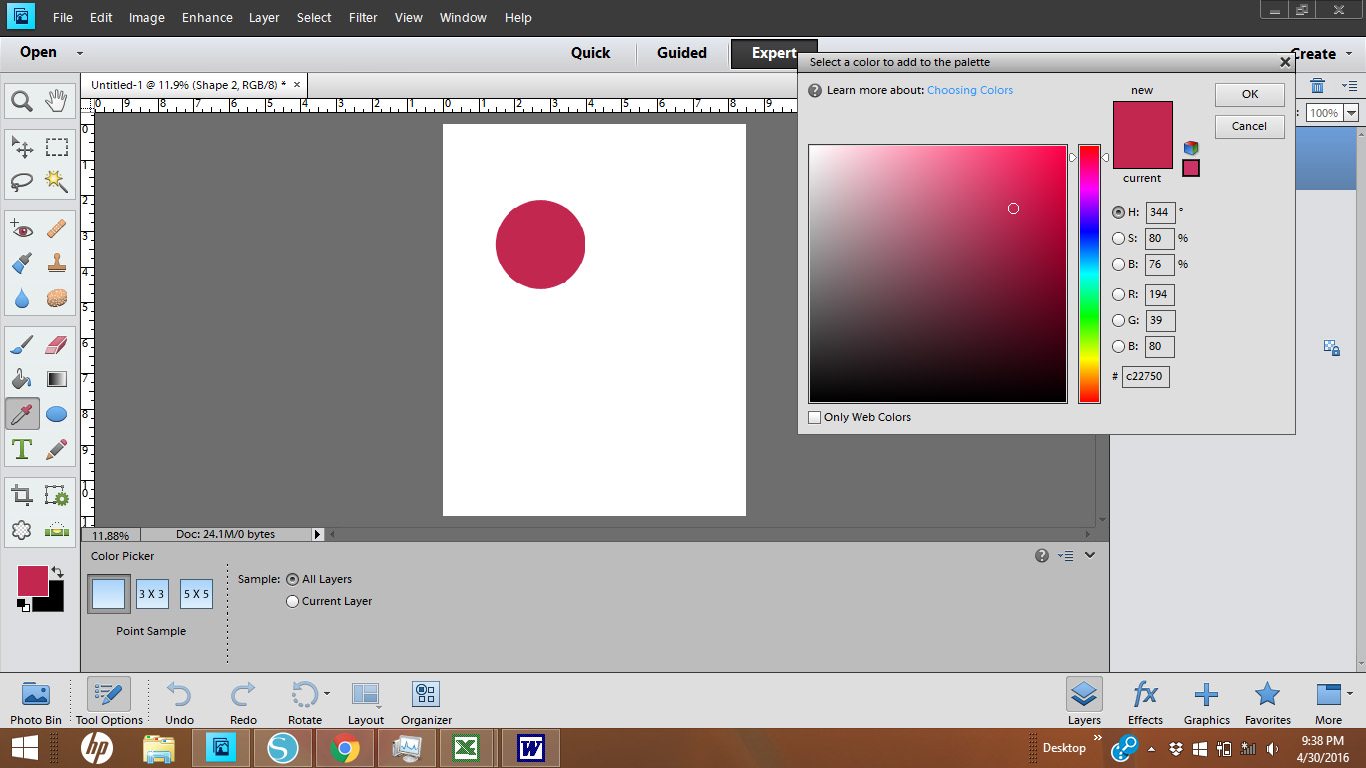
This will bring up the color palette. Choose the color you want and click “ok”
Step 4.
Now we’re going to move the circle to the upper left of the page. Click the “Move” tool (the second tool down on the left), click on your circle and drag it to the upper left corner of the page.
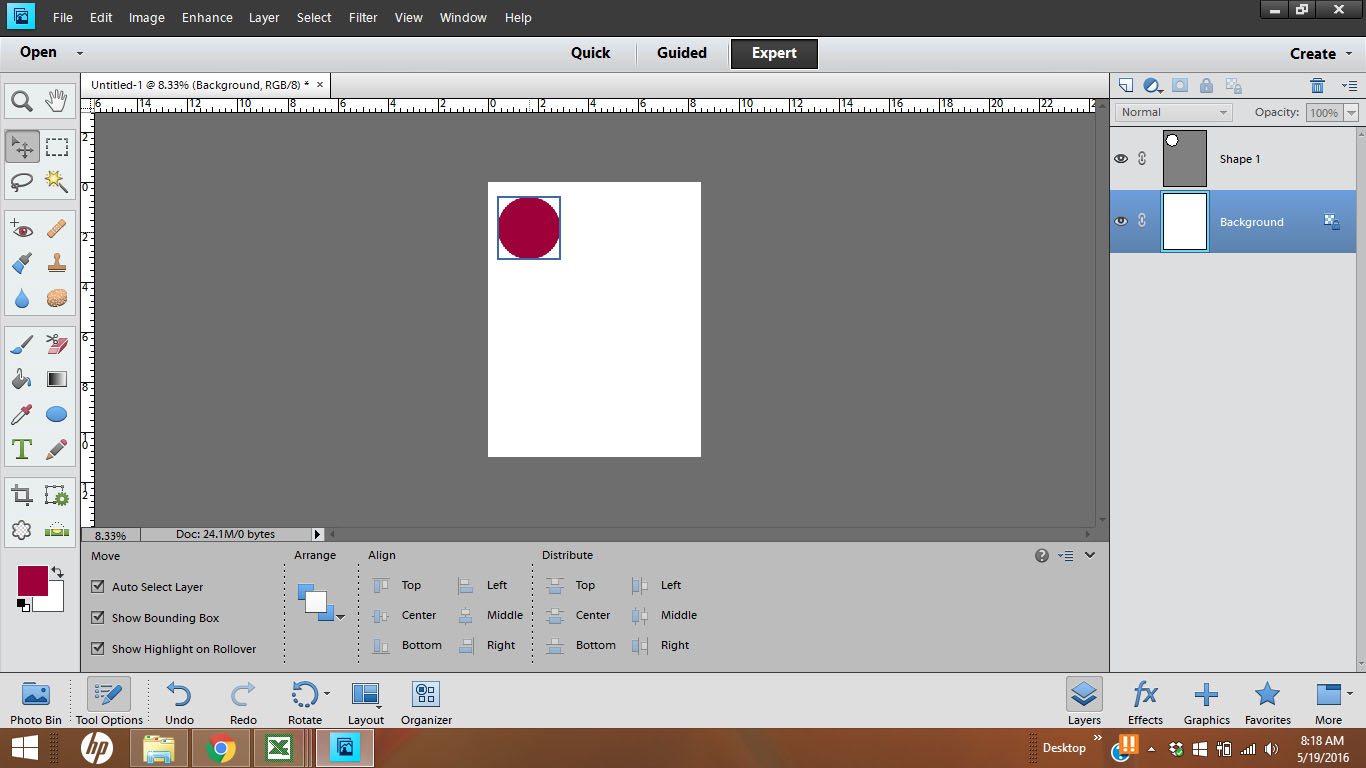
Step 5.
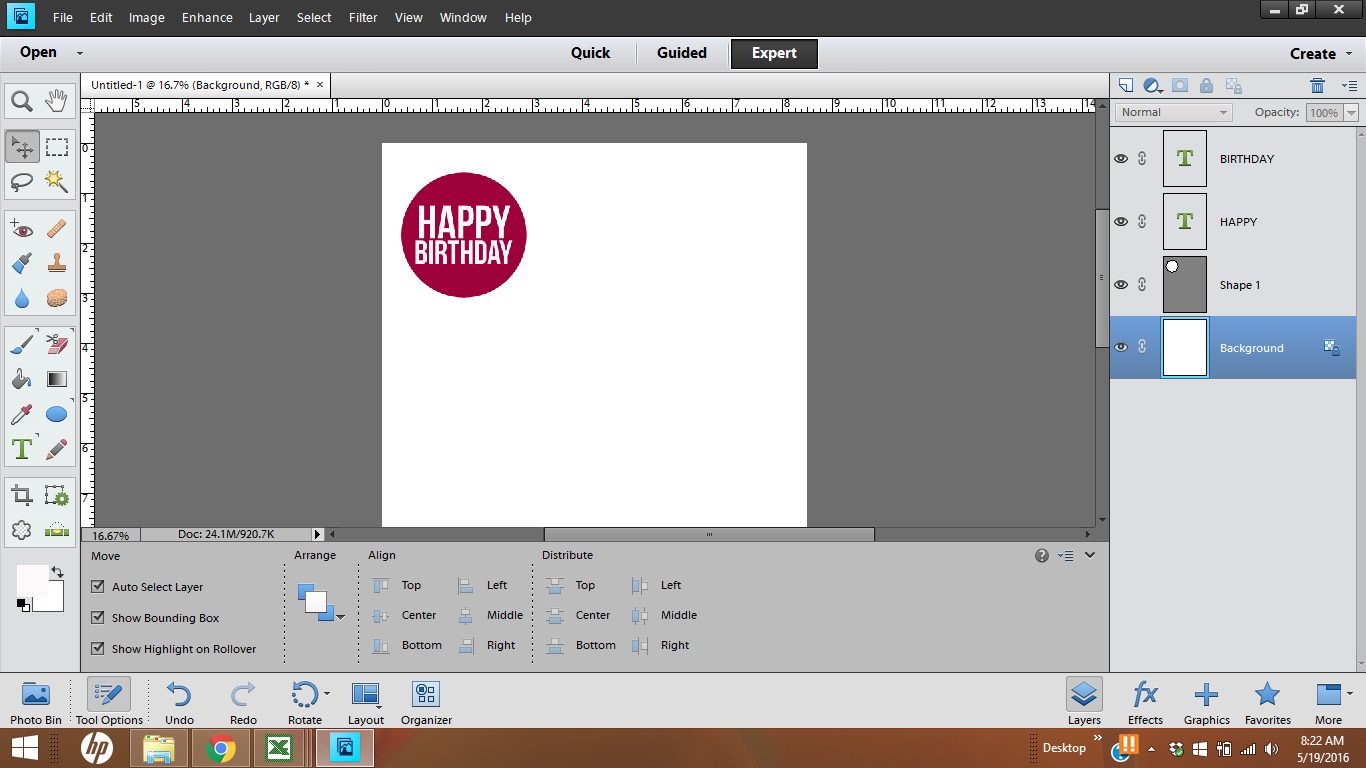
Next, we’re going to add text. Click on the text tool (the “T”) and pick a font from the dropdown menu. You can change the color of the font the same way that you changed the color of the circle. You can change the size of the text from the dropdown menu or by clicking on the text and dragging the corners. Place each line of text on a separate layer (CTRL-SHIFT-N is the shortcut to create a new layer). Make sure the text layers are above the shape layer. To do this, just click and drag the text layers in the layers palette. Move the text to the middle of the circle.
Step 6.
Now we are going to merge all layers together. Select all layers (except background) in the layers palette. Click CTRL-E to merge the layers.
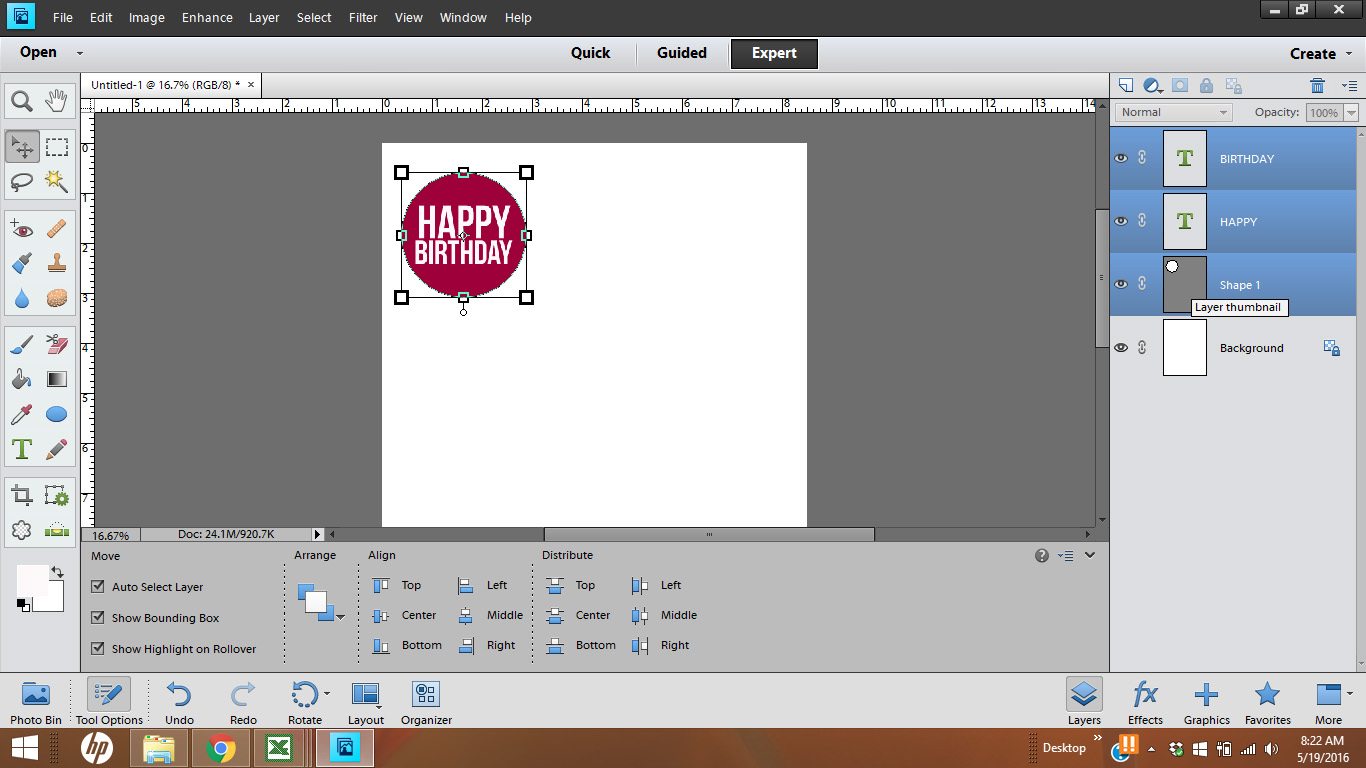
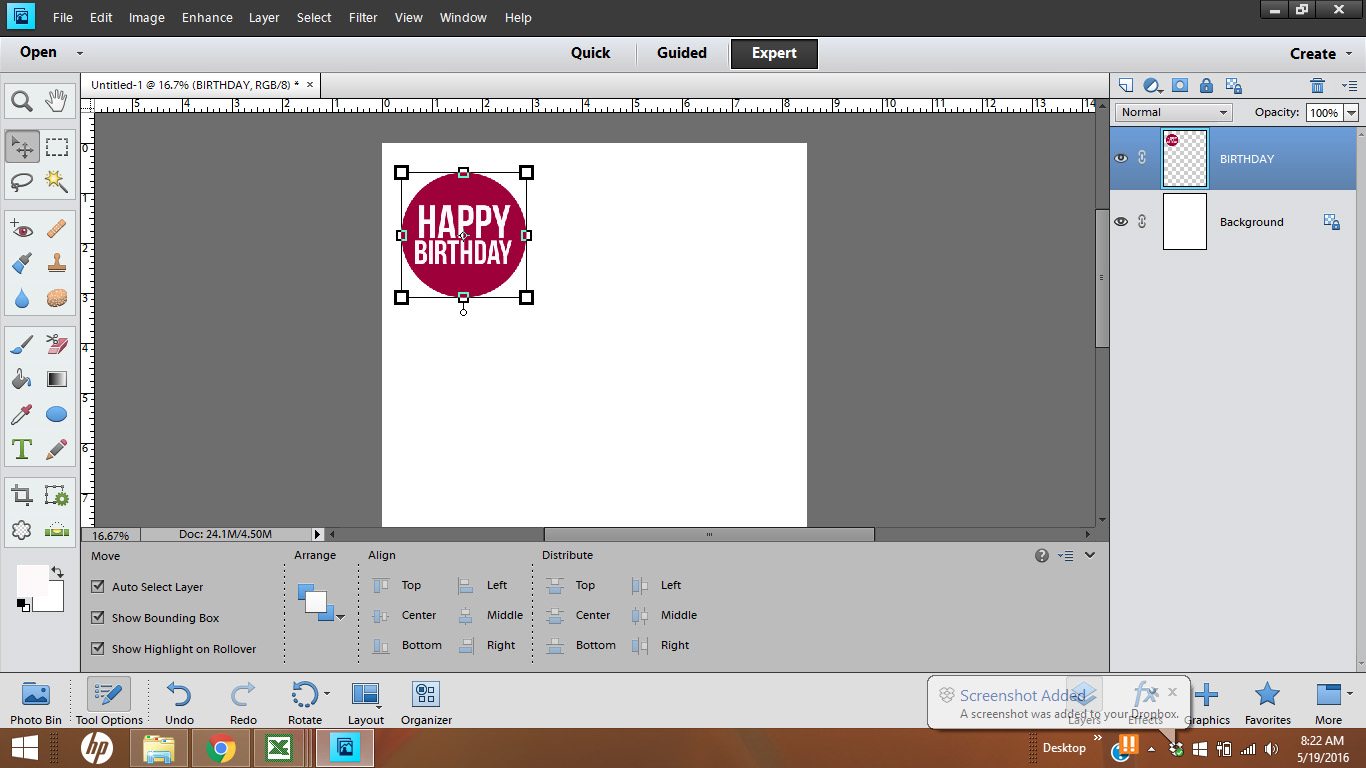
After merging the layers, your screen will look like this, with the text and the circle combined into one layer.
Step 7.
Now we are going to copy the image to fill the page. Make 2 copies of the image by clicking on the image and then clicking CTRL-J twice. Click and drag each image to the right to make a row.
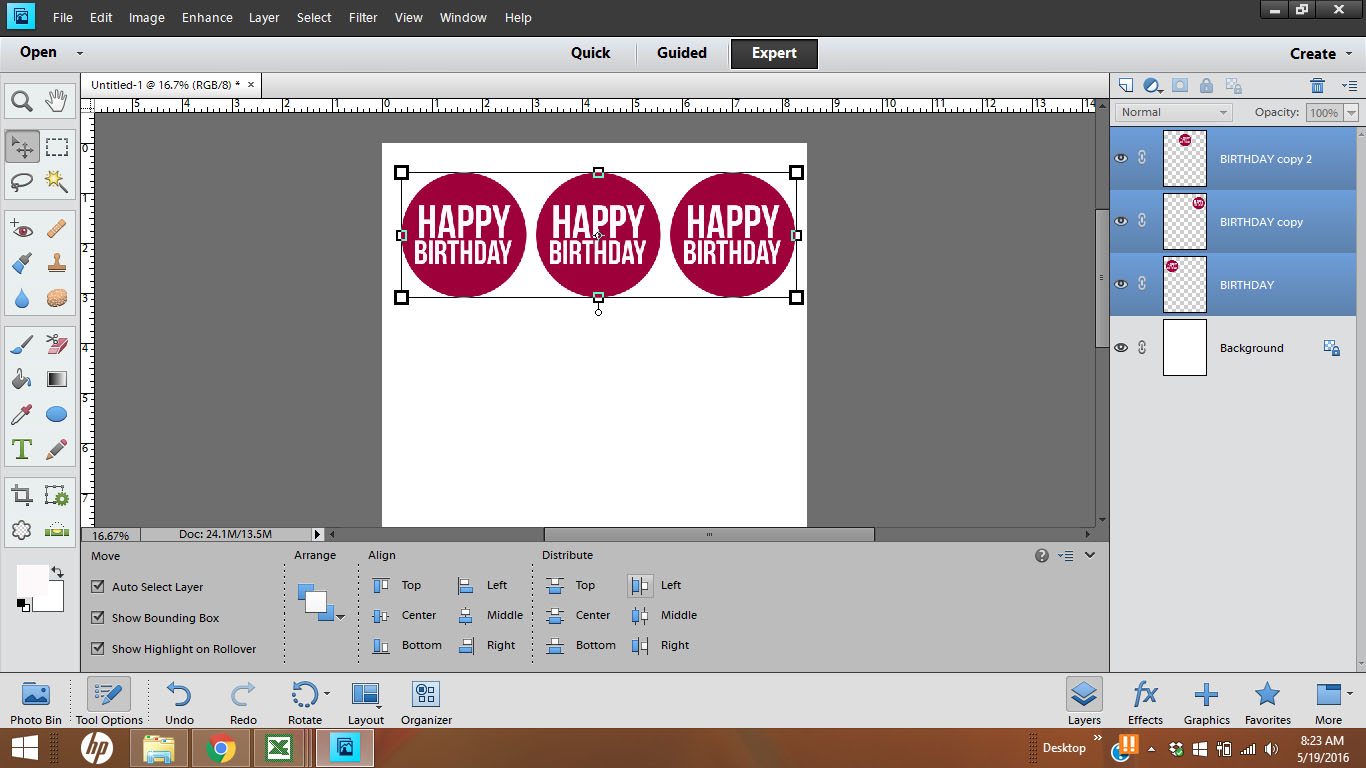
Distribute the images evenly by selecting all images and clicking “left” under the Distribute menu at the bottom.
Step. 8
Once the images are distributed evenly, click CTRL-E to merge the images (make sure the background is not selected)
Step 9.
Select your image and Click CTRL-J to make 3 copies of the line of circle tags. Use the move tool to move each line to fill the page.
Highlight each layer (not the background) and distribute the lines evenly by clicking Distribute > Top.
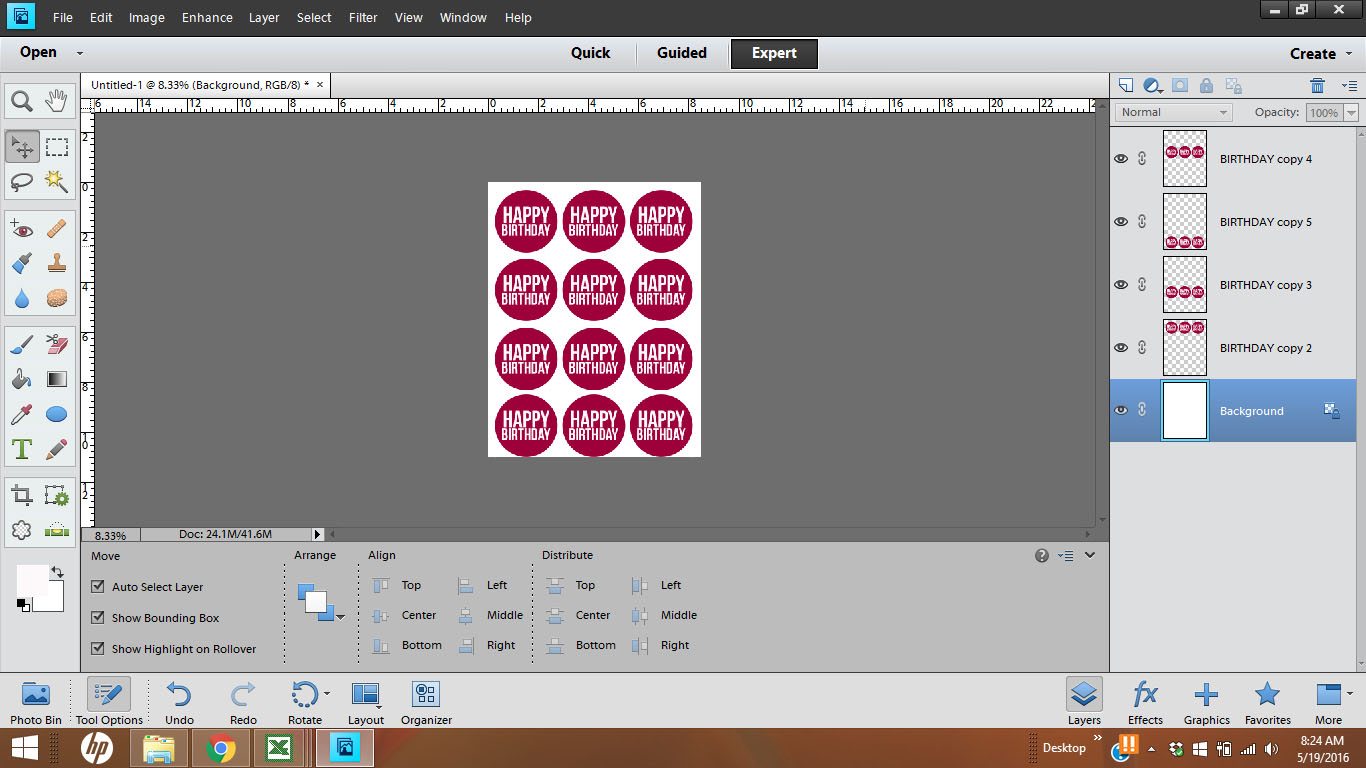
Step 10.
The final step is to center the images on the page. To do this, first merge the layers (not the background) using CTRL-E.
Next, click on both the background layer and the circle tag layer. At the bottom of the screen under the “Align”, click “Center” and “Middle”.
When you are finished, this is what your screen should look like.
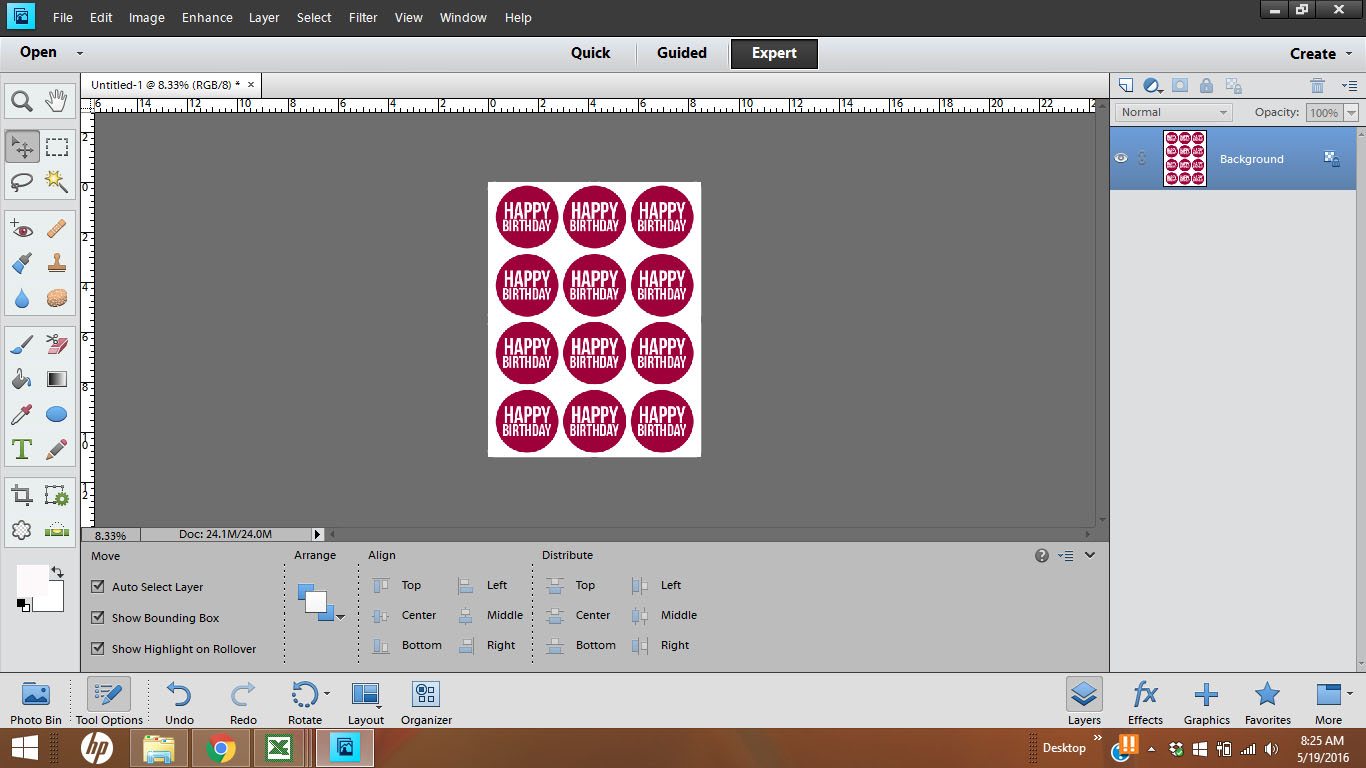
Step 11. Save!
Save your work as a PDF!
Yay! You have just created an amazing printable! Are you ready to learn even more about Photoshop Elements? I’m so excited to tell you all about my new eBook, Photoshop Elements for Creative Entrepreneurs. It just launched yesterday and is chock full of Photoshop Elements tips and techniques.
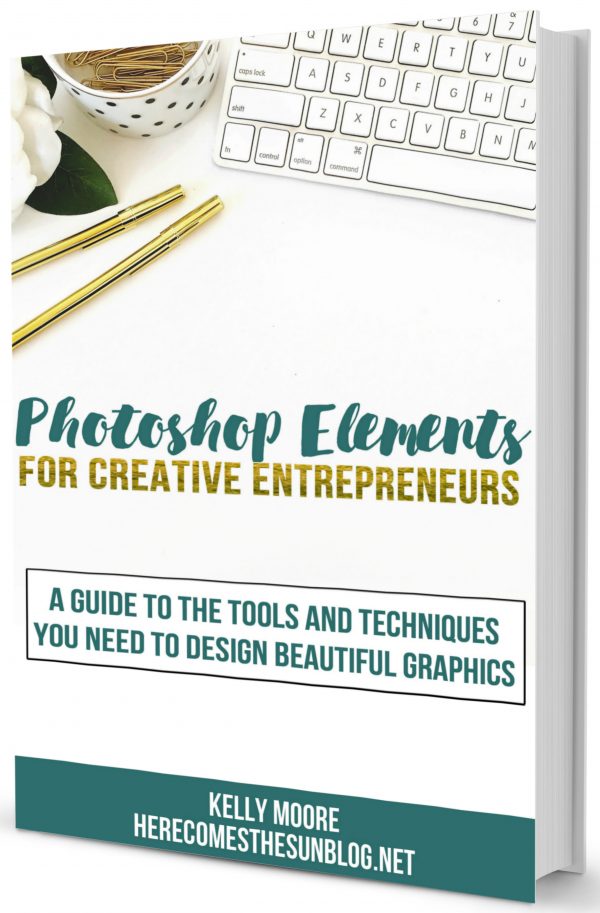
I’m so excited that I finally get to share this eBook with all of you. Graphic design is one of my passions and I love to teach people how to do it the easy way. This book is for both beginners and intermediate users. And you don’t have to be an aspiring (or current) entrepreneur to gain knowledge from the book.
I use my graphic design skills for my blog and Etsy business and this book will help you to do the same if you have a small (or large) business. But the skills that you learn in this book translate to any type of graphic design that you want to do, whether it be for personal use or commercial use. I would love for you to take a look at all this book has to offer. You can learn more about the book and purchase it by clicking below.
Thanks so much, Gina, for letting me take over your site today!
How to Create Printables with Photoshop Elements
What a great tutorial! I have read Kelly’s book & I can tell you she really did a great job breaking down Photoshop Elements & explaining all its great features & how to use them for graphic design. You definitely want to pick up her book!
Looking for more photography tips?
Choosing Food Photography Props, Color Wheel Printable
To see where I am linking today- visit HERE




Great tips!! I make printables and such for school all the time – great skill to have!
Thanks so much for this tutorial!
So glad you liked it. Kelly did a great job! I wouldn’t change a thing.
Thank you for this great, easy, tutorial!