A little bit ago I shared with you how I monogrammed my homemade butcher block with a promise that I would also eventually share how I built the block itself. Well today I am doing just that. You see – we started with just a salvaged scrap piece of a header from the pile outside our house during the construction process. I knew the moment I saw it that I wanted to make it into a butcher block. The hubs didn’t quite see my vision – but after months of talking about it, I finally had him on board to at least help me a little. I am happy to say that I was able to prove him wrong & he loves it. He was sure skeptical – but I think it gave him a sense of accomplishment to complete the project along with me. So let me show you How to Build a Butcher Block.
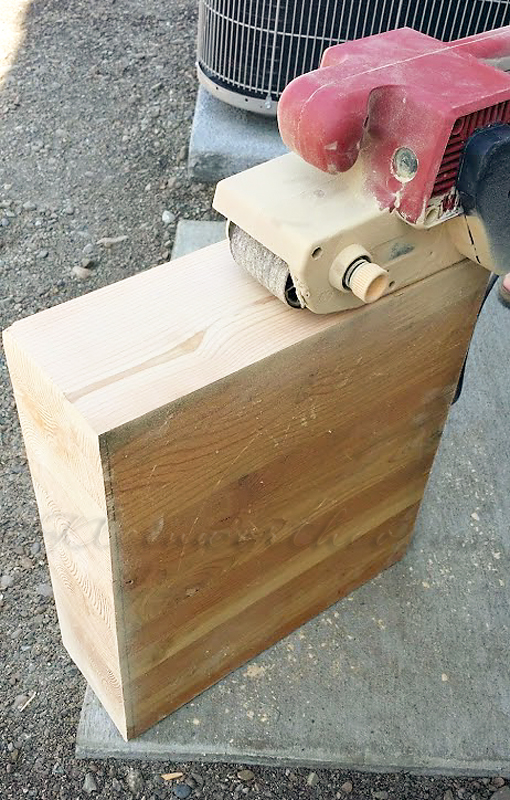
So here it is – the rough cut piece we salvaged. I actually think this was part of the piece from our mantle.
The hubs used a belt sander to get it as smooth as possible. Then I used the mouse sander to fine tune that sanding.
If you plan on monogramming your block – now is the time to do that.
It’s so much easier to do it before you add the legs so you can really move your block piece around.
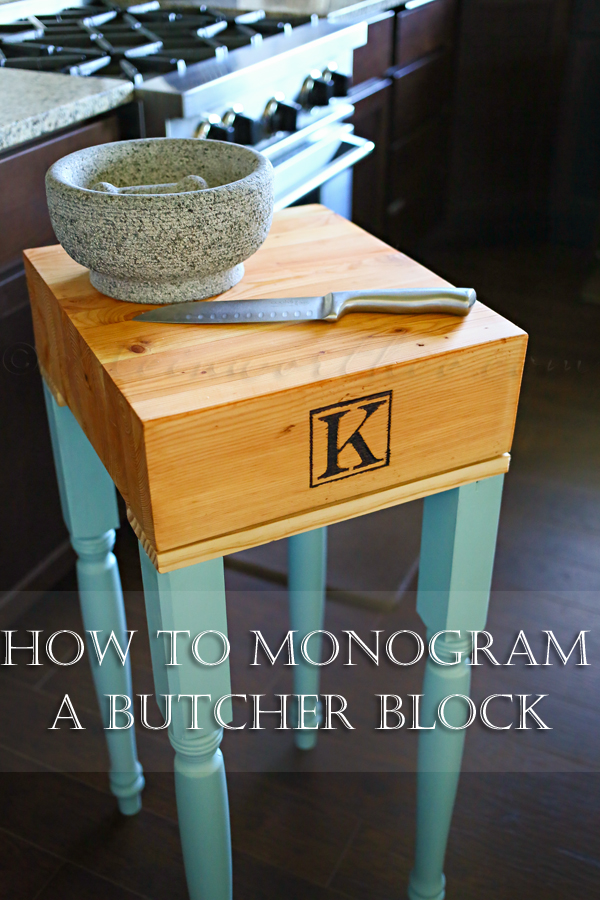
For the tutorial – see How to Monogram a Butcher Block
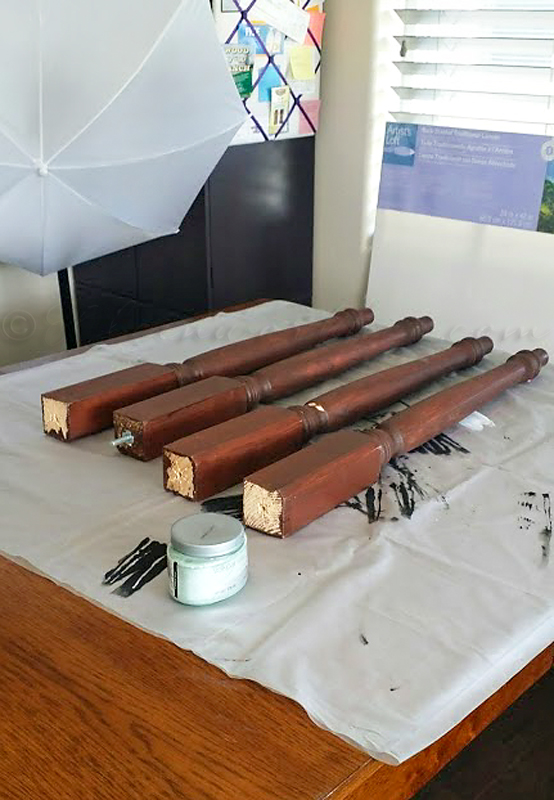
We had bought these table legs for another project that I will share another time. They didn’t work for that one – so they sat there stained & ready for something else for months. I decided that I didn’t like the color after all – so I picked my favorite color paint & gave them a couple coats. It was just regular flat house paint. Then I used sealing wax – usually used on chalk paint over the flat paint once it was dry. This makes it really durable.
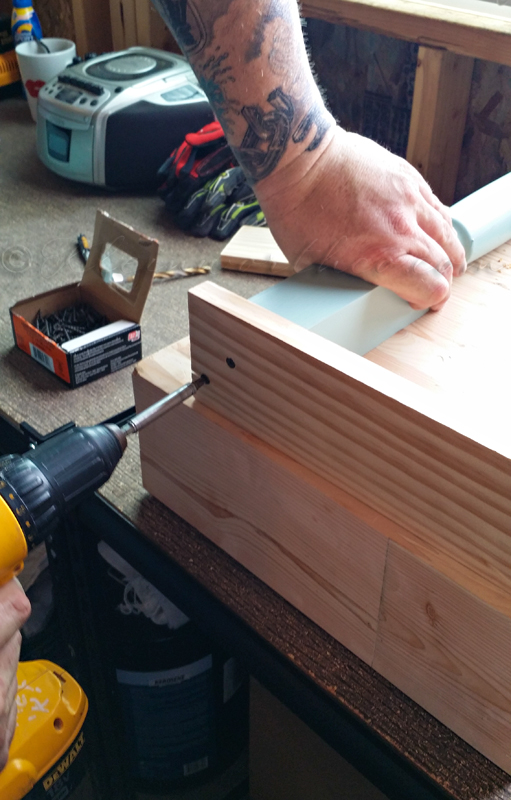
Now here is where the hubs ideas & mine differed. I wanted to attach the legs to one large board & then attach to the block. When he came home from the hardware store he had one long plank that we cut to the width of the block. As you can see – we used long wood screws from the top of the board to attach the legs to it. **Drill holes first – then screw in- otherwise you end up splitting the wood. While this particular part is not quite as I had originally planned – it works out fine. Also – adding this extra piece makes the block a bit taller – perfect for my 6’6″ hubs to use too.
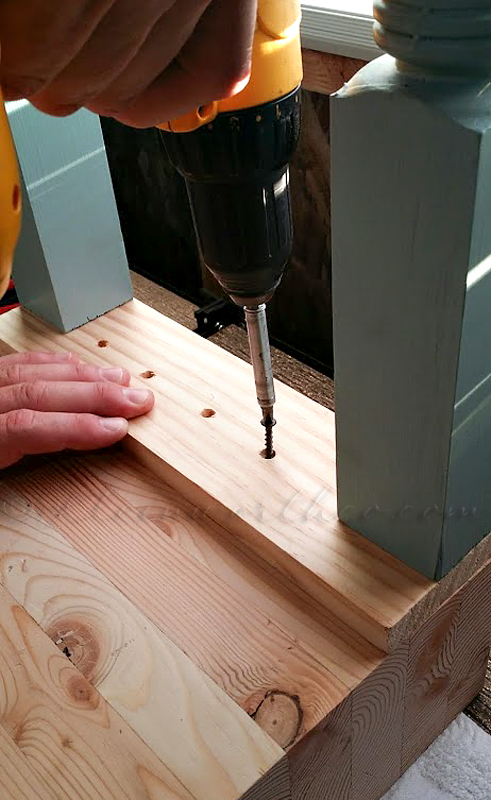
Then we again- made our holes & then drilled our screws through them to attach the leg boards.
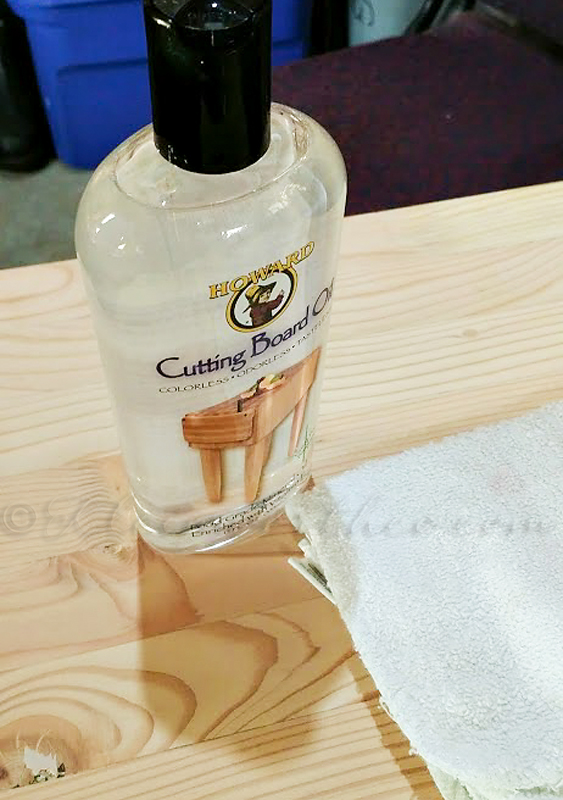
Now – oil, oil, oil!!!
You need to add oil to your block multiple times before it’s ready to use. The wood is thirsty!
We liberally oiled ours at least 4-5 times before bringing it into the house for use. Then re-oil once every few weeks to keep it looking great.
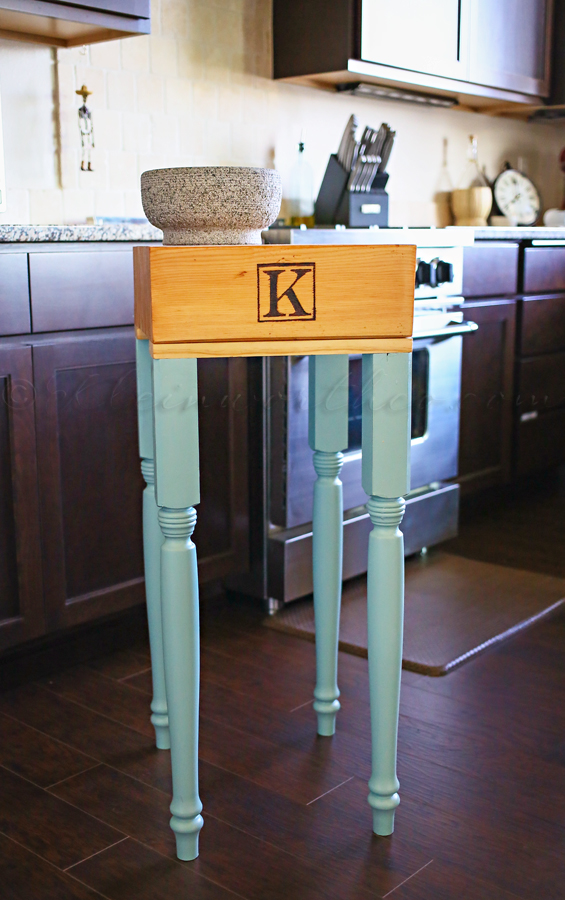
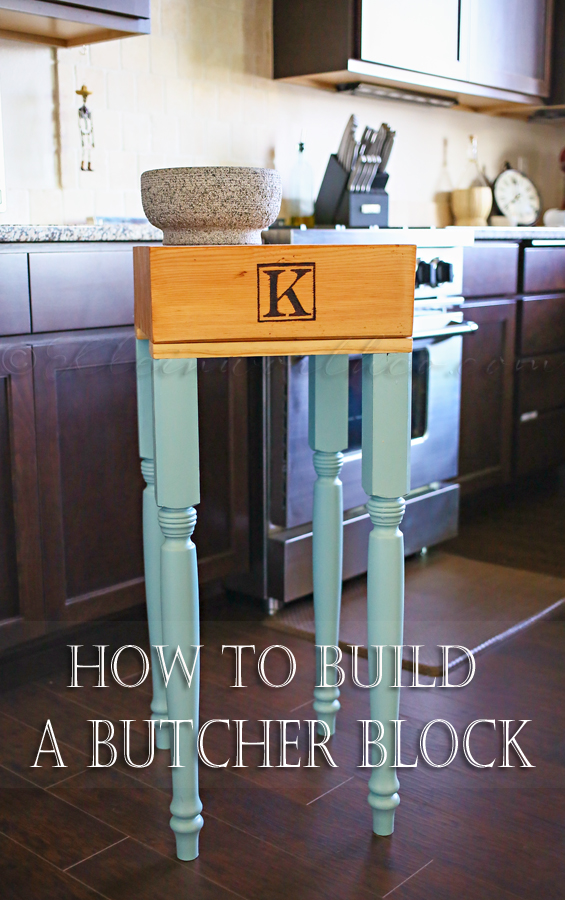
Here’s the finished piece!
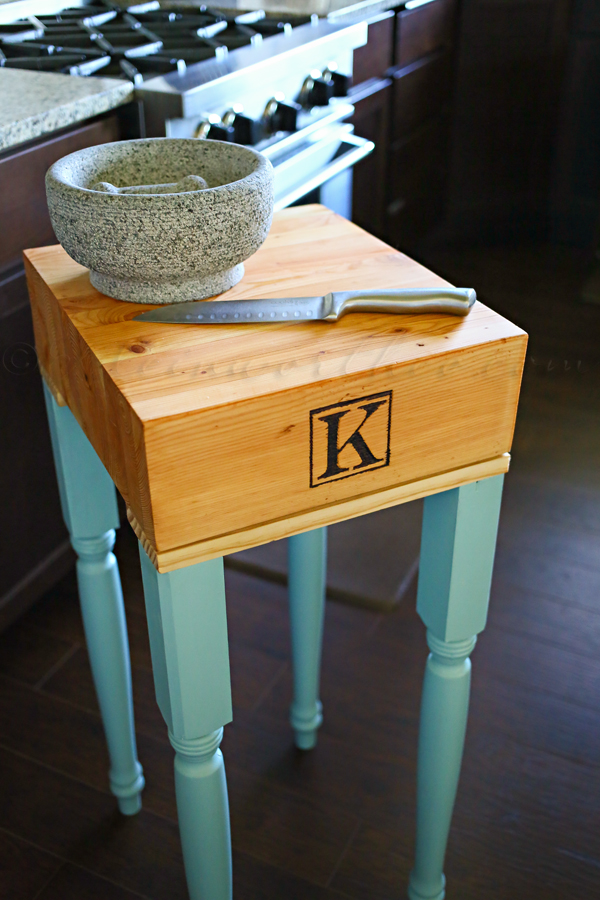
I love how it turned out & I’m so happy I was able to add the monogram too.
Want more great projects for the home?
To see where I am linking today- visit HERE


So lovely!!
how cool, I didn’t realize you could just make butcher block like that, I thought it had to be a special wood or something 🙂
Thanks so much – it was a really fun project.
I didn’t know there was actual butcher block oil! I always use mineral oil. Turned out great! Thanks for linking up to the Creative Exchange.