Looking for fun and easy Halloween treats to make with your kids? These Halloween Oreo Balls are perfect! They’re simple to make and delicious too. Plus, they’re perfect for any Halloween party. Give them a try this year!
Halloween is right around the corner, so that means it’s time to start planning your party menu! These spooky Oreo balls will be a hit with all of your guests. They’re easy to make and they taste delicious.
So get started on your Halloween party planning now and add these oreo balls to the list. You know you need to add these Halloween Oreo Ball Truffles to that list.
They are sure to add a little fright to any party! Made with chocolate and Oreos, they’re also perfect for trick or treating.
PIN THIS TO SAVE FOR LATER
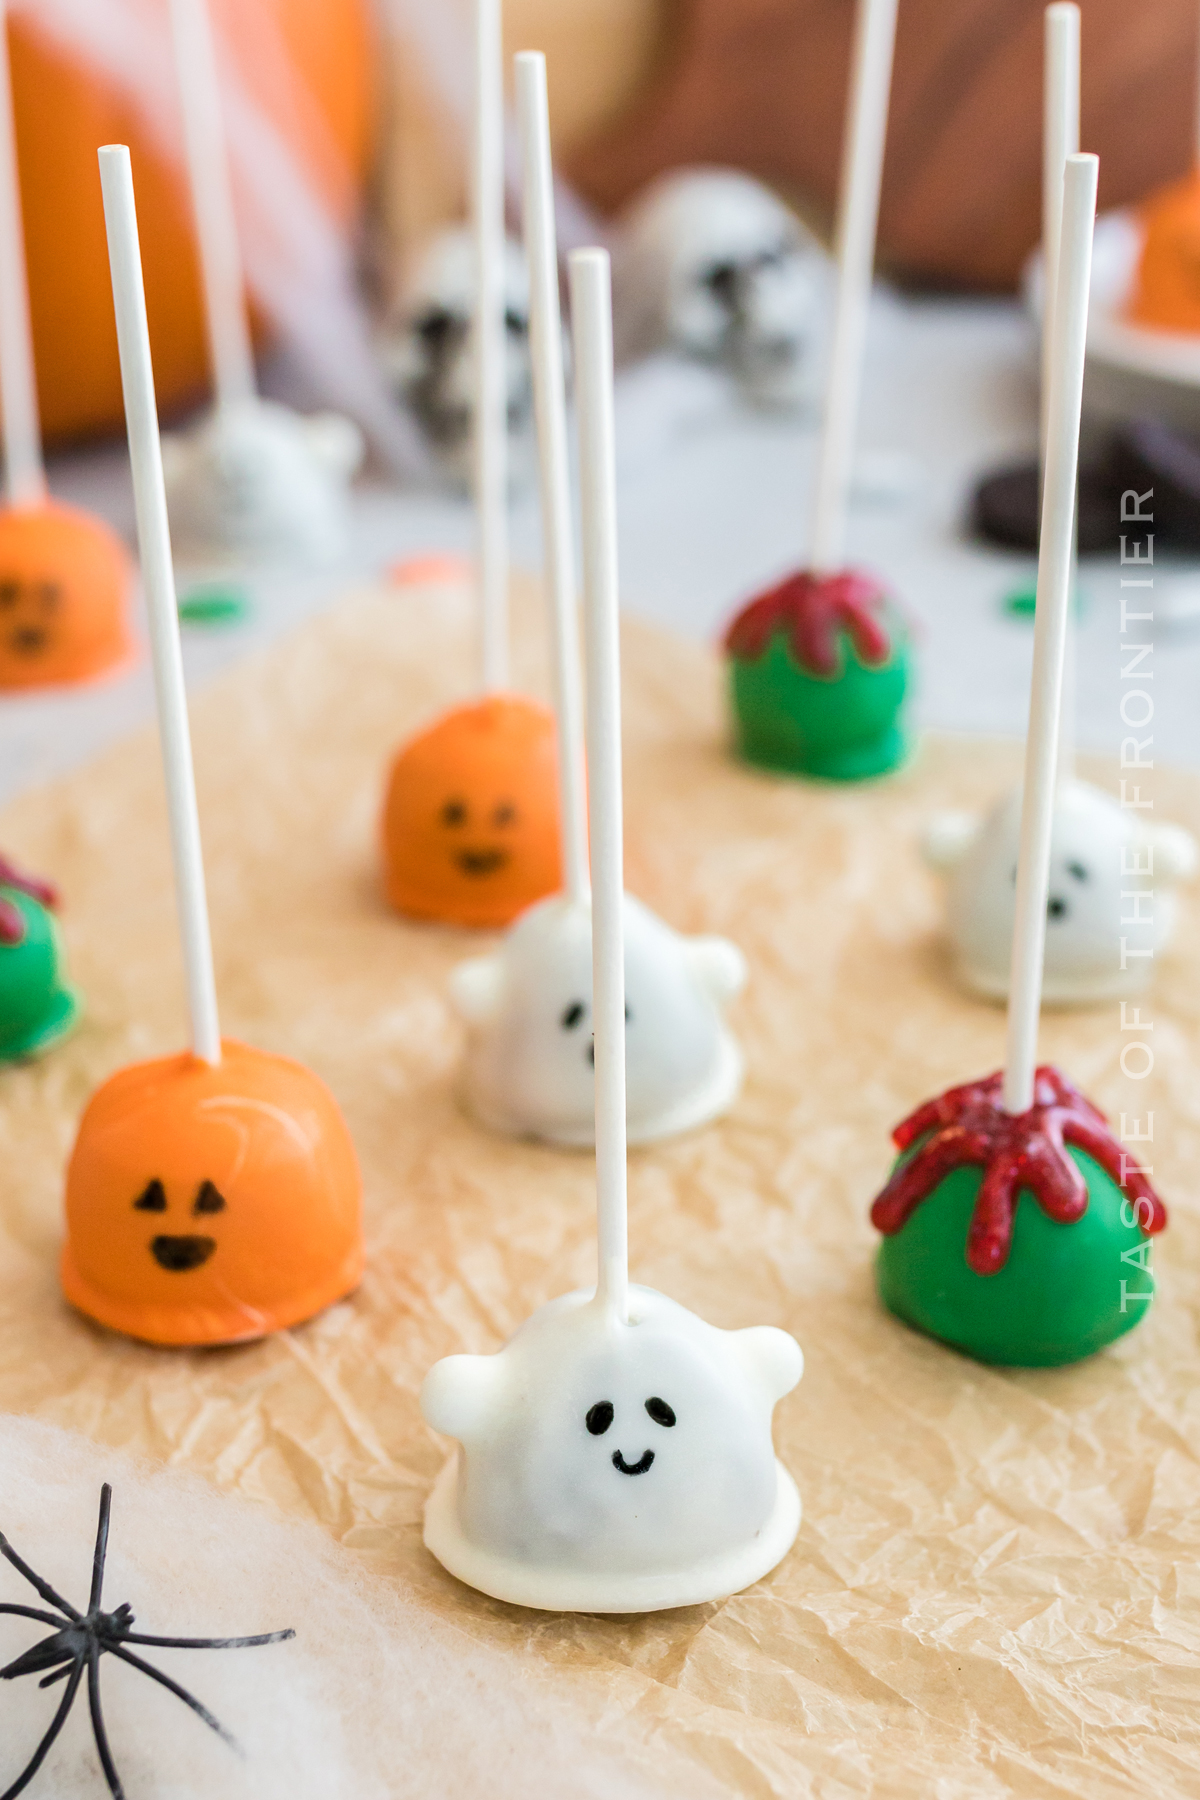
The best part about these Oreo Balls for Halloween is how simple they are to make. They look difficult but with just a handful of ingredients, you can wow your party guests.
They make great gifts for friends and neighbors too. Plus – look how cute they are! Almost too cute to eat – but then you remember that these are Oreo truffles, which makes them irresistible!
Halloween Cake Pops
Here are some commonly asked questions
What are Oreo ball truffles?
Oreo ball truffles are a type of Halloween candy that are made from Oreos and cream. They’re shaped like balls, and they’re usually coated in chocolate.
What are the different types of Oreo ball truffles?
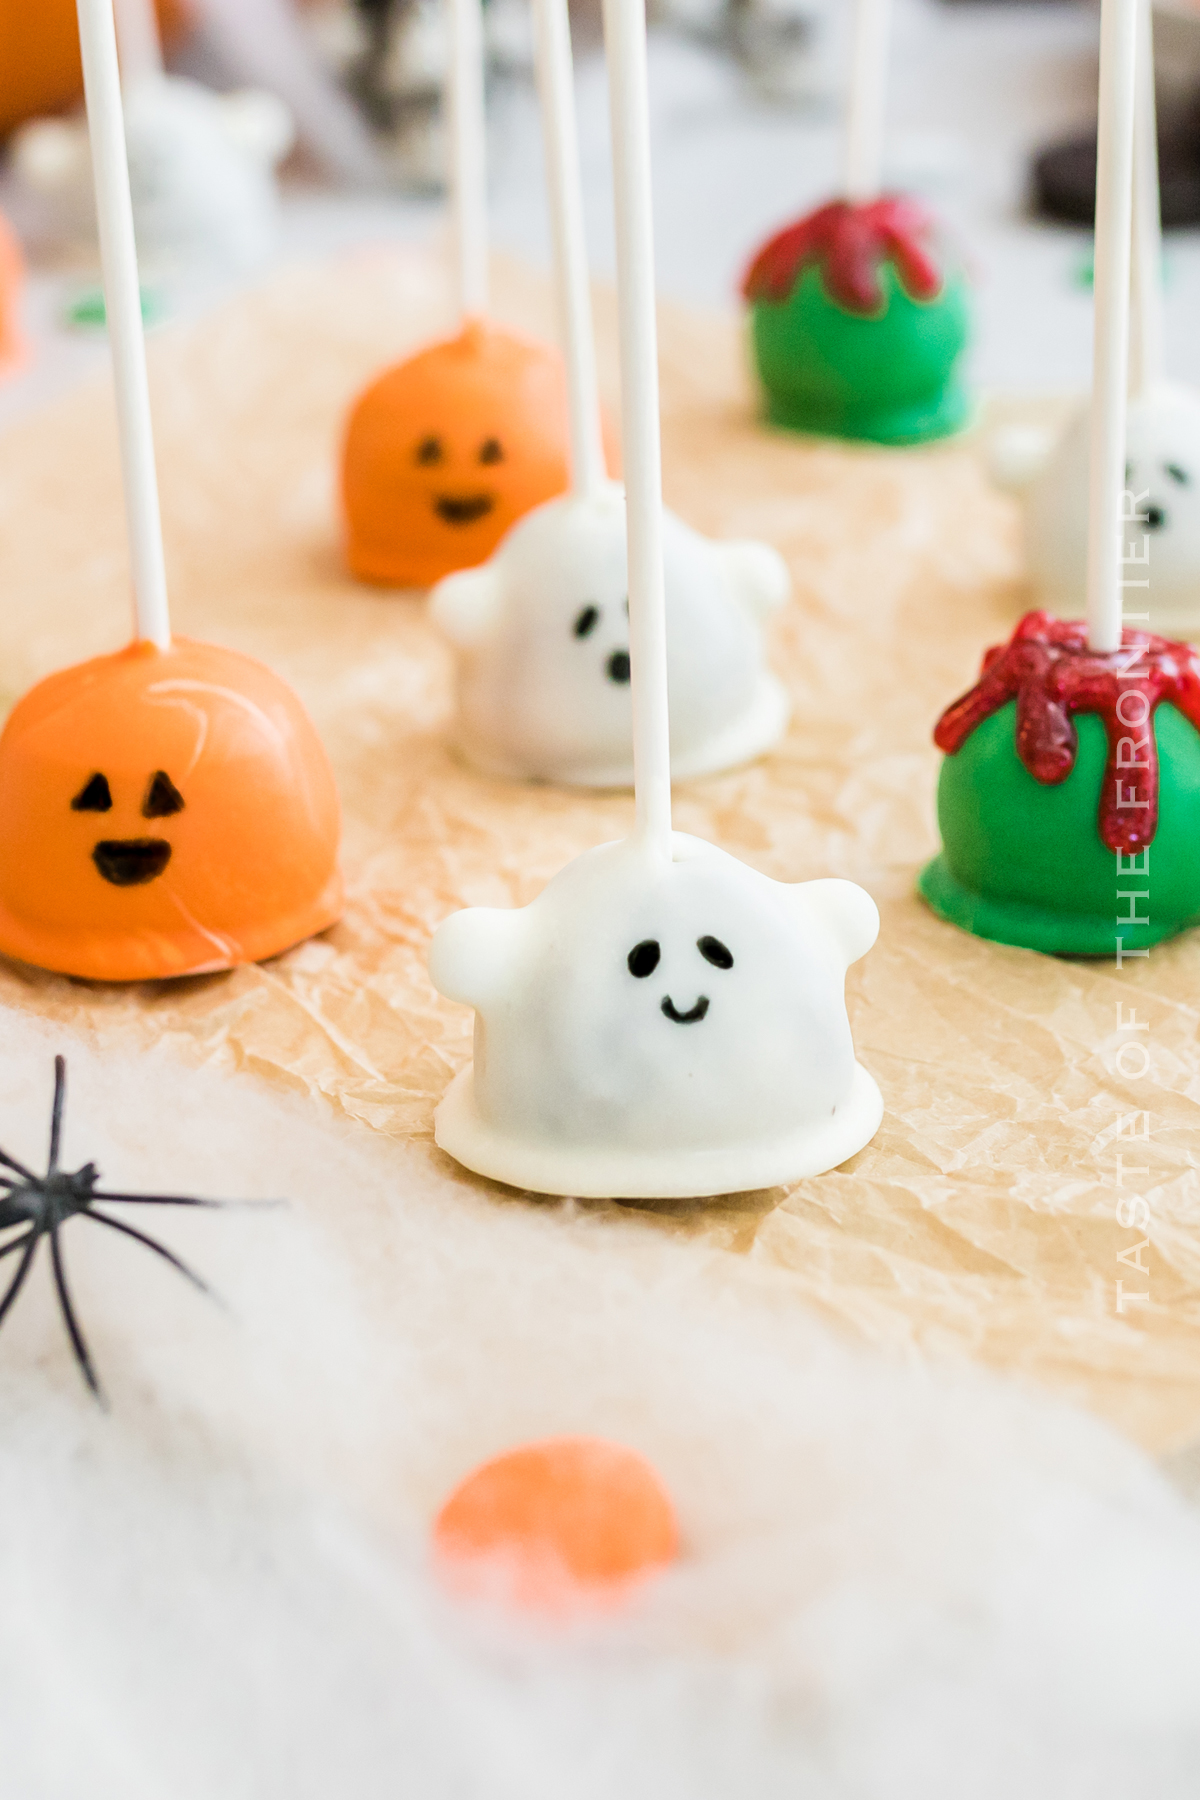
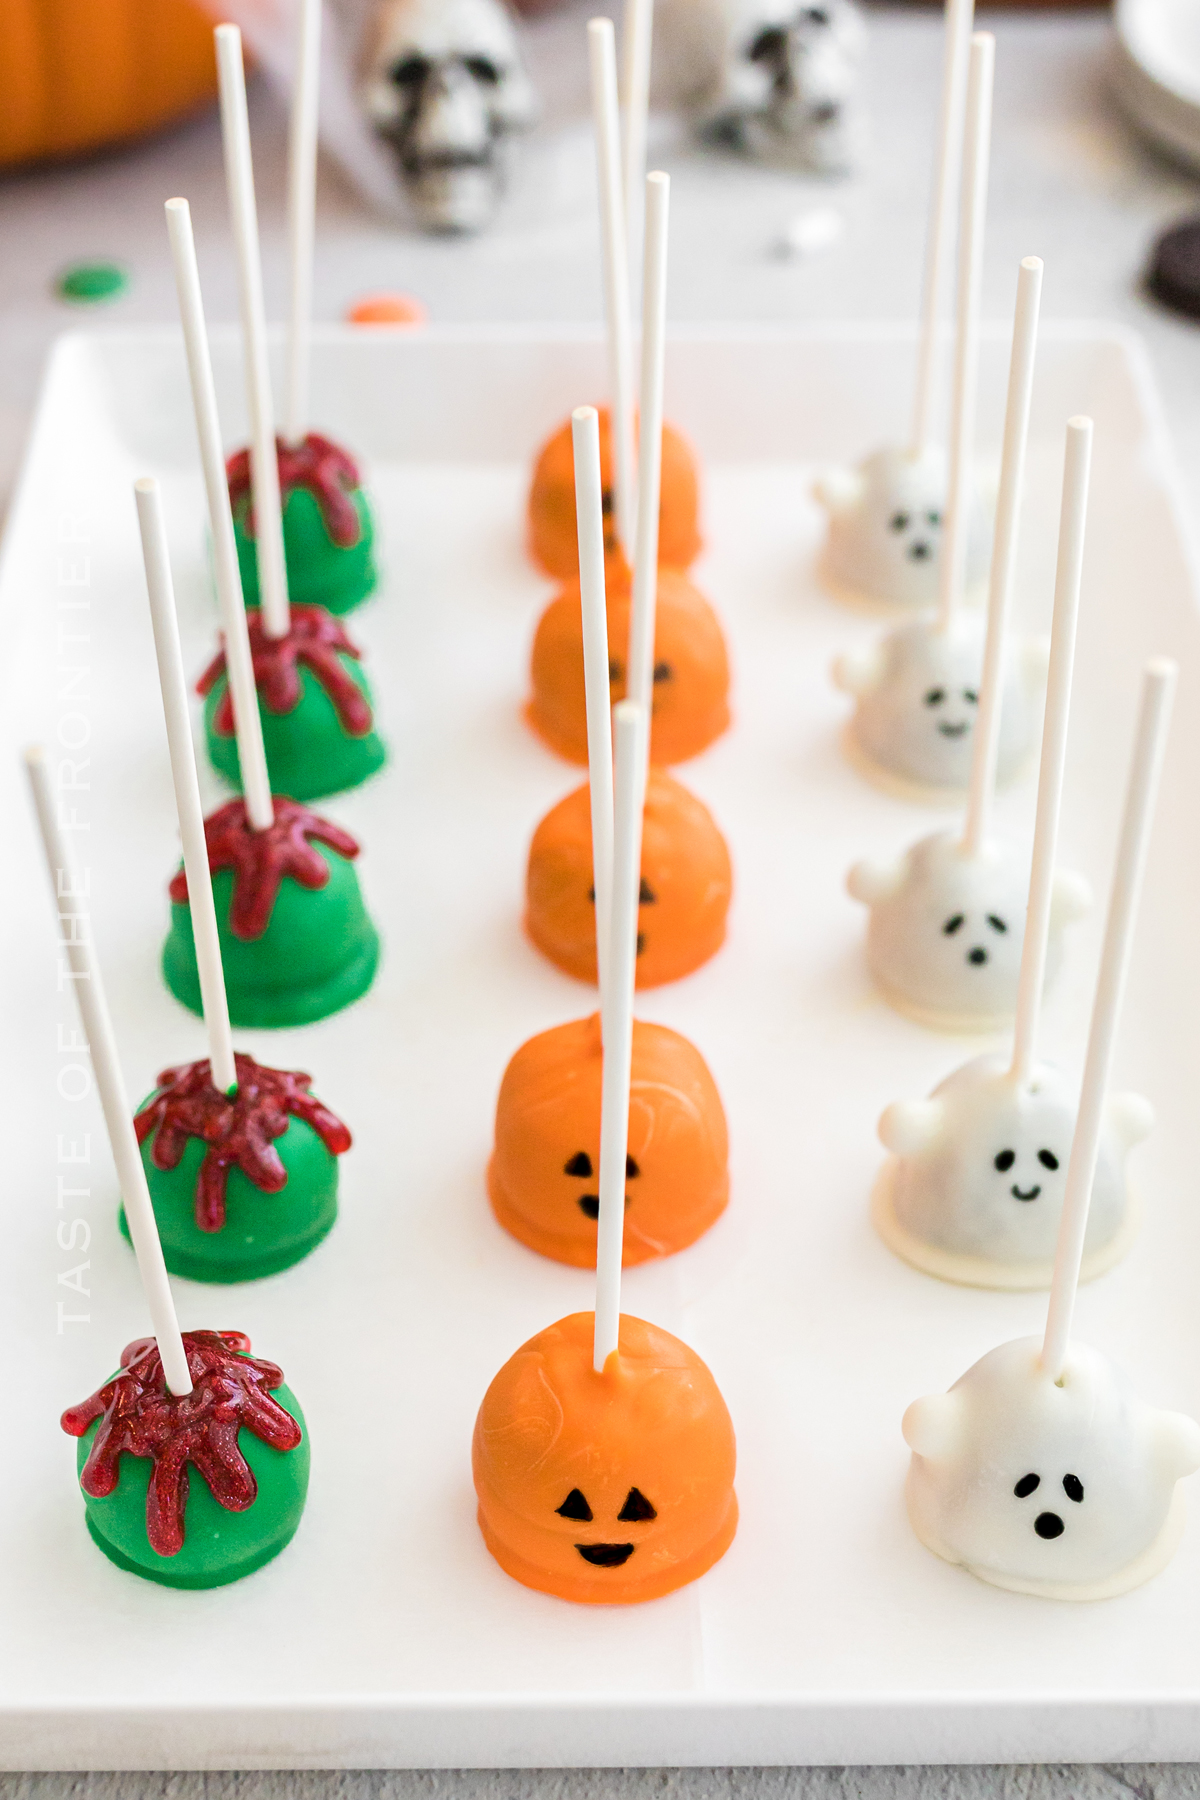
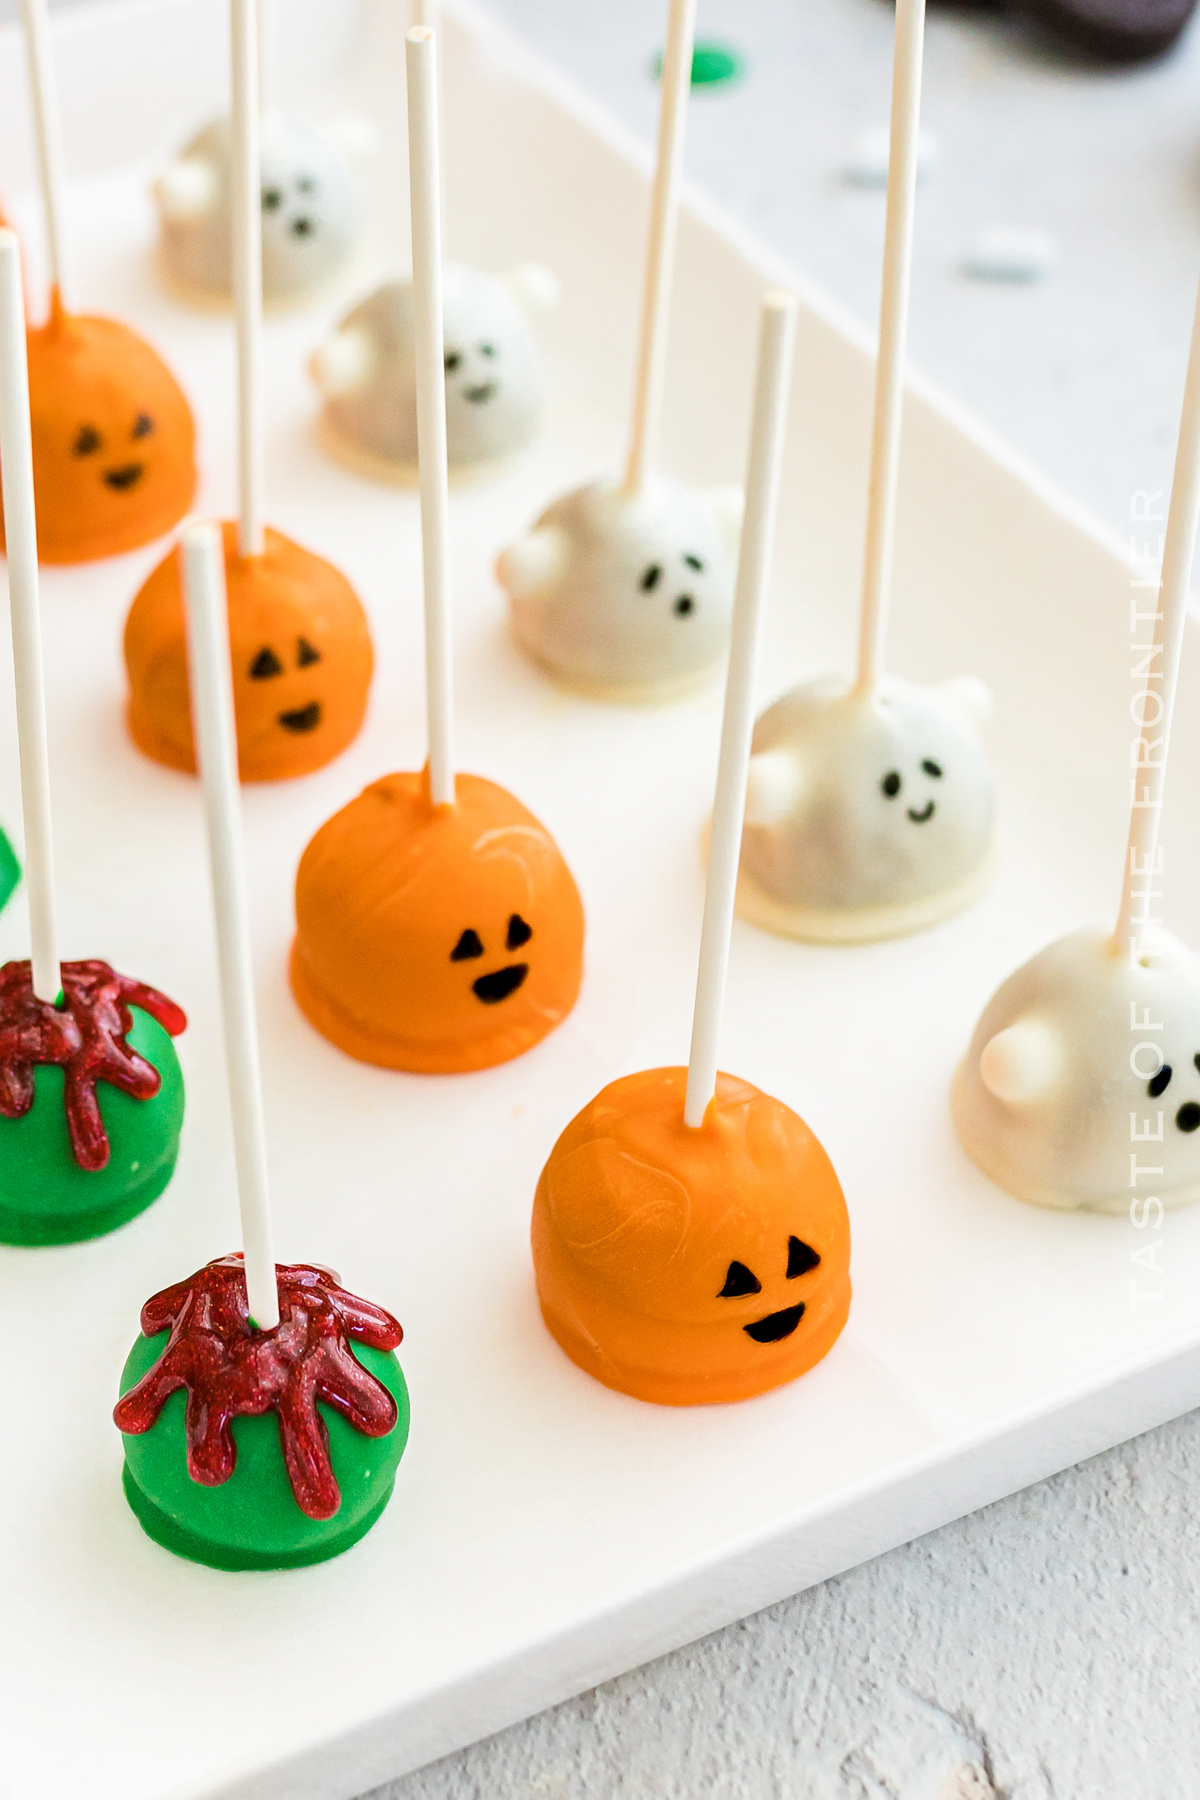
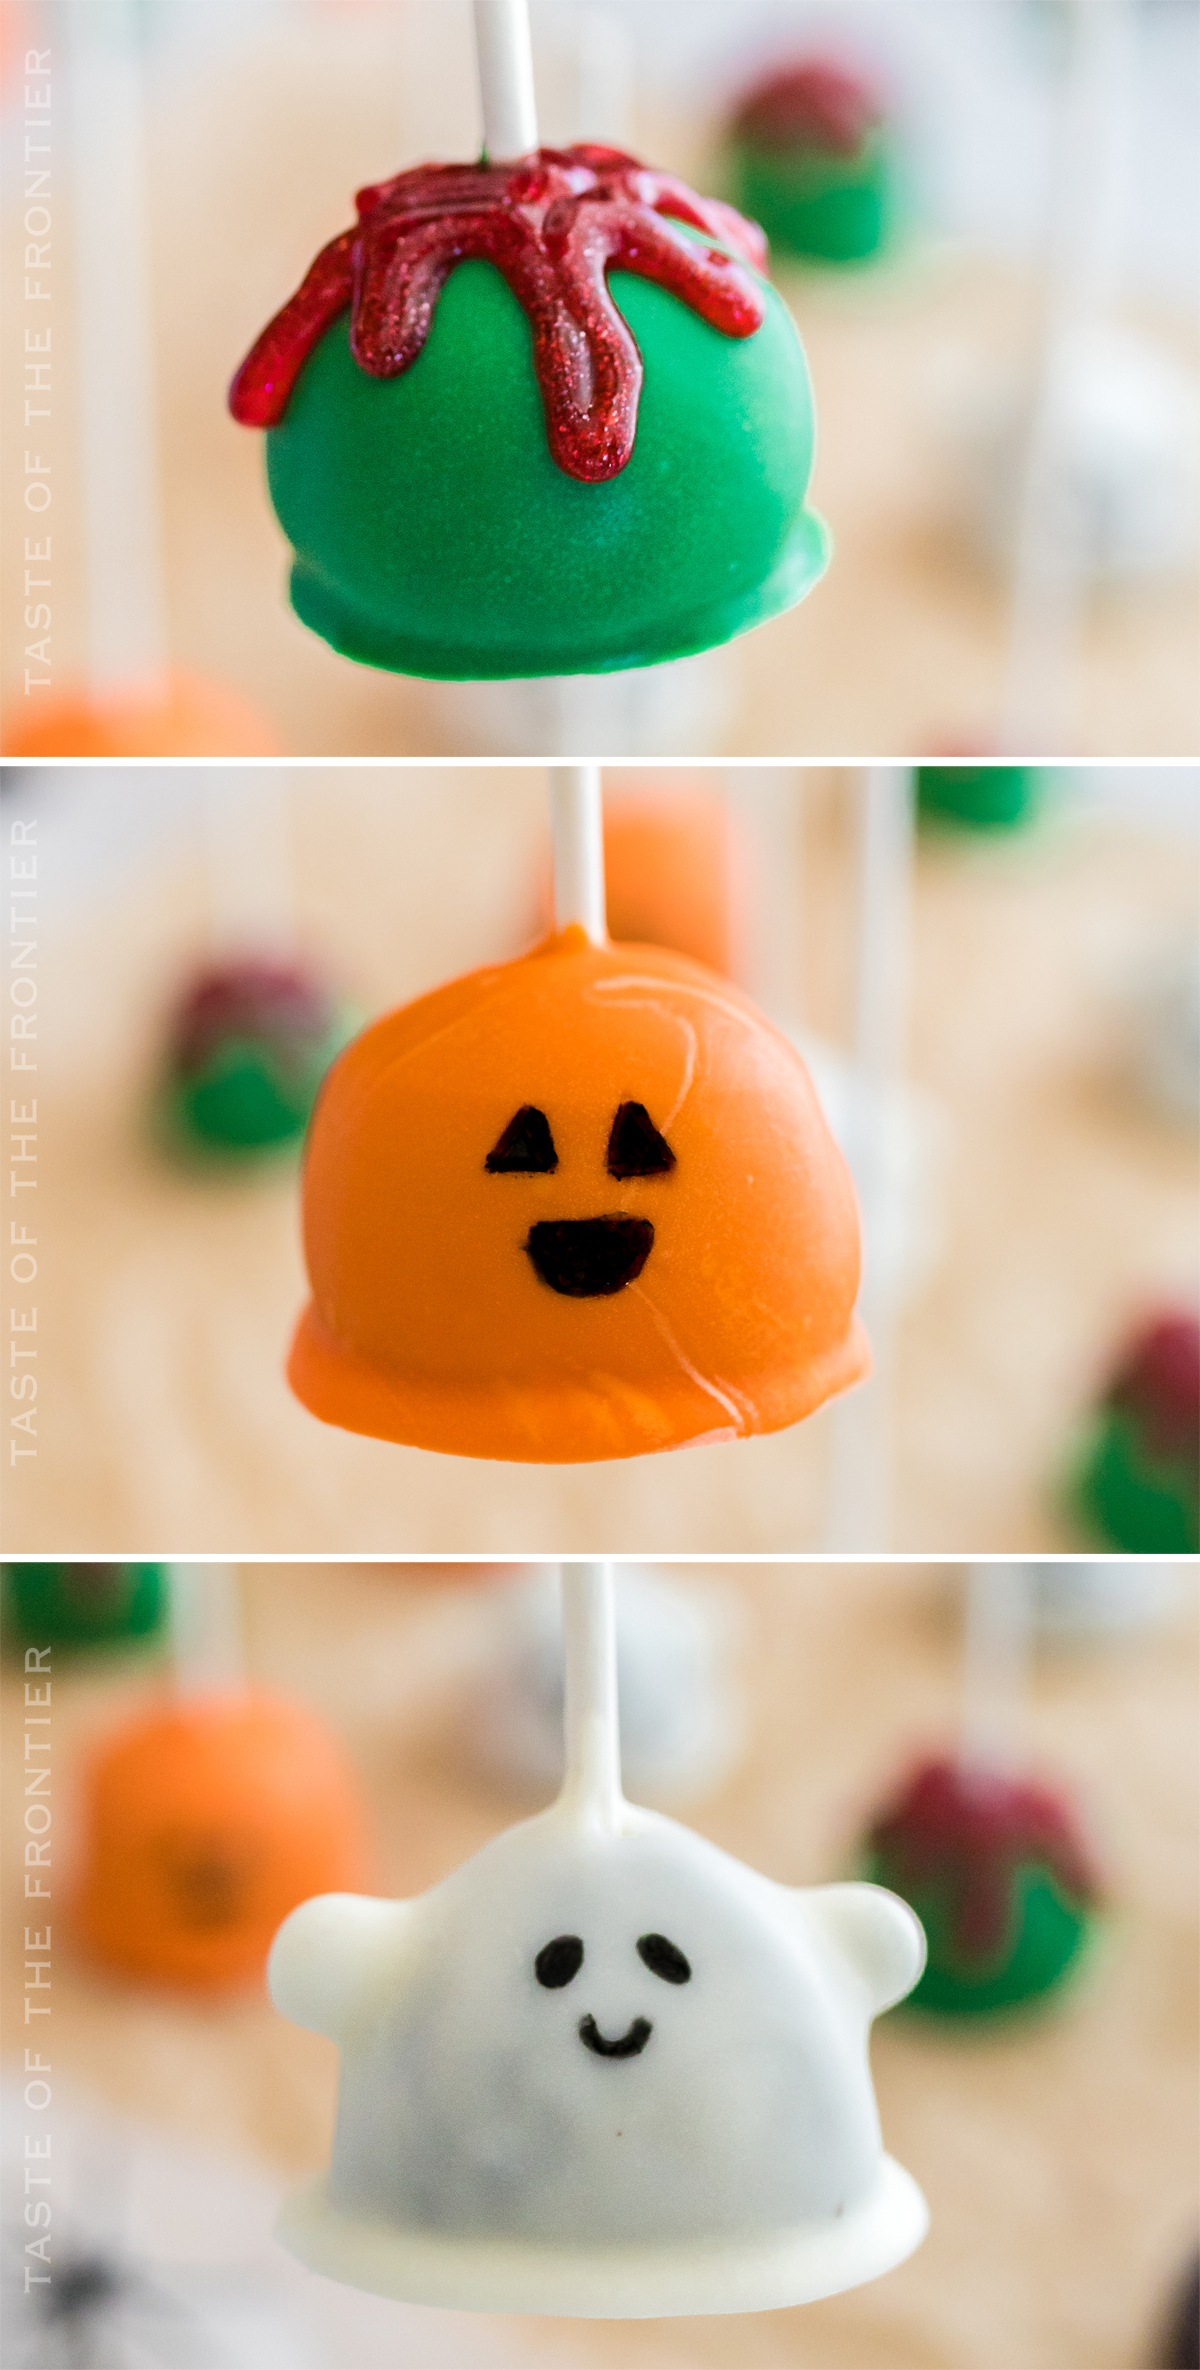
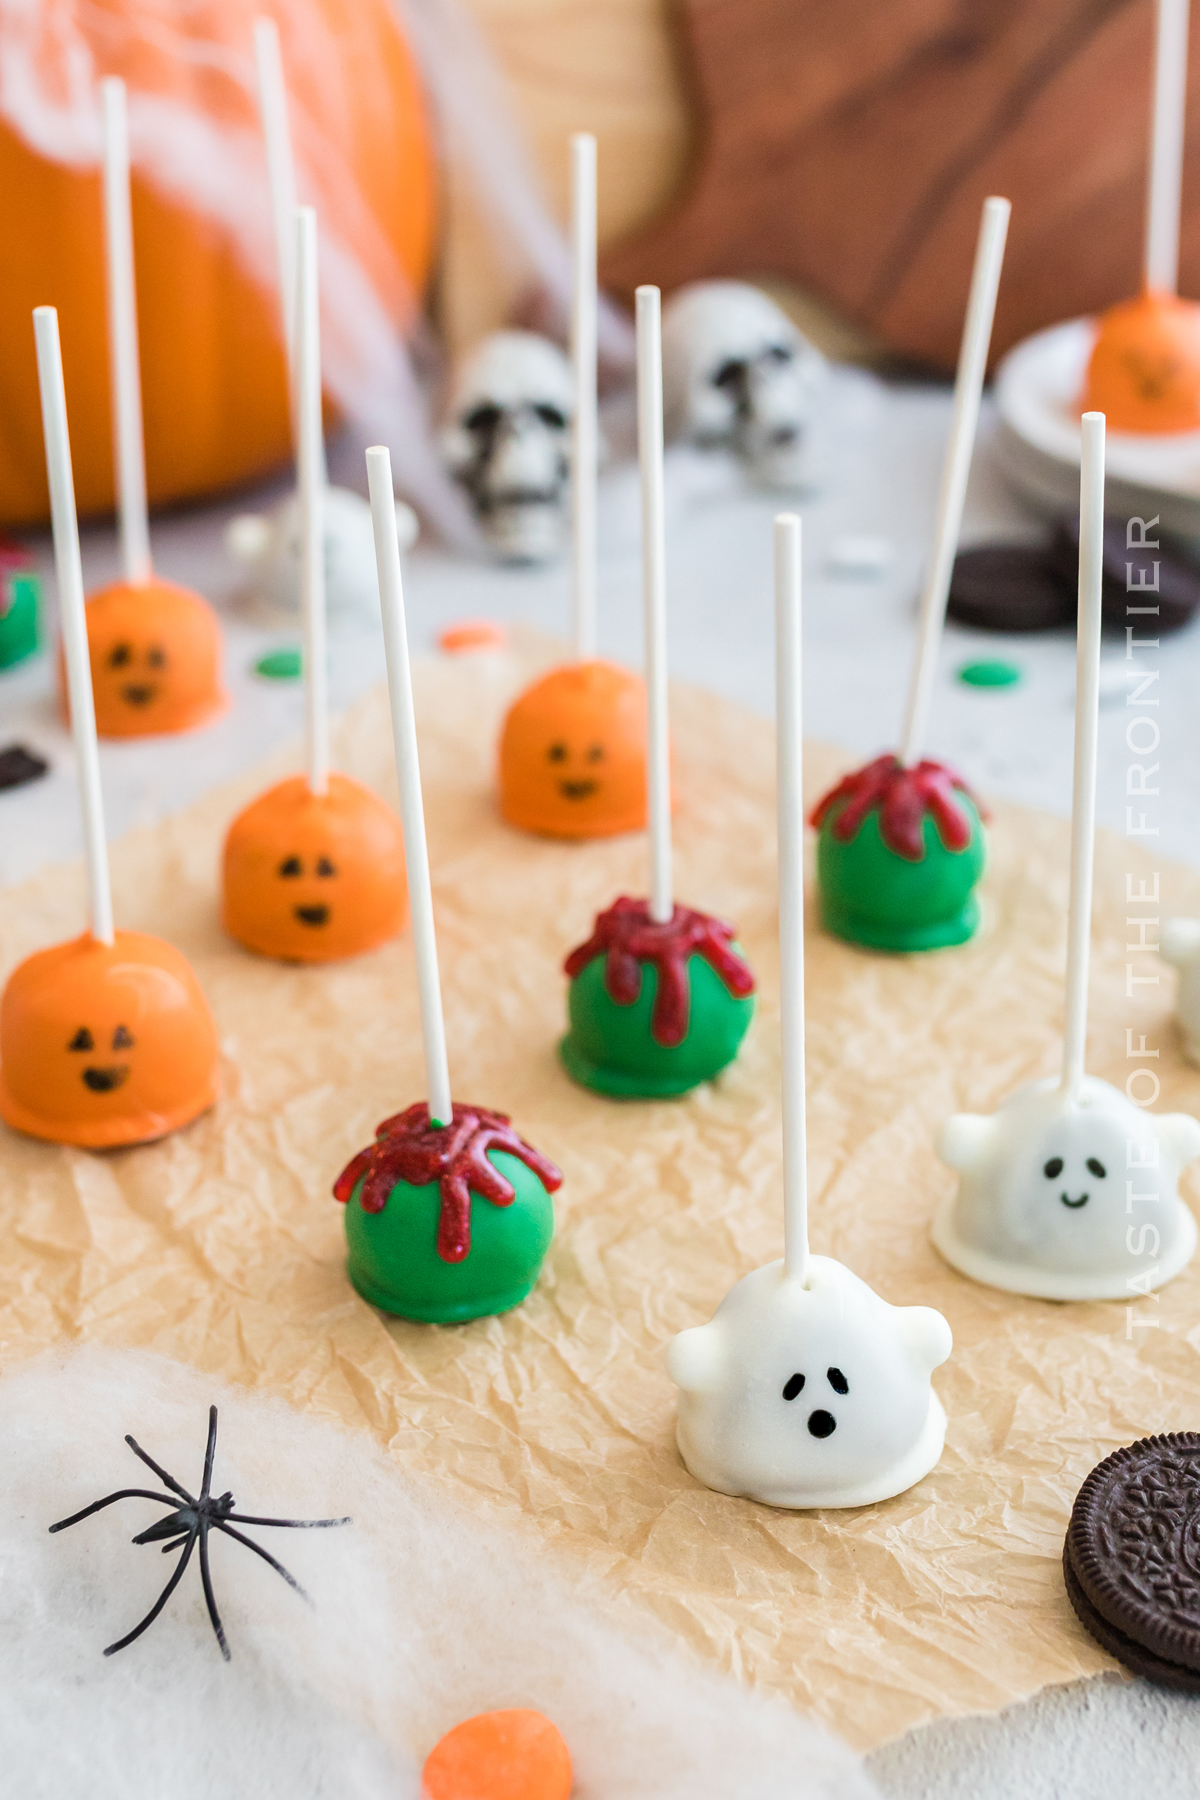
The different types of Oreo ball truffles include ghost, pumpkin, and poisoned apples shown here – in addition to bat, mummy, eyeball, and pumpkin eyes that you could also make.
Ghost
Ghosts are often used in Halloween decorations because they are associated with the holiday. They can be made out of any material, and their appearance can be customized to suit your needs. Ghosts are popular among kids because they’re creepy and suspenseful, and adults love them for their spooky looks.
Bat
A bat is a flying mammal that belongs to the family of mammals, order Chiroptera. Bats are nocturnal and have wingspans ranging from 2-3 feet. They use their wings to fly and hunt for food.
You can use dark chocolate coating and then attach pieces of broken cookies to the back along with some eyes on the front to make the truffles look like a bat.
Mummy
A mummy is a figure that has been preserved in an embalming process. Mummies are usually made from the bodies of people who have died naturally or as a result of violence, such as murder or accidents. They can be found in many places around the world, including Egypt, Peru, and Mexico.
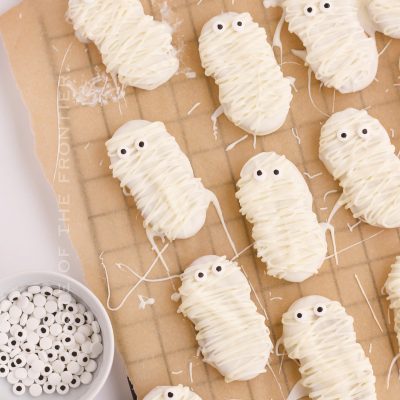
You can make mummy Oreo balls by coating the truffle in white chocolate and then adding a second layer of chocolate drizzle and a couple of candy eyes to make it look like a mummy.
Eyeball
Make a white chocolate-coated truffle and then decorate with a candy eye in the center to make an eyeball Oreo ball.
Pumpkin eyes
Pumpkin eyes are a type of edible decoration that is made from pumpkin puree and sugar. They can be used as part of Halloween costumes or for other special occasions.
We are showing how to make truffles decorated like pumpkins here – but you could also just stick a candy eye on the orange truffle if you like.
Halloween Truffles
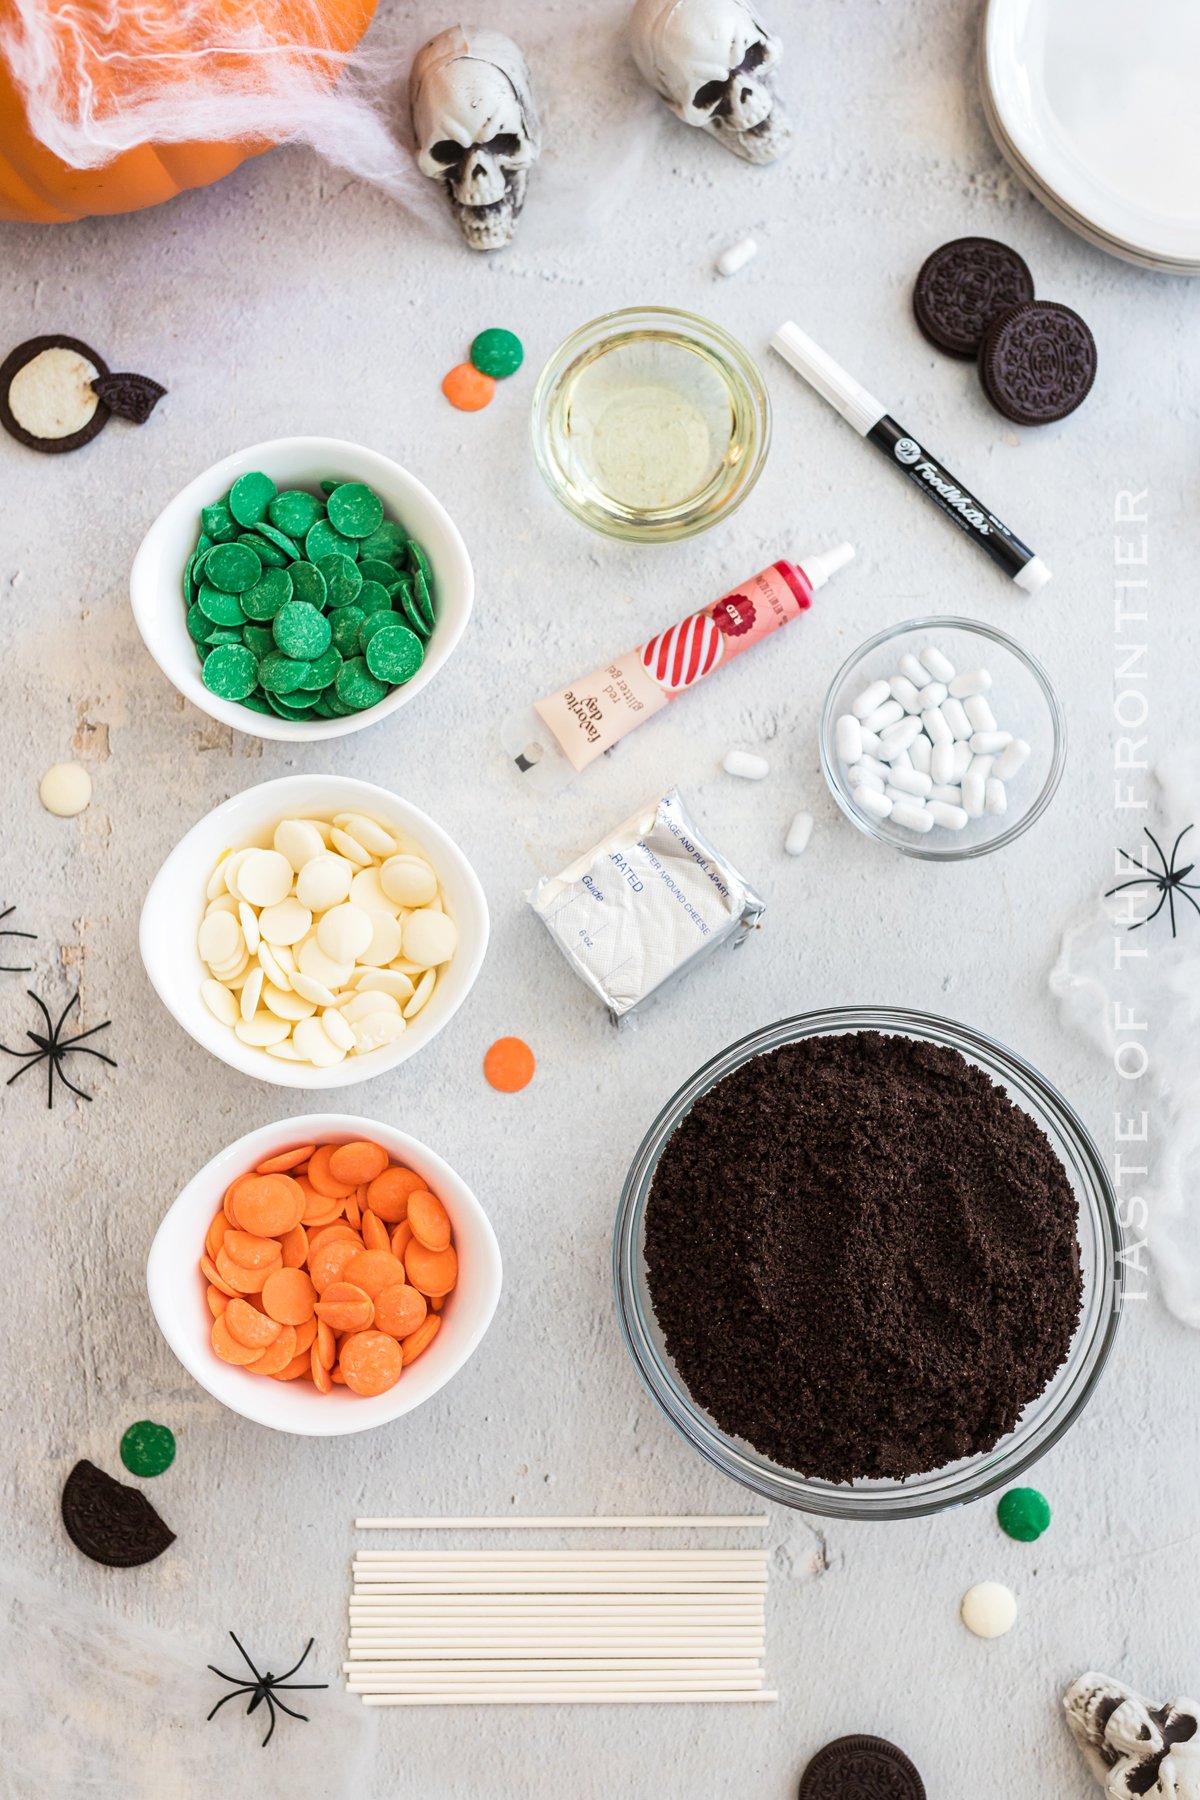
Ingredients for Halloween Oreo Balls
- oreo cookies ground
- coconut oil
- cream cheese – softened
- green chocolate melts
- orange chocolate melts
- white chocolate melts
- Good and Plenty candy for ghost arms
- Red frosting gel
Can I use another type of Oreo cookie?
Yes -you sure can. These Oreo truffles can be made with any type of Oreo cookie you prefer.
*If using double-stuffed Oreos – reduce the cream cheese by half.
Can this recipe be doubled?
You can, and we do it often. But you may need to work in batches when crushing the cookies – 50 cookies will be too much for most food processors.
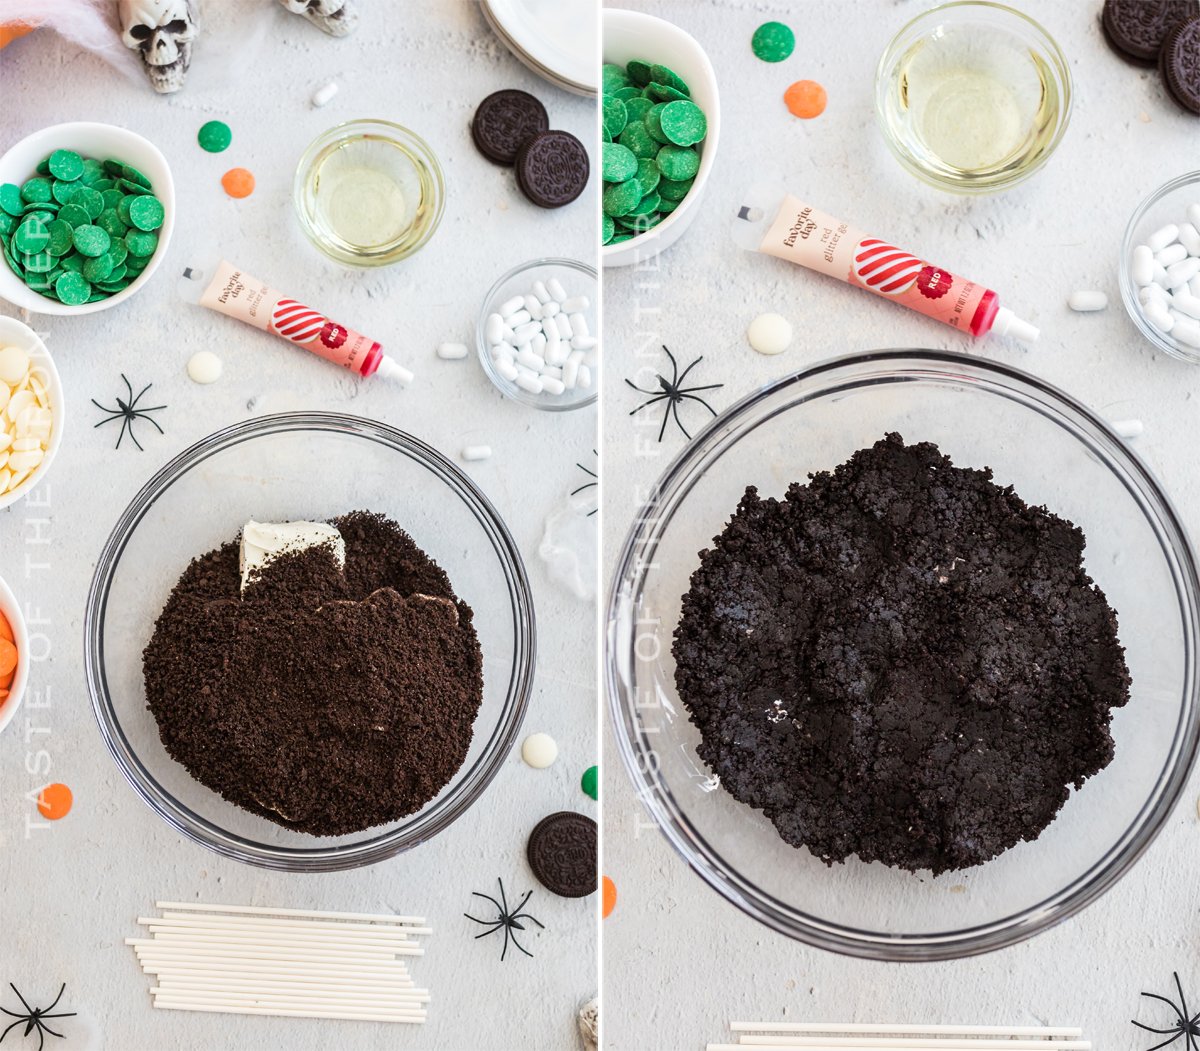
How to Make Halloween Oreo Balls
- In a large bowl, combine ground oreos and cream cheese. Mix with a hand mixer until smooth and mixture is a dough-like consistency.
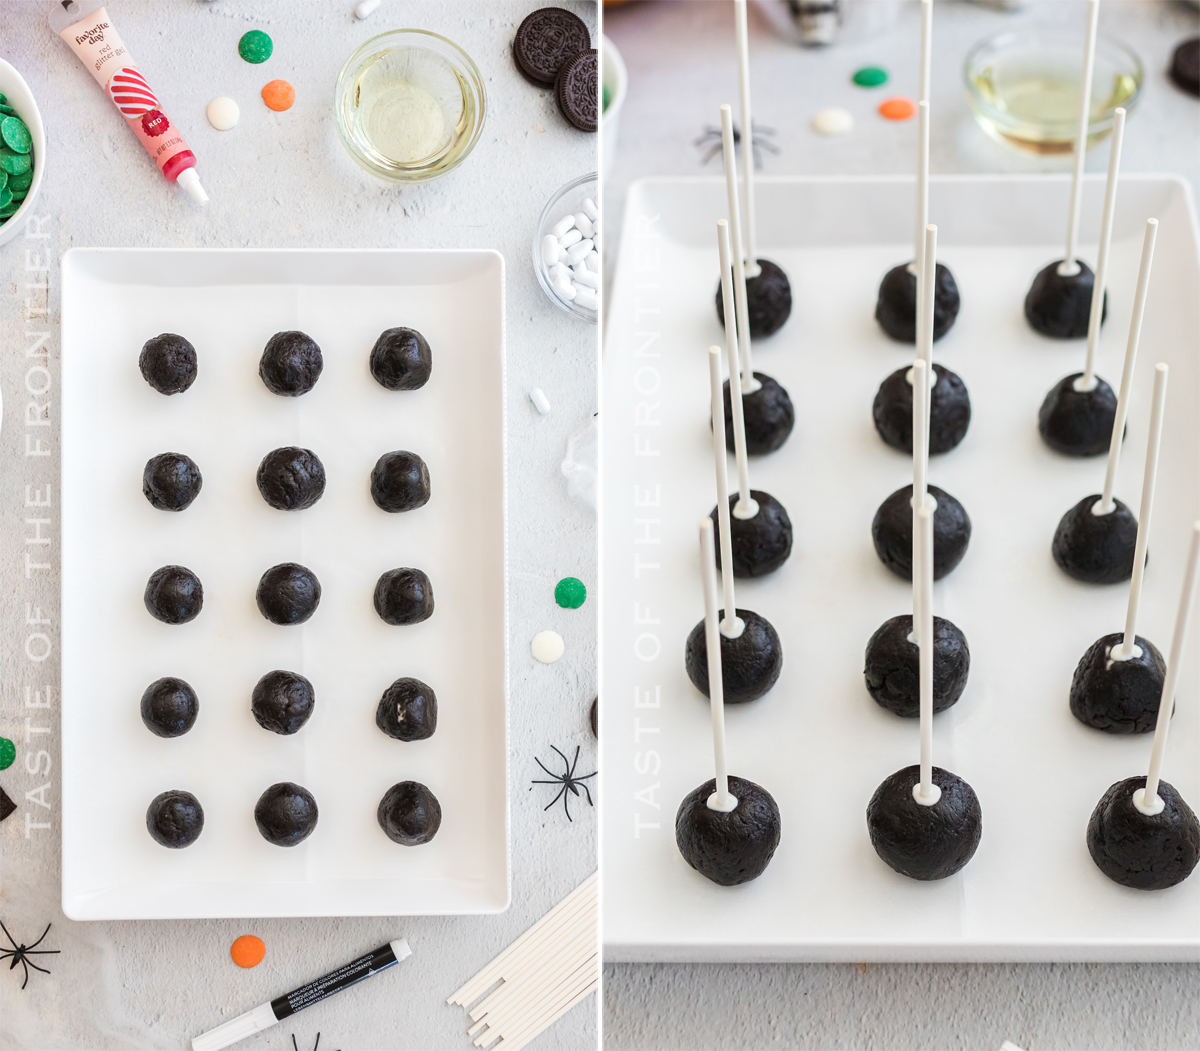
- Using a cookie scoop, scoop an even amount of the mixture and ball it in your hand. Place each on a prepared sheet of parchment. Repeat 14 more times.
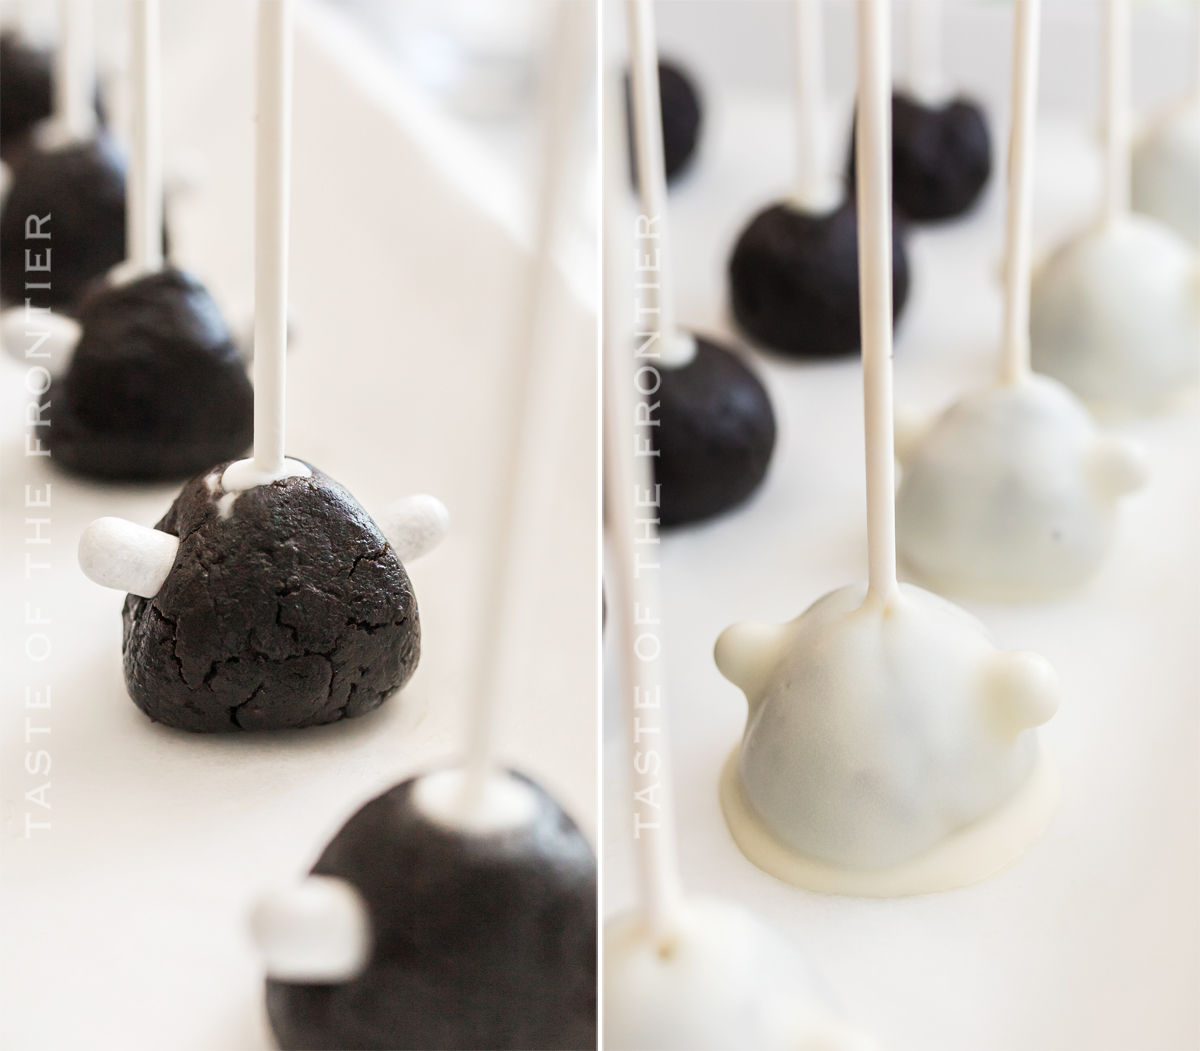
- Make sure to shape 5 of the balls like ghosts (slightly triangle shaped) then take two Good & Plenties and stick them into the side of each ghost pop to create arms.
- Melt a tiny bowl of the melting chocolate and dip the tip of the cake pop stick into the chocolate and then place ¾ of the way into an oreo pop. Repeat for all the pops. Place the pops in the fridge to set for 10 minutes.
How to Decorate Halloween Cake Pops
- Once the pops have set, melt each color of the chocolate melts in the microwave for 30-second increments (low power) until fully melted and smooth. Stir 1 tbsp coconut oil into each color.
- Gently dip a ghost-shaped oreo pop into the white melted chocolate, getting an even coating. Allow the excess to drip off then place it back on the parchment paper. Repeat with the remaining ghost-shaped oreo pops.
- Next, dip an oreo pop into the orange melted chocolate, allowing the excess to drip off. Place it on the parchment then repeat with 4 more oreo pops. These will be your jack-o-lantern pops.
- Last, dip the remaining 5 oreo pops in the green melted chocolate (one at a time). Allow the excess to drip off then place them on the parchment. These will be your poisoned apple pops.
- Place the parchment-lined tray in the fridge to set for 20 minutes.
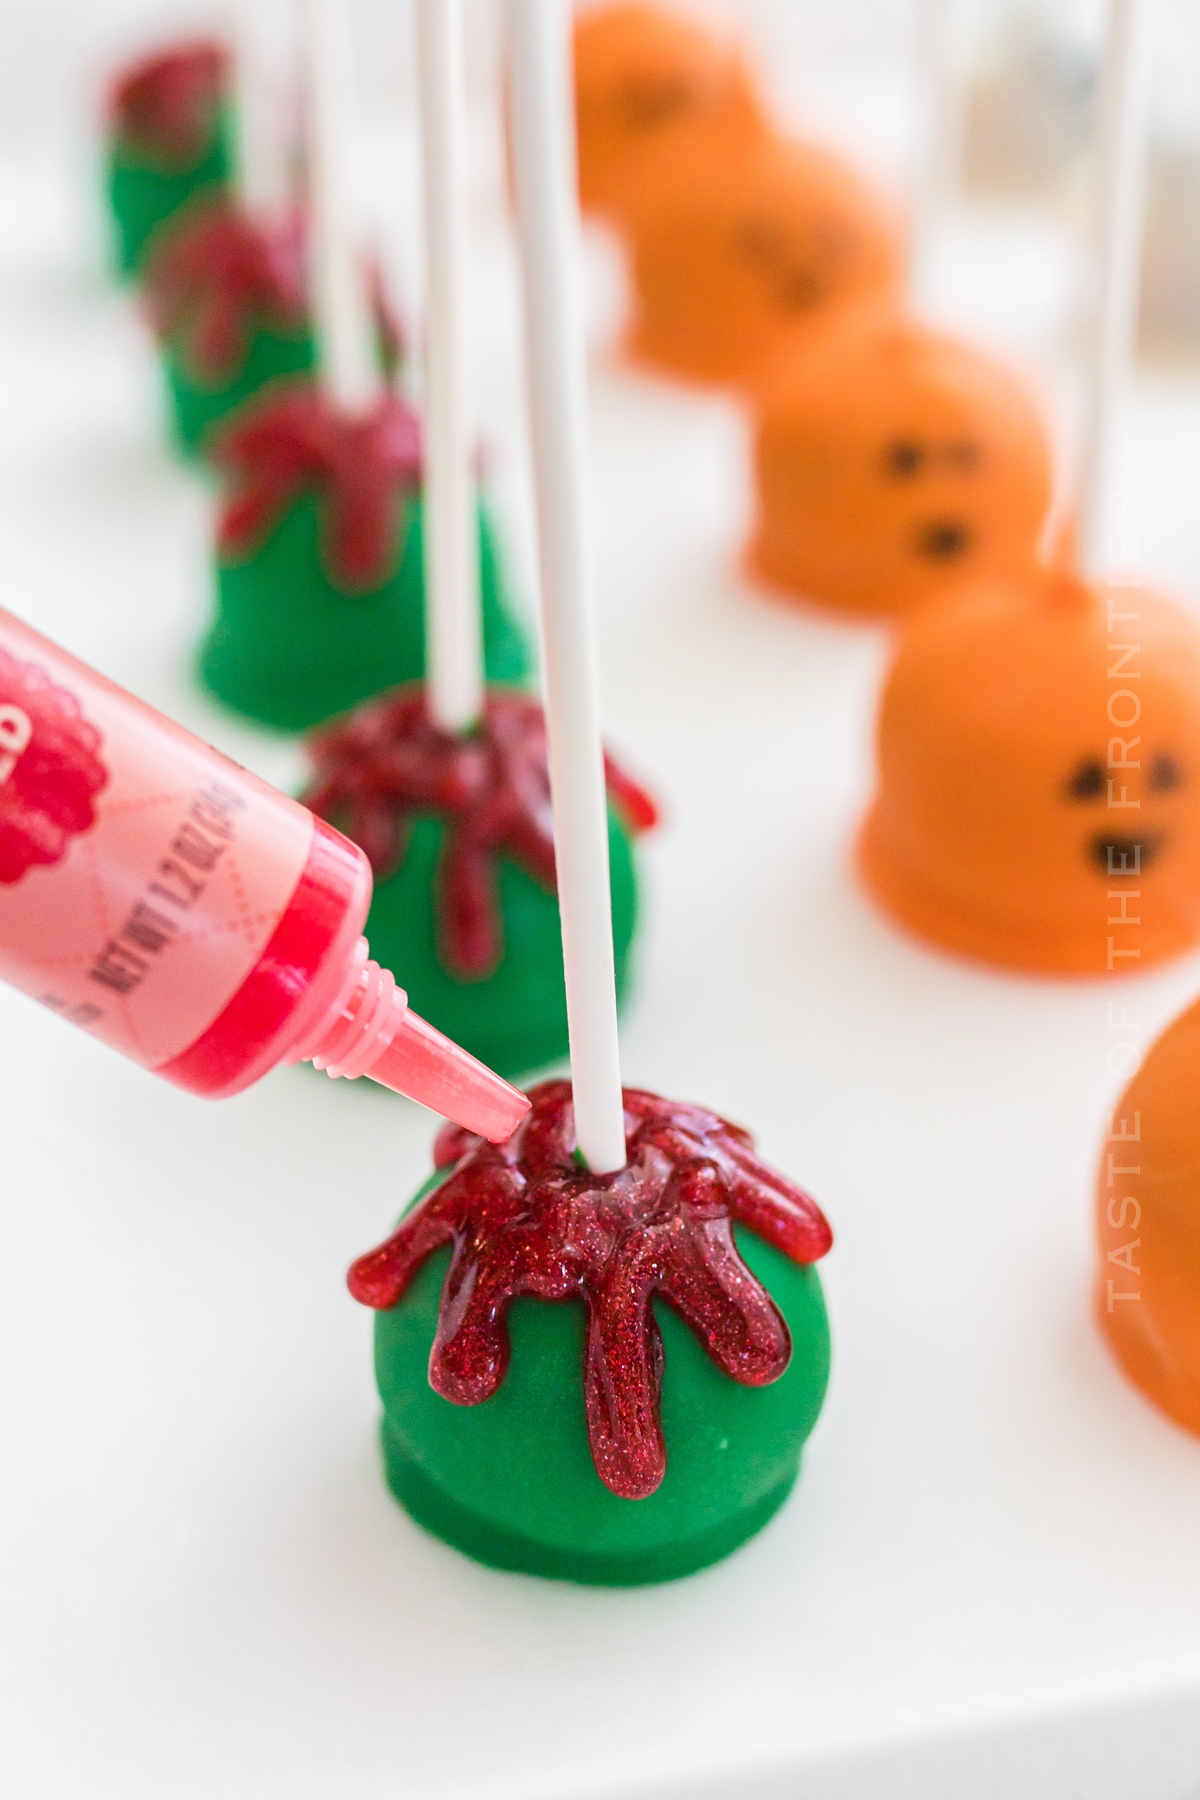
- Once the pops are set, take your red frosting gel and create drips off the green pops to create a “poisoned apple” look. Set them back on the parchment.
- Using your food-safe marker, draw eyes and a mouth on your jack-o-lantern pops and on your ghost pops.
Why didn’t my chocolate wafers melt correctly?
When your chocolate wafers become chunky rather than creamy, it is said that the chocolate is seized. This is typically due to overheating or contact with water or steam.
In the first case, the chocolate is just burning from excess heat, but in the second case, there is a negative reaction between the chocolate (which is waxy and has many oils that are hydrophobic, or “water-fearing”) and the water, causing the components of the chocolate to separate.
Be sure to refer to the package directions when melting chocolate to prevent this from happening.
Do I really have to chill the insides?
It is imperative that the mixture is chilled for at least 1 hour & that the finished truffles stay chilled. It important to keep the cream cheese chilled for food safety.
What is the best way to store leftover Oreo balls?
Just keep them refrigerated for up to 7 days. As long as you don’t let them sit out at room temperature for too long, they should keep well when chilled. They are made with cream cheese, so you don’t want them to get too warm.
I personally like to add the decorations, such as the faces and gel right before serving. I find that once in a while the food pen will bleed or drip when in the moist air of the refrigerator.
Not all the time, but it can happen – which can be a big ol’ bummer when you want to serve the treats you were so proud to show off.
Can oreo truffles be frozen?
Yes, I do it often. You can do this either before or after you coat them with chocolate. Just make sure that the chocolate coating has fully set before stacking or placing them in an airtight container.
Just like with the refrigeration – you will want to add the final decorations after you thaw them and they are ready to be served.
What kind of chocolate is best to use?
We used candy melts for this recipe. But you can also use almond bark, Candi Quik, any type of melting wafers, or even high-quality white chocolate.
What other truffle recipes do you suggest?
- Oreo Balls/ Oreo Truffles
- Rainbow Truffles Recipe
- Chocolate Chip Cookie Truffles
- Pumpkin Spice Truffles
- Sugar Cookie Truffles
- Dark Chocolate Pistachio Truffles
- 4th of July Truffles
- Easy Chocolate Truffles
- Valentine Oreo Truffles
- Rainbow Mint Oreo Truffles
- Chocolate Truffles with Holiday Sprinkles
- Holiday Nutella Bites
- Buckeyes
- Peppermint Oreo Balls
- Grinch Truffles
- Christmas Truffles
Can I use another type of cookie?
You sure can. I have recipes here for Sugar Cookie Truffles and Chocolate Chip Cookie Truffles – it isn’t a 1-for-1 swap because of the differing sizes of the cookies. So be sure to check those out if you want to make those varieties instead.
Do I need a food processor?
So you can use a food processor or a high-powered blender. I really love my Ninja for this recipe because I can use the pitcher that looks like a food processor & then swap out the blade to the dough mixer when it comes time to work on the cream cheese. But you will need something that can really grind up the cookies to a fine crumble.
Expert Tips for Making Cookie Balls
- Use a rolling pin to help crush the cookies if you don’t have a food processor to get the cookies into fine crumbs.
- Have your cookie sheet or baking sheet ready and laid out to make it easy to work quickly.
- Use mini chocolate chips for the eyes.
- Pick up a package of candy eyes to make eyeball oreo truffles.
- You can use wax paper if you don’t have parchment when making these fun Halloween treats.
- Let the kids help with the decorating. The little guys find this to be so much fun.
- Make sure to use softened cream cheese to make mixing easier.
- Use golden Oreos for the ones coated in white chocolate so it is less difficult to coat the light over the dark.
- Use a fork to dip the truffles in the chocolate – it makes it easier to tap off the excess chocolate.
- Make sure to use regular Oreos – if using double-stuffed you need to reduce the cream cheese.
- Give the truffles enough time in the fridge so the chocolate firms before moving on to the next step.
- These can be made with melted white chocolate chips – but be sure to melt them slowly as they tend to seize easier than chocolate melting wafers.
- You can also use milk chocolate for these fun spooky treats.
- Vegetable oil can be used in place of coconut oil as well as vegetable shortening if you are in a pinch.
- Be sure to have a piping bag or ziptop bag for adding the finer decorations on this fun dessert.
DON’T MISS THESE HOLIDAY E-BOOKS!


Products I love when making Halloween Oreo Balls…
This no-bake Oreo treat recipe is SUPER EASY and delicious – and if you’re like me this time of year, then you maybe already have some of these items on hand OR maybe you have never made Oreo balls before, & you might be a bit nervous – but you’re going to love them. I have made a list below of the things I absolutely can’t live without when it comes to making this holiday treat recipe. (you can also SHOP MY FAVORITES in my store)
- Oreo cookies
- white candy melts
- orange candy melts
- green candy melts
- red gel
- food pen
- pop sticks
- good and plenty candy
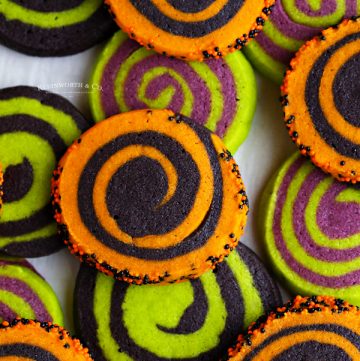
If you love this easy Halloween Oreo Balls recipe, you’re going to love these other Halloween treats too. Please click each link below to find the easy, printable recipe!
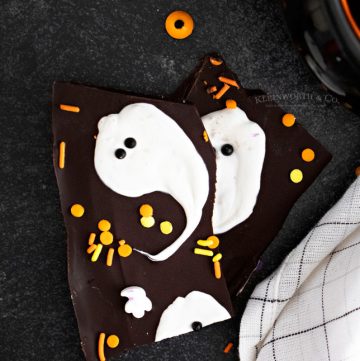
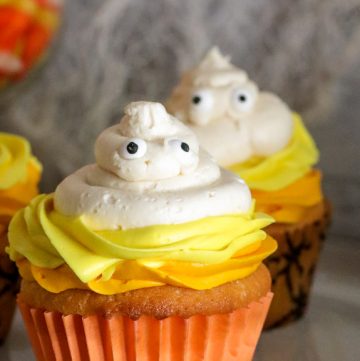
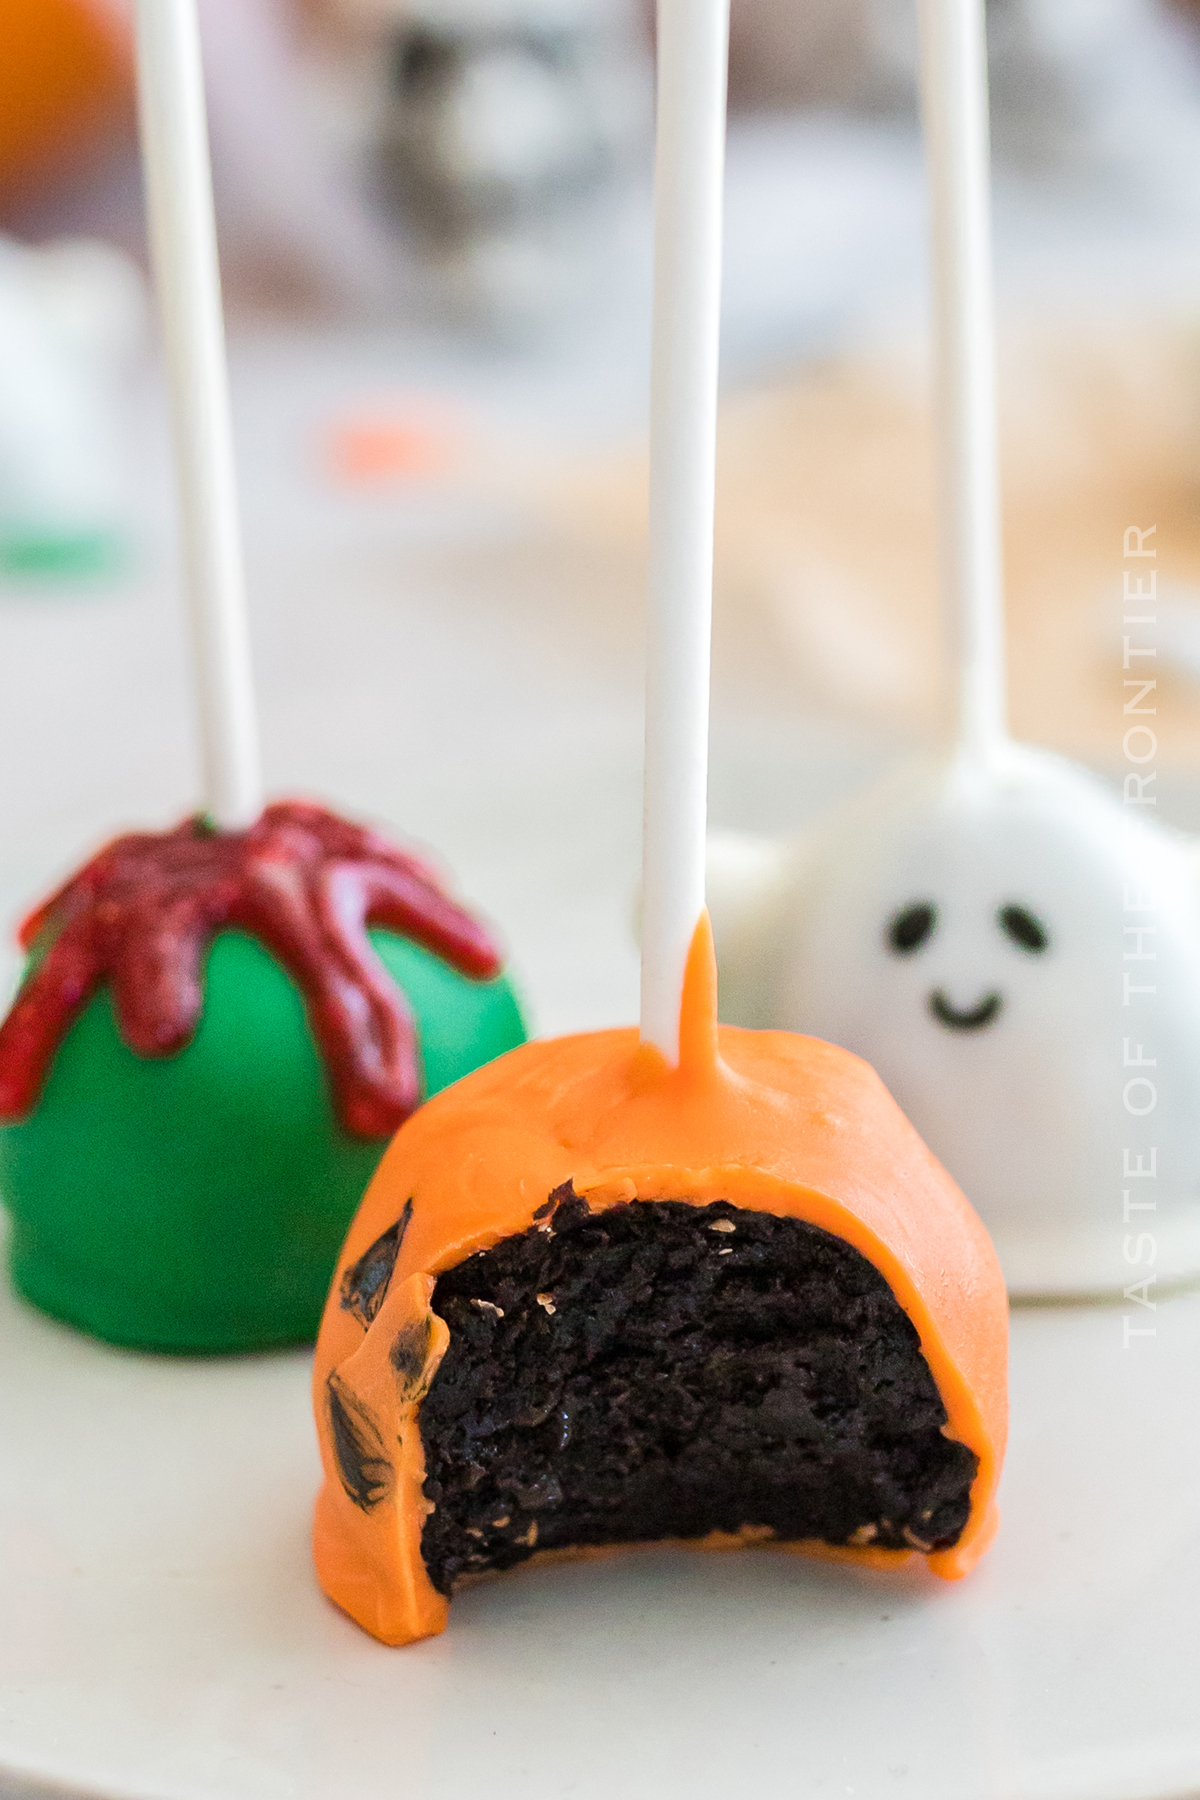
If you love this recipe for Homemade Oreo Pops as much as I do, please write a five-star review, and be sure to help me share on Facebook and Pinterest!
CONNECT WITH YUMMI HAUS!
Be sure to follow me on my social media, so you never miss a post!
Halloween Oreo Balls / Halloween Cake Pops
Ingredients
- 25 oreo cookies ground
- 3 tbsp coconut oil
- 5 oz cream cheese softened
- ⅔ cup green chocolate melts
- ⅔ cup orange chocolate melts
- ⅔ cup white chocolate melts
- 5 Good and Plenty candy for ghost arms
- Red frosting gel
Instructions
- In a large bowl, combine ground oreos and cream cheese. Mix with a hand mixer until smooth and mixture is a dough-like consistency.
- Using a cookie scoop, scoop an even amount of the mixture and ball it in your hand. Place each on a prepared sheet of parchment. Repeat 14 more times.
- Make sure to shape 5 of the balls like ghosts (slightly triangle shaped) then take two Good & Plenties and stick them into the side of each ghost pop to create arms.
- Melt a tiny bowl of the melting chocolate and dip the tip of cake pop stick into the chocolate and then place it ¾ of the way into an oreo pop. Repeat for all the pops. Place the pops in the fridge to set for 10 minutes.
- Once the pops have set, melt each color of the chocolate melts in the microwave for 30-second increments (low power) until fully melted and smooth. Stir in 1 tbsp coconut oil into each color.
- Gently dip a ghost-shaped oreo pop into the white melted chocolate, getting an even coating. Allow the excess to drip off then place it back on the parchment paper. Repeat with the remaining ghost-shaped oreo pops.
- Next, dip an oreo pop into the orange melted chocolate, allowing the excess to drip off. Place it on the parchment then repeat with 4 more oreo pops. These will be your jack-o-lantern pops.
- Last, dip the remaining 5 oreo pops in the green melted chocolate (one at a time). Allow the excess to drip off and then place them on the parchment. These will be your poisoned apple pops.
- Place the parchment-lined tray in the fridge to set for 20 minutes.
- Once the pops are set, take your red frosting gel and create drips off of the green pops to create a “poisoned apple” look. Set them back on the parchment.
- Using your food-safe marker, draw eyes and a mouth on your jack-o-lantern pops and on your ghost pops.
Notes
- Using a tbsp of coconut oil in the melted chocolate will slightly thin out the chocolate and make dipping each oreo pop easier. If your chocolate still seems too thick, add a tsp of coconut oil at a time until you’ve reached your desired consistency.
- You can do it by hand with a meat cleaver or hammer, but it is easiest to ground the oreos using a food processor.
- If you do not have green or orange melting chocolate, you can use white melts and food coloring to get your desired color.
Equipment
- 1 Food-safe black marker
- 15 cake pop sticks
Nutrition
Nutritional information for the recipe is provided as a courtesy and is approximate. Please double-check with your own dietary calculator for the best accuracy. We at Yummi Haus cannot guarantee the accuracy of the nutritional information given for any recipe on this site.




Share Your Thoughts