Today, we’re diving into the delightful realm of Easy Fried Ice Cream, a classic Mexican dessert with a twist. This dish is a favorite in many Mexican restaurants, but it’s so simple that it’s perfect for making at home too.
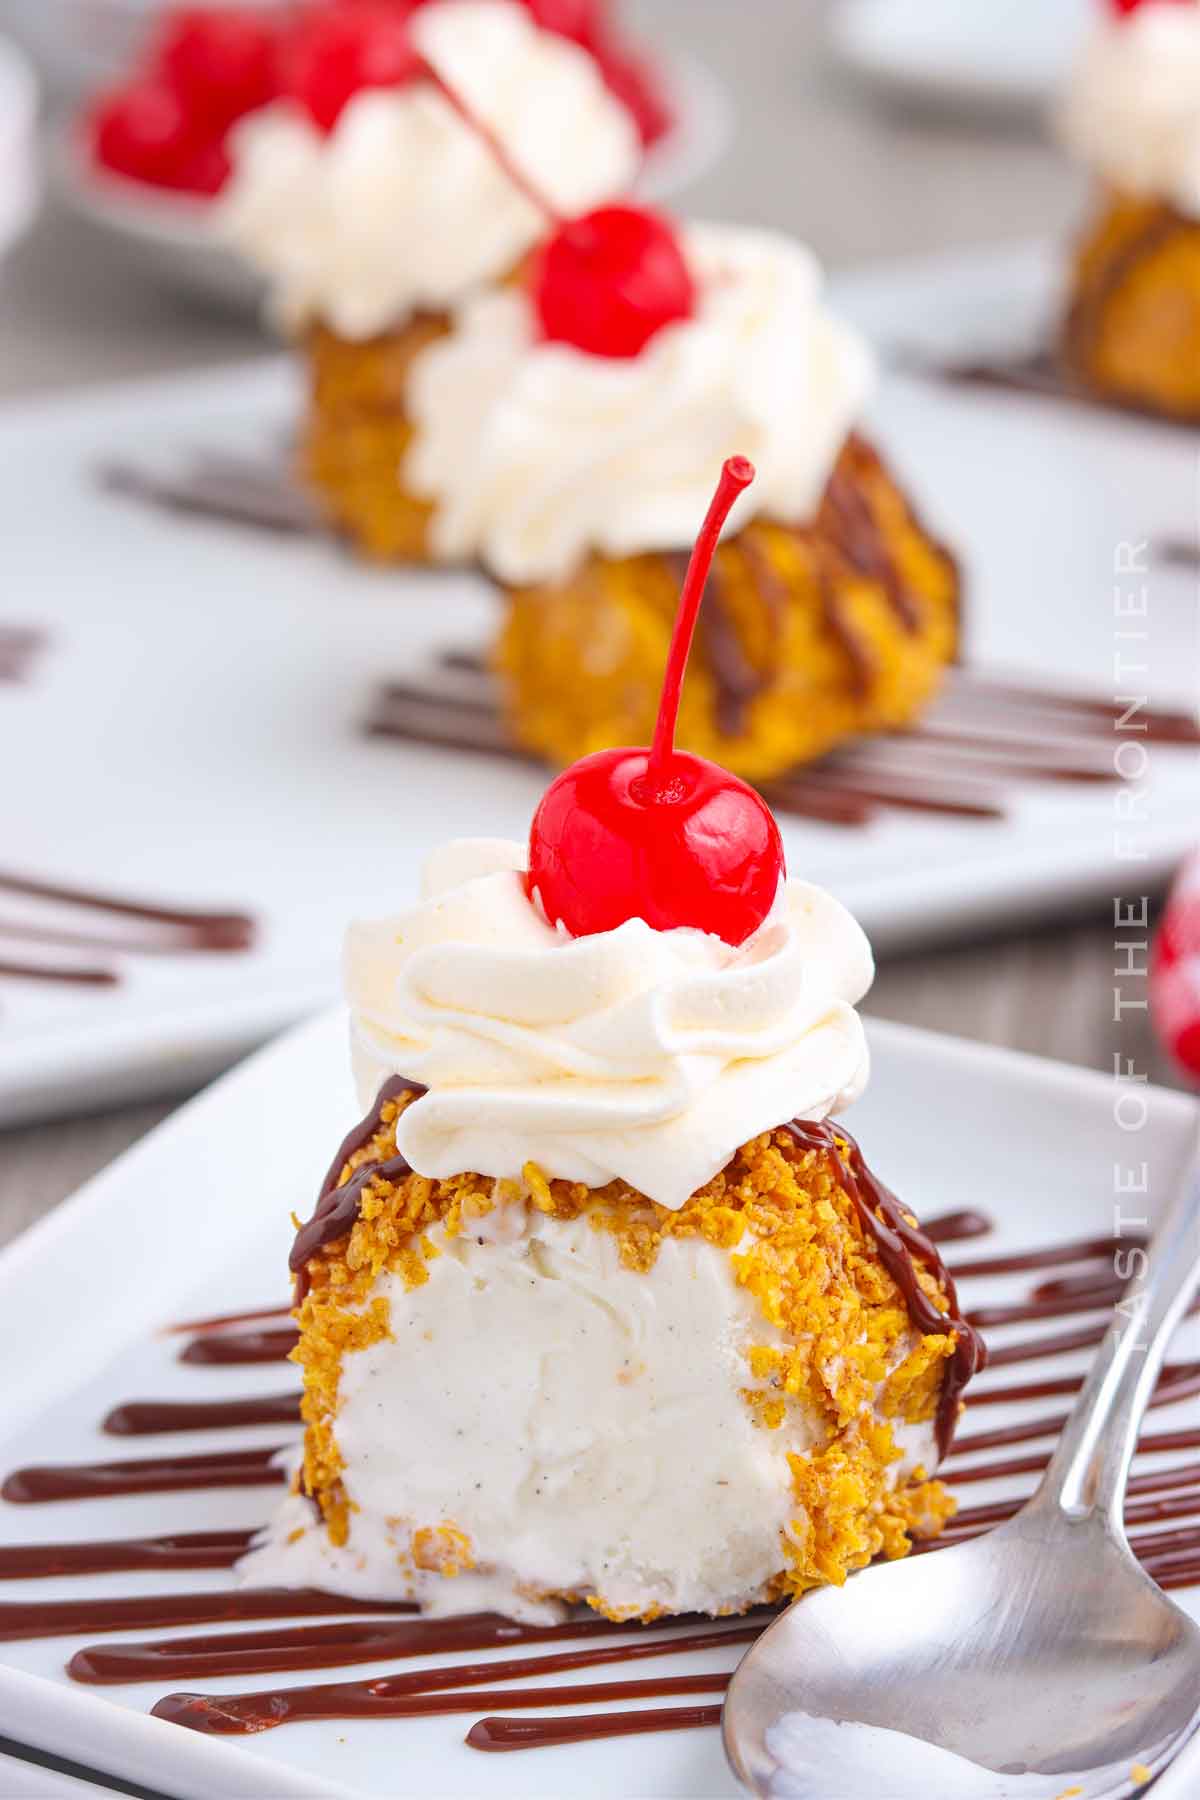
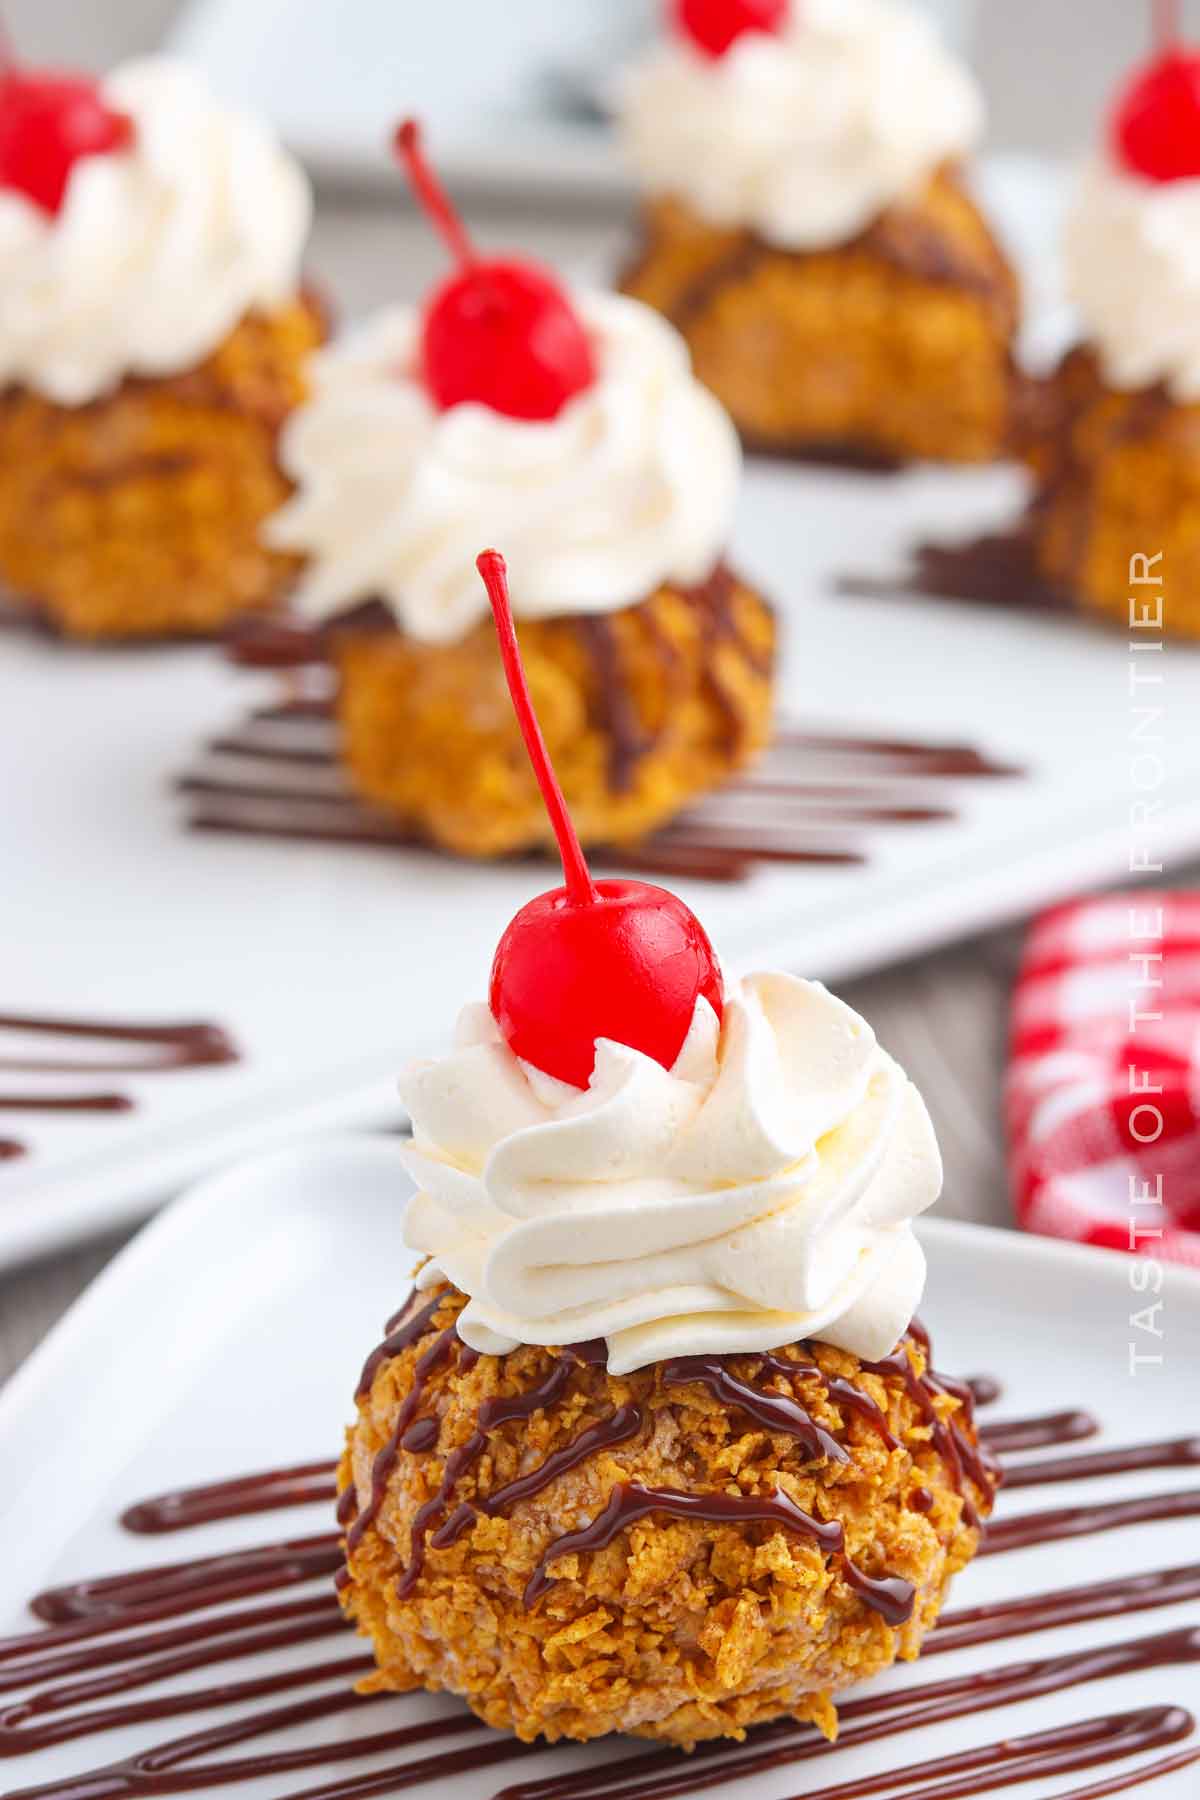
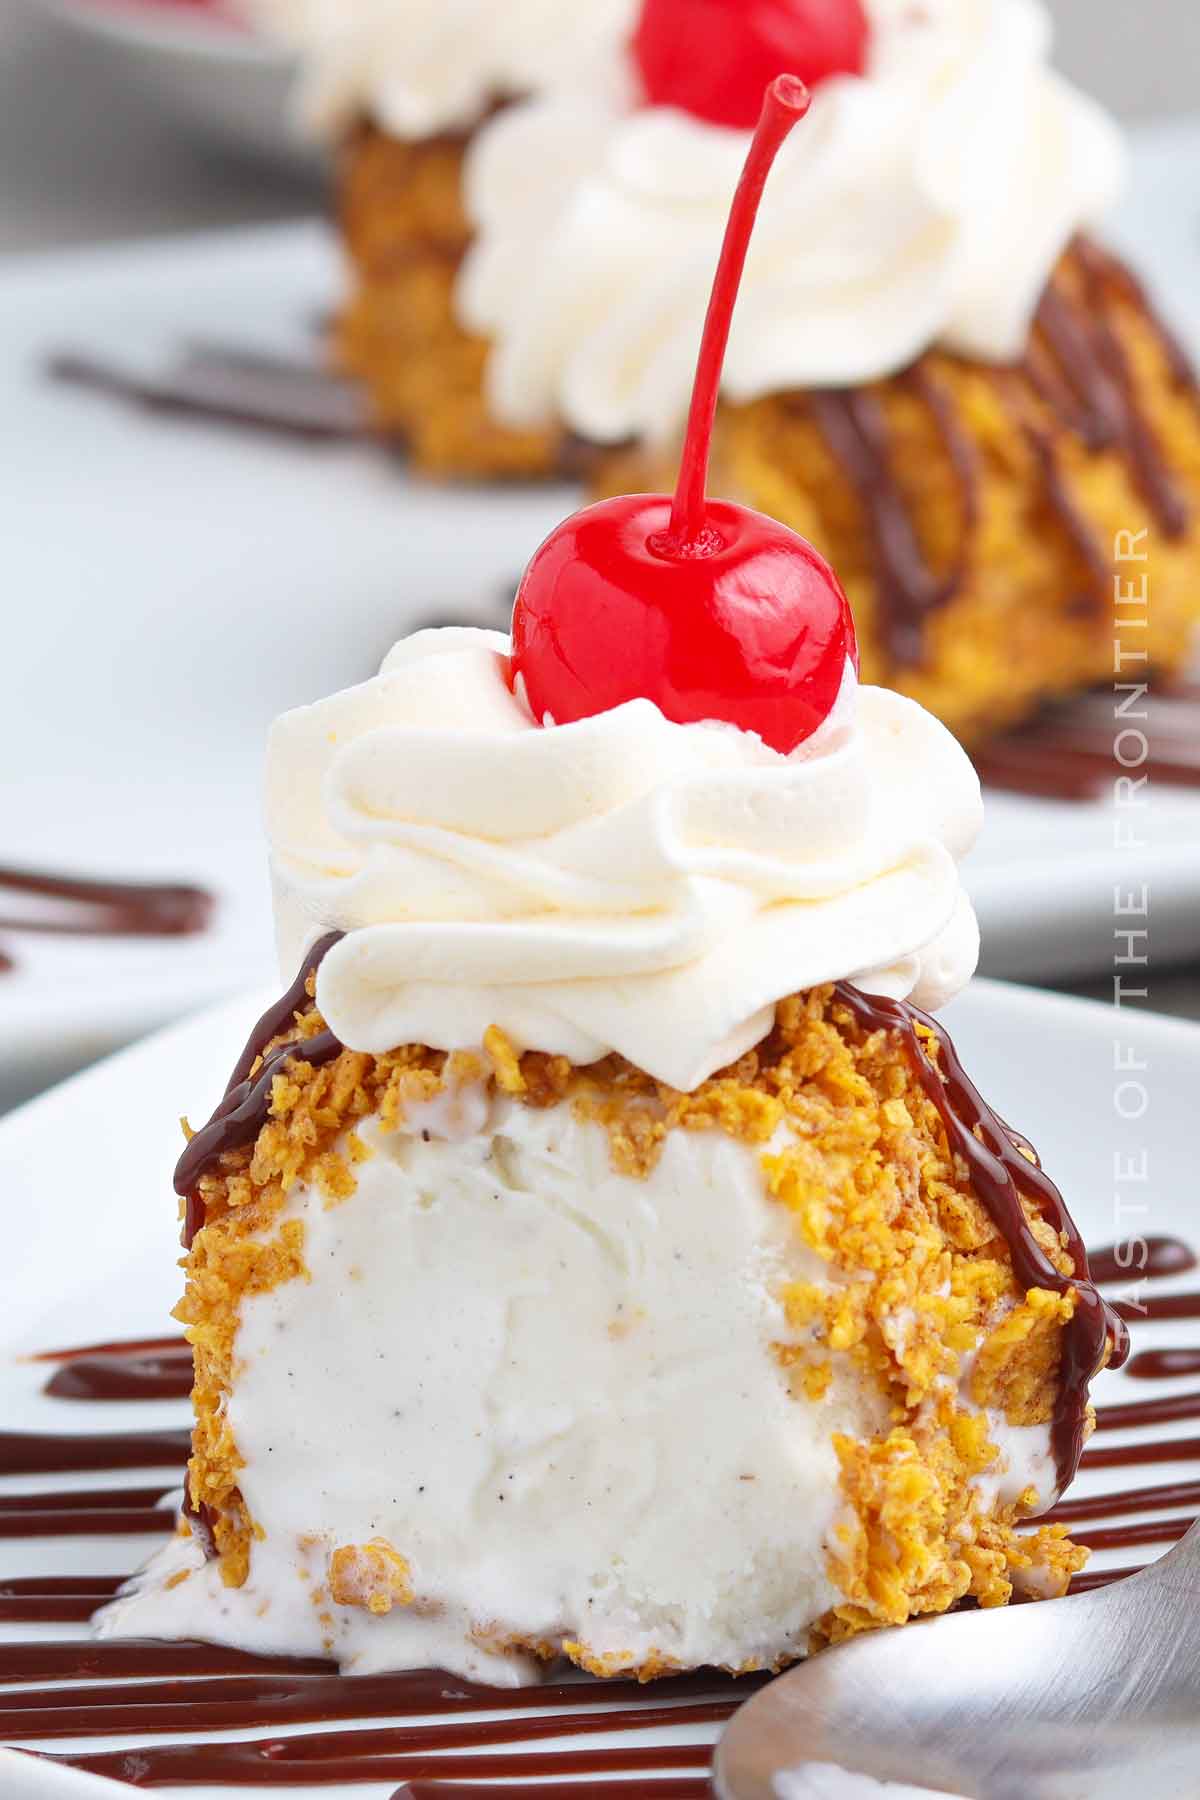
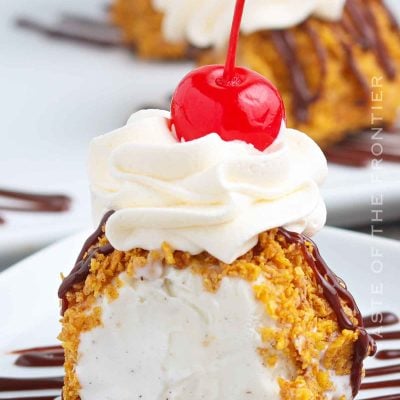
Imagine scoops of creamy vanilla ice cream coated in a golden brown, crunchy corn flake mixture. Then it’s quickly deep-fried to create a warm, crispy outer layer that encapsulates the still-frozen ice cream. It’s an experience your whole family will love!
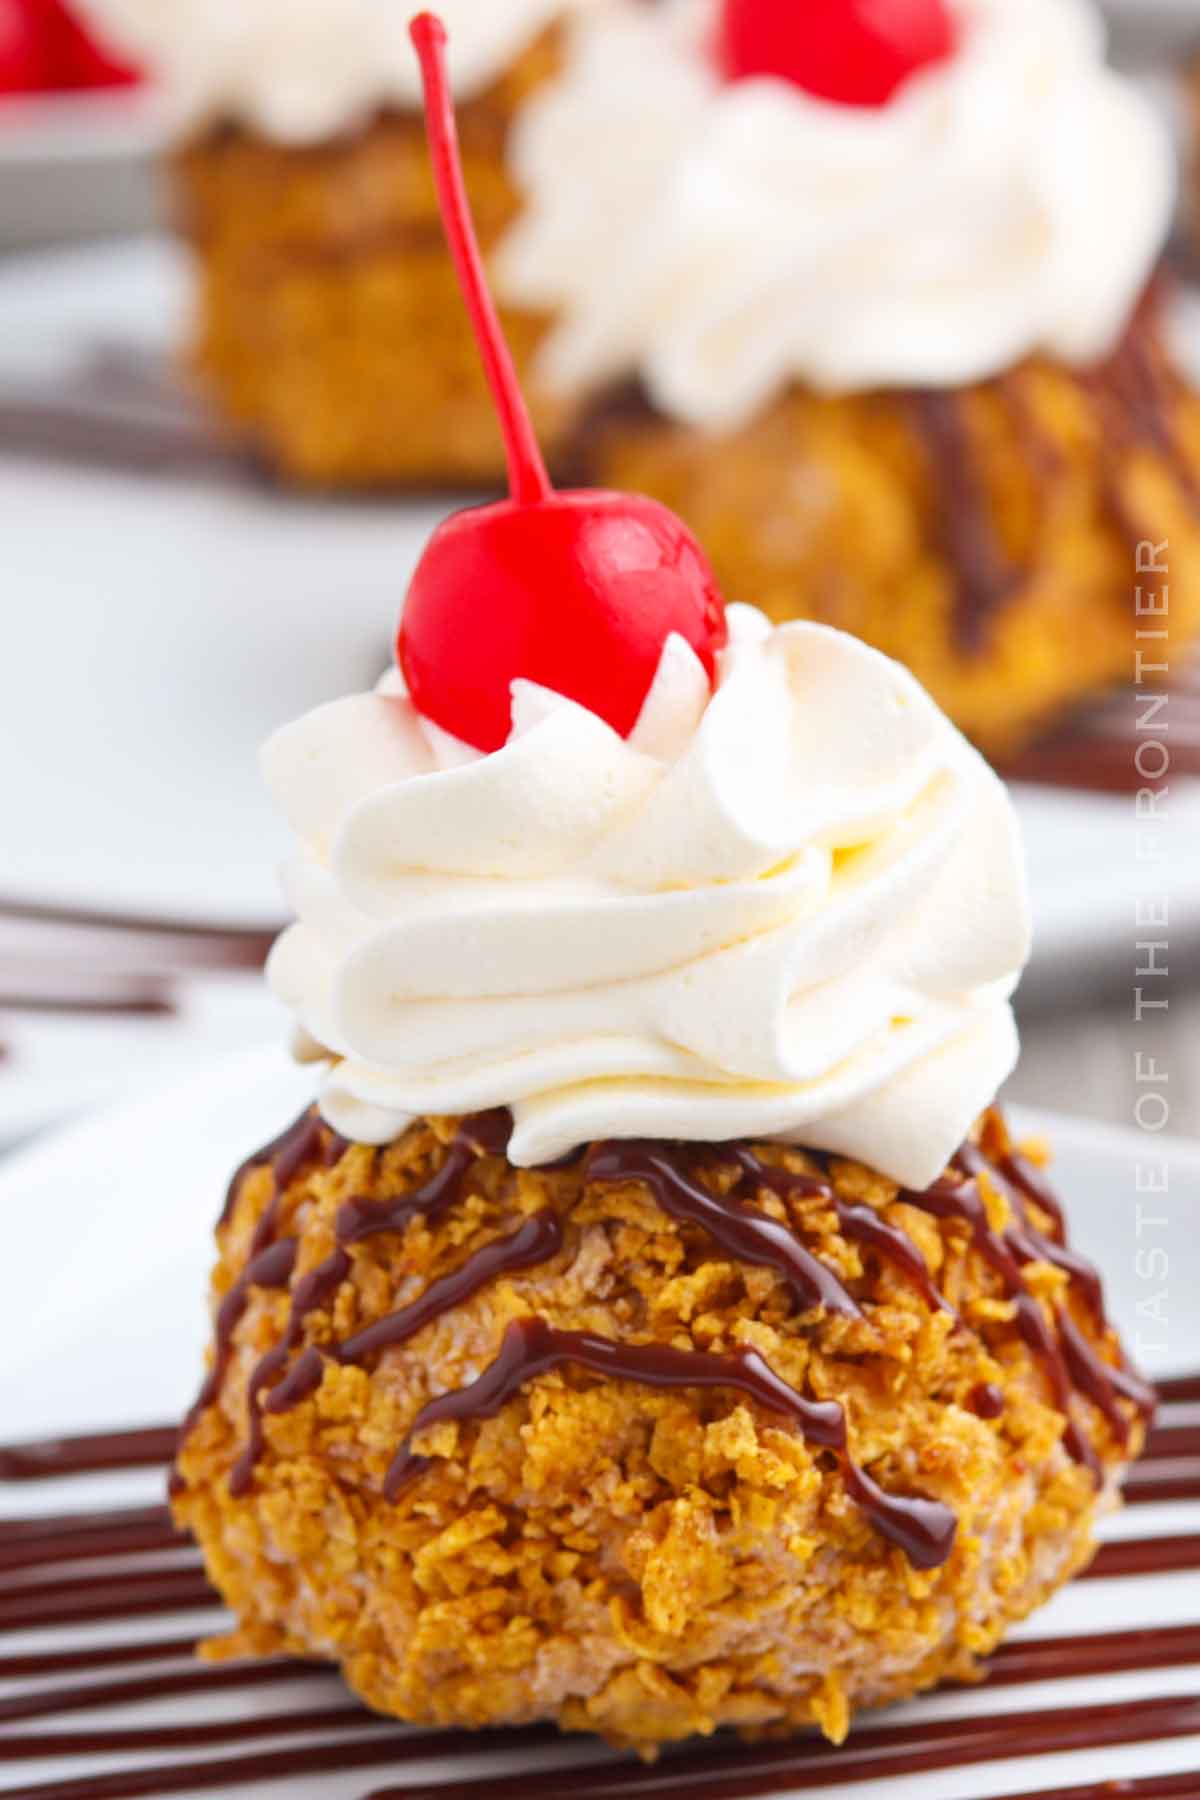
This easy dessert recipe takes so little time! It also brings the fun and delicious flavor of a classic Mexican dessert right into your kitchen. The crunchy cereal coating, creamy ice cream center, and your favorite toppings create a taste experience that’s sure to be a hit with the whole family.
So why not treat everyone to some Easy Fried Ice Cream today? Remember, the real deal isn’t always at the local Mexican restaurant – sometimes, it’s in your own kitchen! Enjoy, and make sure to bookmark this recipe or save the printable recipe card at the end of this post for future reference.
Common Questions About Easy Fried Ice Cream
Can You Really Fry Ice Cream?
Yes, you can! The key is to freeze the balls of ice cream until they’re very firm, coat them thoroughly in the cornflake mixture, and then quickly deep fry them in hot oil. This process creates a crunchy outer layer while keeping the ice cream frozen inside.
Can You Use Any Flavor of Ice Cream?
While creamy vanilla ice cream is traditional for this recipe, you can certainly use your favorite ice cream flavor. The beauty of this recipe is its versatility!
Can I Make Fried Ice Cream Without Deep Frying?
Yes! You can achieve a similar effect by toasting your cornflake mixture until it’s golden brown, then rolling your frozen ice cream balls in it. This will give you a crunchy outer layer without the need for deep frying.
Storage
Refrigerator
This dessert is best served immediately. The ice cream will melt if left in the fridge.
Freezer
For longer storage, place the fried ice cream balls in an airtight container and store them in the freezer for up to 2 weeks.
Tips
Most people haven’t tried this at home. It’s so easy though, you’ll want to try it again at your next family gathering!
- To keep your hands from becoming too cold when forming the ice cream scoops, consider using gloves.
- Ensure your crushed cornflakes are finely crushed for the best texture and adherence to the ice cream.
- A large ice cream scoop is the best tool for creating uniformly sized balls of ice cream.
- Be sure to freeze your coated ice cream balls for at least 2 hours before frying to ensure they are firm enough to withstand the frying process.
- Use a slotted spoon for safe and easy removal of the fried ice cream from the hot oil.
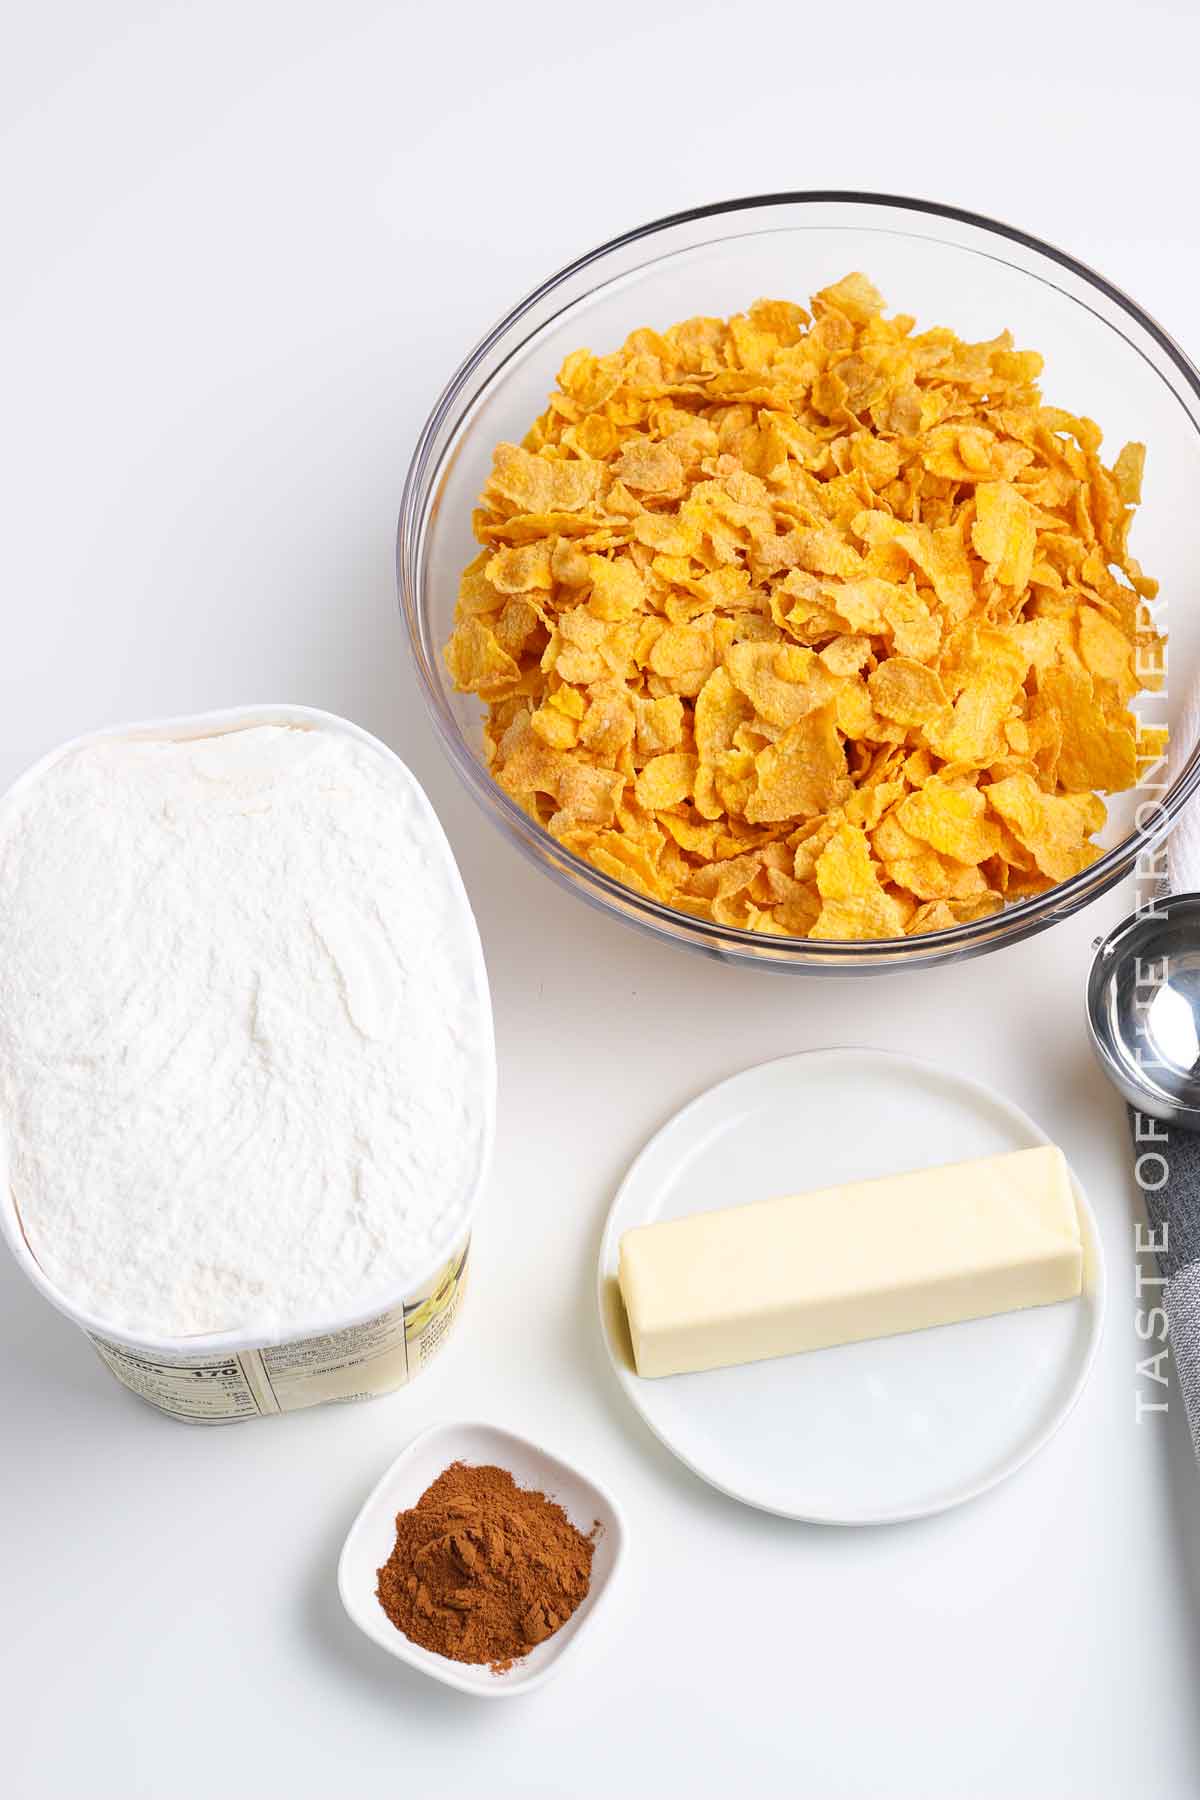
Ingredients
It’s oh-so-simple; you just can’t go wrong.
- Vanilla ice cream
- Corn flakes cereal or cinnamon toast crunch cereal
- Unsalted butter
- Ground cinnamon
- Whip cream or whipped topping, thawed (optional)
- Hot fudge or chocolate topping (optional)
- Maraschino cherries (optional)
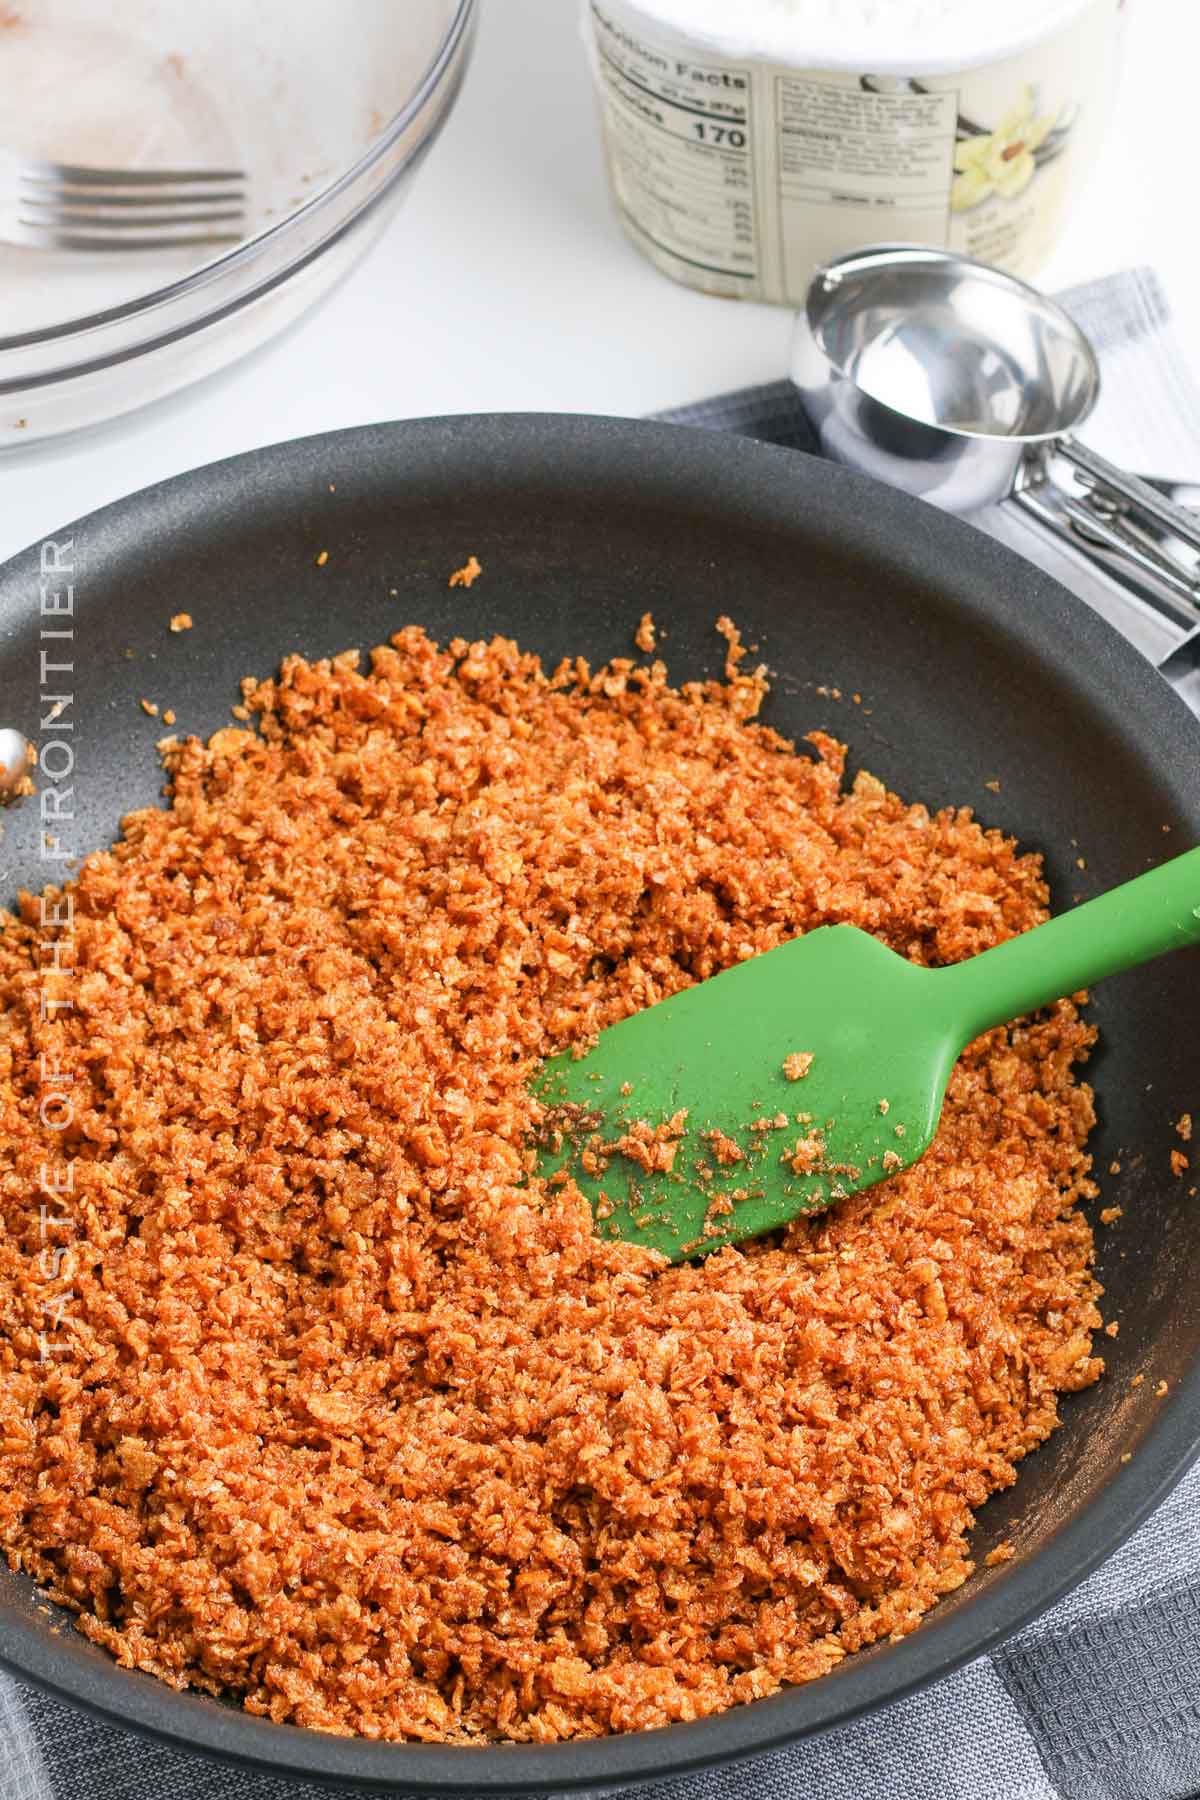
How to Make Easy Fried Ice Cream
Follow these instructions for the best results. After you’ve had some practice, try out your own way to make this recipe all yours!
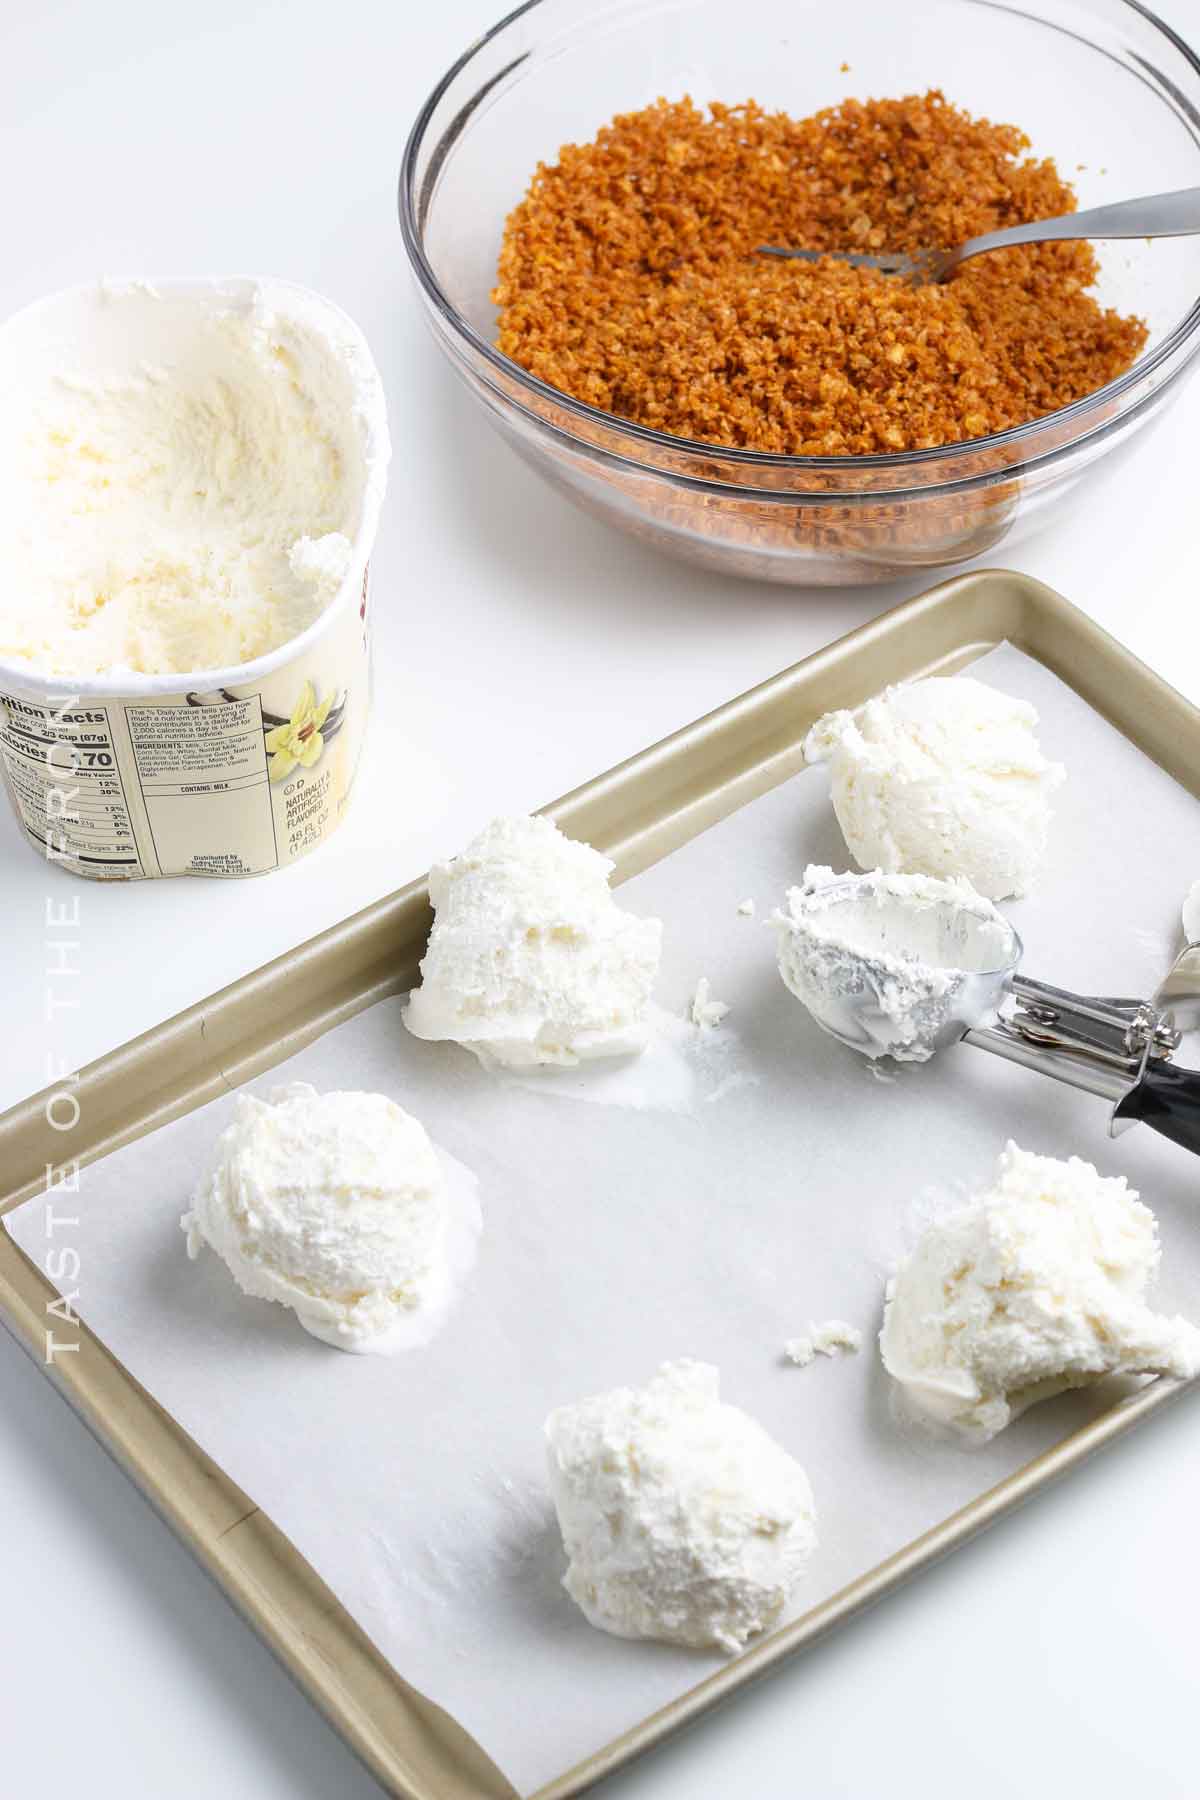
- Set the ice cream out to soften for about 20-30 minutes.
- Line a baking sheet with parchment paper. (choose one that will fit in the freezer)
- Add the cornflakes to a large resealable bag to crush or use a food processor to crush the flakes.
- Use a rolling pin to crush cereal into fine crumbs.
- Add the crumbs and cinnamon to a medium bowl and stir to combine.
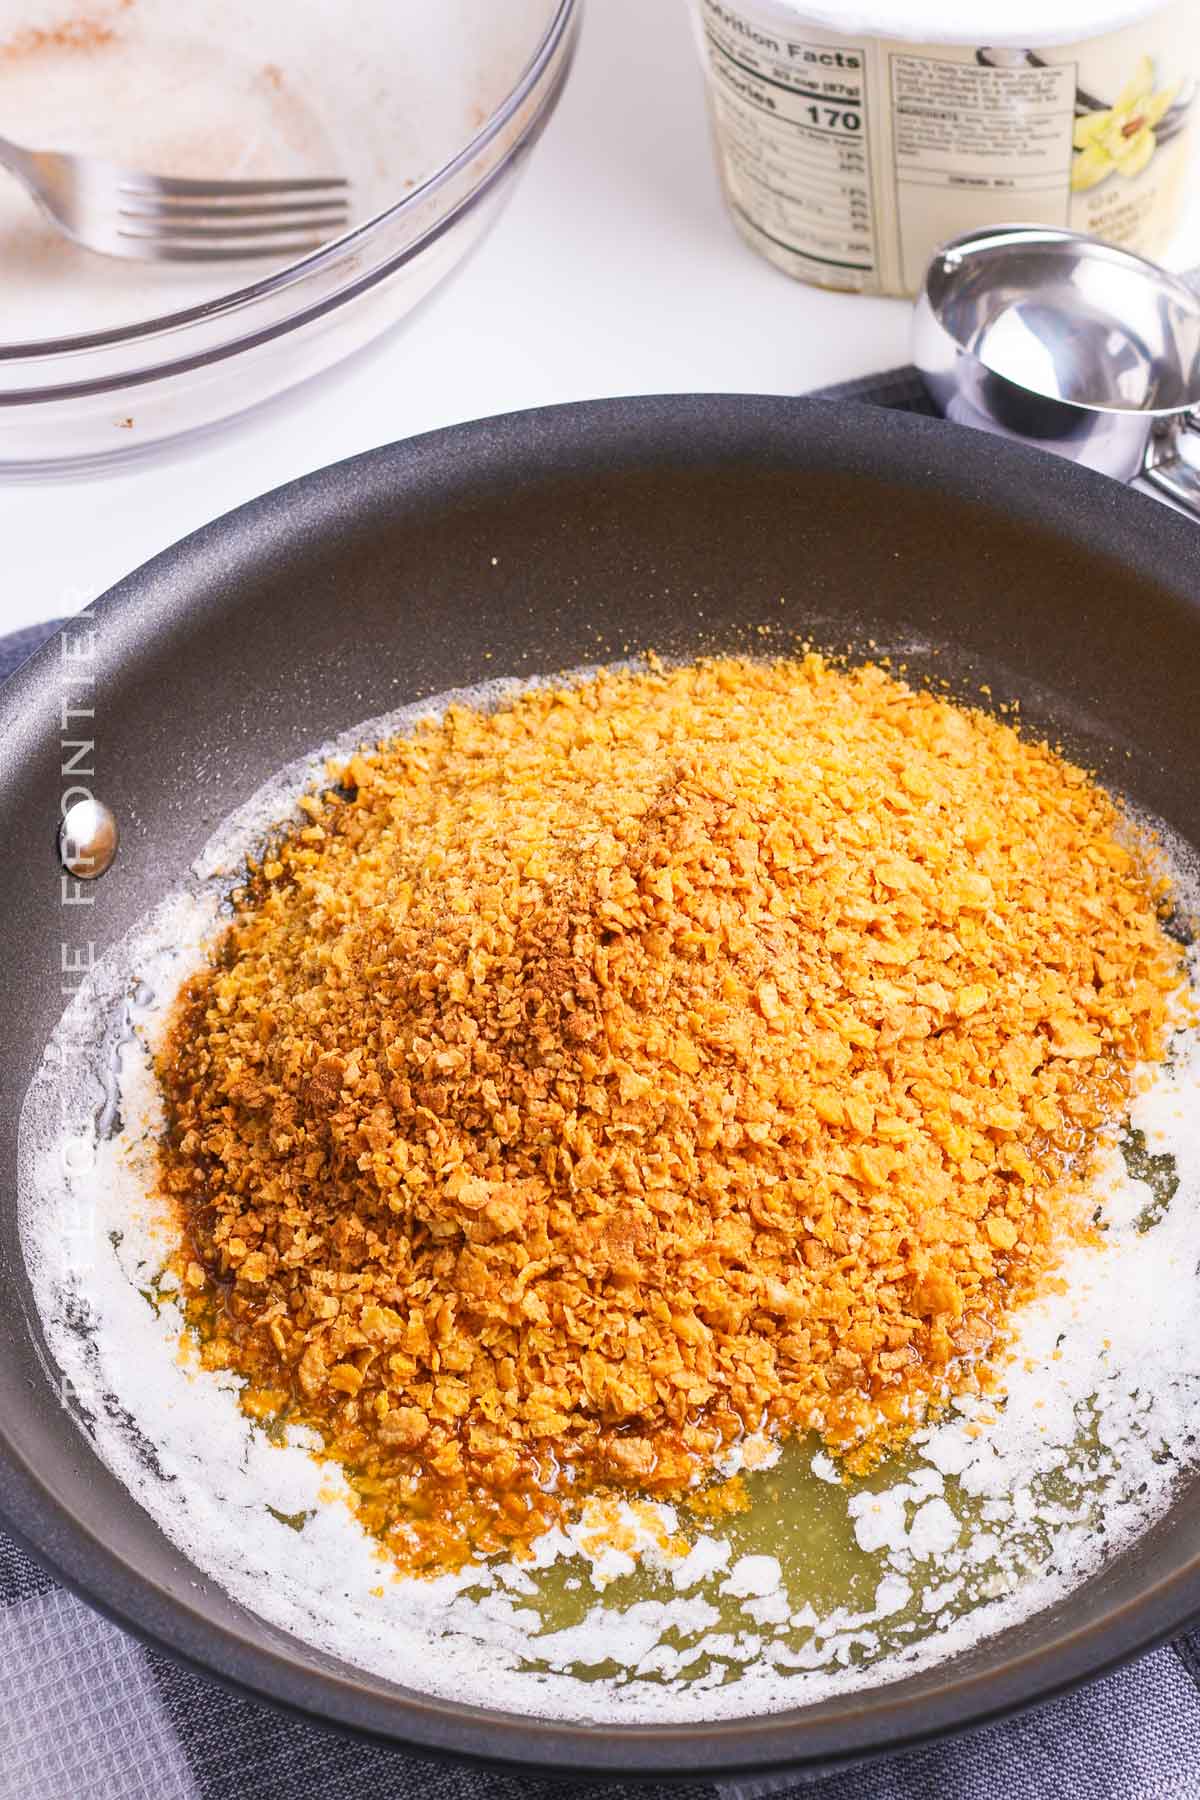
- Melt the butter in a large skillet over medium heat.
- Stir in the crushed cereal and cinnamon and cook until golden brown and fragrant – about 2-3 minutes. Watch closely so the mixture doesn’t burn.
- Remove from the heat and add the mixture to a large bowl, allow to cool.
- Scoop the ice cream with a scooper, form it into balls with your hands, and place them on the prepared baking sheet.
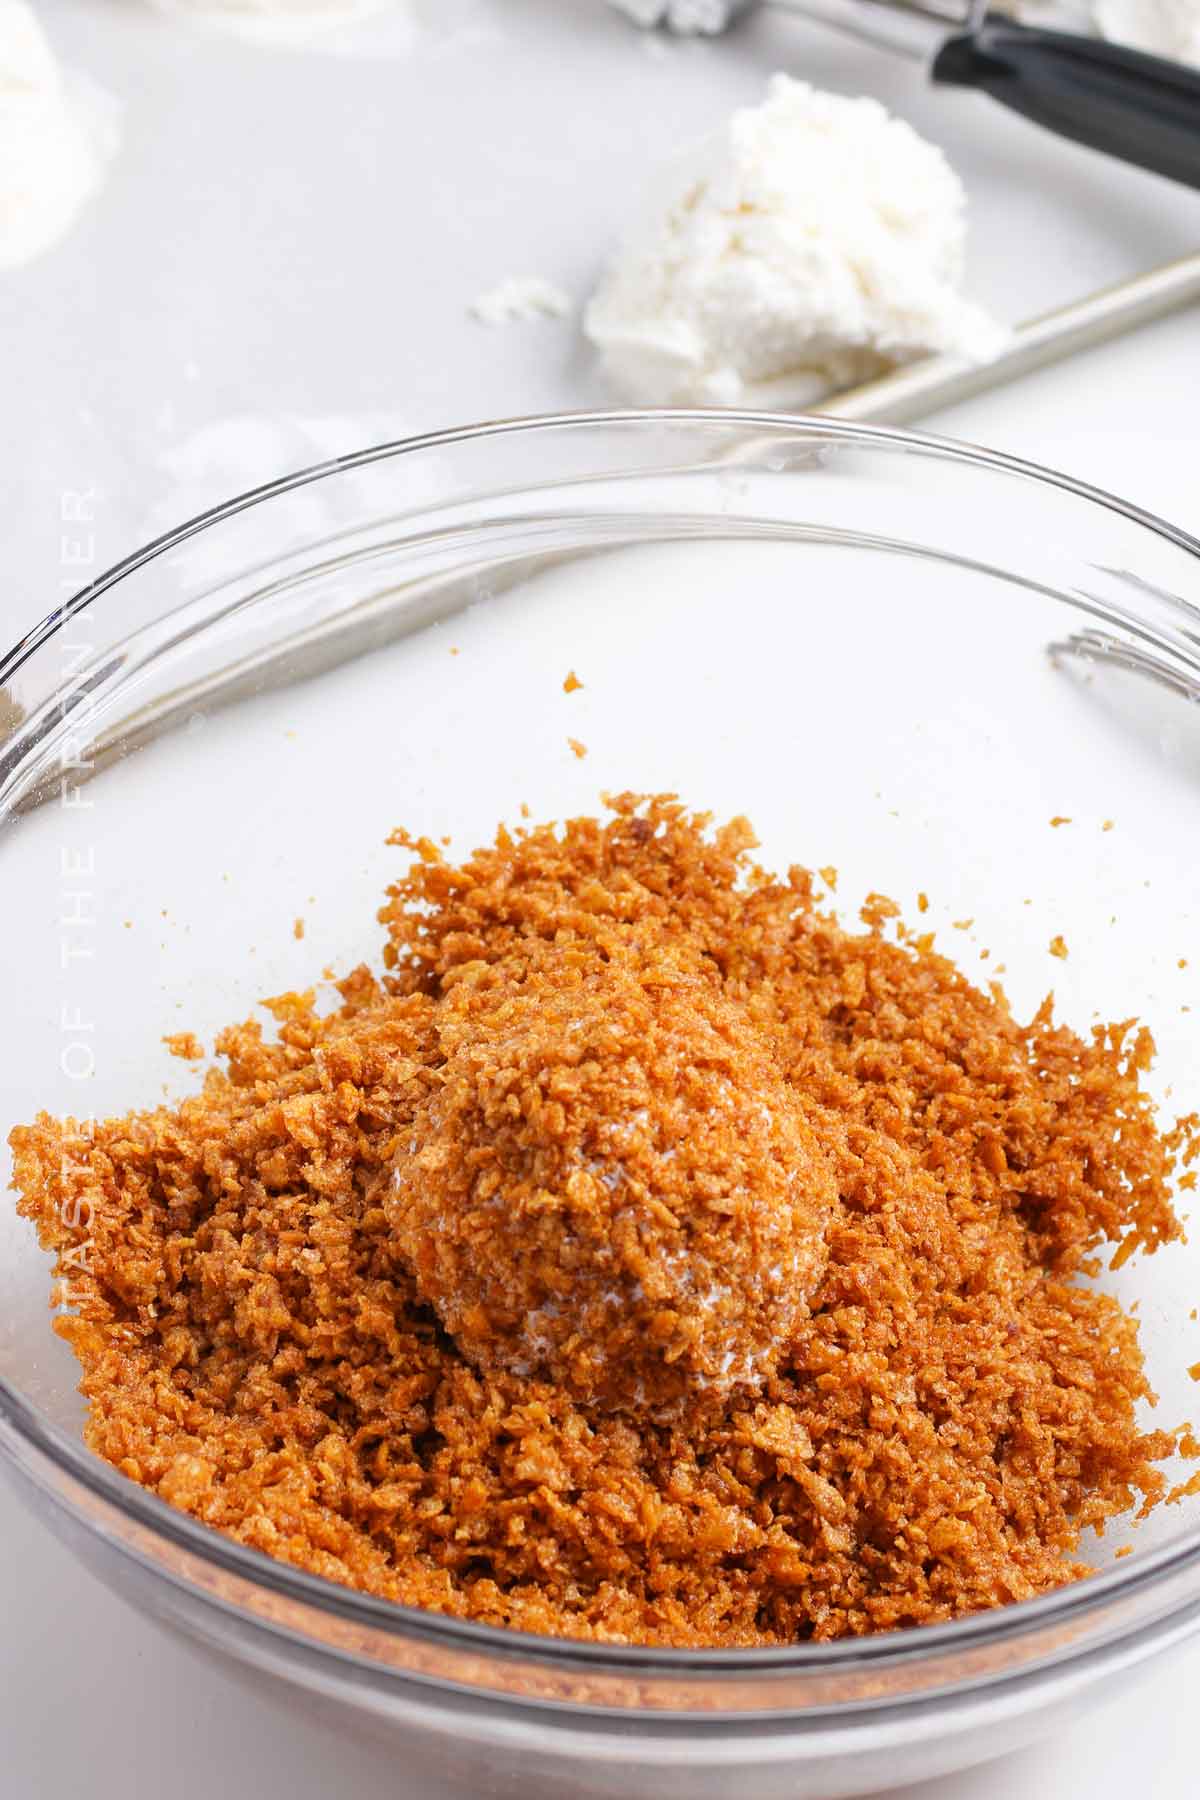
- Roll the ice cream balls in the cereal mixture, press it into the ice cream slightly, and return the coated ice cream to the baking sheet.
- Return the sheet to the freezer until ready to serve.
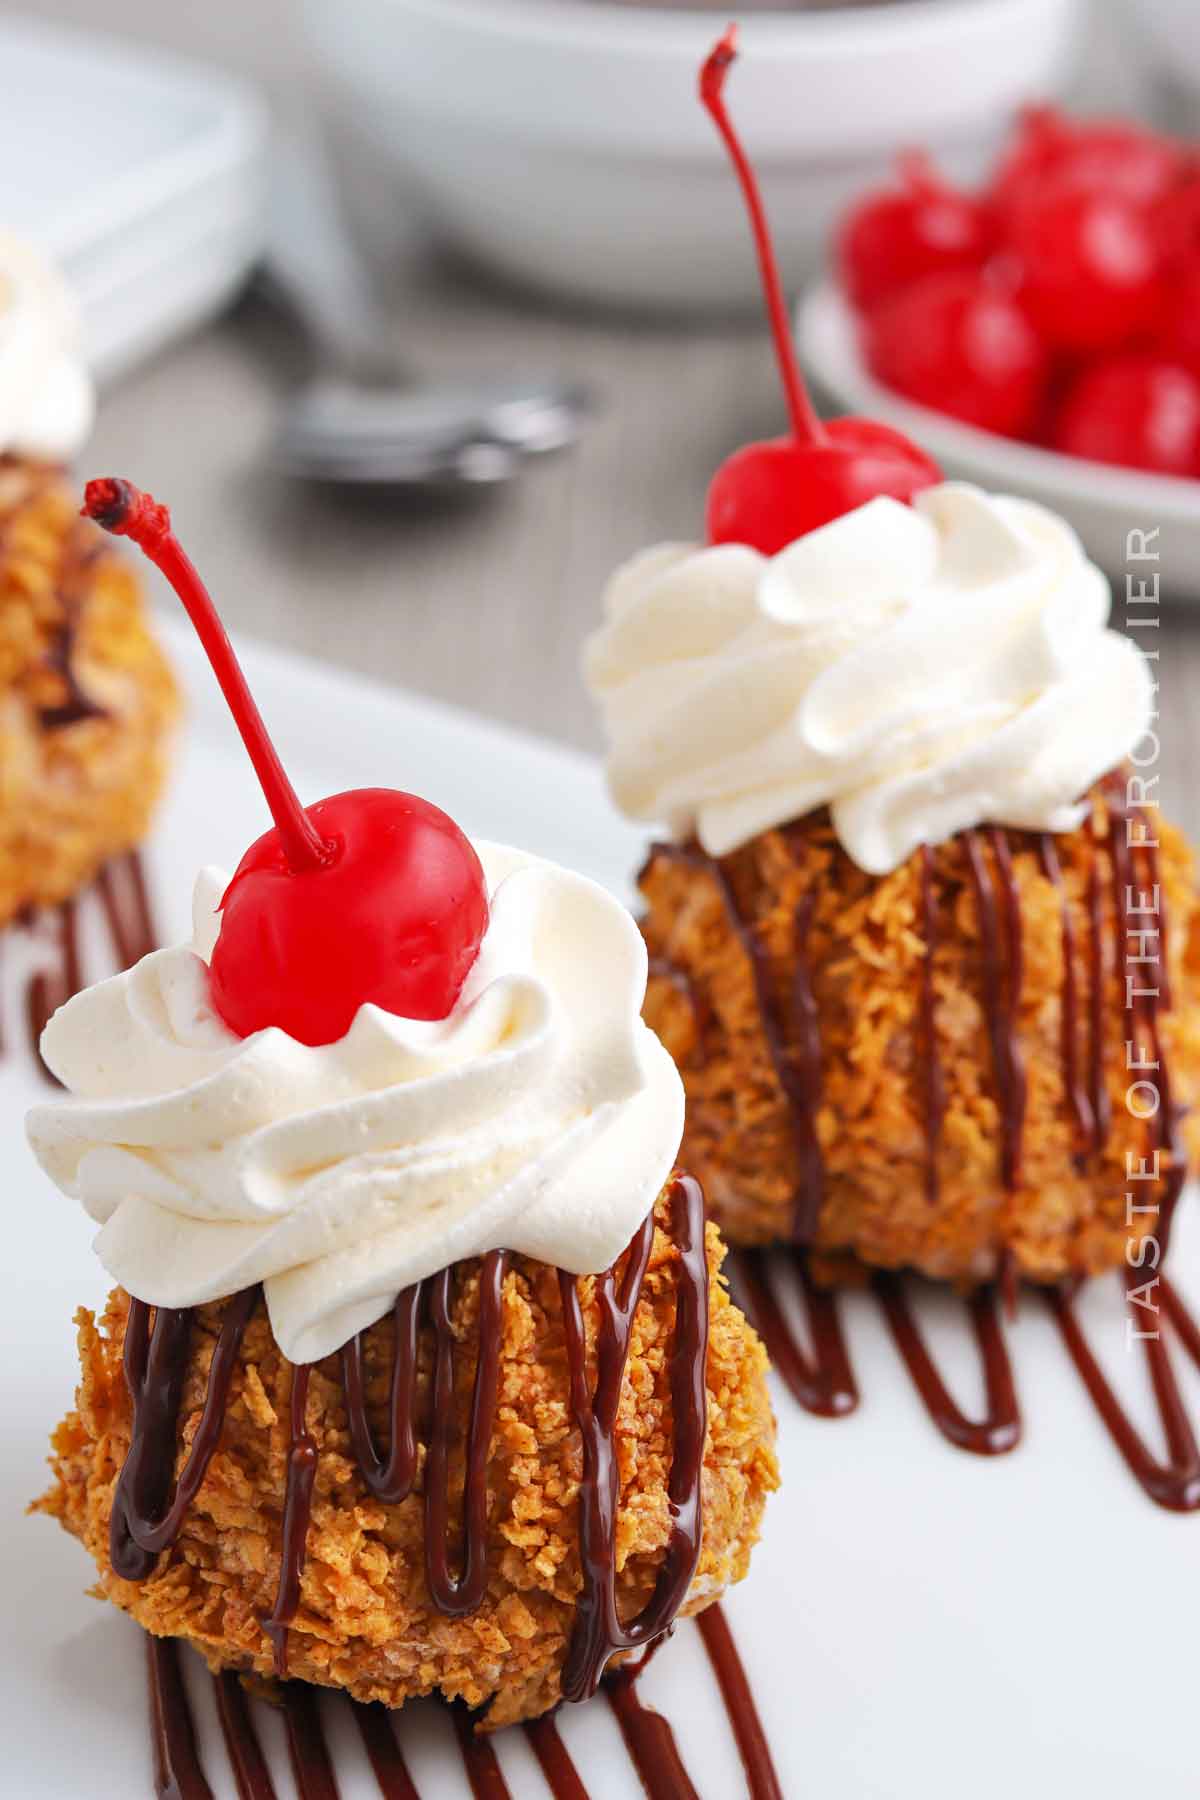
- To serve, add whip cream, chocolate, and cherry on top, if desired.
Kitchen Supplies You’ll Need for Easy Fried Ice Cream
As always, I think the best way to cook is to keep things as simple as possible. This one is no exception!
- Large bowl
- Large skillet
- Baking sheet
- Parchment paper
What to Serve With Easy Fried Ice Cream
Easy Fried Ice Cream is the perfect dessert for family dinners or to round off a Mexican-inspired meal. Serve it alongside churros or flan for a sweet treat. It also pairs wonderfully with a cup of hot chocolate or a refreshing margarita for adults.
Why You Should Make Easy Fried Ice Cream
- It’s a Fun Dessert: It’s not just about the taste; the preparation and presentation of this dish make it a fun dessert that’s sure to impress your guests.
- Versatile Toppings: The options for your favorite ice cream toppings are endless, from chocolate sauce and whipped cream to maraschino cherries and a drizzle of honey.
- A Delicious Ice Cream Sundae Alternative: It’s a great way to shake up your usual ice cream sundae routine with a little added crunch and warmth.
- Perfect for Special Occasions: This dish is perfect for celebrations like Cinco de Mayo, birthdays, or simply when you want to treat yourself to a delicious dessert.
Variations and Add-Ins for Easy Fried Ice Cream
- Change up the Cereal: Instead of cornflakes, use crushed vanilla wafers or cinnamon toast crunch for a different flavor profile.
- Add a Mexican Twist: For a more authentic Mexican fried ice cream, consider adding a bit of brown sugar to your cereal mixture or replacing the vanilla ice cream with a cinnamon-flavored one.
- Experiment with Toppings: The possibilities for toppings are endless. Add caramel sauce, drizzle with honey, or even sprinkle on some crushed nuts for extra crunch.
- Try Different Ice Cream Flavors: While vanilla is traditional, feel free to experiment with different flavors of ice cream. Chocolate, strawberry, or even a salted caramel ice cream would be delightful.
If you love this easy fried ice cream recipe, you’re going to love these other frozen treats too. Please click each link below to find the easy, printable recipe!



More Awesome Ice Cream Recipes
Chocolate Malted Crunch Ice Cream
Easy Skinny Ice Cream Sandwiches
If you love this recipe for Homemade Fried Ice Cream as much as I do, please write a five-star review, and be sure to help me share on Facebook and Pinterest!
CONNECT WITH YUMMI HAUS!
Be sure to follow me on my social media, so you never miss a post!
Easy Fried Ice Cream
Ingredients
- 1.5 quarts vanilla ice cream
- 6 cups corn flakes cereal or cinnamon toast crunch cereal
- ½ cup butter unsalted (1 stick)
- 2 teaspoons cinnamon ground
Toppings, optional
Whip cream or whipped topping, thawed
Hot fudge or chocolate topping
Maraschino cherries
Instructions
- Set the ice cream out to soften for about 20-30 minutes.
- Line a baking sheet with parchment paper. (choose one that will fit in the freezer)
- Add the cornflakes to a large resealable bag to crush or use a food processor to crush the flakes.
- Use a rolling pin to crush cereal into fine crumbs.
- Add the crumbs and cinnamon to a medium bowl and stir to combine.
- Melt the butter in a large skillet over medium heat.
- Stir in the crushed cereal and cinnamon and cook until golden brown and fragrant – about 2-3 minutes. Watch closely so the mixture doesn’t burn.
- Remove from the heat and add the mixture to a large bowl, allow to cool.
- Scoop the ice cream with a scooper, form it into balls with your hands, and place them on the prepared baking sheet.
- Roll the ice cream balls in the cereal mixture, press it into the ice cream slightly, and return the coated ice cream to the baking sheet.
- Return the sheet to the freezer until ready to serve.
- To serve, add whip cream, chocolate, and cherry on top, if desired.
Nutrition
Nutritional information for the recipe is provided as a courtesy and is approximate. Please double-check with your own dietary calculator for the best accuracy. We at Yummi Haus cannot guarantee the accuracy of the nutritional information given for any recipe on this site.




Share Your Thoughts