Back around Father’s Day my son started making all sorts of things with paracord. He had learned a few different things back in scouts & then some more while spending so much time at the station. He continued to play with it until he had created the paracord key chains that I shared with you all in my Paracord Key Chain tutorial. I have been wanting him to show me the steps for the bracelets he has been making. Then I had the idea for him to make a super huge one into a dog collar. He came up with this great fishtail type braided version that I just love. So we spent some time photographing each step & he created the
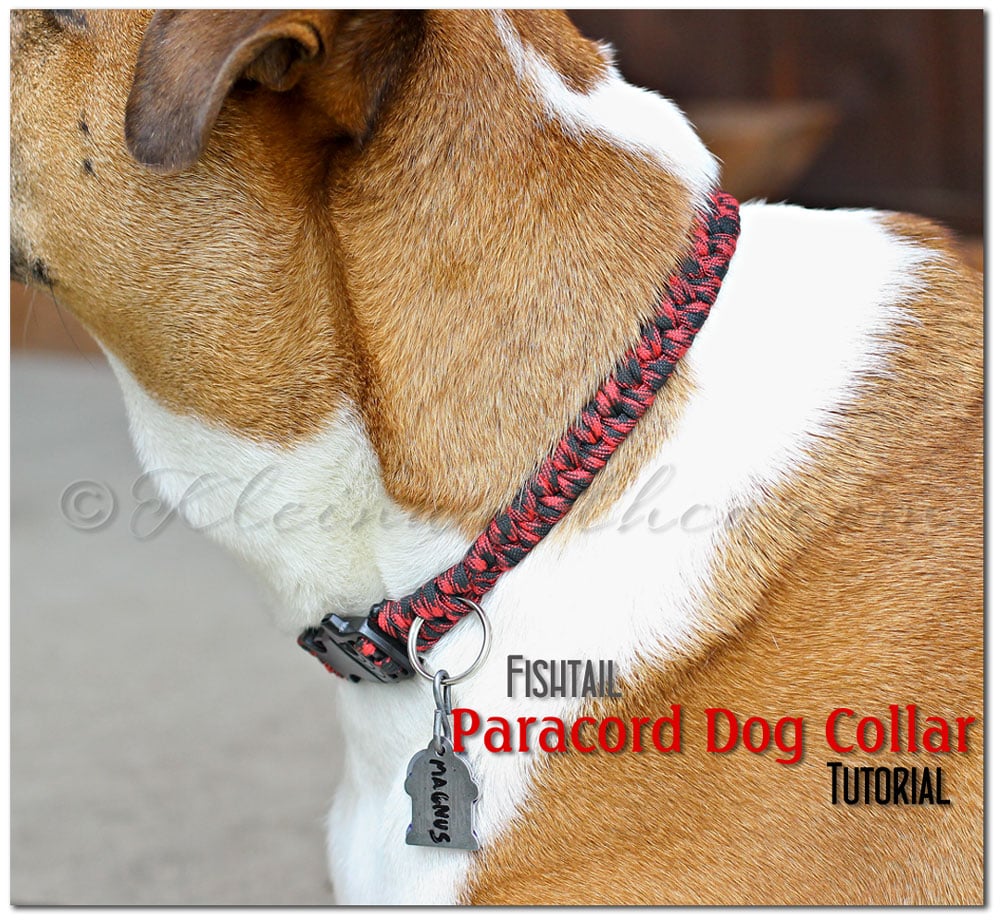
Fishtail Paracord Dog Collar
*Note- this is not for attaching your leash. I use this for a nice collar to attach my dog’s tags to. I use a noose style leash when walking him. I can’t be 100% sure that the plastic clasps or the D-Ring would be strong enough to hold him in the event I had to control him on a walk. Granted he’s 105 pounds of boxer- but still. I don’t want to be responsible for someone’s dog getting loose. So I have to let you know- the paracord weave is super strong- the store bought clasps & d-ring I can’t be 100% sure of in the event a large dog would be pulling on them.
So I am going to walk you through the steps here. This particular weave is very simple & it should go quickly.
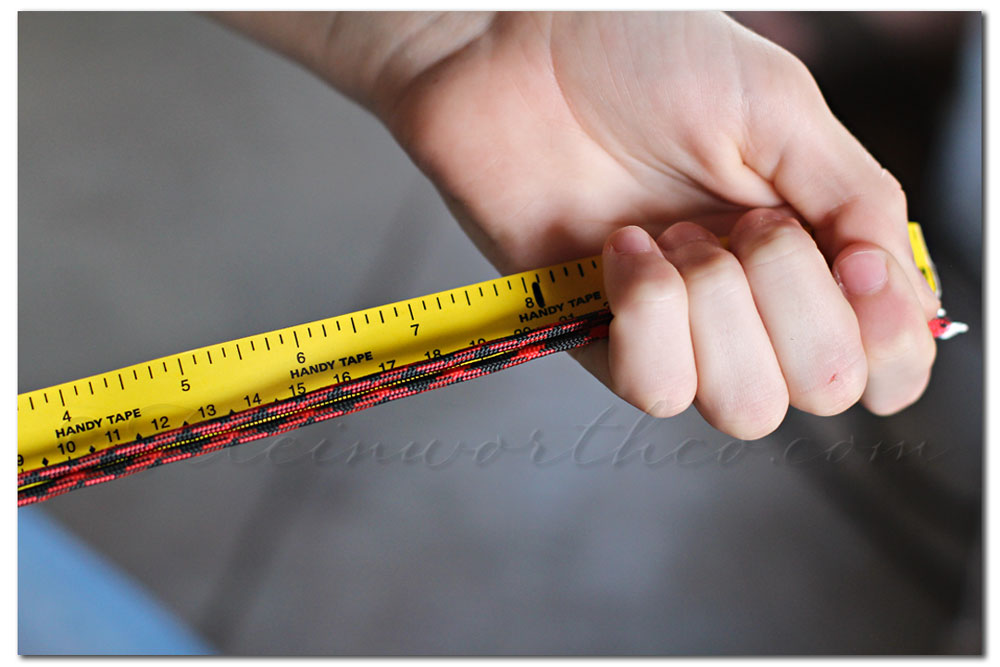
*Measure your dog’s neck circumference.
*Take that measurement & multiply it by 5.
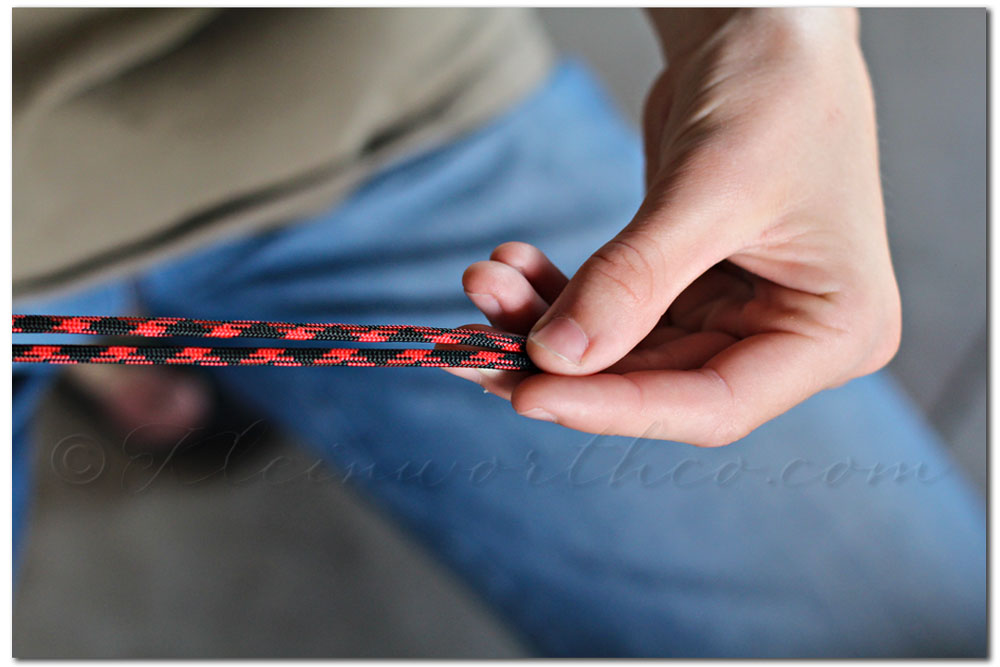
*Take that final calculation & cut 2 strands of paracord to that length.
(feel free to use 2 different colors if you like- this would make for a nice pattern)
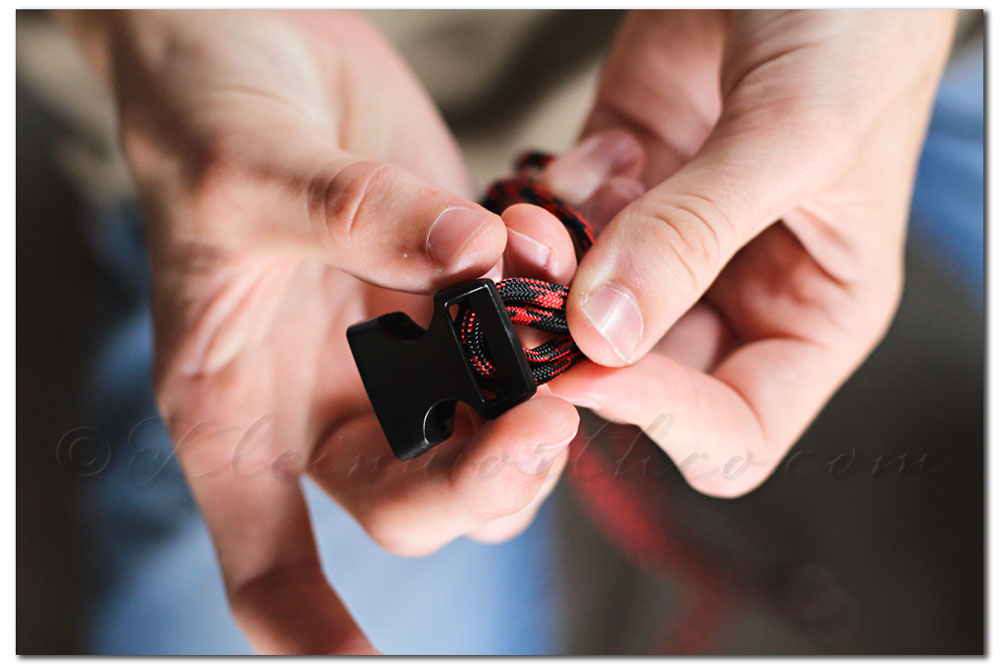
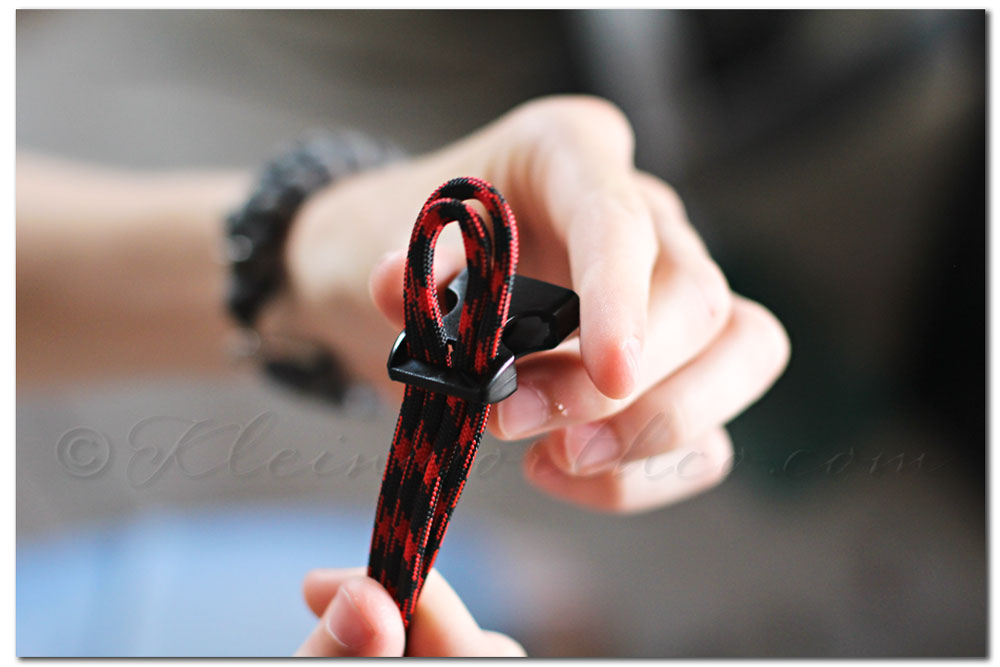
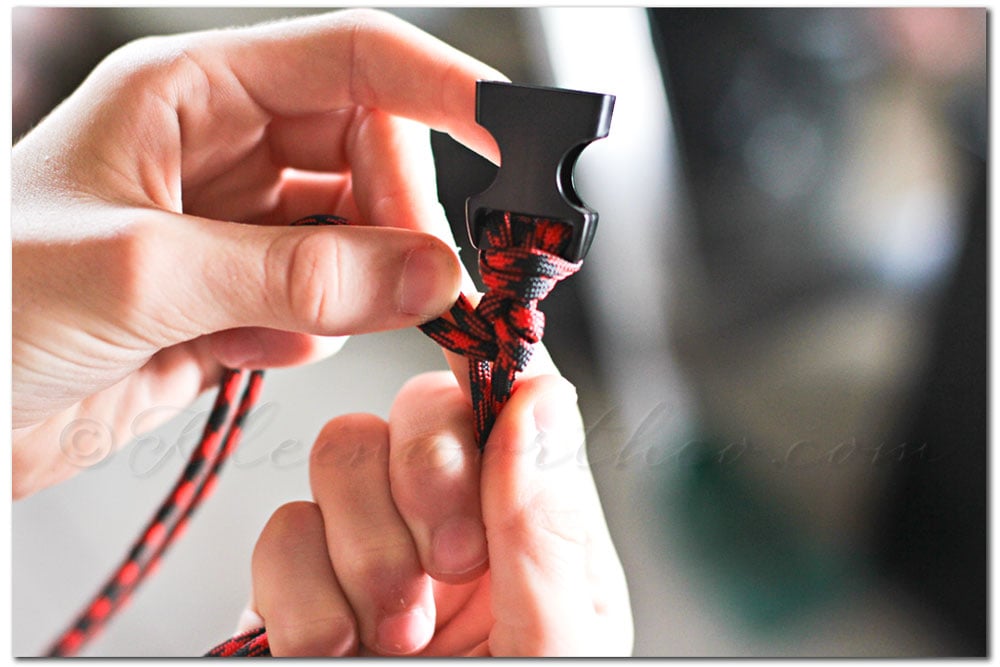
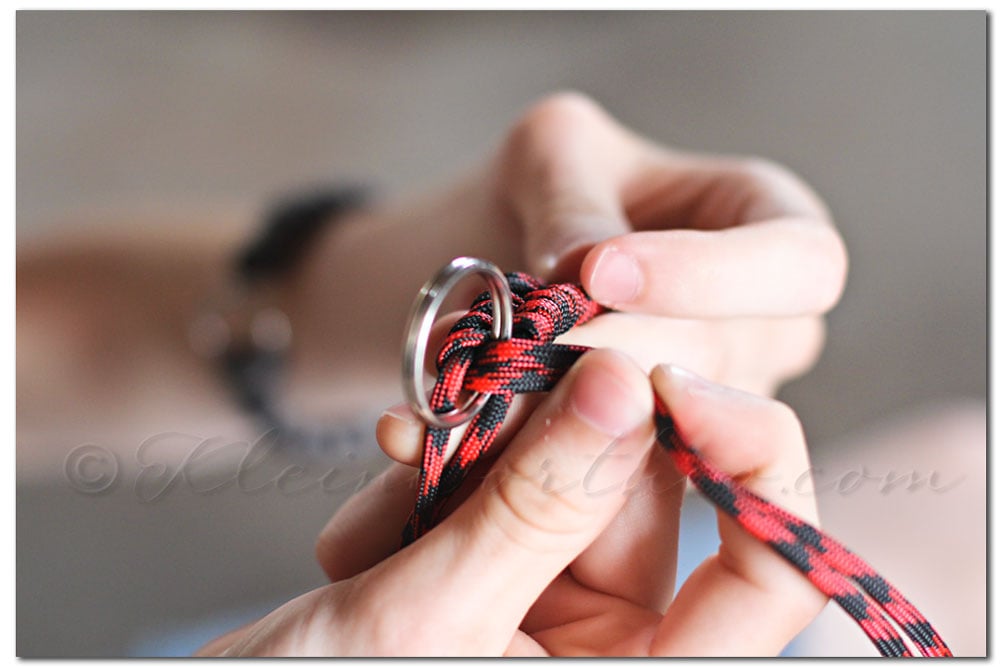
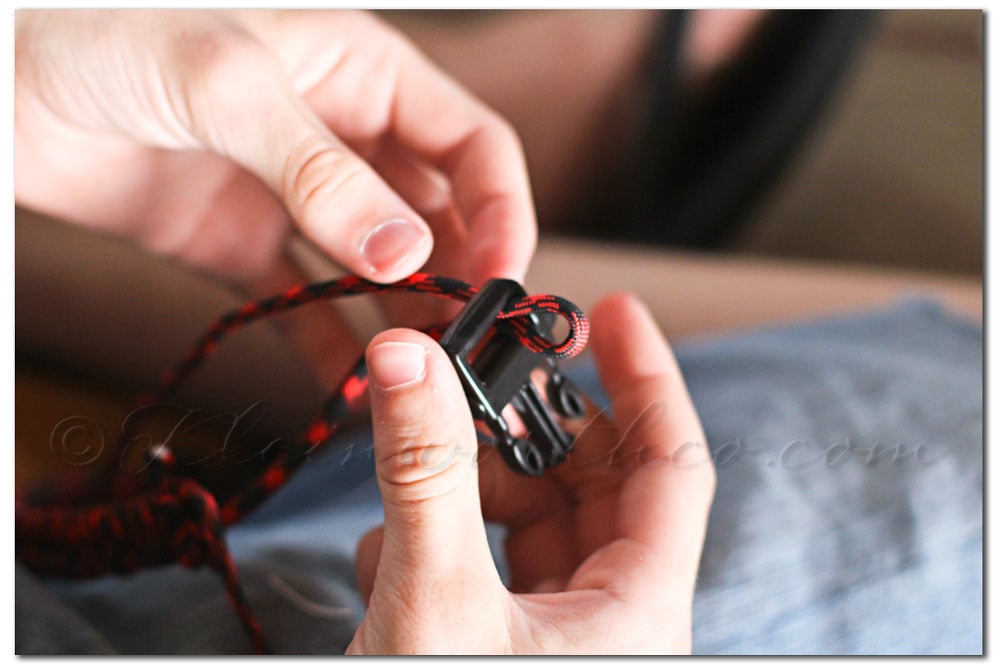
*Take both strands of paracord & fold over at the original length of the dog’s neck measurement & push the loops through your plastic clasp.
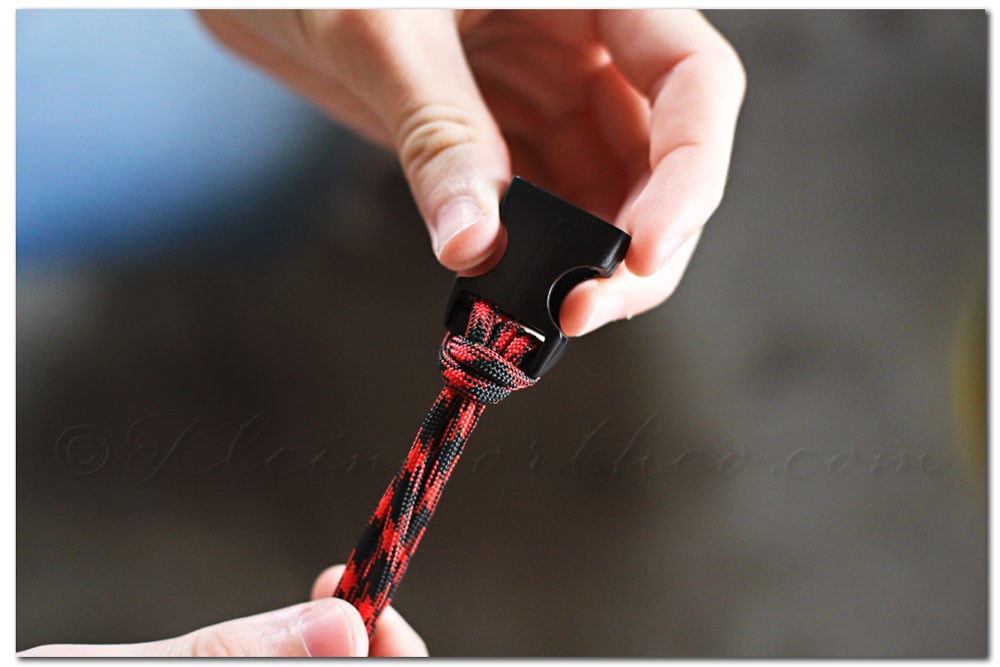
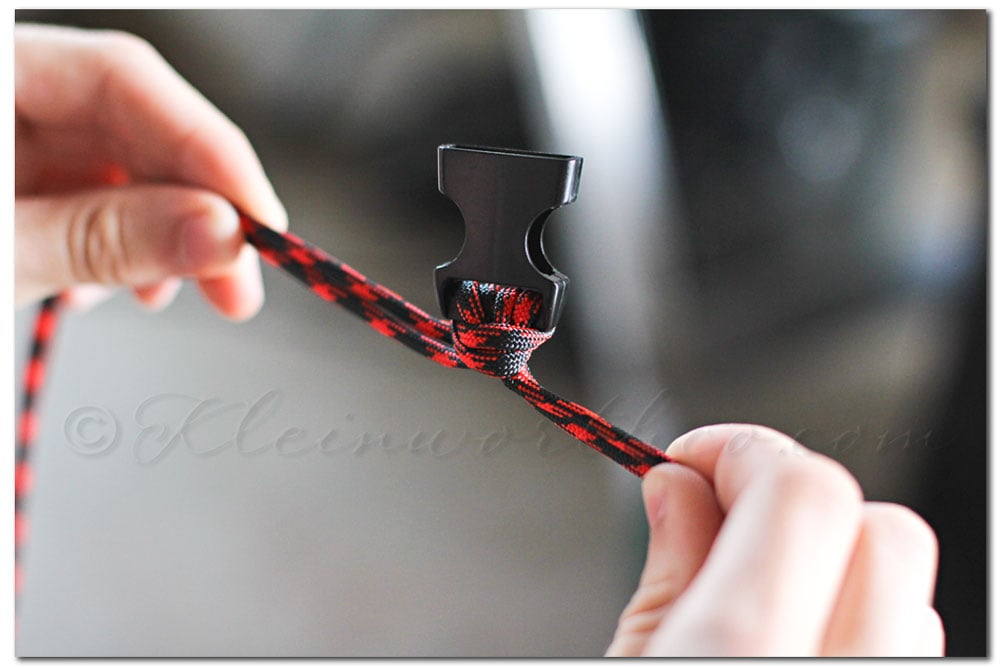
*Push the ends of your cord through the loop & pull tight so that the clasp is now secure.
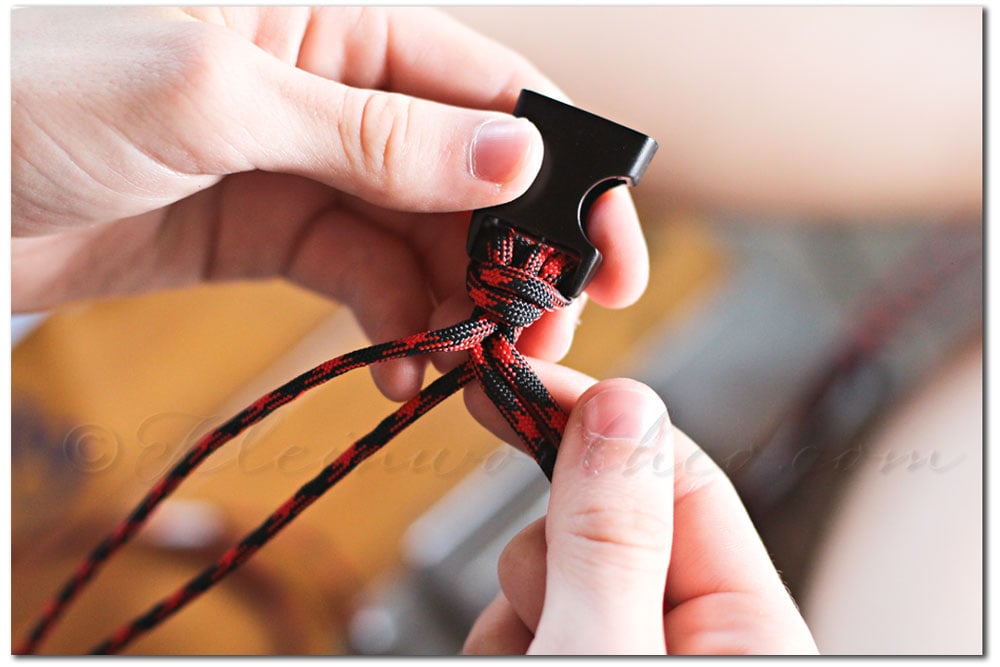
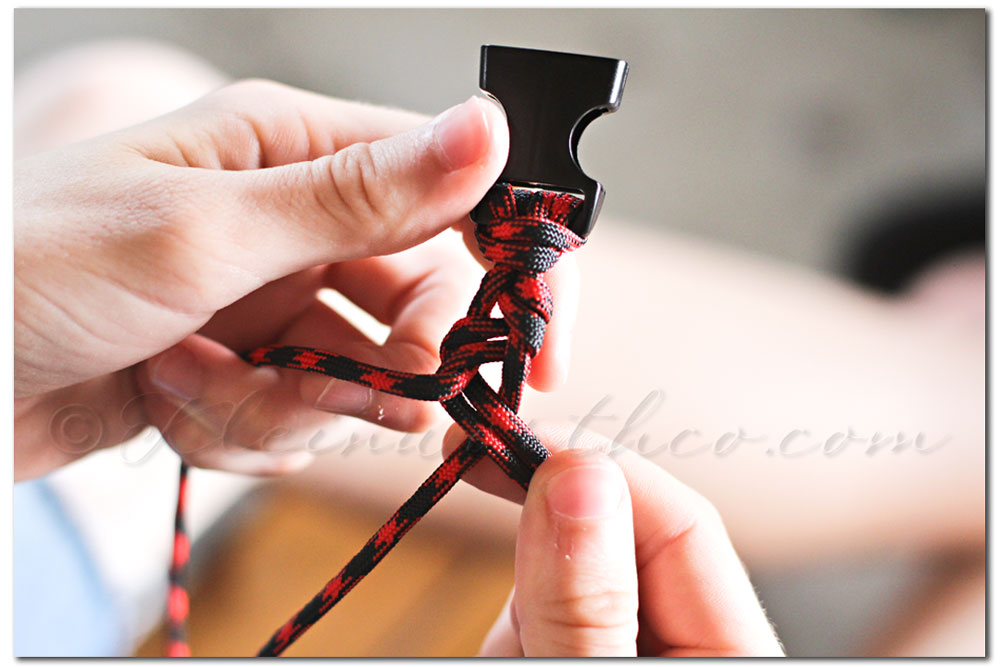
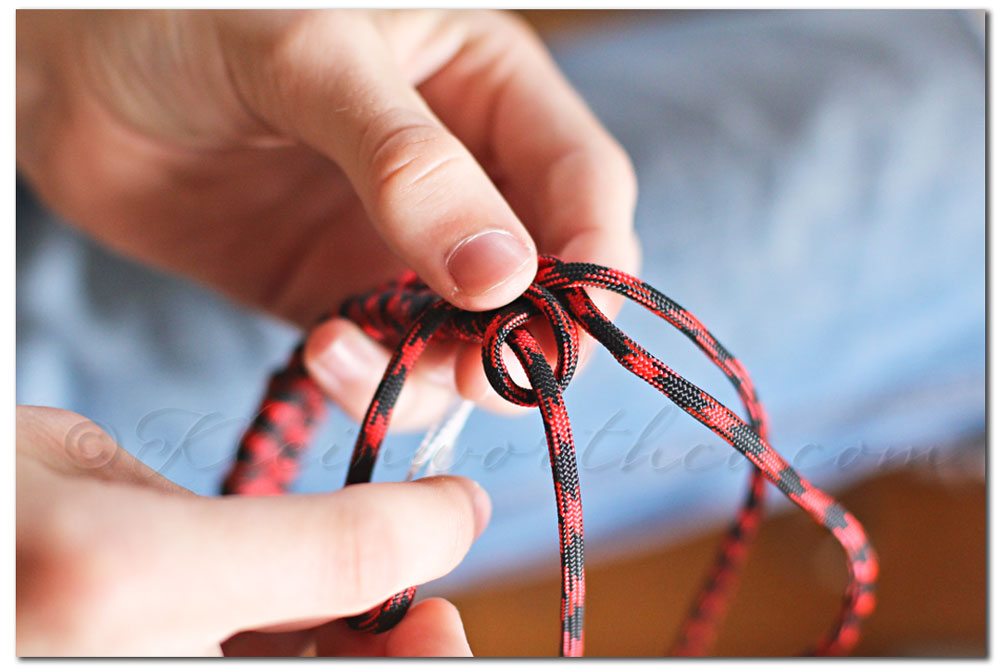
*Separate the short sides & the long sides.
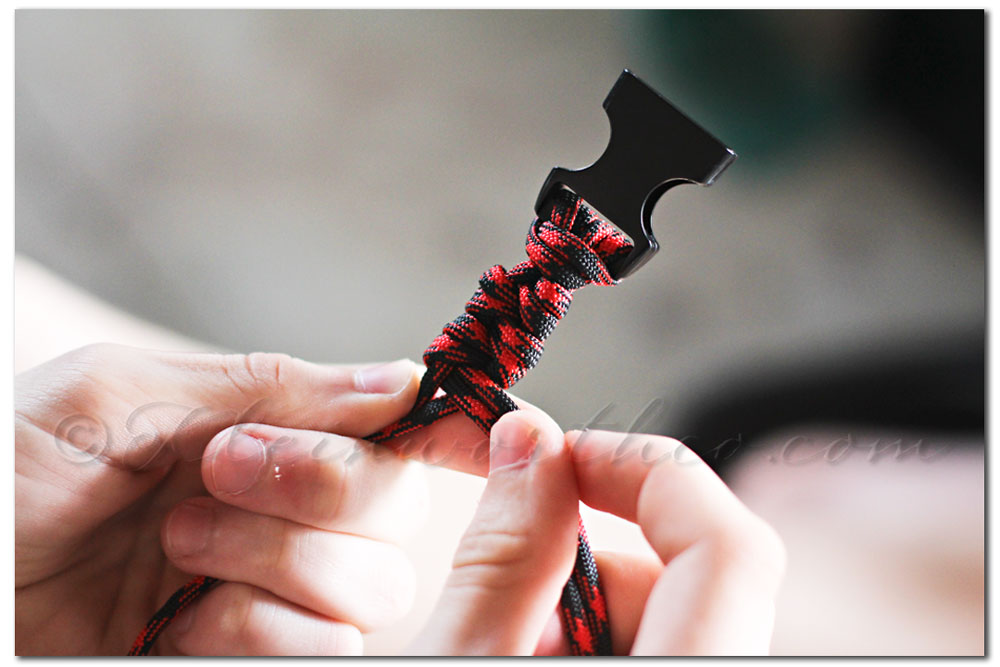
*Take the long 2 strands & weave both around one short strand & then back over to wrap around the other short strand.
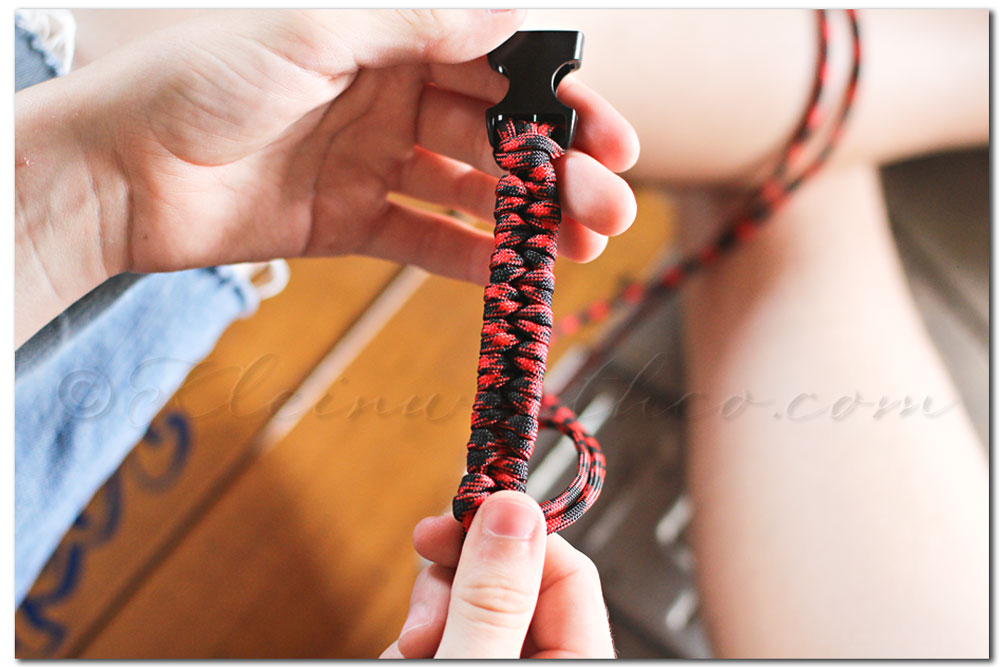
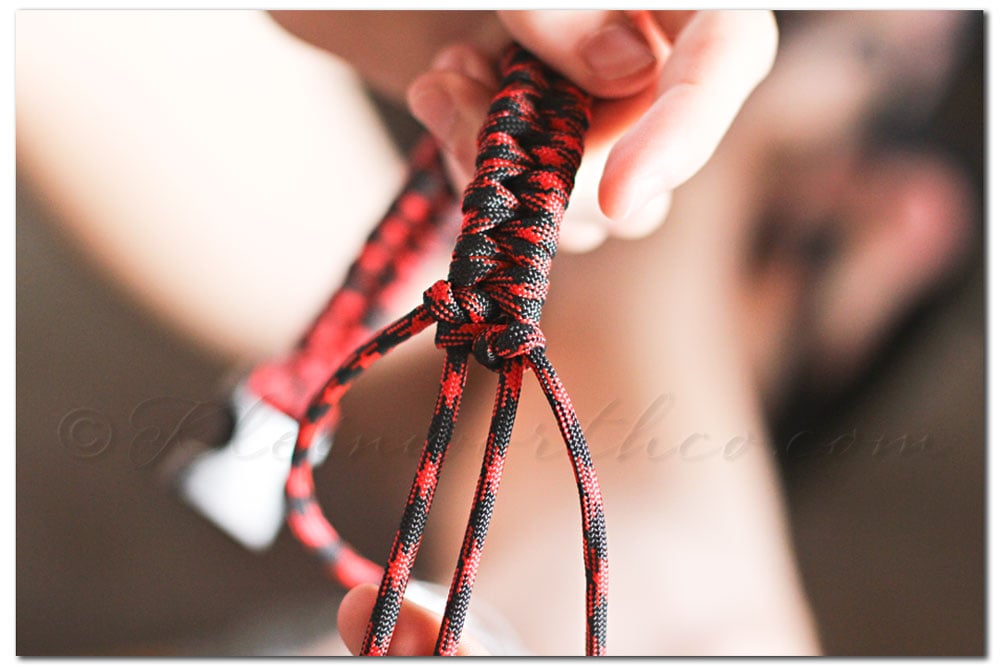
*Continue on repeating this process & remember to pull tightly to keep the cord firm.
You do not want any looping to show or for it to be loose.
*If you choose- at the half way point slide on a D-Ring or metal loop for the dog tags- sliding on the longs strands & then continue weaving as before.
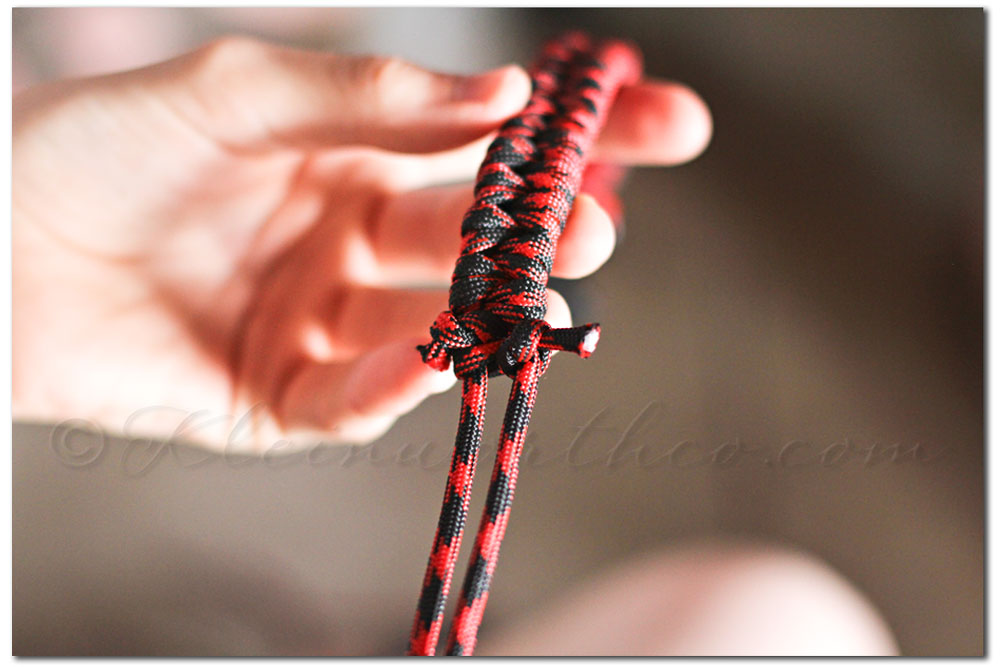
*As you get to get close to the end- stop with at least 3 inches left on your short cords.
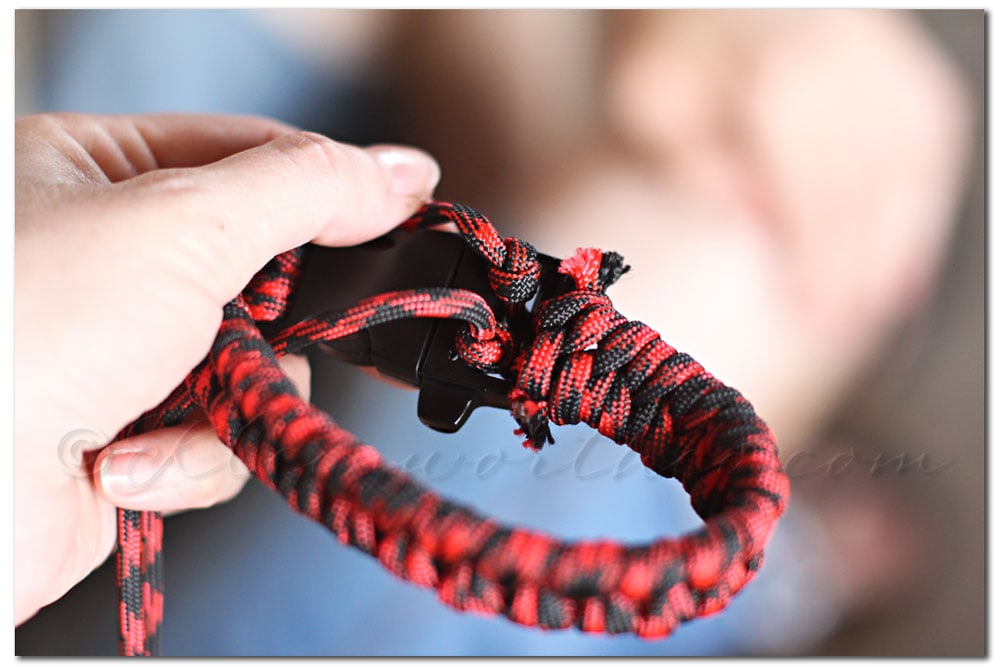
*Take one long cord & loop around one of the short cords & knot tightly. Do the same for the other side.
*Cut off the longer cords – burn with lighter to melt & secure those ends.
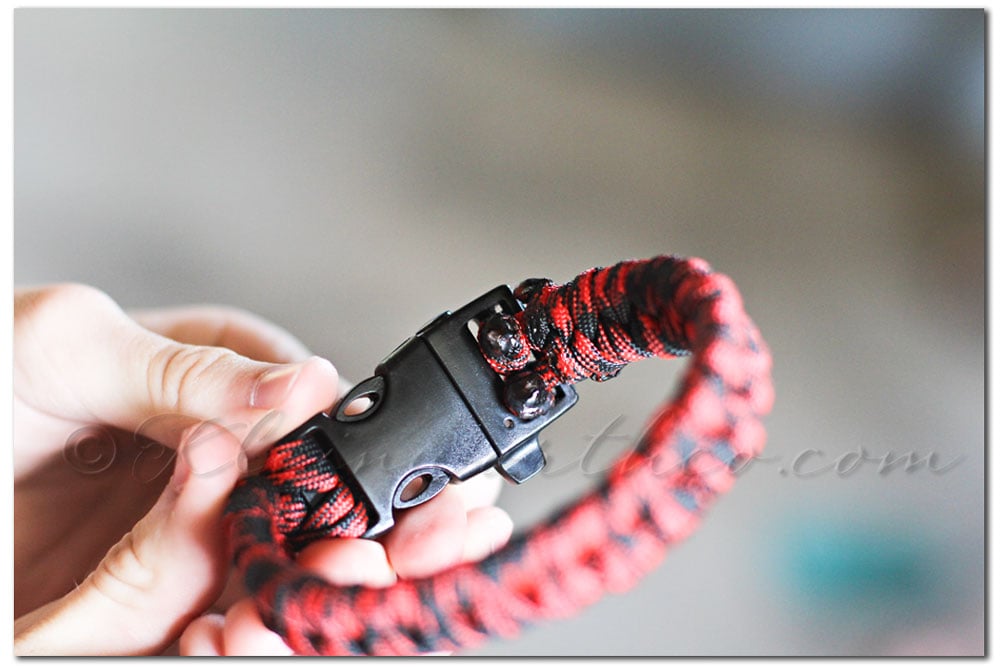
*Slide remaining shorts strands through your other clasp piece.
*Knot those strands tightly.
*Cut & burn those final strands & you are finished.
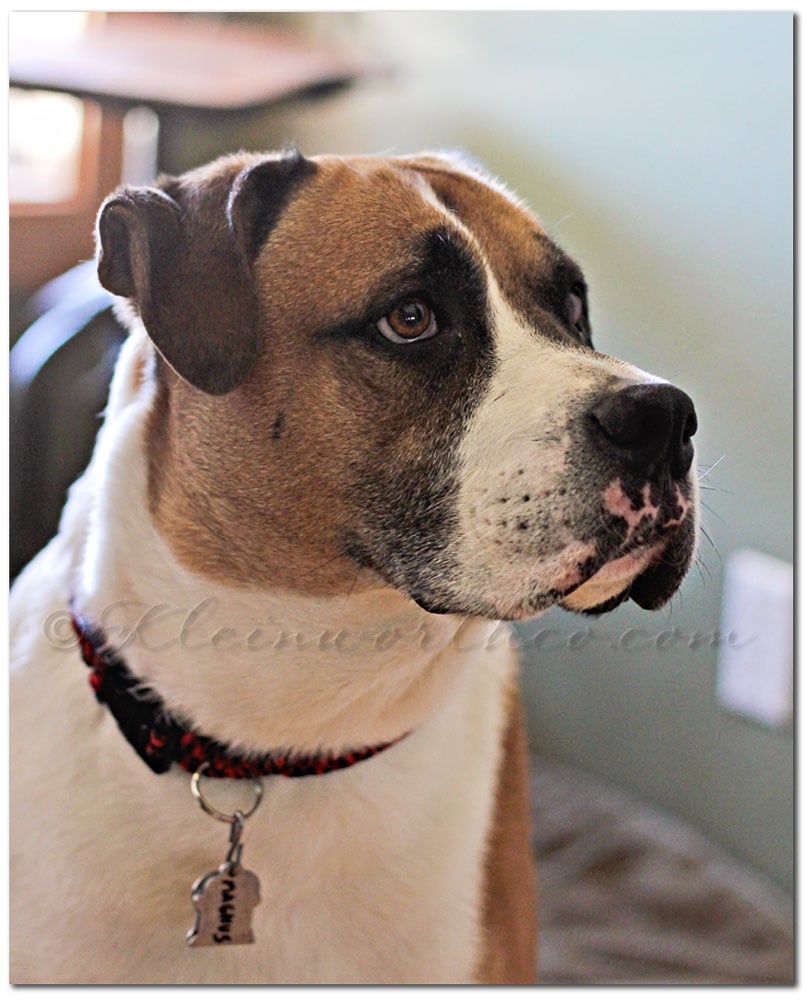
Here is my dog sporting his collar. He loves it.
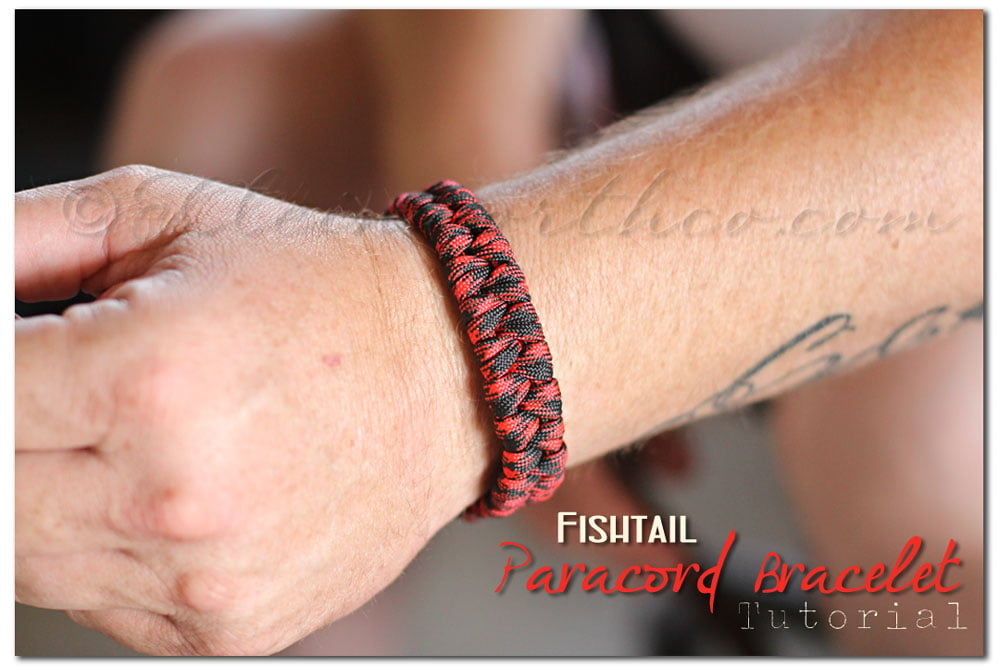
We also made a matching bracelet for the hubs with the same method.
Don’t forget to come back & join me on Mondays for Project 52
To see where I am linking today- visit HERE
[jetpack_subscription_form]




Gina…I love this. I bet these are REALLY sturdy too! Thanks for the great tutorial! ~Tammy
Very nice! No dog anymore, but I like it!
Ok, you make it look so easy!!! Love the step by step pictures. Even though it looks easy I don’t know that my craft clumsy hands can handle it, so just send one in the mail. hehe.. 🙂 Thanks for sharing at Show Stopper Saturdays!
Krista @ Joyful Healthy Eats
I really stopped by to see your beautiful boxer, but it looks like a great DIY collar.
That is so cool Gina! I might just have to make one for my 25lb dog 😉 Your boxer is gorgeous by the way!
You definitely should Lisa- it would be so cute.
Very cool! A custom fit!
This is a perfect project for my tween to do for our dog. Pinned it! Thanks for the tutorial
Absolutely- I have to give all the credit to my son. I told him I wanted him to make the dog a collar & he came up with the design & figured it all out. Amazing how the 15 year old mind works.
Gina ~ this is so cool! My little guy and I made a regular paracord bracelet a few weeks ago but he’s sitting with me right now and saw yours so now it looks like we have another project! Thanks for sharing ~ pinning!
Than you Mary Beth- it’s so fun isn’t it?! Once you make one the creativity just starts flowing & so many ideas come out of it.