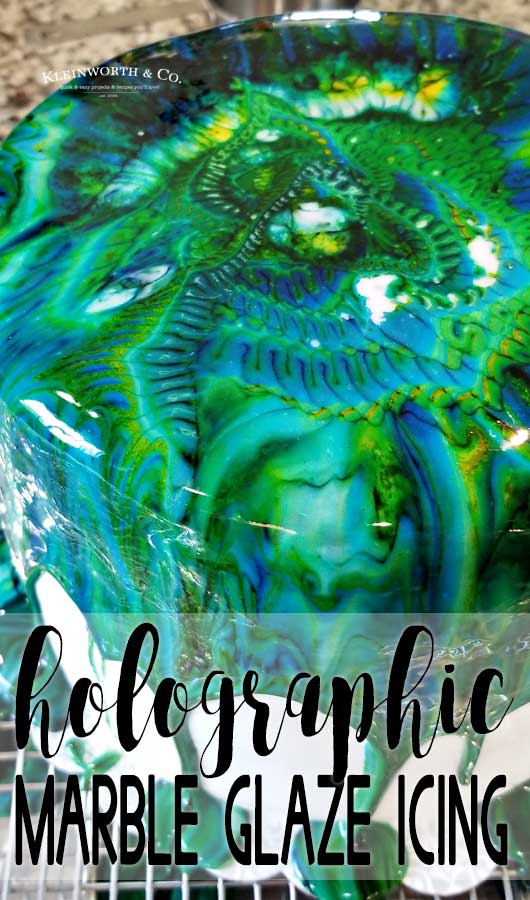
Easy Marble Drip Icing is an easy cake decorating technique that gives your cakes the “WOW” factor. It’s as easy as whisk, drop & pour for AMAZING cakes!
Do you love AMAZING cakes? What if I told you that you can make this gorgeous marbled birthday cake icing with just a handful of ingredients & a few minutes of your time? Now I have your attention!
My friends, August is a busy month for birthdays around here. We have the oldest person in the house & the youngest celebrating birthdays within a week of each other. This year we had some significant milestone birthday years to add to the pressure, which meant the cakes had to be INCREDIBLE!
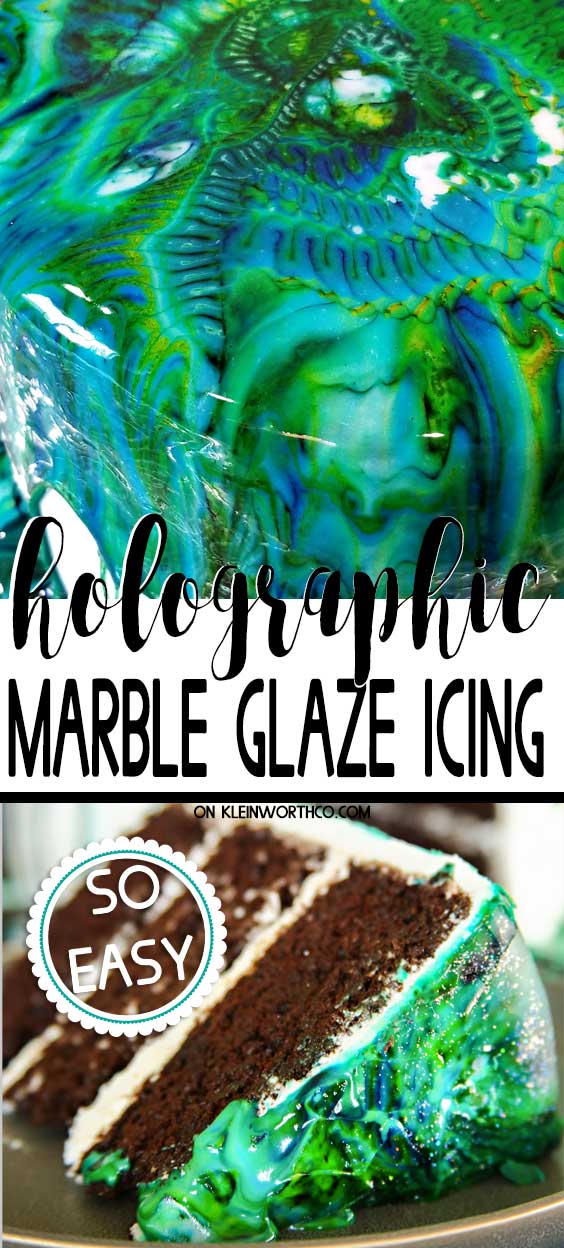
Now, I feel I need to tell you that my mom spent many years decorating cakes professionally & then transitioned to doing extraordinarily elaborate cakes on the side for friends & family for many years. So I grew up knowing my way around decorating cakes. That being said – you will not really need any of those “special skills” to make this marble icing.
Each year I make sure to ask what each person wants for their cake. I think everyone thinks I am my mother & can create over the top cakes for them. That isn’t the case. My mother was far more patient & talented in that regard. But I do my best.
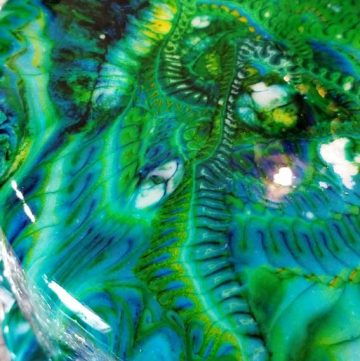
My daughter came to me & asked for a peacock cake. Hmm, okay. So I hopped on Pinterest for some inspiration. I was going to just do some peacock feather decorations until I saw these gorgeous marbled cakes. I knew that was the way to go.
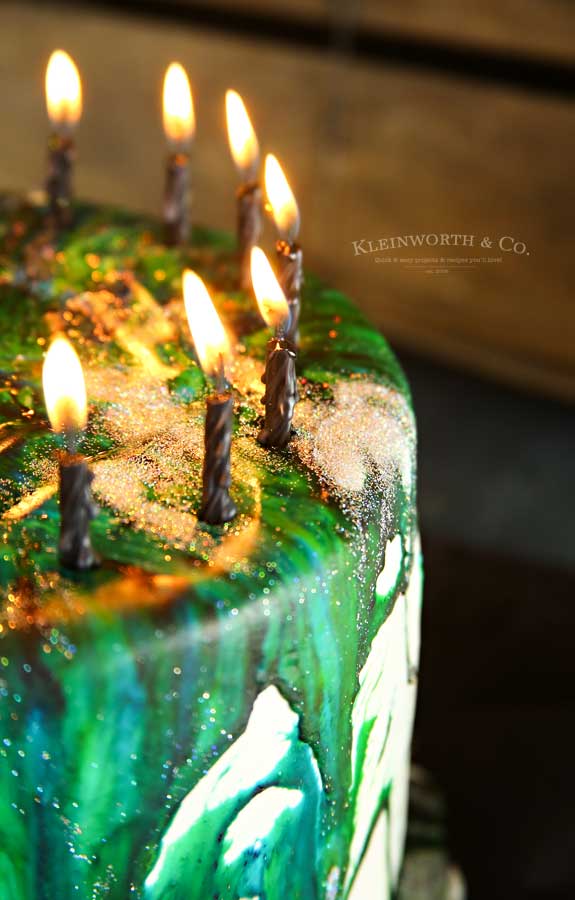
But my daughter is also INCREDIBLY OBSESSED with anything holographic. So I decided that adding some edible disco dust to the cake was a must. She absolutely LOVED this cake!
Easy Marble Drip Icing
This post contains some affiliate links. Click here to read my full disclosure policy.
Please forgive the unsteady camera for the video. I had my other daughter shoot this with my phone. It was more for my own personal memories & I didn’t intend on sharing it. But then I realized that it would really help you see how it looks before the pour & how you can expect it to perform overall.
Now, all the other methods I saw out there called for adding this icing over fondant. In the interest of making sure I didn’t mess this up, (because who really wants to bake a 3 layer birthday cake over again??) I chose to not fight the system & go with the fondant.
It was my first time really working with fondant on my own. I had helped my mom quite a bit, so I had a general idea. But, let’s just say that I could use some practice. It turned out okay, but I need to perfect my skills when it comes to that part. But overall, the marble glaze really steals the show. It is even more beautiful in person.
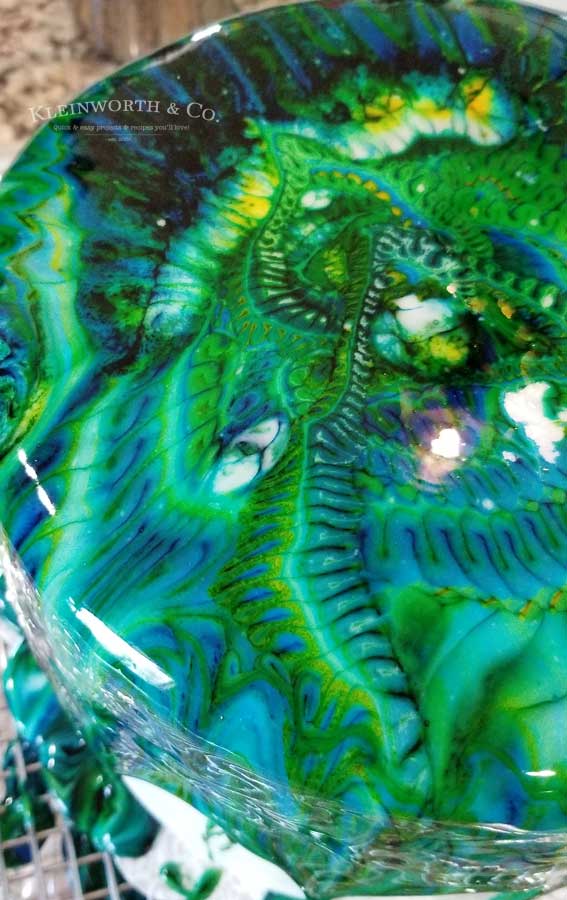
Here are some commonly asked questions
Do I have to use this over fondant?
So, for now, I am going to recommend that you do use this over fondant. I have not tried it yet over a super smooth buttercream frosting, so I can’t say how it would perform. I do plan on playing with that soon & when I do I will come back & give an update.
That being said, my fondant wasn’t flawless & smooth & the glaze still looked great. So – I’m leaning towards the idea that I may not need the fondant after all. But I will let you know.
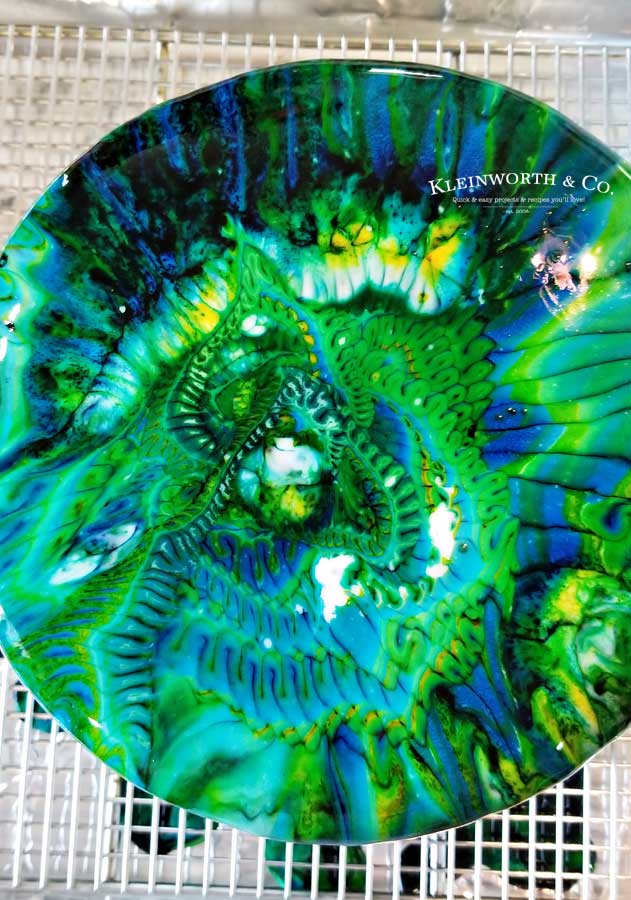
What kind of food coloring is best?
I typically like to work with gels when it comes to the frosting because they tend to be more pigmented. But because this is a glaze/icing, the soft gel paste or liquid food coloring works much better for this because you can’t mix the colors before pouring. You need that pigment to disburse in the glaze on it’s own. (see a list of links below for my favorite products)
What is the best way to avoid the mess?
So, I am all about avoiding dishes whenever possible. So what I like to do is line a big jelly roll pan with foil. Then I place a cooling rack on the lined pan & place my cake on top of that. This way the cake is elevated & the excess icing can just drip down below the cake.
Can this recipe be frozen?
I don’t recommend freezing this cake once it is decorated. What I found with this icing is that the cold makes it contract & it becomes more matte once chilled. I made the mistake of refrigerating the cake to help set the icing faster & to hide the cake from the birthday girl.
This caused the beautiful smooth glaze to sort of crinkle in the areas where it was thick & didn’t fully firm up under that top layer. That being said, you will have to refrigerate the cake once it has been cut.
Can I store any extra icing for later?
This is sort of a “use it all the first time” sort of recipe. You will pour all of the icing on the cake & unfortunately toss whatever drips off. Once the colors blend there isn’t a way to preserve that without it turning into a blended mess.
I found that I focused a lot on the center, which made it quite thick. When I do it again I will start at the center & then pour more along the sides for better coverage there. But really, that is a personal preference.
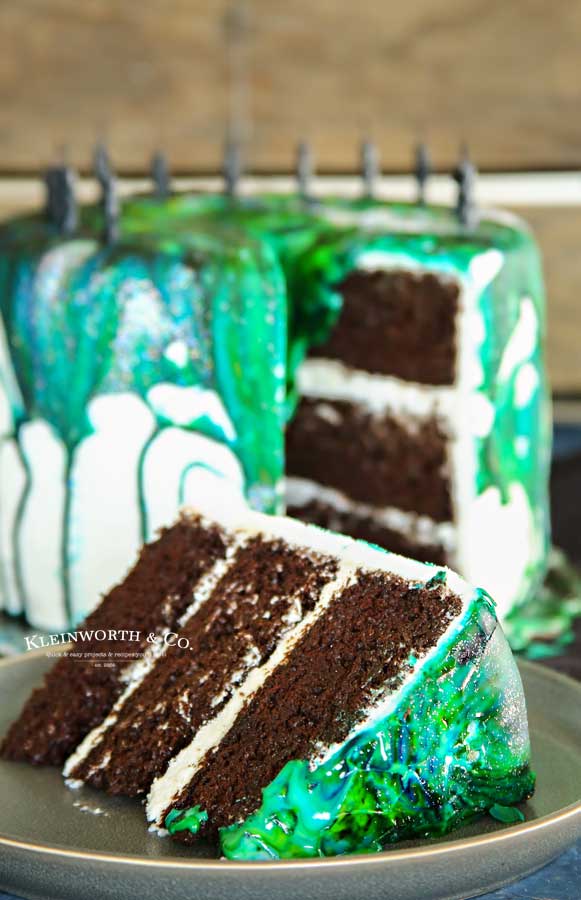
HOW DO YOU MAKE MARBLE DRIP ICING?
-
- Bake the cake layers & then allow to cool.
- Layer & frost the cake with a crumb coat of buttercream frosting & freeze.
- Add the fondant layer to the frozen, crumb-coated cake.
- Allow the cake to come to room temperature before moving onto the glaze step of the decorating process.
- Line a baking sheet with foil & then place a wire cooling rack on top of the lined pan.
GLAZE
- Combine confectioners sugar, corn syrup, warm water & vanilla extract in a medium bowl & whisk well until smooth.
- Add in drops of food coloring in a sporadic pattern – DO NOT MIX.
- Place the fondant covered cake on top of prepared cooling rack.
- Pour the icing over the top of the cake, sprinkle with the disco dust (optional) & set it in a place where it can be undisturbed to dry overnight before serving.
Can this recipe be halved?
Yes, while I haven’t personally tried it, I don’t see any reason why you could do this if you were working on a much smaller cake. When it comes to cutting that tablespoon of corn syrup in half, just do 1-1/2 teaspoons. (1 tbsp = 3 tsp)
Does it matter how many colors I use?
Not really. Since I was trying to create peacock colors, I chose to do a navy blue, electric blue & turquoise along with a couple different greens & a yellow. I made sure to do at least 6-10 drops of each color.
Can this recipe be doubled?
YES! Absolutely! If you are working on a much larger cake or just want more coverage, you can definitely double this glaze for even more impact.
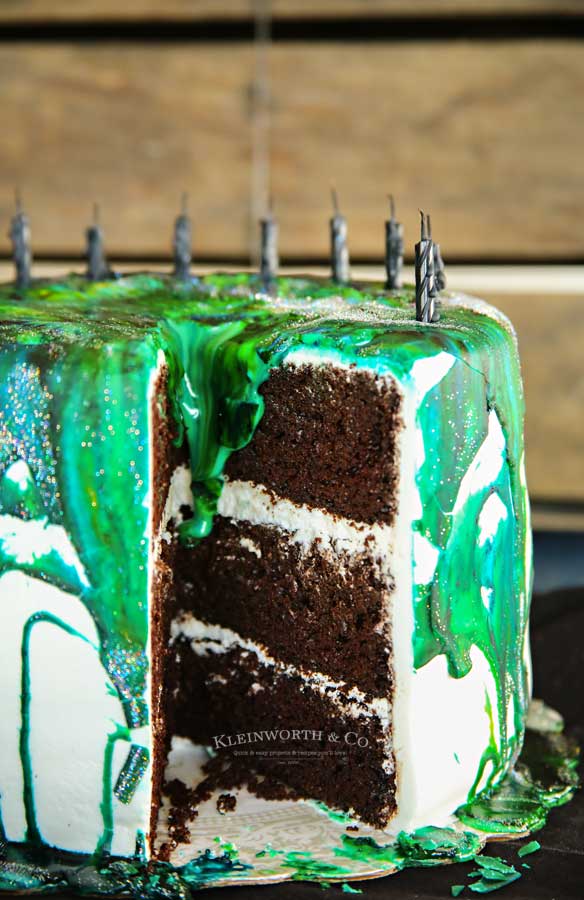
How do you store this marble icing cake?
Until the cake is cut, please store it at room temperature before serving for up to 24 hours. Once the cake it cut, the easiest way is to add some plastic wrap & then a layer of foil over the cake making sure to fully cover any exposed cake & store at room temperature. Please enjoy it within 2-3 days.
Ingredients for Marble Drip Icing
- prepared/baked, frosted & fondant covered cake
- confectioners sugar
- corn syrup
- warm water
- vanilla extract
- food coloring
- edible disco dust – optional
Products I love when making this marble cake frosting…
This homemade peacock decorated cake is so easy and delicious – and you probably already have some of these items on hand like I do! OR If you’ve never made marble drip icing before, I know it can be scary & you might be a bit hesitant – but you’re going to love the how this makes your cakes look SO COOL. I have made a list below of the things I absolutely can’t live without when it comes to making this cake.
- confectioners sugar
- vanilla extract
- turquoise food color
- Sky Blue Food Color
- Electric Blue Food Color
- Navy Blue Food Color
- Electric Yellow Food Color
- Electric Green Food Color
- Leaf Green Food Color
- mixer
- spatulas
- 3/4 sheet pans
- foil
- whisk
- mixing bowl
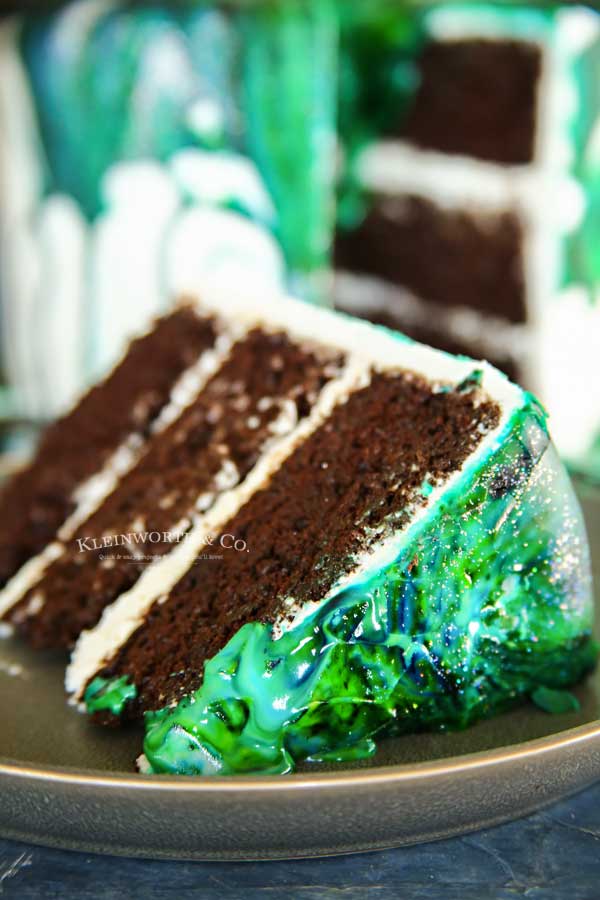
This really is such an easy & delicious recipe!
EASY PEACOCK CAKE
If you love this Easy Marble Drip Icing recipe, you’re going to love these other awesome cake recipes too. Please click each link below to find the easy, printable recipe!
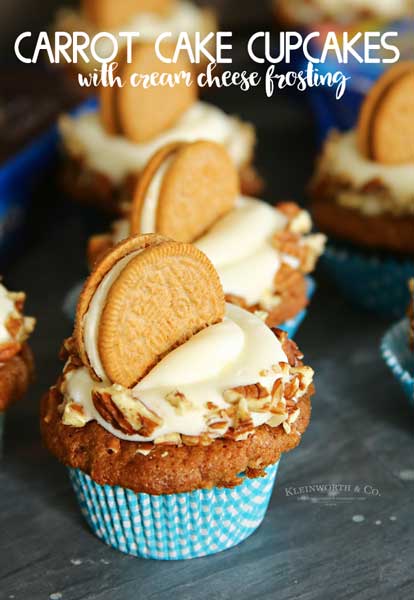
Chocolate Cream Cheese Frosting
marble icing glaze
If you love this peacock birthday cake idea as much as I do, please write a five star review, and be sure to help me share on facebook and pinterest!
CONNECT WITH KLEINWORTH & CO!
Be sure to follow me on my social media, so you never miss a post!
FB, Pinterest, IG, Email Subscription
holographic cake
Easy Marble Drip Icing
Ingredients
- 1 prepared/baked, frosted & fondant covered cake
- 3 cups confectioners sugar
- 1 tbsp corn syrup
- 1/4 cup warm water
- 1/2 tsp vanilla extract
- 6-10 drops food coloring for EACH color desired
- 1/2 tsp edible disco dust – optional
Instructions
PREP
- Bake cake layers & then allow to cool.
- Layer & frost the cake with a crumb coat of buttercream frosting & freeze.
- Add fondant layer to the frozen, crumb-coated cake.
- Allow the cake to come to room temperature before moving onto the glaze step of the decorating process.
- Line a baking sheet with foil & then place a wire cooling rack on top of the lined pan.
GLAZE
- Combine confectioners sugar, corn syrup, warm water & vanilla extract in a medium bowl & whisk well until smooth.
- Add in drops of food coloring in a sporadic pattern – DO NOT MIX.
- Place the fondant covered cake on top of the prepared cooling rack.
- Pour the icing over the top of the cake, sprinkle with the disco dust (optional & set it in a place where it can be undisturbed to dry overnight before serving.
Nutritional information for the recipe is provided as a courtesy and is approximate. Please double-check with your own dietary calculator for the best accuracy. We at Yummi Haus cannot guarantee the accuracy of the nutritional information given for any recipe on this site.




Which is better to use the corn syrup or the gelatin??
My sons bday is sat and I was going to make his cake the night before icing it in the morning and use the sites refrigerators will it stay shiney. Will be refrig for at least 1 hours
This recipe uses corn syrup, so that is my preference. As mentioned, refrigerating it will dull the shine, so I don’t recommend refrigeration once the glaze has been added, except after serving.
Very pleased with the result, though I had to use Golden syrup instead of corn as I can’t get it here. Also, had already put fondant on the cake before deciding I wanted to glaze it and it worked well.
Thanks very much for a simple and straightforward method, without all the messing around with white chocolate and condensed milk!
Will this work over cream cheese frosting?
I’m not sure just yet. I know that the texture needs to be VERY smooth under the glaze. I also tried just pouring a mostly white glaze over a chocolate cake without frosting and it just sort of soaked into the cake. So some sort of frosting is definitely needed. I just have yet to try it with a smooth, possibly frozen frosted cake. So if you decide to give it a try I’d love to see how that turns out. Instead of fondant, I have tried heating the pre-made containers of frosting in the microwave. This makes it thin – give it a little stir and then you can pour it over the top of the cake. This “frosts” it with an ultra-smooth layer as long as you don’t touch it to try to smooth it out more. Once it dries you could then try the marble glaze over the top. That is the only way I know of to get the regular frosting as smooth as fondant. But again, I don’t know if the glaze will soak into that frosting too or if it will work the same way.
I would love to try and make this but can’t find the video referenced in the description. How do I find that? Thanks!
The video should populate after the first image in the post. If you are using an ad-blocker or certain types of browsers, the video will not populate. You might need to try a different browser that doesn’t have the ad blockers or other configurations.