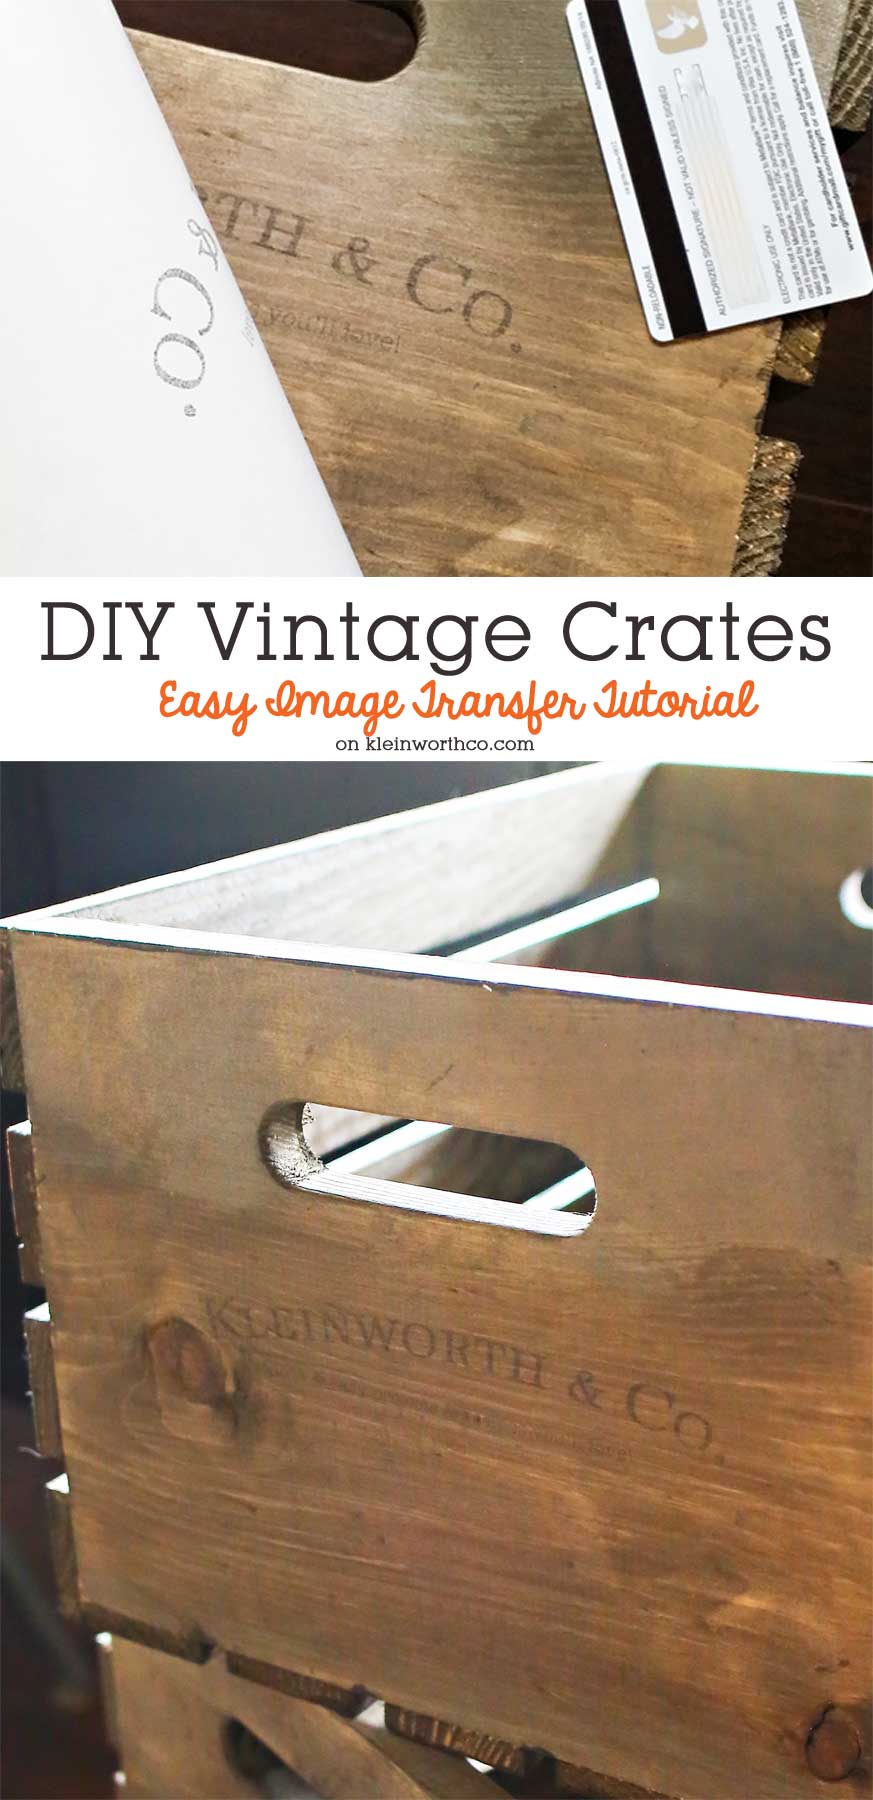
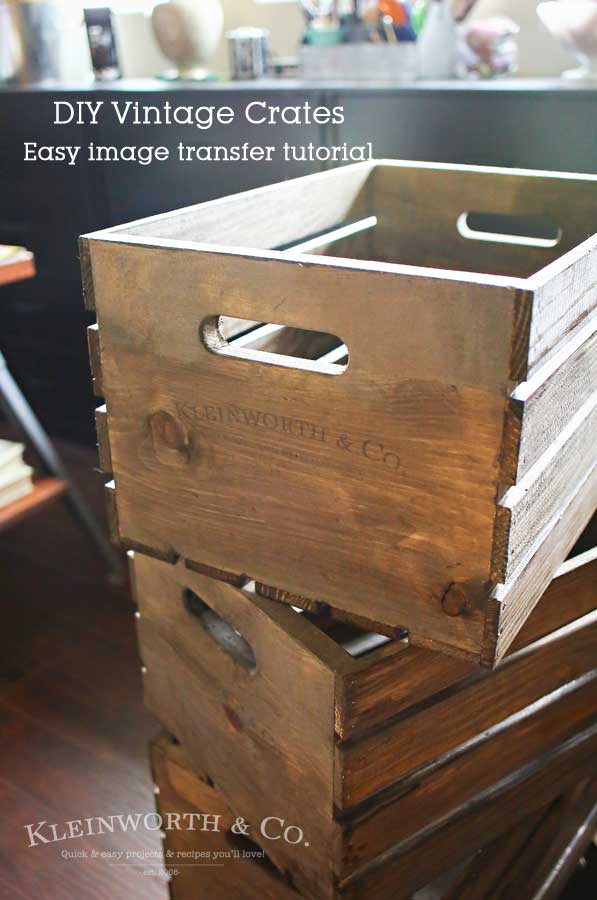
Anything with a vintage feel is so popular right now. If you go with modern farmhouse decor, that’s even better with popular shows like Fixer Upper. You can create these DIY Vintage Crates with this Easy Image Transfer Tutorial using wax or freezer paper. It’s a simple DIY that easily gives that farmhouse look.
DIY Vintage Crates with Easy Image Transfer Tutorial
My son is back today to share with you his great idea for adding a vintage look to his under-bed storage. Take it away Niklas.
Hey everyone, its Niklas, thank you for visiting our blog today.
The weather has been warming up here in Coeur d’Alene which means than spring is almost in full swing. So, I decided that it would be a great time to do some spring cleaning. As usual I came across the usual problem of organizing everything in a functional and tidy way.
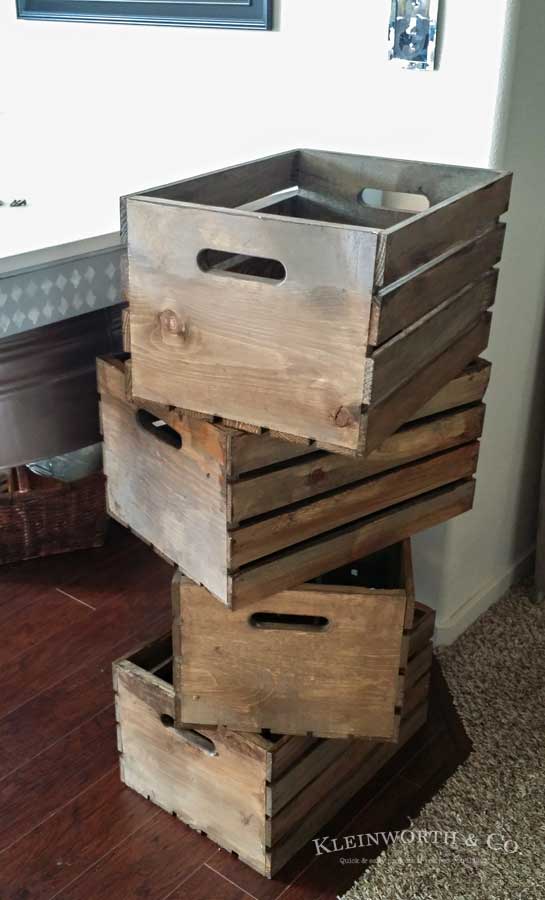
Luckily, I have a super awesome mom to talk to about this issue ; D . We decided that it would be really cool to put crates under my bed for added storage. We were trying to go for a nice weathered look.
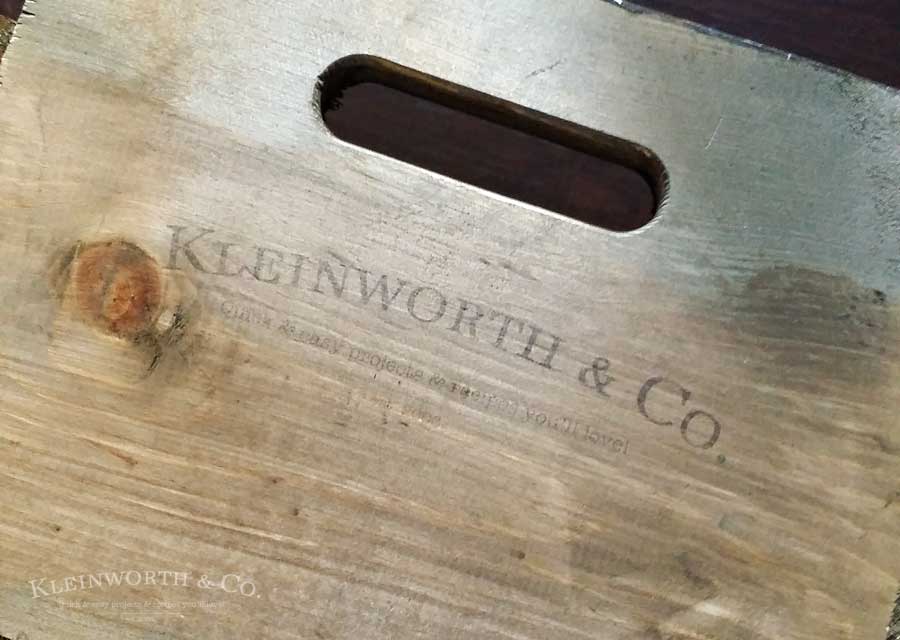
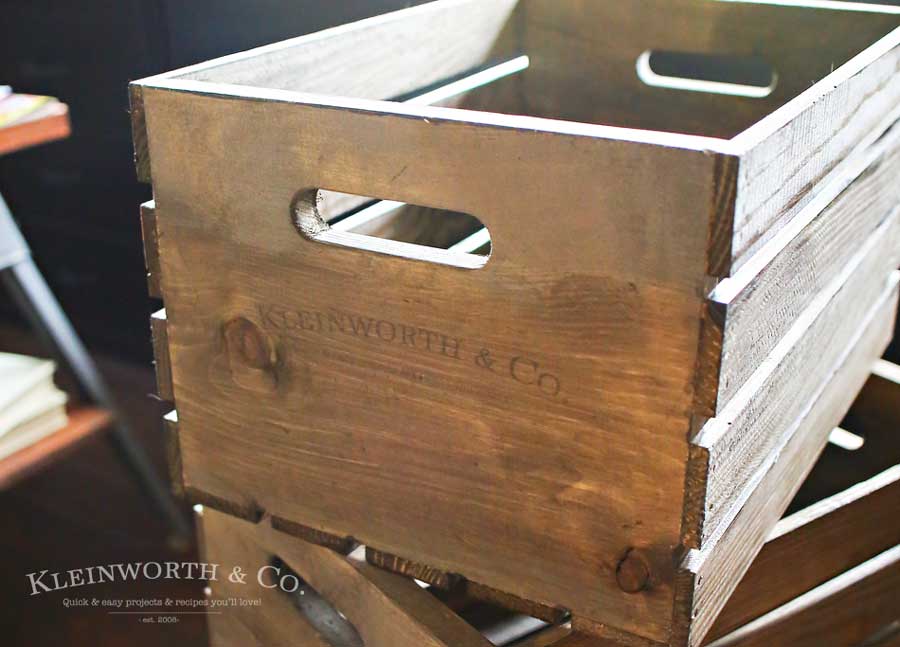
After we put on our stain, we decided that it would look really cool to put our K&Co. logo on them to give them a used look. Take a look at our step by step tutorial below.
DIY Vintage Crates
We started with these crates. We picked them up in their natural color at Michaels & got to work. (You can also pick up these Large Wood Crate from Amazon that are the same)
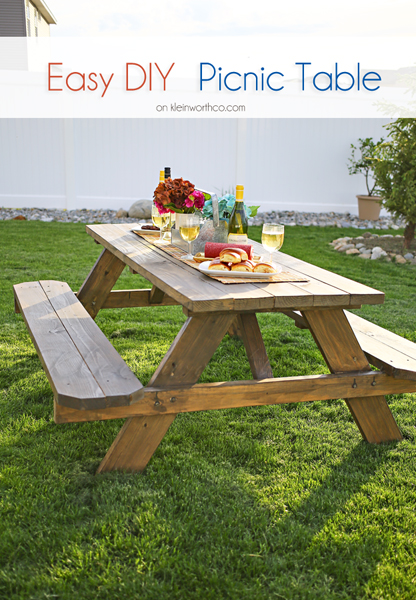
We stained them using our favorite deck stain we had leftover from our picnic table because it gives the best weathered look that we love.
It’s Olympic Maximum Stain + Sealant in One (semi-transparent) Color – Coffee.
Easy Image Transfer Tutorial
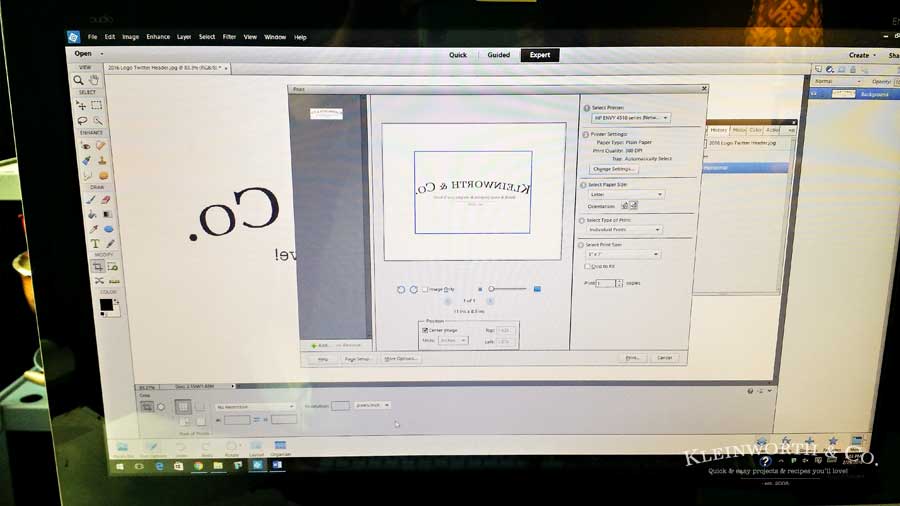
We trimmed some freezer paper to fit in the printer. Then pulled up the image in photoshop & reversed it. We printed it on the slick side of the freezer paper.
Vintage Crates Tutorial
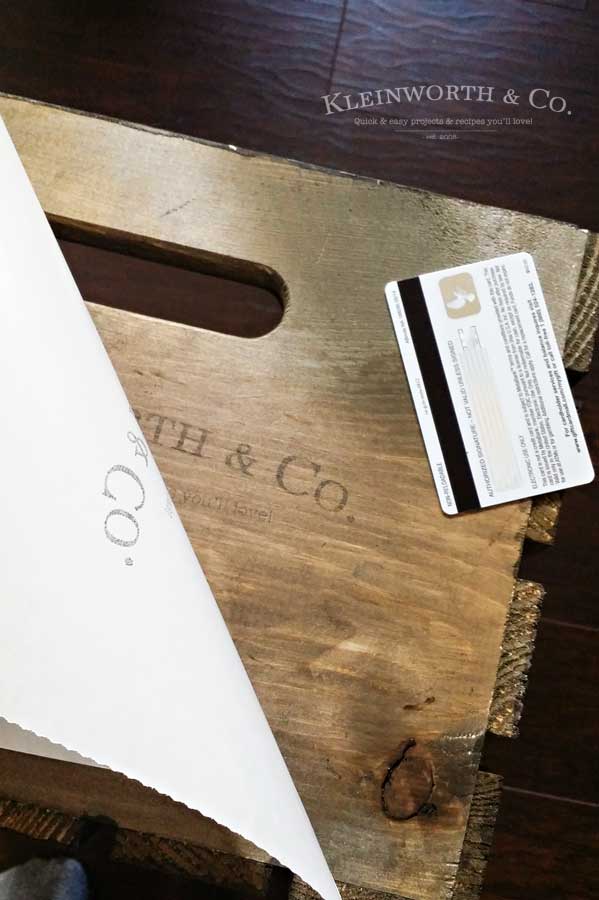
We quickly positioned it print side down on the crate & then firmly rubbed it with a gift card to get that ink to soak in.
We continued this process for each crate.
Sometimes it takes a couple tries to get the printer to not smudge the ink since it’s printing on the slick side. We printed ours a couple times for the last 2 crates. But overall it was super simple & easy to do.
Once we had these stained the image transfer didn’t take more than 30 minutes to print & place.
Thank you Niklas for this super fun project! They turned out great!
*This post contains affiliate links. If you purchase something from a link shown here, it helps to maintain the free content that I share.
Looking for more of our fun projects for the home?
Don’t miss these great ideas from these bloggers….
Funky Junk Interiors – Make your own Old Signs!
Knick of Time – Tiered Stands with Repurposed Bowls and Tins
To see where I am linking today- visit HERE




What a cool idea! I love the feel of those crates.
Great Job !
Thanks Frank- He did great! So clever!!!
Love this, Gina!! What a great idea. Pinning!
This is SUCH a great idea! I so love this!
Thanks for joining Cooking and Crafting with J & J!
Thank you so much Jess- sometimes my favorite ideas are the ones that come from my kids 🙂 Go figure!
Love a vintage inspired crate! I’m featuring your fantastic project this week on Monday Funday xo
That looks so easy to do. Thanks for sharing on Let’s Get Real Party
These look awesome! I love the touch of adding your logo – so cool! Your vintage crates were chosen as a Creative Spark Feature this week. Hope you’ll stop by and link up again! Have a great rest of your week 🙂
Well done Gina and Niklas…these look fantastic and I’m inspired to find something to do with my family ‘logo’! Thanks for the tutorial. Hugs, Lynn