Easy Hot Chocolate Spoons make great holiday gifts for friends, co-workers & neighbors. Just stir into warm milk for a delicious cup of cocoa on a cold day.
Imagine stirring your hot milk with a spoon, but it’s no ordinary spoon – it’s a chocolate spoon! Hot Chocolate Spoons are a playful and delicious way to enjoy your favorite winter drink.
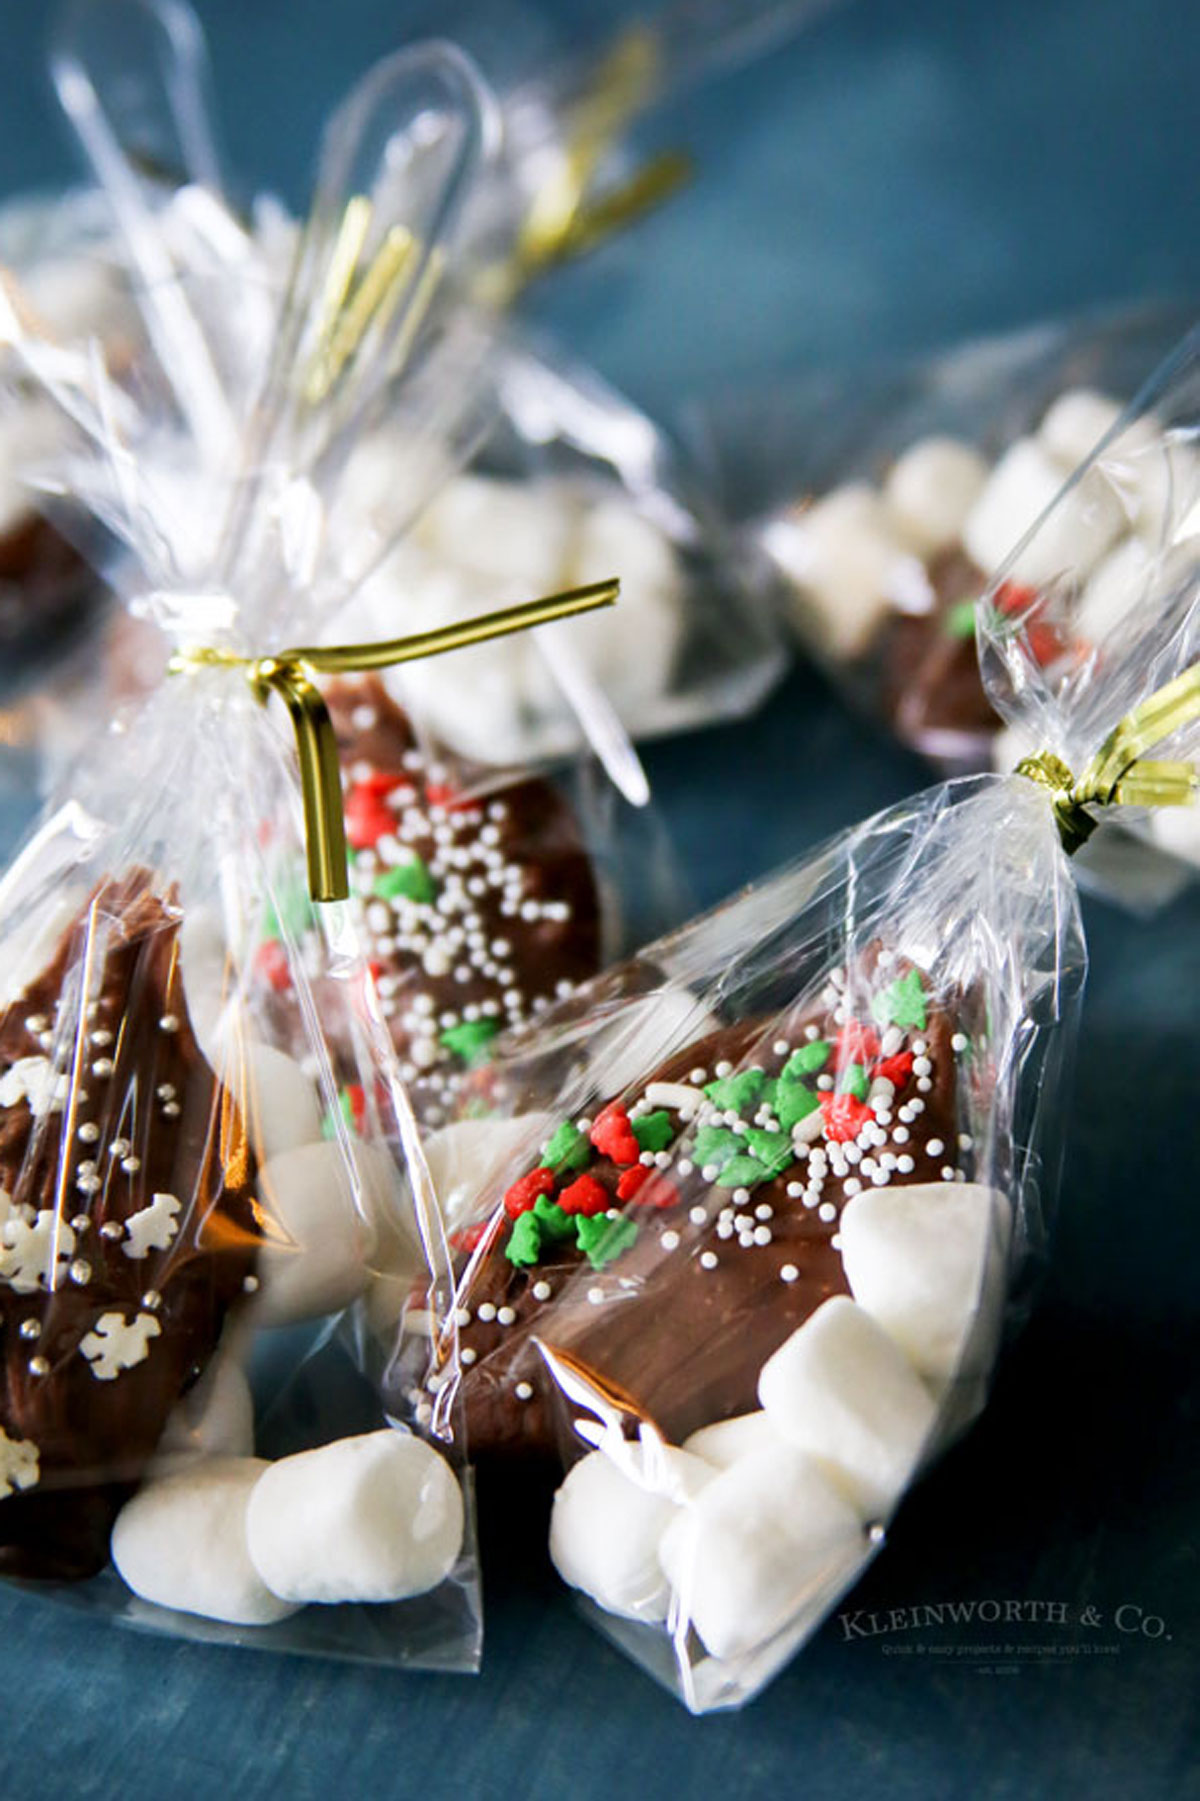
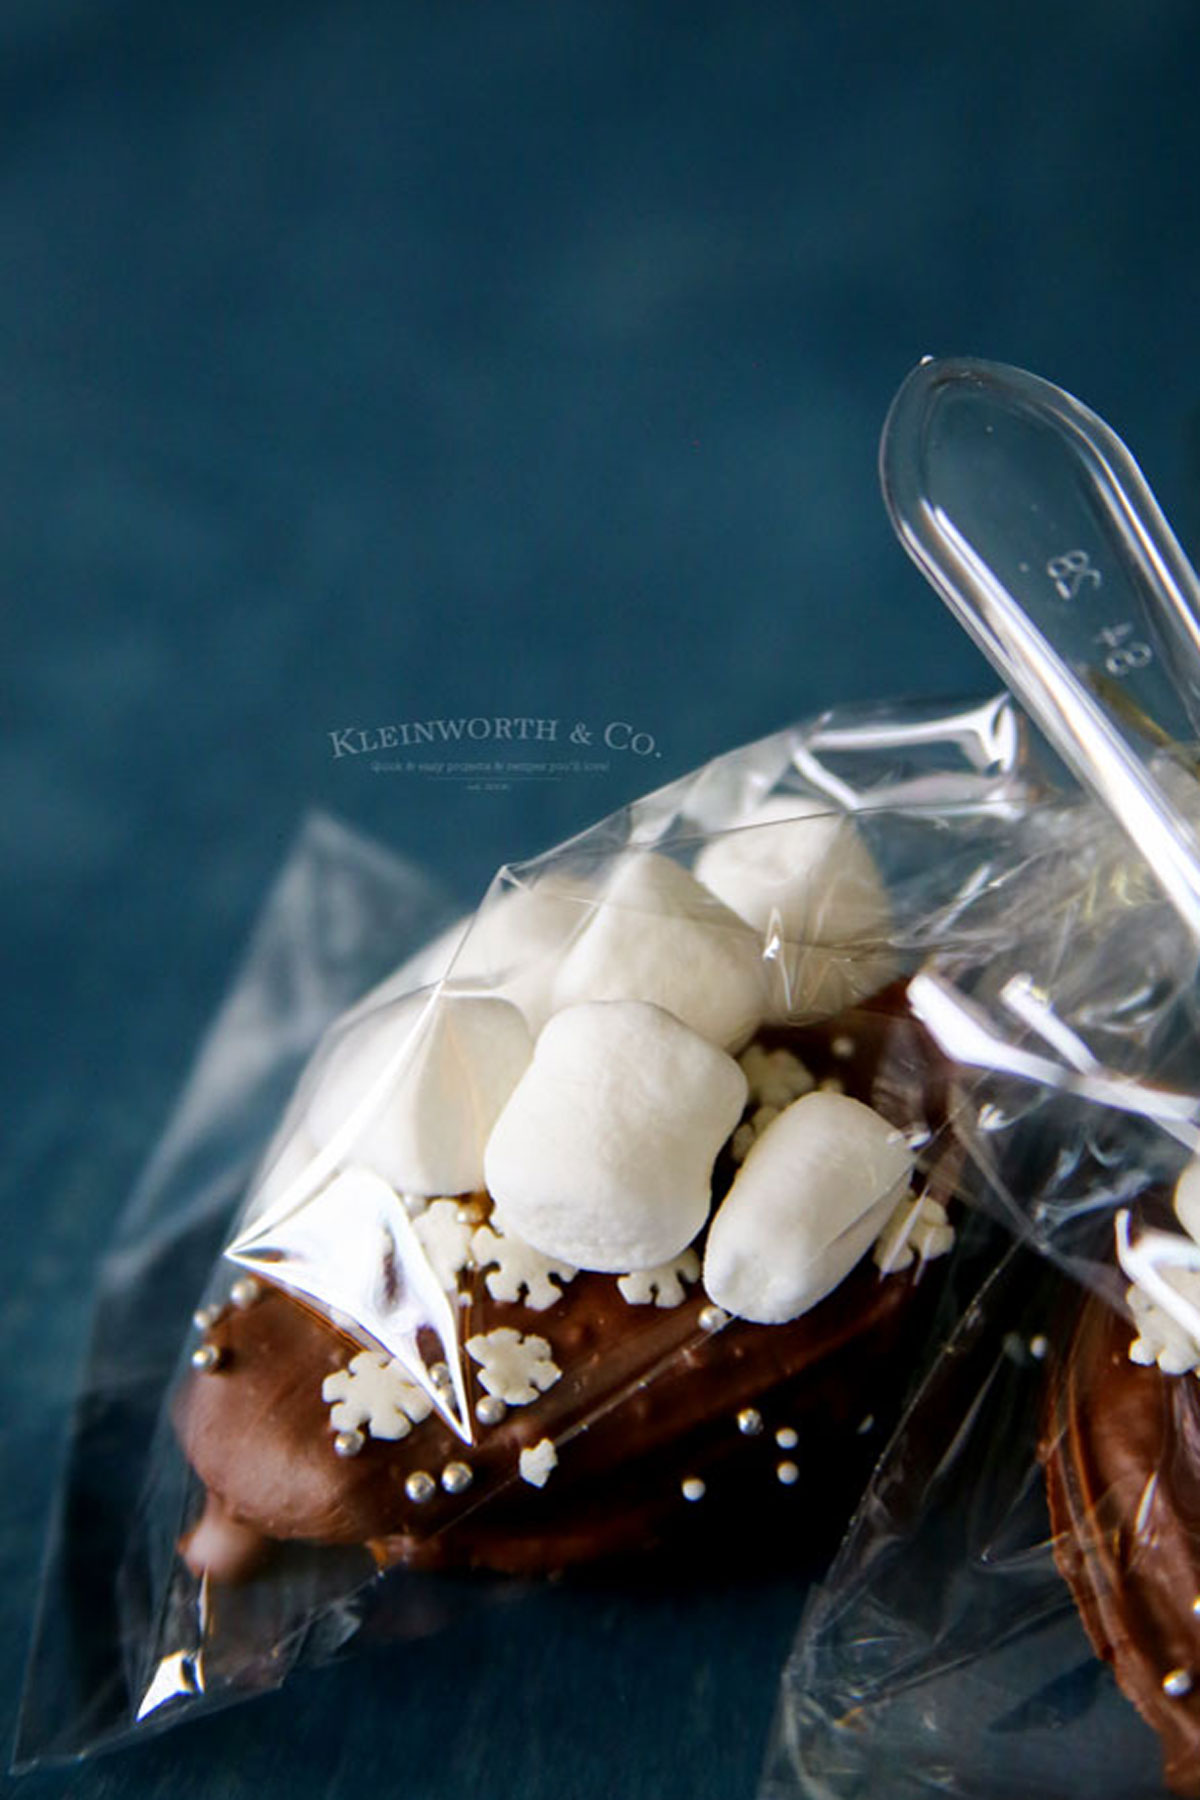
Each spoon is dipped in rich, melted chocolate and adorned with fun toppings like mini marshmallows and sprinkles. As the chocolate melts into the hot milk, it transforms into a creamy, dreamy cup of hot cocoa.
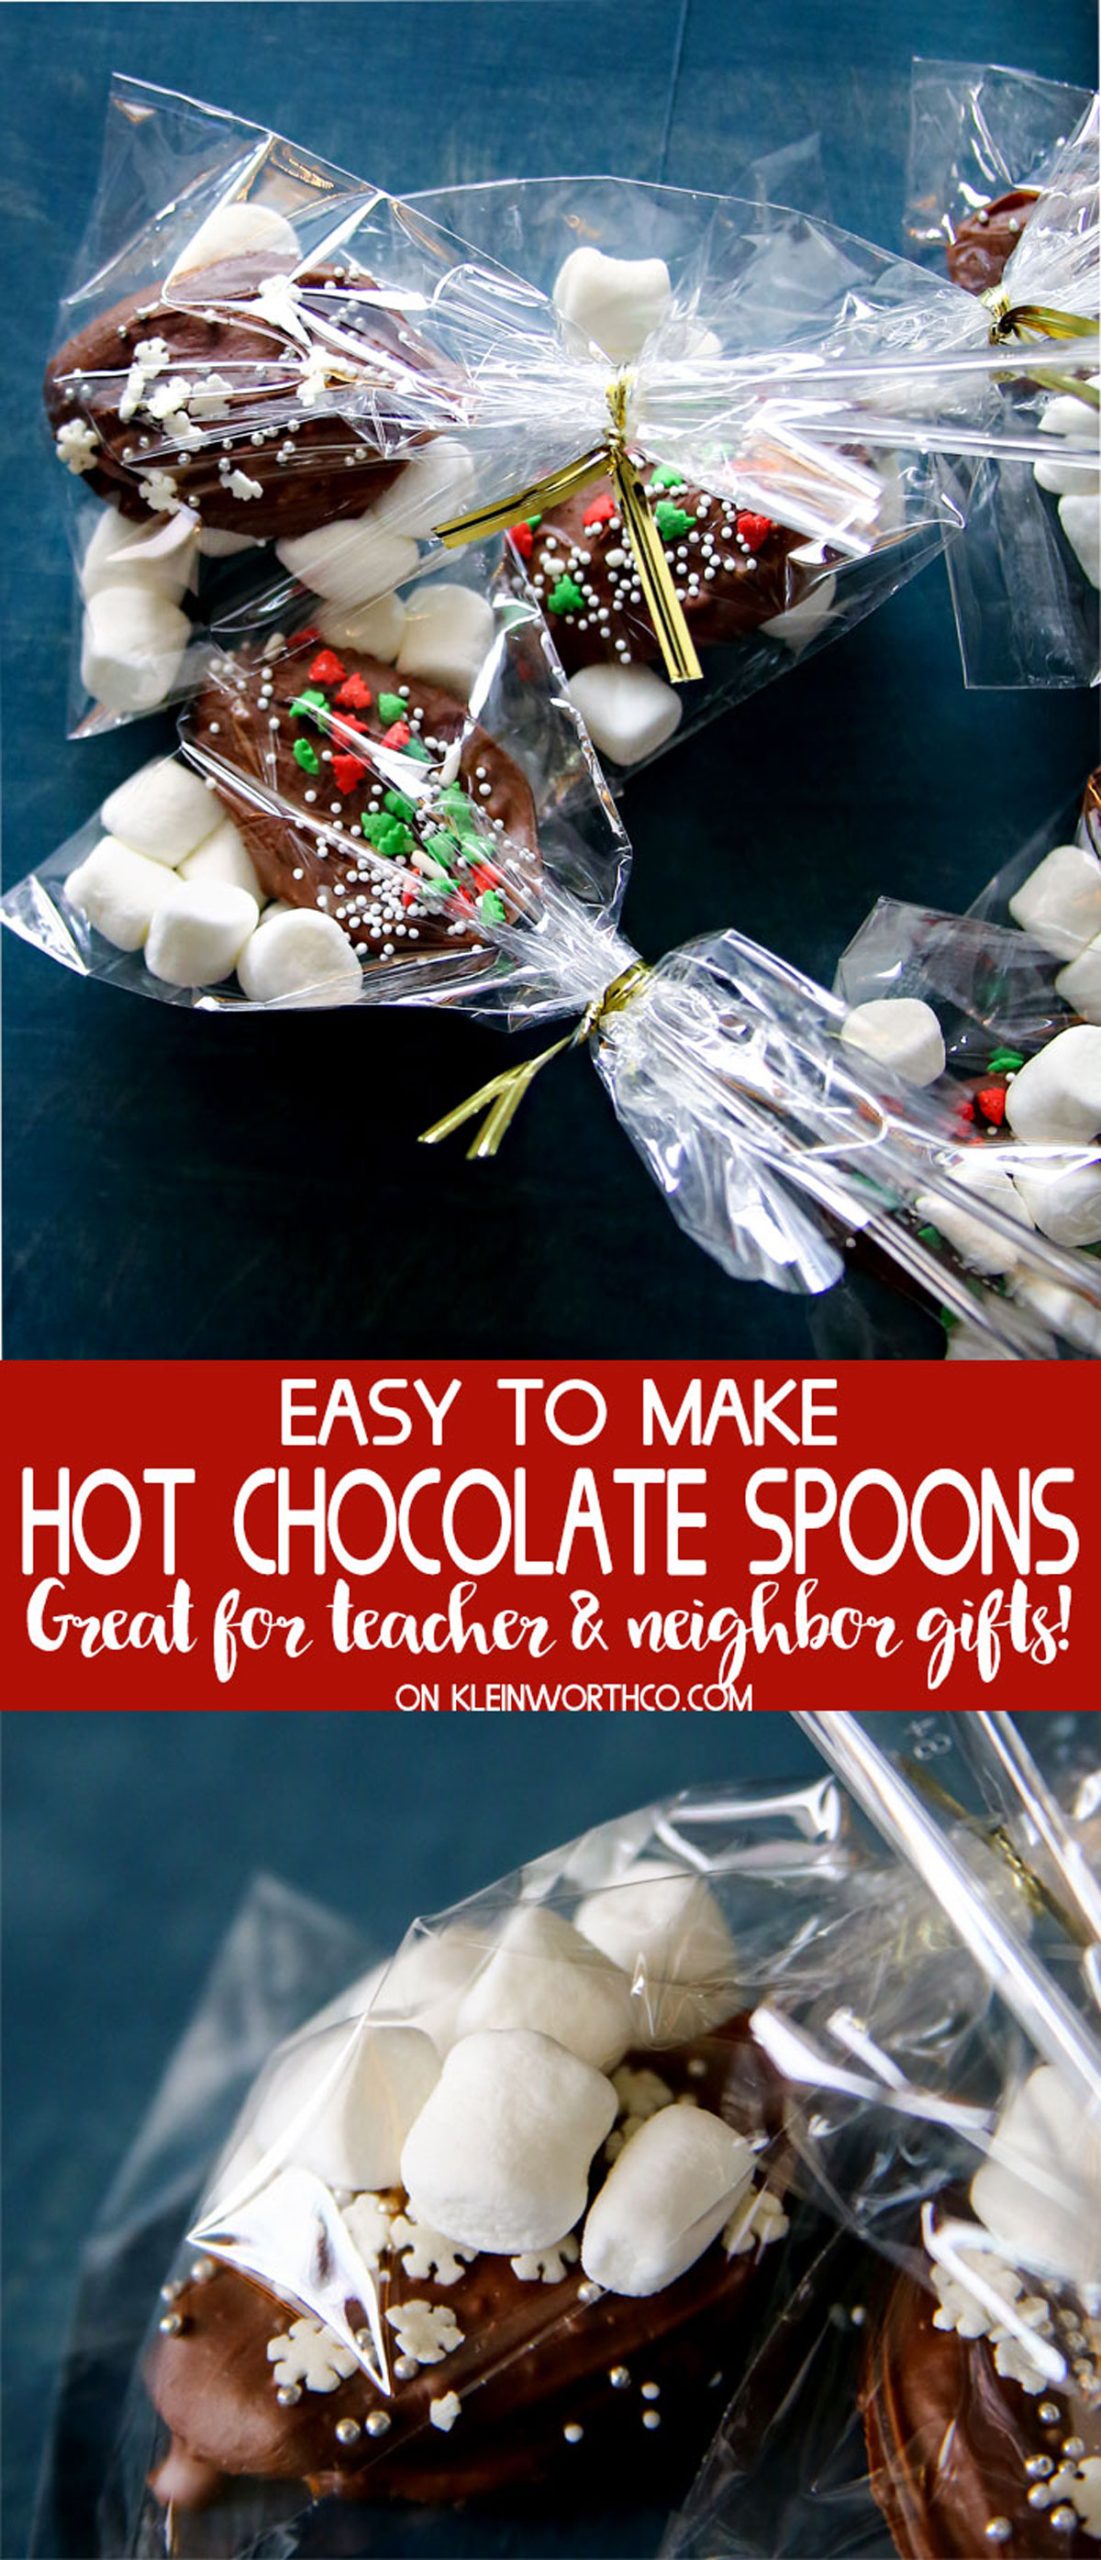
These spoons are a treat that’s simply perfect for chilly days, holiday gifts, or just a fun project with the kids. They’re a great way to level up the holidays even more!
Hot Chocolate Spoons are not just a way to make your favorite winter beverage more delightful; they’re a creative expression of the holiday season.
Whether you’re making them for a cozy night in, as a fun family activity, or for holiday gifts, these spoons are sure to bring smiles.
So, gather your ingredients, melt some chocolate, and get ready to stir up some magic in a cup! Enjoy the warmth, savor the flavor, and share the joy.
Common Questions About Hot Chocolate Spoons
What Type of Chocolate Should I Use?
You can use any type – dark, milk, or white chocolate chips work great. Just make sure it’s real chocolate for that rich chocolate flavor. Only the best this Christmas!
Can I Use Wooden Spoons Instead of Plastic?
Absolutely! Wooden spoons work just as well and add a rustic touch. Especially if you’re looking to give them out as fun holiday gifts!
How Long Does It Take for the Chocolate to Set?
It usually takes about 5-10 minutes at room temperature. Generally, it ends up being faster than I expected! If you’re in a hurry, though, pop them in the fridge for a few minutes. The process will be even quicker.
Storage
There is no need to keep these in the fridge. The chocolate does just fine at room temperature. Put them out in a cup on the counter so everyone can enjoy them!
Refrigerator
You can refrigerate them in an airtight container if you like.
Freezer
Freezing is not recommended as it may affect the texture of the chocolate.
Tips
Make sure to let the chocolate set properly before putting it into whatever adorable wrapping you’ve got planned. You don’t want to squish them!
- Melt Chocolate Properly: Use a microwave-safe bowl or double boiler and melt the chocolate in 30-second intervals, stirring in between.
- Decorate Quickly: Add your toppings right after dipping the spoons in chocolate before it sets.
- Avoid Water Contact: Make sure the spoons and bowl are completely dry to prevent the chocolate from seizing.
- Get Creative with Toppings: Use mini marshmallows, crushed peppermint, or even toffee bits.
- Let Them Set: Allow enough time for the chocolate to harden before packaging.
Ingredients
Just a few simple ingredients and you’re on your way! These little chocolate spoons are always a huge hit with my family and neighbors.
- Chocolate chips (dark, milk, or white)
- Marshmallows
- Sprinkles
- Plastic or wooden spoons
- Parchment paper
How to Make Hot Chocolate Spoons
Any time I bring these to a party, I hear from everyone what a great idea they were. People love them! For that reason, they’ve become a tradition that I just can’t let go.
- Place the chocolate chips in a microwave-safe bowl and microwave for 1 minute. Stir, then continue to heat in 30-second intervals until melted.
- Once melted, dip each spoon into the bowl and stir it around to make sure it is all covered in chocolate.
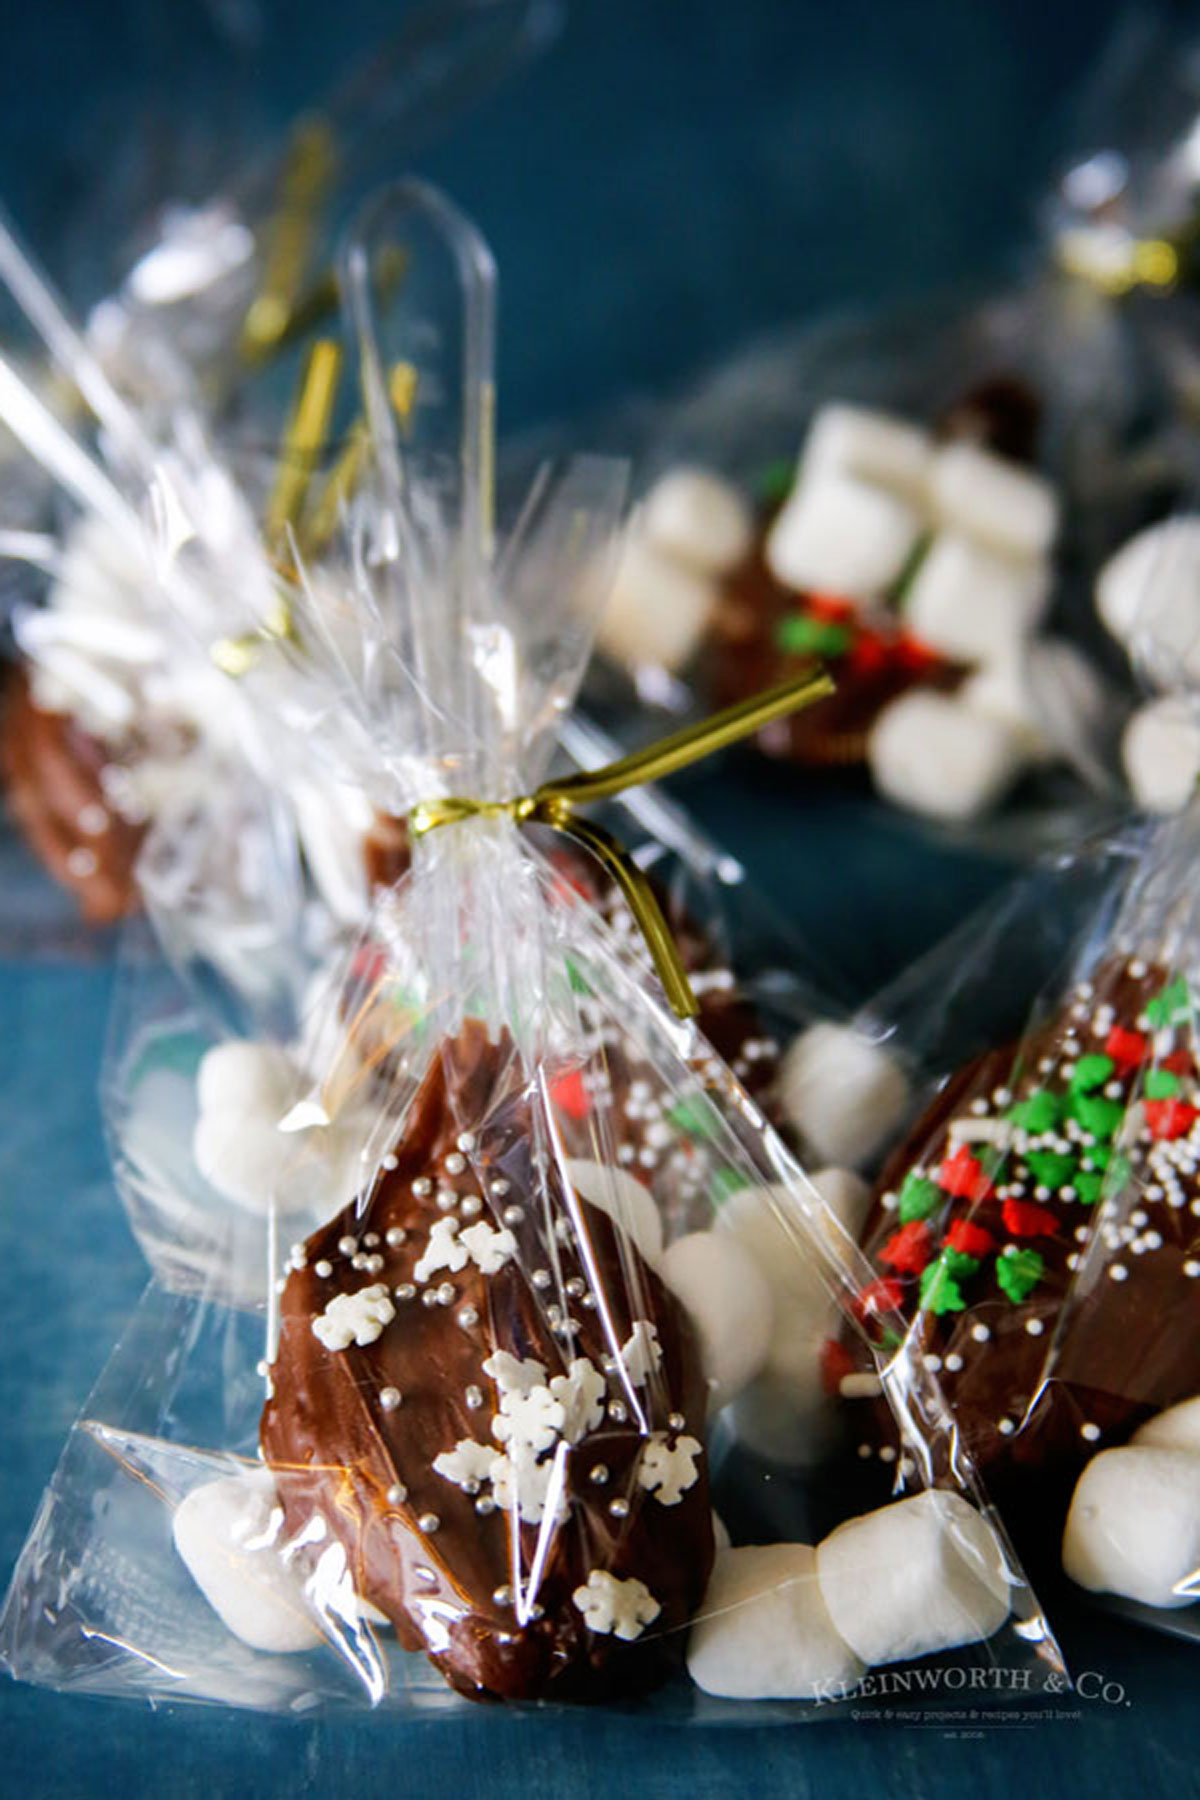
- Set the spoon on a tray lined with parchment paper and then add any sprinkles or other decorations. Let the chocolate harden.
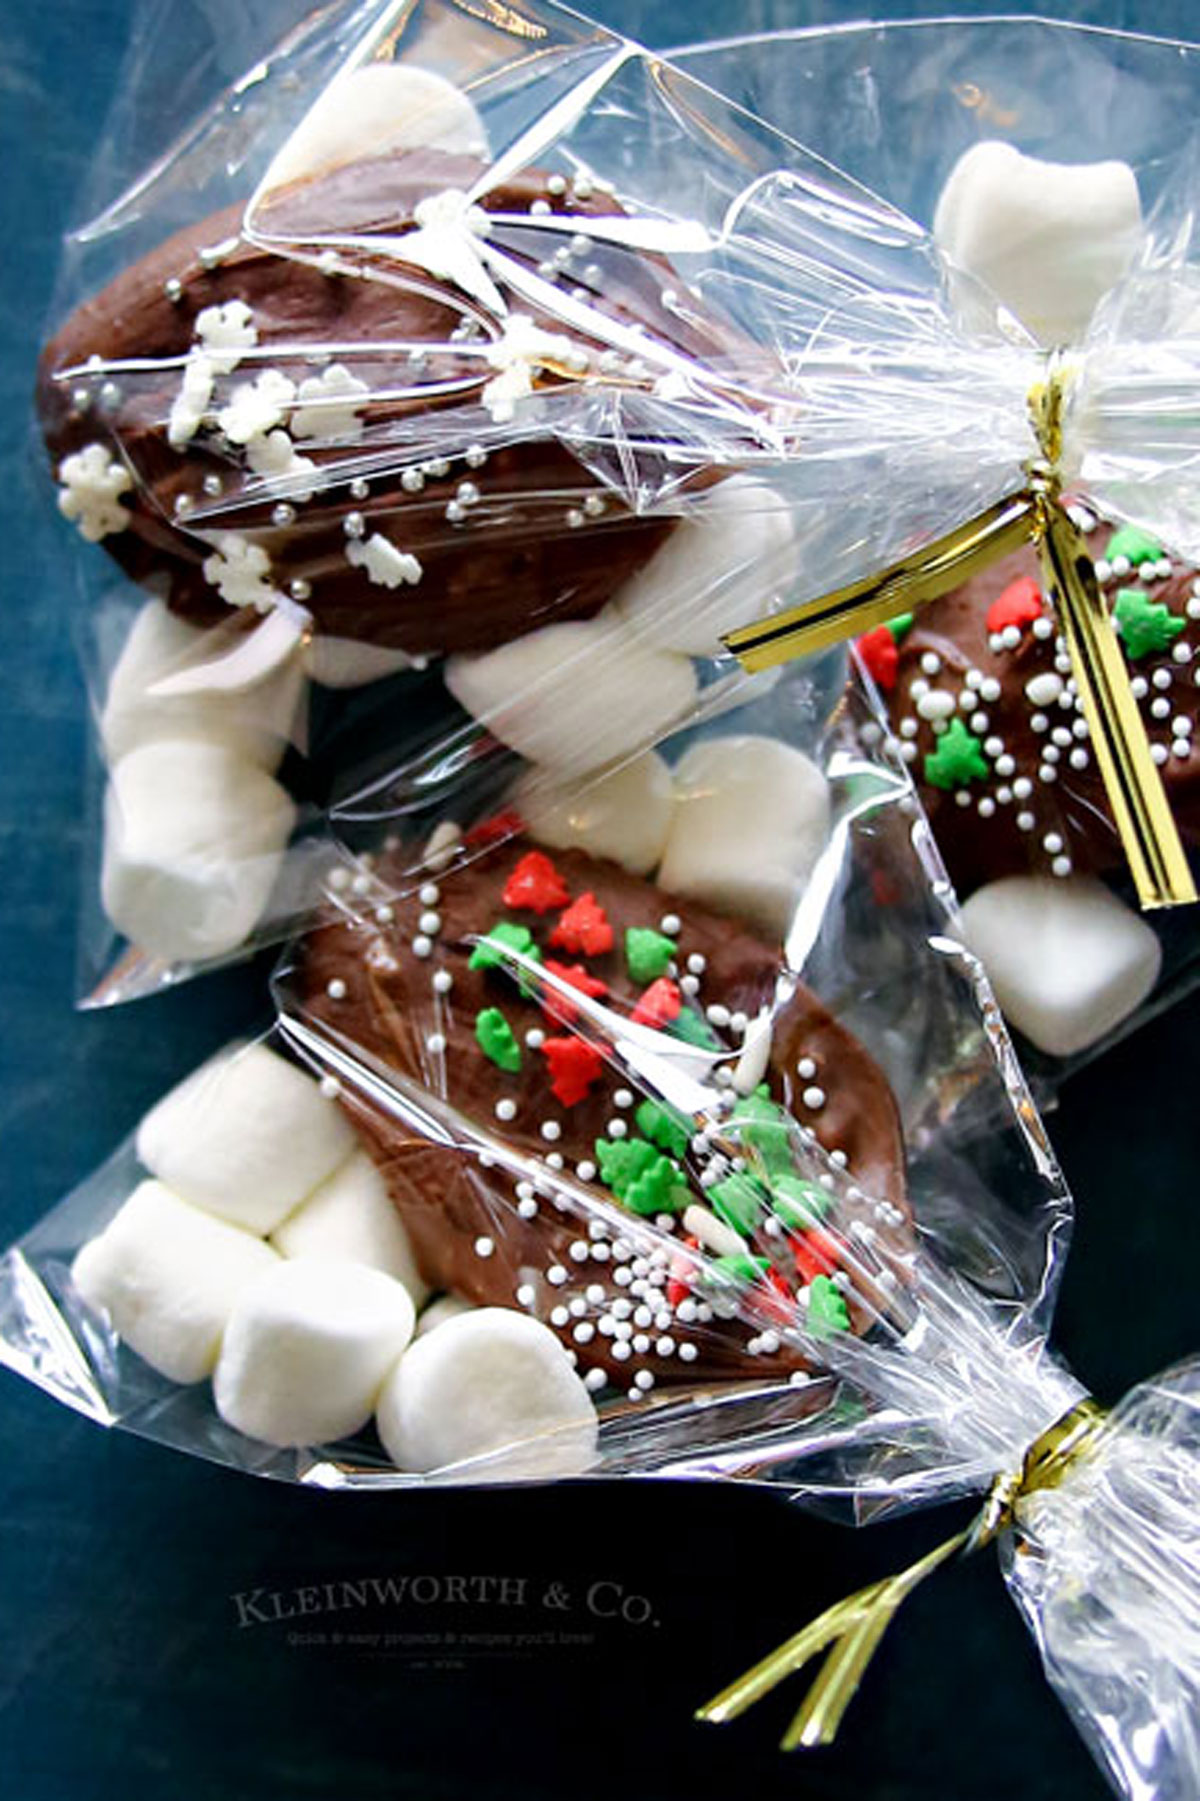
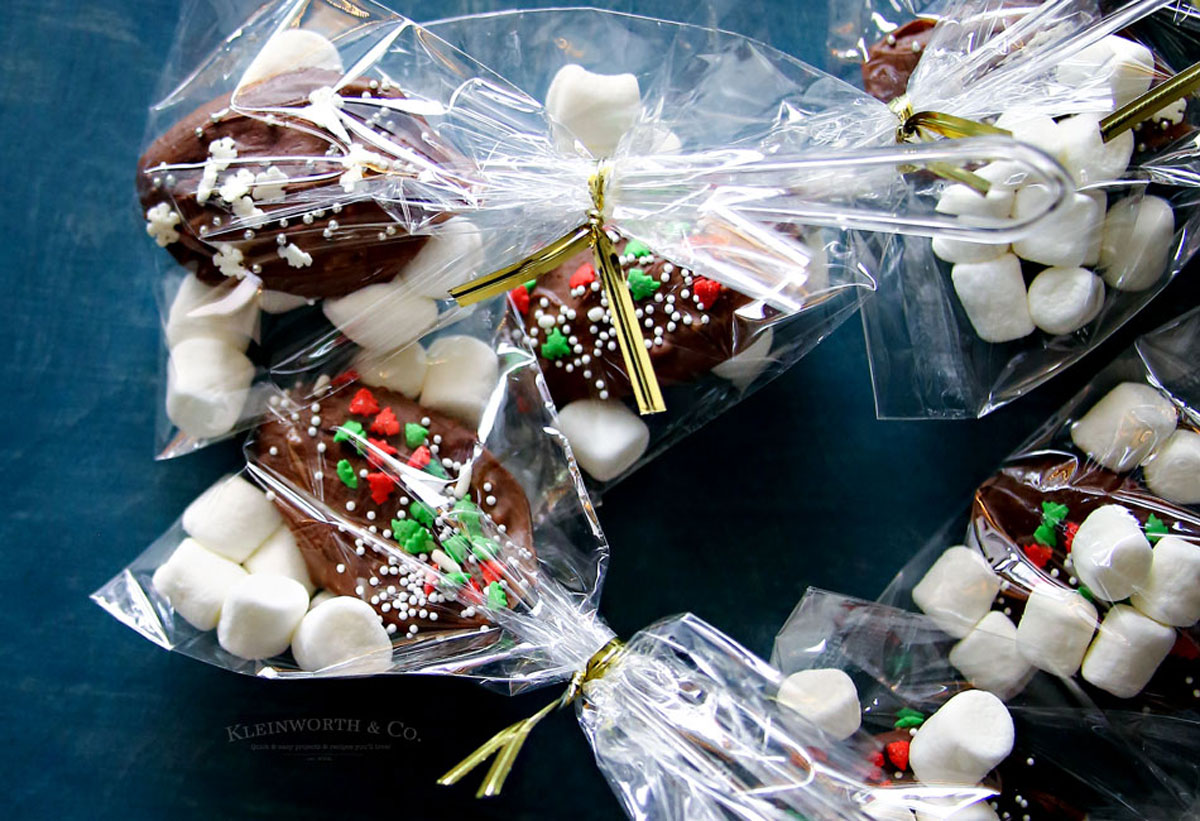
- Once the chocolate has hardened, place each spoon in a cellophane bag with a few marshmallows and add a decorative tie.
To enjoy- stir the spoon in 8-10 oz of hot milk.
Kitchen Supplies You’ll Need for Hot Chocolate Spoons
You could think of these as little mini hot chocolate bombs. It’s the same idea. Don’t forget to save the recipe card down below!
- Microwave-safe bowl or double boiler
- Baking sheet lined with parchment paper
- Cellophane bags for packaging
- Ribbons or ties for decoration
- Silicone ice cube tray or spoon mold (optional)
What to Serve With Hot Chocolate Spoons
My favorite thing to do with these is to give them out as gifts to my family and friends. Pair them with some cute wrapping and a fun holiday note and you’re off to the races!
- A mug of hot milk or morning coffee
- Alongside a plate of holiday cookies
- As part of a hot chocolate bar with various toppings
- With a cute mug as part of a lovely homemade gift set
Why You Should Make Hot Chocolate Spoons
Everyone needs a little more holiday cheer in their lives. No matter how much you already have! These easy hot chocolate spoons are a great way to bring it!
- Fun and Easy: A great project for kids and adults alike.
- Customizable: You can choose your favorite chocolate and toppings.
- Perfect for Gifting: They make wonderful, thoughtful homemade gifts.
- Versatile: Great for stirring into coffee or hot cocoa.
- Festive: Adds a special touch to holiday gatherings.
Variations and Add-Ins for Hot Chocolate Spoons
Do you have any other great ideas for variations on this recipe? Let me know in the comments. You guys always come up with the greatest things!
- Flavor Twists: Mix in peanut butter chips or Andes mints for a different flavor.
- Festive Toppings: Use holiday-themed sprinkles or candy cane pieces.
- Extra Indulgence: Drizzle with caramel or add a dollop of Nutella on top.
- Adult Version: Dip the spoon in chocolate liqueur before adding the chocolate.
- Dietary Needs: Use vegan or sugar-free chocolate for dietary restrictions.
Homemade Holiday Gifts
Looking for more great holiday ideas?
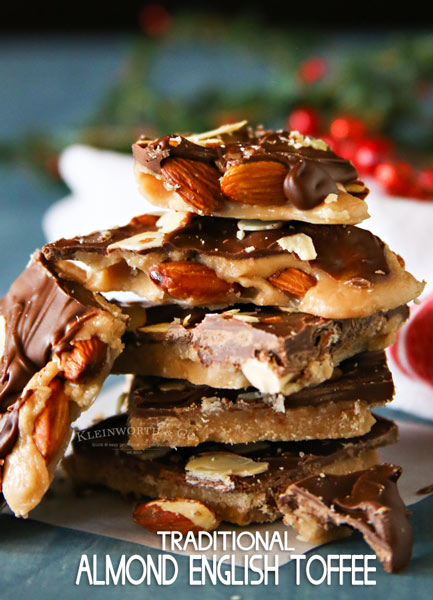
Traditional Almond English Toffee
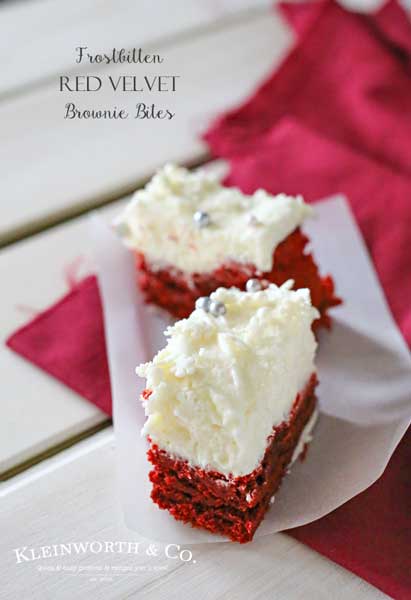
Frostbitten Red Velvet Brownie Bites
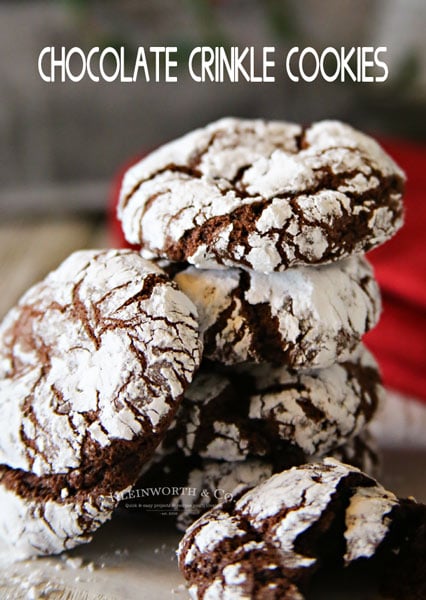
Easy Chocolate Crinkle Cookies
More Great Christmas Goodies
3-Ingredient Peanut Butter Cookies
CONNECT WITH YUMMI HAUS!
Be sure to follow me on my social media, so you never miss a post!
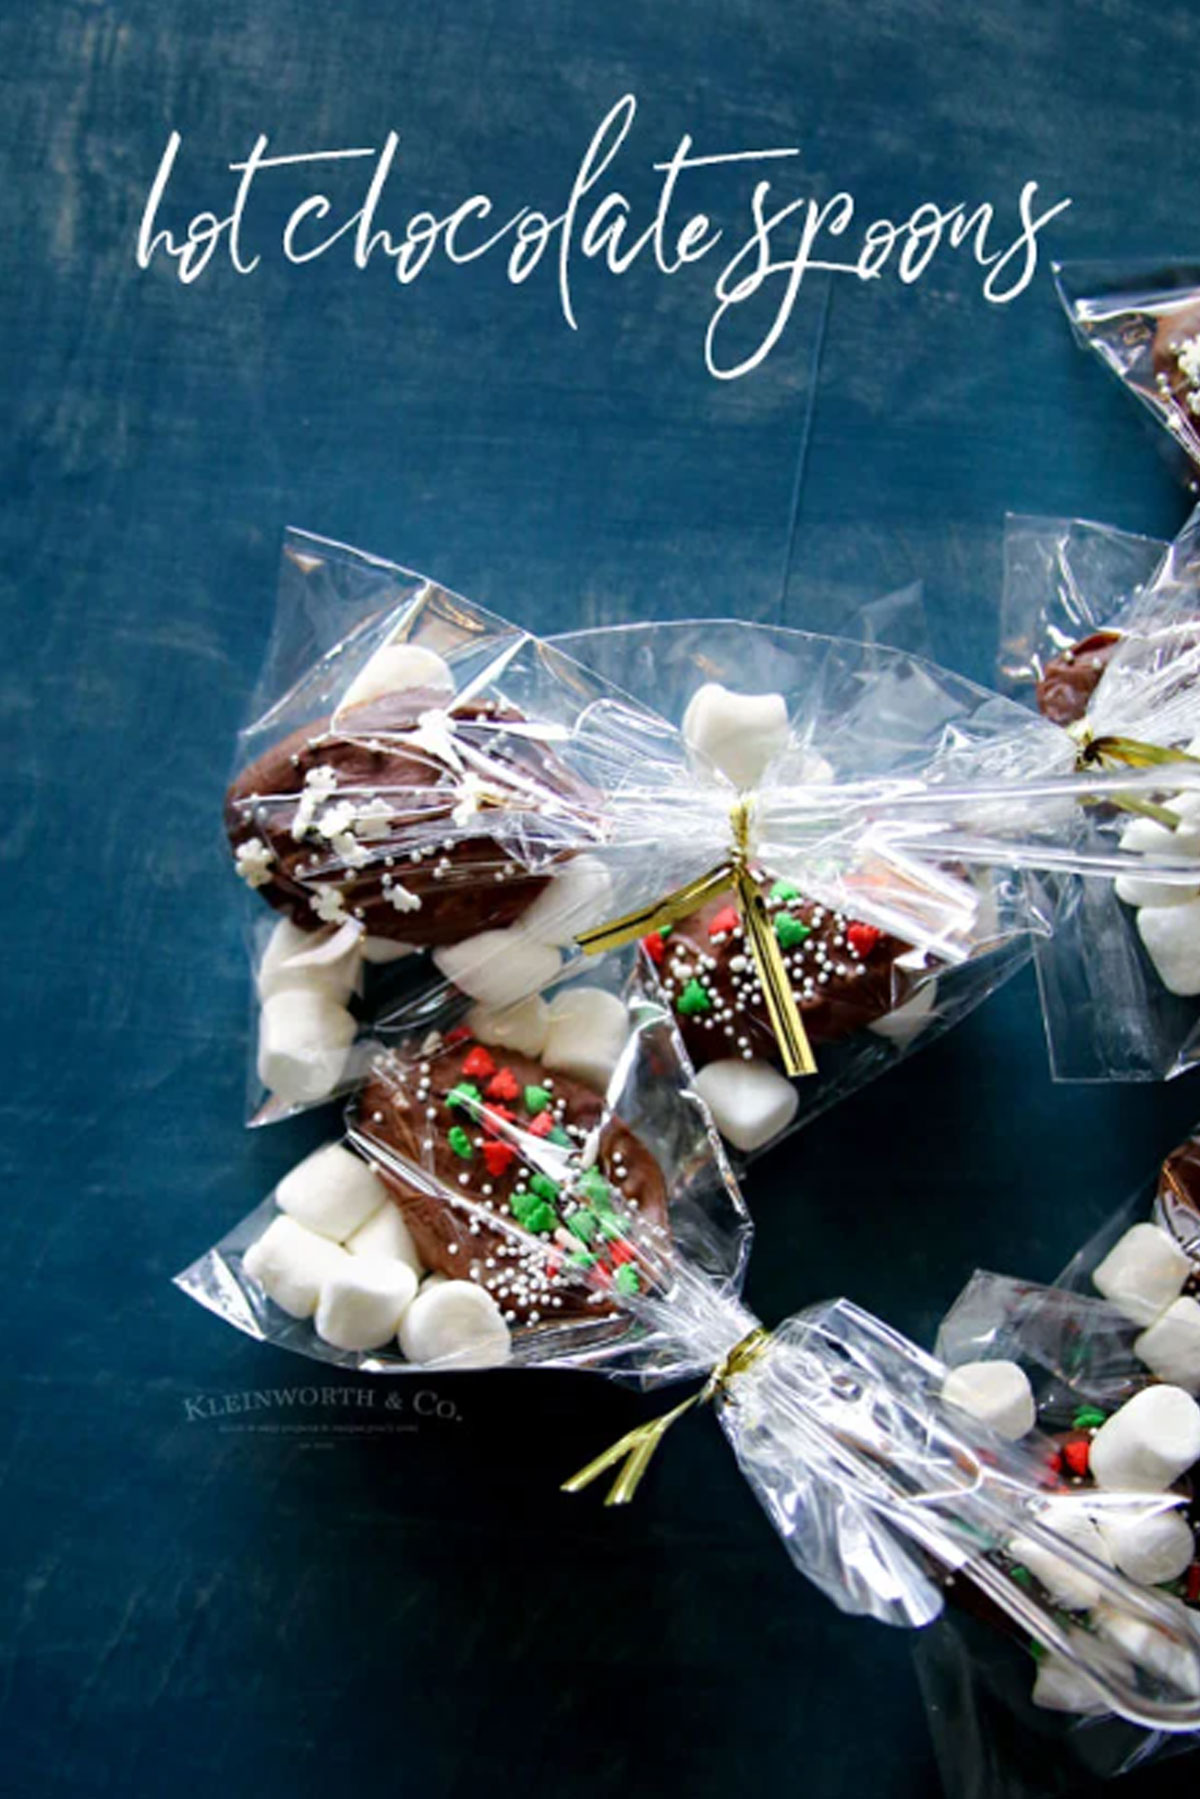
Easy Hot Chocolate Spoons
Ingredients
- 6- spoons plastic work best
- 1 cup chocolate chips
- 1/2 cup marshmallows
- 2 tbsp sprinkles
- Parchment paper
Instructions
- Place chocolate chips in a microwave-safe bowl and microwave for 1 minute. Stir, then continue to heat it for 30-second intervals until melted.
- Once melted, dip your spoon into the bowl & stir it around to make sure its all covered in chocolate.
- Set the spoon on a tray covered with parchment paper & add sprinkles.
- Once the chocolate has hardened, place in a cellophane bag with a few marshmallows & add a decorative tie.
- To enjoy- stir into 8-10 oz of warm milk.
Nutritional information for the recipe is provided as a courtesy and is approximate. Please double-check with your own dietary calculator for the best accuracy. We at Yummi Haus cannot guarantee the accuracy of the nutritional information given for any recipe on this site.




those sound like a great gift!
I LOVE this idea. They are super cute. I have never thought to put chocolate on a spoon. We have a Christmas party coming up this weekend, and I think this would be perfect to have there. Thanks for sharing this idea!
I secretly love these for myself! 🙂
I would love for you to share this with my Facebook Group for recipes, crafts, tips, and tricks: https://www.facebook.com/groups/pluckyrecipescraftstips/
Thanks for joining Cooking and Crafting with J & J!
These are so adorable! Definitely a great idea with a mug and some homemade hot chocolate as a gift for a favorite teacher. Thanks so much for sharing at the #happynowlinkup!
Love these and will keep this in mind for holiday gifts. Great way to get kids involved. Visiting from Cooking and Crafting party.
Your Chocolate Spoons are awesome! Hope you are having a great week and thanks so much for sharing with us at Full Plate Thursday!
Come Back Soon
Miz Helen
how long would you say these last? I made some hot chocolate mugs this year and want to gift these with them – not sure how far in advance I could make them? Any ideas?
So – they will last as long as you would expect the chocolate to last. You just need to watch the chocolate for blooming. If you use chocolate that has already bloomed, then they will likely bloom again quicker than if you started with chocolate that wasn’t bloomed. But because blooming is caused by enviormental factors along with the age of the chocolate, it is hard to give a difinitive timeframe for that. In general, I would make them as close to when you plan on gifting them as possible. All that said – bloomed chocolate isn’t necessarily spoiled or stale – it just isn’t as pretty or asthetically pleasing.