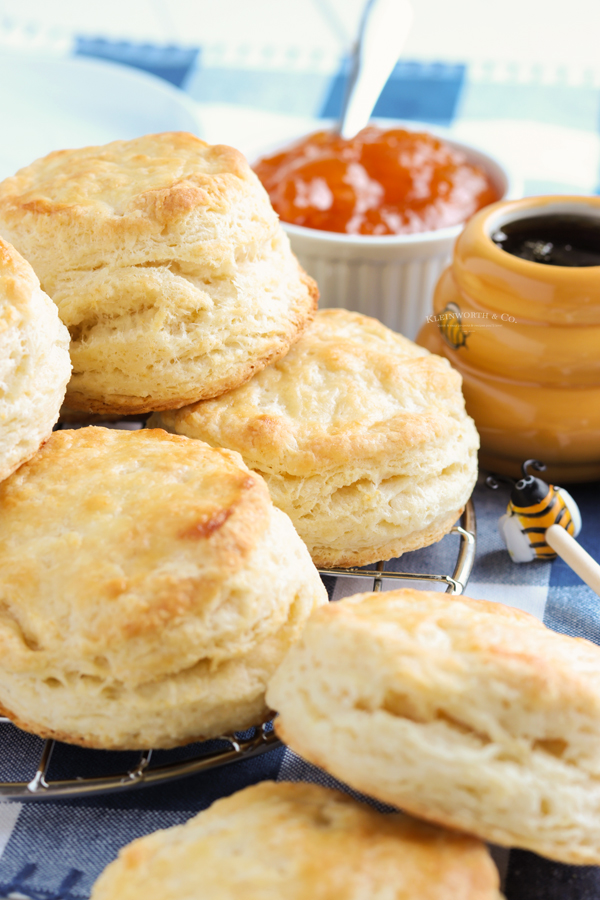
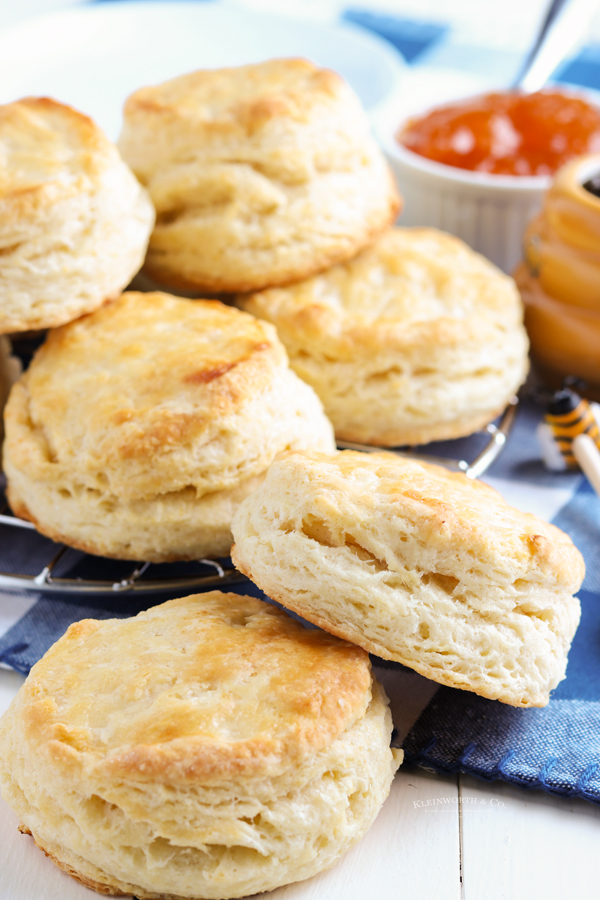
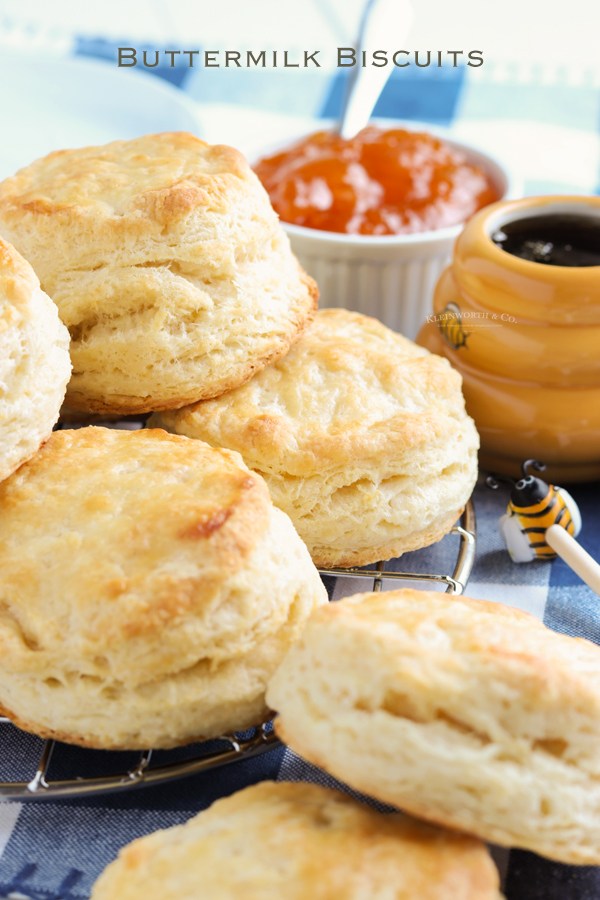
Easy Buttermilk Biscuits are fluffy, tender, flaky, perfect with butter and honey or jam. A deliciously simple dinner and holiday side dish.
These buttermilk biscuits are just the ticket for serving at any meal. They’re great for breakfast, lunch, and even afternoon tea. The ingredients and cooking time are minimal and this recipe is really easy to make.
As you know, I’m a sucker for easy recipes – especially ones that the family raves over. When I find something everyone loves and it is simple for me to whip up in a short time – it ends up being a recipe we make countless times. This biscuit recipe is one of those – because everyone can’t get enough.
Pair these biscuits with our Instant Pot Chicken Pot Pie recipe for a delicious dinner.
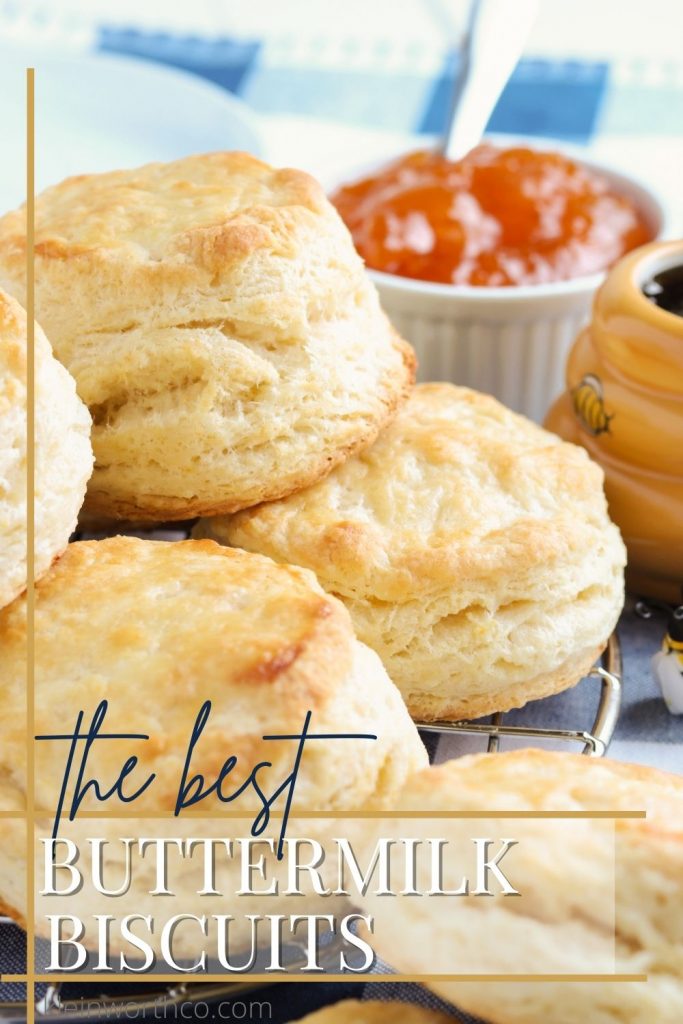
We all know that there is nothing like a warm biscuit with butter on it in the morning. These biscuits really are the best breakfast ever. They are fluffy and delicious with a mildly sweet taste that is perfect for dunking in your morning coffee or tea.
We love these Buttermilk Biscuits! They are absolutely perfect as a side dish for weeknight dinners, holiday feasts and, we love to serve them for our guests, and we’re sure you’ll love them too.
buttermilk biscuits from scratch
Here are some commonly asked questions
What if I don’t have buttermilk?
No problem. If you happen to not have buttermilk, you can place 1 tbsp white vinegar or lemon juice in your measuring cup. Then fill the rest up to the 1-cup mark with regular milk. Then let it sit at room temperature for at least 5 minutes before mixing into the batter.
But since this recipe calls for COLD buttermilk – you can then pop the “buttermilk” you have made into the fridge until it becomes very cold again before you use it for these biscuits.
OR you can use the buttermilk powder I have linked at the bottom of this post and you can just whisk it into water to make buttermilk whenever you need it.
In addition – you can use 4 tbsp of milk + enough sour cream to make a cup, OR 2 tbsp of milk + enough plain yogurt to make a cup. Note – don’t use Greek yogurt – it doesn’t have the right consistency to make this work.
Should I use salted or unsalted butter?
This is really a personal preference. If you are happy with just a little salt to cut the sweetness, then use salted butter.
I usually use whatever I have on hand & I really don’t pay too close attention to what butter I have. But I typically keep salted butter on hand & I love that little bit of extra salt with the sweet in this recipe.
These days with groceries being more difficult to find – I basically get whatever the store has available at the time and make it work.
buttermilk biscuits
Where did biscuits come from?
Originally the biscuit dates back to the days of Louis XIV. The name comes from the French name “bis” (twice) “cuit” (cooked) because it was originally a flat cake that was baked, removed from its pan, and then baked again.
It was a staple for many years with soldiers because it was hard and dry (often called stone bread) – and therefore would last a long time compared to regular bread made with yeast.
Today – the light and flaky biscuits we are familiar with originated in Southern plantation kitchens. They consist of dough that has been worked into layers of flour and butter – folded a multitude of times to create that tender texture.
My dough didn’t rise, what happened?
Because we aren’t dealing with yeast – most of the time this means that your baking powder has expired. When making yeast rolls or bread you would want to check and make sure the temperature of the liquid you were using to proof the yeast was correct.
But with these biscuits, the baking powder (along with the buttermilk) is our leavening agent and that will make the dough rise. If that isn’t fresh you will end up with flat, dense biscuits.
buttermilk biscuits recipe
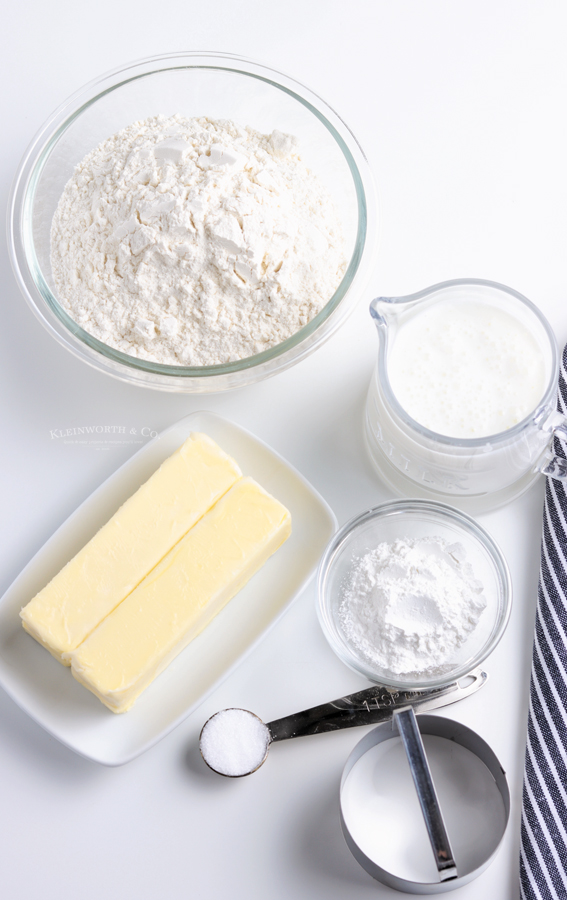
Ingredients for Buttermilk Biscuits
- all-purpose flour
- baking powder
- salt
- unsalted – very cold butter cubed **see notes
- cold buttermilk
Can buttermilk biscuits be frozen?
Yes, I do it often. You can wrap each biscuit individually with plastic wrap once they have been baked and cooled to room temperature. Then place all of the wrapped biscuits in a zip-top bag and freeze for up to 3 months.
You can also freeze the dough once it has been worked AND the biscuits have been cut. You can do this by placing the cut dough on a baking sheet that has been lined with plastic wrap. Place the tray in the freezer until the dough has completely frozen. Then remove and wrap each one tightly.
When ready to make – remove from the freezer, preheat the oven, unwrap the frozen biscuits and place on a parchment-lined baking sheet and bake according to the directions below.
homemade buttermilk biscuits
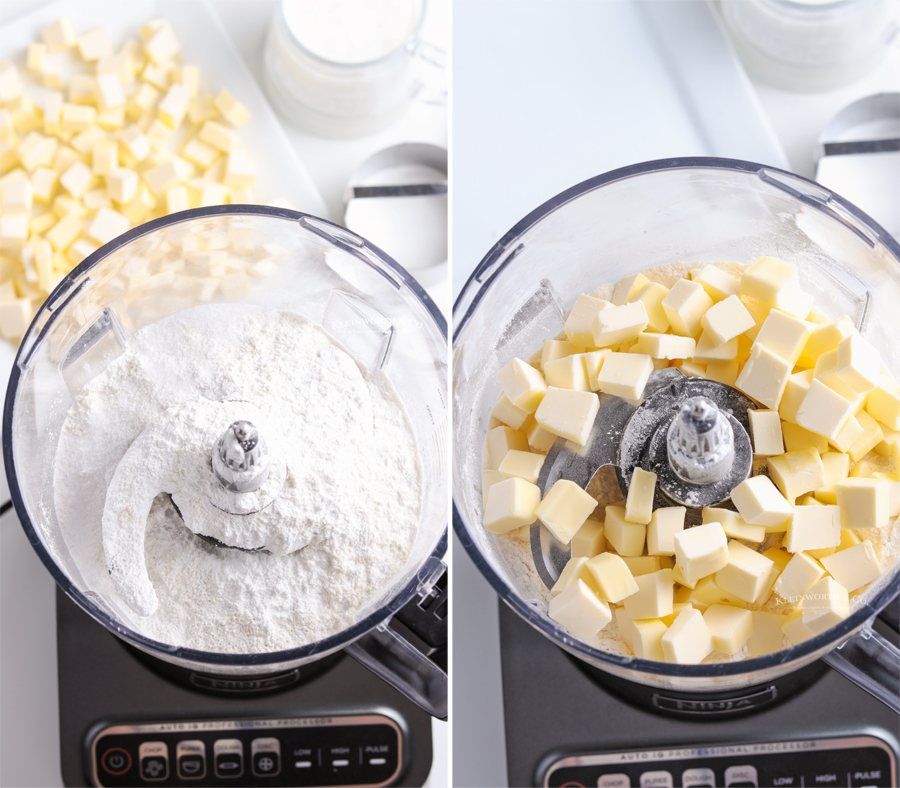
How to Make Buttermilk Biscuits
- Add the flour, baking powder and salt to a large bowl or food processor. Whisk to combine or pulse processor lightly.
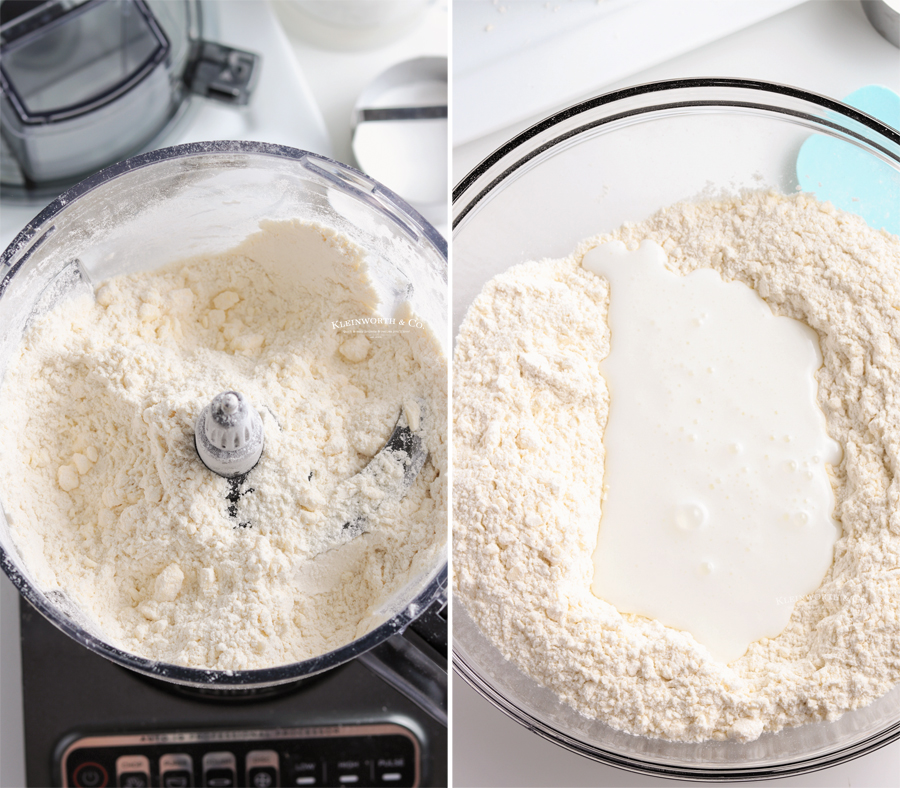
- Add the butter to the dry ingredients and combine until crumbs form. If using a bowl, use a pastry cutter, if using the food processor, pulse several times.
- If using processor, transfer the mixture to a large bowl.
- Form a well in the center of the mixture and pour in the buttermilk.
- Fold together until the dough begins to come together.
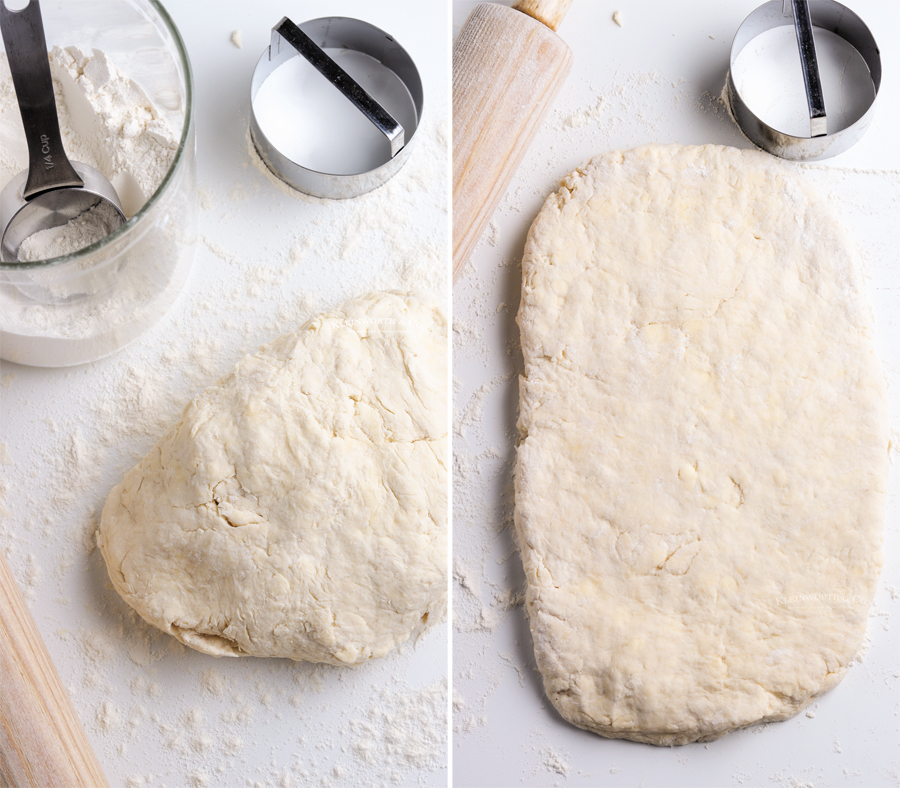
- Flour a smooth work surface and transfer the dough from the bowl.
- Generously flour your hands and begin working the dough together.
- Form or roll into ¾ inch thick rectangle.
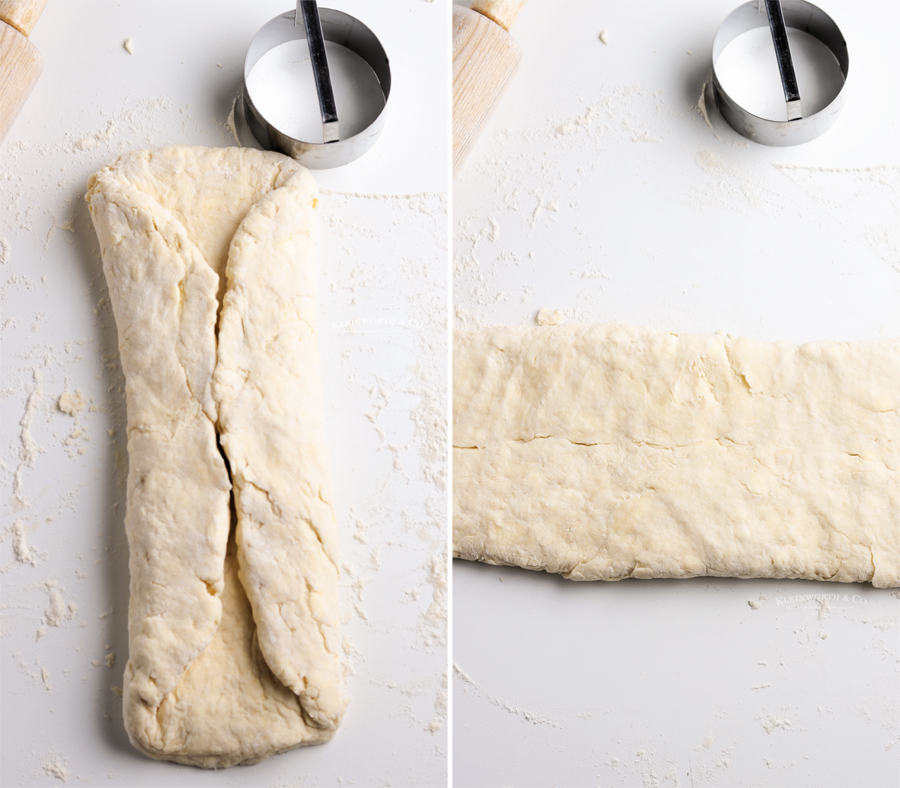
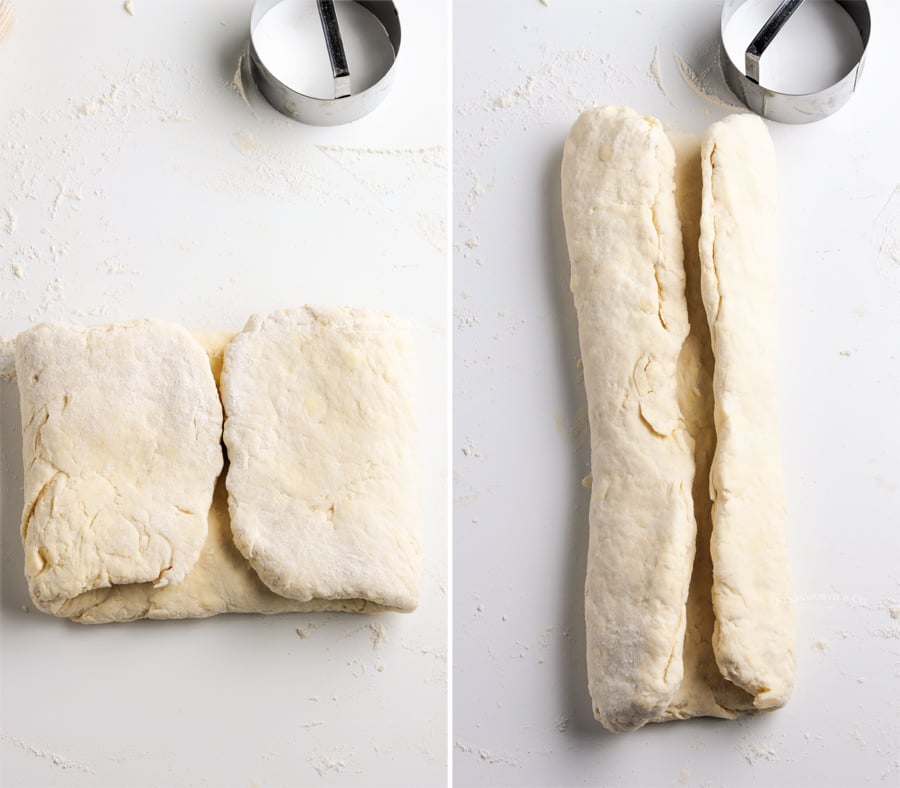
- Fold one long side into the center, then fold the other long side in **see notes
- Rotate the dough so that it is horizontal to you.
- Gently flatten the dough into a rectangle and fold the sides into the middle again.
- Turn the dough again and fold the sides into the middle again.
- Turn horizontally again and flatten dough into a rectangle about 1 ¼ inches thick.
- Preheat the oven to 425 degrees F.
- Generously butter a cast iron skillet or line a baking sheet with parchment paper or a silicone mat.
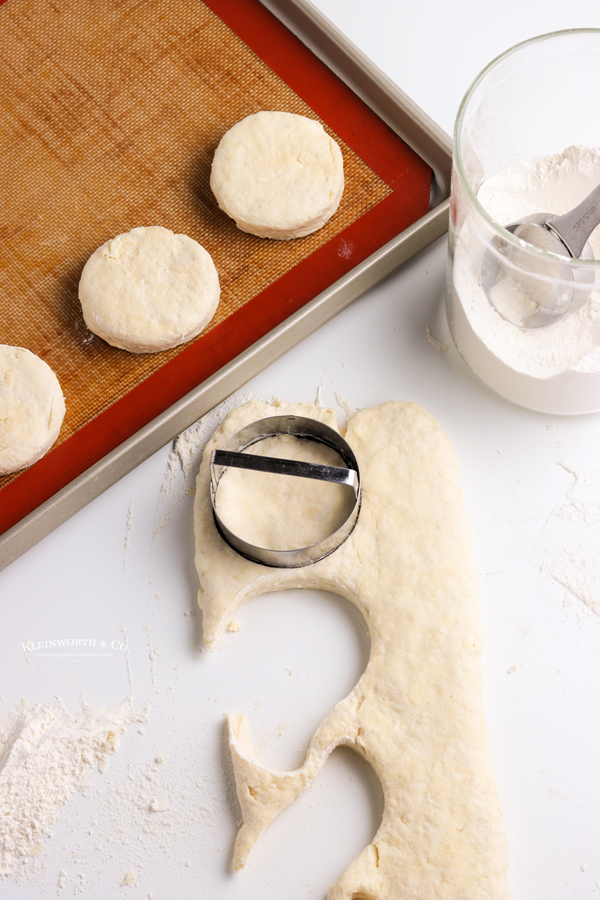
- Use a 2 ½ or 3 inch biscuit cutter to cut the dough. Cut straight down and pull straight up, do not twist the cutter **see notes
- Place the biscuits in the prepared cast iron skillet or on the baking sheet.
- Brush the tops of the biscuits with a little extra milk, if you like.
- Bake for 15-20 minutes or until golden brown.
- Remove from the oven and brush with the melted butter, if desired.
- Serve warm or at room temperature.
- Store in an airtight container in the refrigerator for up to 5 days.
southern buttermilk biscuits
What is the best way to store leftover buttermilk biscuits?
I must say, we never have leftovers of these. However, if you happen to have a few extras lying around, place the leftover biscuits in a zip-top bag or airtight container. This recipe should keep at room temperature for up to 3 days.
What to serve with buttermilk biscuits
There are so many different things you can add to these biscuits or pair these biscuits with. Here are some of the recipes we make the most frequently with this biscuit recipe.
- easy buttermilk fried chicken
- oven fried chicken
- oven baked pork chops
- air fryer cod
- cinnamon honey butter
- 3-ingredient blackberry jam
- slow cooker fig butter
- Italian garlic butter
- creamed honey
best buttermilk biscuits
Tips for the BEST Buttermilk Biscuits
- Butter – cut the butter into cubes and place in the freezer for 15-20 minutes prior to using.
- Folding – it’s important to fold the dough according to the directions, as this process creates the layers in the biscuits.
- Cutting – be sure not to twist the cutter, it can seal the edges of the biscuits and prevent them from rising. You need the edges to not be sealed so you get those flaky layers.
How do I properly measure the flour?
The official way is to spoon the flour into the measuring cup & level off. This makes sure the flour isn’t packed tightly into your measuring cup, adding more than you need, as that will make your recipe too dry.
While there are some recipes where you can get away with gently fluffing and scooping the flour – these biscuits will become hard and dense if you do not follow the spoon and level method for measuring.
southern homemade biscuits
Can this recipe be doubled?
Yes, absolutely this can be doubled. You can even bake the sheets side-by-side or just do them in batches back to back. I like to double the recipe and bake them on my larger 3/4 sheet pan so I have enough for everyone and some leftovers too.
Why is the cooked dough so dense?
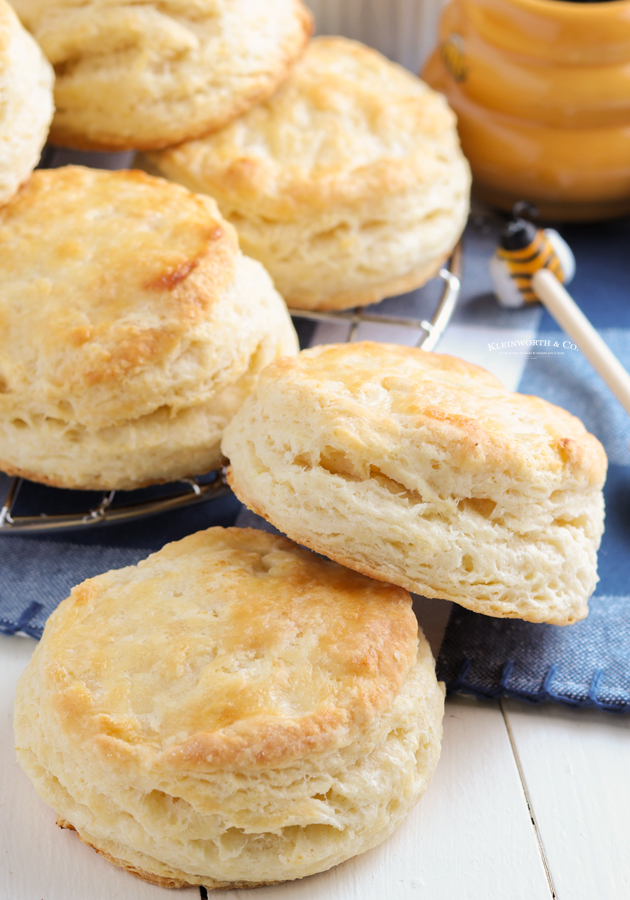
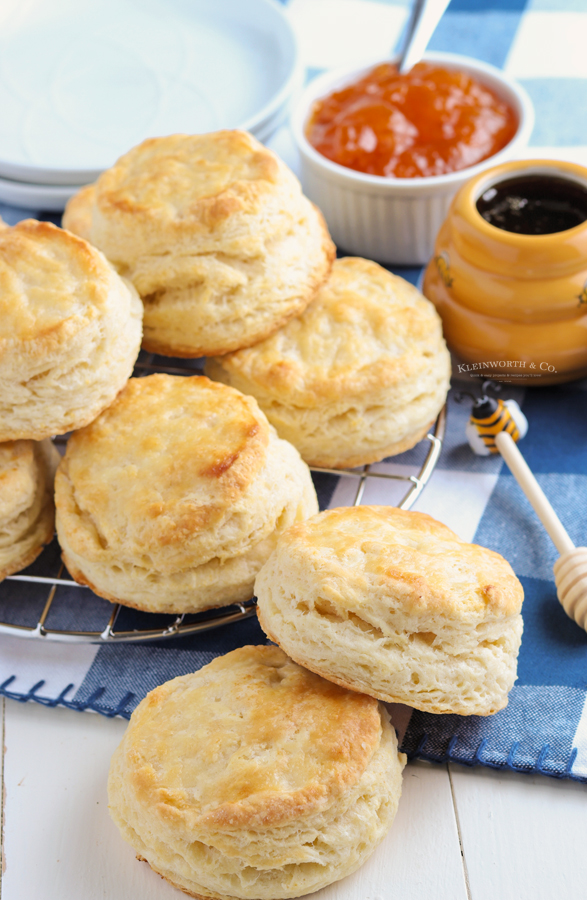
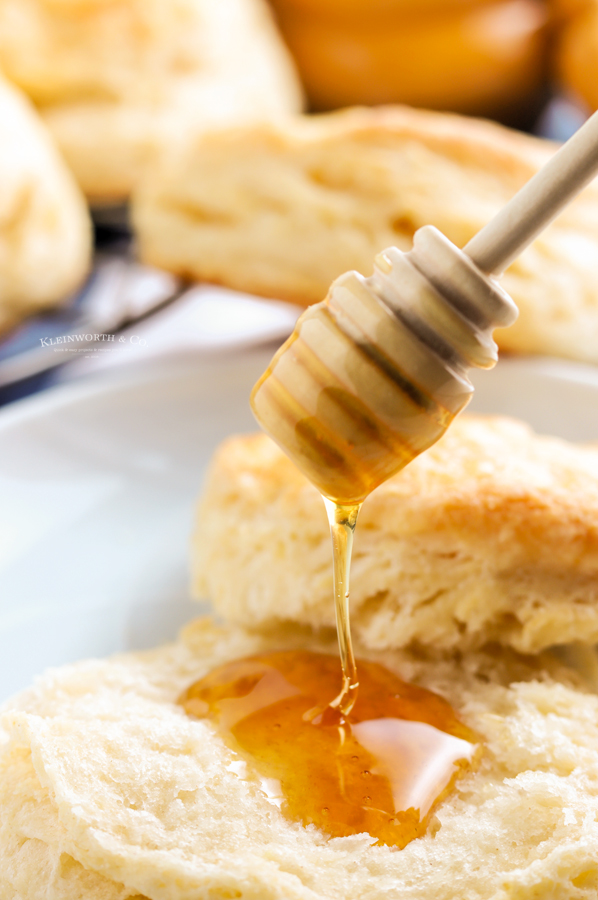
This biscuit dough will be dense before it is baked but should be light and fluffy like you see in the images here once they have been baked. If you find that your dough comes out more dense, please see the following suggestions below.
- Folding. Make sure you are following the instructions for folding the dough – these folds and the cold butter worked throughout the dough is what makes those tender, flaky layers. Without that step the biscuits will be dense.
- Too much flour. Too much flour will make the dough dense and dry. I know the inclination is to add more when the dough is sticky – but make sure you are using the spoon and level method for measuring the flour If you live in a lower elevation, or higher humidity, you probably won’t need as much flour on your surface when working the dough.
old fashioned buttermilk biscuits
These don’t need yeast?
Nope, that is what makes making biscuits so easy. No yeast, no need to wait for them to rise. Just mix & bake.
Can I use Gluten-Free flour?
I have not tried that yet. If you decide to give it a go, I would suggest using one that has a 1:1 ratio for the best possible results. Please let me know how it turns out. I’d love to share that with others.
flaky buttermilk biscuits
Products I love when making biscuits…
This biscuit recipe is SUPER EASY and delicious – and if you’re like me, then you maybe already have some of these items on hand OR maybe you have never made homemade biscuits before, & you might be a bit nervous – but you’re going to love them. I have made a list below of the things I absolutely can’t live without when it comes to making this biscuit recipe.
- mixing bowl
- 3/4 sheet pans
- cast iron skillet
- biscuit cutter
- food processor
- baking powder
- all-purpose flour
- buttermilk
- silicone brush
- parchment paper
If you love this easy biscuit recipe, you’re going to love these other side dish bread too. Please click each link below to find the easy, printable recipe!
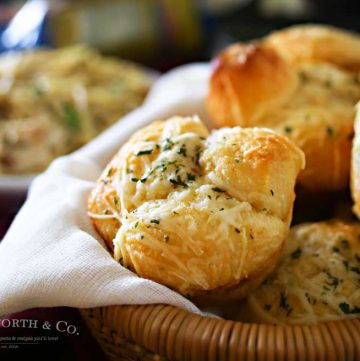

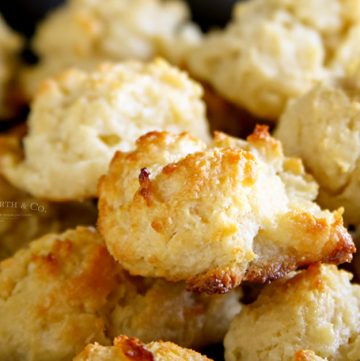
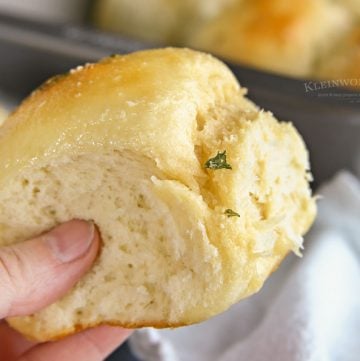
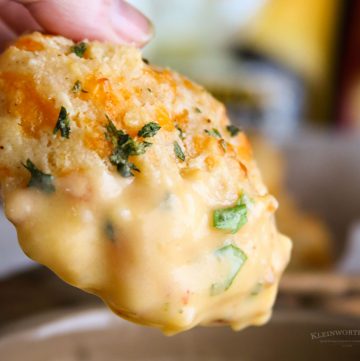
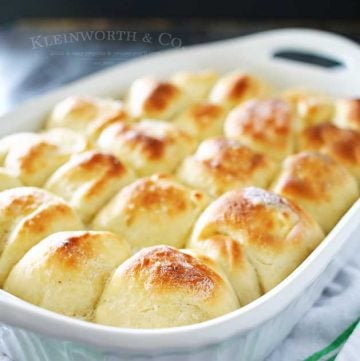
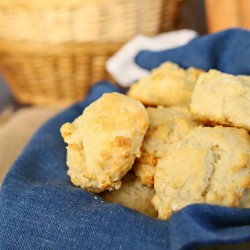
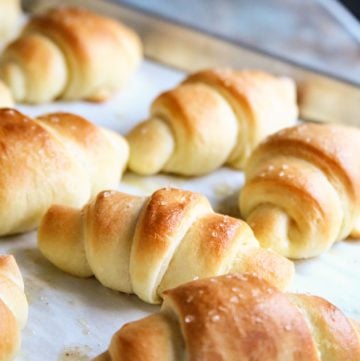
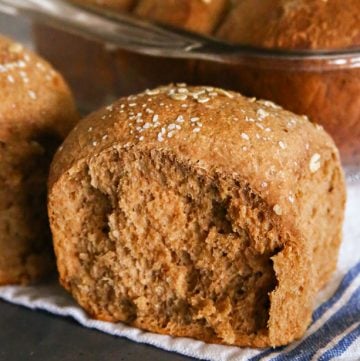
More Biscuit Recipes
Garlic Parmesan Pull-Apart Biscuits
If you love this recipe for Buttermilk Biscuits as much as I do, please write a five-star review, and be sure to help me share on Facebook and Pinterest!
CONNECT WITH YUMMI HAUS!
Be sure to follow me on my social media, so you never miss a post!
Easy Buttermilk Biscuits
Ingredients
- 2 ½ cups all-purpose flour plus more for rolling
- 2 tablespoon baking powder
- 1 teaspoon salt
- ½ cup unsalted very cold butter cubed **see notes (1 stick)
- 1 cup + 2 tablespoons cold buttermilk
Instructions
- Add the flour, baking powder and salt to a large bowl or food processor. Whisk to combine or pulse processor lightly.
- Add the butter to the dry ingredients and combine until crumbs form. If using a bowl, use a pastry cutter, if using the food processor, pulse several times.
- If using processor, transfer the mixture to a large bowl.
- Form a well in the center of the mixture and pour in the buttermilk.
- Fold together until the dough begins to come together.
- Flour a smooth work surface and transfer the dough from the bowl.
- Generously flour your hands and begin working the dough together.
- Form or roll into ¾ inch thick rectangle.
- Fold one long side into the center, then fold the other long side in **see notes
- Rotate the dough so that it is horizontal to you.
- Gently flatten the dough into a rectangle and fold the sides into the middle again.
- Turn the dough again and fold the sides into the middle again.
- Turn horizontally again and flatten dough into a rectangle about 1 ¼ inches thick.
- Preheat the oven to 425 degrees F.
- Generously butter a cast iron skillet or line a baking sheet with parchment paper or a silicone mat.
- Use a 2 ½ or 3 inch biscuit cutter to cut the dough. Cut straight down and pull straight up, do not twist the cutter **see notes
- Place the biscuits in the prepared cast iron skillet or on the baking sheet.
- Brush the tops of the biscuits with a little extra milk, if you like.
- Bake for 15-20 minutes or until golden brown.
- Remove from the oven and brush with the melted butter, if desired.
- Serve warm or at room temperature.
- Store in an airtight container in the refrigerator for up to 5 days.
Notes
- Butter – cut the butter into cubes and place in the freezer for 15-20 minutes prior to using.
- Folding – it’s important to fold the dough according to the directions, as this process creates the layers in the biscuits.
- Cutting – be sure not to twist the cutter, it can seal the edges of the biscuits and prevent them from rising. You need the edges to not be sealed so you get those flaky layers.
Nutritional information for the recipe is provided as a courtesy and is approximate. Please double-check with your own dietary calculator for the best accuracy. We at Yummi Haus cannot guarantee the accuracy of the nutritional information given for any recipe on this site.




Share Your Thoughts