In order to dye eggs with rice all you need is just a few drops of food coloring with dry rice in sealable bags. It’s a fun activity the whole family — including little kids — will love.
For years we always dyed Easter eggs the traditional way but I’m always looking for new ways to do it. This method is easy, inexpensive, and way easier to clean up.
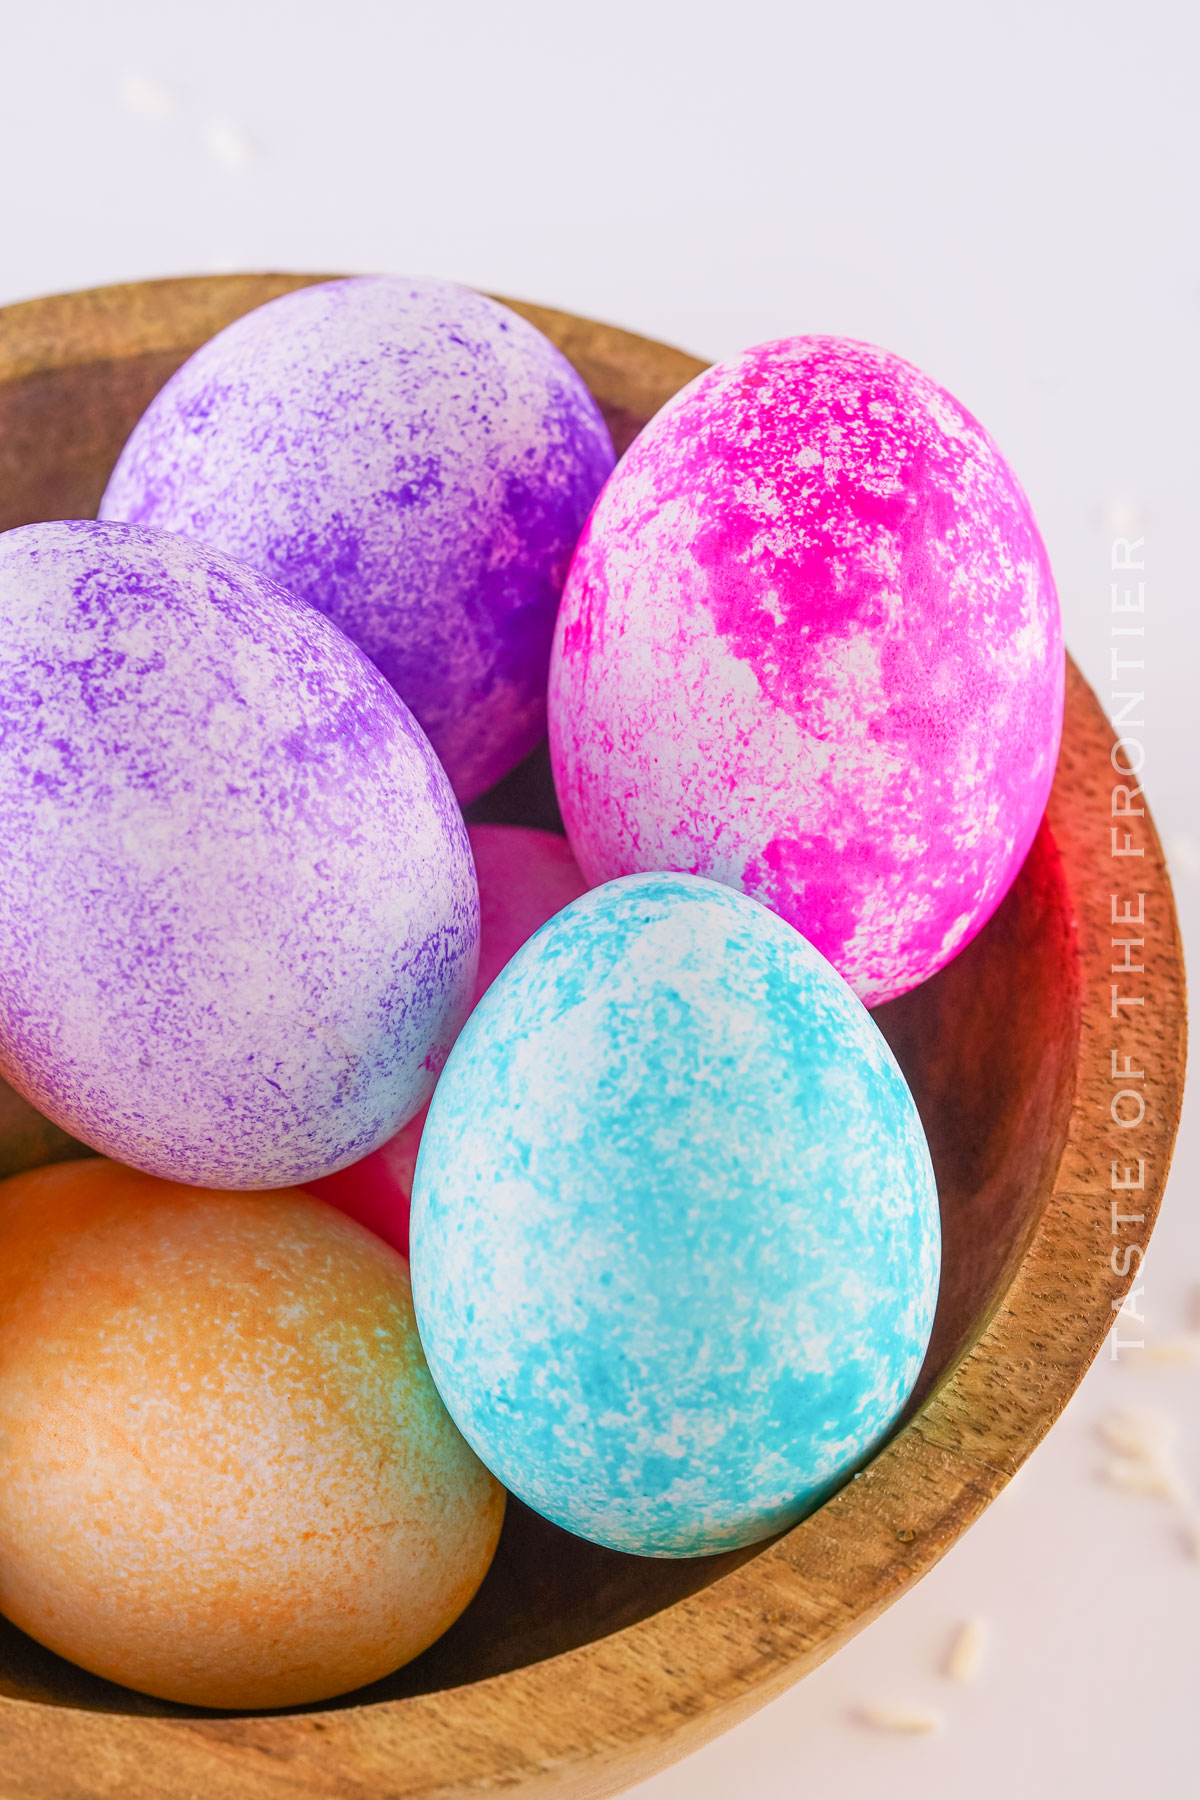
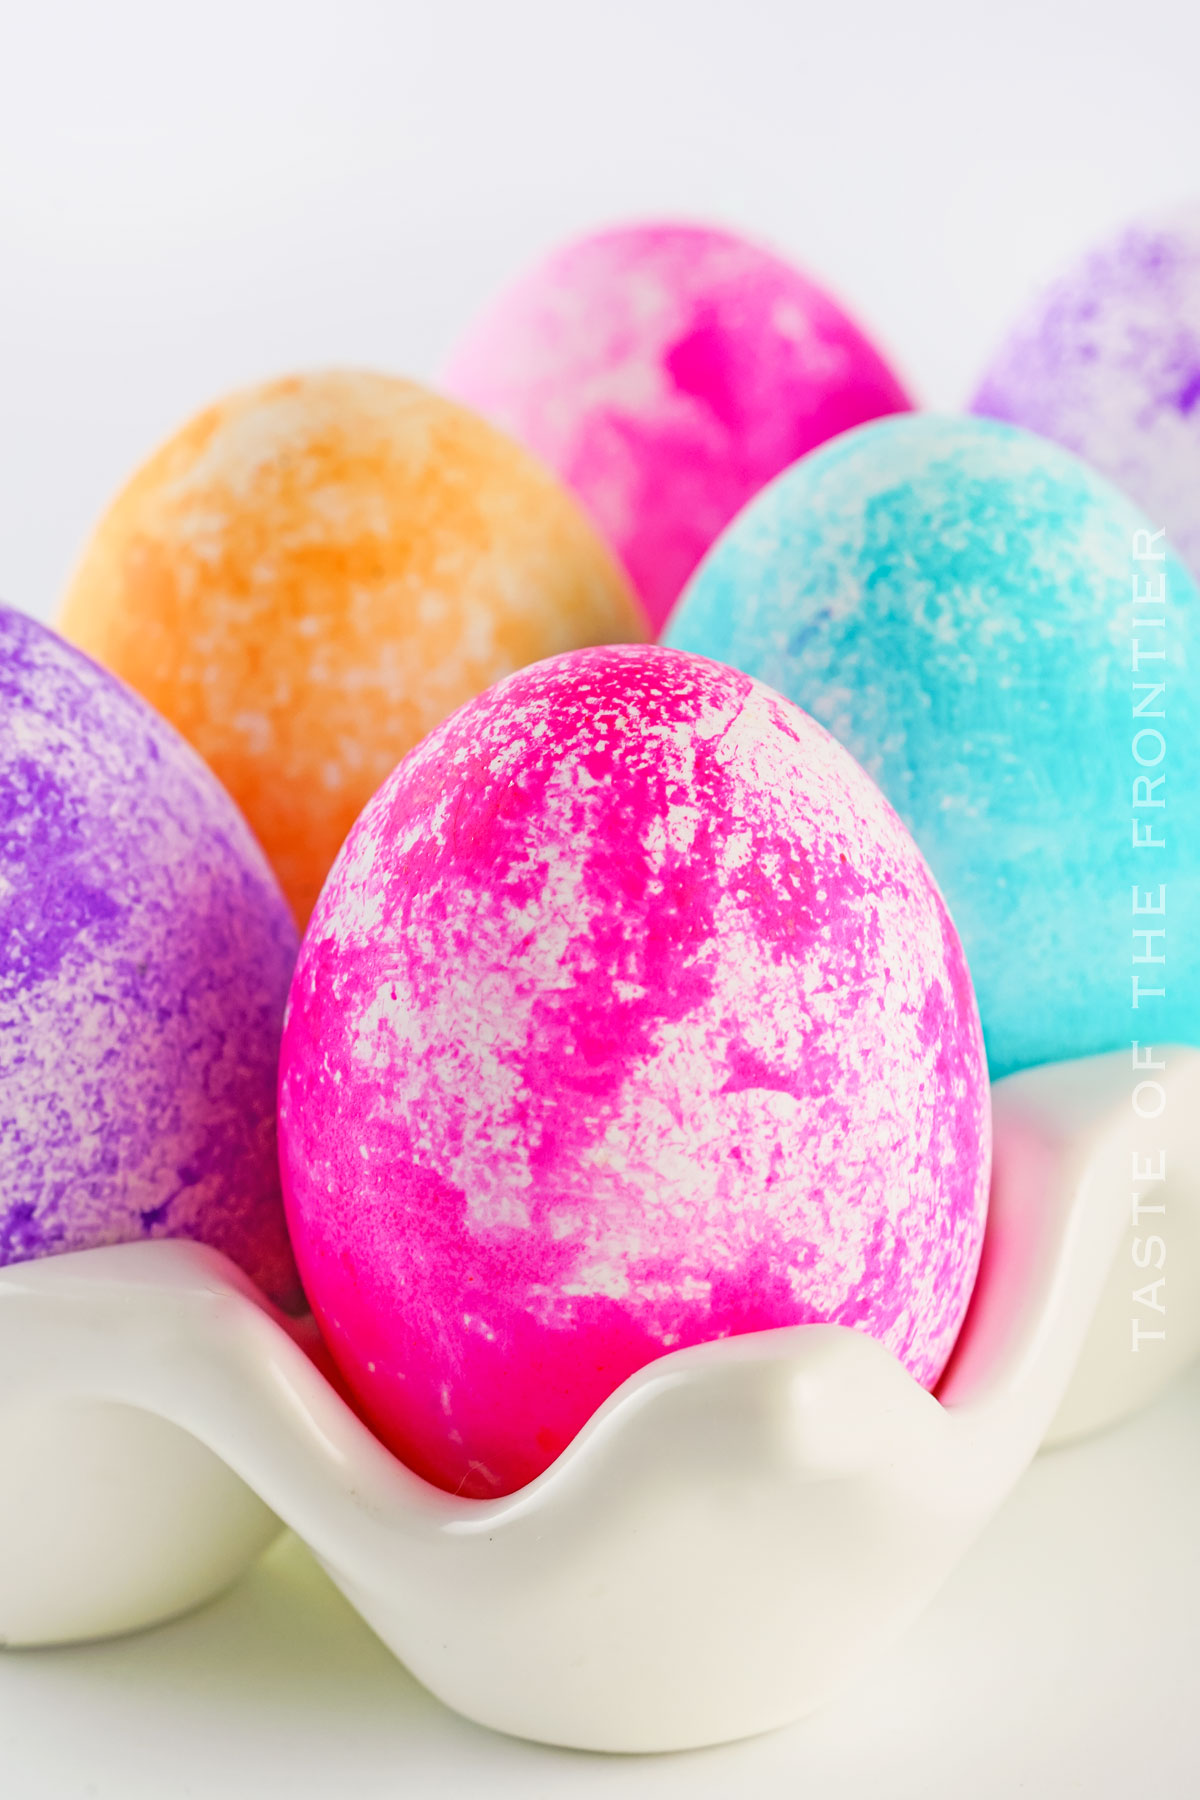
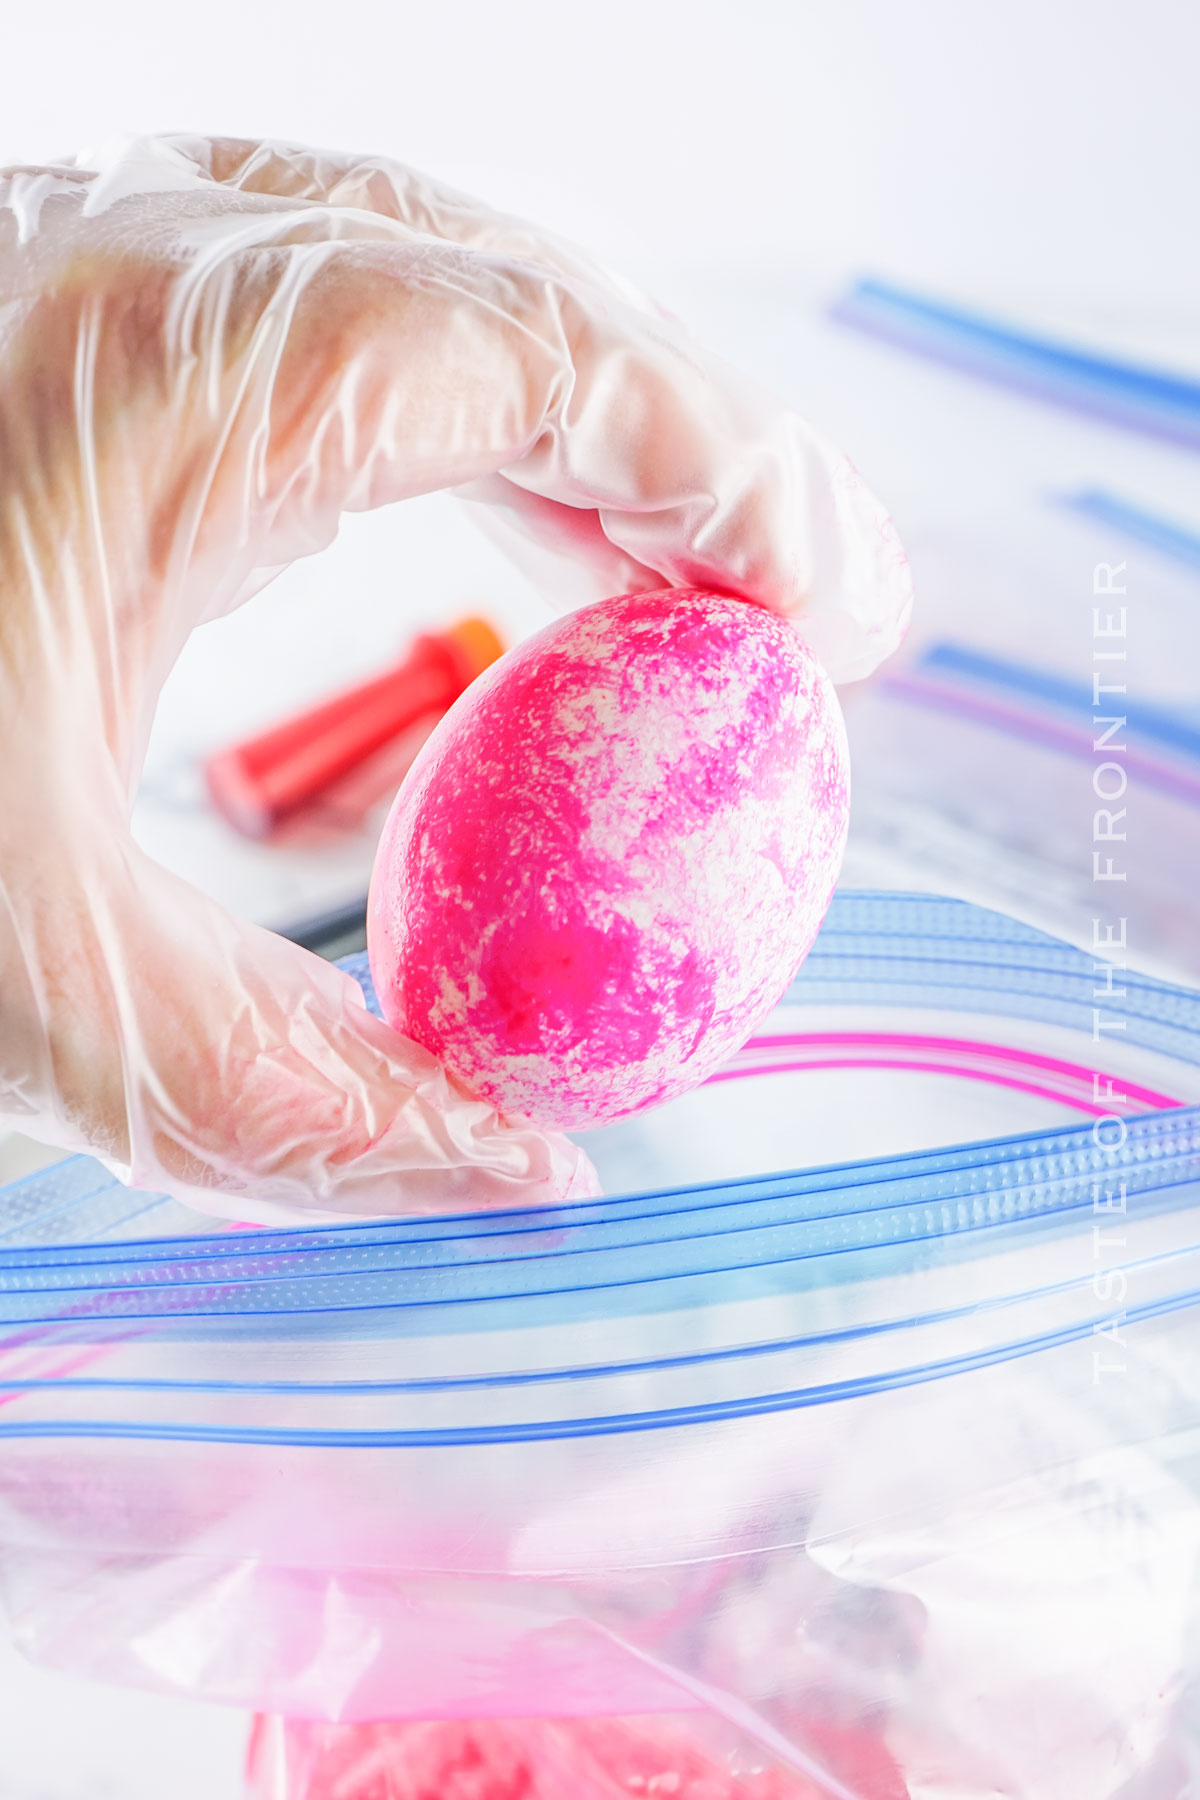
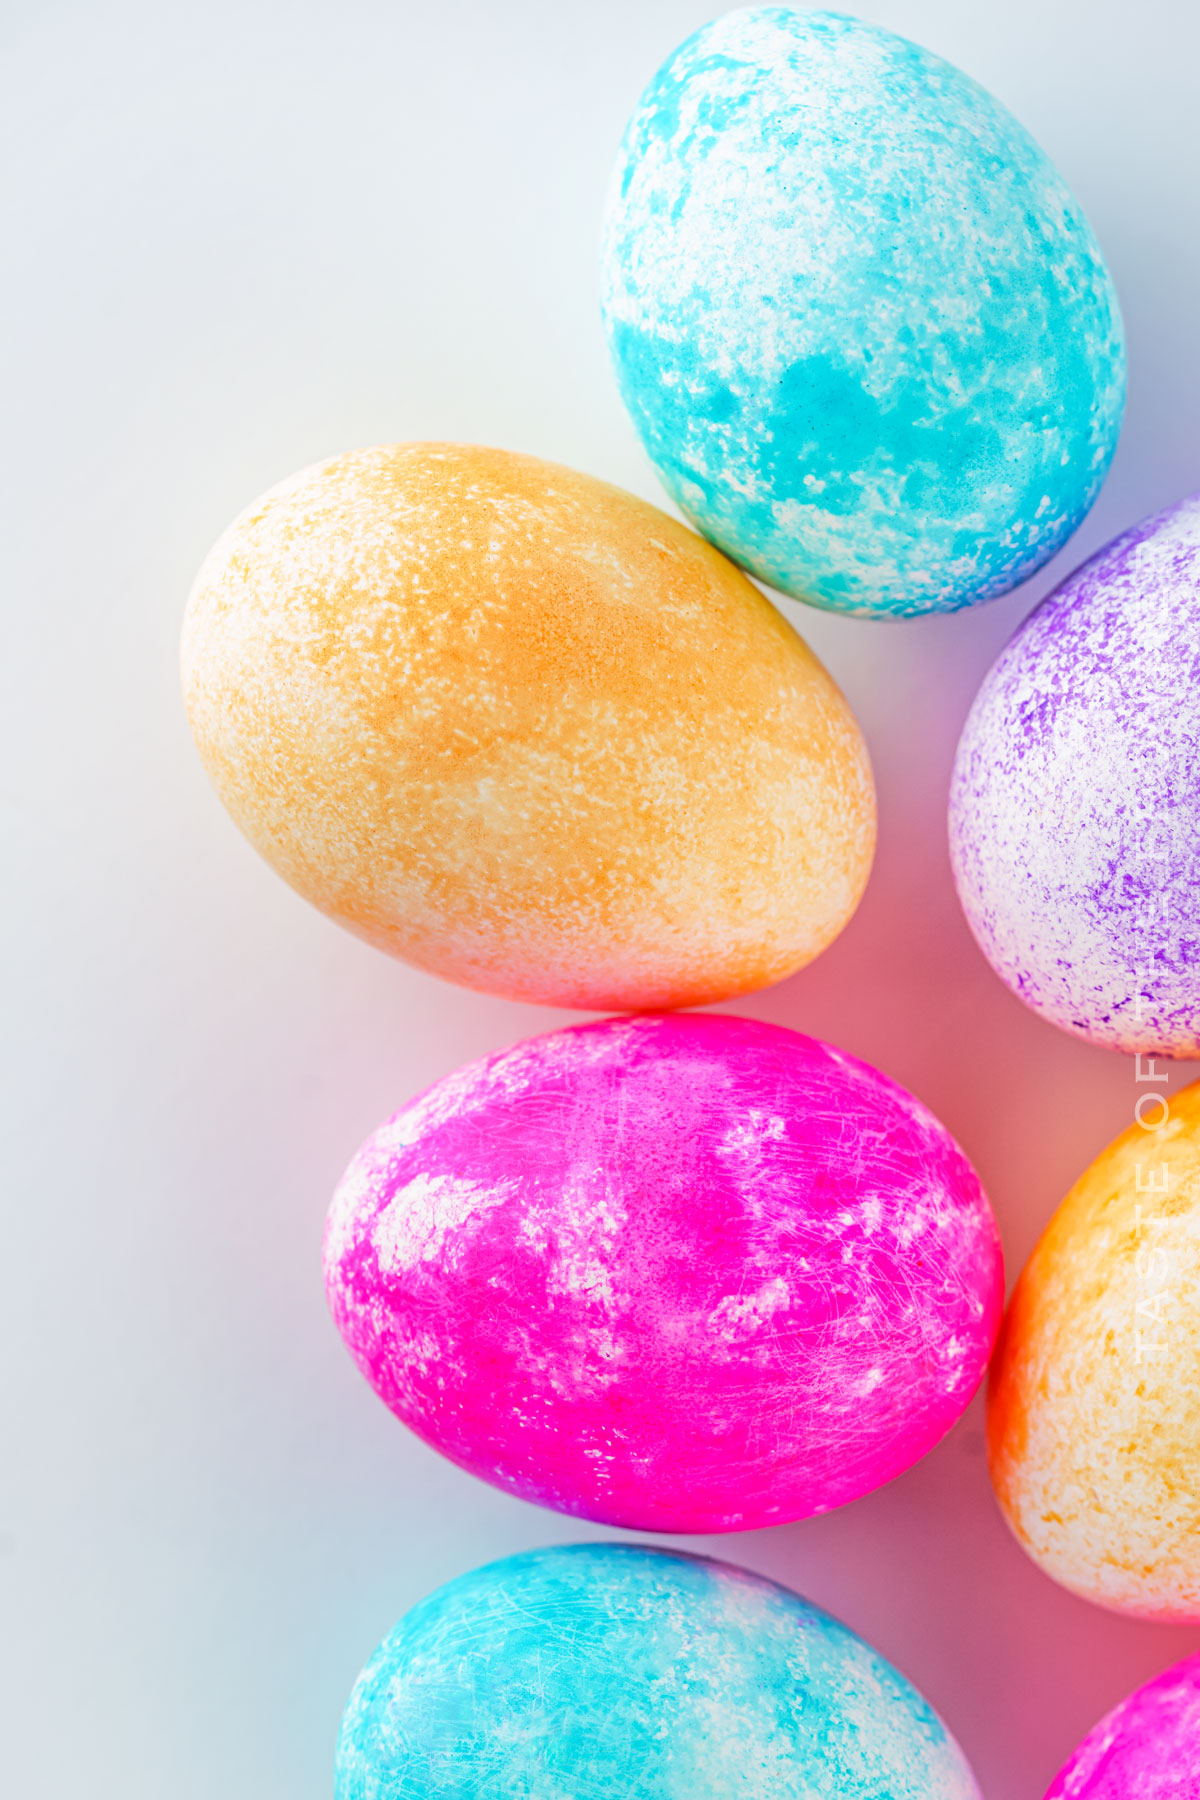
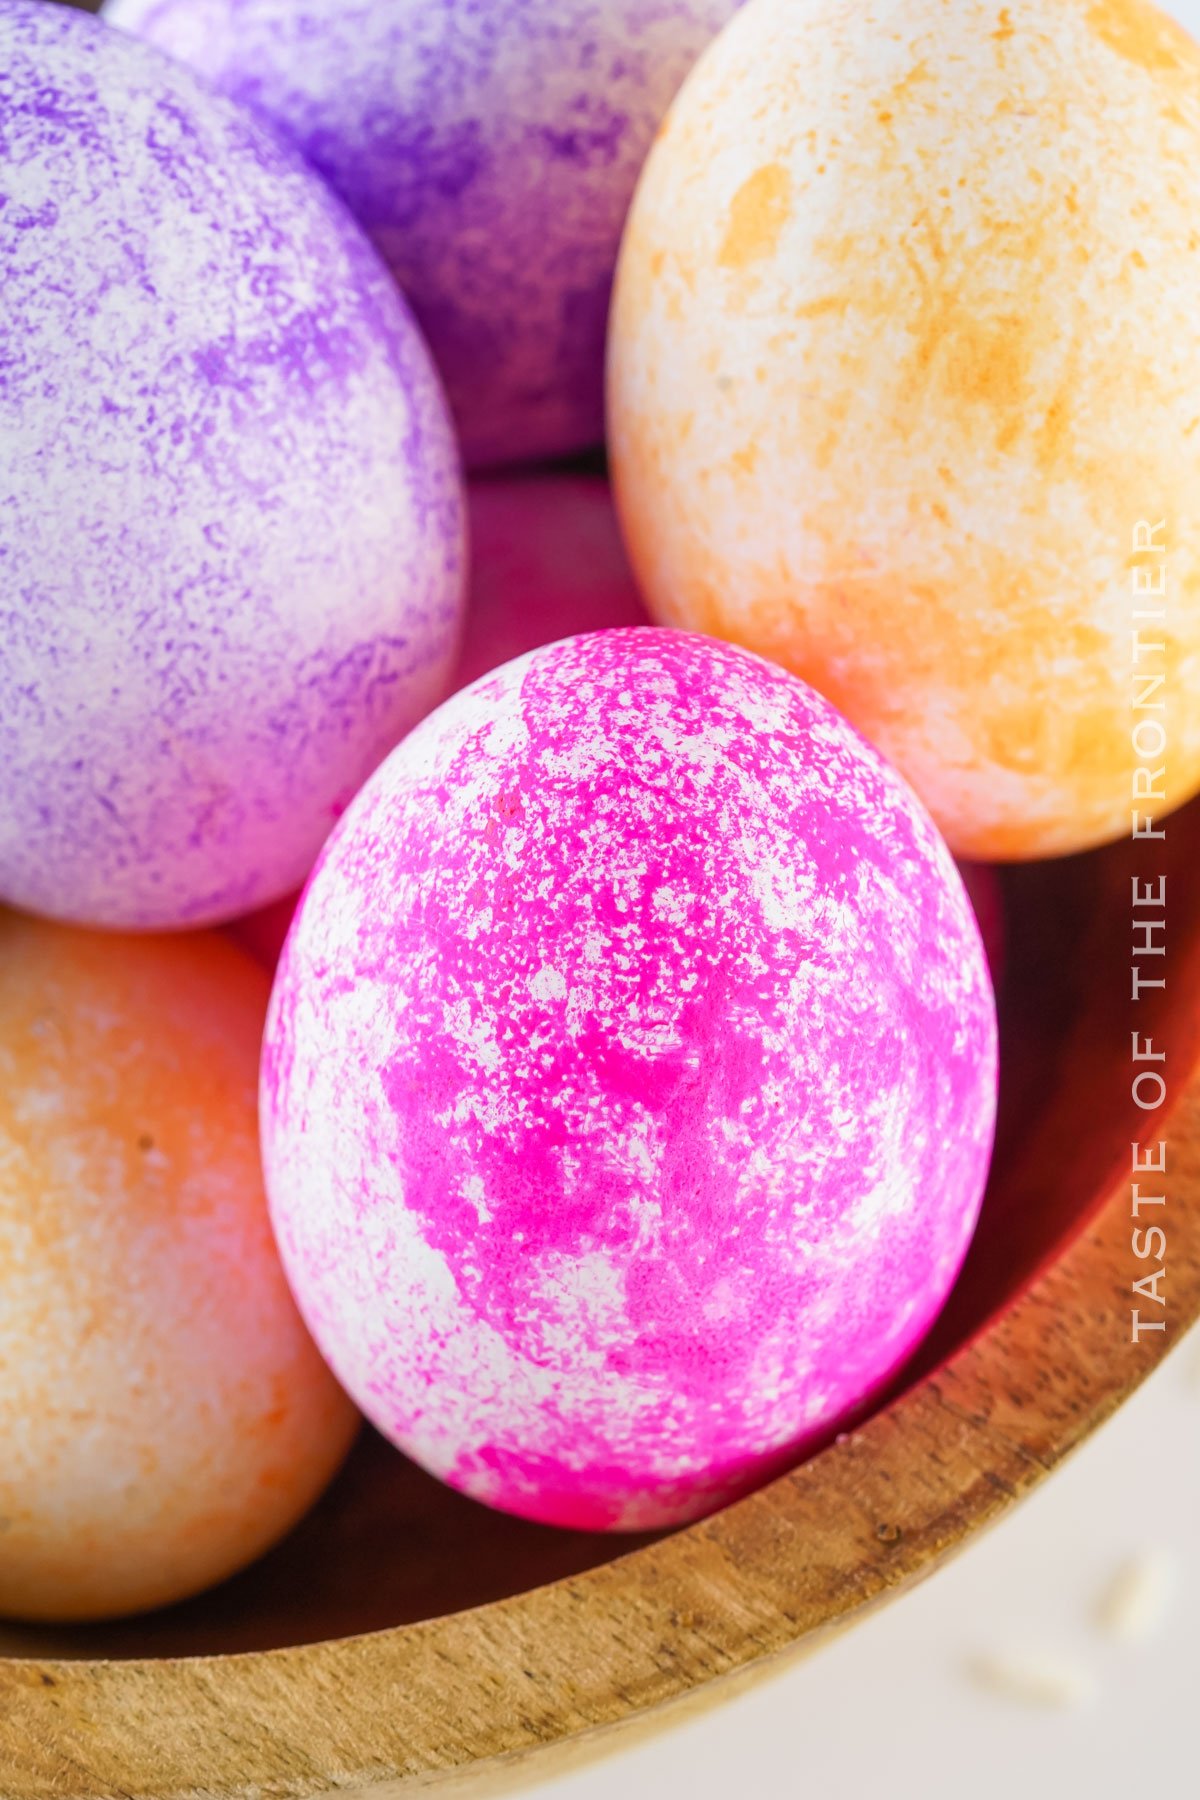
Decorating eggs this way results in a fun speckled look but artsy egg decorators can make a tie-dye design, too. There are tons of creative ways to use this rice method to decorate.
If you’re looking for a fun and easy Easter craft, definitely check out these eggs rolled in rice.
Common Questions about Dyeing Eggs Using Rice
Should you soak eggs in vinegar before dyeing?
To help the color stick to the eggs better you can soak them in vinegar.
Is it better to dye eggs cold or at room temperature?
Either way is fine — you’ll get the same results regardless of temperature.
How long should eggs stay in the dye?
When dyeing eggs traditionally you should let them sit for about 5 minutes in the dye. However, for this method, you can remove them whenever you are satisfied with the color of the eggs.
Making Dyed Eggs with Rice Ahead of Time
You can hard boil the eggs and refrigerate them as well as fill the bags with rice ahead of time, but do not add the coloring until you’re ready to dye the eggs.
Storage
Keep the eggs in an airtight container (a deviled egg carrier works well) or their original carton.
Refrigerator: Store the dyed hard-boiled eggs in the refrigerator for up to 1 week from the time that you boiled them.
Freezing: We do not recommend freezing hard-boiled eggs.
Tips For The Best Rice Dyed Eggs
These eggs are easy to decorate but there are a few tips to make sure you get the best results.
- Put the latex gloves on before adding the food coloring to the bag.
- Hard-boil eggs close to the time that you’ll dye them so that they remain fresh for several days.
- Place the hard-boiled eggs in an upside-down egg carton to dry to minimize their surface contact.
- If you don’t have an egg carton you can place the eggs on paper towels or old newspaper to avoid get color on furniture.
- Ensure that the eggs are completely dry before adding to the rice.
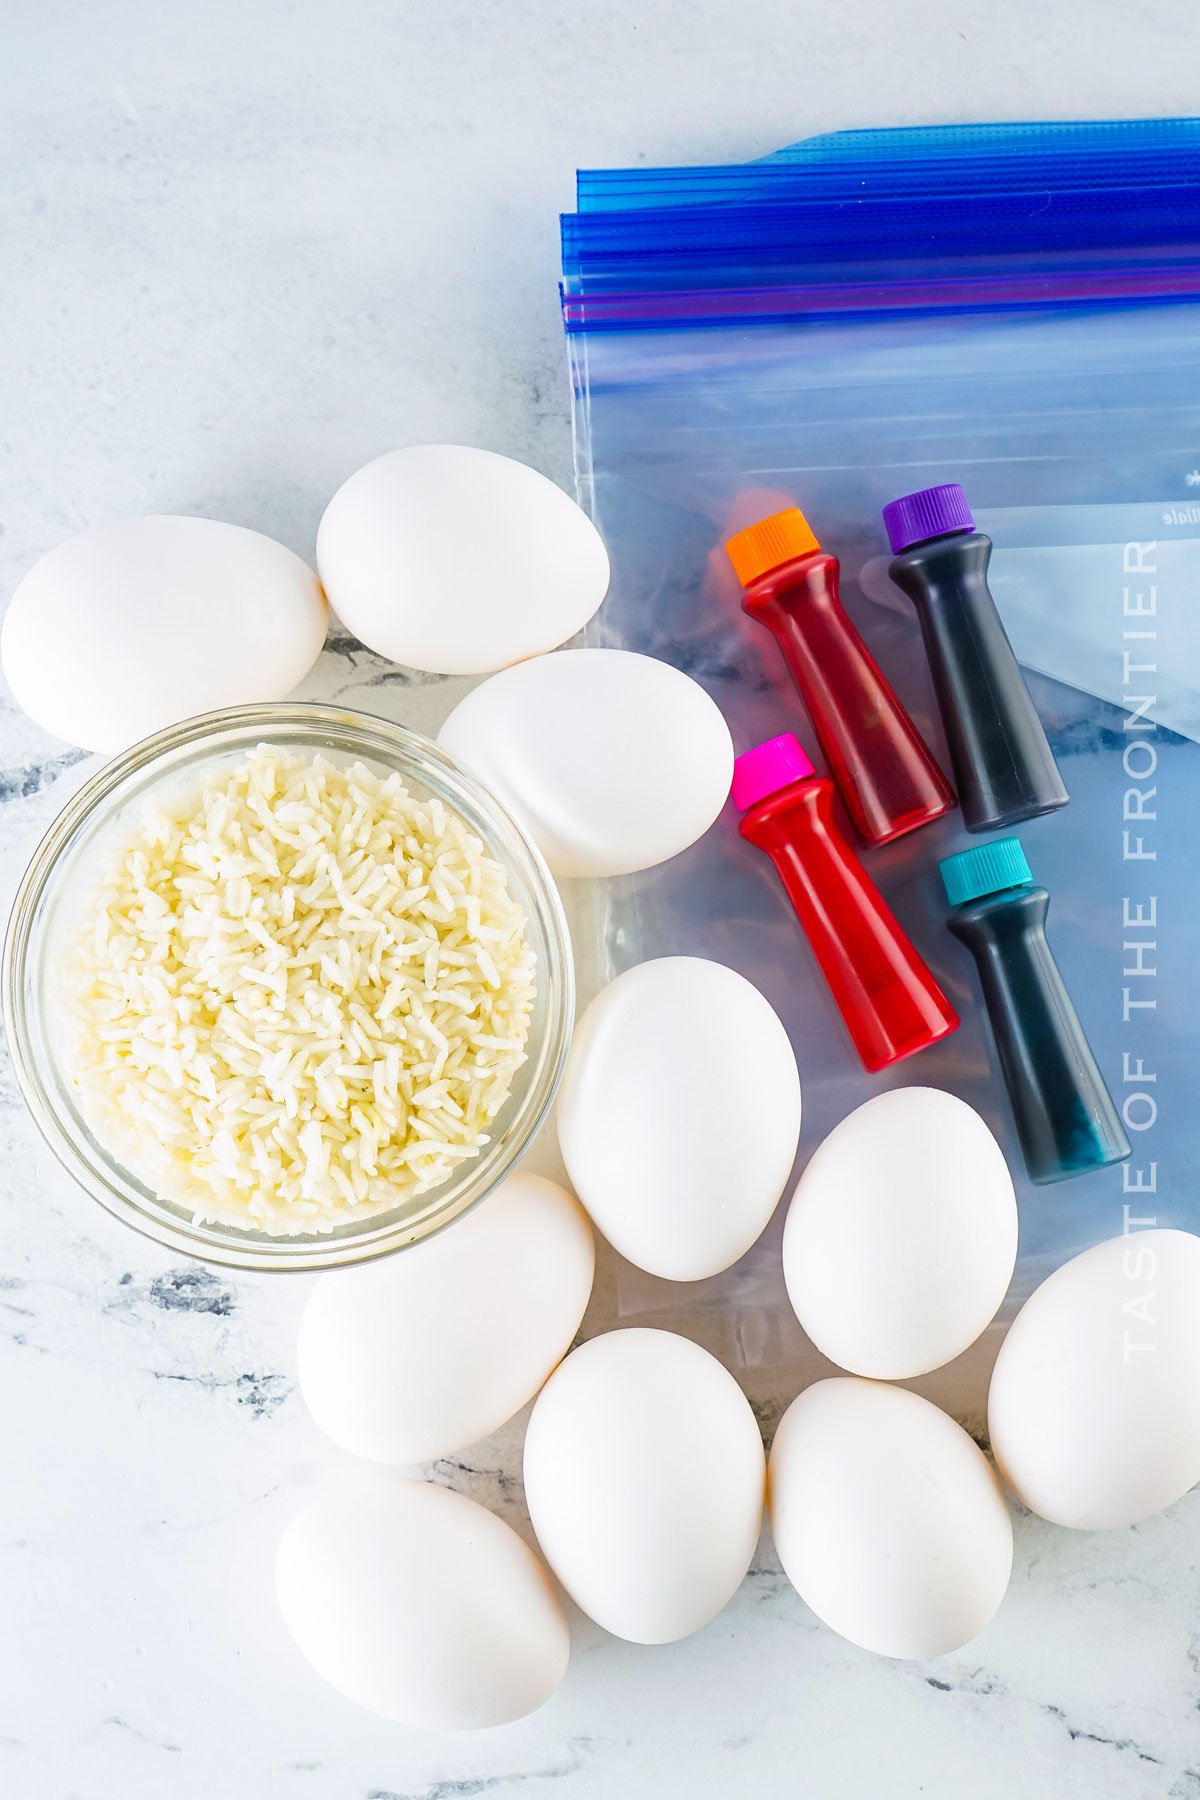
Ingredients
- White Rice (uncooked)
- Food Dye (liquid)
- Hard Boiled Eggs
Kitchen Supplies You’ll Need
Just a few simple supplies is all you need for this fun egg-dyeing activity.
- Ziploc bags (quart size)
- Gloves (optional)
How to Make Dyed Eggs with Rice
This easy way to dye eggs is fast and fun!
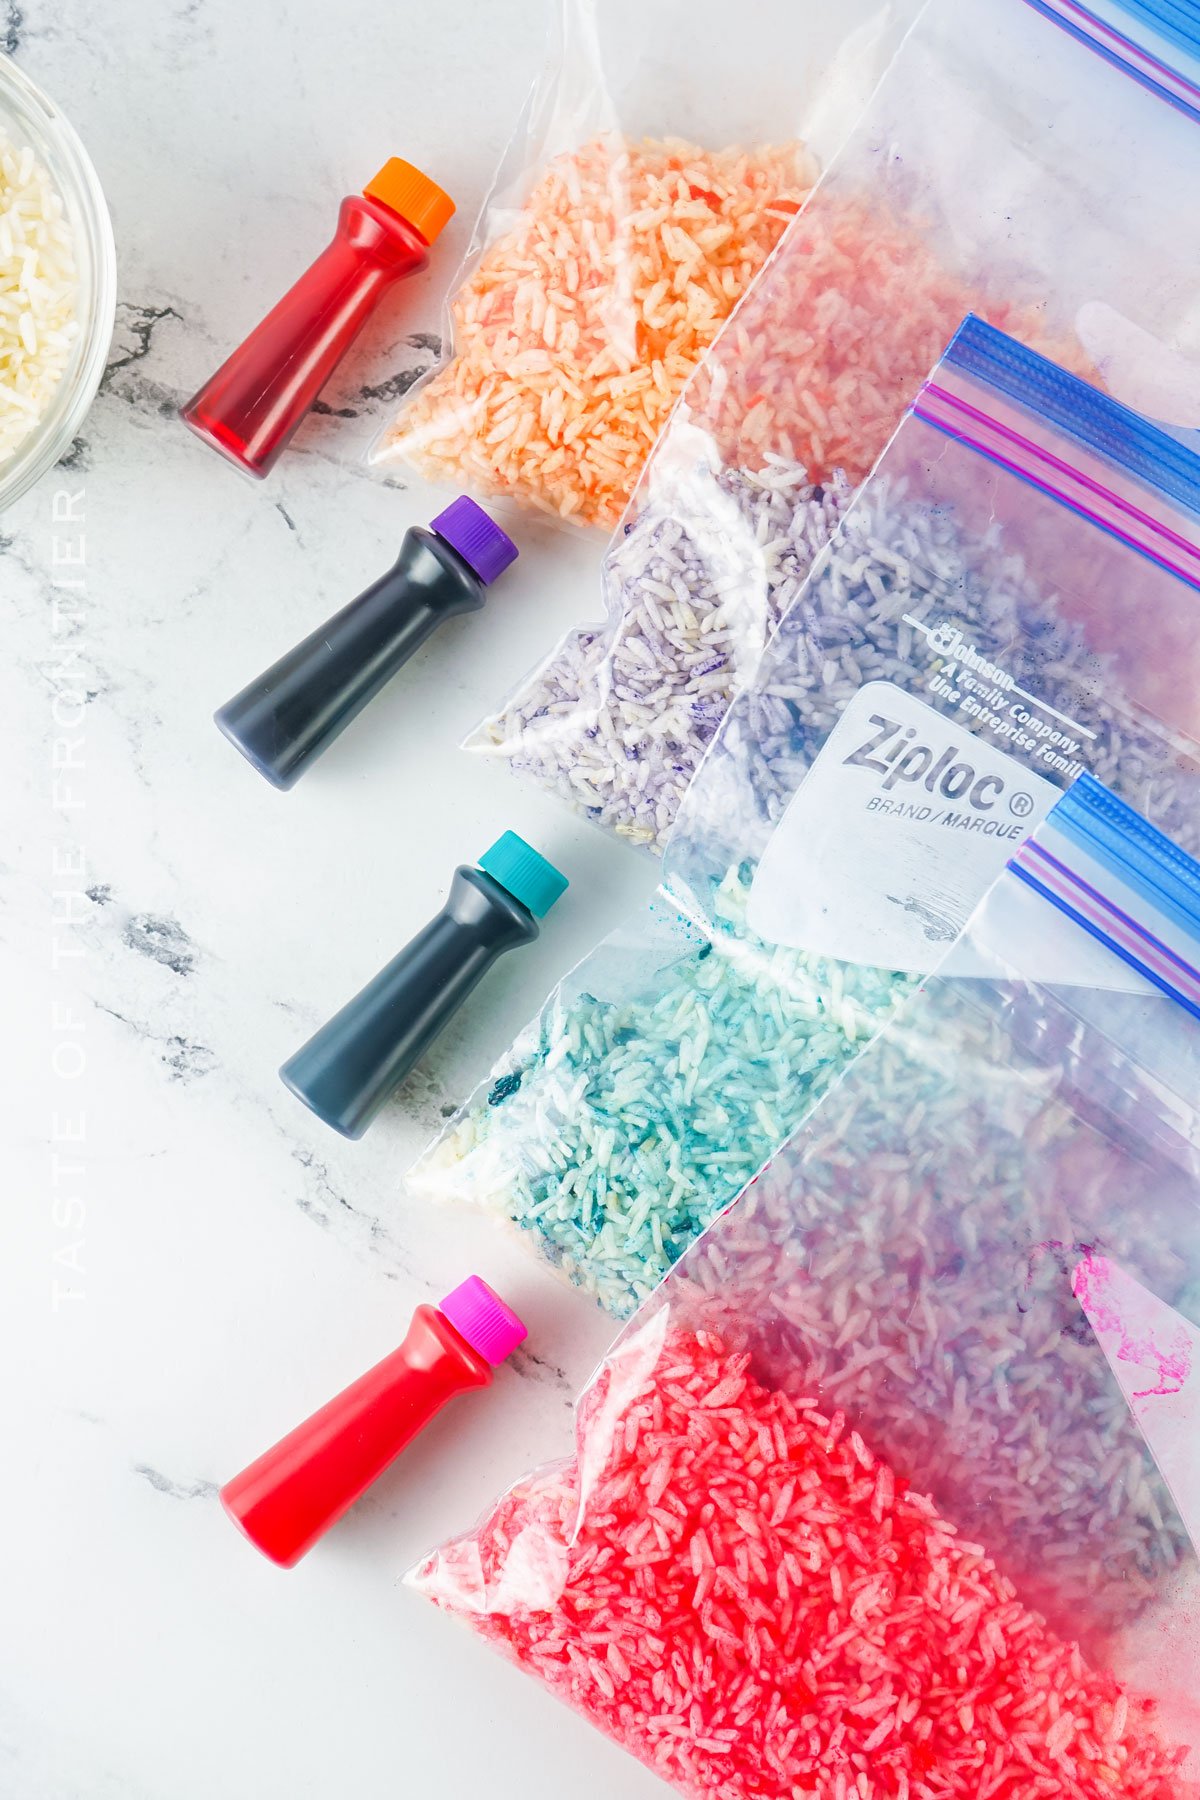
- Fill each bag with uncooked rice (there should be as many bags as there are colors that you intend to use).
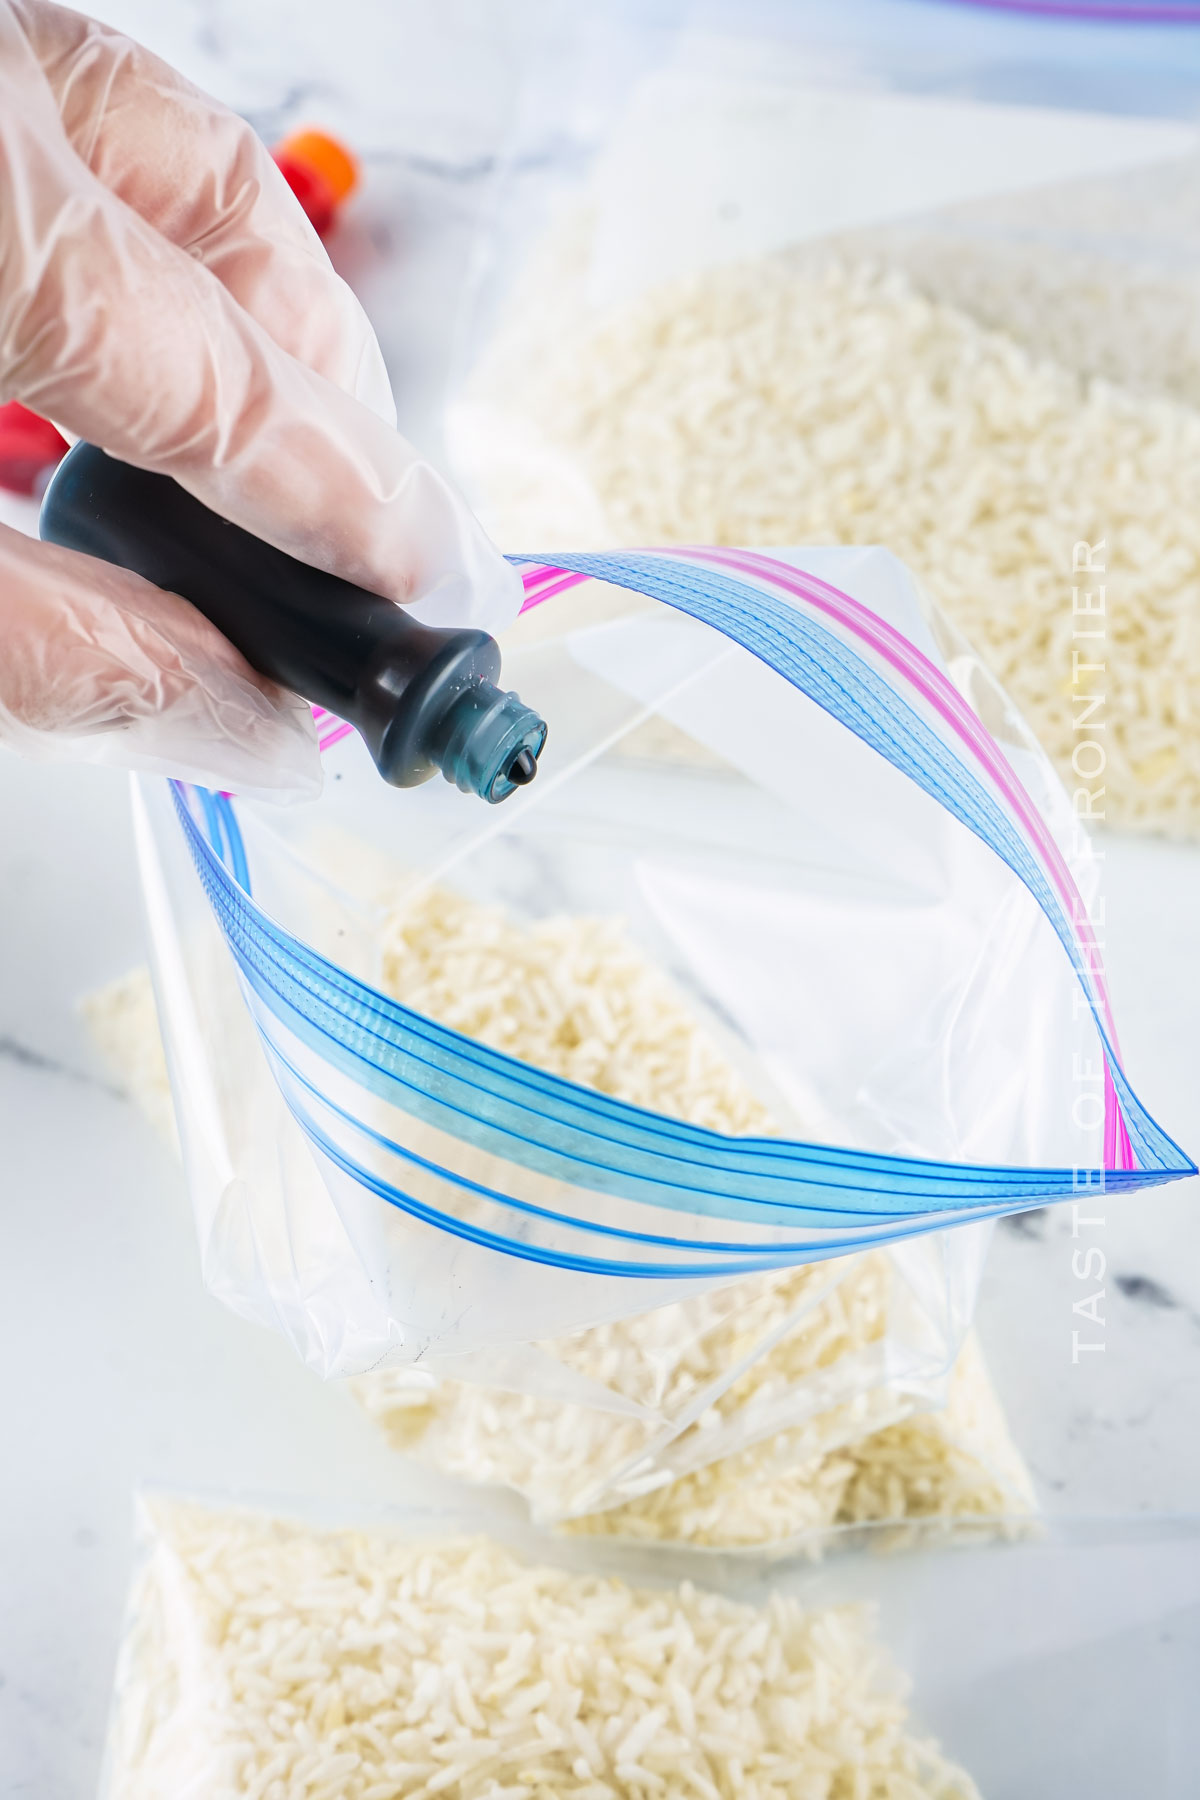
- Add each of your desired colors of the liquid food coloring to each bag.
- Seal each bag while pressing to remove the air.
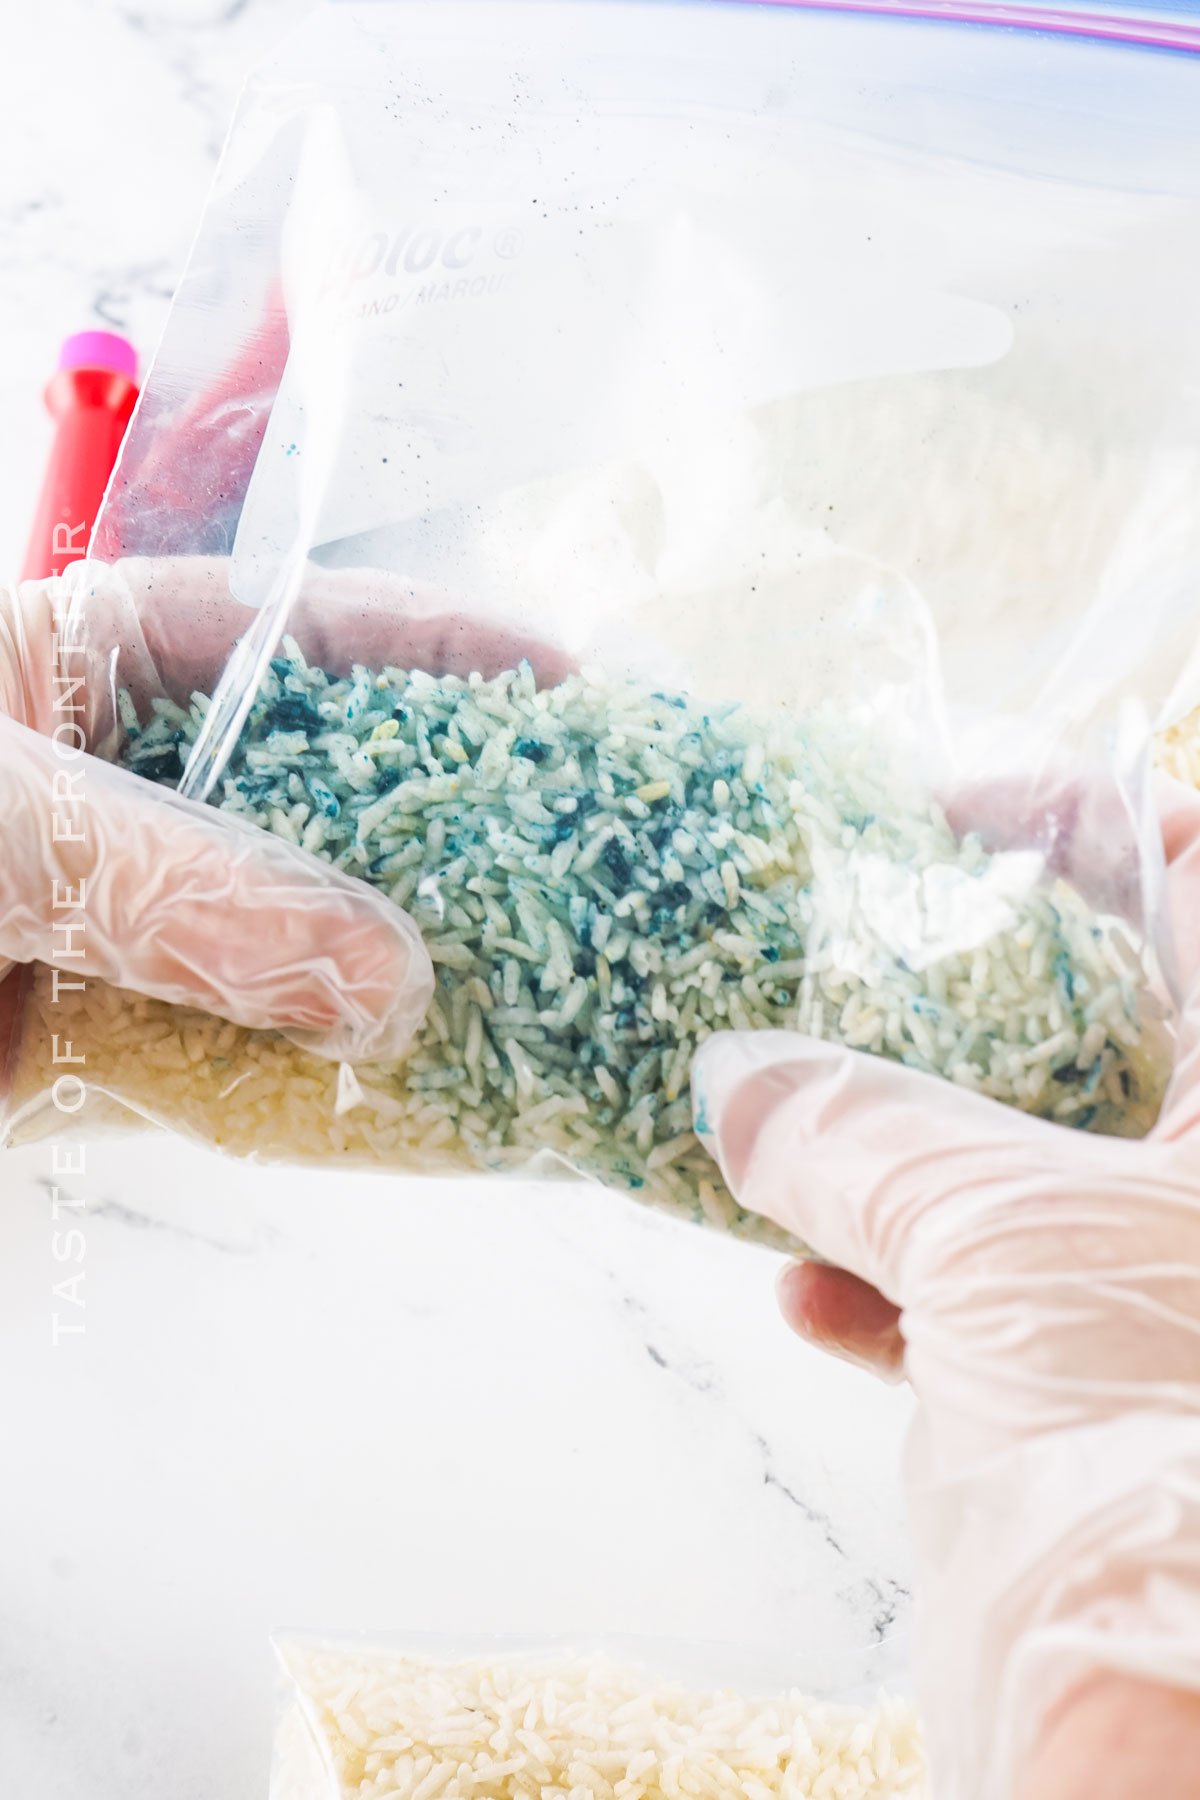
- Distribute the dye on the rice by squeezing the bag until the dye is fully distributed.
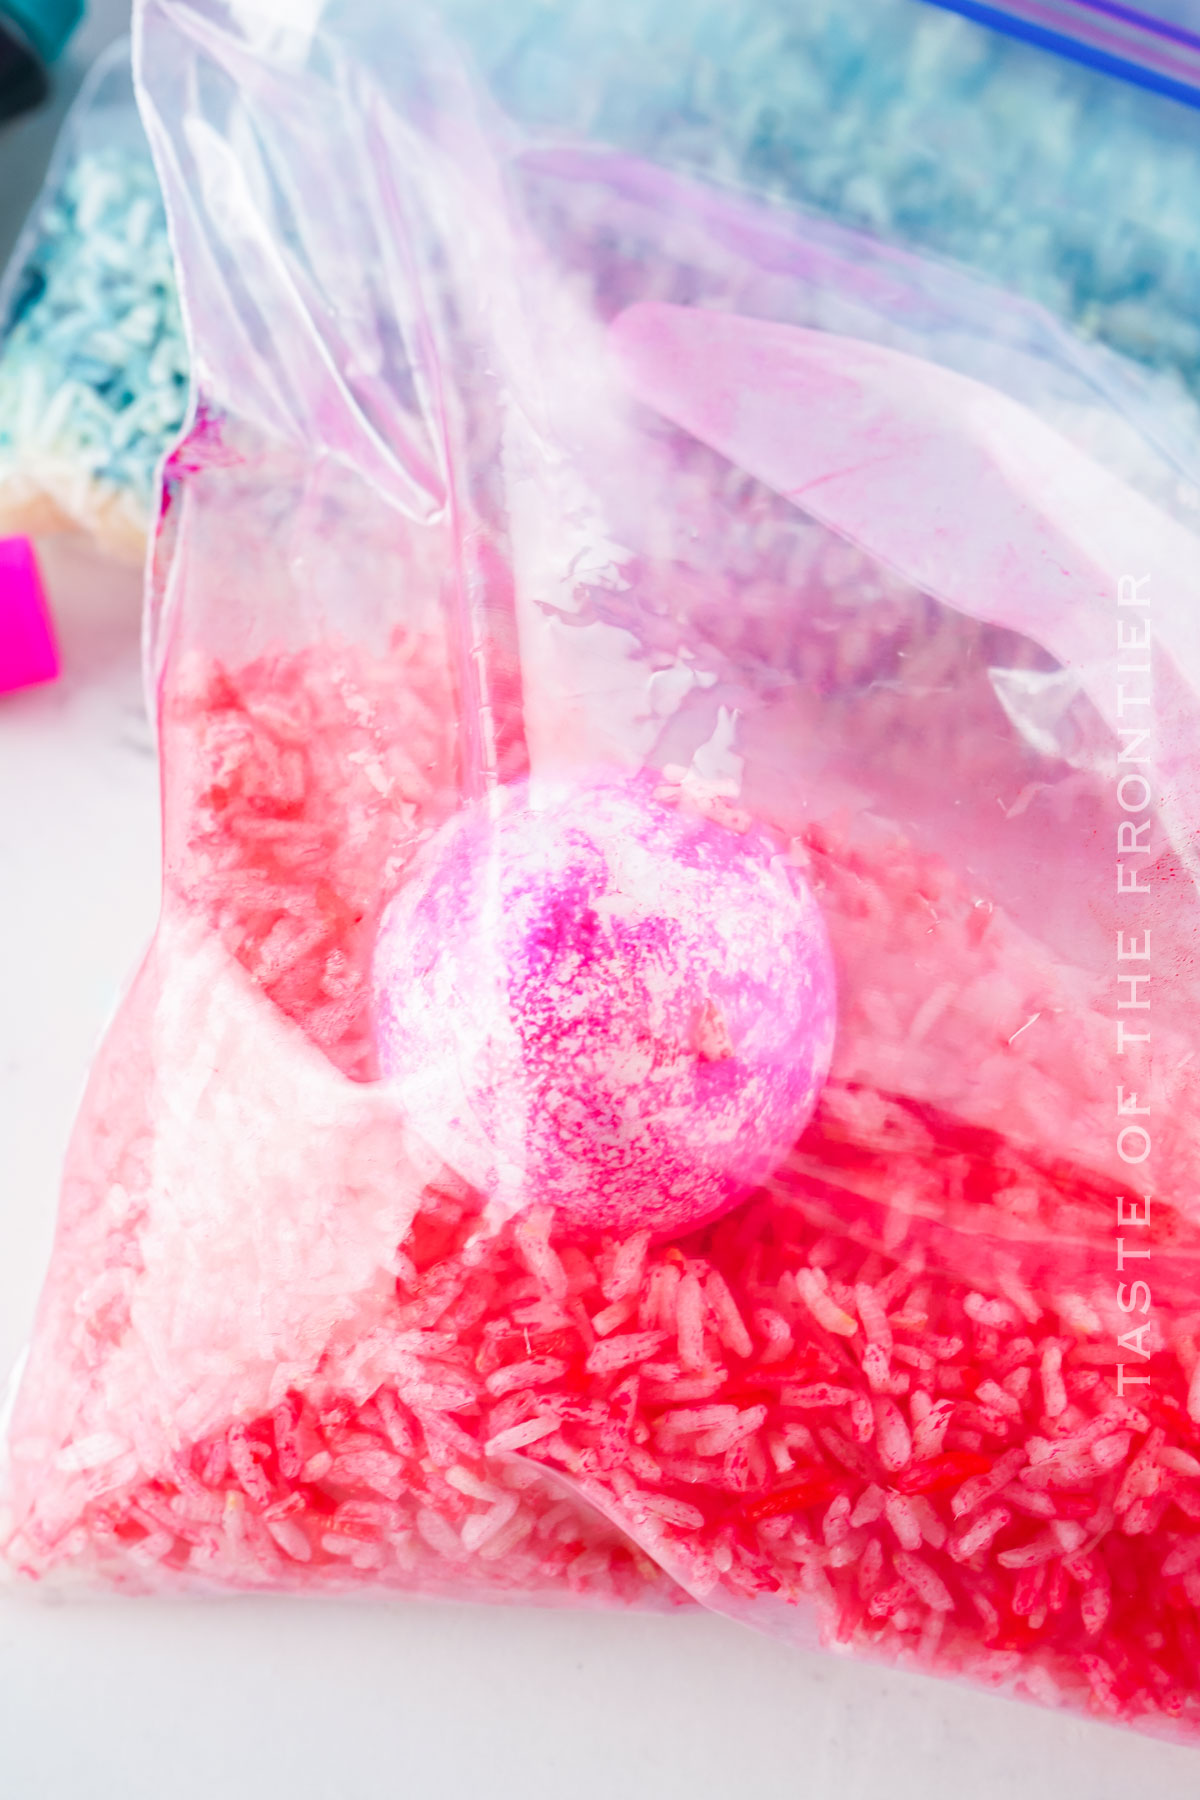
- Place one hardboiled egg at a time into a bag.
- Seal the bag and remove the air again.
- Gently work the rice around the egg for a couple of minutes until you are pleased with the color.
- Either place the egg in a second color or set the egg aside and move on to the next egg.
Why You Should Make Rice-Dyed Eggs
If you like colorful eggs, you’ll love this creative version.
- Fun – This hands-on activity is a fun way for kiddos to dye eggs.
- Less mess – Since the colors are contained in the bag, and you may choose to use gloves, this method is a great way to cut down on cleanup.
- Pretty – The unique design will wow the kids and your guests.
Variations and Add-ins
Since this is such a straightforward process, there aren’t a ton of ways to change this activity up but here are a few ideas.
- Cups – Instead of a plastic bag, use plastic cups. Cover with Saran Wrap and shake gently.
- Colors – Experiment with different colors in one bag or use neon colors for unique and vibrant colors and combinations.
- Repurpose – When you’re finished dyeing the eggs, repurpose the plastic bags of colored rice by using them in a sensory bin.
- Colored eggs – Instead of all white eggs try using brown eggs as well.
- Natural – You can make your own natural dyes at home instead of using food coloring.
- Rice – You can use brown rice instead of white as long as it is not cooked.
If you love this easy recipe to Dye Eggs With Rice, you’re going to love these other Easter ideas too. Please click each link below to find the easy, printable recipe!



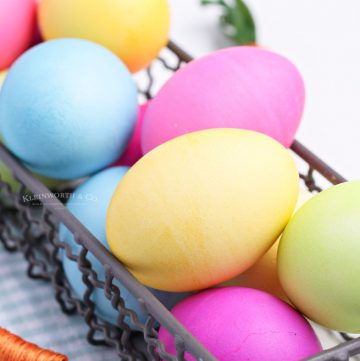
Recipes that Use Hard-Boiled Eggs
If you love this recipe for Dying Eggs With Rice as much as I do, please write a five-star review, and be sure to help me share on Facebook and Pinterest!
CONNECT WITH YUMMI HAUS!
Be sure to follow me on my social media, so you never miss a post!
Dye Eggs with Rice
Ingredients
- White Rice – uncooked
- Food Dye – liquid
- Hard Boiled Eggs
Instructions
- Decide how many colors you’re going to make and have one bag for each color. If you’re using gloves, this will be the best time to put them on.
- Place a cup of rice in each bag. It doesn’t have to be exact; you can just estimate it if you don’t feel like measuring. Just don’t put too much in the bag. About a ¼ full.
- Place four drops of food coloring in each bag. Only one color per bag.
- Remove air from the bag and seal it before squishing the rice all around until the dye is distributed.
- Be sure the eggs are dry and not at all wet before choosing placing the egg in the one of the bags.
- Remove the air and seal the bag before gently moving the egg around in the colored rice until you are satisfied with the color distribution.
- Remove the colored egg.
- Set the egg aside to dry or place it in a second color if you want to get more creative with it.
Notes
- The more rice you add to the bag, the more dye you’ll need.
- If you get a few eggs in and the color isn’t adhering to the eggs as much as you would like, add a couple more drops of dye to the rice and try again.
- I used gel dye, but I’ve had luck with water-based dyes as well. Avoid oil-based dyes as they tend to not grab onto the shell as well.
- This works for farm fresh/brown eggs as well, the dye will just appear less saturated or in some cases, darker.
- I’ve used minute rice and regular rice and both worked, although I liked the minute rice more.
- Brown rice should work as well if that’s what you have on hand.
- You can do multiple colors, one after another. Just give it a couple of minutes to dry in between colors for the best results.
Equipment
- Quart-Size Resealable Bags
- Latex Gloves (optional)
Nutritional information for the recipe is provided as a courtesy and is approximate. Please double-check with your own dietary calculator for the best accuracy. We at Yummi Haus cannot guarantee the accuracy of the nutritional information given for any recipe on this site.


Share Your Thoughts