Drawing with Light
It’s really quite simple & the kids will have some summertime fun.


But before I get in to the tutorial I have to share with you this image I captured of the fields around our house. This is after all Project 52- so I need to share with you an image that was taken this past week 🙂 I just love the golden tones of this particular shot.
Okay- so now on to the fun stuff. First thing- you are going to need a tripod or some other steady surface to set your camera on because your shutter is going to be SLOW.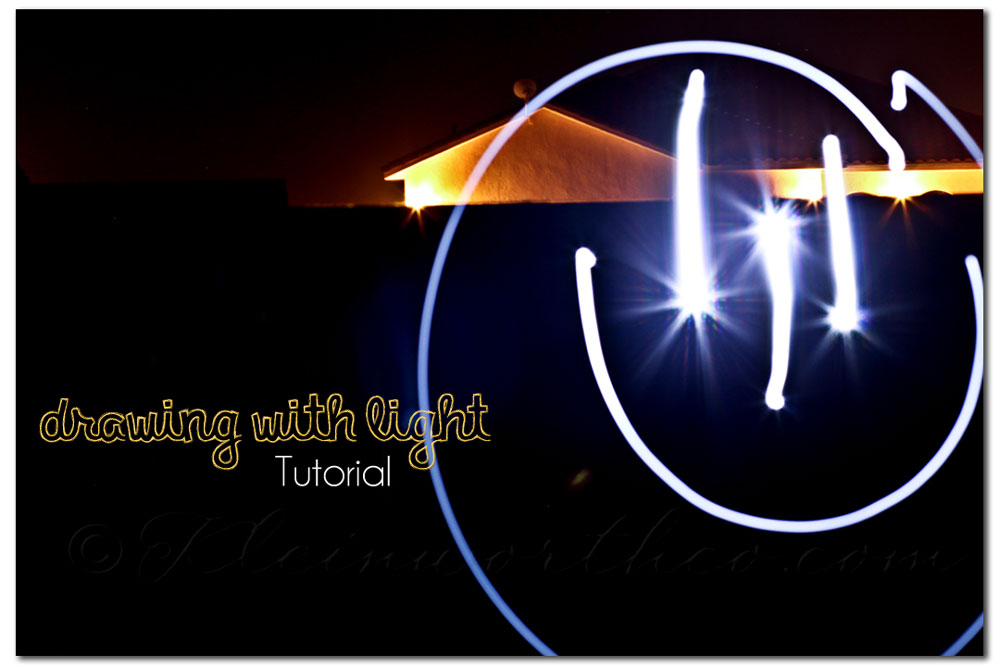
For point & shoot style camera- choose the night or fireworks setting. You will have less control over the length of time your shutter stays open unless you have a manual setting & can follow the same settings as listed for DSLR. The key here is to not have a super deep depth of field so that you are keeping the people drawing out of focus. The shutter speed will depend on how much you want in the shot.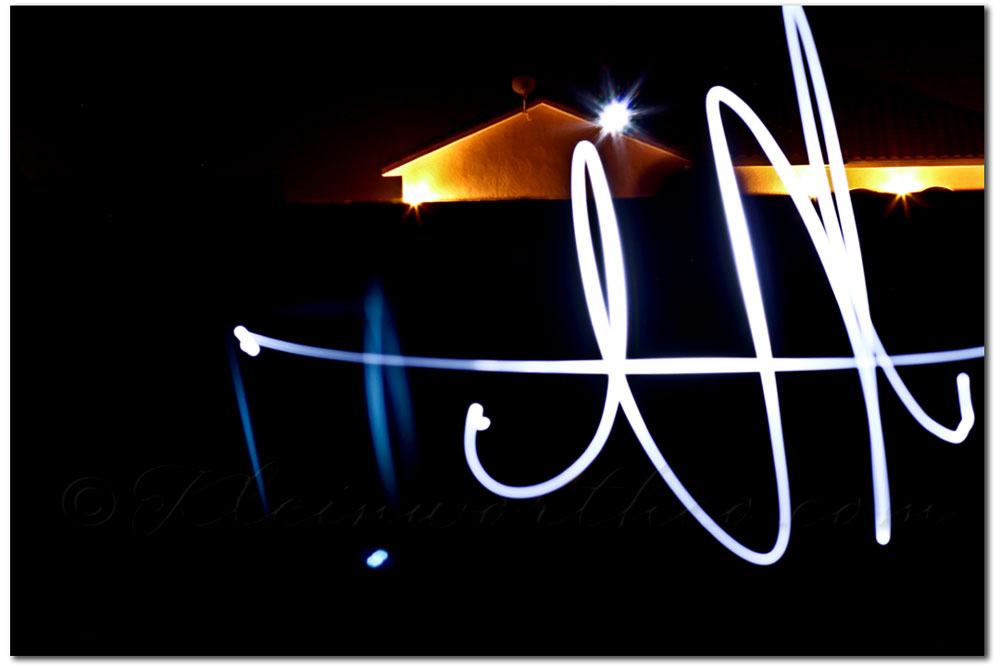
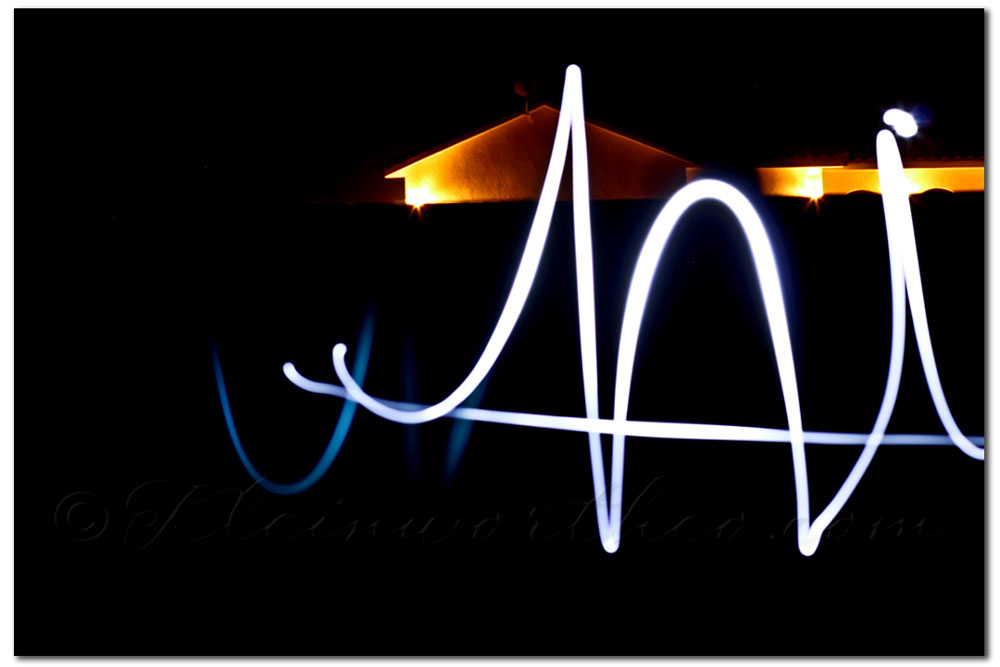
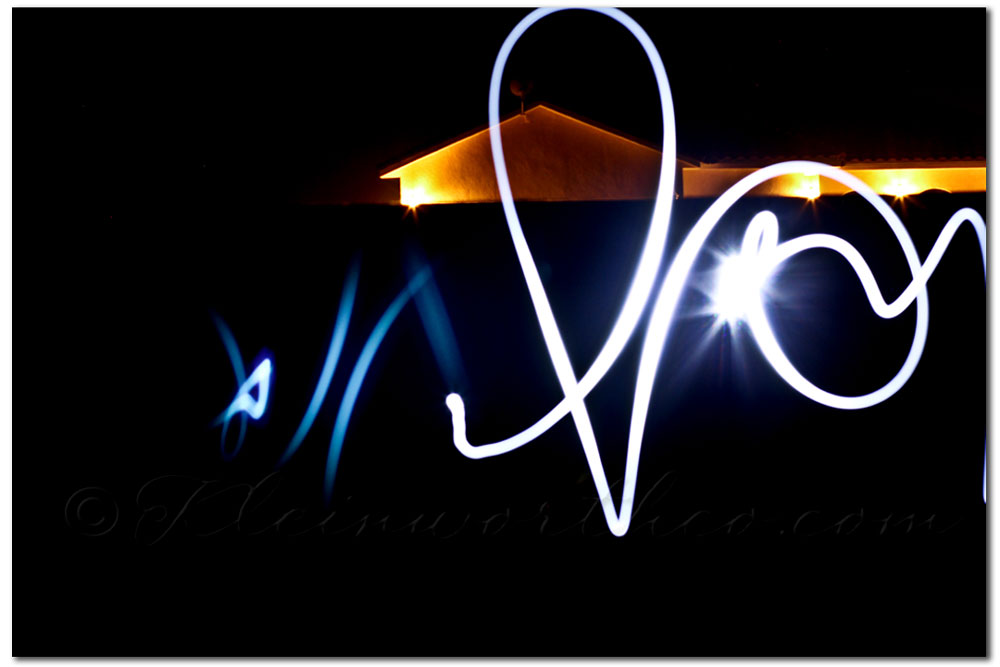
Then we turned out the lights. I gave the countdown- when I said “GO” I pressed the shutter button & he clicked on the light- drew what he wanted to & then clicked it off when he was done. I found that even with the longer things he wanted to write- 15 seconds was more than enough time & we had extra time where the shutter was hanging open a lot of the time. So I just started adjusting the shutter speed accordingly.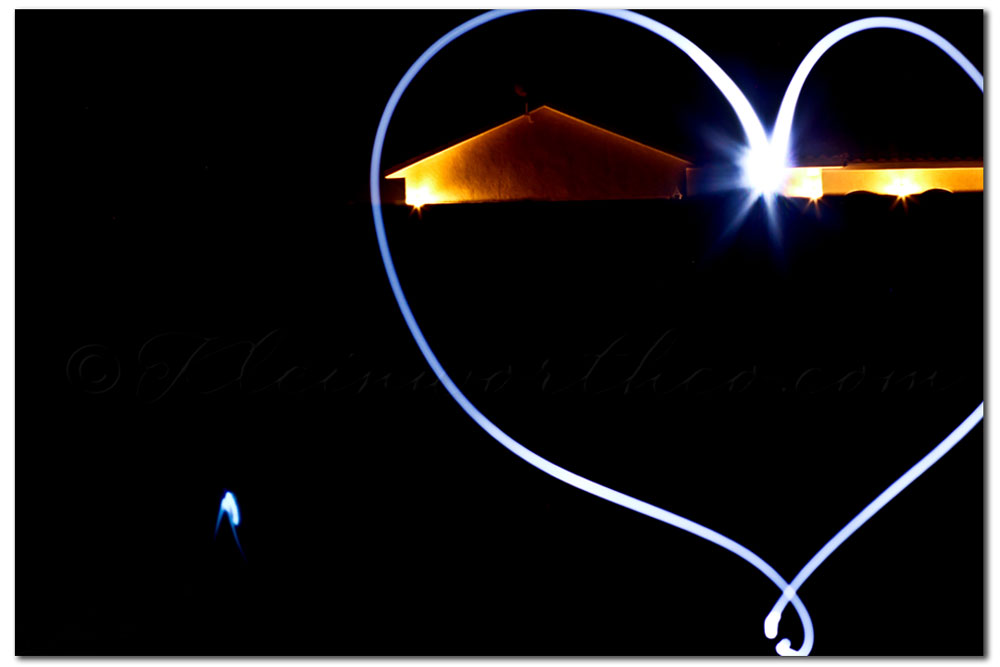
OR- you can just flip the image in Photoshop if it’s too hard for them. My son liked the challenge of writing backwards.
If it’s too light out where you are – like it is for me (doesn’t get really dark until 10-10-:30 here in the summer) then you could do this in a dark garage.
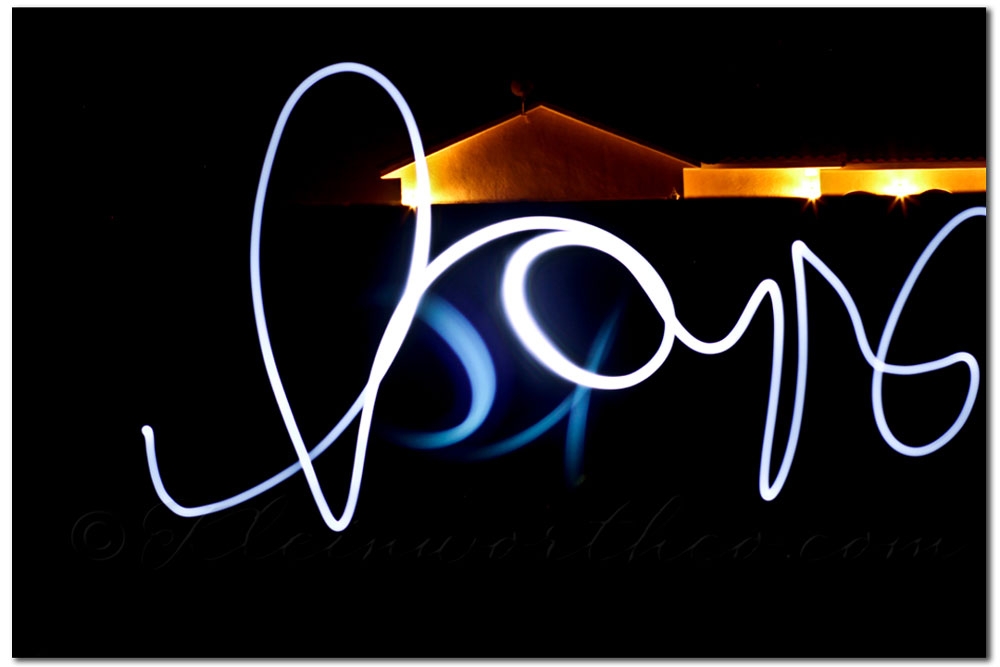
That makes it even better in my book. I think I only sharpened these & sized for the web.
Give it a try- the kids will laugh until they are aching.
The P52 Details
* Post 1 photo or as many as you like each week on Mondays.
* The button or text link should be present in your post- but not absolutely necessary.
* Please visit some other blogs & leave some love & encouragement.
* Submit the URL of your blog post – not your home page.
Project 52

Grab the button HERE
To see where I am linking today- visit HERE
[jetpack_subscription_form]



Share Your Thoughts