Creating your own DIY Shiplap Fireplace is simple. For a farmhouse or beach house, it adds charm & character to your space. It was so easy & I’m in love.
It’s nearly time to start decorating for the holidays. I know! So what’s the one place that gets a whole lot of attention come holiday season? Yep- the fireplace. Ours was boring & needed something more. Some of you know that we built our house & moved in 2 years ago. It’s a track home but we were able to get a floor plan & location that fit all of our needs for the right price. We absolutely love it but miss the charm of an older home. Since we are beginning DIYers we knew we wouldn’t be able to handle a fixer upper just yet. So adding character to a new home was more our speed.
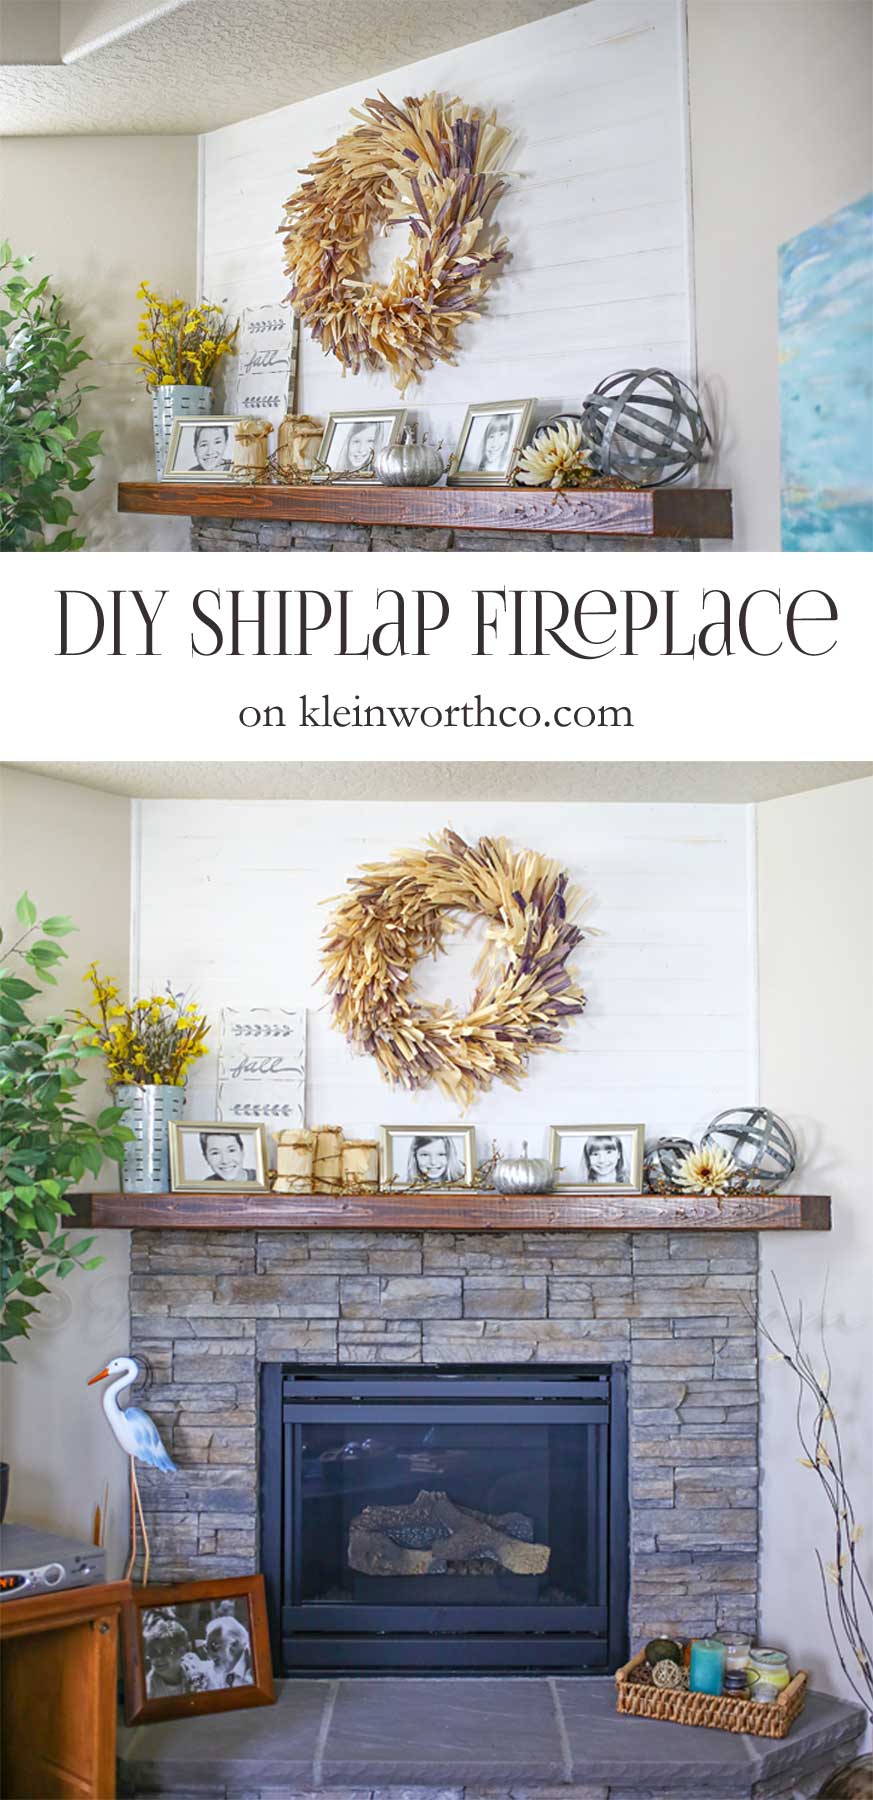
DIY Shiplap Fireplace
One thing that is ever so incredibly popular right now is shiplap. I love it & I feel that it’s perfect for the beachy feel we have going on through our home. So I have all sorts of plans for where I want to add it. You see, we may live in North Idaho, but this So Cal girl still has the beach running through her veins & I like to surround myself with things that remind me of home. So that’s where the decor comes into play. But anyhow, back to the shiplap. We decided that a good place to start with shiplap was above the fireplace. It’s a relatively small wall & figured it would give us a good idea on how it would go without biting off more than we could handle. We didn’t know what to expect. I know all you experts at DIY are giggling- but for us- this was nerve-wracking. Doing any sort of change to a perfectly new space that didn’t “need” anything was scary for us. What if we messed it up? But we jumped in & today I’m sharing how we did it.
This post contains some affiliate links. Click here to read my full disclosure policy.
Materials:
Planks (we used Pattern Stock Cedar Tongue & Groove Board -1 in. x 6 in. x 8 ft.)
Finishing nail gun
Finishing Nails
Blue tape to mark the studs – or you can just pencil them on the wall
Trim piece
Wood putty
Sanding block
Caulking
Interior Eggshell Paint (Ultra Pure White)
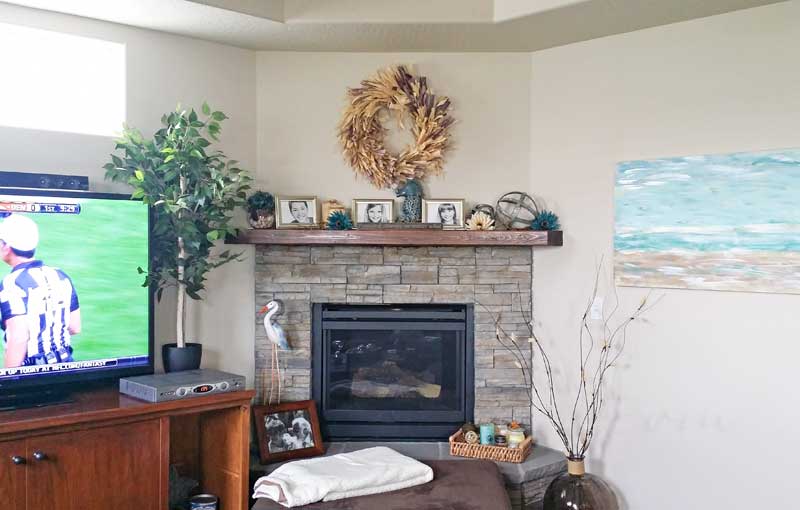
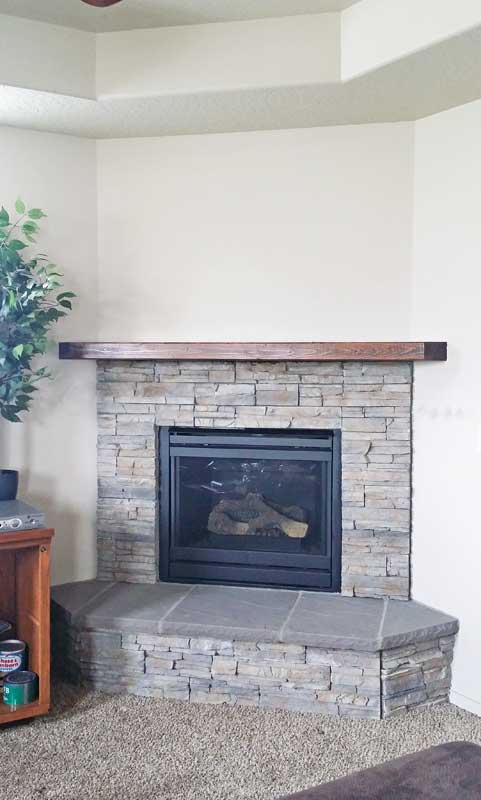
First – I have to say, we did this project a year ago. It was actually supposed to be a sponsored post but then the brand couldn’t get with the program. By the time they had made a decision- this was out of season. So I’m finally able to share this project today. Here is the before. I have basically been so busy working on other projects around here since moving in a year ago that this is how my fireplace has looked since we first started decorating the house. It’s okay – but it was lacking UMPH. Yep- that’s my word. It needed a little kick to really pull it out.
So I cleared everything off to get going – this is the basic fireplace. I have to say- I’m so happy we decided to spend the extra $3500 to have it added to the house. It really makes the room feel cozy. However, it still wasn’t giving me the impact I was hoping for in the room.
DIY Shiplap Fireplace
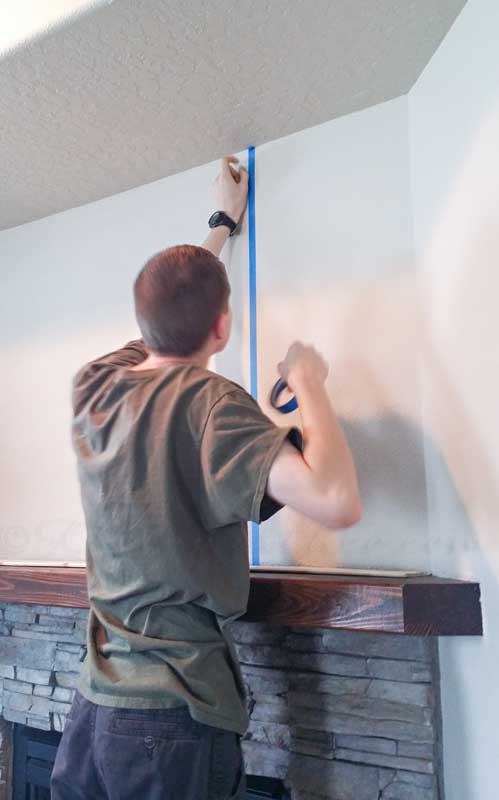
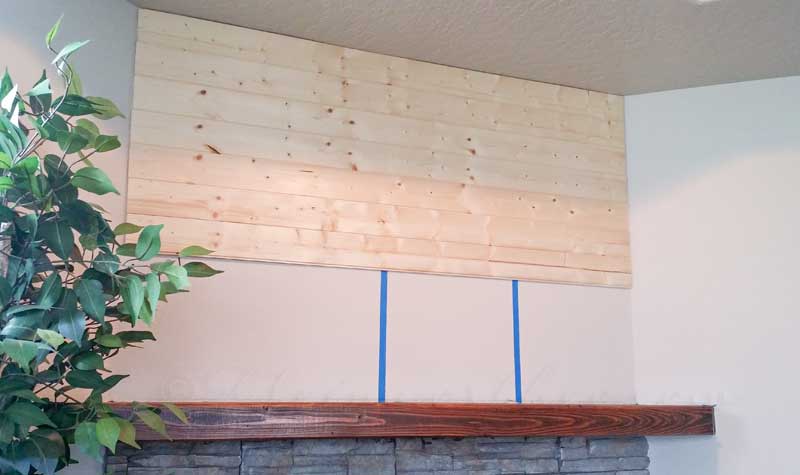
We started by adding blue tape to mark the studs. I figured that it would be covered & it would make it so much easier to see when nailing up our boards. I utilized my lanky son to get up there to the ceiling so I didn’t have to. 🙂
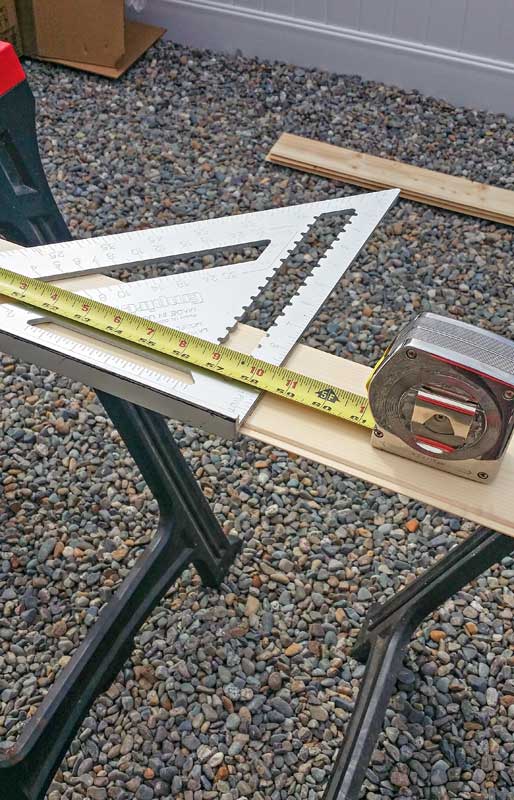
Measure, measure & measure again before cutting your boards. I didn’t want to be stuck in a predicament. So I measured like crazy before taking the saw to anything.
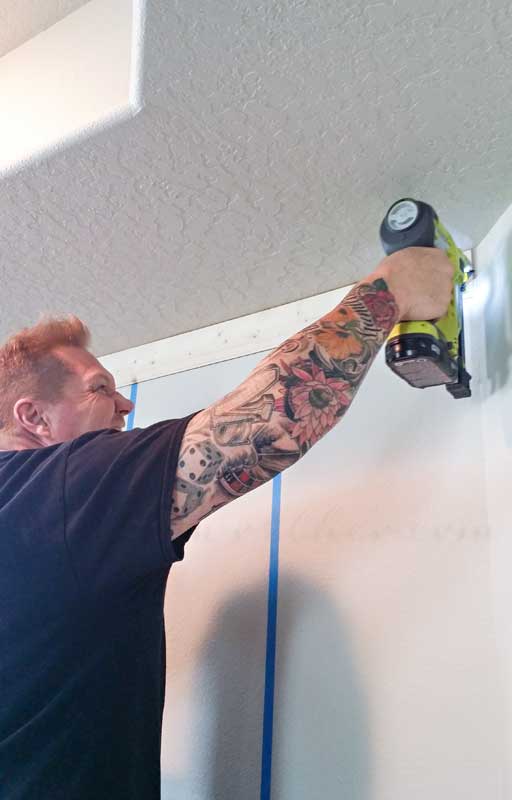
Cut your board to size, we started at the top & use your finishing nails to attach at the stud marks. We picked up a nail gun with the internal compression because we knew we would be doing a whole lot more projects in the future & it would definitely be a great investment. You can however just use a hammer & finishing nails & it would be just fine as well.
DIY Shiplap Fireplace
This is how it looked half way through. Don’t get me started on the stud placement. Yes, I know they aren’t center – this is because of the internal components of the fireplace. I even went back to my images from the construction process to check placement – they are actually like that. Drives my OCD into overdrive – but the builders didn’t really know about that.
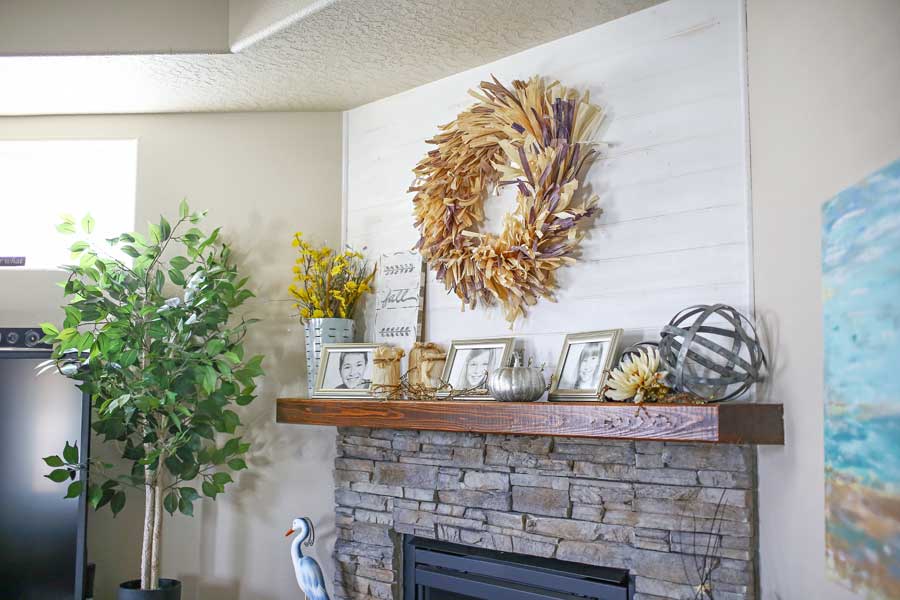
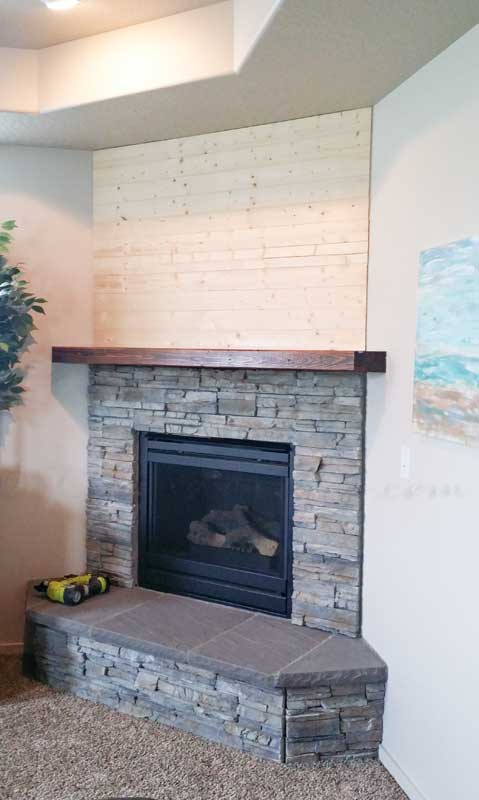
Here it is with the planks installed.
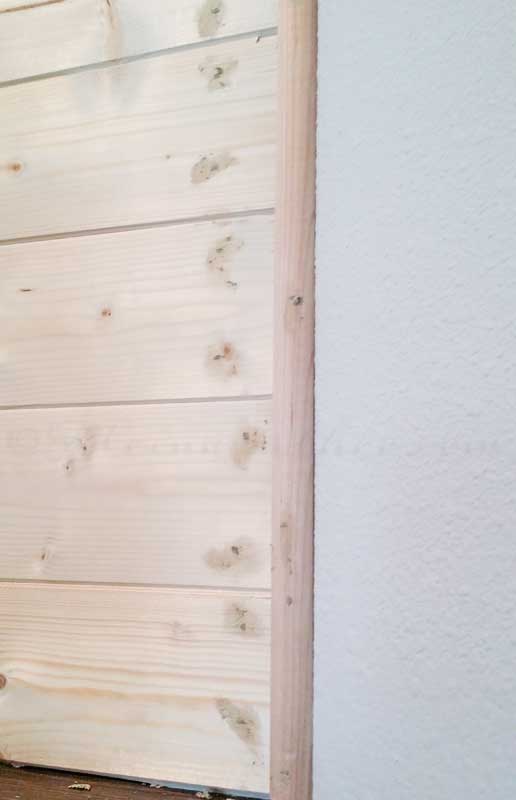
We added trim to make it flush with the wall. Then filled the holes with the wood putty & sanded smooth once dry.
Then we caulked all around between the wood & the walls. Waited for it to dry & then continued on.
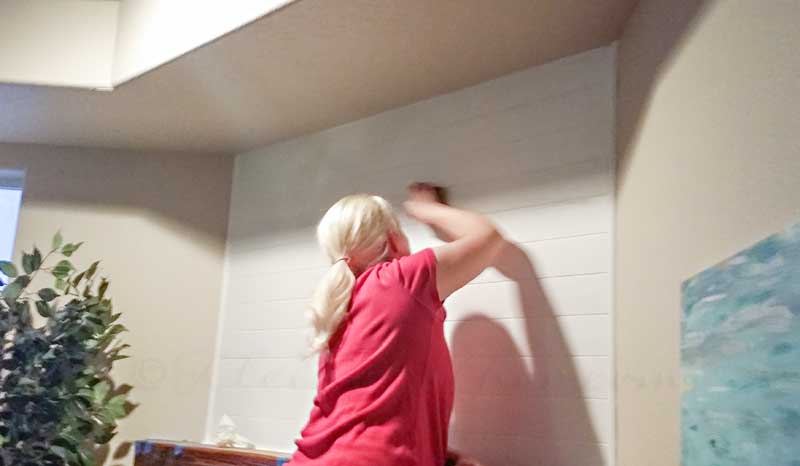
Then we taped it off & gave it 2 coats of paint. We took a sanding block to it to give it a little distress. We like things showing some character. (look there – my hair was still blonde there)
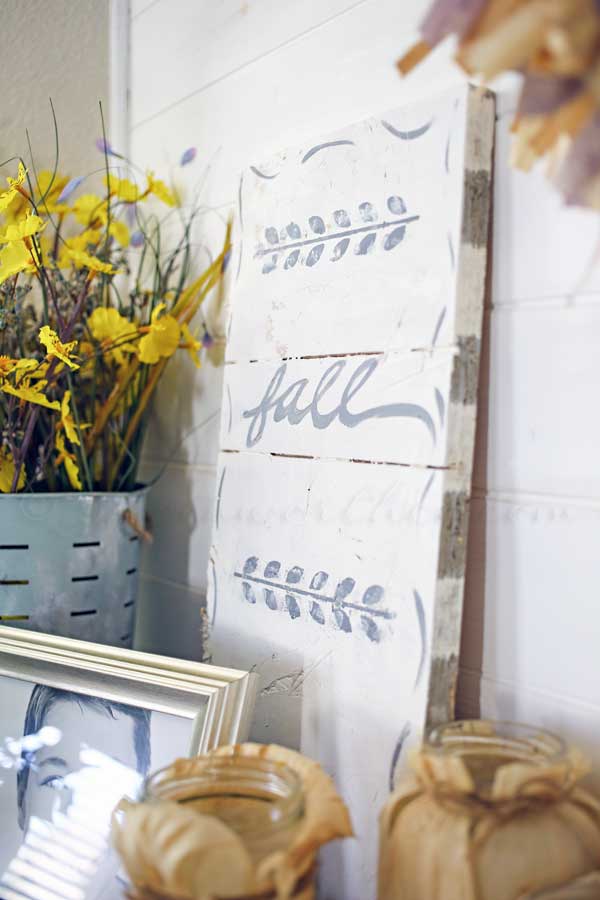
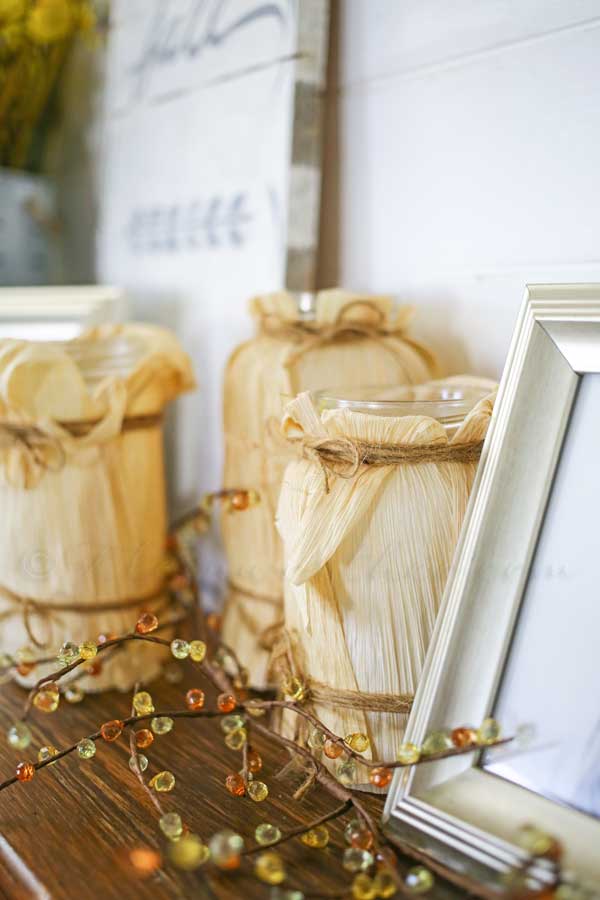
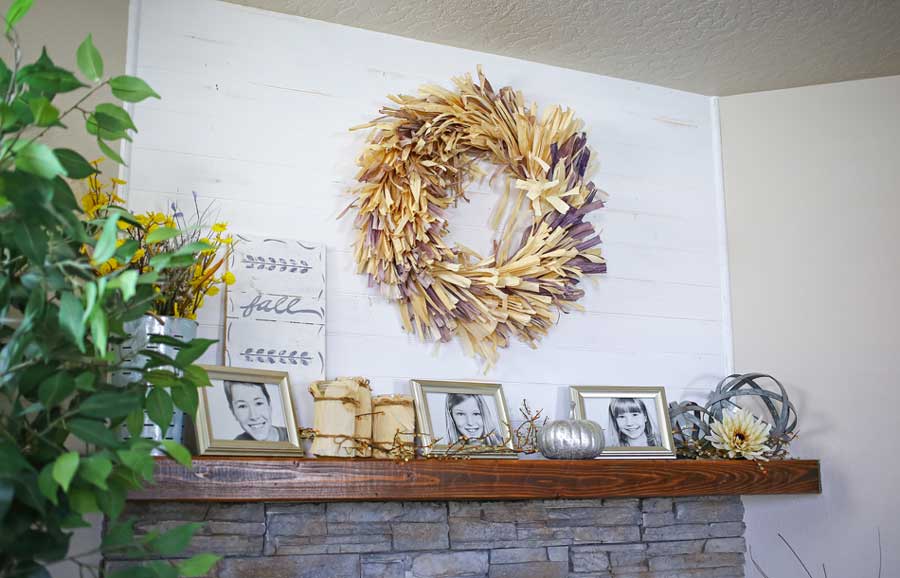
I had so much fun decorating for fall when it was all done. But back to being scared about messing things up- once we were ready to hang the wreath I was apprehensive again about putting a hole in our new planks. But I just had to get over myself & do it.
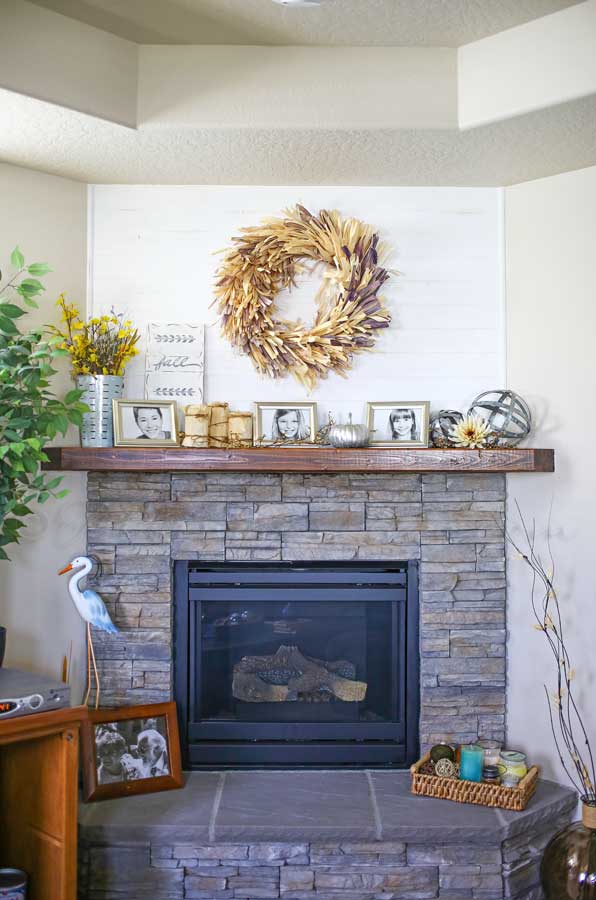
I love the softness it lends to the room & I can’t imagine how we lived without it like this for as long as we did.
I just love how it turned out. It was inexpensive & simple to do.
If beginning DIYers like us can do this – you can too!
Looking for more projects from our home?
Don’t miss these great ideas from these bloggers….
How to Install a Plank Wall in a Bathroom from Blesser House
DIY Ship Lap Wall from Right Up My Alley
To see where I am linking today- visit HERE



I love it!!! So snazzy.
And I see you as way more than beginning DIYers!
Looks so good! Adds so much character to the space and warms it up tremendously! PS the wreath look so so as well! Great JOB!!!
Hi Gina, What a nice addition to your fireplace! It looks great! Well done! Blessings, Janet
LOVE LOVE LOVE the shiplap above the fireplace. I recently did a project very similar using the same wood material and I Loved the wood paneling as shiplap it worked perfect! yours looks beautiful!
Love your fireplace. I wish my house had one. Maybe someday I will get one 🙂
Love your shiplap fireplace! It looks so pretty!