Miracle-Gro & Bonnie Plants sponsored this easy DIY garden project, but all thoughts and opinions are my own!
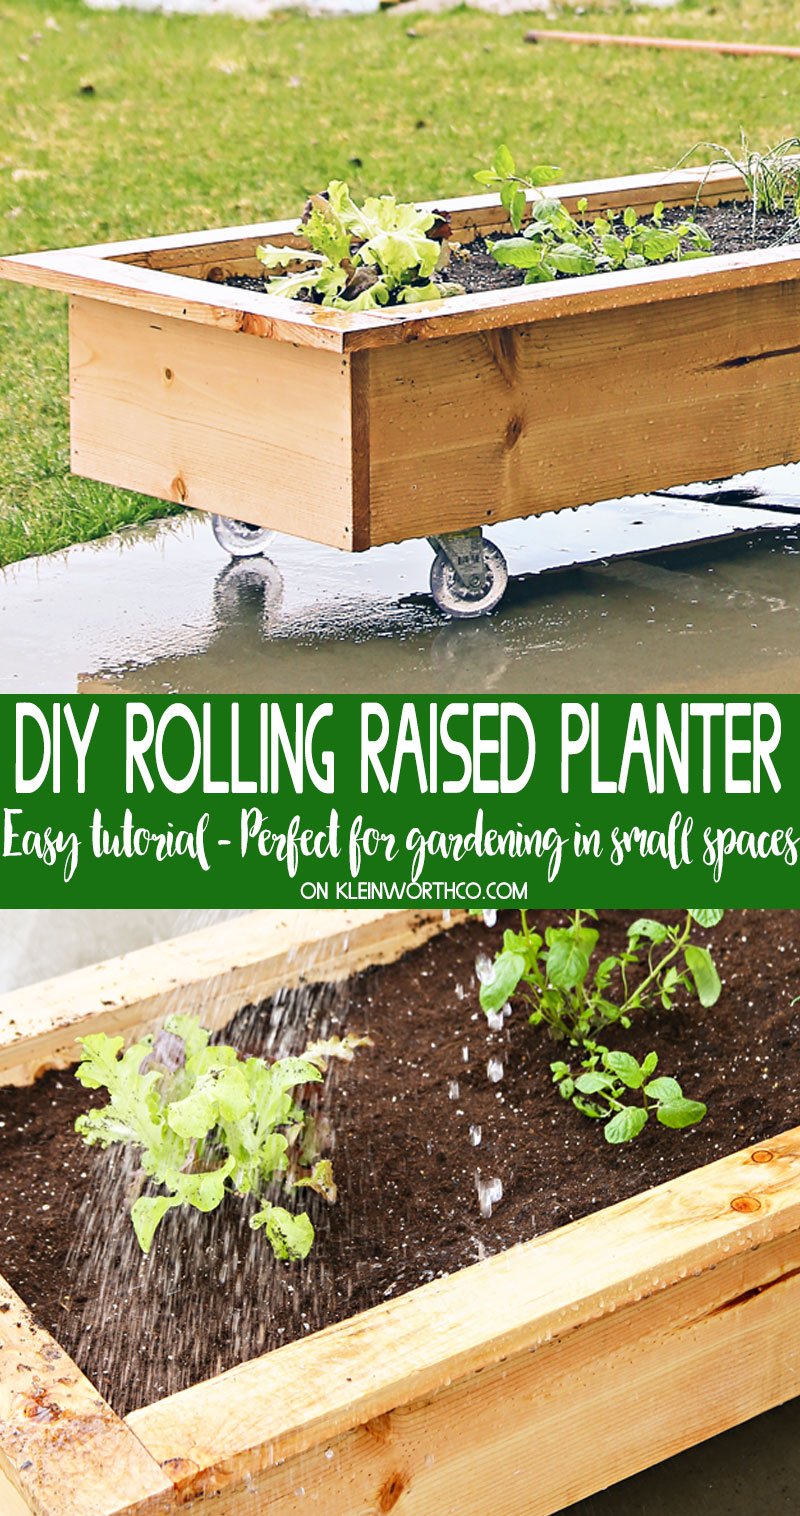
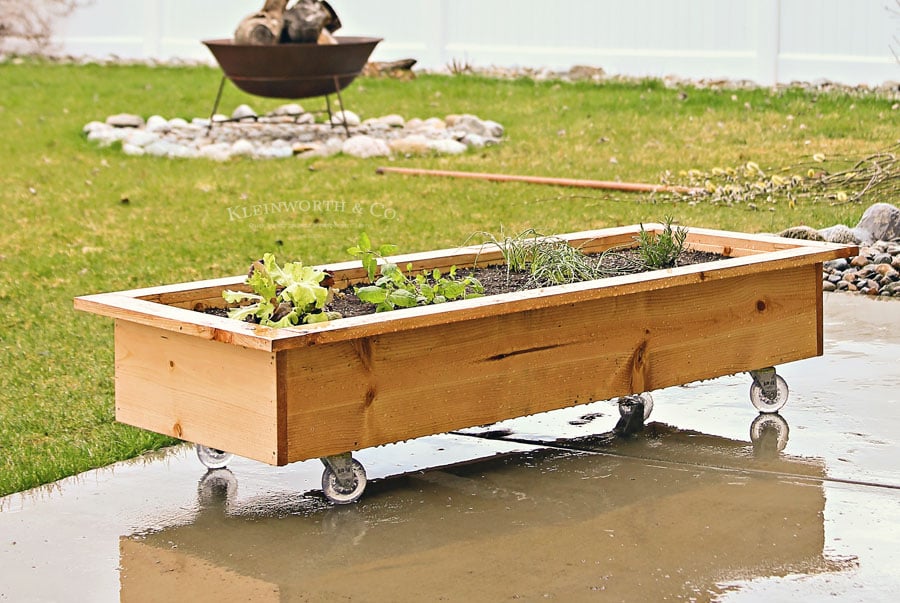
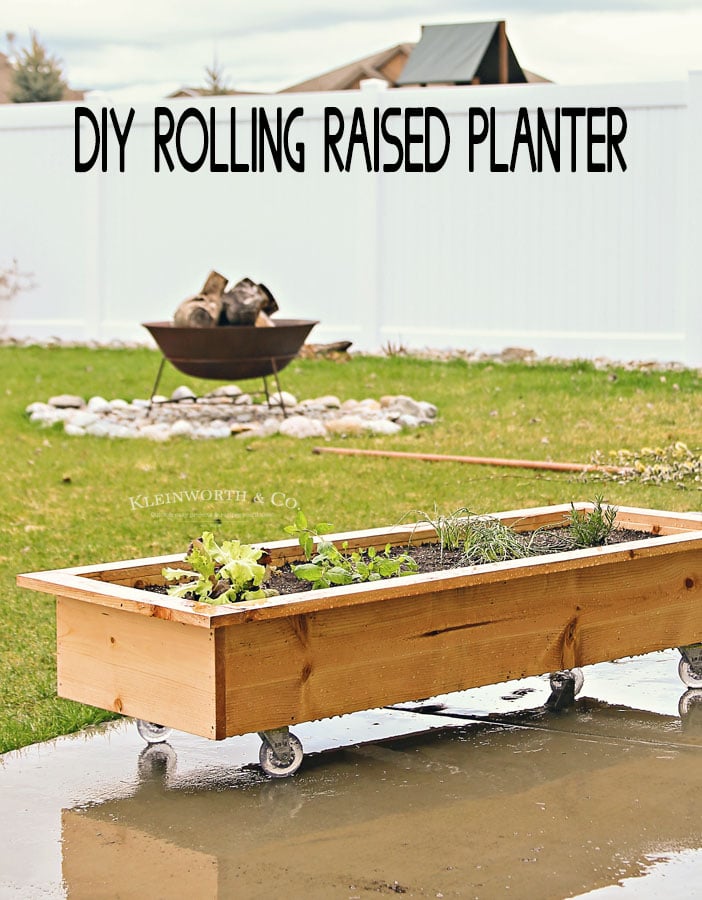
This DIY Rolling Planter Box is a simple & easy home project. With a handful of supplies & a couple hours, you can make this DIY Raised Planter Box for your garden. Check out this tutorial!
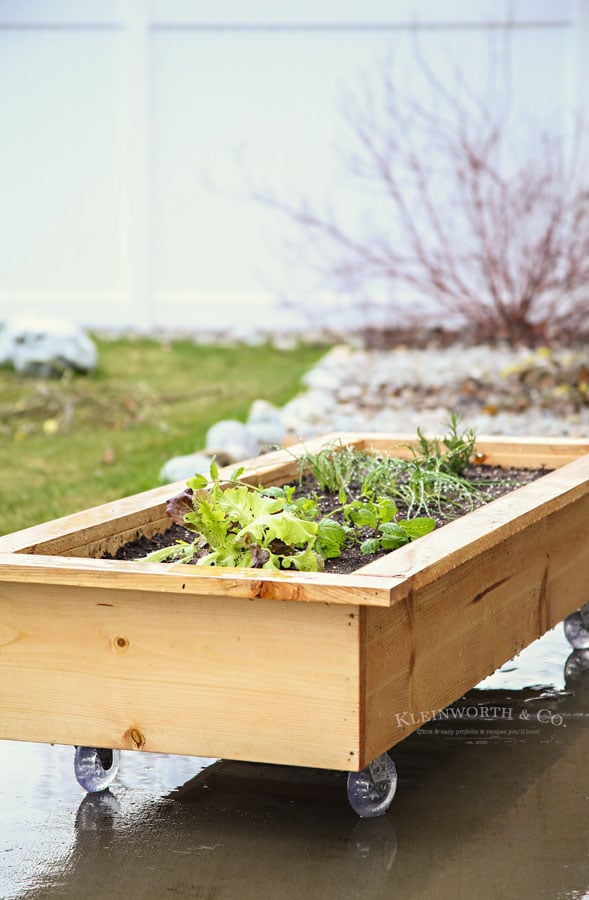
Even though the snow is still flying on a weekly basis here in North Idaho (the calendar says it is supposed to be spring) we are in garden prep mode around here. Last summer I told the hubs that I wanted to make some raised garden beds. But knowing that we have a few other projects planned for the backyard & that plans change so much, I wanted to keep the boxes moveable. One day I left with my daughter for ballet, and when we got home, we found he had made us this SUPER AWESOME DIY Rolling Planter Box that I just had to share.
DIY Raised Planter Box
This post contains some affiliate links. Click here to read my full disclosure policy.
Now given that our weather isn’t great for growing things 4-5 months out of the year, I thought it would be cool to keep at least one of the boxes small enough that we could roll it inside for the winter. We already do this for our dwarf lemon tree, because North Idaho isn’t exactly known for being hospitable to citrus.
Same goes for other herbs & veggies. I don’t know of many things that like to grow in sub-zero temps. But I like having fresh ingredients when I’m plating our recipes to photograph. Things like fresh mint (as seen in this drink) & rosemary look so much prettier. So I’m going to love having a planter indoors filled with things I love through the cold months. But it makes such a nice addition to the backyard, too. Check out how the hubs built this box. (Find the recipe for this Blackberry Lemon Gin & Tonic here)
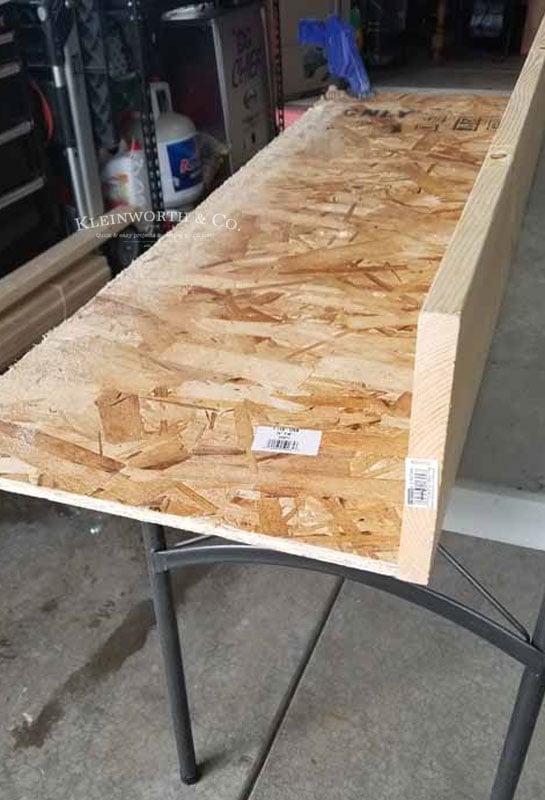
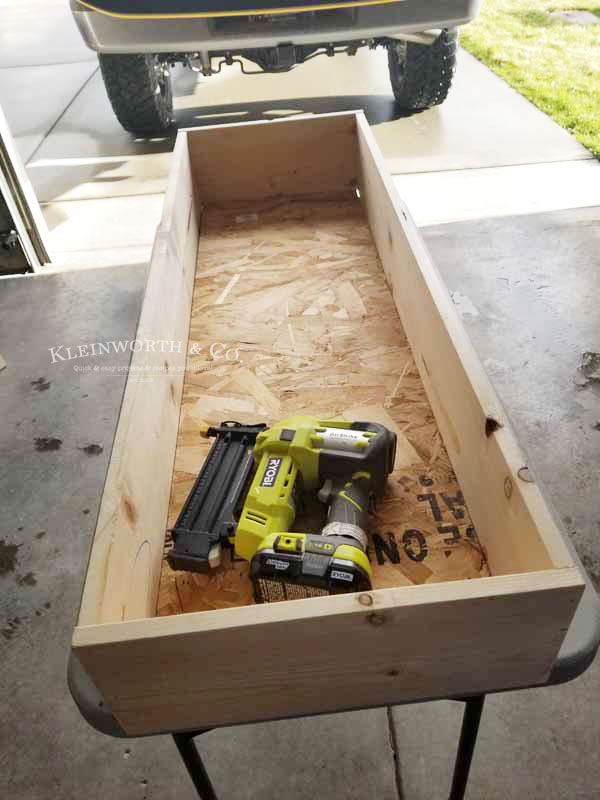
Start with a piece of plywood cut to the size you want your box to be. Then cut 2 – 1×6 boards to the same length & 2 more to the length of the short sides plus enough to cover the extra width of the long side pieces.
DIY Rolling Planter Box
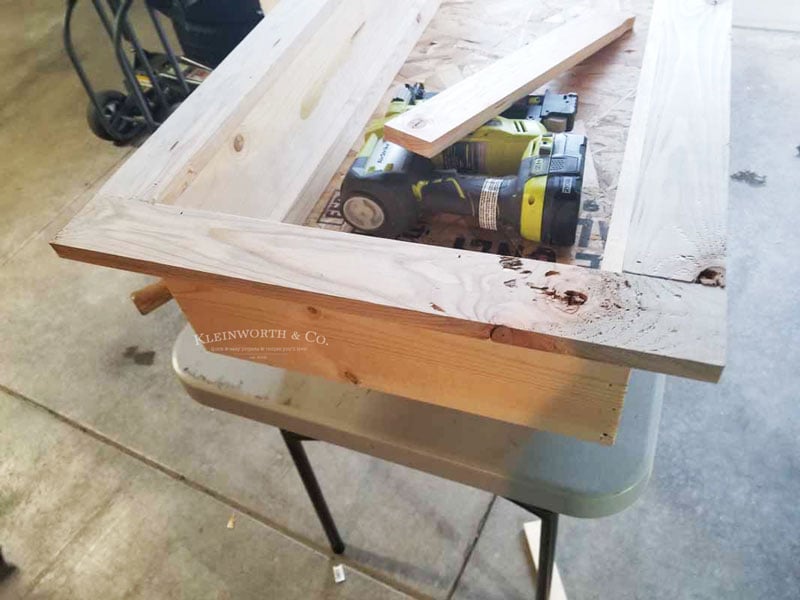
Building the sides first, around the plywood bottom ensures that the piece will fit perfectly. We used an 18-gauge finishing nail gun to secure the pieces together while we worked. After the pieces were tacked together, we added screws to make it more secure.
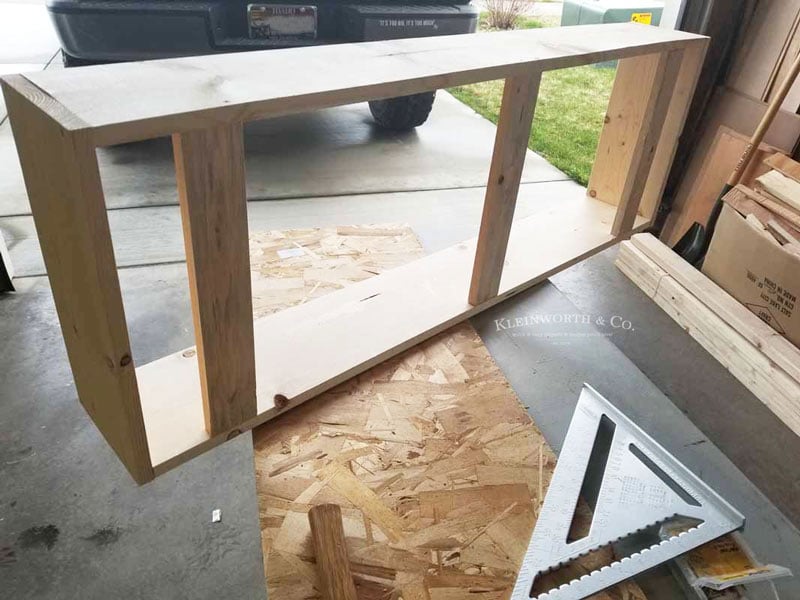
As you can see here, we now have the frame of the box. You will then add several 1×2 pieces between the long sides to support the plywood bottom. You can use the same method of tacking with finishing nails & then screwing into place.
How to make a Planter Box
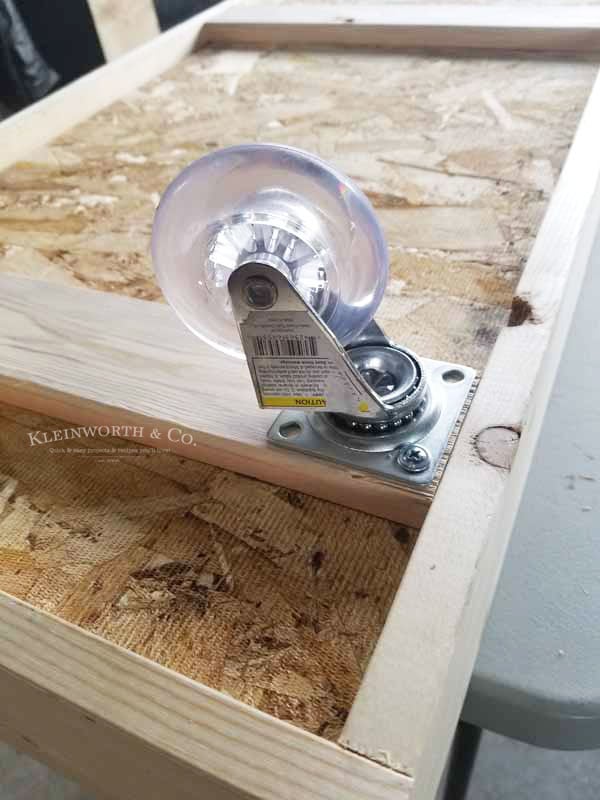
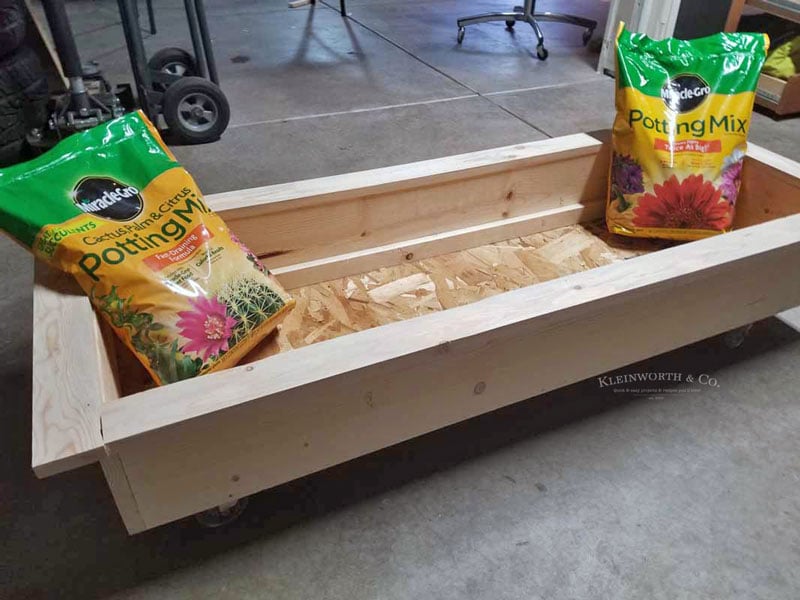
Add your casters of choice. We happened to already have these on hand when I changed out the wheels on my craft table in my studio.
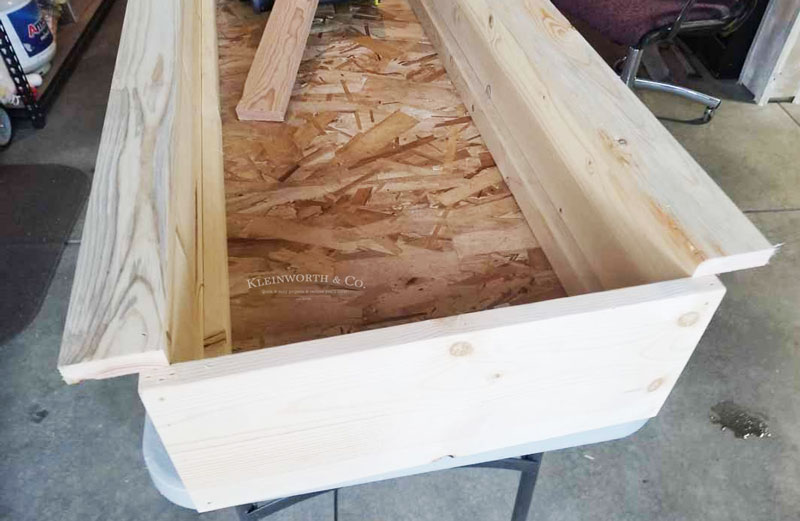
Place the plywood into the bottom of your planter. To make sure it is secure, nail in 2- 1×1 pieces cut to the same length as the long sides. At this point you could call it good & add some stain/sealant & be ready to plant.
Raised Planter Box
We wanted to add a bit more. For a decorative touch, nail on 1×2 pieces of trim around the top of the box, matching up the edges so that most of the board hangs off the sides & the inside of the box is still flush.
This is what the box looked like when I returned home from our class less than 2 hours later. We all really loved the raw look of the wood & debated staining it at all. I seriously considered just adding clear poly to it. I was so eager to add my Miracle-Gro Potting Mix & get my plants in the soil.
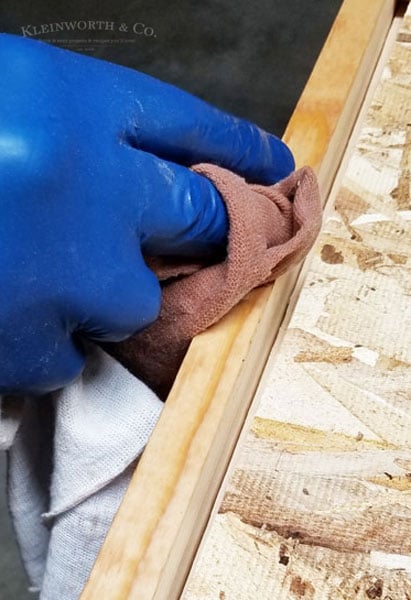
But after several days to think about it while I waited for the rain & snow to let up once again, I decided on this shade of stain. It was just enough to add some depth & definition to the grain of the wood. I absolutely love it. We made sure to add a couple coats of clear poly over it too. Make sure you do that, it is really important to make sure your boxes stay protected from the weather & watering. It is also a good idea to give it a fresh coat every year to keep them looking great for years to come.
How to make a Raised Planter Box
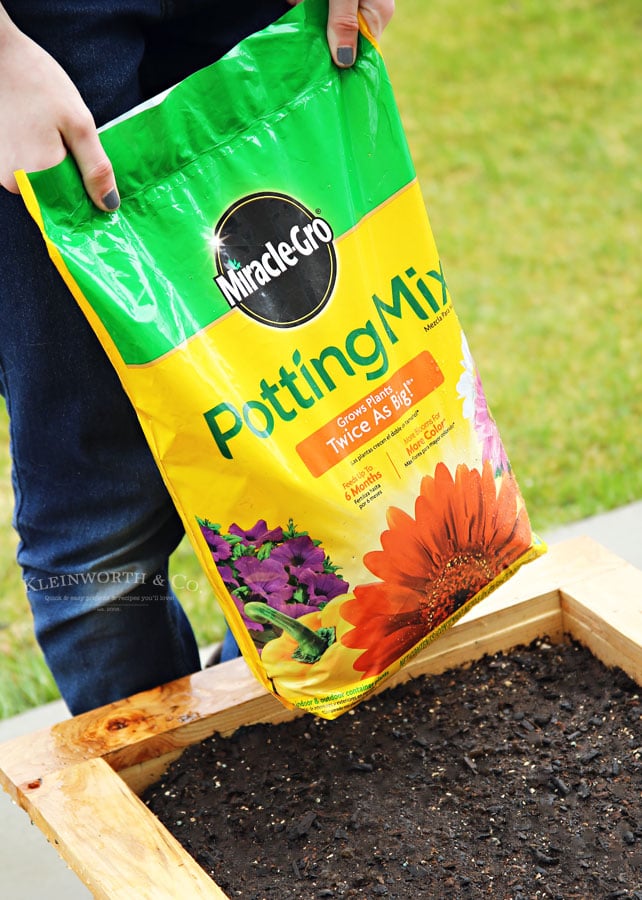
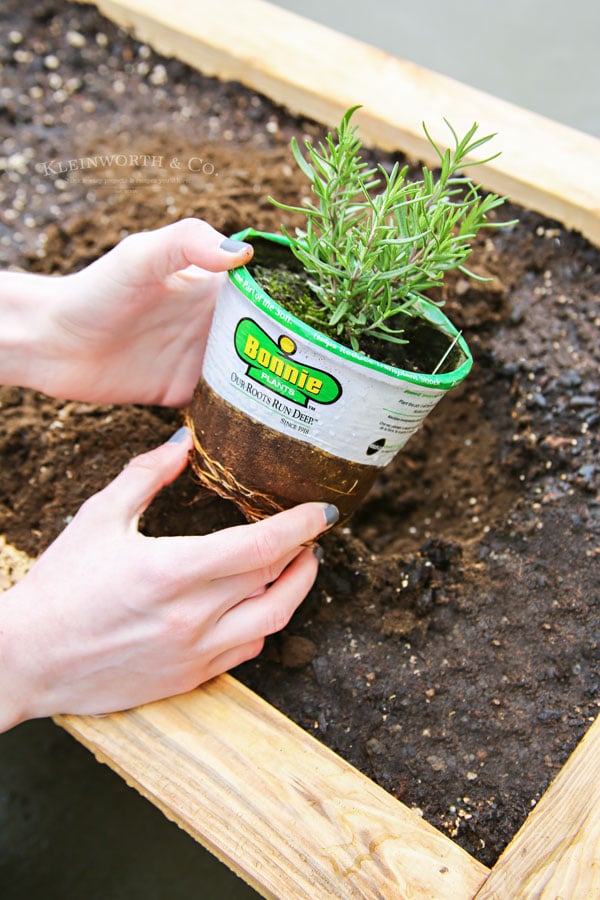
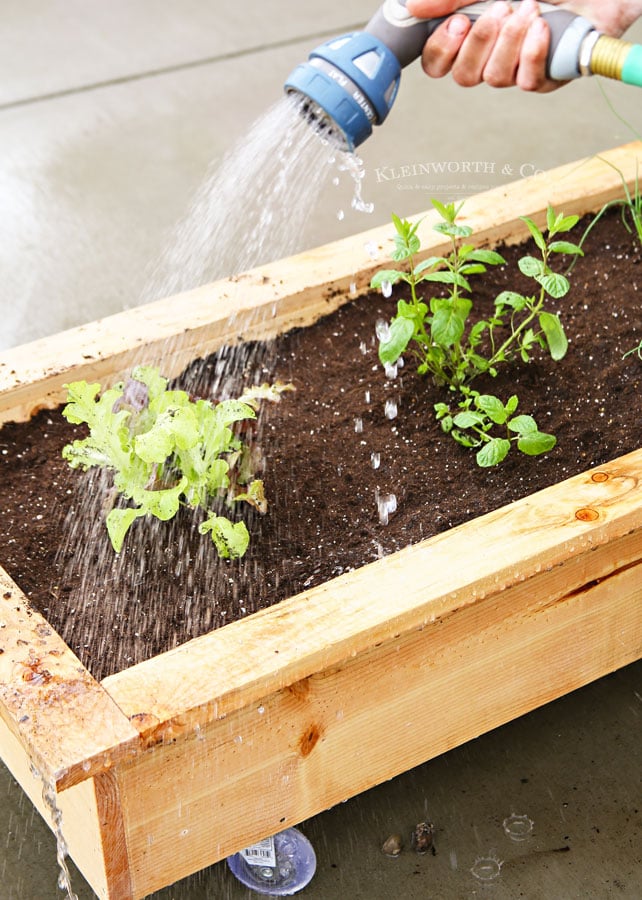
Once everything was dry we filled the box with our Scotts Miracle-Gro potting soil & planted our Bonnie Plants we picked up at Walmart. Miracle-Gro is a brand I can trust. With the Miracle-Gro plant food, it really does help plants grow twice as big as unfed plants. I have tested it myself & I’m always so impressed.
Planter Box DIY
I filled my planter with lettuce, sweet onions, rosemary & mint from Bonnie Plants. It will give me some nice variety when I am garnishing a plate prior to it making its way to the studio for photos. Plus, all those ingredients go with so many of the recipes we make, so it is nice to have them on hand & fresh at a moment’s notice.
Miracle-Gro and Bonnie Plants are available at Walmart” target=”_blank” rel=”nofollow”>Walmart, so you can pick them up while doing your weekly grocery shopping. Now that is super convenient! I can’t wait to build a few more boxes & fill them with strawberries, tomatoes & parsley.
Isn’t it great? I hope you make one too! What will you plant first?
Looking for more great backyard projects?
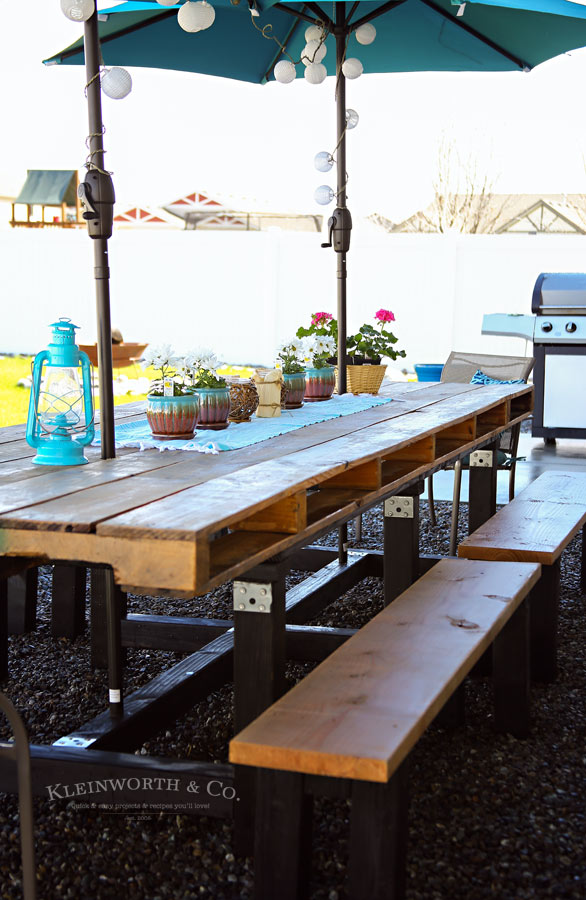
DIY Pallet Outdoor Dining Table
Don’t miss these great ideas from these bloggers….
DIY Vertical Plant Hanger | I Heart Naptime
Address Planter Box | Tidy Mom




Oh that is so cool!!
Very cool idea and fortunately one that I have the skills to execute:) We have such scorching sun here in Fort Collins that some of my herbs cannot make it if left in direct sunlight for part of the day. Now I can plant them in of these and move them to a shady area on super sunny days.
This is awesome Gina. I want one! (It is my Editor’s Pick for next week’s WW Blog Hop!)
How clever! I’ll have to keep this in mind for next spring! I do hope that spring shows up for you soon!
Spotted your post on G+ and had to pop over. I can’t wait to try making one. Pinned & sharing. Thanks for the inspiration and DIY. Happy almost summer.
This is such a neat idea! 🙂
I would love for you to share this with my Facebook Group for recipes, crafts, tips, and tricks: https://www.facebook.com/groups/pluckyrecipescraftstips/
Thanks for joining Cooking and Crafting with J & J!
I love the look of this! I am wondering about drainage though. Would a layer of medium sized gravel at the bottom and drilling holes in the bottom plywood piece do the trick? Also wondering if a layer of plastic around the inside would help protect the wood… or is that not something to worry about?
I’ll definitely be basing my planter boxes off this one. Thank you!
Hi Melissa,
You can definitely do all those things. We didn’t for this one & just added sealant over it. But if we were building it again we would probably adjust some things. We didn’t have an issue with drainage, the water just found it’s way out the seams. But we did have to add more sealant after it went through the winter.
I love your box and the fact that it has wheels what a great idea! Can I ask what thickness plywood you used? I have everything on hand but only have 1/4” plywood, thanks
This was 1/2″ I think. It needs to withstand the weight of wet soil, so it needs to be sturdy. You could double up your planks, but I wouldn’t recommend going thinner than 1/2″.